Home>Furniture & Design>Living Room Furniture>How To Clean A Recliner From Smells

Living Room Furniture
How To Clean A Recliner From Smells
Modified: February 18, 2024
Learn effective tips for removing odors from your living room furniture. Discover how to clean and refresh your recliner to eliminate unwanted smells. Keep your furniture and design smelling fresh and inviting.
(Many of the links in this article redirect to a specific reviewed product. Your purchase of these products through affiliate links helps to generate commission for Storables.com, at no extra cost. Learn more)
Introduction
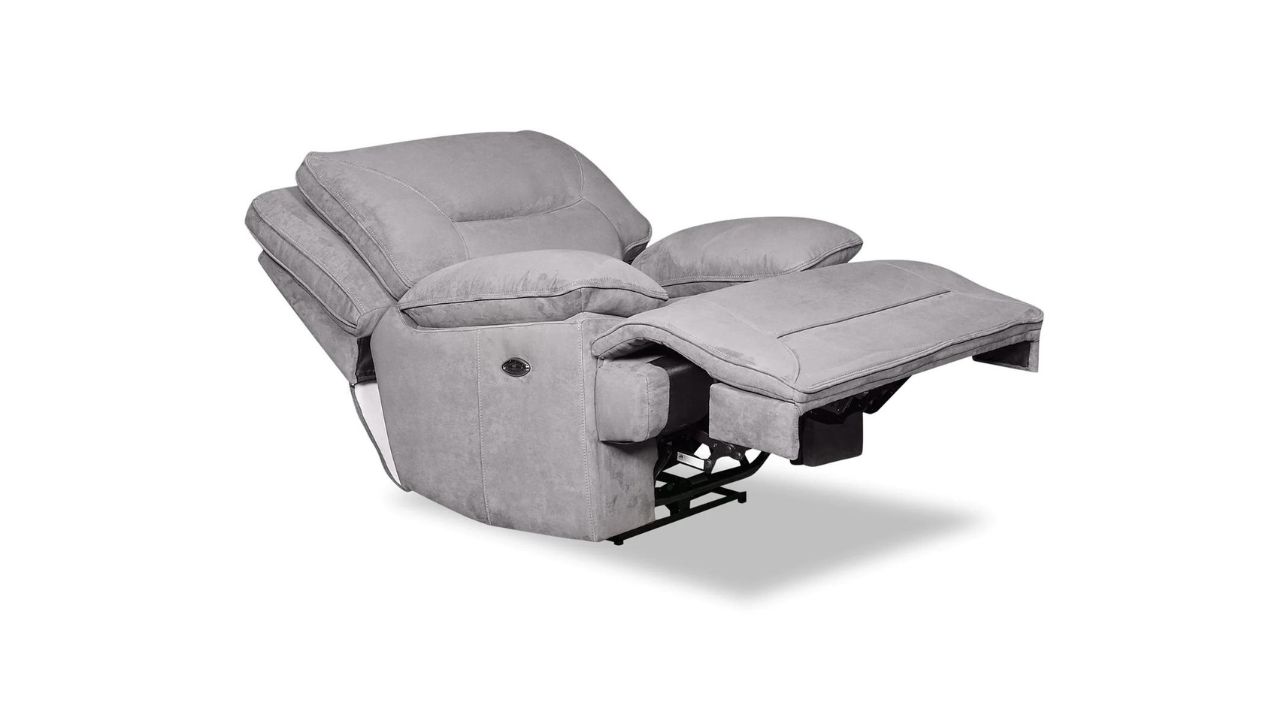
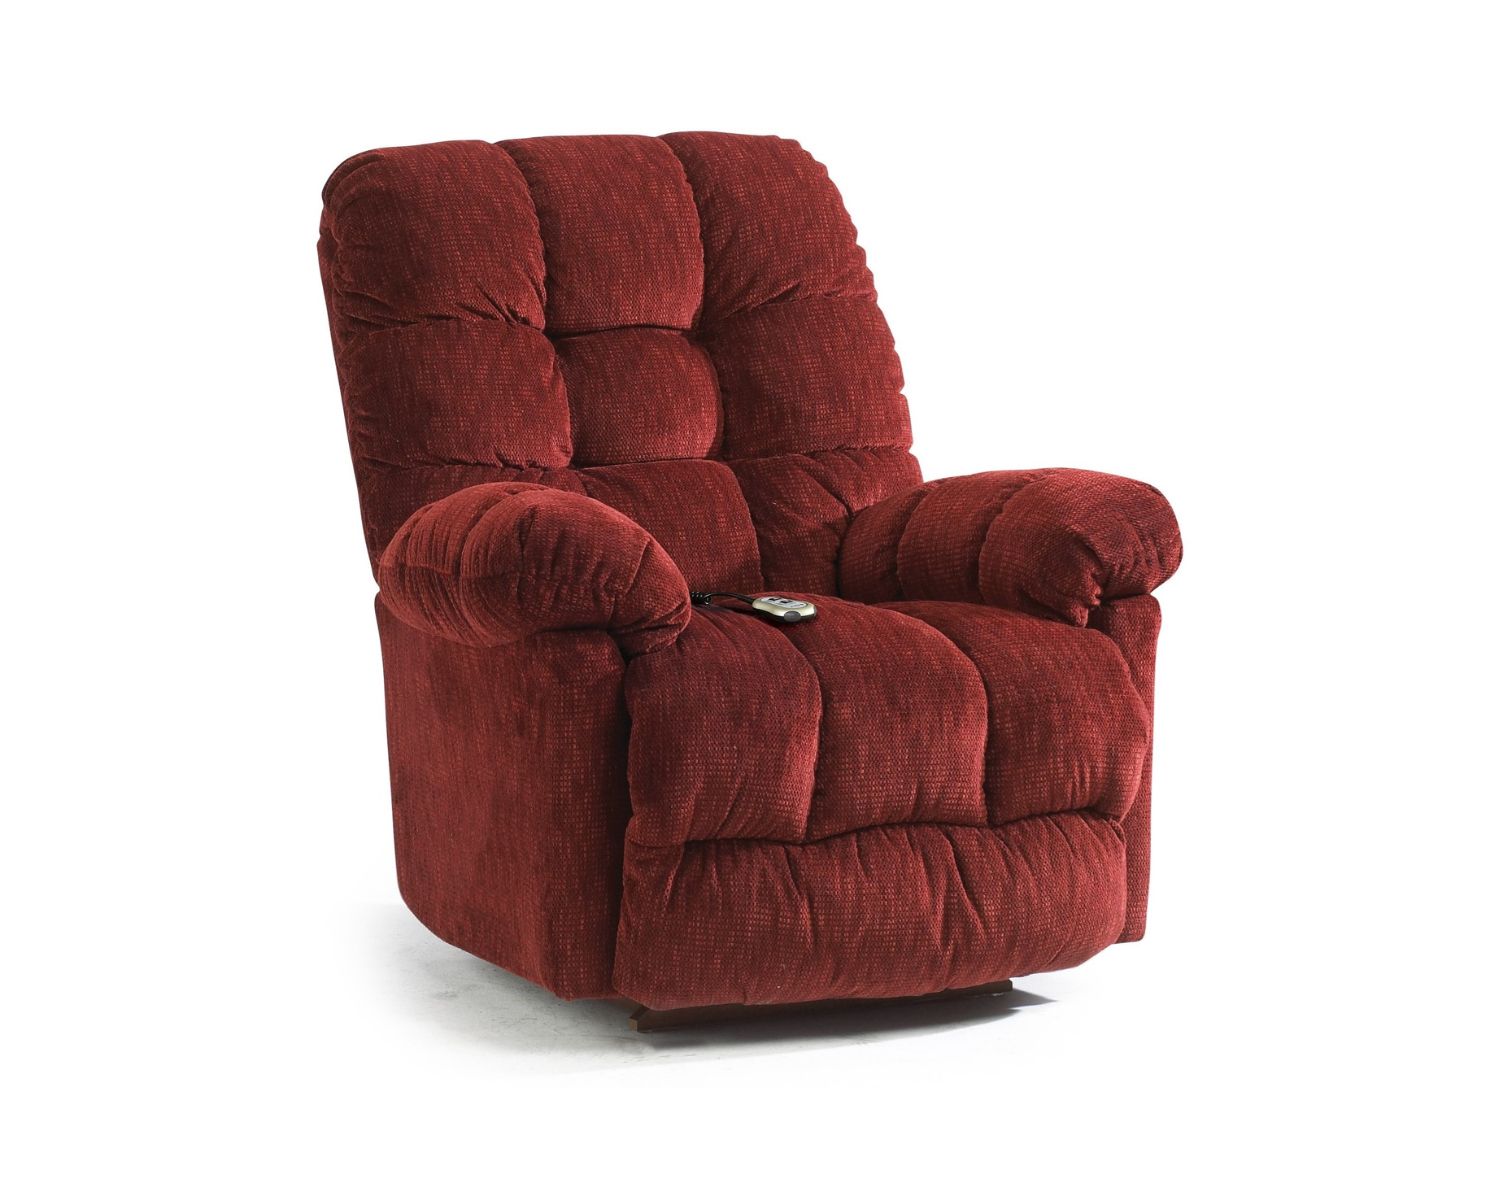
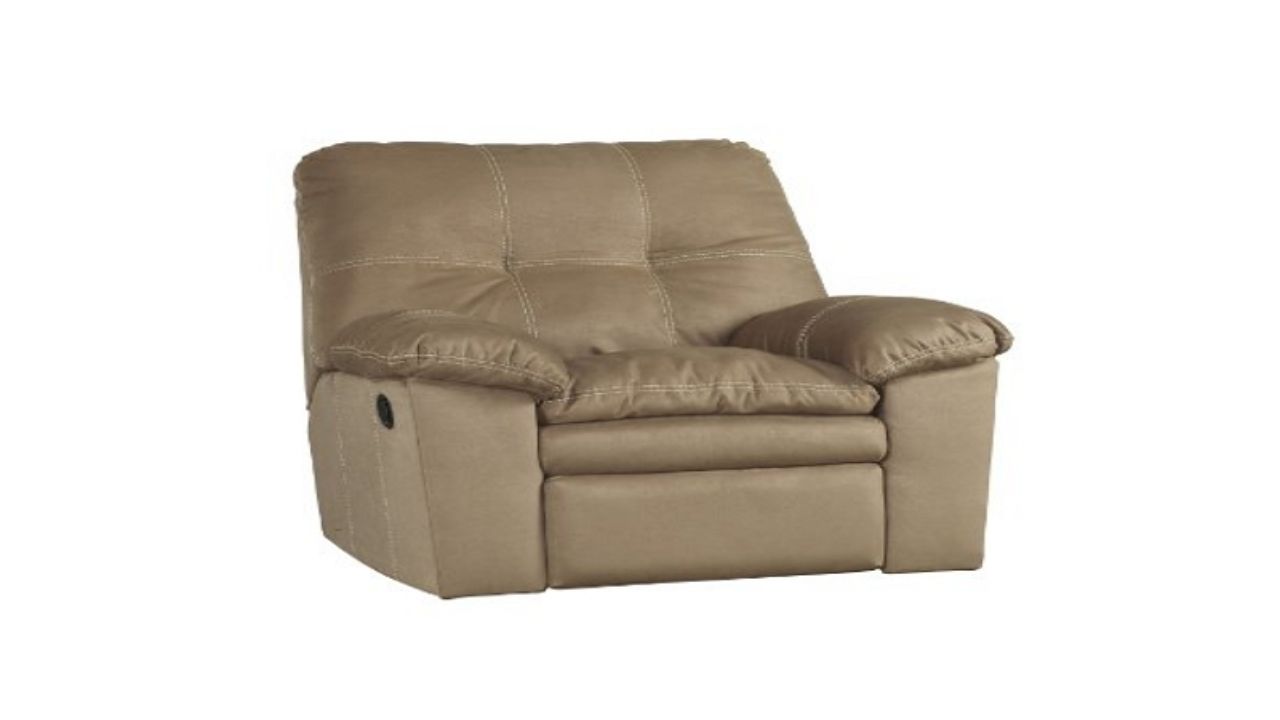
A recliner is often the centerpiece of comfort in any living room, providing a cozy spot to relax and unwind after a long day. However, over time, it's not uncommon for a recliner to develop unpleasant odors that can detract from the overall enjoyment of the space. Whether it's due to everyday use, spills, pet dander, or other factors, dealing with unwanted smells in your recliner is essential to maintain a fresh and inviting living environment.
In this comprehensive guide, we will explore the step-by-step process of effectively eliminating odors from your recliner, allowing you to reclaim its inviting allure. From identifying the source of the smell to implementing targeted cleaning techniques, we'll cover everything you need to know to restore your recliner to its pristine condition.
By following these practical tips and techniques, you can breathe new life into your beloved recliner, ensuring that it remains a welcoming haven for relaxation and leisure. So, let's dive into the process of revitalizing your recliner and banishing those persistent odors for good.
Key Takeaways:
- Say goodbye to unpleasant recliner smells by identifying the source, vacuuming thoroughly, spot cleaning stains, using a fabric freshener, and letting it air out. Your recliner will be fresh and inviting again!
- Revitalize your recliner by pinpointing the source of odors, vacuuming meticulously, spot cleaning stains, using a fabric freshener, and letting it air out. Enjoy a fresh and cozy living room once more!
Read more: How To Clean Recliner From Smells
Step 1: Identify the Source of the Smell
Before embarking on the journey to eliminate odors from your recliner, it's crucial to pinpoint the exact source of the unpleasant smell. Identifying the root cause will enable you to tailor your cleaning approach effectively, ensuring that the odor is thoroughly eradicated.
Begin by conducting a thorough inspection of the recliner, paying close attention to any visible stains, spills, or areas of discoloration. Take note of any specific spots that emit a stronger odor, as this can provide valuable insight into the source of the problem.
In some cases, the smell may be attributed to spilled food or beverages that have seeped into the fabric, pet dander and fur, or even general accumulation of dust and debris over time. Additionally, if the recliner is situated in a humid environment, mold and mildew growth could be contributing to the unpleasant odor.
It's also essential to consider any recent changes in the living room environment, such as exposure to smoke, strong cooking odors, or the presence of pets. These factors can all contribute to the development of unwanted smells in your recliner.
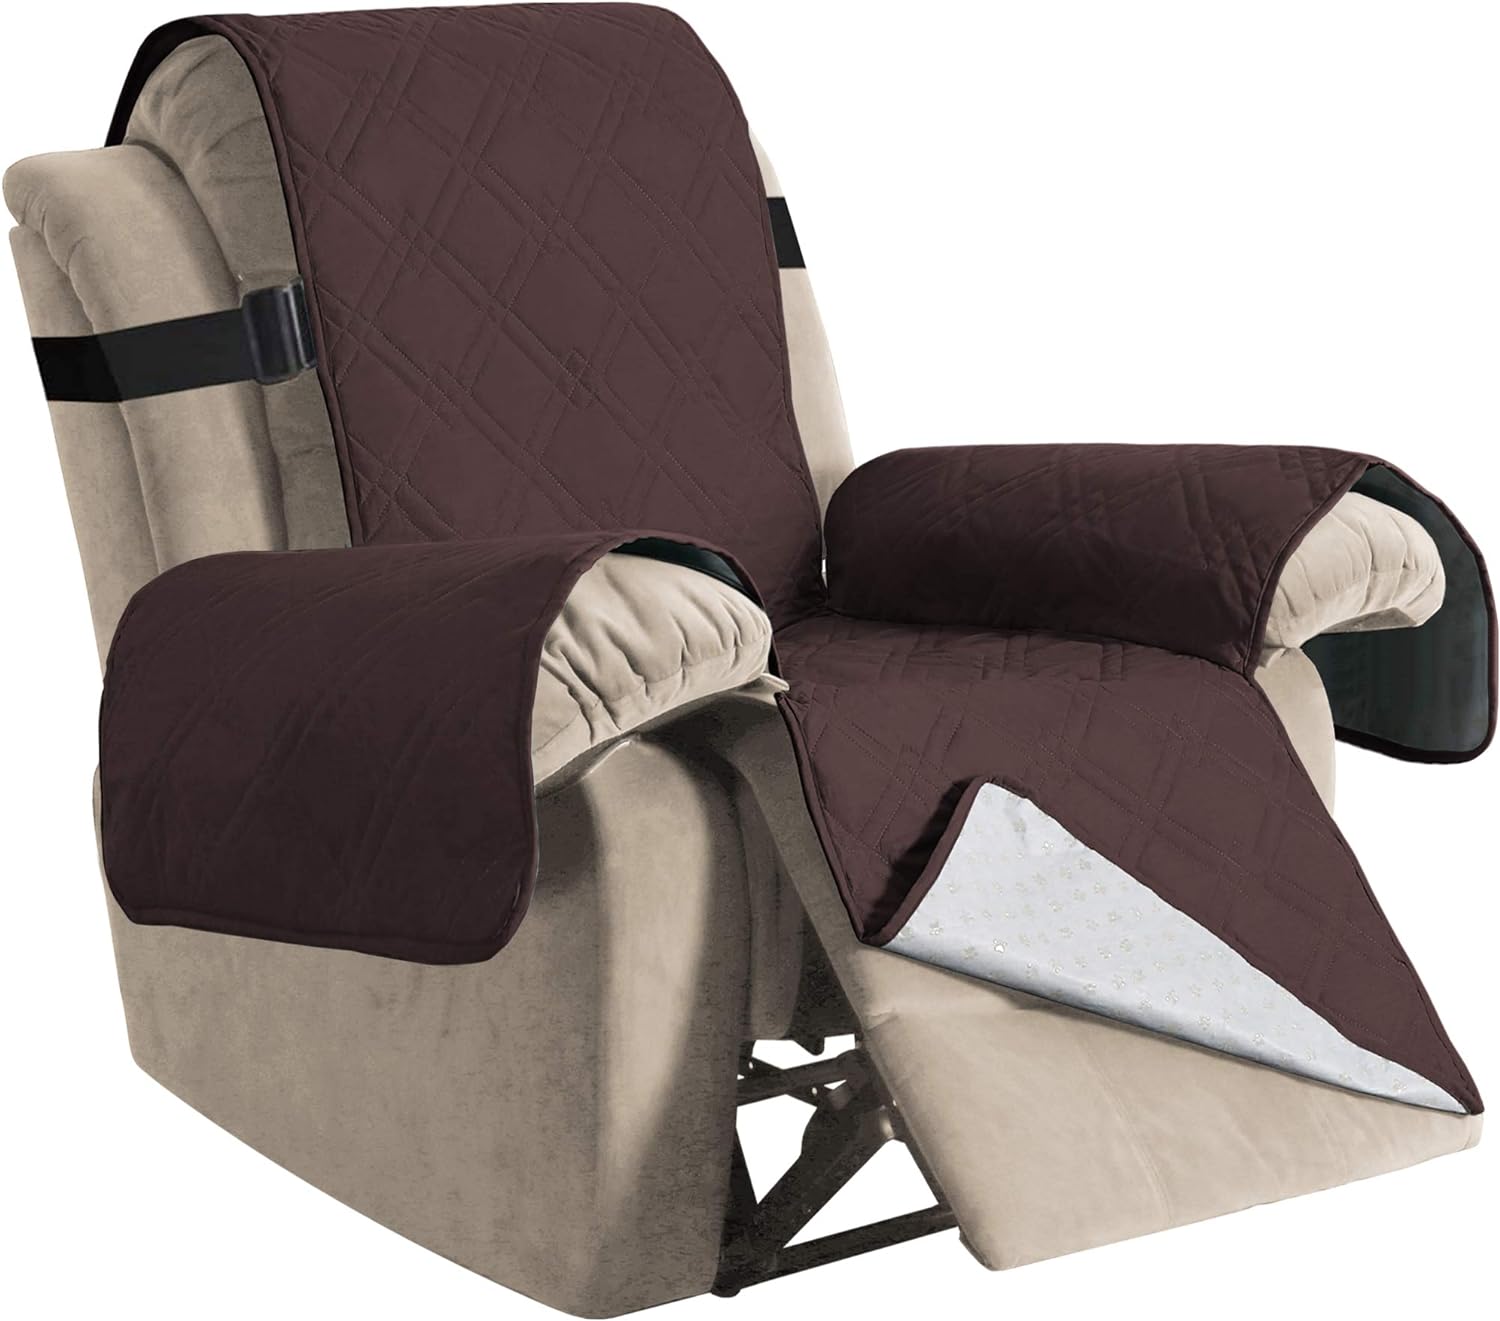
Furthermore, if the recliner features removable cushions or covers, carefully inspect these components for any signs of odor absorption or staining. Oftentimes, these areas can harbor hidden sources of unpleasant smells that require targeted attention during the cleaning process.
By diligently assessing the recliner and taking note of any potential culprits, you'll be equipped with a clear understanding of the source of the smell, empowering you to proceed with the subsequent cleaning steps with precision and effectiveness. Identifying the root cause is the foundational step in restoring your recliner to its pristine, odor-free state.
With the source of the smell identified, you're now ready to delve into the next crucial step of the cleaning process: vacuuming the recliner to remove surface debris and contaminants.
Step 2: Vacuum the Recliner
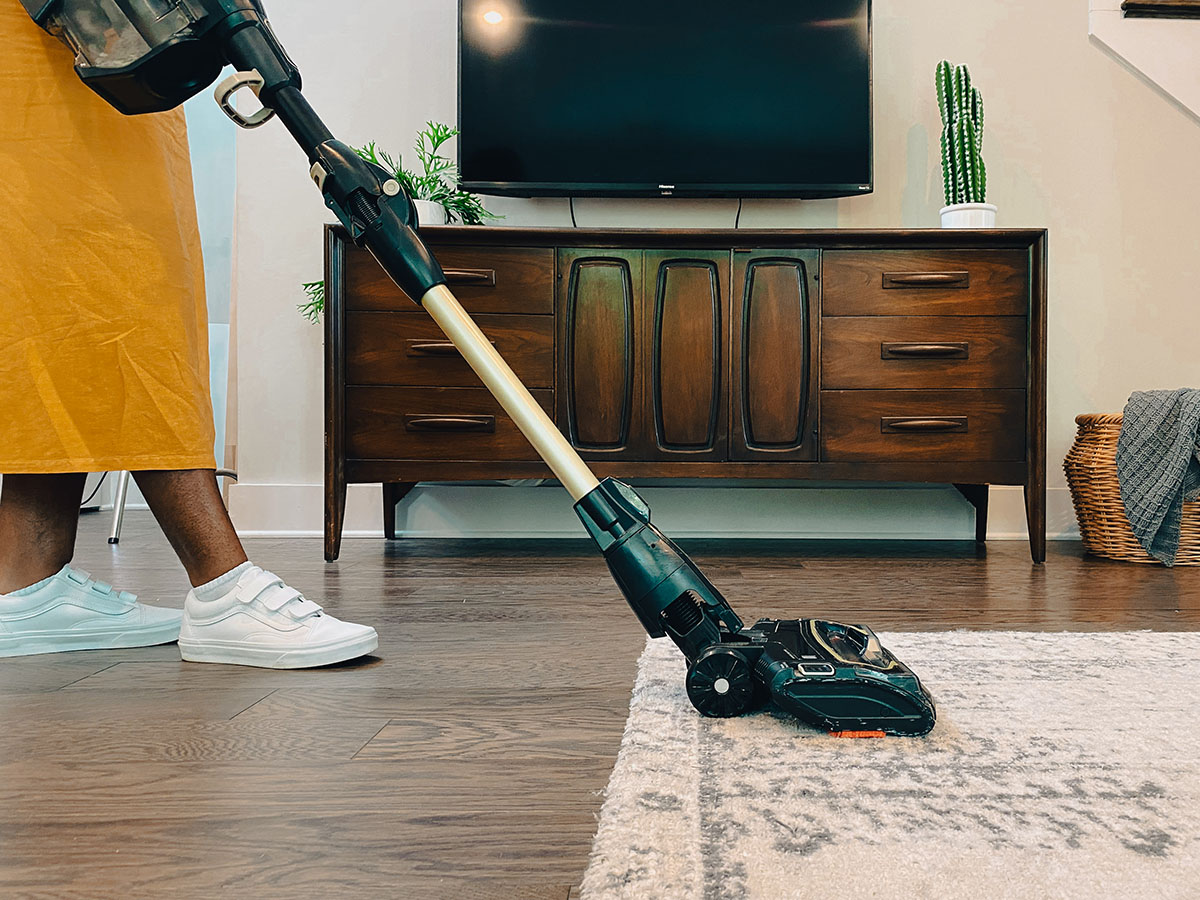
Once you have identified the source of the odor, the next step in revitalizing your recliner involves thorough vacuuming to eliminate surface debris, dust, and other particles that may be contributing to the unpleasant smell. Vacuuming is a fundamental aspect of the cleaning process, as it effectively removes loose contaminants from the fabric, thereby laying the groundwork for targeted spot cleaning and odor removal.
To begin, equip your vacuum cleaner with a soft brush attachment or upholstery tool to ensure gentle yet effective cleaning. These specialized attachments are designed to prevent damage to the fabric while effectively capturing dust, pet hair, and other debris that may have accumulated on the recliner's surface.
Start by systematically vacuuming the entire surface of the recliner, paying close attention to seams, crevices, and areas where dust and debris tend to accumulate. Use gentle, overlapping strokes to cover the entire fabric surface, ensuring that no area is overlooked. Additionally, if your recliner features removable cushions or pillows, be sure to vacuum both the cushions and the underlying fabric to comprehensively address any potential sources of odor.
In areas where spills or stains are present, take extra care to vacuum thoroughly, as residual particles from these incidents can contribute to lingering odors. By diligently removing surface contaminants, you pave the way for more targeted cleaning methods to address specific areas of concern.
Furthermore, if your recliner features a reclining mechanism, pay attention to the areas around the hinges and moving parts, as these areas can also accumulate dust and debris over time. A comprehensive vacuuming session ensures that these often-overlooked areas are thoroughly cleansed, contributing to the overall freshness of your recliner.
By meticulously vacuuming the recliner, you set the stage for the subsequent steps in the cleaning process, allowing for more effective spot cleaning and odor removal. This foundational step not only eliminates surface debris but also prepares the fabric for deeper cleaning, ultimately working towards the goal of restoring your recliner to its pristine, odor-free state.
Step 3: Spot Clean Stains
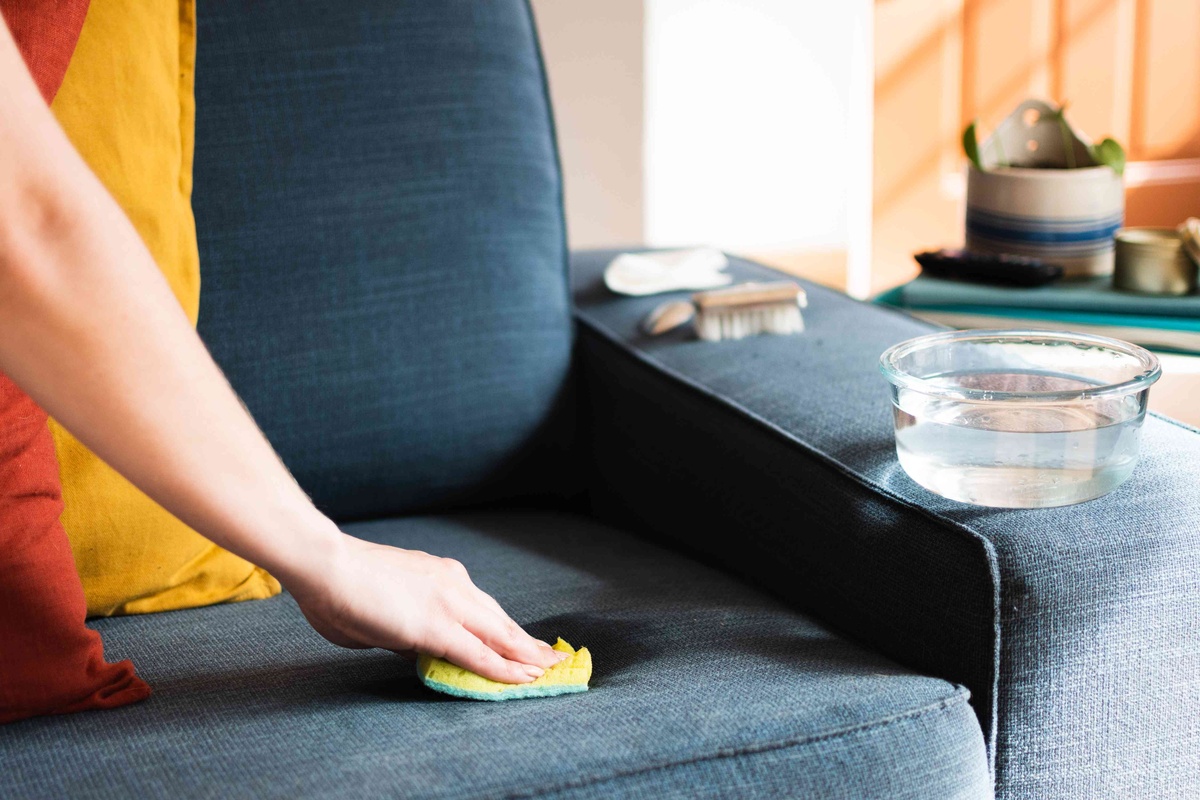
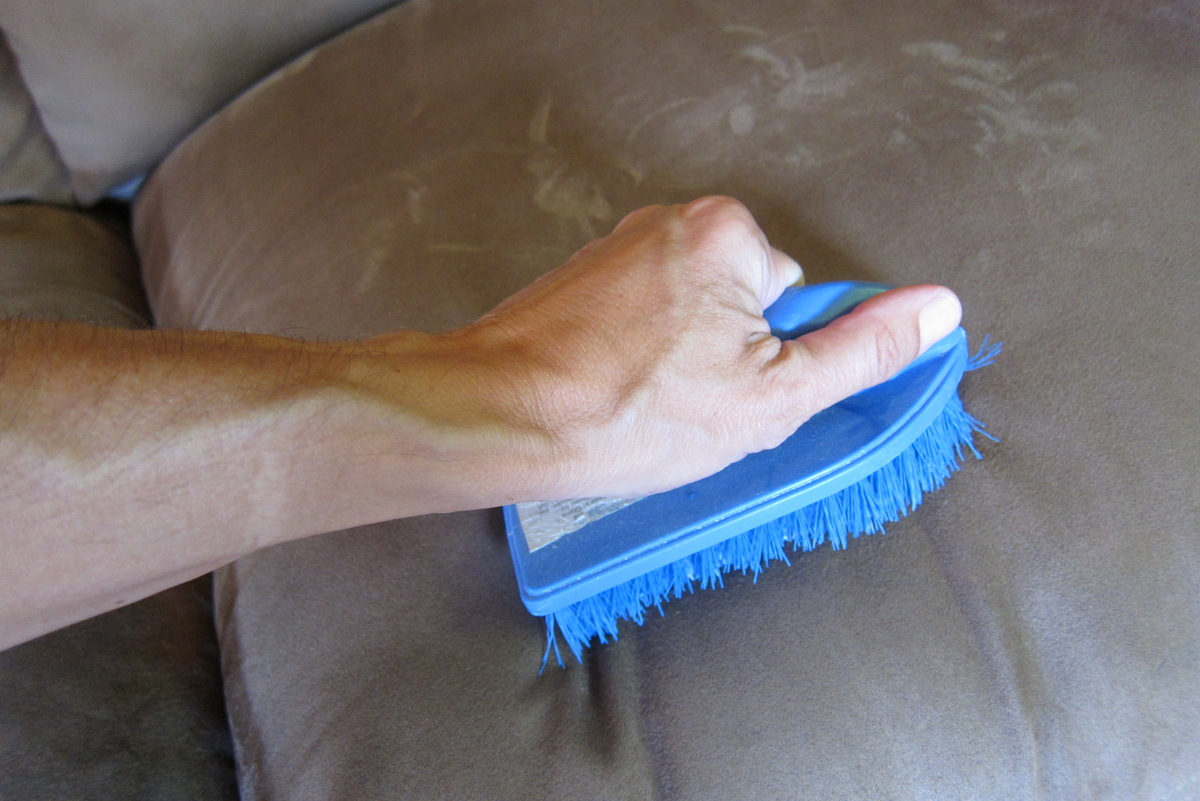
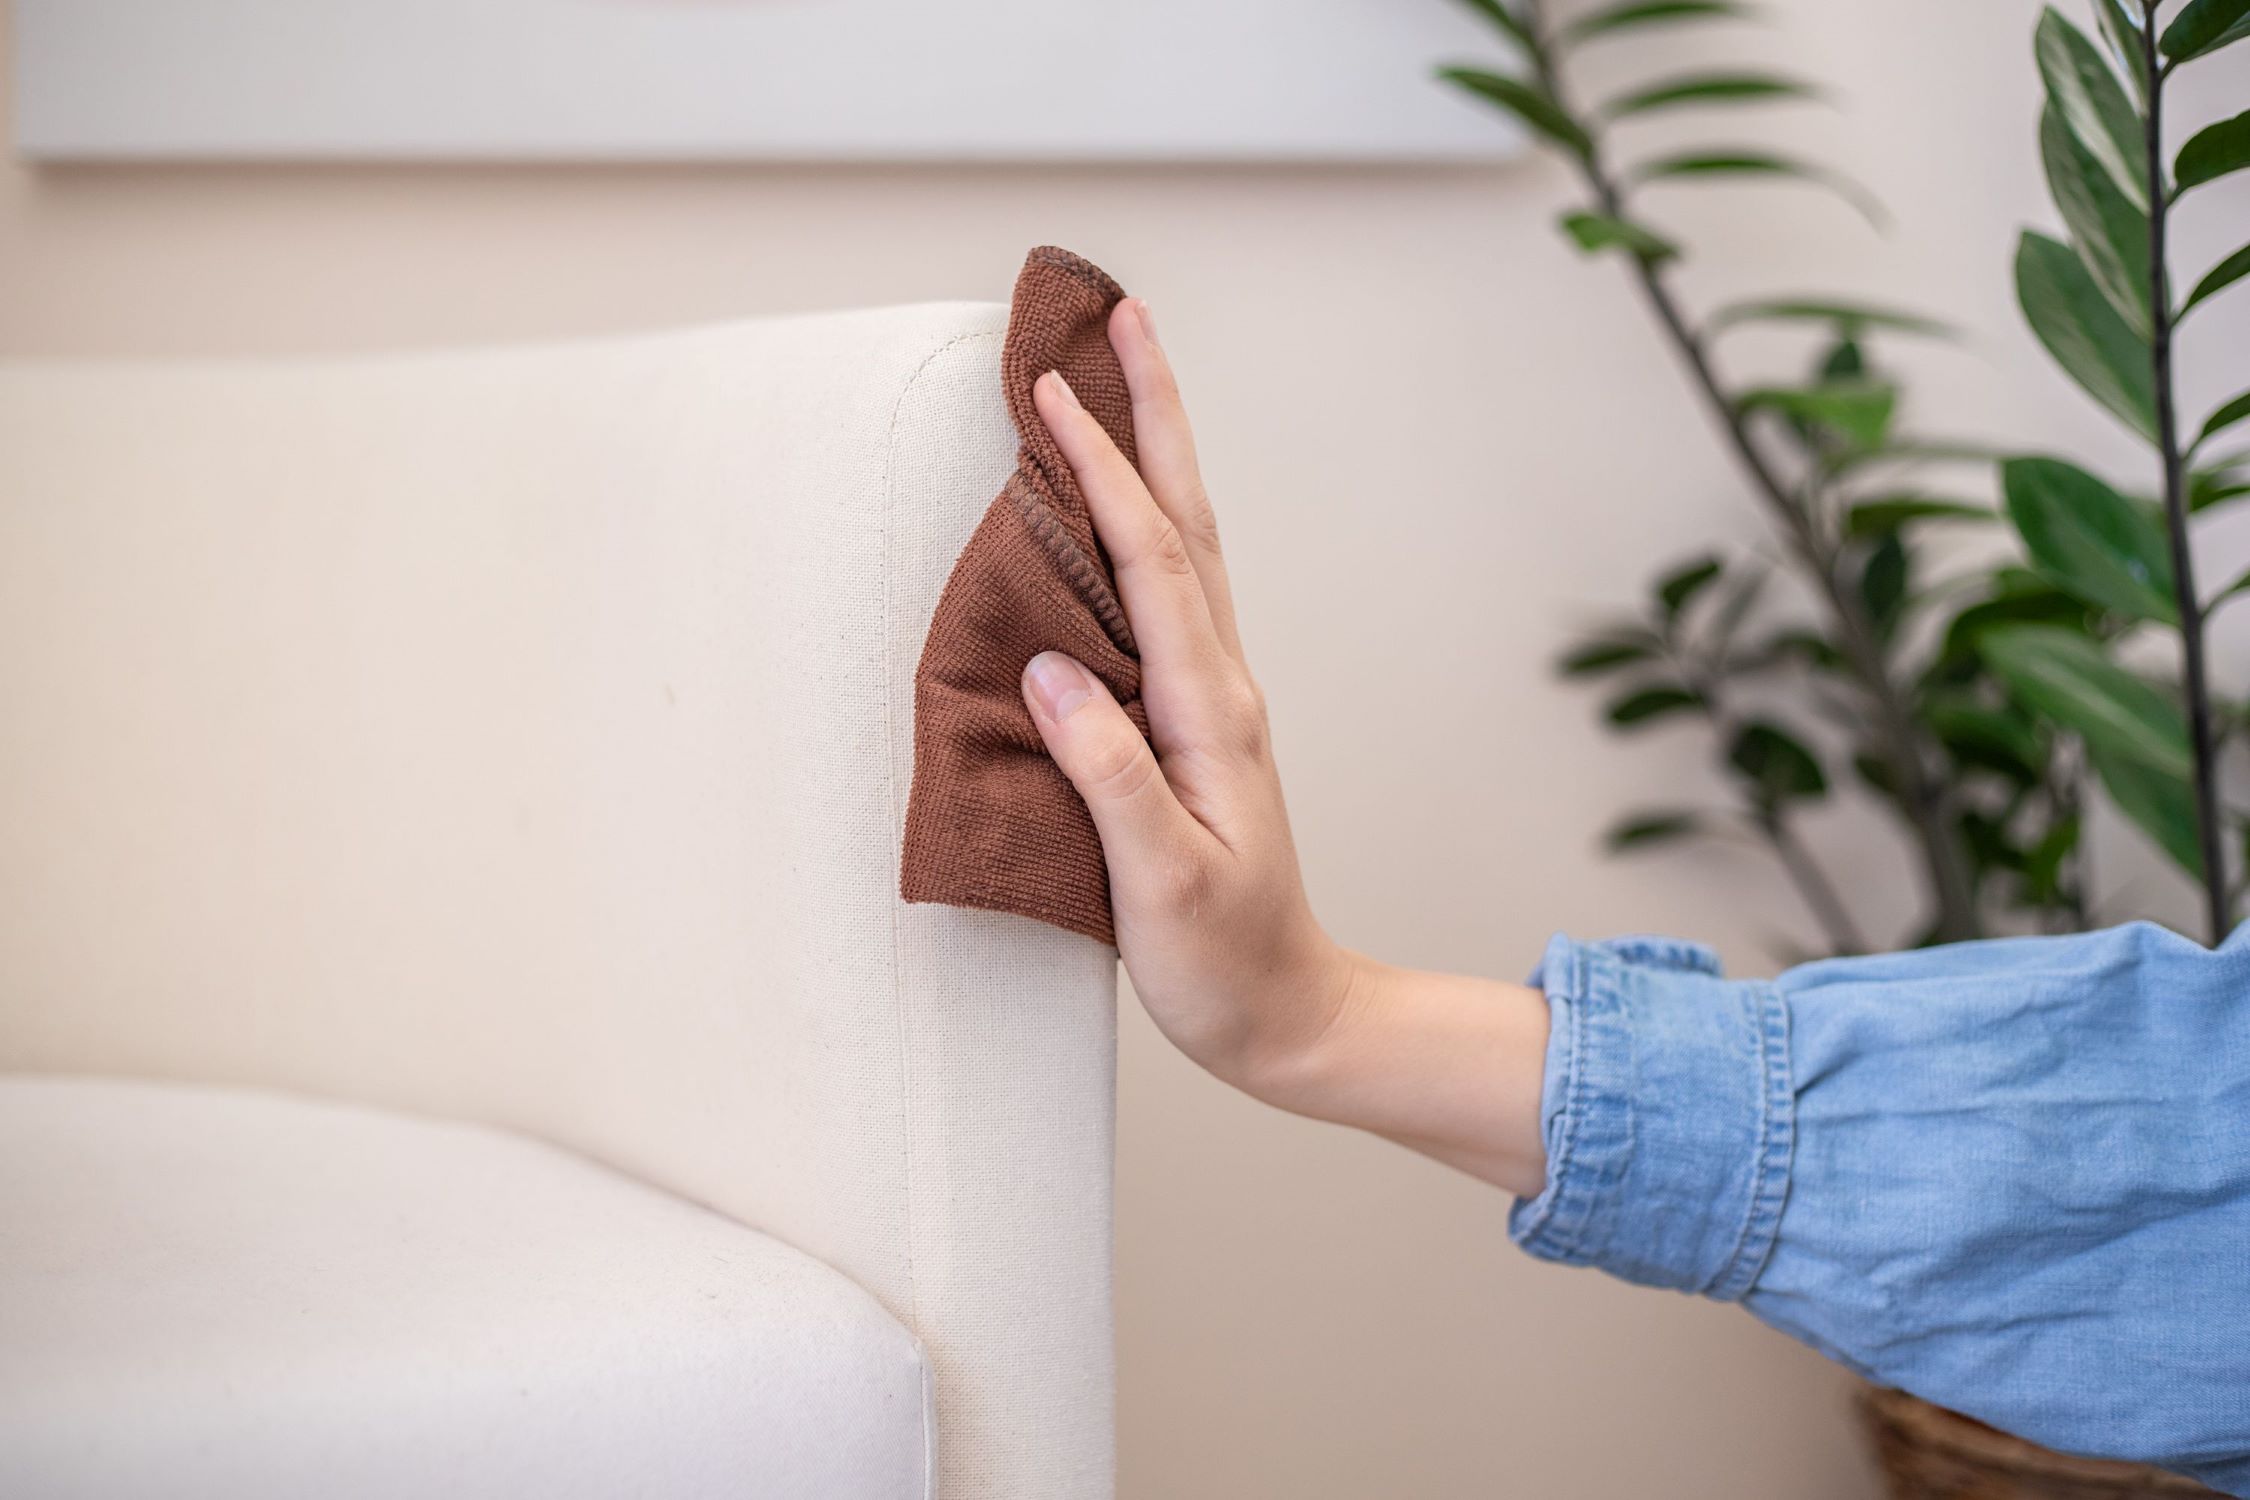
Spot cleaning stains is a critical component of the recliner cleaning process, particularly when addressing specific areas of discoloration or soiling that may be contributing to unpleasant odors. Whether it's a spilled beverage, pet-related mishaps, or general wear and tear, targeted stain removal is essential for restoring the recliner to its pristine condition.
To begin the spot cleaning process, it's important to select an appropriate cleaning solution that is compatible with the recliner's fabric. Different types of upholstery, such as microfiber, leather, or fabric blends, may require specific cleaning products to ensure optimal results without causing damage. Always refer to the manufacturer's recommendations or test any cleaning solution on a small, inconspicuous area of the recliner to ensure compatibility and prevent potential discoloration or damage.
For water-safe fabrics, a gentle yet effective approach involves creating a cleaning solution using mild dish soap or a specialized upholstery cleaner diluted in water. Using a clean, white cloth or sponge, gently dab the stained area with the cleaning solution, taking care not to oversaturate the fabric. Blotting the stain in a gentle, upward motion helps lift the soiling without spreading it further.
In the case of oil-based stains or stubborn spots, a solvent-based cleaner specifically formulated for upholstery may be necessary. Always follow the manufacturer's instructions and test the solvent in an inconspicuous area to ensure compatibility and prevent adverse effects on the fabric.
When addressing pet-related stains, enzymatic cleaners designed to break down organic matter and neutralize odors can be particularly effective. These specialized cleaners work to eliminate the source of the odor, rather than simply masking it, ensuring a thorough and long-lasting solution to pet-related odors.
After applying the cleaning solution, use a clean, damp cloth to gently rinse the treated area, removing any residual cleaning solution and soiling. It's crucial to avoid oversaturating the fabric, as excessive moisture can lead to prolonged drying times and potential damage to the recliner.
Once the spot cleaning process is complete, allow the treated areas to air dry thoroughly before proceeding to the next step. This ensures that any remaining moisture evaporates completely, preventing the development of musty odors and ensuring that the recliner is ready for the final phase of odor elimination.
By meticulously spot cleaning stains using appropriate cleaning solutions and techniques, you can effectively address specific areas of concern, contributing to the overall freshness and cleanliness of your recliner. This targeted approach sets the stage for the final steps in the cleaning process, ultimately working towards the goal of banishing unwanted odors and revitalizing your beloved recliner.
To clean a recliner from smells, sprinkle baking soda on the fabric, let it sit for 15 minutes, then vacuum it up. Repeat as needed.
Step 4: Use a Fabric Freshener
After addressing specific stains and soiling, the next step in the process of rejuvenating your recliner involves the application of a fabric freshener to impart a delightful, long-lasting scent while further combating any residual odors. Fabric fresheners are specially formulated to neutralize unpleasant smells and infuse the fabric with a renewed sense of freshness, making them an invaluable tool in the quest to revitalize your recliner.
When selecting a fabric freshener, opt for a product specifically designed for upholstery and fabric surfaces. These fresheners are formulated to be gentle on the fabric while effectively combating odors, ensuring that your recliner is treated with care and consideration. Additionally, consider choosing a scent that aligns with your preferences and complements the overall ambiance of your living room, whether it's a soothing lavender, crisp linen, or invigorating citrus fragrance.
Before applying the fabric freshener, it's essential to conduct a patch test on a small, inconspicuous area of the recliner to ensure compatibility and prevent any adverse effects on the fabric. Once the compatibility is confirmed, proceed to lightly mist the fabric freshener over the entire surface of the recliner, ensuring even coverage while avoiding oversaturation. Pay particular attention to areas that were previously treated for stains, as these areas may benefit from an extra touch of freshness.
As the fabric freshener settles onto the recliner, it works to neutralize lingering odors and infuse the fabric with a delightful scent, transforming the atmosphere of your living room. The gentle misting action allows the freshener to permeate the fabric, ensuring that every fiber is imbued with a renewed sense of cleanliness and allure.
Furthermore, fabric fresheners often contain odor-neutralizing agents that actively combat and eliminate unwanted smells, rather than simply masking them with temporary fragrances. This proactive approach ensures that your recliner remains free from persistent odors, contributing to a consistently inviting and pleasant living environment.
Once the fabric freshener has been applied, allow the recliner to air dry naturally, allowing the freshener to fully integrate with the fabric and impart its revitalizing scent. As the fabric freshener takes effect, you'll notice a discernible transformation in the ambiance of your living room, with your recliner emanating a renewed sense of cleanliness and freshness.
By incorporating a fabric freshener into the cleaning process, you elevate the overall experience of recliner maintenance, infusing the fabric with a delightful scent while actively combating unwanted odors. This final touch contributes to the comprehensive revitalization of your recliner, ensuring that it remains a welcoming haven of comfort and relaxation for years to come.
Read more: How To Get Pee Smell Out Of Recliner
Step 5: Let the Recliner Air Out
Allowing the recliner to air out is a crucial final step in the comprehensive process of eliminating odors and revitalizing the fabric. After the application of cleaning solutions and fabric fresheners, it's essential to provide the recliner with ample time to air dry naturally, allowing any residual moisture to evaporate and the rejuvenating scents to fully integrate with the fabric.
To begin the airing out process, ensure that the recliner is placed in a well-ventilated area, ideally with access to fresh air and indirect sunlight. Proper ventilation facilitates the evaporation of any remaining moisture, preventing the development of musty odors and ensuring that the fabric dries thoroughly.
If possible, open windows and doors to promote air circulation around the recliner, expediting the drying process and allowing the fabric to breathe. This influx of fresh air contributes to the overall freshness of the recliner, further enhancing the effectiveness of the cleaning and revitalization efforts.
In addition to natural ventilation, consider using a fan to gently circulate air around the recliner, expediting the drying process and ensuring that every nook and cranny receives adequate airflow. Positioning the fan at a moderate setting helps maintain a consistent flow of air without causing excessive agitation to the fabric.
As the recliner airs out, take the opportunity to periodically assess the fabric for any lingering moisture or odors. Lightly pat the surface with a clean, dry cloth to absorb any residual moisture, ensuring that the fabric is on track to complete dryness. This proactive approach helps prevent the potential reemergence of odors and ensures that the recliner is ready to reclaim its role as a comforting sanctuary in your living room.
Throughout the airing out process, remain mindful of the surrounding environment, ensuring that the recliner is shielded from direct sunlight, excessive humidity, or other adverse conditions that could compromise the fabric's integrity. By providing a conducive environment for natural drying, you set the stage for the optimal outcome of the cleaning and revitalization process.
As the recliner basks in the gentle embrace of fresh air and natural light, you'll witness the culmination of your efforts, with the fabric exuding a renewed sense of cleanliness and allure. The airing out process serves as the final touch in the journey to banish unwanted odors and revitalize your recliner, ensuring that it remains a cherished haven of comfort and relaxation for years to come.
Conclusion
In conclusion, the process of cleaning and revitalizing a recliner to eliminate unwanted odors is a transformative journey that culminates in the restoration of comfort, freshness, and allure to this beloved piece of furniture. By following the step-by-step approach outlined in this guide, you have embarked on a comprehensive odyssey to banish persistent smells and reclaim the inviting ambiance of your living room.
From the initial step of identifying the source of the odor to the meticulous vacuuming, targeted stain removal, application of fabric freshener, and the essential airing out process, each phase of the cleaning journey plays a pivotal role in revitalizing your recliner. Through diligence, care, and attention to detail, you have effectively addressed the root causes of unpleasant odors, ensuring that your recliner emerges as a welcoming haven of comfort and relaxation.
The process of cleaning a recliner from smells is not merely a practical endeavor; it is a testament to the commitment to maintaining a fresh, inviting living environment. By investing time and effort into the care of your recliner, you have not only eliminated odors but also revitalized the fabric, imbuing it with a renewed sense of cleanliness and allure.
As you witness the culmination of your efforts, with your recliner emanating a delightful, long-lasting scent and exuding a sense of freshness, take pride in the transformation you have achieved. Your dedication to the maintenance of your living room oasis has yielded a tangible, rewarding outcome, ensuring that your recliner remains a cherished centerpiece of comfort for years to come.
In the broader context, the process of cleaning a recliner from smells serves as a testament to the transformative power of proactive maintenance and care. By embracing the principles of targeted cleaning, gentle treatment, and proactive odor elimination, you have not only revitalized your recliner but also cultivated a living environment that exudes comfort, cleanliness, and warmth.
As you integrate the insights and techniques gleaned from this guide into your recliner maintenance routine, you are poised to uphold a standard of freshness and allure that enhances the overall ambiance of your living room. Your recliner, now free from unwanted odors, stands as a testament to your commitment to creating a welcoming, inviting space for relaxation and leisure.
In the end, the journey to clean a recliner from smells transcends mere maintenance; it is a testament to the art of nurturing a living space that exudes comfort, cleanliness, and tranquility. With your newfound knowledge and dedication, your recliner will continue to serve as a cherished sanctuary, enveloping you in a cocoon of comfort and freshness every time you settle into its inviting embrace.
Frequently Asked Questions about How To Clean A Recliner From Smells
Was this page helpful?
At Storables.com, we guarantee accurate and reliable information. Our content, validated by Expert Board Contributors, is crafted following stringent Editorial Policies. We're committed to providing you with well-researched, expert-backed insights for all your informational needs.

0 thoughts on “How To Clean A Recliner From Smells”