Home>Furniture & Design>Outdoor Furniture>How Do You Build An Outdoor Ice Rink
Outdoor Furniture
How Do You Build An Outdoor Ice Rink
Published: January 14, 2024
Learn how to build an outdoor ice rink with our comprehensive guide. Discover the best outdoor furniture, design tips, and more.
(Many of the links in this article redirect to a specific reviewed product. Your purchase of these products through affiliate links helps to generate commission for Storables.com, at no extra cost. Learn more)
Introduction
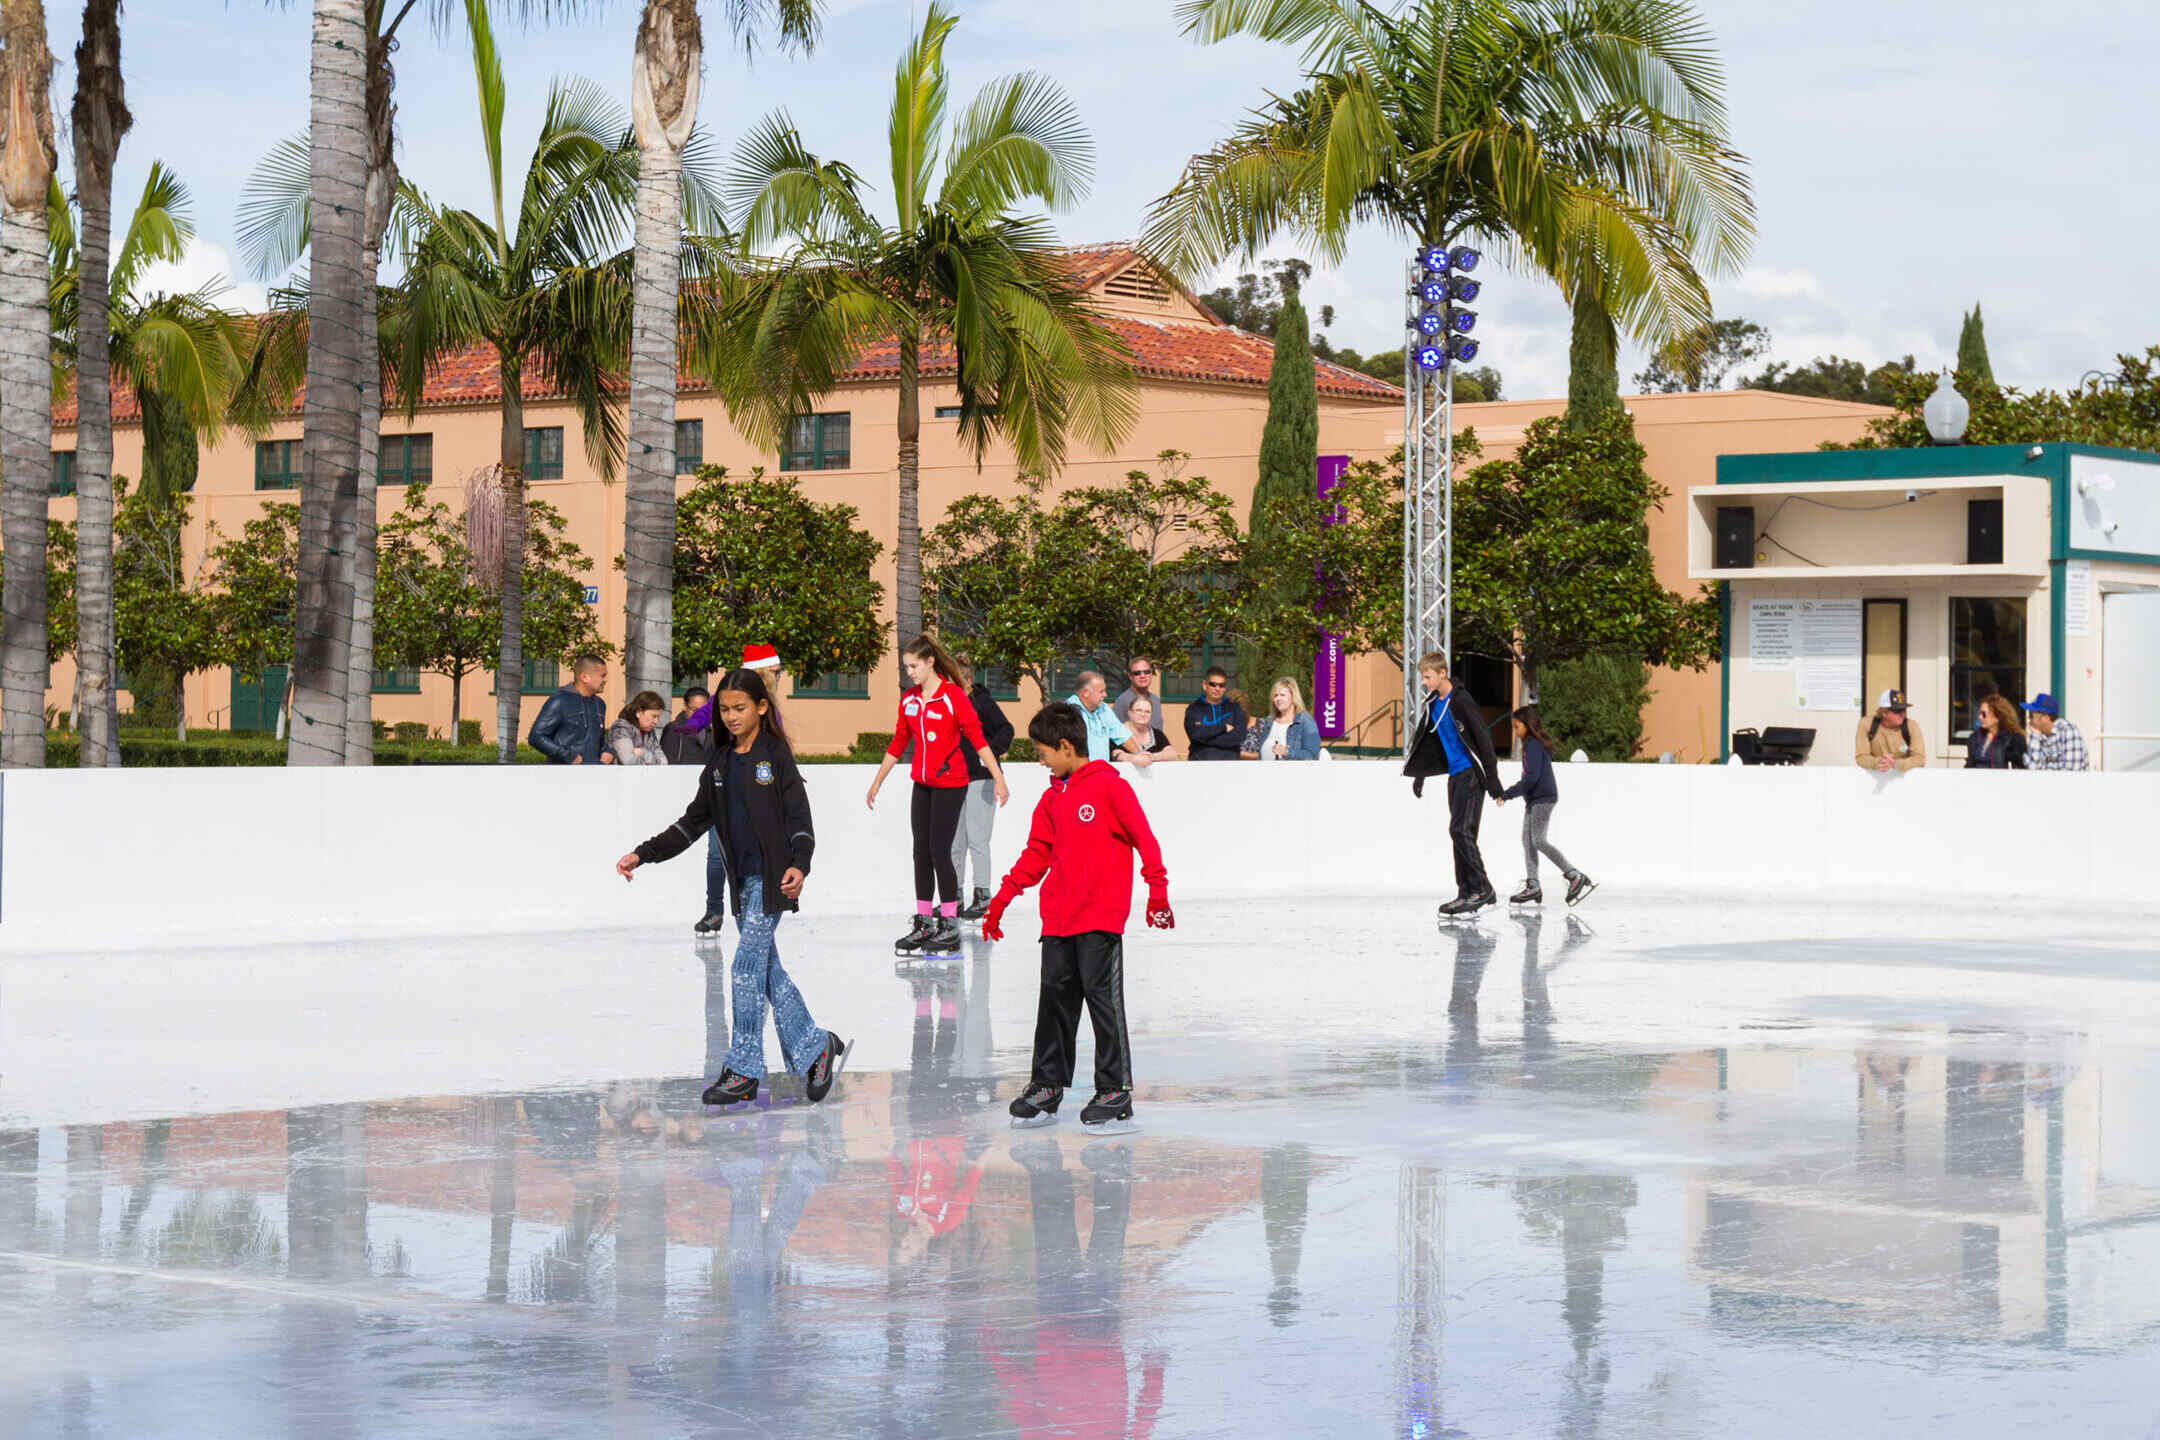
Creating an outdoor ice rink is a fantastic way to embrace the winter season and enjoy the thrill of ice skating or playing hockey in your own backyard. Whether you're a seasoned ice enthusiast or a novice looking to embark on a new winter adventure, building an outdoor ice rink can be a rewarding and exhilarating experience. From selecting the perfect location to maintaining the ice throughout the season, each step in the process contributes to the overall success and enjoyment of your homemade rink.
In this comprehensive guide, we'll delve into the intricacies of constructing an outdoor ice rink, offering valuable insights and practical tips to help you navigate every stage of the build. By the end of this journey, you'll be equipped with the knowledge and confidence to create a stunning ice rink that promises endless hours of frosty fun for you, your family, and friends.
So, lace up your skates and prepare to embark on a captivating journey through the enchanting world of outdoor ice rink construction. Let's explore the essential steps that will transform your outdoor space into a winter wonderland, where the joy of gliding across the glistening ice awaits.
Key Takeaways:
- Building an outdoor ice rink is a fun and rewarding winter project that involves choosing the right location, preparing the surface, building the frame, installing the liner, filling it with water, and maintaining the ice.
- The process of constructing an outdoor ice rink transforms your backyard into a winter wonderland, providing endless hours of frosty fun for you, your family, and friends.
Read more: How To Build An Outdoor Ice Rink
Step 1: Choosing the Right Location
The first and foremost consideration in building an outdoor ice rink is selecting the ideal location. The chosen spot should be level, free from any obstructions, and have sufficient space to accommodate the dimensions of the rink. Additionally, access to a water source is crucial for filling and maintaining the ice.
Here are some key factors to keep in mind when choosing the location for your rink:
- Level Ground: Ensure that the ground is as level as possible to facilitate an even ice surface. Minor slopes can be adjusted, but a largely uneven terrain can pose challenges during the construction and maintenance phases.
- Adequate Space: The area should provide enough room for the rink’s dimensions, including space for skaters to move comfortably around the perimeter. Consider any surrounding obstacles, such as trees or structures, and allow ample clearance to prevent collisions.
- Access to Water: Proximity to a water source, such as a hose hookup or outdoor faucet, is essential for filling the rink with water. Additionally, easy access to water simplifies the maintenance process, allowing for regular resurfacing and repairs as needed.
- Visibility and Supervision: If the rink will be used by children, consider a location that offers good visibility from the house or another vantage point. This allows for easy supervision and ensures a safe and enjoyable skating experience.
By carefully assessing these factors, you can pinpoint the optimal location for your outdoor ice rink, setting the stage for a successful and enjoyable construction process.
Step 2: Preparing the Surface
Once you’ve identified the perfect location for your outdoor ice rink, the next crucial step is preparing the surface to ensure a solid foundation for the ice. Proper surface preparation is essential for achieving a smooth and durable skating experience.
Here’s a detailed breakdown of the surface preparation process:
- Clearing the Area: Begin by clearing the designated space of any debris, such as rocks, branches, and other objects that could create bumps or imperfections in the ice. Use a rake or broom to thoroughly clean the surface and create a pristine canvas for the rink.
- Leveling the Ground: If the ground exhibits minor slopes or unevenness, take the time to level the surface using a shovel, a leveling tool, or compacting materials such as sand or gravel. This step is crucial for ensuring an even ice layer and minimizing the risk of potential hazards.
- Installing a Barrier: To contain the water and prevent it from seeping into the surrounding area, consider installing a barrier around the perimeter of the rink. This can be achieved using boards, plastic liners, or specialized rink kits designed to create a watertight enclosure.
- Applying a Base Layer: Before adding water to form the ice, it’s beneficial to apply a base layer of water to the prepared surface. This initial layer helps to establish a solid foundation and promotes better adhesion when adding subsequent layers.
By meticulously preparing the surface of your outdoor ice rink, you lay the groundwork for a high-quality skating experience and ensure the longevity of the rink throughout the winter season. With a well-prepared surface, you’re one step closer to witnessing the transformation of your backyard into a captivating winter playground.
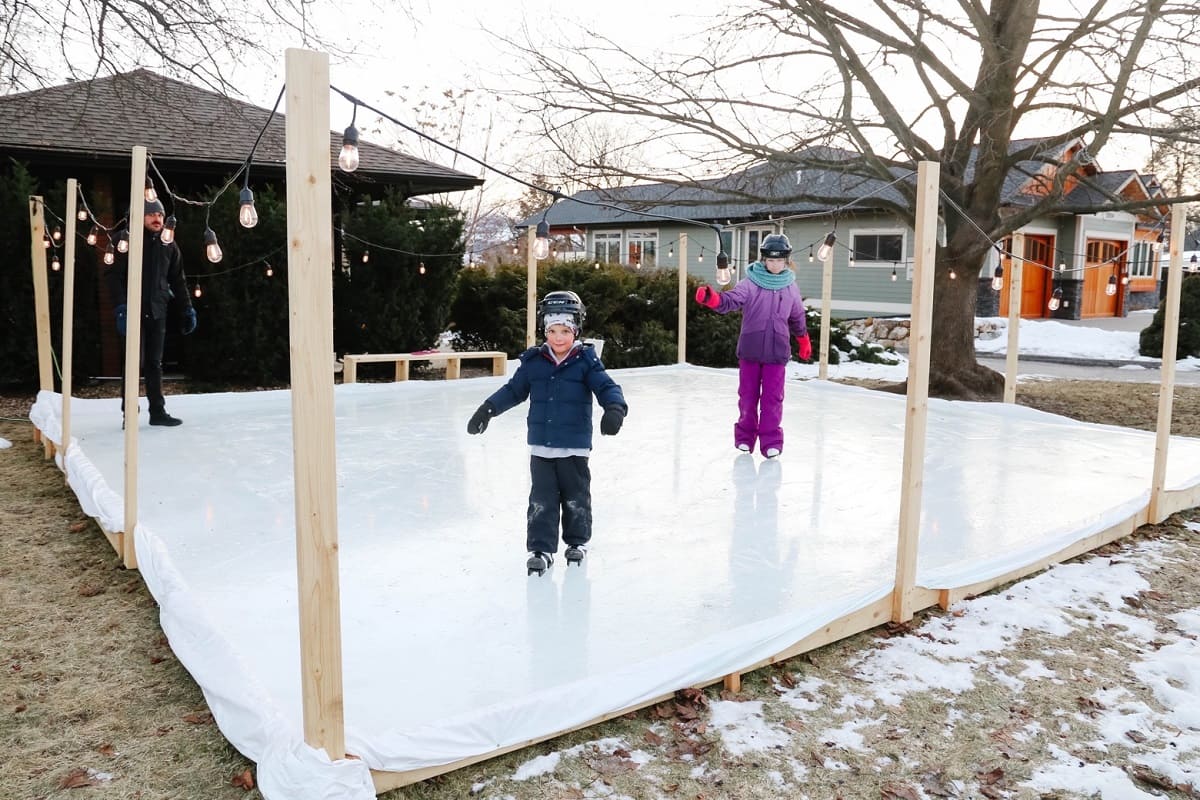
Step 3: Building the Frame
As you progress in the construction of your outdoor ice rink, the next pivotal phase involves creating the framework that will contain the water and form the boundaries of the skating surface. Building a sturdy and secure frame is essential for maintaining the integrity of the rink and preventing water from spilling out during the filling process.
Here’s a comprehensive guide to building the frame for your outdoor ice rink:
- Selecting Frame Materials: Choose durable, weather-resistant materials for constructing the frame, such as treated lumber, composite boards, or plastic tubing. These materials are capable of withstanding the rigors of outdoor exposure and providing long-lasting support for the rink.
- Measuring and Marking: Begin by measuring the dimensions of the rink and marking the locations for the frame components. Use a tape measure and stakes to outline the perimeter, ensuring that the frame aligns with the planned size of the rink.
- Assembling the Frame: Assemble the frame components according to the marked measurements, securing them firmly in place to create a sturdy enclosure. Utilize fasteners, brackets, or interlocking mechanisms to connect the frame elements and maintain structural stability.
- Securing Corners and Joints: Pay special attention to reinforcing the corners and joints of the frame to prevent shifting or instability. Bracing the corners and adding support at the joints enhances the overall strength and resilience of the frame.
- Leveling the Frame: Ensure that the frame sits level on the prepared surface, making any necessary adjustments to achieve a uniform height and alignment. A level frame is essential for maintaining consistent water depth and promoting an even layer of ice across the rink.
By meticulously constructing the frame for your outdoor ice rink, you establish a robust enclosure that contains the water and sets the stage for the transformation of liquid into a pristine sheet of ice. With the frame in place, you’re poised to progress to the next stage of the rink’s construction, bringing you one step closer to creating a winter oasis in your own backyard.
When building an outdoor ice rink, make sure the ground is level and free of debris. Use a plastic liner to hold the water and allow it to freeze evenly. Regularly maintain the ice by shoveling off snow and adding more water as needed.
Step 4: Installing the Liner
With the frame securely in place, the next vital step in the construction of your outdoor ice rink involves installing the liner, which forms a watertight barrier and serves as the foundation for the ice surface. The liner plays a crucial role in containing the water and facilitating the formation of a smooth and resilient ice layer.
Here’s a detailed overview of the process for installing the liner in your outdoor ice rink:
- Selecting a Quality Liner: Choose a durable and puncture-resistant liner specifically designed for outdoor ice rinks. High-quality liners are typically made from reinforced polyethylene or similar materials capable of withstanding the demands of freezing temperatures and repeated use.
- Measuring and Cutting: Unroll the liner and carefully measure it to fit the dimensions of the rink, allowing for some overlap along the edges. Use sharp scissors or a utility knife to trim the liner to the appropriate size, ensuring a precise fit within the frame.
- Placing the Liner: Gently position the trimmed liner inside the frame, smoothing out any wrinkles or folds to create a snug and even surface. Ensure that the liner extends up the sides of the frame, providing a secure barrier to contain the water during the filling process.
- Securing the Liner: Use clamps, weights, or specialized liner securing systems to anchor the liner in place along the edges of the frame. This prevents the liner from shifting or bunching up when water is added, maintaining its integrity and ensuring a tight seal.
- Trimming Excess Liner: Once the liner is securely in place, trim any excess material protruding beyond the frame’s edges. This creates a neat and tidy appearance while minimizing the risk of tripping hazards or damage to the liner.
By meticulously installing the liner in your outdoor ice rink, you establish a reliable barrier that contains the water and sets the stage for the transformation of liquid into a pristine sheet of ice. With the liner in place, you’re now poised to progress to the next stage of the rink’s construction, bringing you one step closer to creating a winter wonderland in your own backyard.
Read more: How To Make Outdoor Ice Rink
Step 5: Filling the Rink with Water
As the foundational elements of your outdoor ice rink are firmly in place, the time has come to introduce the essential ingredient that will ultimately transform the rink into a gleaming surface for skating and enjoyment: water. Filling the rink with water is a pivotal step in the construction process, marking the transition from a mere framework to a promising expanse of ice awaiting its transformation.
Here’s a comprehensive guide to filling your outdoor ice rink with water:
- Gradual Water Application: Begin by slowly adding water to the rink, using a hose or other suitable water source. Apply the water evenly across the surface, starting from the center and working outward to ensure uniform coverage.
- Layering the Ice: Build the ice layer gradually by adding thin coats of water, allowing each layer to freeze before applying the next. This incremental approach promotes the formation of strong, clear ice and minimizes the risk of air pockets or imperfections.
- Monitoring the Thickness: Keep a close eye on the ice’s thickness as it develops, aiming for a minimum depth of 2 to 3 inches for safe skating conditions. Use a measuring tape or ice auger to gauge the thickness at various points across the rink, adjusting the water application as needed.
- Addressing Temperature Variations: Be mindful of ambient temperatures and weather conditions, as these factors can influence the freezing process. In colder climates, freezing may occur more rapidly, while warmer temperatures may necessitate additional time and water applications to achieve the desired ice thickness.
- Reinforcing the Edges: Pay special attention to reinforcing the edges of the rink, where the ice is prone to thinning due to its proximity to the frame. Apply extra layers of water along the edges to ensure consistent thickness and structural integrity.
By methodically filling your outdoor ice rink with water, you initiate the mesmerizing metamorphosis from liquid to solid, laying the groundwork for a captivating skating experience in the comfort of your own backyard. With the rink brimming with water, you’re on the brink of witnessing the crystalline beauty of a freshly frozen ice surface, ready to embrace the joy of winter activities.
Step 6: Maintaining the Ice
Once your outdoor ice rink has been filled and the water has transformed into a glistening sheet of ice, the journey is far from over. Proper maintenance is essential to preserve the quality and integrity of the ice surface, ensuring a safe and enjoyable skating experience throughout the winter season.
Here’s a comprehensive guide to maintaining the ice in your outdoor rink:
- Regular Resurfacing: Plan for regular resurfacing of the ice surface to repair any imperfections, such as cracks or divots, and maintain a smooth skating area. A dedicated ice resurfacer or a simple flooding technique can be employed to achieve a pristine ice surface.
- Monitoring Thickness and Quality: Continuously monitor the thickness and condition of the ice, especially after temperature fluctuations or heavy use. Ensure that the ice remains at a safe and consistent thickness, free from hazards such as thin spots or melting areas.
- Mitigating Environmental Factors: Take proactive measures to address environmental factors that may impact the ice, such as snow accumulation, sunlight exposure, or fluctuating temperatures. Clearing snow, shading the rink, and adjusting water application can help mitigate these influences.
- Enforcing Safety Measures: Prioritize safety by establishing and enforcing rules for rink usage, particularly regarding skating behavior and adherence to designated skating times. Clear communication of safety guidelines contributes to a secure and enjoyable skating environment.
- Engaging in Routine Inspections: Conduct routine inspections of the rink’s components, including the frame, liner, and surrounding area, to identify and address any signs of wear, damage, or potential hazards. Prompt maintenance and repairs uphold the rink’s longevity and safety.
By diligently maintaining the ice in your outdoor rink, you uphold the allure and functionality of the skating surface, ensuring that it remains a focal point of winter recreation and delight. With consistent care and attention, your ice rink will continue to provide endless hours of exhilarating skating and joyful memories for all who partake in its icy embrace.
Conclusion
Embarking on the journey of building an outdoor ice rink is a testament to the joy and wonder of winter, offering an opportunity to create cherished memories and embrace the seasonal splendor right in your own backyard. Each step of the construction process, from selecting the perfect location to meticulously maintaining the ice, contributes to the realization of a captivating winter oasis that beckons with the promise of frosty adventures.
As you navigate the intricacies of constructing an outdoor ice rink, you become a steward of winter’s enchantment, shaping a space where laughter, skill, and camaraderie intertwine on a glistening stage of crystalline beauty. The careful selection of the rink’s location, the precise preparation of its surface, and the thoughtful installation of its liner and frame are all pivotal endeavors that culminate in the transformation of water into a captivating expanse of ice, ready to welcome skaters of all ages.
Throughout the construction process, the rink becomes more than a mere structure; it becomes a conduit for shared experiences, a testament to resilience and creativity, and a canvas for the artistry of winter sports. As the ice is maintained and nurtured, it evolves into a sanctuary of joy, offering a respite from the chill and a haven for the spirit of adventure.
So, as you gaze upon the gleaming expanse of your outdoor ice rink, envision the laughter and exhilaration that will grace its surface, the stories that will unfold upon its frozen stage, and the enduring memories that will be etched into its icy embrace. Your dedication and craftsmanship have given rise to a place where winter’s magic thrives, where the simple act of gliding across the ice becomes a symphony of delight and discovery.
With each passing season, your outdoor ice rink will stand as a testament to the enduring spirit of winter, an invitation to revel in its splendor, and a tribute to the joy of crafting unforgettable moments in the heart of the frosty season.
Frequently Asked Questions about How Do You Build An Outdoor Ice Rink
Was this page helpful?
At Storables.com, we guarantee accurate and reliable information. Our content, validated by Expert Board Contributors, is crafted following stringent Editorial Policies. We're committed to providing you with well-researched, expert-backed insights for all your informational needs.


0 thoughts on “How Do You Build An Outdoor Ice Rink”