Articles
How Do You Build A Fence
Modified: August 22, 2024
Learn how to build a fence with our informative articles. Get step-by-step instructions, tips, and expert advice for your DIY fence project.
(Many of the links in this article redirect to a specific reviewed product. Your purchase of these products through affiliate links helps to generate commission for Storables.com, at no extra cost. Learn more)
Introduction:
Building a fence is a great way to enhance the privacy, security, and aesthetics of your property. Whether you’re looking to keep your children and pets safe, create a boundary for your garden, or simply add a touch of charm to your outdoor space, constructing a fence is a project that can be both rewarding and functional.
However, building a fence requires careful planning, preparation, and execution to ensure that it is sturdy, durable, and meets your specific needs. From selecting the right materials to setting the posts and attaching the rails, each step in the process contributes to the overall quality and effectiveness of your fence.
In this comprehensive guide, we will walk you through the step-by-step process of building a fence. From planning and design to finishing touches, you will learn all the necessary elements to create a beautiful and functional fence that will stand the test of time. Let’s dive in!
Key Takeaways:
- Building a fence requires careful planning, quality materials, and precise execution. From marking boundaries to adding finishing touches, each step contributes to a sturdy, functional, and visually appealing structure.
- Constructing a fence is a rewarding project that enhances property value, privacy, and security. By following the comprehensive guide, you can create a durable and beautiful fence that complements your outdoor space.
Step 1: Planning and Design:
The first step in building a fence is to carefully plan and design your project. This stage is crucial as it sets the foundation for the rest of the construction process. Here are some key considerations:
- Determine the Purpose: Identify the primary purpose for building the fence. Are you looking to create privacy, enhance security, or simply add visual appeal?
- Check Local Regulations: Understand your local laws and regulations regarding fence construction. Check with your municipality or homeowners association to ensure compliance with any height, material, or location restrictions.
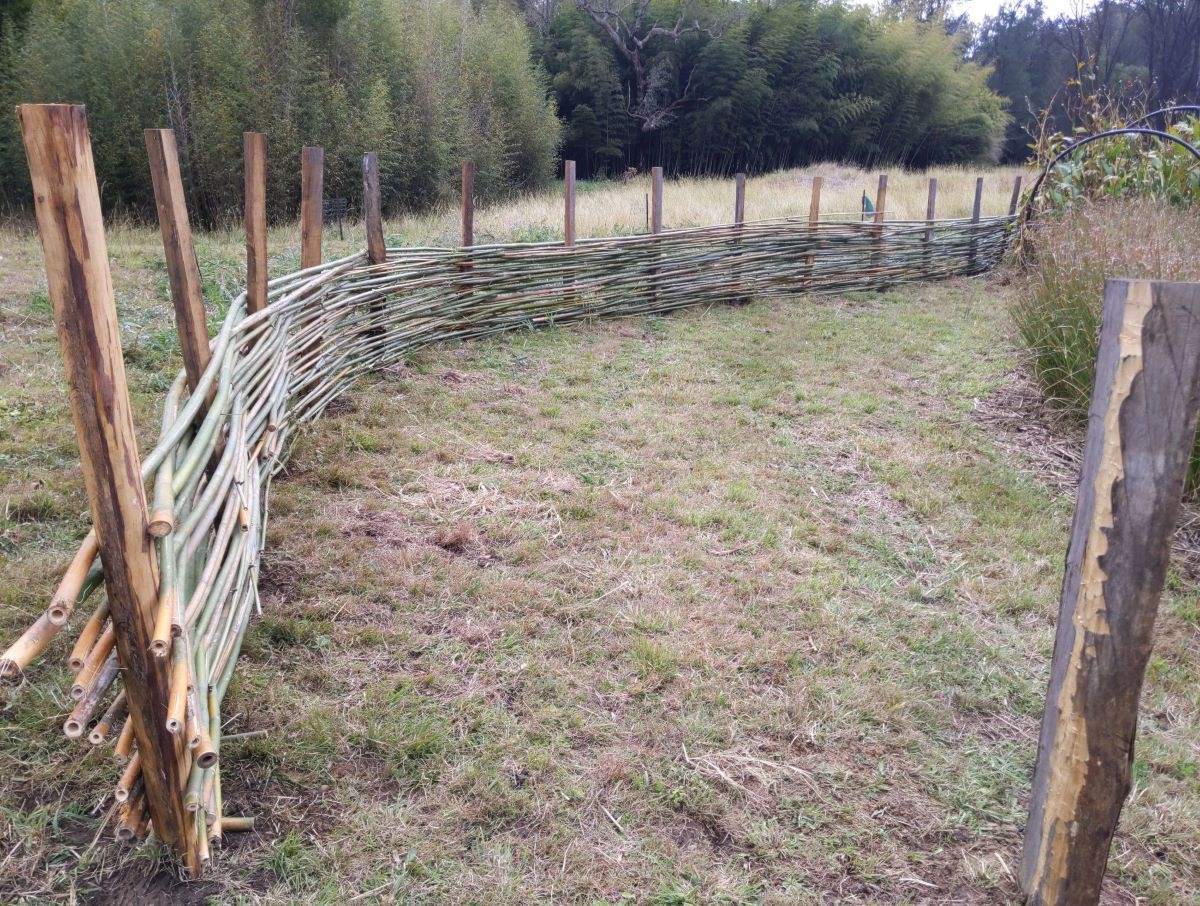
- Choose the Right Material: Select the material that best suits your needs and budget. Popular options include wood, vinyl, aluminum, and chain link.
- Measure the Area: Measure the length and height of the area where the fence will be installed. This will help you calculate the amount of materials needed.
- Design and Layout: Sketch out a rough design of your fence, considering factors such as the style, height, and spacing between posts and rails. This will give you an idea of how the finished fence will look.
- Budget: Determine your budget for the project, including the cost of materials, tools, and any professional assistance you may require.
- Consider Special Features: Think about any additional features you may want to incorporate into your fence, such as gates, decorative accents, or lighting.
Once you have completed the planning and design phase, you will have a clear vision of your fence project. This will make it easier to move on to the next steps, ensuring a smoother and more successful construction process.
Step 2: Acquiring Materials:
After completing the planning and design phase, the next step in building a fence is to acquire the necessary materials. Here are the key steps to follow:
- Make a Materials List: Based on your design and measurements, create a comprehensive list of all the materials needed for your fence. This may include posts, rails, panels, screws or nails, concrete, gate hardware, and any additional materials specific to your chosen fencing material.
- Research Suppliers: Research and compare prices from different suppliers to find the best deals on the required materials. This may involve visiting local hardware stores, lumberyards, or home improvement centers.
- Quality Check: Ensure that the materials you purchase are of high quality and suitable for your specific project requirements. Inspect the condition of the wood, check the gauge and composition of metal materials, and verify the warranty information provided by the supplier.
- Estimate Quantities: Calculate the quantity of each material needed based on your measurements and design. Consider adding a small buffer percentage to account for any errors or replacements that may be required during the construction process.
- Make the Purchase: Once you have researched suppliers, compared prices, and completed your materials list, make the purchase. Take note of any delivery options or additional fees, and schedule the delivery or pick-up accordingly.
By acquiring the necessary materials in advance, you can ensure a smooth and efficient construction process. It is important to have all the required materials on-site before starting the project to avoid delays or interruptions.
Once you have acquired the materials, you’re ready to move on to the next crucial steps of building a fence—marking boundaries and digging post holes.
Step 3: Marking Boundaries:
Once you have acquired the materials for your fence, the next step is to mark the boundaries of the area where the fence will be installed. This step is crucial in ensuring accuracy and alignment throughout the construction process. Here’s how to mark the boundaries:
- Gather the Tools: Before starting, gather the necessary tools for marking the boundaries, including stakes, string line or twine, a measuring tape, and a mallet or hammer.
- Identify Property Lines: Review your property survey or consult with a professional to identify the exact property lines. This will help you determine where your fence should be installed to remain within your property boundaries.
- Measure and Mark: Use a measuring tape to measure out the placement of the fence and mark the corners of your property boundaries with stakes. Connect the stakes with a string line or twine to create a straight line between them.
- Align the Markers: Walk along the perimeter of your property and place additional stakes at regular intervals to mark the placement of the fence posts. Ensure that the markers are aligned with the string line to maintain a straight and consistent fence line.
- Double Check Measurements: Verify your measurements and placement of the markers to guarantee accuracy. This will help you avoid any issues or inconsistencies during the installation process.
Properly marking the boundaries of your fence area is essential as it sets the foundation for the next steps, such as digging post holes and setting posts. Taking the time to accurately mark the boundaries will result in a well-aligned and professional-looking fence.
Once you have successfully marked the boundaries, you are ready to move on to the next pivotal step—digging post holes.
Step 4: Digging Post Holes:
After marking the boundaries for your fence, the next step in the construction process is digging post holes. These holes will serve as the foundation for the fence posts, providing stability and support. Here’s a guide on how to dig post holes:
- Gather the Tools: Before you start digging, gather the necessary tools, including a post hole digger, a shovel, a measuring tape, and a level.
- Determine Hole Spacing: Depending on your design and the type of fence you’re building, determine the appropriate spacing between the post holes. This is typically based on the length of the fence panels or rails.
- Measure and Mark: Use a measuring tape to mark the exact location of each post hole along the boundary line. Double-check your measurements to ensure accuracy.
- Start Digging: Use a post hole digger or shovel to start digging the holes. The depth and diameter of the holes will depend on the specific requirements of your fence and the type of soil in your area. Generally, holes should be at least one-third of the total height of the post and wide enough to allow for proper concrete placement.
- Check for Level: As you dig each hole, periodically use a level to check for plumb. This will ensure that the fence posts will be straight and vertical once installed.
- Clear the Hole: After digging each hole, remove any debris or excess soil to create a clean and even surface.
It’s important to note that when digging post holes, it’s recommended to dig below the frost line in your region. This will prevent the underground moisture from causing heaving and potential damage to your fence in colder climates.
Once all the post holes have been dug, you’re ready to move on to the next step—setting the fence posts securely in the ground.
When building a fence, make sure to check local zoning laws and property lines before starting. It’s important to obtain any necessary permits and to communicate with neighbors to avoid any potential disputes.
Read more: How Often Do You Stain A Fence
Step 5: Setting Posts:
With the post holes dug, it’s time to move on to setting the fence posts. Properly setting the posts is crucial to the stability and durability of your fence. Here’s a step-by-step guide on how to set the fence posts:
- Prepare the Posts: Before setting the posts, ensure they are clean, free from debris, and appropriately treated or sealed to protect against moisture and rot.
- Add Gravel: Place a layer of gravel at the bottom of each post hole. This will improve drainage and help prevent moisture accumulation at the base of the posts.
- Insert the Posts: Carefully lower each post into its respective hole, ensuring it is centered and level. Use a level to check for plumb on all sides of the post.
- Support the Posts: While holding the post steady, add braces or supports on each side to keep it in position. This can be done using stakes or boards secured with clamps or screws.
- Mix and Pour Concrete: Prepare the concrete mix according to the manufacturer’s instructions. Pour the concrete into the hole, filling it gradually while tamping it down to remove air bubbles. Ensure the concrete is slightly above ground level to allow for natural water drainage.
- Check Alignment: While the concrete is wet, double-check the alignment and plumb of each post. Make any necessary adjustments before the concrete sets.
- Cure the Concrete: Allow the concrete to cure as per the manufacturer’s instructions. This typically takes a minimum of 24 hours. During this time, avoid putting any pressure or strain on the posts.
- Remove Supports: Once the concrete is fully cured, remove the temporary supports or braces from the posts. The posts should now be securely set in place.
Properly setting the fence posts is crucial in ensuring the stability and longevity of your fence. Take the necessary time and care to ensure each post is aligned and securely anchored in the ground.
With the fence posts set, you are now ready to move on to the next step—attaching the rails and panels to complete the framework of your fence.
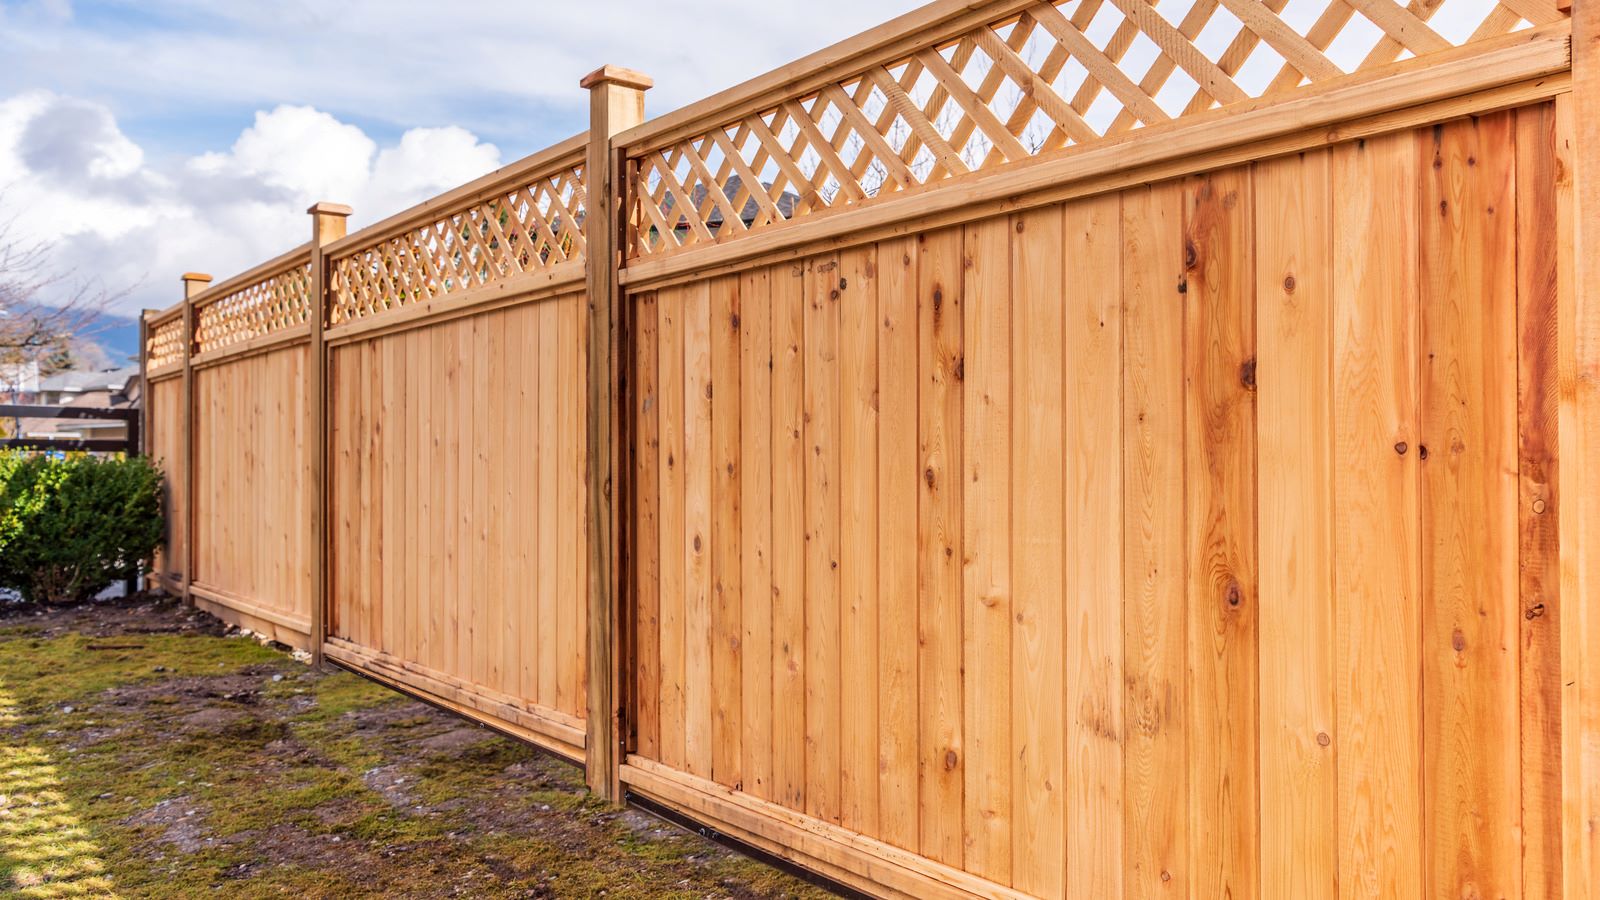
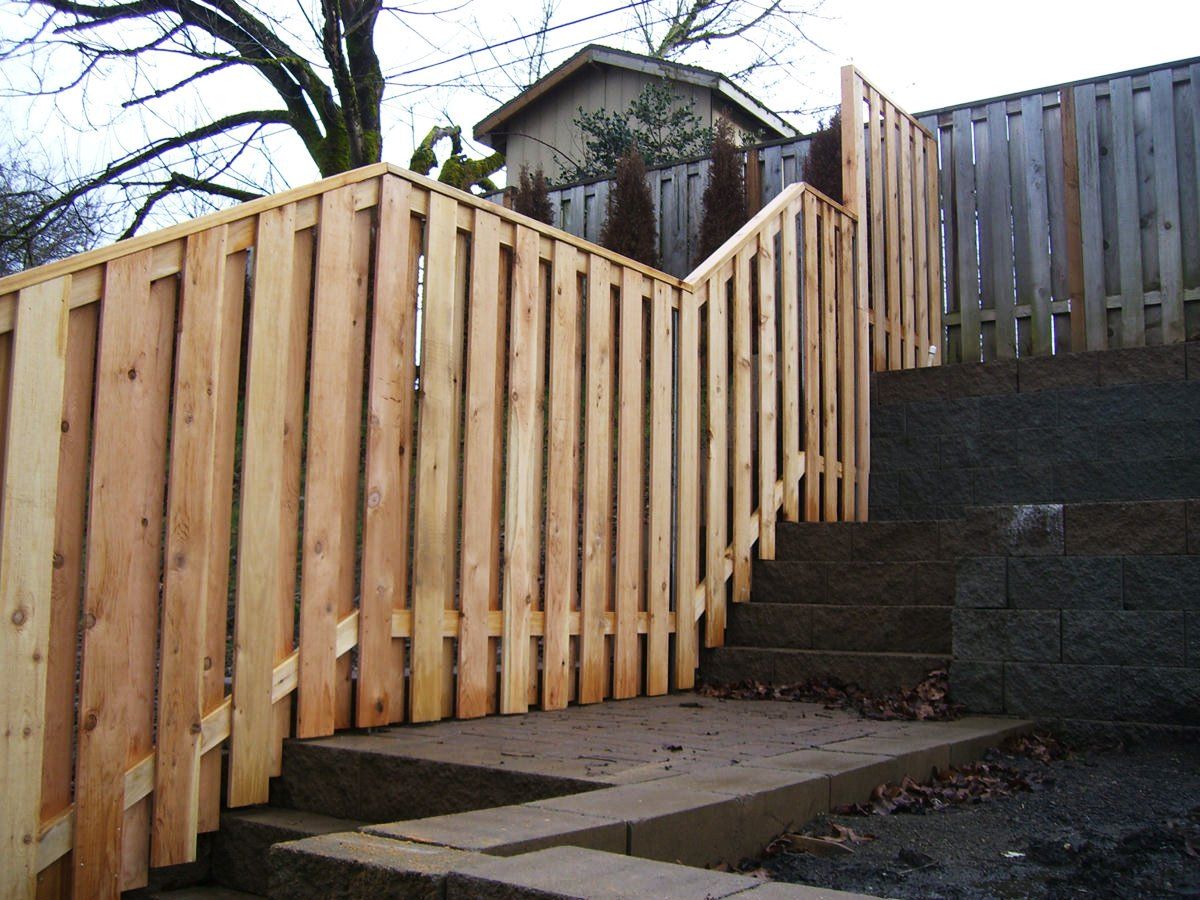
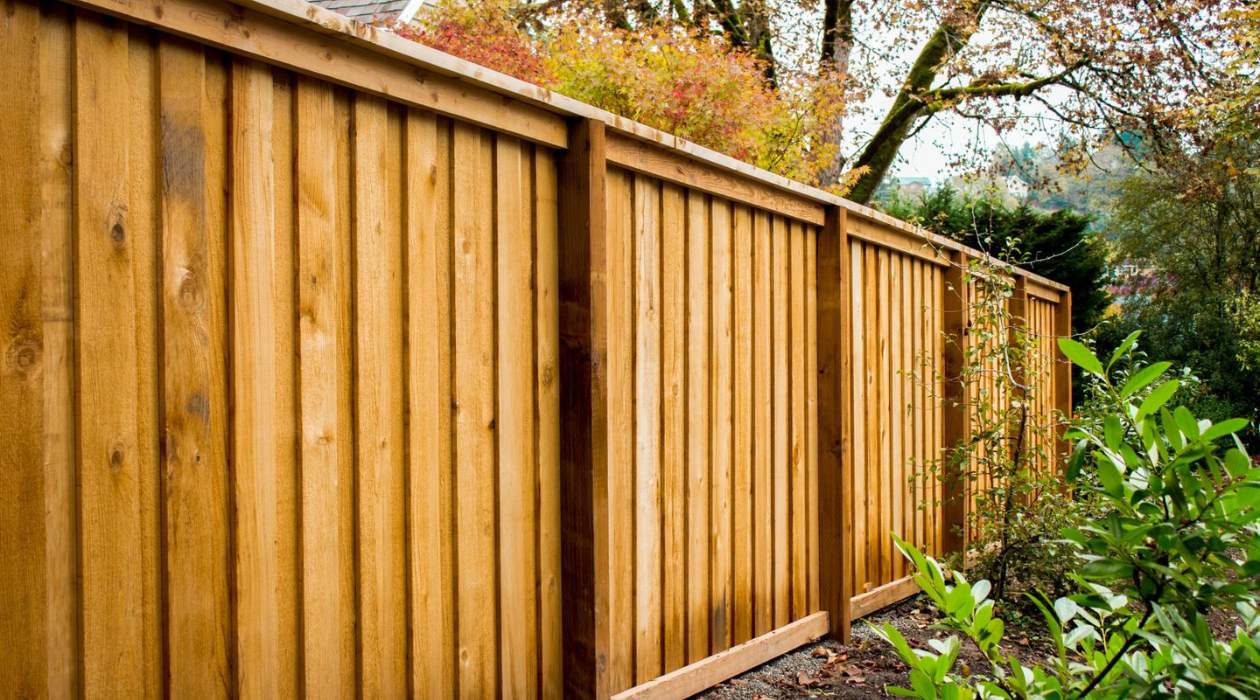
Step 6: Attaching Rails and Panels:
After setting the fence posts, it’s time to attach the rails and panels to create the framework of your fence. This step brings your fence to life, providing structure, strength, and privacy. Here’s a step-by-step guide on how to attach rails and panels:
- Measure and Cut Rails: Measure the distance between the posts to determine the appropriate length for the rails. Use a saw or appropriate cutting tool to cut the rails to size.
- Attach Rails to Posts: Position the rails parallel to the ground, starting at the top and working your way down. Use screws, nails, or brackets to secure the rails to the fence posts. Ensure the rails are level and evenly spaced.
- Install Fence Panels: If you are using pre-made fence panels, carefully position them between the rails. Align the panels with the top and bottom rails, ensuring they are centered and level. Secure the panels to the rails using screws, nails, or brackets.
- Ensure Stability: Check the stability of the fence panels by gently pushing or leaning against them. Make any necessary adjustments to ensure the panels are snugly fitted and secure.
- Repeat the Process: Continue attaching rails and panels until the entire fence perimeter is covered. Double-check the alignment and levelness as you progress to ensure a consistent and professional-looking fence.
When attaching rails and panels, it’s important to consider any specific manufacturer guidelines or recommendations for your chosen fencing material. Each material may have unique installation requirements, such as spacing or fastening methods.
Once the rails and panels are securely attached, your fence will start to take shape. Next, we’ll cover the important step of adding gates to provide access and convenience to your fenced area.
Step 7: Adding Gates:
Adding gates to your fence provides convenient access to your property while maintaining security and functionality. Whether you need a small pedestrian gate or a larger gate for vehicle access, the process of installing gates follows a similar pattern. Here’s a step-by-step guide on how to add gates to your fence:
- Select the Gate Type: Determine the type of gate you need based on the desired access and functionality. Common gate types include swing gates, sliding gates, and double gates.
- Measure the Opening: Measure the width and height of the gate opening accurately. This will ensure that the gate fits properly within the fence framework.
- Choose the Gate Material: Select a gate material that matches or complements the rest of your fence. Common gate materials include wood, metal, vinyl, and composite.
- Prepare the Gate Frame: Construct or assemble the gate frame using the chosen material, according to the manufacturer’s instructions. Ensure the frame is sturdy and properly aligned.
- Attach Hinges and Hardware: Install hinges and other necessary hardware to the gate frame, following the instructions provided. Ensure that the hinges are securely attached to the gate and the adjacent post.
- Align the Gate: Carefully position the gate within the opening, ensuring it is level and evenly spaced. Use shims or adjustments as needed to achieve proper alignment.
- Secure the Gate: Fasten the gate to the fence posts or adjacent structure using screws, bolts, or brackets. Ensure that the gate is secure and functions properly, opening and closing smoothly.
- Add Latches or Locks: Install latches or locks on the gate to provide security and control access. Choose a latch mechanism that suits your needs, such as a traditional latch, padlock, or automatic gate opener.
When installing gates, it’s important to consider factors such as clearance, swing direction, and ground slope. These elements will affect the functionality and operation of the gate.
With the gates added, your fence is almost complete. We’ll cover the final touches in the next step to give your fence the finishing appearance it deserves.
Step 8: Finishing Touches:
After completing the essential steps of building your fence, it’s time to add the finishing touches. These final details will not only enhance the appearance of your fence but also improve its functionality and longevity. Here are some important finishing touches to consider:
- Trim and Cap the Posts: Use post caps or trim to cover the tops of each fence post. This not only adds a decorative element but also helps protect the posts from moisture and extends their lifespan.
- Stain or Paint: Consider applying a stain, paint, or sealant to your fence to protect it from the elements and enhance its appearance. Choose a finish that is suitable for your specific fencing material.
- Add Decorative Accents: Personalize your fence by adding decorative accents, such as lattice panels, finials, or post caps. These can add a touch of elegance and visual interest to your fence.
- Landscaping: Finally, consider landscaping around your fence to further enhance its beauty. Planting flowers, shrubs, or climbing vines along the fence line can soften its appearance and blend it with the surrounding environment.
- Maintain and Inspect: Regularly inspect your fence for any damage, loose screws, or nails. Make necessary repairs promptly to ensure the longevity and functionality of your fence. Additionally, follow any maintenance guidelines provided by the manufacturer or specific to your chosen fencing material.
By paying attention to these finishing touches, you can transform your fence into a stunning and functional addition to your property. Completing these steps will not only enhance the aesthetics of your fence but also ensure its durability and longevity.
Congratulations! You have now successfully completed all the steps to build a fence from planning and design to the finishing touches. Enjoy your newly constructed fence and the benefits it brings to your property!
Read more: How Far Do You Space Fence Posts
Conclusion:
Building a fence is a rewarding endeavor that adds value, privacy, and security to your property. By following the step-by-step guide outlined in this article, you can successfully construct a fence that meets your specific needs and enhances the aesthetics of your outdoor space.
Beginning with careful planning and design, you laid the groundwork for a successful project. Through acquiring the right materials, marking the boundaries, and digging post holes, you created a solid foundation for your fence. Setting the posts securely and attaching the rails and panels brought your fence to life, while adding gates provided convenient access.
By adding the finishing touches, such as post caps, staining or painting, and incorporating decorative accents, you transformed your fence into a beautiful and functional structure. Regular maintenance and inspections will help ensure the longevity and continued performance of your fence for years to come.
Remember, building a fence is not only about functionality but also about creating an appealing and cohesive look for your property. Take the time to design a fence that complements the style of your home and blends well with the surrounding landscape.
Whether you’re seeking privacy, security, or simply wanting to enhance the curb appeal of your property, building a fence is a worthwhile investment. Enjoy the benefits of your newly constructed fence and the sense of accomplishment that comes with completing this project.
Now that you have the knowledge and guidance, it’s time to grab your tools and get started on building your dream fence!
Frequently Asked Questions about How Do You Build A Fence
Was this page helpful?
At Storables.com, we guarantee accurate and reliable information. Our content, validated by Expert Board Contributors, is crafted following stringent Editorial Policies. We're committed to providing you with well-researched, expert-backed insights for all your informational needs.


0 thoughts on “How Do You Build A Fence”