Home>Furniture & Design>Outdoor Furniture>Why Are My Outdoor String Lights Not Working
Outdoor Furniture
Why Are My Outdoor String Lights Not Working
Modified: August 25, 2024
Discover the reasons why your outdoor string lights may not be working and learn how to troubleshoot the issue. Find solutions to keep your outdoor furniture and design well-lit and inviting.
(Many of the links in this article redirect to a specific reviewed product. Your purchase of these products through affiliate links helps to generate commission for Storables.com, at no extra cost. Learn more)
Introduction
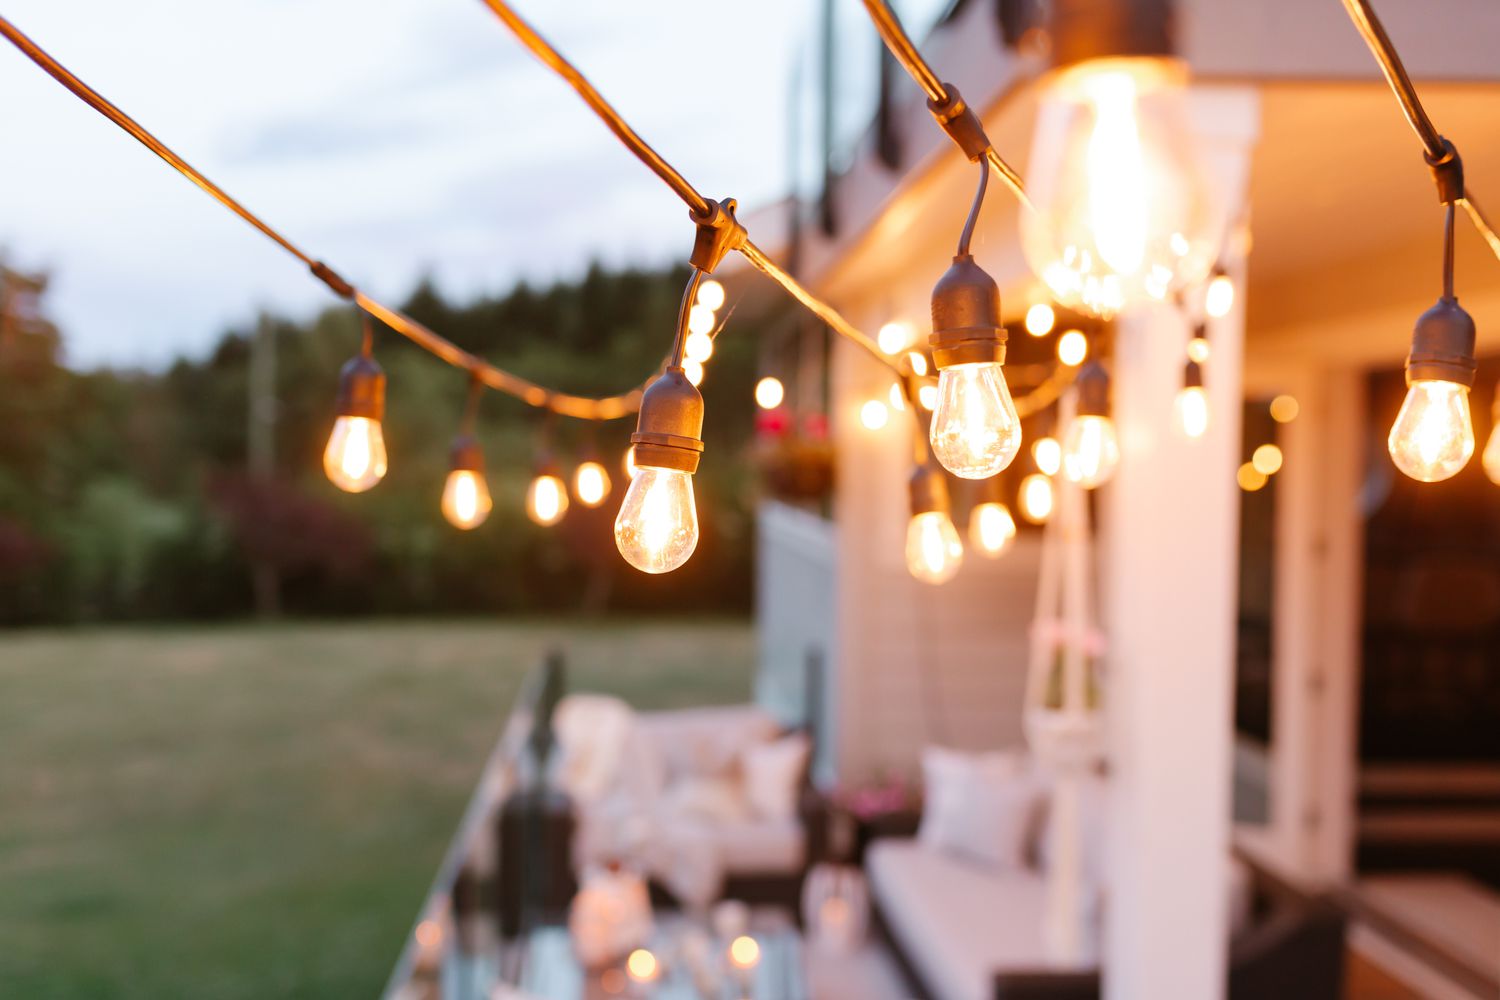
Welcome to the enchanting world of outdoor string lights! These delightful fixtures have the remarkable ability to transform any outdoor space into a captivating and inviting oasis. Whether you're hosting a lively gathering with friends or simply seeking a tranquil retreat under the stars, outdoor string lights add a touch of magic to your surroundings.
However, as with any electrical equipment, outdoor string lights may encounter issues that hinder their luminous allure. If you find yourself pondering, "Why are my outdoor string lights not working?" fear not, for we are about to embark on a journey to unravel the mysteries behind these captivating yet sometimes elusive lights.
In this comprehensive guide, we will delve into the various factors that could potentially impede the functionality of your outdoor string lights. From inspecting the power source to examining the intricate wiring, we will leave no stone unturned in our quest to illuminate the path to a radiant and captivating outdoor ambiance.
So, grab your detective hat and join us as we navigate through the troubleshooting process to uncover the reasons behind your outdoor string lights' reluctance to shine. Let's embark on this illuminating adventure together and restore the enchanting glow to your outdoor space!
Key Takeaways:
- Troubleshoot outdoor string lights by checking power source, inspecting bulbs, examining wiring, testing fuse, and considering weather-related factors to restore their enchanting glow.
- Ensure outdoor string lights’ functionality by addressing loose connections, damaged bulbs, worn wiring, faulty fuse, and weather-related influences for a captivating outdoor ambiance.
Read more: Why Is My Outdoor Light Flashing
Check the Power Source
When your outdoor string lights refuse to illuminate, the first step is to investigate the power source. Begin by ensuring that the lights are properly connected to a functional power outlet. Sometimes, the simplest solutions yield the most significant results, and a loose connection or unplugged cord may be the primary culprit behind the lights’ reluctance to shine.
Next, consider the power supply itself. Is the outlet operational? Test the outlet by plugging in another electronic device to verify its functionality. If the alternate device powers on, the issue likely lies within the string lights or their components.
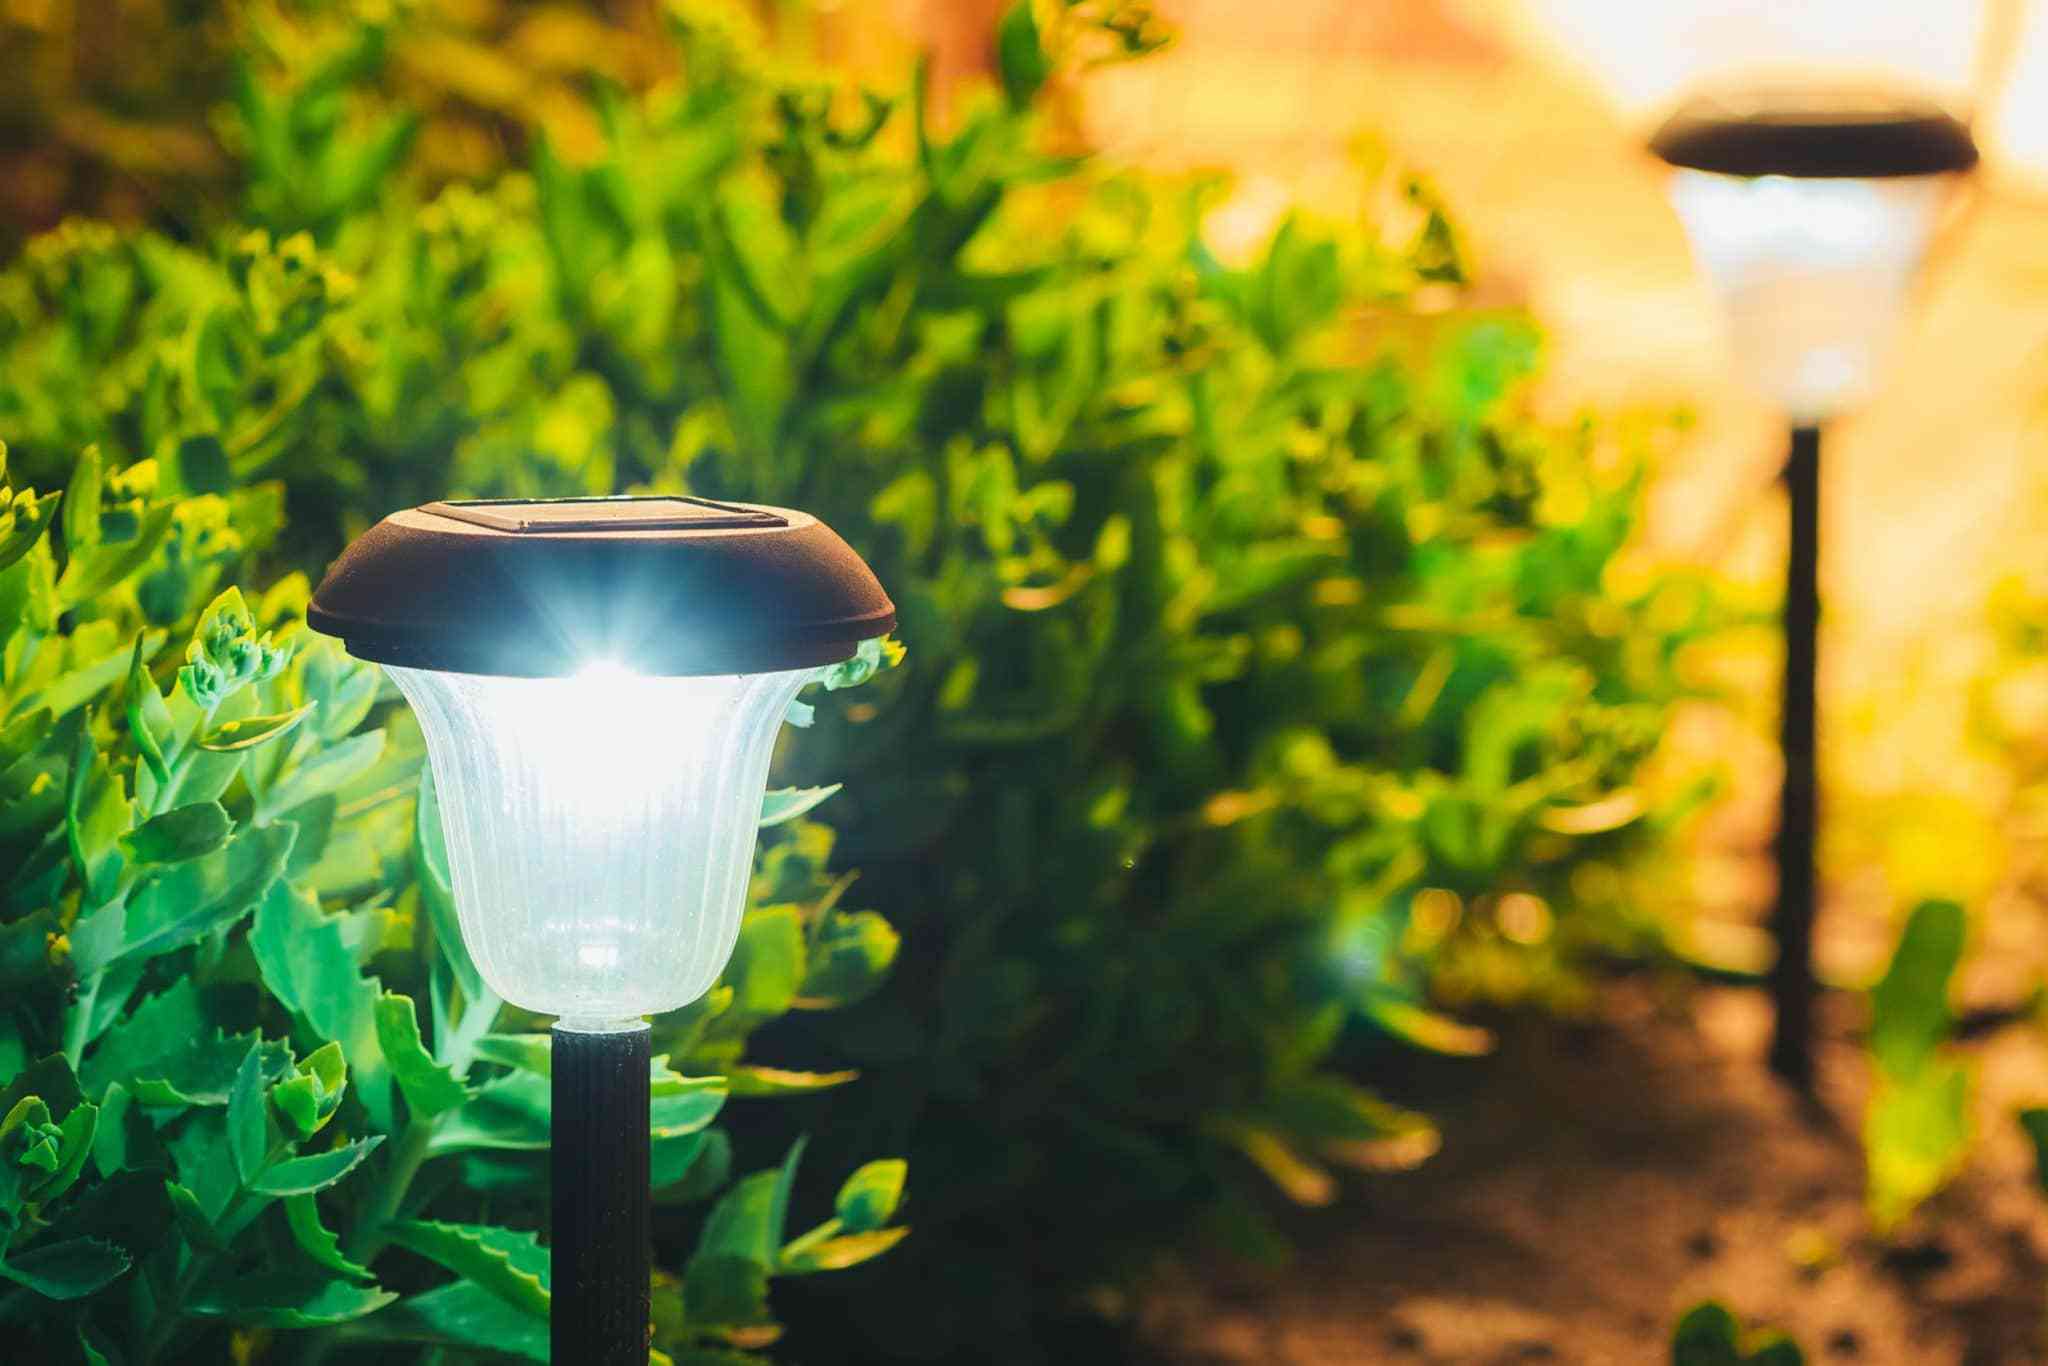
Furthermore, if your outdoor string lights are solar-powered, assess whether the solar panel is receiving an adequate amount of sunlight. Over time, environmental factors such as debris or inclement weather may obstruct the solar panel, hindering its ability to harness solar energy effectively. Ensure that the solar panel is positioned in a location where it can receive ample sunlight throughout the day.
Additionally, if your string lights are battery-operated, inspect the batteries to confirm that they have ample power. Replace the batteries if necessary, as depleted or corroded batteries can impede the functionality of the lights.
By meticulously examining the power source and its components, you can identify and rectify any issues that may be obstructing the flow of electricity to your outdoor string lights. Once the power source is confirmed to be in optimal condition, we can proceed to explore additional potential causes for the lights’ lack of illumination.
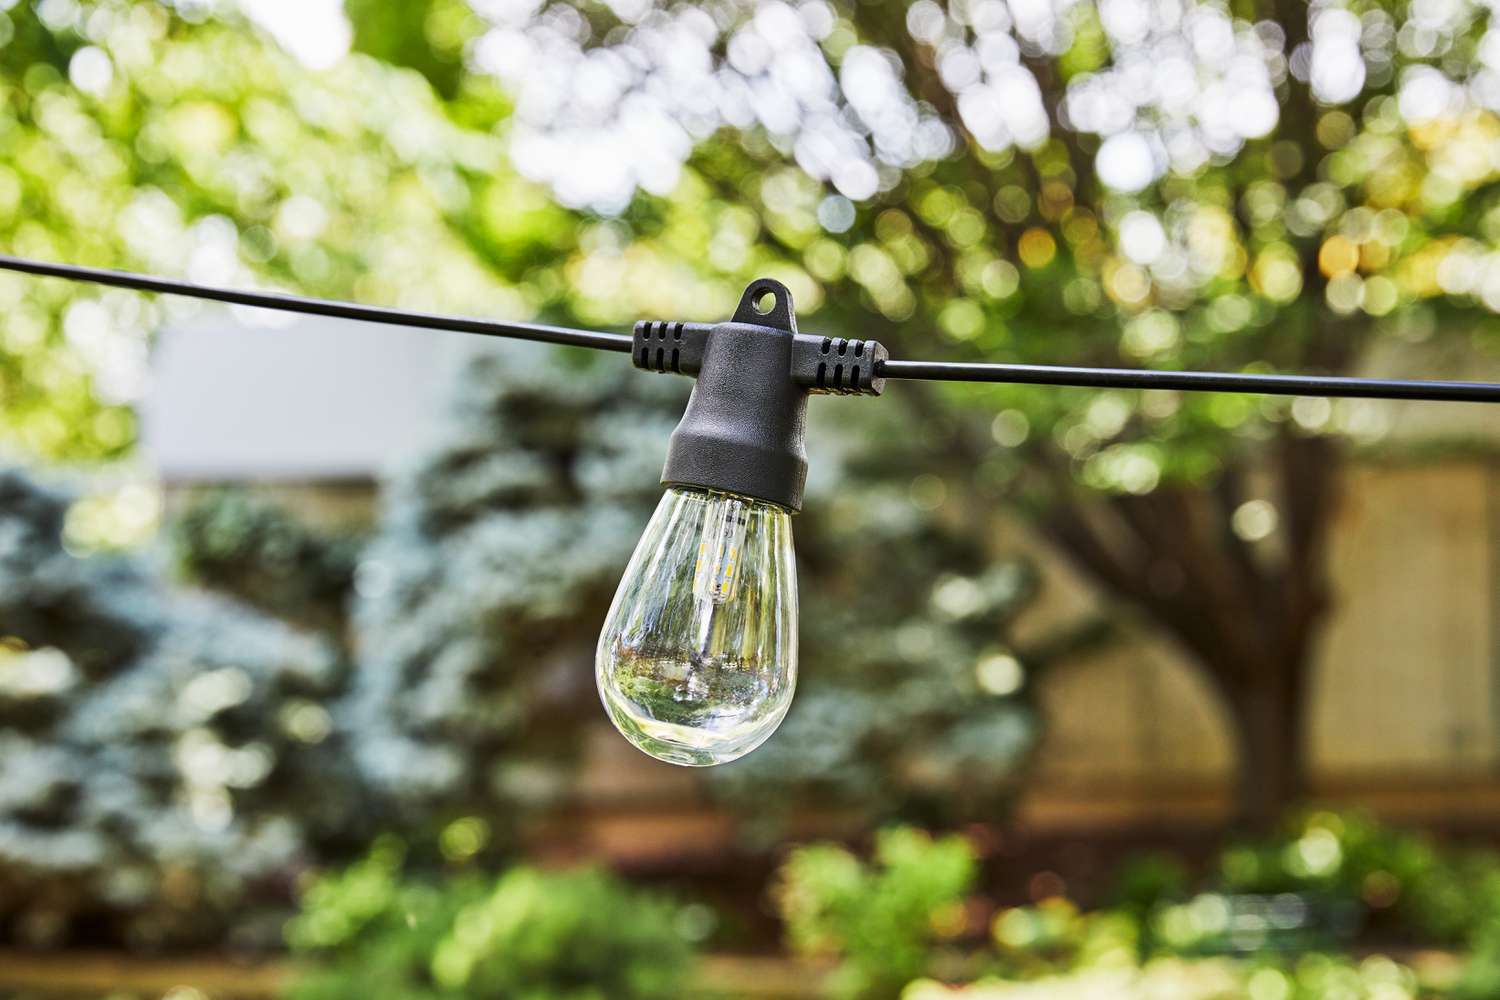
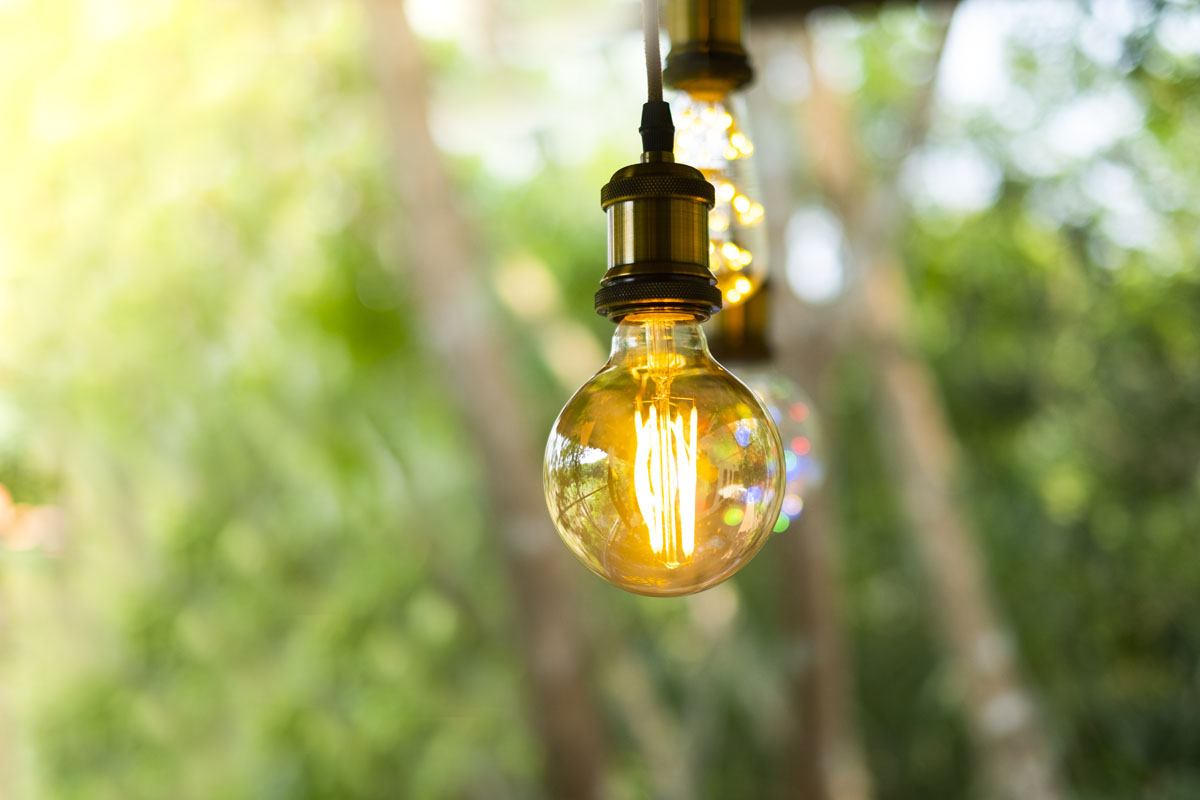
Inspect the Bulbs
As we continue our quest to unravel the mystery of non-illuminating outdoor string lights, it is imperative to direct our attention to the bulbs themselves. The bulbs serve as the radiant beacons that infuse the outdoor ambiance with their captivating glow, but they are not immune to malfunctions.
Begin by carefully examining each bulb for signs of damage or irregularities. Are the bulbs securely fastened in their sockets, or do they appear loose or misaligned? A loose bulb connection can disrupt the electrical circuit and prevent the string from illuminating properly. Tighten any loose bulbs to ensure a secure connection and optimal functionality.
Furthermore, inspect the bulbs for visible signs of filaments that may be broken or damaged. A damaged filament can impede the flow of electricity within the bulb, resulting in a lack of illumination. If any bulbs exhibit signs of damage, promptly replace them with new bulbs compatible with your string lights.
It is also essential to verify that the bulbs are of the correct wattage and type specified for your outdoor string lights. Using incompatible bulbs can lead to operational issues and potentially compromise the overall functionality of the string. Refer to the manufacturer’s guidelines to ensure that the bulbs meet the recommended specifications.
Moreover, if your string lights feature LED bulbs, be mindful of any potential issues related to individual bulb functionality. LED bulbs are renowned for their longevity and energy efficiency, but they can still experience malfunctions. If a section of the string is not illuminating, one or more LED bulbs within that section may require replacement to restore the luminous continuity.
By meticulously inspecting the bulbs and their compatibility with the string lights, you can identify and address any issues that may be obstructing the radiant glow of your outdoor oasis. With the bulbs scrutinized and optimized for peak performance, let’s delve deeper into the intricacies of the string’s wiring to shed light on any potential concerns.
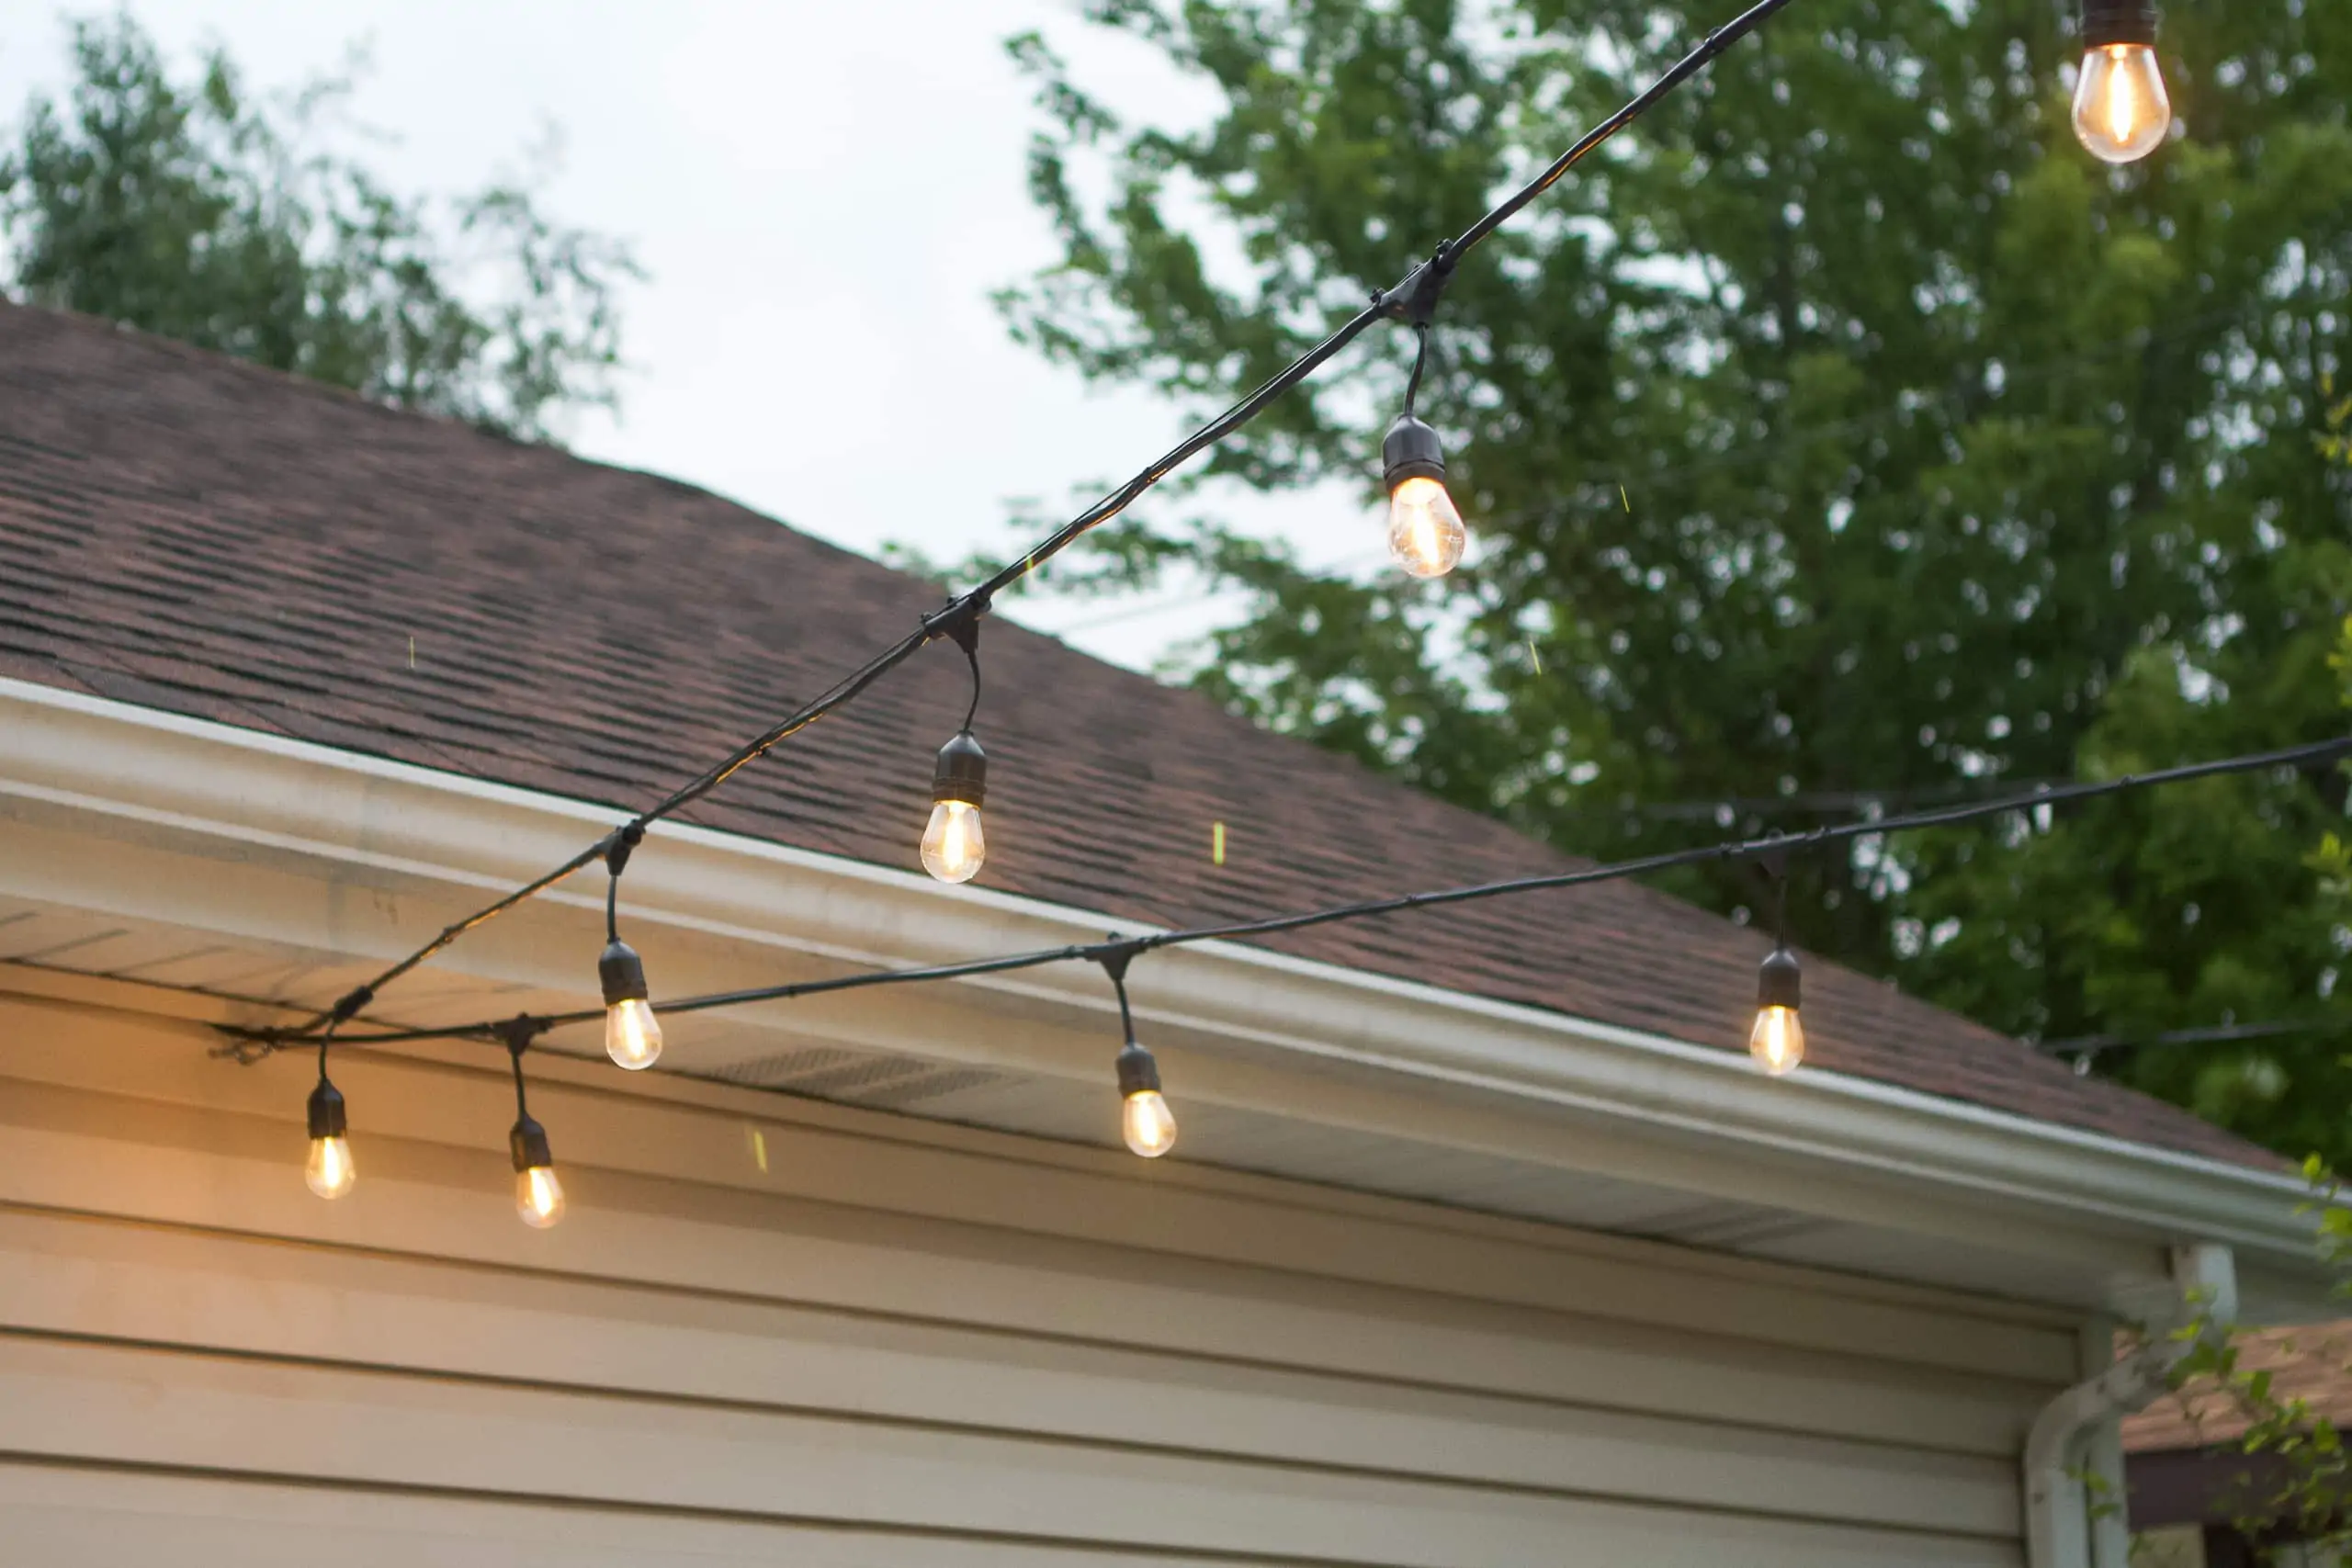
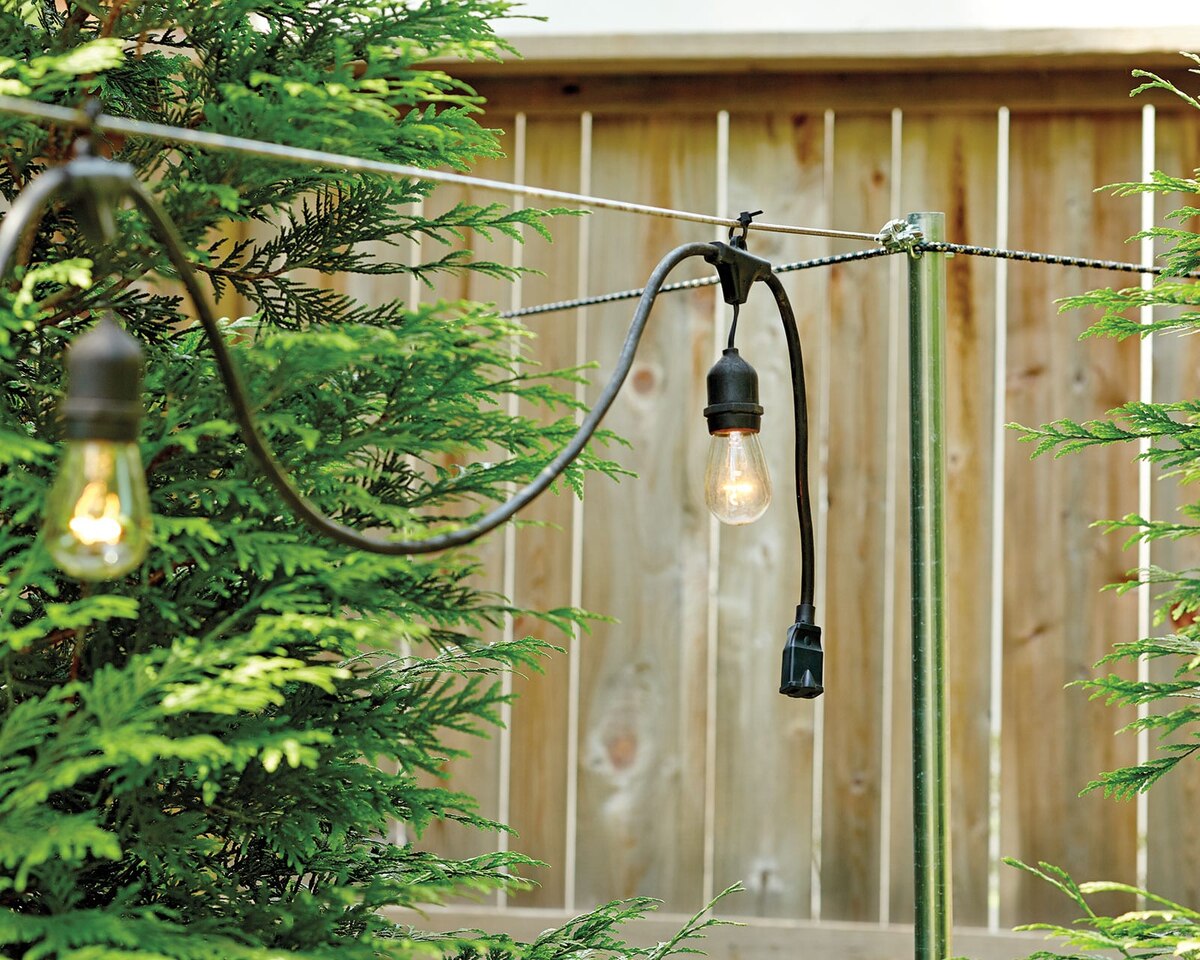
Examine the Wiring
As we venture further into the realm of troubleshooting non-illuminating outdoor string lights, a critical aspect that warrants our attention is the intricate web of wiring that connects these luminous beacons. The wiring serves as the vital conduit through which electrical energy flows, culminating in the radiant illumination that graces your outdoor space.
Commence your examination by meticulously inspecting the entire length of the wiring, paying close attention to any visible signs of wear, fraying, or damage. Exposure to the elements, such as inclement weather or prolonged sun exposure, can contribute to the degradation of the wiring’s protective insulation, potentially compromising its integrity and conductivity.
Moreover, scrutinize the connection points where the individual bulbs are affixed to the wiring. Ensure that the connections are secure and free from corrosion, as loose or corroded connections can impede the flow of electricity and disrupt the string’s luminous continuity. Tighten any loose connections and, if necessary, clean the connection points to facilitate optimal electrical conductivity.
Additionally, if your outdoor string lights feature multiple interconnected strands, carefully examine the junctions where the strands converge. Verify that the junctions are secure and that the connections are unmarred by corrosion or damage. A faulty junction can disrupt the flow of electricity, leading to non-illumination in one or more sections of the string.
Furthermore, if your outdoor string lights are designed for permanent installation, assess the integrity of the wiring’s insulation where it interfaces with any mounting hardware or fixtures. Over time, the physical strain and environmental exposure can compromise the insulation, necessitating prompt remediation to ensure the safety and functionality of the wiring.
By meticulously examining the wiring and its integral components, you can identify and rectify any issues that may be impeding the flow of electrical energy to your outdoor string lights. With the wiring scrutinized and optimized for peak performance, let’s venture further into the troubleshooting process to explore potential issues related to the string’s fuse.
Check the power source and make sure it’s connected properly. Inspect the bulbs for any damage or loose connections. If using solar lights, ensure they are getting enough sunlight. If using battery-operated lights, replace the batteries.
Test the Fuse
As our exploration into the realm of non-illuminating outdoor string lights continues, it is essential to direct our focus towards the integral protective component that safeguards the string’s electrical circuitry: the fuse. The fuse serves as a crucial guardian, shielding the string lights from electrical surges and potential malfunctions that could compromise their operational integrity.
Commence your investigation by locating the fuse within the string lights’ design. Depending on the specific model and construction of the string lights, the fuse may be housed within the plug or situated along the length of the wiring. Once located, carefully remove the fuse for inspection, paying close attention to any visible signs of damage, such as discoloration or a broken filament.
Subsequently, employ a multimeter or continuity tester to verify the functionality of the fuse. Set the multimeter to the continuity or resistance setting and proceed to test the fuse by placing the meter’s probes on each end of the fuse. If the multimeter indicates continuity or a low resistance reading, the fuse is operational. Conversely, if the meter registers an open circuit or infinite resistance, the fuse has likely reached the end of its service life and requires replacement.
It is crucial to replace a faulty fuse with a new fuse of the identical rating and specifications to ensure the continued protection of the string lights’ electrical circuitry. Refer to the manufacturer’s guidelines to ascertain the appropriate fuse type and amperage for your specific string lights, and procure a replacement fuse accordingly.
Furthermore, if your outdoor string lights are equipped with replaceable LED bulbs, the fuse may serve as a protective barrier against potential electrical irregularities stemming from the bulbs. In the event of a malfunctioning LED bulb that triggers an electrical surge, the fuse acts as a safeguard, preventing the surge from compromising the overall functionality of the string lights.
By meticulously testing and, if necessary, replacing the fuse, you can ensure the continued protection and operational integrity of your outdoor string lights. With the fuse scrutinized and optimized for peak performance, let’s turn our attention to the potential influence of weather-related factors on the functionality of the string lights.
Read more: How To Secure Outdoor String Lights
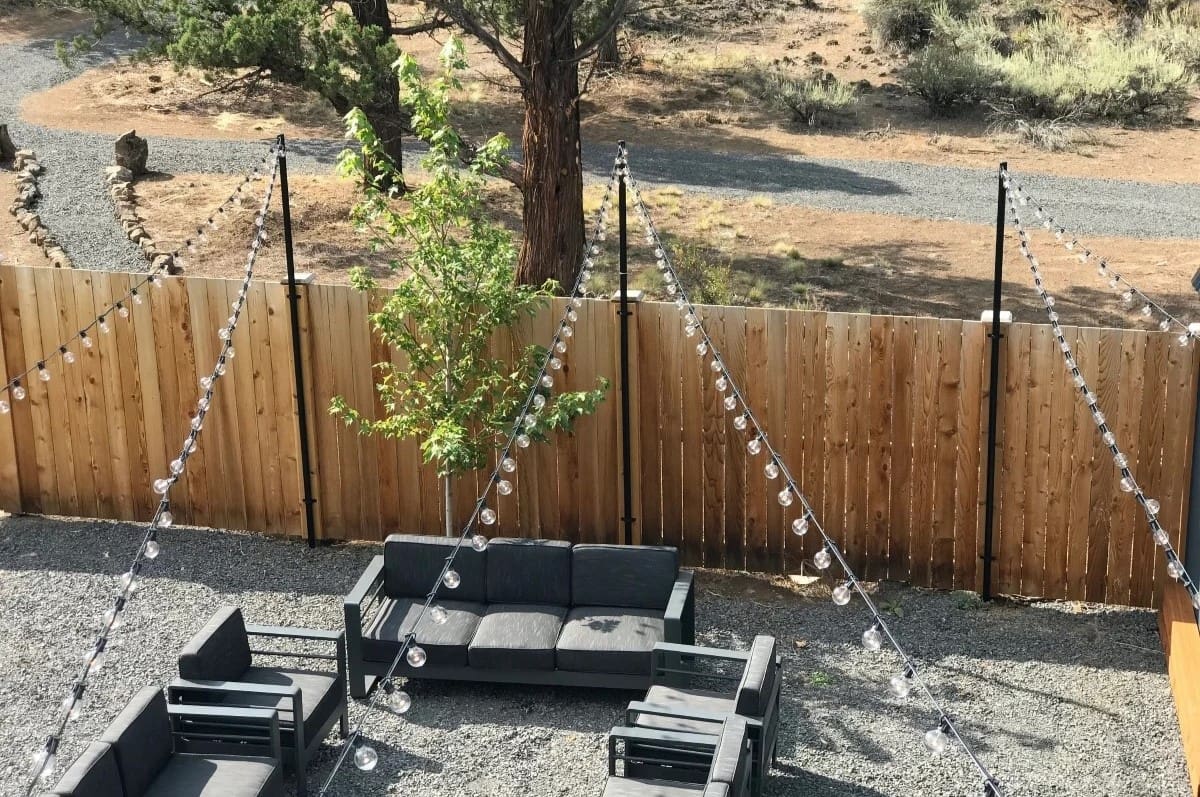
Consider the Weather
As we navigate the intricate landscape of troubleshooting non-illuminating outdoor string lights, it is paramount to acknowledge the profound influence of weather-related factors on the functionality and longevity of these luminous adornments. The outdoor environment, with its ever-changing climate and atmospheric conditions, can exert a substantial impact on the operational integrity of the string lights, necessitating a thorough consideration of weather-related variables.
Commence your weather-focused assessment by evaluating the environmental conditions to which the outdoor string lights are exposed. Prolonged exposure to moisture, such as rain, dew, or humidity, can potentially compromise the electrical components of the string lights, leading to operational irregularities and non-illumination. Additionally, extreme temperature fluctuations, especially in regions prone to harsh winters or scorching summers, can exert stress on the string lights’ wiring and components, potentially impacting their functionality.
Furthermore, if your outdoor string lights are solar-powered, the efficacy of the solar panel in harnessing sunlight may be impeded by environmental factors such as accumulated debris, dust, or snow. Periodically inspect and clean the solar panel to ensure unimpeded access to sunlight, thereby optimizing the solar charging capability of the string lights.
Additionally, if your outdoor space is susceptible to gusty winds or inclement weather, securing the string lights against turbulent conditions is crucial. Ensure that the string lights are affixed to sturdy supports and are shielded from direct exposure to strong winds, which can potentially dislodge the bulbs or compromise the integrity of the wiring.
Moreover, if your outdoor string lights are designed for seasonal use, consider implementing protective measures during periods of non-use, especially in regions characterized by harsh weather conditions. Storing the string lights in a dry, sheltered location during inclement weather can prolong their longevity and mitigate potential weather-induced malfunctions.
By conscientiously considering the weather-related variables and implementing proactive measures to safeguard the string lights against environmental influences, you can bolster their resilience and longevity, ensuring a luminous and captivating outdoor ambiance throughout the seasons.
With the weather-related factors duly acknowledged and addressed, we have embarked on a comprehensive troubleshooting journey, meticulously examining the power source, bulbs, wiring, fuse, and weather-related variables. By navigating through these essential considerations, we endeavor to restore the enchanting glow to your outdoor space and reignite the captivating allure of your outdoor string lights.
Conclusion
Our expedition into the realm of troubleshooting non-illuminating outdoor string lights has been an illuminating odyssey, unveiling the multifaceted factors that can influence the operational integrity of these radiant adornments. From scrutinizing the power source to examining the intricacies of the wiring and considering the profound impact of weather-related variables, we have embarked on a comprehensive journey to restore the enchanting glow to your outdoor space.
By meticulously inspecting the power source, you can identify and rectify issues such as loose connections, depleted batteries, or obstructed solar panels, thereby ensuring an unimpeded flow of electrical energy to the string lights. Additionally, a thorough examination of the bulbs and their compatibility with the string lights can uncover potential malfunctions and compatibility issues, facilitating the seamless illumination of your outdoor oasis.
Furthermore, by delving into the intricate web of wiring that interconnects the radiant bulbs, we have unearthed potential issues related to wear, corrosion, or faulty connections, rectifying these concerns to optimize the string lights’ luminous continuity. The scrutiny of the fuse has fortified the protective barrier safeguarding the string lights from electrical irregularities, ensuring their continued operational integrity.
Moreover, by conscientiously considering the influence of weather-related variables, we have implemented proactive measures to safeguard the string lights against the environmental elements, bolstering their resilience and longevity throughout the seasons.
As our journey culminates, the captivating allure of your outdoor space is poised to be reignited, infused with the enchanting glow of meticulously restored string lights. Whether you seek a tranquil retreat under the stars or aspire to host lively gatherings illuminated by the radiant allure of outdoor string lights, our comprehensive troubleshooting expedition has paved the path to a luminous and captivating outdoor ambiance.
Armed with the insights gleaned from our troubleshooting odyssey, you are well-equipped to navigate the complexities of outdoor string lights, ensuring their optimal functionality and the enduring enchantment of your outdoor sanctuary. As the radiant glow envelops your outdoor space once more, may it serve as a testament to the resilience and allure of these captivating luminous adornments.
Once you've sorted out your outdoor string lights, why not brighten up indoors with some stylish options? Our guide on lighting solutions for every home offers chic choices that blend functionality with flair. If you're keen on more hands-on activities, our insights into benefits of DIY projects might just spark your interest. And for those unexpected fixes around the house, our practical advice on easy home repair tips will surely come in handy. Dive into these reads to keep your space both functional and fashionable!
Frequently Asked Questions about Why Are My Outdoor String Lights Not Working
Was this page helpful?
At Storables.com, we guarantee accurate and reliable information. Our content, validated by Expert Board Contributors, is crafted following stringent Editorial Policies. We're committed to providing you with well-researched, expert-backed insights for all your informational needs.


0 thoughts on “Why Are My Outdoor String Lights Not Working”