Articles
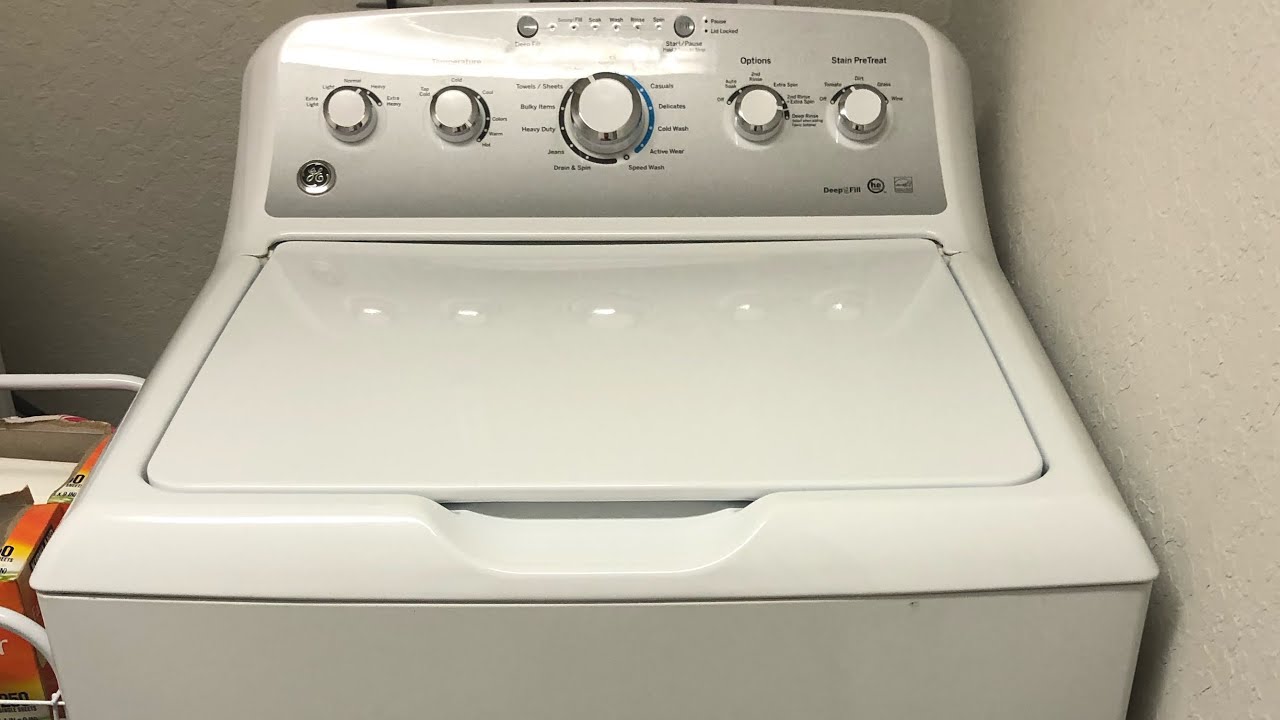
Why Wont My GE Washer Drain
Modified: February 21, 2024
Looking for articles on troubleshooting why your GE washer won't drain? Find helpful tips and solutions to fix the issue and get your laundry done efficiently.
(Many of the links in this article redirect to a specific reviewed product. Your purchase of these products through affiliate links helps to generate commission for Storables.com, at no extra cost. Learn more)
Introduction
Welcome to the article where we tackle the common problem of a GE washer not draining. If you’re experiencing this frustrating issue, don’t worry, you’re not alone. A washer that fails to drain can be caused by various factors, from a clogged drain hose to a faulty drain pump or a malfunctioning lid switch. In this article, we will explore the possible reasons why your GE washer isn’t draining, and provide you with some troubleshooting solutions to resolve the issue.
Having a washer that won’t drain properly can be a major inconvenience and can disrupt your daily routine. It’s important to address this issue as soon as possible to prevent any further damage to your washer and to ensure that your laundry is clean and fresh.
Before we dive into the possible causes and solutions, it’s important to note that our tips and suggestions are specifically tailored for GE washers. While some of the troubleshooting steps may be applicable to other brands of washers, it’s always best to refer to the manufacturer’s manual or consult a professional if you’re unsure.
Now, let’s explore the potential reasons why your GE washer is not draining and how you can go about fixing it.
Key Takeaways:
- Regularly cleaning the drain hose and checking for blockages can help resolve drainage issues in your GE washer, ensuring proper water flow and efficient operation.
- Properly loading and balancing your washer, as well as addressing issues with the drain pump and lid switch, can alleviate drainage problems and maintain optimal functionality.
Read more: Why Wont My Washer Turn On
Possible reasons for a GE washer not draining
When your GE washer refuses to drain, there could be a number of underlying causes. Understanding these potential reasons can help you diagnose and fix the issue more effectively. Here are some common culprits to consider:
- Clogged drain hose: A clogged or blocked drain hose is one of the most frequent causes of drainage problems. Over time, debris, lint, and foreign objects can accumulate and obstruct the flow of water. This obstruction prevents the water from draining out of the washer.
- Faulty drain pump: The drain pump plays a critical role in expelling the water from your washer. If the pump is malfunctioning, it will not be able to effectively remove the water, resulting in drainage issues. The pump may be worn out, jammed, or damaged, preventing it from operating properly.
- Malfunctioning lid switch: The lid switch is a safety feature that ensures the washer stops spinning when the lid is opened. If the lid switch is faulty or not functioning correctly, it can disrupt the draining process. The washer may think the lid is still open, preventing it from draining the water.
- Issues with the drain hose connection: Sometimes, the drain hose might not be securely connected to either the washer or the drainage pipe. If there is a loose connection or a kink in the hose, it can hinder proper drainage. It’s essential to ensure that the drain hose is properly attached and free from any obstructions.
- Overloaded or unbalanced load: Overloading the washer with too many clothes or unevenly distributing the load within the drum can lead to drainage issues. When the load becomes too heavy or unbalanced, the washer may struggle to drain the water effectively.
These are just a few of the potential reasons why your GE washer may not be draining properly. By identifying the cause, you can take appropriate steps to troubleshoot and fix the issue. In the following sections, we will provide you with some solutions and tips to help you resolve these drainage problems and get your washer working efficiently again.
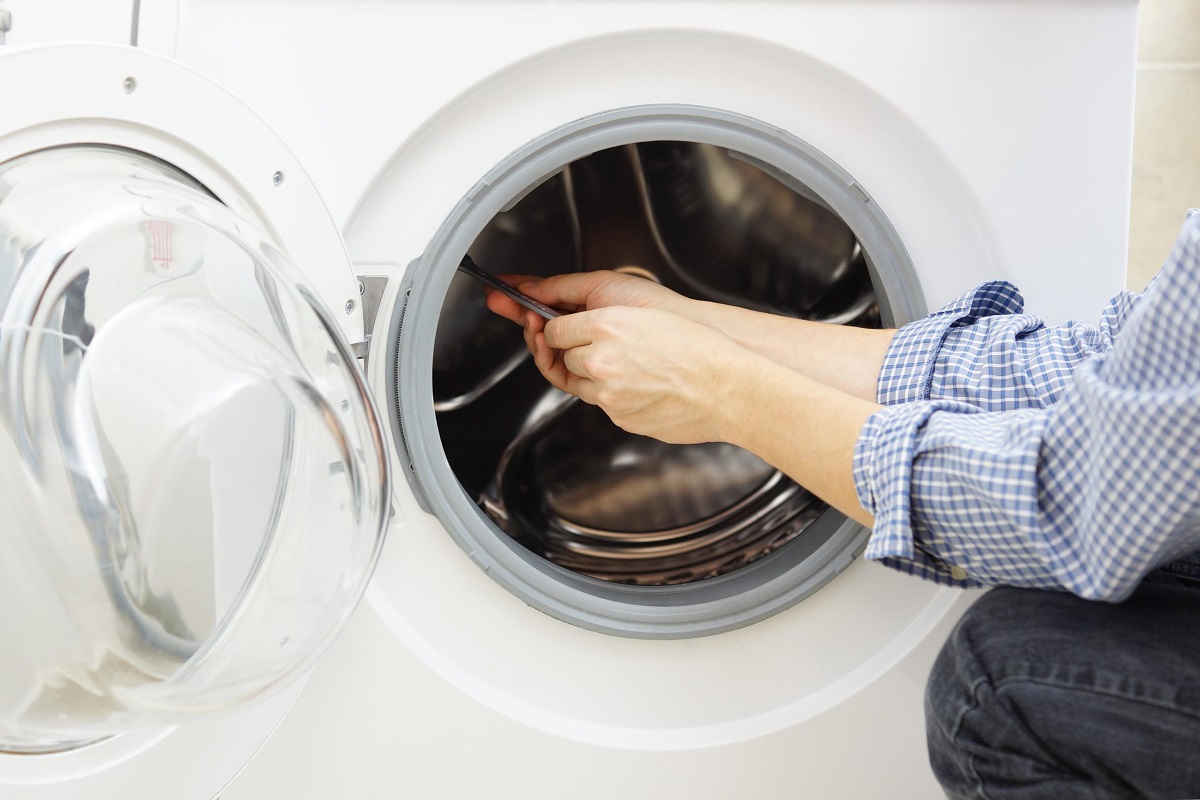
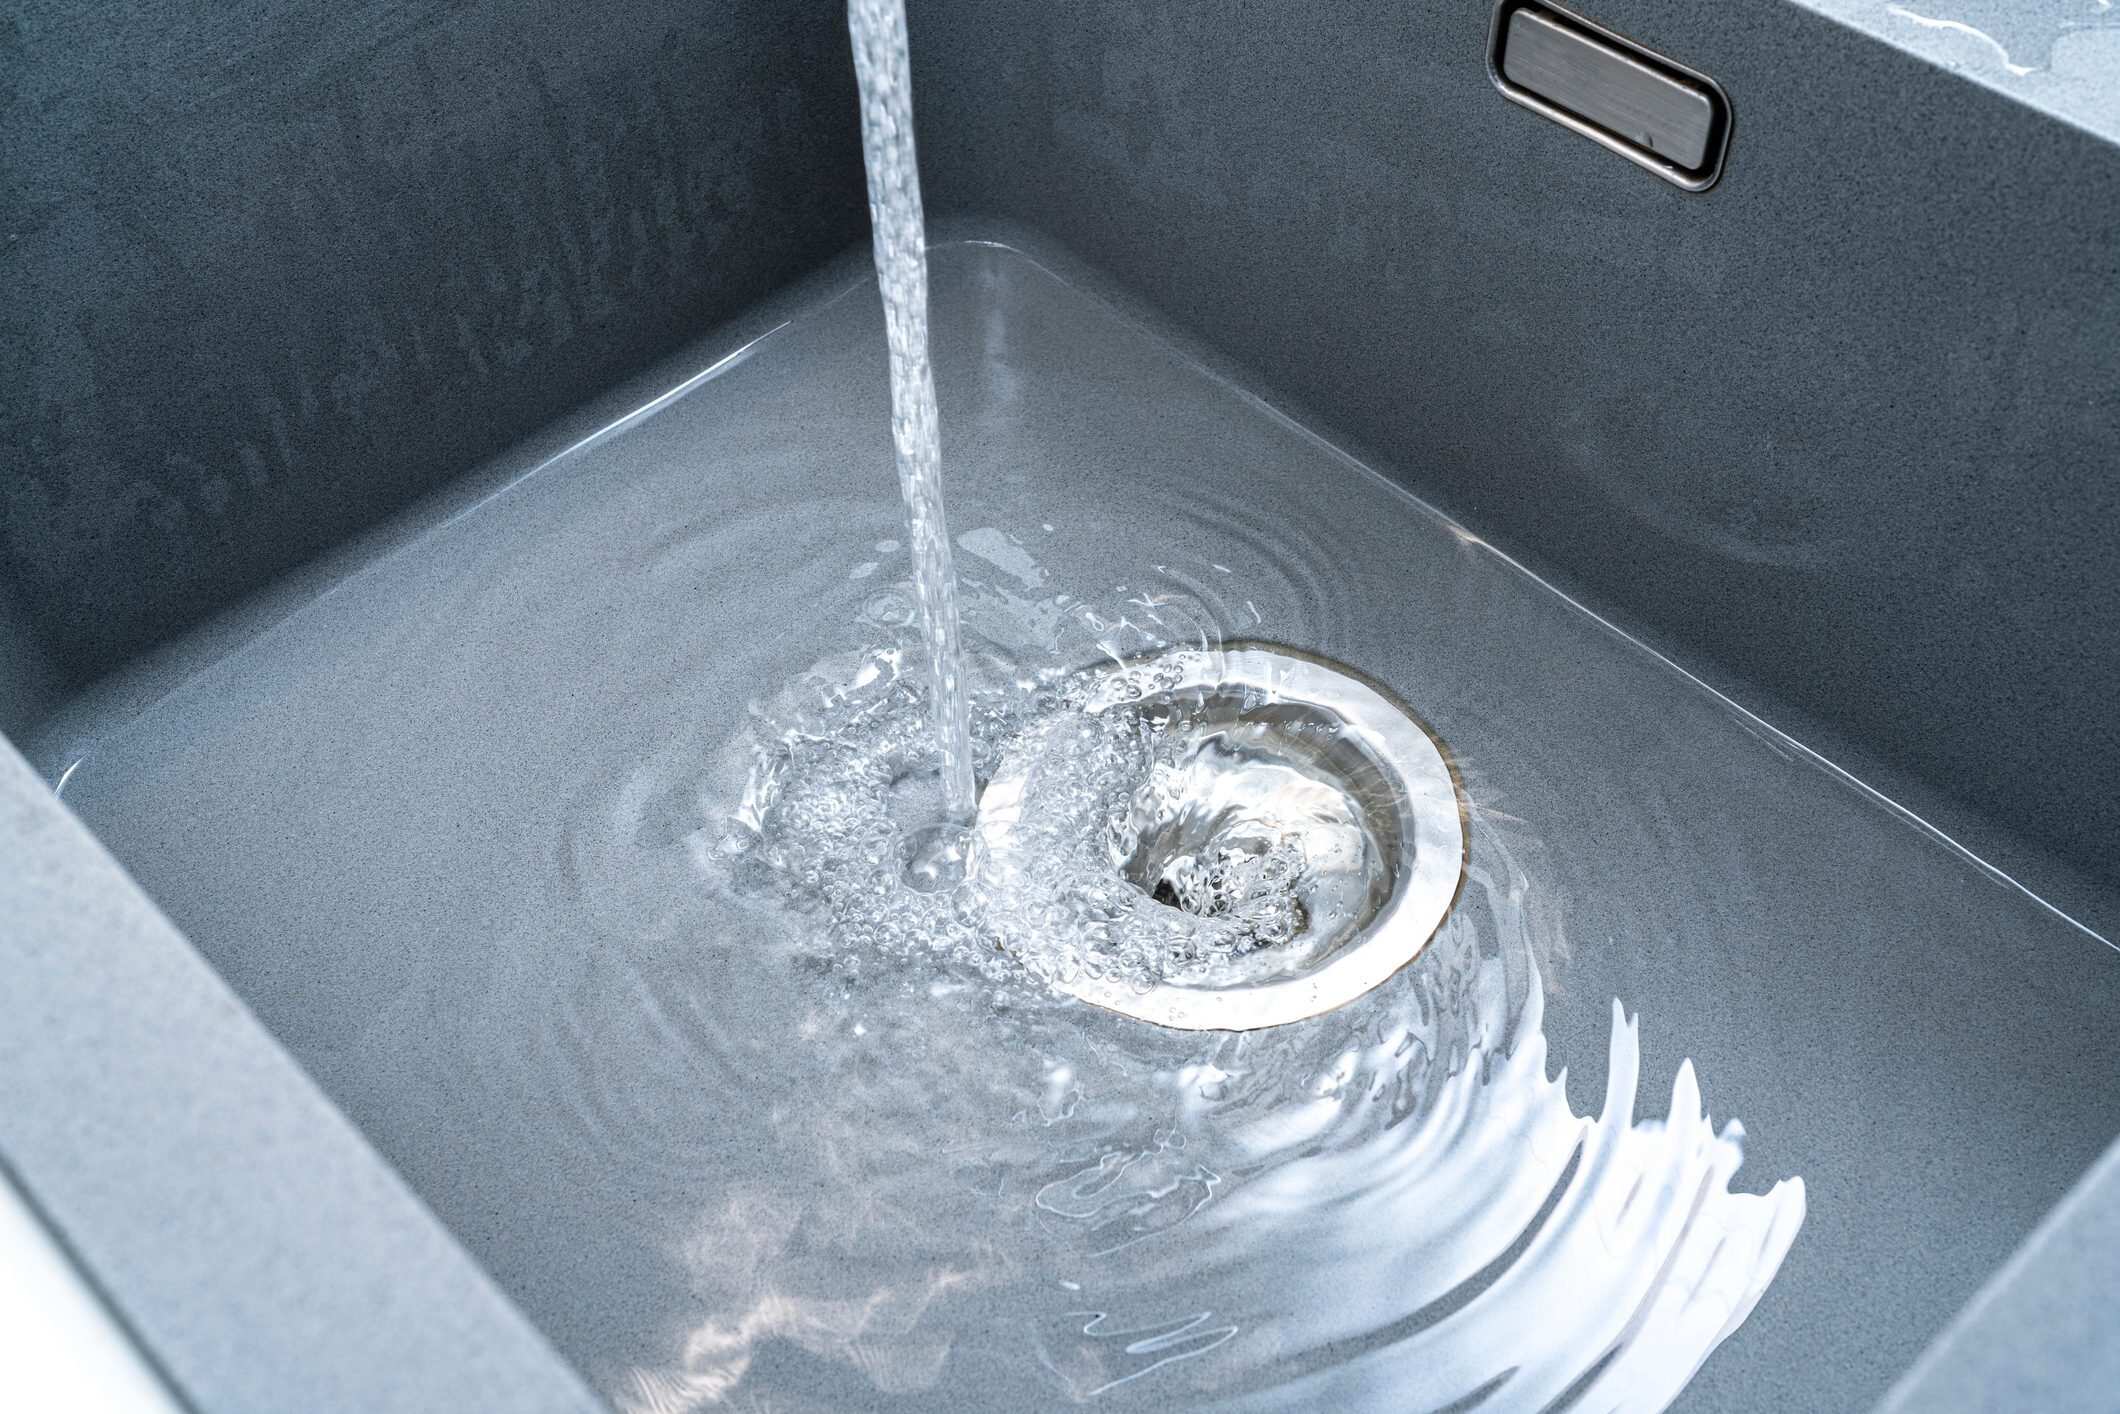
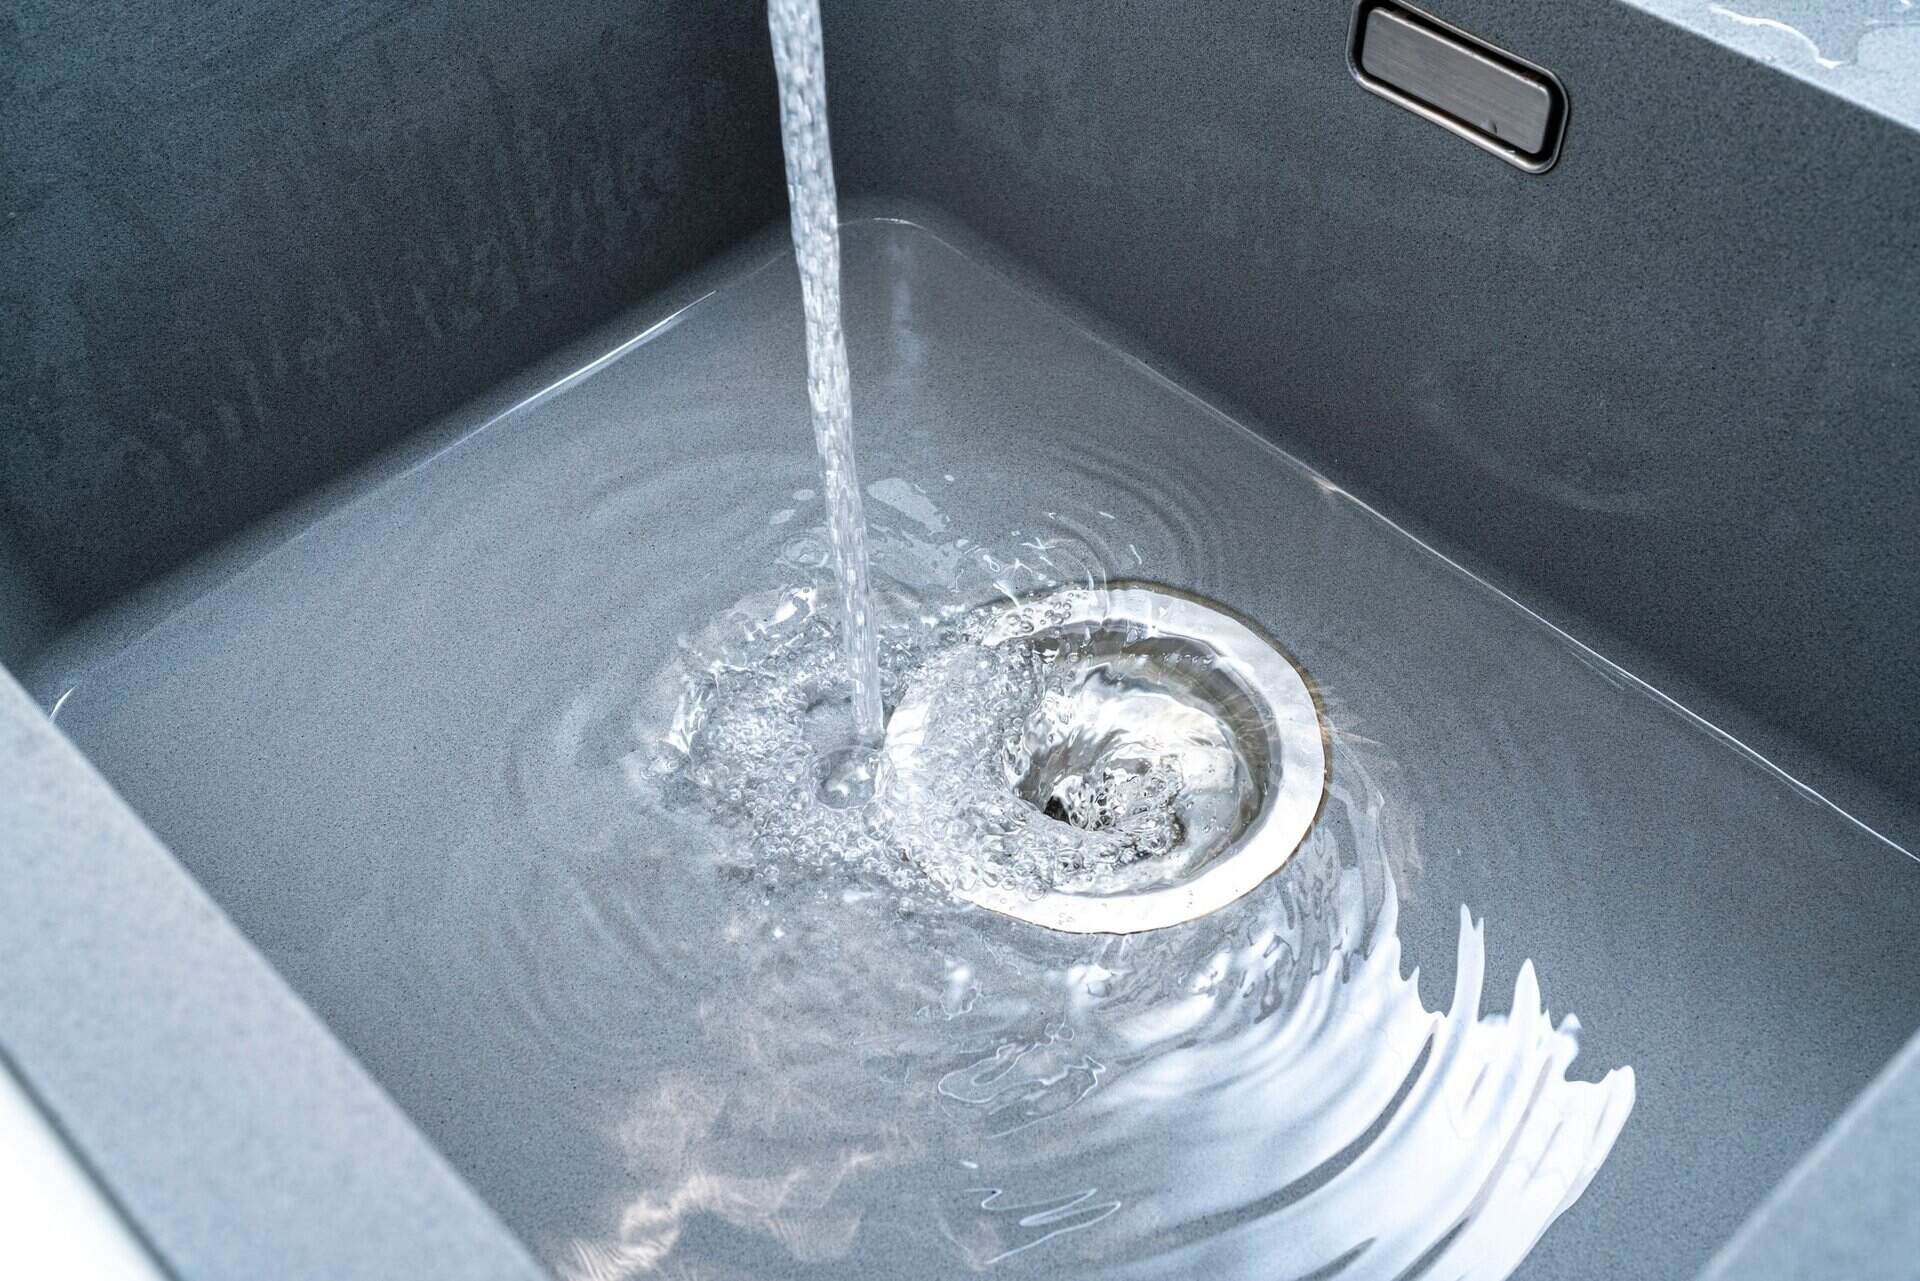
Clogged drain hose
A clogged drain hose is one of the most common causes of a GE washer not draining. Over time, debris, lint, and foreign objects can accumulate and block the drain hose, preventing water from flowing out of the washer properly. Here’s what you can do to troubleshoot and resolve this issue:
- Unplug the washer: Before you start any maintenance or cleaning, ensure that the washer is unplugged from the power source to avoid any accidents.
- Locate the drain hose: The drain hose is typically located at the back of the washer. It is a flexible, ribbed tube connected to the washer and is responsible for carrying water out of the machine.
- Inspect the drain hose: Carefully examine the drain hose for any visible signs of blockage, such as lint, debris, or foreign objects. Gently remove any obstructions that you can see and clear the path for water to flow freely.
- Detach the drain hose: Depending on your washer model, you may need to disconnect the drain hose from either the washer or the drainage pipe. Follow the manufacturer’s instructions to properly detach the hose without causing any damage.
- Clean the drain hose: Once the drain hose is detached, you can clean it more thoroughly. You can use a long, flexible brush or a pipe cleaner to remove any buildup or blockages that may be deep within the hose. Alternatively, you can run water through the hose to flush out any debris.
- Reattach the drain hose: After cleaning the drain hose, secure it back into place. Make sure it is tightly connected to both the washer and the drainage pipe to prevent any leaks or future clogs.
- Test the washer: Once you’ve completed these steps, plug in the washer and run a test cycle to check if the drainage problem has been resolved. If the water drains properly, then the clogged drain hose was the likely cause of the issue.
If you still experience drainage problems after cleaning the drain hose, there may be other underlying issues that need to be addressed. In such cases, it’s recommended to consult the manufacturer’s manual or seek assistance from a professional appliance repair technician to diagnose and fix the problem.
By keeping the drain hose clean and free from obstructions, you can ensure that your GE washer drains properly and avoids any potential drainage issues in the future.
Faulty drain pump
A faulty drain pump can also be a reason why your GE washer is not draining properly. The drain pump is responsible for pumping water out of the washer during the drainage cycle. If the pump is worn out, jammed, or damaged, it won’t be able to effectively remove the water from the machine. Here’s how you can troubleshoot and fix this issue:
- Unplug the washer: As a safety measure, always unplug the washer from the power source before performing any maintenance or repairs.
- Locate the drain pump: The drain pump is usually located at the bottom of the washer. You may need to tilt the machine or remove a panel to access it. Consult the manufacturer’s manual or online resources for the exact location of the drain pump in your GE washer model.
- Inspect the drain pump: Carefully examine the drain pump for any visible signs of damage, such as cracks, leaks, or blockages. Look for any debris or foreign objects that may be obstructing the pump’s functionality.
- Remove blockages: If you notice any debris or foreign objects lodged within the drain pump, gently remove them with a pair of pliers or tweezers. Be cautious not to damage the pump or any surrounding components.
- Check the pump impeller: The impeller is a small, fan-like component inside the drain pump that helps move the water out of the washer. Ensure that the impeller is intact and spins freely. If it is damaged or unable to rotate, the drain pump may need to be replaced.
- Replace the drain pump: If you’ve determined that the drain pump is faulty and cannot be repaired, you will need to replace it with a new one. Consult the manufacturer’s manual or contact GE customer support for the correct replacement part and instructions on how to install it.
- Test the washer: Once you’ve replaced the drain pump, plug in the washer and run a test cycle to check if the drainage problem has been resolved. If the water drains properly, then the faulty drain pump was the likely cause of the issue.
If you’re unsure about performing these steps or you’re unable to fix the faulty drain pump yourself, it’s advisable to seek professional help from an appliance repair technician. They will have the expertise and tools necessary to diagnose and replace the drain pump efficiently.
Remember, a properly functioning drain pump is crucial for effective drainage in your GE washer. Regular maintenance and cleaning can help prevent issues with the pump and prolong its lifespan. By addressing a faulty drain pump promptly, you can ensure that your washer continues to drain properly and keeps your laundry routine running smoothly.
Malfunctioning lid switch
A malfunctioning lid switch can cause drainage issues in your GE washer. The lid switch is a safety feature that halts the spinning cycle when the lid is opened. If the lid switch is faulty or not functioning properly, it may prevent the washer from draining the water. Here’s how you can troubleshoot and resolve this problem:
- Unplug the washer: Before starting any maintenance or repairs, make sure to unplug the washer from the power source to avoid any electrical accidents.
- Locate the lid switch: The lid switch is usually located near the door or lid of the washer. Refer to the manufacturer’s manual or online resources to locate the lid switch in your specific GE washer model.
- Inspect the lid switch: Carefully examine the lid switch for any visible signs of damage, such as cracks or loose wires. If there is any damage, the lid switch may need to be replaced. Additionally, check if the switch is properly aligned and making proper contact when the lid is closed.
- Test the lid switch: Use a multimeter to check the continuity of the lid switch. With the washer unplugged, disconnect the wires from the lid switch and place the multimeter’s probes on the switch’s terminals. If the meter shows no continuity when the switch is activated (lid closed), then the lid switch is likely faulty and needs to be replaced.
- Replace the lid switch: If the lid switch is indeed faulty, you’ll need to replace it. Consult the manufacturer’s manual or contact GE customer support to get the correct replacement part and instructions on how to install it. Follow the proper safety procedures during the replacement process.
- Test the washer: Once you’ve replaced the lid switch, plug in the washer and run a test cycle to ensure that the drainage issue has been resolved. If the water drains properly, then the malfunctioning lid switch was the likely cause of the problem.
If you’re uncomfortable or unsure about performing these steps or if the lid switch replacement doesn’t resolve the issue, it is advisable to consult a professional appliance repair technician. They have the necessary knowledge and expertise to diagnose and fix more complex problems with the lid switch or other components of your GE washer.
Remember, a properly functioning lid switch is crucial for allowing the washer to drain effectively. By promptly addressing a malfunctioning lid switch, you can ensure that your washer operates smoothly and efficiently, making your laundry experience hassle-free.
Read more: Why Wont My GE Washer Spin
Issues with the drain hose connection
The connection of the drain hose in your GE washer plays a crucial role in proper drainage. If the drain hose is not securely connected to either the washer or the drainage pipe, it can lead to drainage issues. Additionally, if there is a kink or obstruction in the hose, it can hinder the flow of water. Here’s how you can troubleshoot and resolve drain hose connection problems:
- Unplug the washer: Always start by unplugging the washer from the power source to avoid any potential accidents during the troubleshooting process.
- Examine the drain hose: Carefully inspect the drain hose for any signs of damage, such as cracks, splits, or wear and tear. If the hose is damaged, it may need to be replaced. Additionally, check for any kinks or bends in the hose that could be obstructing the water flow.
- Reposition the drain hose: Ensure that the drain hose is properly positioned and does not exceed the recommended height or length limits. If the hose is too high or too low, it can create drainage problems. Refer to the manufacturer’s manual for the correct installation instructions.
- Check the hose connections: Inspect the connections between the drain hose, the washer, and the drainage pipe. Make sure all connections are secure and tight to prevent any leaks or disconnections during the draining process. Tighten any loose fittings or couplings.
- Remove obstructions: If there are any obstructions or debris in the drain hose, use a long, flexible brush or a pipe cleaner to remove them. Ensure that the hose is clear and free-flowing before reattaching it.
- Test the washer: Once you’ve repositioned and checked the connections of the drain hose, plug in the washer and run a test cycle to see if the drainage issue has been resolved. If the water drains properly, then the drain hose connection problem was likely the cause of the issue.
If you’ve followed these steps and the problem still persists, it’s advisable to consult the manufacturer’s manual or seek assistance from a professional appliance repair technician. They can help diagnose any underlying issues with the drain hose or other components of your GE washer.
Remember, a proper and secure drain hose connection is vital for effective drainage. By addressing any issues with the drain hose connection, you can ensure that the water flows smoothly out of the washer, preventing any frustrating drainage problems.
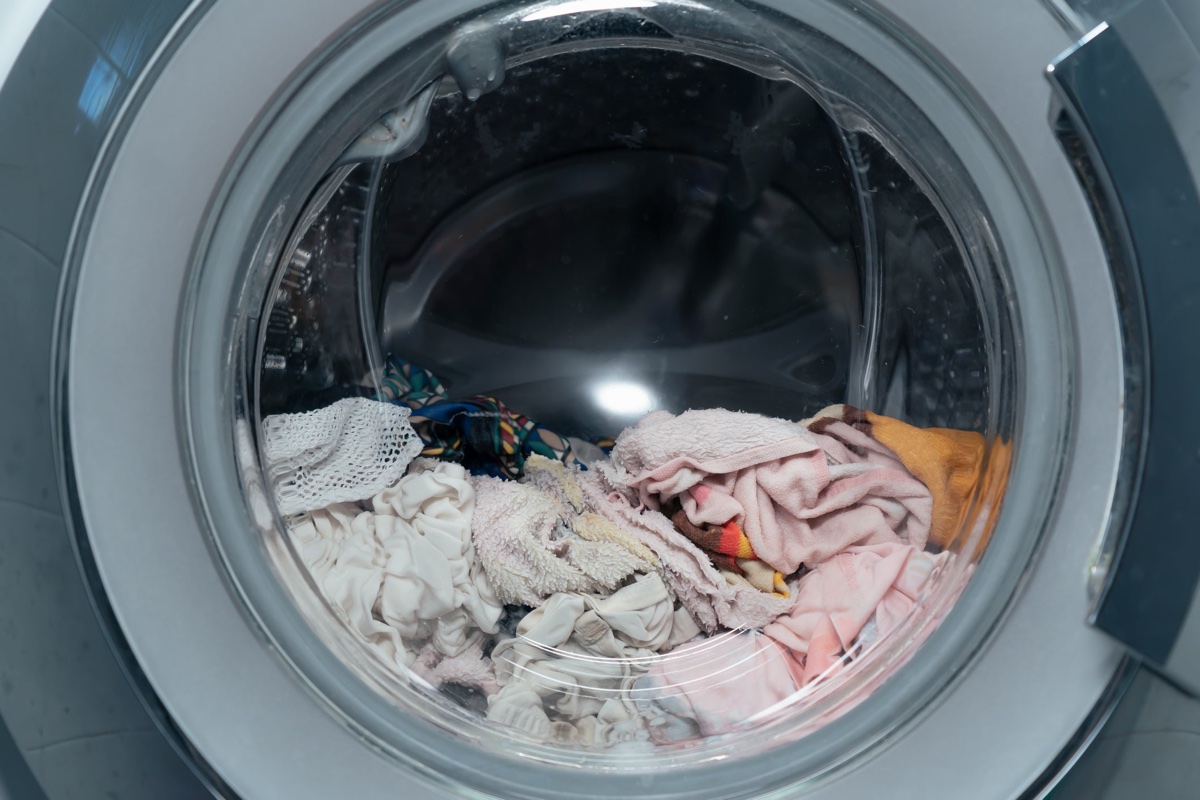
Overloaded or unbalanced load
Overloading the GE washer or having an unbalanced load can lead to drainage issues. When the load becomes too heavy or is unevenly distributed within the drum, it can cause the washer to struggle with draining the water properly. Here are some steps to troubleshoot and resolve overload or unbalanced load issues:
- Unplug the washer: Safety is paramount, so always start by unplugging the washer from the power source before attempting any maintenance or repairs.
- Remove excess items: If you have overloaded the washer, remove some items from the load to reduce the weight. Distribute the remaining items more evenly within the drum to create a balanced load.
- Reposition the load: Make sure that the laundry is evenly distributed in the drum. Spread the clothes evenly to avoid any clumps or heavy sections that can cause imbalance during the spin cycle.
- Run a drain and spin cycle: After repositioning the load, run a drain and spin cycle to see if the water drains properly. This cycle is designed to remove excess water from the washer, and it can help redistribute the load for better balance.
- Manually adjust the load: If the load is still unbalanced during the drain and spin cycle, manually adjust the items in the drum. Push down any bulges or redistribute the weight to even out the load. Repeat the drain and spin cycle until the water drains properly.
- Consider using a higher water level: If you consistently experience unbalanced loads, you can try using a higher water level setting for your washer. This can help provide more stability and reduce the chances of having an unbalanced load.
- Practice proper loading habits: Going forward, make sure to follow the recommended loading guidelines provided by the manufacturer. Avoid overloading the washer and distribute the load evenly for optimal performance and drainage.
By following these steps and adopting proper loading habits, you can prevent overload and unbalanced load issues in your GE washer. This will ensure that the water drains efficiently and that your washing machine operates smoothly.
If you’ve tried these troubleshooting steps and the problem persists, it’s recommended to consult the manufacturer’s manual or seek assistance from a professional appliance repair technician. They will have the expertise to diagnose and address any further issues with your GE washer.
Check for clogs in the drain hose or pump, and ensure the lid switch is functioning properly. Also, inspect the drain pump for any obstructions.
Solutions to troubleshoot and fix drainage issues
Experiencing drainage issues with your GE washer can be frustrating, but there are several solutions you can try to troubleshoot and fix the problem. Here are some effective solutions to help you resolve drainage issues:
- Cleaning the drain hose: A clogged drain hose is a common culprit behind drainage problems. Inspect the drain hose for any blockages, such as lint, debris, or foreign objects. Clear any obstructions using a long brush or pipe cleaner. Ensure that the hose is securely attached to both the washer and the drainage pipe.
- Checking and replacing the drain pump: A faulty drain pump may be preventing proper drainage. Inspect the drain pump for any damage and remove any debris that may be obstructing its functionality. If the pump is beyond repair, replace it with a new one following the manufacturer’s instructions.
- Inspecting and repairing the lid switch: If the lid switch is malfunctioning, it can disrupt the drainage process. Examine the lid switch for any visible damage or loose connections. Test the continuity of the switch using a multimeter and replace it if necessary.
- Resolving drain hose connection problems: Ensure that the drain hose is properly connected to both the washer and the drainage pipe. Check for any kinks, bends, or obstructions that may be hindering the water flow. Make sure all connections are secure and tight to prevent leaks.
- Properly loading and balancing the washer: Overloading or unevenly distributing the load can cause drainage issues. Remove excess items from the load and redistribute the remaining items evenly within the drum. Run a drain and spin cycle to allow the washer to redistribute the load for better balance.
It’s important to note that these solutions are specific to GE washers, but some troubleshooting steps may be applicable to other brands as well. Always refer to the manufacturer’s manual or consult a professional appliance repair technician for brand-specific instructions or if you are unsure.
By following these solutions, you can troubleshoot and fix drainage issues in your GE washer. However, if the problem persists or if you’re uncomfortable performing these steps, it’s recommended to contact a professional appliance repair technician for assistance. They have the expertise to diagnose and address any underlying issues with your washer’s drainage system.
Remember, addressing drainage issues promptly is crucial to maintaining the proper functioning of your GE washer and ensuring clean and fresh laundry every time.
Cleaning the drain hose
Cleaning the drain hose is an essential step in troubleshooting and resolving drainage issues with your GE washer. A clogged drain hose is a common culprit behind improper drainage, as debris, lint, and foreign objects can accumulate over time and obstruct the flow of water. Follow these steps to clean the drain hose effectively:
- Unplug the washer: Always start by disconnecting the washer from the power source to prevent any accidents during the cleaning process.
- Locate the drain hose: The drain hose is typically located at the back of the washer. It is a flexible, ribbed tube that carries water out of the machine.
- Prepare cleaning materials: Gather the necessary materials for cleaning the drain hose, including a bucket, gloves, a long brush or pipe cleaner, and a towel or rag to catch any water that may spill out.
- Place the bucket: Position the bucket beneath the drain hose to catch any water or debris that may come out during the cleaning process.
- Inspect the drain hose: Carefully examine the drain hose for any visible signs of blockage, such as lint, debris, or foreign objects. Gently remove any obstructions that you can reach and pull them out.
- Detach the drain hose: Depending on your washer model, you may need to disconnect the drain hose from either the washer or the drainage pipe. Follow the manufacturer’s instructions to properly detach the hose without causing any damage.
- Clean the drain hose: Once the drain hose is detached, you can clean it more thoroughly. Use a long brush or pipe cleaner to push through the hose and remove any buildup or blockages. You can also run water through the hose to flush out any remaining debris.
- Reattach the drain hose: After cleaning the drain hose, ensure that it is tightly connected to both the washer and the drainage pipe to prevent any leaks or future clogs. Double-check the connections and tighten them if necessary.
- Test the washer: Once you’ve completed these steps, plug in the washer and run a test cycle to check if the drainage problem has been resolved. If the water drains properly, then the cleaning of the drain hose was successful.
Regularly cleaning the drain hose of your GE washer is crucial to maintaining proper drainage and preventing future issues. It’s recommended to perform this cleaning process at least once a year or more frequently if you notice any signs of a clog or slow drainage.
If cleaning the drain hose does not resolve the drainage problem, there may be other underlying issues that need to be addressed. In such cases, consult the manufacturer’s manual or contact a professional appliance repair technician to diagnose and fix the problem.
By keeping the drain hose clean and free from obstructions, you can ensure that your GE washer drains properly and avoids any potential drainage issues in the future.
Read more: Why Dishwasher Wont Drain
Checking and replacing the drain pump
The drain pump is a critical component of your GE washer that is responsible for removing water during the drainage cycle. If your washer is experiencing drainage issues, a faulty or malfunctioning drain pump may be the culprit. Here’s how you can check and replace the drain pump:
- Unplug the washer: As a safety precaution, always disconnect the washer from the power source before performing any maintenance or repairs.
- Locate the drain pump: The drain pump is typically located at the bottom of the washer. Depending on your specific GE washer model, you may need to tilt the machine or remove a panel to access it. Consult the manufacturer’s manual for the exact location.
- Inspect the drain pump: Carefully examine the drain pump for any signs of damage, such as cracks, leaks, or loose connections. Check if there are any foreign objects or debris obstructing the pump’s functionality. Clear any visible blockages if possible.
- Test the drain pump: With the washer still unplugged, test the functionality of the drain pump. Use a multimeter to check the electrical continuity of the pump. If the multimeter shows no continuity, it indicates a fault in the pump, and it might need to be replaced.
- Disconnect and remove the drain pump: If you have determined that the drain pump is faulty and needs replacement, carefully disconnect it from the wiring harness and remove it from the washer. Take note of the wiring connections to ensure proper reinstallation.
- Install the new drain pump: Get a replacement drain pump that matches your specific GE washer model. Follow the manufacturer’s instructions and reconnect the wiring harness, ensuring proper connections. Install the new drain pump securely in place.
- Test the washer: After replacing the drain pump, plug in the washer and run a test cycle to check if the drainage problem is resolved. If the water drains properly, then the replacement of the drain pump was successful.
If you are unsure about checking or replacing the drain pump yourself, it is recommended to consult the manufacturer’s manual or seek assistance from a professional appliance repair technician. They will have the expertise and experience to diagnose and address any issues with the drain pump or other components of your GE washer.
By ensuring that the drain pump is functioning correctly and promptly replacing a faulty one, you can maintain proper drainage in your GE washer and avoid any future drainage issues.
Inspecting and repairing the lid switch
The lid switch in your GE washer is a safety feature that ensures the washer stops spinning when the lid is opened. If you’re experiencing drainage issues, a malfunctioning lid switch could be the cause. Here’s how you can inspect and potentially repair the lid switch:
- Unplug the washer: Begin by disconnecting the washer from the power source to ensure your safety during the inspection and repair process.
- Locate the lid switch: The lid switch is typically located near the door or lid of the washer. Refer to your GE washer’s manual or online resources for the exact location in your specific model.
- Inspect the lid switch: Carefully examine the lid switch for any visible signs of damage, such as cracks, frayed wires, or loose connections. Pay close attention to the wires connected to the switch to ensure they are securely attached.
- Test the continuity of the lid switch: Using a multimeter, set it to measure continuity and touch the probes to the terminals of the lid switch while the switch is in the closed position. If the multimeter shows no continuity, it indicates a faulty lid switch that needs to be repaired or replaced.
- Repair or replace the lid switch: If you’ve identified a problem with the lid switch, you can attempt to repair it if the damage is minor. This may involve reconnecting loose wires or fixing any visible issues. However, replacing the lid switch entirely is often the most effective solution. Contact GE customer support or consult your manual for the correct replacement part and instructions on how to install it.
- Test the washer: Once the lid switch has been repaired or replaced, plug in the washer and run a test cycle to ensure that the drainage issue has been resolved. If the water drains properly, then the inspection and repair of the lid switch were successful.
If you’re uncomfortable performing these troubleshooting steps or if the lid switch repair doesn’t fix the issue, it’s advisable to consult a professional appliance repair technician. They have the knowledge and expertise to diagnose more complex problems with the lid switch or other components of your GE washer.
Remember, a properly functioning lid switch is crucial for allowing the washer to drain effectively. By inspecting and repairing or replacing a faulty lid switch, you can ensure that your GE washer operates smoothly and efficiently, providing you with clean and fresh laundry every time.
Resolving drain hose connection problems
The connection of the drain hose in your GE washer is essential for proper drainage. Issues with the drain hose connection can lead to drainage problems, including water not draining out of the washer adequately. Follow these steps to troubleshoot and resolve drain hose connection problems:
- Unplug the washer: As a safety precaution, make sure your washer is unplugged from the power source before inspecting or adjusting the drain hose connections.
- Examine the drain hose: Carefully inspect the drain hose for any visible signs of damage, such as cracks, splits, or wear and tear. If you notice any damage, it’s recommended to replace the drain hose to ensure a proper connection.
- Reposition the drain hose: Ensure that the drain hose is positioned properly and does not surpass the recommended height or length limits specified by the manufacturer. If the hose is too high or too low, it can result in drainage problems. Consult your GE washer’s manual for the correct installation guidelines.
- Check the hose connections: Inspect the connections between the drain hose, the washer, and the drainage pipe. Ensure that all connections are secure and tight to prevent any leaks or disconnections during the draining process. If you find any loose fittings or couplings, tighten them as needed.
- Remove obstructions: Check for any obstructions or debris within the drain hose. If you find any, clear them out using a long brush or pipe cleaner. It’s essential to have a clear and unobstructed drain hose for proper water flow.
- Test the washer: Once you have repositioned the drain hose and checked the connections, plug in the washer and run a test cycle to ensure that the drainage problem has been resolved. If the water drains properly, then the drain hose connection problem has been successfully resolved.
If you have followed these steps and are still experiencing drainage issues, it’s advisable to consult the manufacturer’s manual or seek assistance from a professional appliance repair technician. They will have the expertise to diagnose and address any underlying issues with the drain hose or other components of your GE washer.
By ensuring a proper and secure drain hose connection, you can effectively resolve drainage problems in your GE washer. This will ensure smooth water flow and efficient drainage, allowing your washer to function optimally for clean and fresh laundry every time.
Properly loading and balancing the washer
Properly loading and balancing your GE washer is essential for optimal performance and efficient drainage. Overloading the washer or having an unbalanced load can lead to drainage issues and disrupt the normal operation of the machine. Follow these steps to ensure you load and balance your washer correctly:
- Read the manufacturer’s guidelines: Familiarize yourself with the loading capacity and recommendations provided by GE for your specific washer model. This information can usually be found in the user manual or on the manufacturer’s website.
- Sort your laundry: Before loading the washer, separate your laundry into different piles based on fabric type, color, and weight. This will allow for more efficient washing and prevent unbalanced loads.
- Follow the weight guidelines: Do not exceed the recommended weight capacity of your washer. Overloading can lead to poor drainage and subpar cleaning results. If you have a large load, it’s better to split it into smaller loads and wash them separately.
- Distribute the load evenly: Evenly distribute the laundry around the perimeter of the drum. Avoid placing all the heavy items on one side, as this can cause the washer to become unbalanced during the spin cycle. Distribute both small and large items evenly to promote proper drainage.
- Check for proper balance: Once the load is inside the washer, close the lid and ensure it is securely latched. The machine should be level and stable. If the washer is wobbling or vibrating excessively, adjust the position of the load to promote better balance.
- Use the correct cycle: Select the appropriate wash cycle for the type of clothing and level of dirtiness. Different cycles have different agitation and spin speeds, which can affect the balance and drainage performance. Using the right cycle will help optimize the washer’s performance.
- Run a small test load: If you have made changes to your laundry routine or configuration, it can be helpful to run a smaller test load to confirm that the washer is operating smoothly and the drainage is effective.
By following these guidelines for proper loading and balancing, you can help prevent drainage issues and ensure that your GE washer functions at its best. Remember to always refer to the manufacturer’s guidelines and recommendations for your specific washer model to achieve optimal performance.
If you continue to experience drainage issues despite proper loading and balancing, it’s advisable to consult the manufacturer’s manual or contact a professional appliance repair technician. They will be able to diagnose and address any underlying mechanical or technical issues affecting the drainage performance of your GE washer.
Read more: Why Wont My Maytag Washer Turn On
Conclusion
Dealing with a GE washer that refuses to drain can be frustrating, but by understanding the possible causes and implementing the appropriate troubleshooting solutions, you can resolve the issue and get your washer back to optimal functionality.
In this article, we explored some of the common reasons behind drainage problems in GE washers. We discussed the importance of checking for a clogged drain hose, a faulty drain pump, a malfunctioning lid switch, issues with the drain hose connection, and overloading or unbalanced loads. Each of these factors can contribute to improper drainage and disrupt the normal operation of your washer.
We provided step-by-step solutions to help you troubleshoot and resolve these problems. From cleaning the drain hose to checking and replacing the drain pump, inspecting and repairing the lid switch, resolving drain hose connection issues, and properly loading and balancing the washer – following these solutions can help alleviate drainage problems and ensure that your GE washer works efficiently.
However, it’s important to note that if you are unsure about performing any of the troubleshooting steps or if the issue persists despite your efforts, it’s advisable to consult the manufacturer’s manual or contact a professional appliance repair technician. They have the expertise and knowledge to diagnose and address more complex issues with your GE washer.
By taking care of your GE washer and addressing drainage issues promptly, you can maintain its optimal performance, prolong its lifespan, and enjoy fresh and clean laundry every time.
Frequently Asked Questions about Why Wont My GE Washer Drain
Was this page helpful?
At Storables.com, we guarantee accurate and reliable information. Our content, validated by Expert Board Contributors, is crafted following stringent Editorial Policies. We're committed to providing you with well-researched, expert-backed insights for all your informational needs.

0 thoughts on “Why Wont My GE Washer Drain”