Home>Furniture>Bedroom Furniture>How Do I Clean A Mattress
Bedroom Furniture
How Do I Clean A Mattress
Modified: October 18, 2024
Learn how to effectively clean your mattress and keep your bedroom furniture fresh with our easy-to-follow guide.
(Many of the links in this article redirect to a specific reviewed product. Your purchase of these products through affiliate links helps to generate commission for Storables.com, at no extra cost. Learn more)
Introduction
When it comes to maintaining a clean and hygienic bedroom, keeping your mattress free from dirt, stains, and odors is crucial. A clean mattress not only promotes better sleep but also contributes to your overall well-being. However, many people are unsure of where to start when it comes to cleaning their mattress. If you’re wondering how to clean a mattress effectively, you’ve come to the right place.
In this comprehensive guide, we will walk you through the step-by-step process of cleaning your mattress to ensure it remains fresh and comfortable for years to come. By following these simple steps and using readily available materials, you can easily transform your mattress into a clean and healthy sleeping surface.
But before we dive into the cleaning process, let’s first discuss why regular mattress cleaning is so important. Over time, mattresses accumulate dust, dead skin cells, sweat, and even allergens like dust mites. Not only can these substances lead to unpleasant odors, but they can also cause allergies and affect your sleep quality.
Cleaning your mattress can help eliminate these issues and create a healthier sleeping environment. It can also prolong the lifespan of your mattress, saving you money in the long run. So, without further ado, let’s get started on the journey to a cleaner and more refreshing mattress.
Key Takeaways:
- Regular mattress cleaning is crucial for a hygienic and comfortable sleep environment. Follow the step-by-step guide to remove stains, odors, and allergens, promoting better sleep quality and prolonging the mattress’s lifespan.
- Gathering the necessary materials, vacuuming, spot cleaning stains, deodorizing, flipping or rotating, and allowing the mattress to air out are essential steps in maintaining a clean and inviting sleeping surface. Incorporate regular mattress cleaning into your routine for a rejuvenating night’s sleep.
Read more: How Do I Know When I Need A New Mattress
Step 1: Gather the necessary materials
Before you begin the mattress cleaning process, it’s essential to gather all the necessary materials. Having everything prepared in advance will ensure a smooth and efficient cleaning experience. Here are the materials you will need:
- Vacuum cleaner with upholstery attachment: This will be used to remove dust, dirt, and debris from the surface of the mattress.
- Mattress stain remover: Look for a stain remover specifically designed for mattresses. You can find these in most home improvement or bedding stores.
- Baking soda: Baking soda is a natural deodorizer that will help eliminate odors from your mattress.
- Clean cloths or sponges: These will be used for spot cleaning stains and applying the stain remover.
- Warm water: You will need warm water for diluting the stain remover and rinsing the mattress.
- Gloves: It’s a good idea to wear gloves to protect your hands while cleaning.
- Fabric freshener spray: This is optional but can be used to add a fresh scent to your mattress after cleaning.
Make sure you have these materials readily available before you start, as it can be frustrating to interrupt the cleaning process to search for missing items. Once you have everything prepared, you’re ready to move on to the next step.
Step 2: Remove bedding and vacuum the mattress
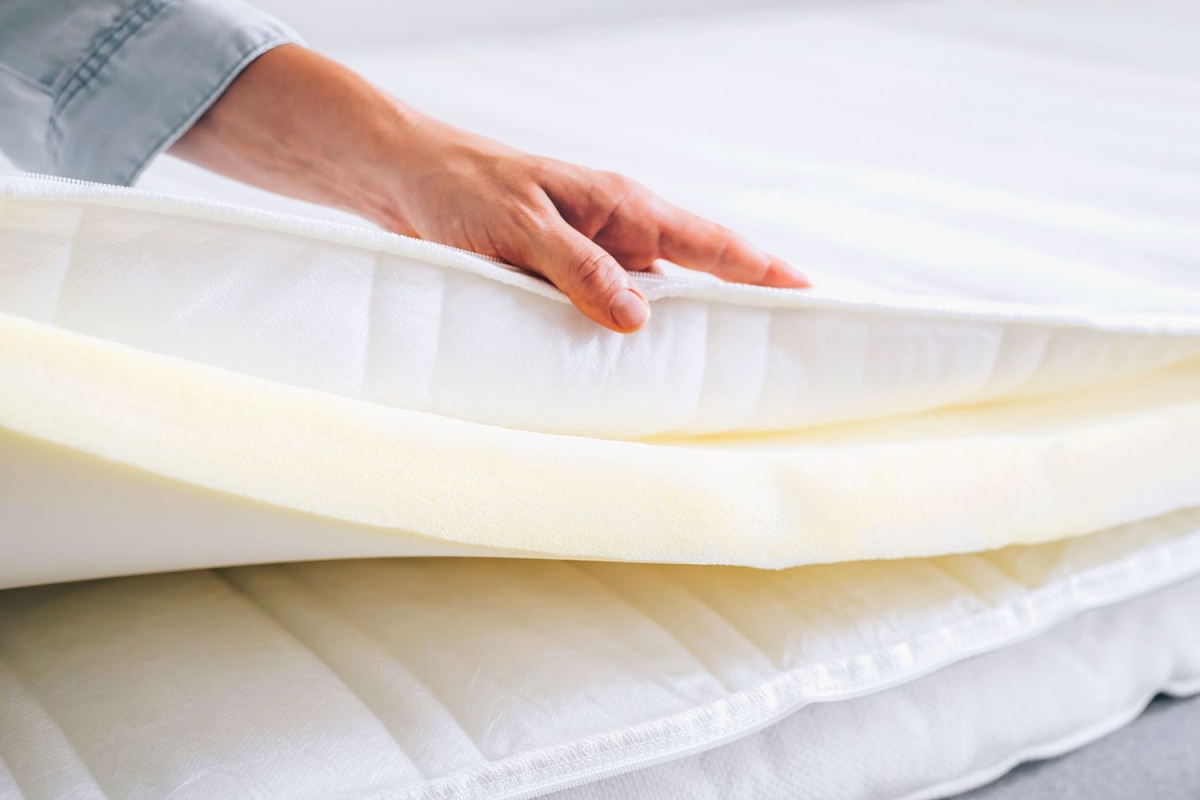
Before you can begin cleaning your mattress, it’s important to remove all bedding, including sheets, mattress protectors, and pillows. This will give you clear access to the mattress and allow for a more thorough cleaning.
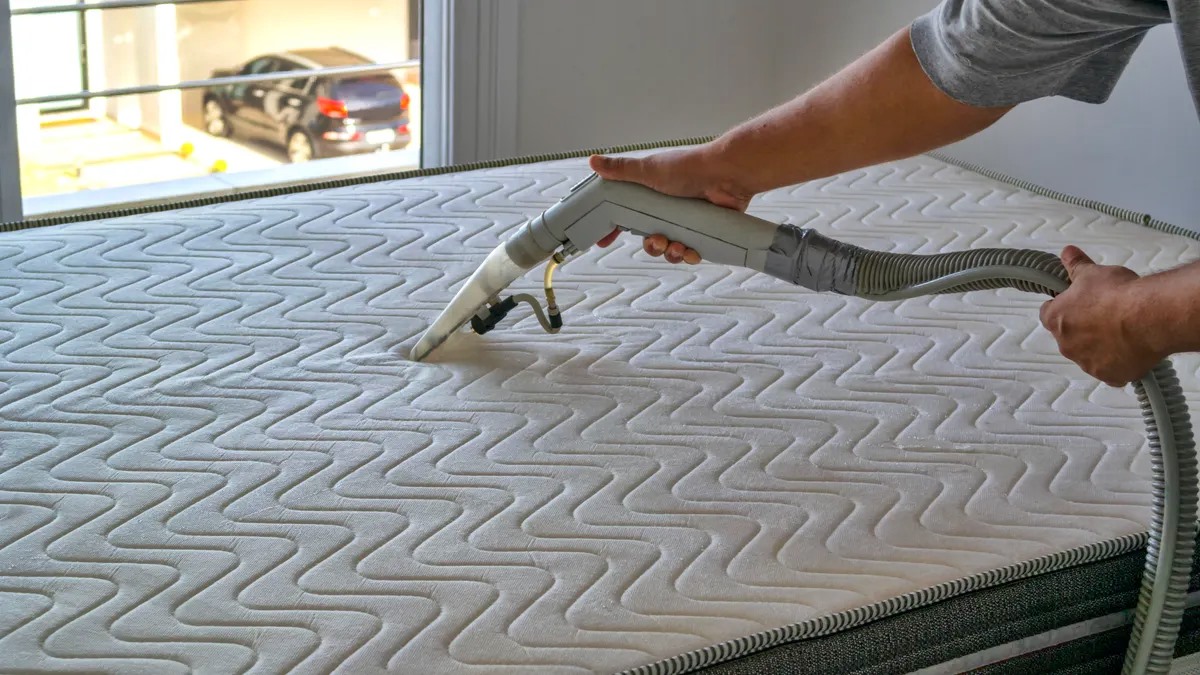
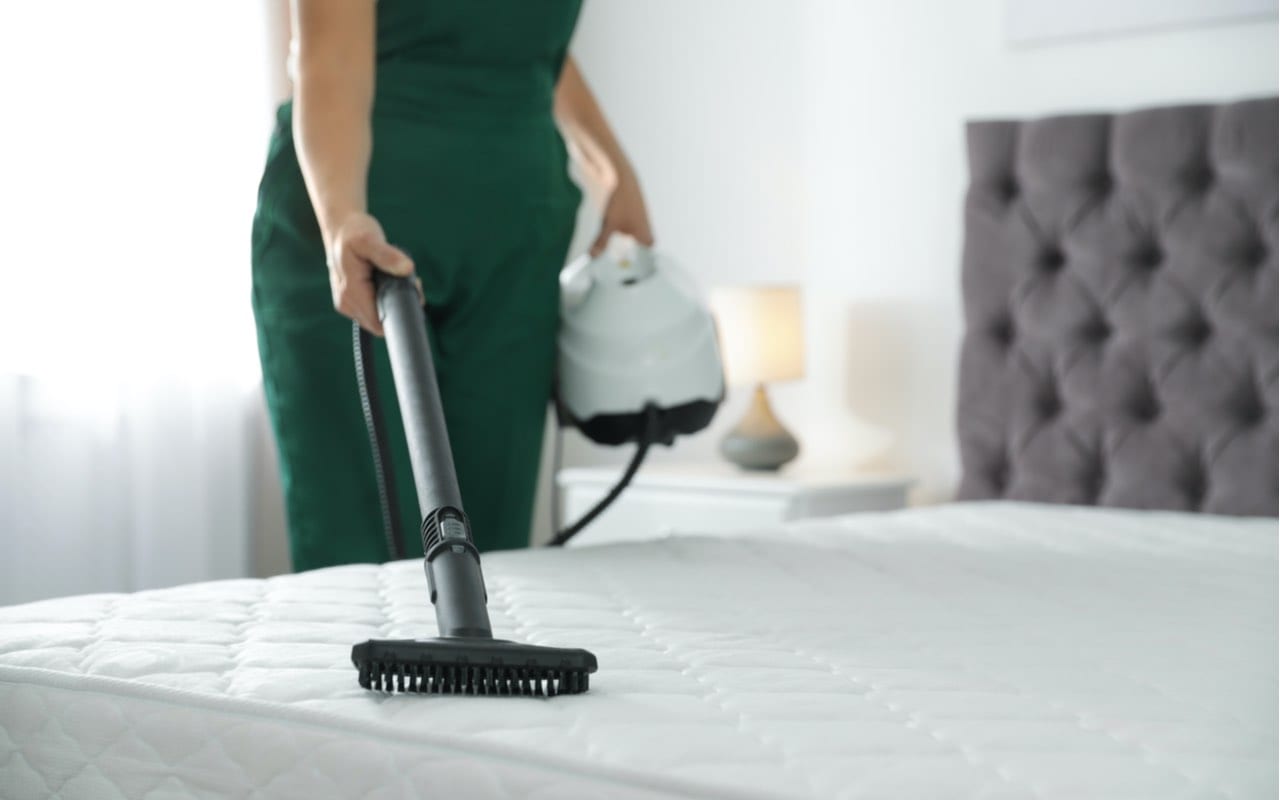
Once the bedding is removed, it’s time to give your mattress a good vacuuming. Start by attaching the upholstery attachment to your vacuum cleaner. This attachment is specifically designed for cleaning delicate surfaces like mattresses.
Begin by running the vacuum cleaner across the entire surface of the mattress, paying close attention to the seams and crevices where dirt and dust tend to accumulate. Use slow, overlapping strokes to ensure that you pick up as much debris as possible.
When vacuuming, focus on removing dust, hair, and any other visible debris. This will not only keep the mattress clean but also help prevent allergens from building up. If you have a high-powered vacuum cleaner, you may also be able to remove some dust mites, although it’s best to use a specialized mattress vacuum for this purpose.
Take your time during this step, especially if you haven’t vacuumed your mattress in a while. Be thorough and methodical, ensuring that you cover every inch of the surface. Pay extra attention to areas that are prone to stains or have noticeable dirt accumulation.
Once you have thoroughly vacuumed the entire mattress, you can move on to the next step: spot cleaning any stains.
Step 3: Spot clean any stains
After vacuuming the mattress, it’s time to tackle any stubborn stains that may be present. Stains can be a common occurrence on mattresses, whether it’s from spills, body fluids, or accidents.
To spot clean stains on your mattress, start by identifying the type of stain you’re dealing with. Different stains require different cleaning approaches. Here are some common types of stains and how to treat them:
- Food and Beverage Stains: Mix a small amount of mild dish soap with warm water to create a soapy solution. Using a clean cloth or sponge, dab the stain gently with the soapy water, being careful not to saturate the mattress. Blot the area with a dry cloth to absorb excess moisture.
- Blood Stains: Blood stains can be a bit trickier to remove. Create a paste by mixing hydrogen peroxide with a small amount of salt or cornstarch. Apply the paste to the stain, gently rubbing it in. Let it sit for 15-20 minutes before carefully wiping it away with a clean cloth or sponge.
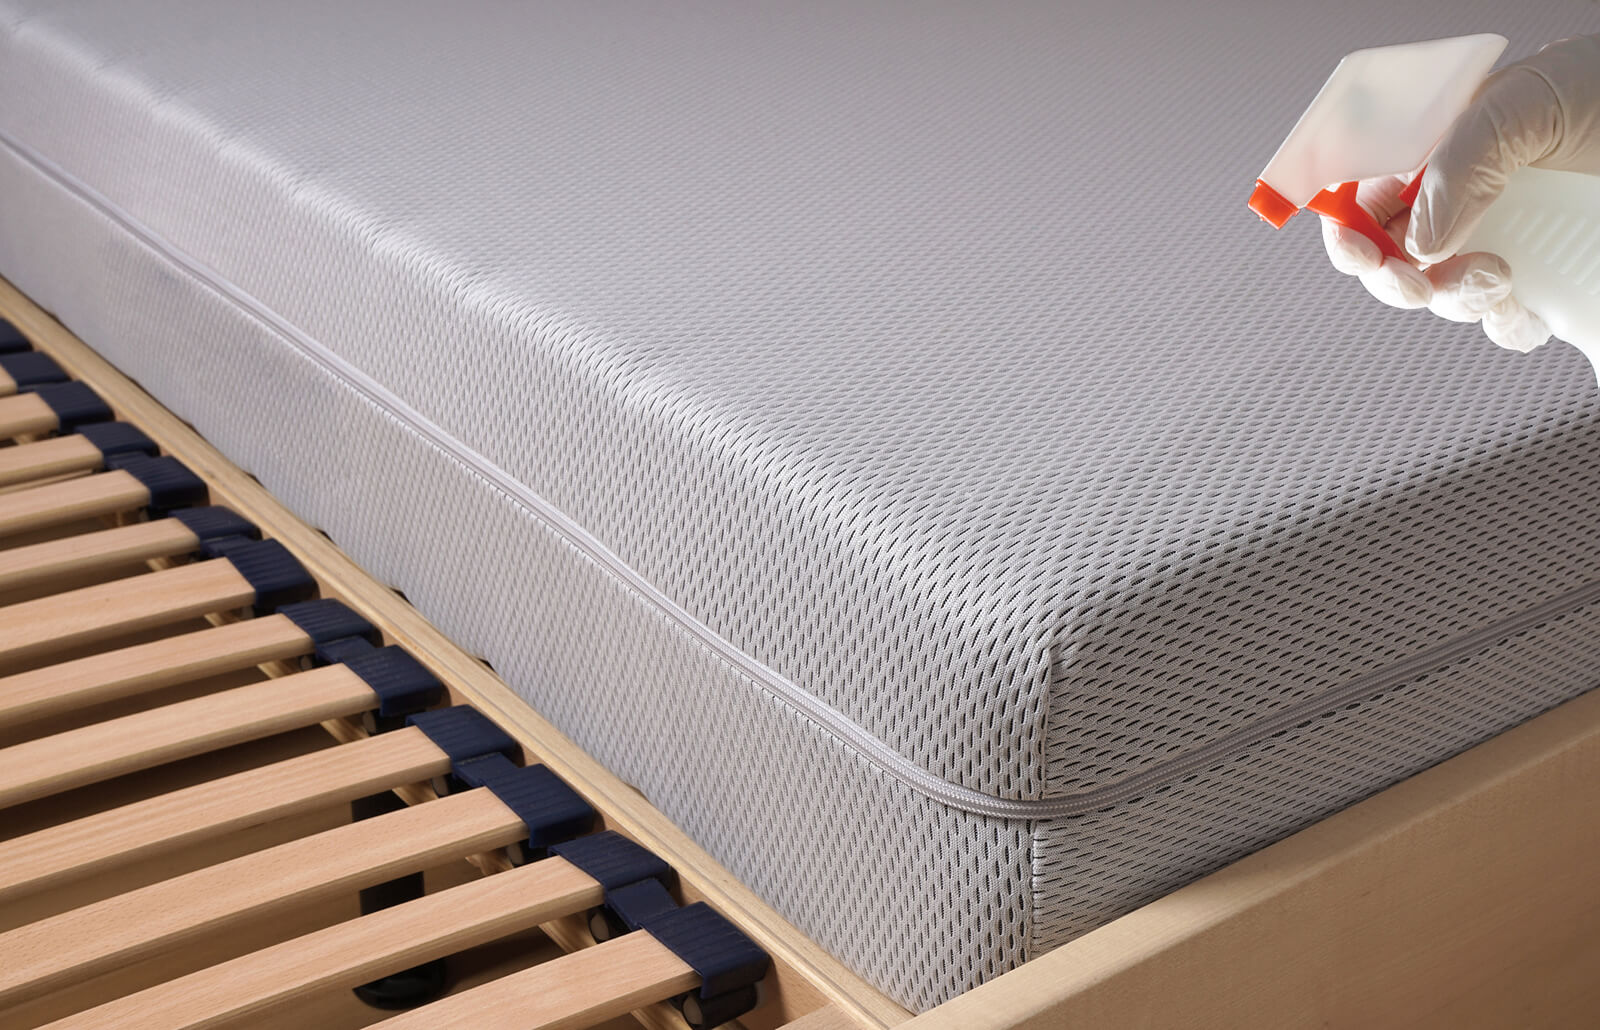
- Urine and Sweat Stains: Mix equal parts white vinegar and water in a spray bottle. Lightly spray the stained area and let it sit for a few minutes. Blot the area with a clean cloth until the stain is lifted. Repeat the process if necessary.
- Ink or Marker Stains: Apply rubbing alcohol to a clean cloth and gently dab the stain. Be careful not to rub too vigorously, as it can spread the ink. Continue blotting until the stain is removed.
Remember to always blot the stain rather than rubbing it, as rubbing can push the stain deeper into the mattress fibers.
If your mattress has other types of stains or if the above methods don’t work, you can also try using a specialized mattress stain remover. Follow the instructions on the product carefully and test it on a small, inconspicuous area of the mattress before applying it to the stain.
Once the stains have been treated, allow the spot-cleaned areas to dry before proceeding to the next step.
Step 4: Deodorize the mattress
After spot cleaning any stains, it’s time to freshen up your mattress by deodorizing it. Over time, mattresses can develop unpleasant odors due to sweat, body oils, and other factors. Deodorizing not only eliminates these odors but also leaves your mattress smelling clean and fresh.
A popular and effective method for deodorizing a mattress is by using baking soda. Baking soda is a natural deodorizer that helps absorb and neutralize odors. Follow these steps to deodorize your mattress:
- Sprinkle baking soda generously over the entire surface of the mattress. Focus on areas that tend to hold odors, such as the corners and edges.
- Gently rub the baking soda into the fabric using a clean cloth or sponge. This will help the baking soda penetrate the mattress and maximize its deodorizing effect.
- Let the baking soda sit on the mattress for at least 30 minutes to an hour. If possible, leave it on overnight for even better results.
- After the desired amount of time has passed, vacuum the mattress once again to remove the baking soda. Use the upholstery attachment and go over the entire surface, making sure to remove all traces of the baking soda.
By deodorizing your mattress with baking soda, you can eliminate odors and leave your mattress smelling fresh. However, if you prefer a scented mattress, you can also use a fabric freshener spray after vacuuming. Simply spray a light mist over the mattress, taking care not to saturate it, and allow it to dry completely before replacing the bedding.
Deodorizing your mattress not only makes it more pleasant to sleep on but also contributes to a clean and hygienic sleeping environment.
Now that you’ve deodorized your mattress, it’s time to move on to the next step: flipping or rotating the mattress.
Vacuum your mattress regularly to remove dust, dirt, and allergens. Spot clean any stains with a mixture of mild detergent and water, then allow the mattress to air dry completely.
Read more: What Firmness Mattress Do I Need
Step 5: Flip or rotate the mattress
Flipping or rotating your mattress is an essential step in maintaining its longevity and even wear. Depending on the type of mattress you have, flipping or rotating can help prevent sagging, lumps, and uneven wear patterns. Follow these steps to properly flip or rotate your mattress:
Flipping:
- Check the mattress manufacturer’s instructions: Some mattresses are designed to be one-sided and should not be flipped. Make sure to check the manufacturer’s guidelines before proceeding.
- If your mattress is flippable, remove all bedding and carefully flip the mattress over. This means that the bottom side will become the top side.
- It’s a good idea to enlist the help of a friend or family member when flipping a mattress, as they can provide extra support and prevent any accidents or injuries.
- Once the mattress is flipped, you can proceed with the next steps of the cleaning process.
Rotating:
- If your mattress is not designed to be flipped, it may still require regular rotation to ensure even wear.
- First, remove all bedding and use a marker or tape to mark which side is currently at the head of the bed.
- Rotate the mattress 180 degrees so that the foot of the mattress is now at the head of the bed.
- This step helps distribute the weight and pressure evenly across the mattress and can extend its lifespan.
- After rotating the mattress, you can proceed with the remaining steps of the cleaning process.
Flipping or rotating your mattress is an often overlooked but crucial step in mattress maintenance. By doing so regularly, you can ensure that your mattress wears evenly and remains comfortable for years to come.
Now that you’ve flipped or rotated your mattress, it’s time to move on to the next step: vacuuming the other side.
Step 6: Vacuum the other side
Now that you’ve flipped or rotated your mattress, it’s important to vacuum the other side to ensure a thorough and comprehensive cleaning. This step will help remove any dust, allergens, and debris that may have accumulated on the opposite side of the mattress.
Start by using the upholstery attachment on your vacuum cleaner and run it across the entire surface of the mattress. Pay attention to the seams, corners, and edges, as these areas can often harbor more dust and dirt. Use slow and overlapping strokes to ensure that you cover every inch of the mattress.
Just as you did in Step 2, take your time during this process. Be thorough and methodical to ensure that you pick up as much debris as possible. For best results, go over the surface of the mattress in multiple directions to ensure that you reach any hidden particles.
If you come across any stains or spots that you may have missed during the previous cleaning steps, take the opportunity to spot treat them once again. Refer back to Step 3 to refresh your memory on stain removal techniques.
Once you have finished vacuuming the other side of the mattress and spot treating any remaining stains, you’re almost done with the cleaning process. But before you can complete the task, there is one last step to follow: allowing the mattress to air out.
Step 7: Allow the mattress to air out
After completing all the necessary cleaning steps, it’s important to allow your mattress to air out before putting the bedding back on. This will help remove any lingering odors and ensure that the mattress is completely dry.
Start by finding a well-ventilated area in your home where you can place the mattress. It’s best to choose a room with good air circulation, such as near an open window or fan.
If possible, prop the mattress up against a wall or stand it on its side to allow air to circulate around all sides. This will help expedite the drying process and prevent moisture from getting trapped within the mattress.
Leave the mattress to air out for at least a few hours, but ideally overnight. This will give it ample time to dry and allow any residual moisture or odors to dissipate.
While the mattress is airing out, take the opportunity to clean and freshen up the rest of your bedroom. Wash your bedding, dust surfaces, and vacuum the floor to create a clean and inviting sleep environment.
Once the mattress has had sufficient time to air out, give it a final inspection to ensure that it is completely dry. If everything looks and feels good, it’s time to put the bedding back on and enjoy your freshly cleaned mattress!
Congratulations! You have successfully completed all the steps to clean and freshen up your mattress. By following these steps regularly, you can maintain a clean, hygienic, and comfortable sleeping surface that will contribute to a restful night’s sleep.
Remember, it’s a good idea to clean your mattress at least every six months or more frequently if needed. Regular maintenance ensures that your mattress stays in optimal condition for years to come.
We hope this guide has been helpful in guiding you through the mattress cleaning process. Sleep tight and enjoy your freshly cleaned and rejuvenated mattress!
Conclusion
Cleaning your mattress is an important aspect of keeping a clean and healthy bedroom. By following the step-by-step process outlined in this guide, you can effectively clean and freshen up your mattress, ensuring a more comfortable and hygienic sleep environment.
From gathering the necessary materials to vacuuming both sides of the mattress, spot cleaning stains, and deodorizing, each step plays a crucial role in maintaining the cleanliness and longevity of your mattress.
Regularly cleaning your mattress not only helps remove dust, allergens, and stains but also prevents odors and prolongs the life of the mattress. It promotes better sleep quality, reduces the risk of allergies, and creates a more inviting atmosphere in your bedroom.
Remember to follow the manufacturer’s instructions and guidelines specific to your mattress. Some mattresses may have unique cleaning requirements or may not be suitable for flipping or rotating.
Make it a habit to clean your mattress at least every six months or as needed. By incorporating this task into your regular cleaning routine, you can ensure that your mattress remains in optimal condition for years to come.
So go ahead, gather the necessary materials, roll up your sleeves, and give your mattress the attention it deserves. Your efforts will be rewarded with a cleaner, fresher, and more comfortable sleeping surface that will contribute to a restful and rejuvenating night’s sleep.
Thank you for following this comprehensive guide on how to clean a mattress. Sleep tight, and enjoy your refreshed and revitalized sleeping haven!
Frequently Asked Questions about How Do I Clean A Mattress
Was this page helpful?
At Storables.com, we guarantee accurate and reliable information. Our content, validated by Expert Board Contributors, is crafted following stringent Editorial Policies. We're committed to providing you with well-researched, expert-backed insights for all your informational needs.