Home>Furniture>Bedroom Furniture>How To Clean A Lull Mattress
Bedroom Furniture
How To Clean A Lull Mattress
Modified: October 20, 2024
Learn how to properly clean a Lull mattress with our step-by-step guide. Discover the best practices for maintaining your bedroom furniture and ensuring a comfortable and hygienic sleep environment.
(Many of the links in this article redirect to a specific reviewed product. Your purchase of these products through affiliate links helps to generate commission for Storables.com, at no extra cost. Learn more)
Introduction
When it comes to our bedrooms, one of the most important pieces of furniture is undoubtedly our mattresses. Not only do mattresses provide us with a comfortable place to rest and recharge, but they also play a crucial role in our overall sleep quality and well-being. However, over time, mattresses can accumulate dust, dirt, allergens, and even stains, detracting from their performance and hygiene.
That’s why it’s essential to regularly clean and maintain your mattress to ensure its longevity and keep it in optimal condition. In this article, we will guide you through a step-by-step process on how to properly clean a Lull mattress, a popular and high-quality mattress brand that provides exceptional comfort and support.
By following these cleaning steps, you can remove dirt, stains, and odors from your Lull mattress, creating a healthier and more pleasant sleep environment. So, let’s get started!
Key Takeaways:
- Regularly cleaning your Lull mattress with simple supplies like baking soda and mild detergent can remove stains and odors, creating a healthier and more pleasant sleep environment.
- Properly drying your Lull mattress is crucial to prevent the growth of mold or mildew, ensuring a hygienic and fresh sleep surface for optimal sleep quality.
Read more: How To Clean A Latex Mattress
Step 1: Gather the necessary supplies
Before you begin cleaning your Lull mattress, it’s important to gather all the necessary supplies. Having everything you need on hand will make the process smoother and more efficient. Here are the supplies you’ll need:
- Vacuum cleaner with upholstery attachment
- Mild detergent or upholstery cleaner
- Baking soda
- Bowl or spray bottle
- Clean towels or cloth
- Vacuum seal bag (optional)
The vacuum cleaner with an upholstery attachment is crucial for removing surface debris, dust, and allergens from your mattress. It allows you to reach deep into the layers of the mattress and suction away any particles.
You’ll also need a mild detergent or upholstery cleaner to tackle stains and spots on the mattress. Make sure it is suitable for use on fabric, and always test it on a small, inconspicuous area of the mattress first to ensure it doesn’t cause any discoloration or damage.
Baking soda will come in handy for deodorizing the mattress by neutralizing any lingering odors. It is a natural and effective deodorizer that can freshen up your mattress.
A bowl or spray bottle will be used to create a cleaning solution for spot cleaning stains. This will allow you to apply the detergent or cleaner directly to the affected area.
Lastly, have clean towels or cloth ready to absorb excess moisture during the cleaning process and to blot away any stains or cleaning solution.
Optional, but highly recommended, is a vacuum seal bag. This will be used to store any bedding or linens while you clean your Lull mattress. It helps protect them from dust and dirt and keeps them fresh until you’re ready to put them back on the bed.
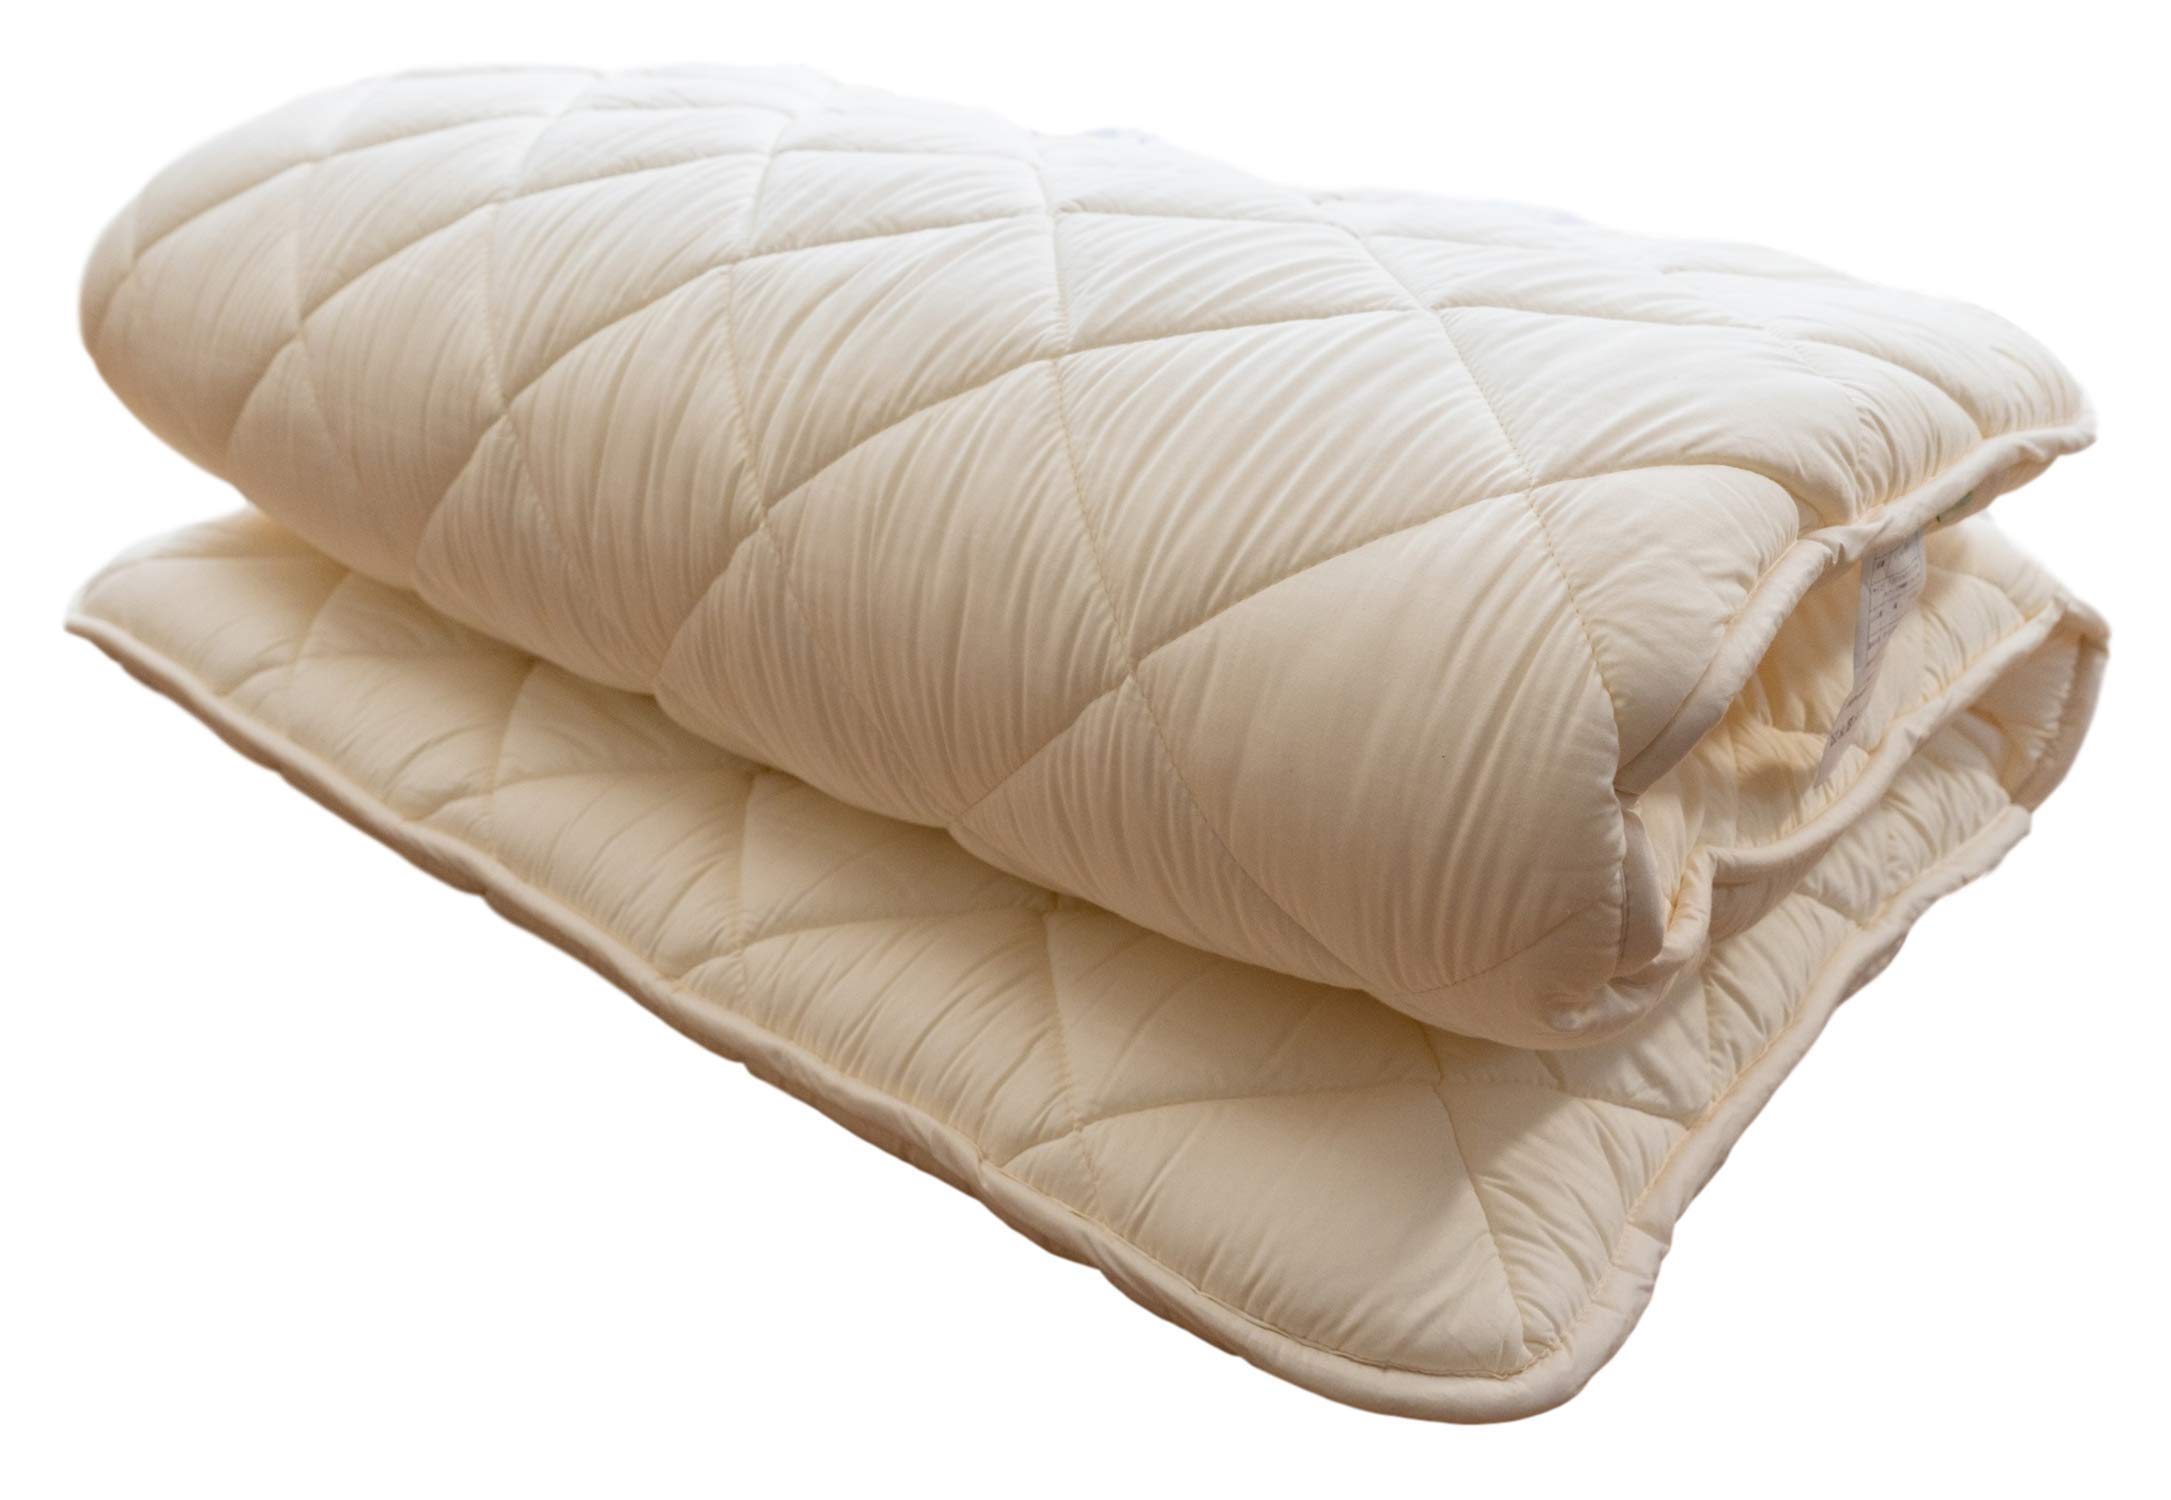
Step 2: Remove and wash the mattress cover
The mattress cover serves as a protective layer for your Lull mattress and is often removable and machine-washable. Cleaning the cover regularly helps to keep your mattress clean and fresh. Here’s how to remove and wash the mattress cover:
- Start by carefully removing all bedding and linens from your mattress. Place them in a vacuum seal bag or in a safe, clean area to keep them protected and out of the way.
- Locate the zipper or fastening mechanism that secures the mattress cover in place. Depending on the design of your Lull mattress, this may be located on the underside or around the edges.
- Unzip or unfasten the cover and carefully remove it from the mattress. Take your time to avoid tearing or damaging the cover.
- Check the care instructions on the mattress cover to determine the appropriate washing method. Most covers can be machine-washed in cold water on a gentle cycle.
- Use a mild detergent and avoid using bleach or harsh chemicals that can damage the fabric. Follow the manufacturer’s recommendations for the amount of detergent to use.
- Place the mattress cover in the washing machine and start the cycle. Allow it to complete the full wash and rinse cycle.
- Once the wash cycle is complete, remove the cover from the washing machine and gently squeeze out any excess water. Avoid wringing or twisting the fabric to prevent stretching or distorting the shape of the cover.
- Hang the mattress cover to air dry in a well-ventilated area. Avoid direct sunlight, as this can cause fading or discoloration.
- Make sure the cover is completely dry before placing it back on the mattress. This will prevent any moisture from being trapped inside, which can lead to mold or mildew growth.
- Once the cover is fully dry, zip or fasten it back onto the mattress, ensuring a secure fit.
Cleaning the mattress cover on a regular basis not only helps to maintain its freshness but also prolongs its lifespan. By following these steps, you can keep your Lull mattress cover clean and hygienic for a comfortable sleep experience.
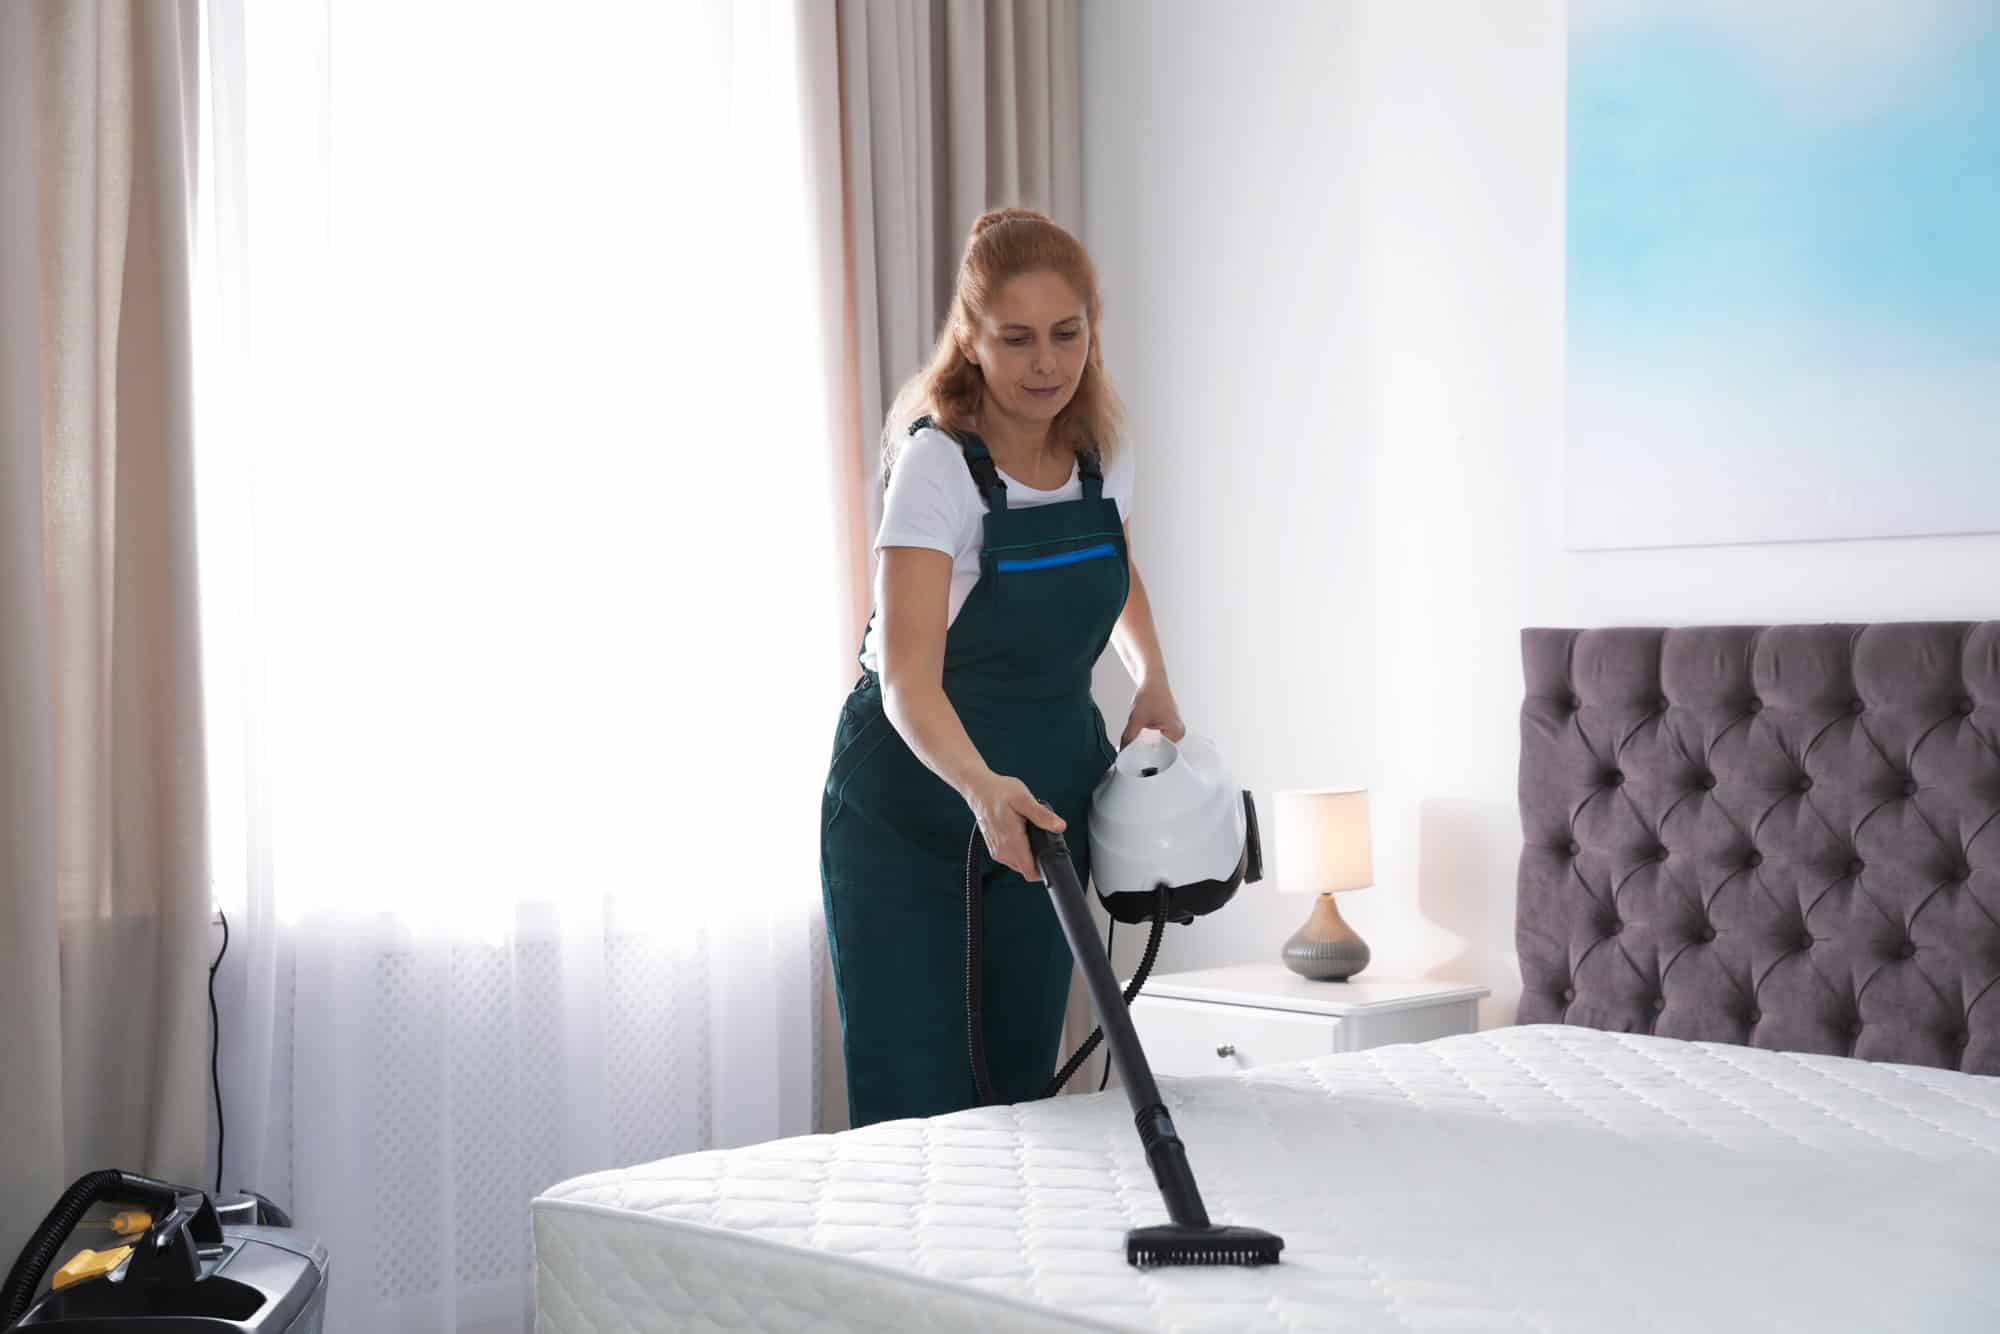
Step 3: Vacuum the mattress
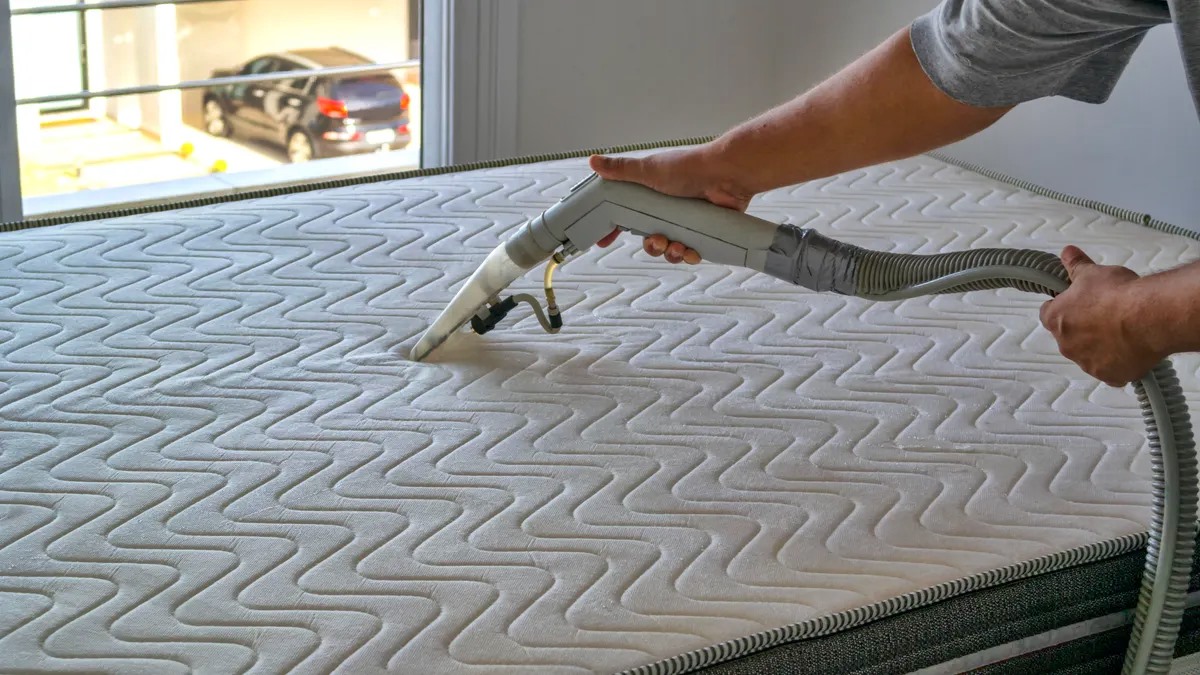
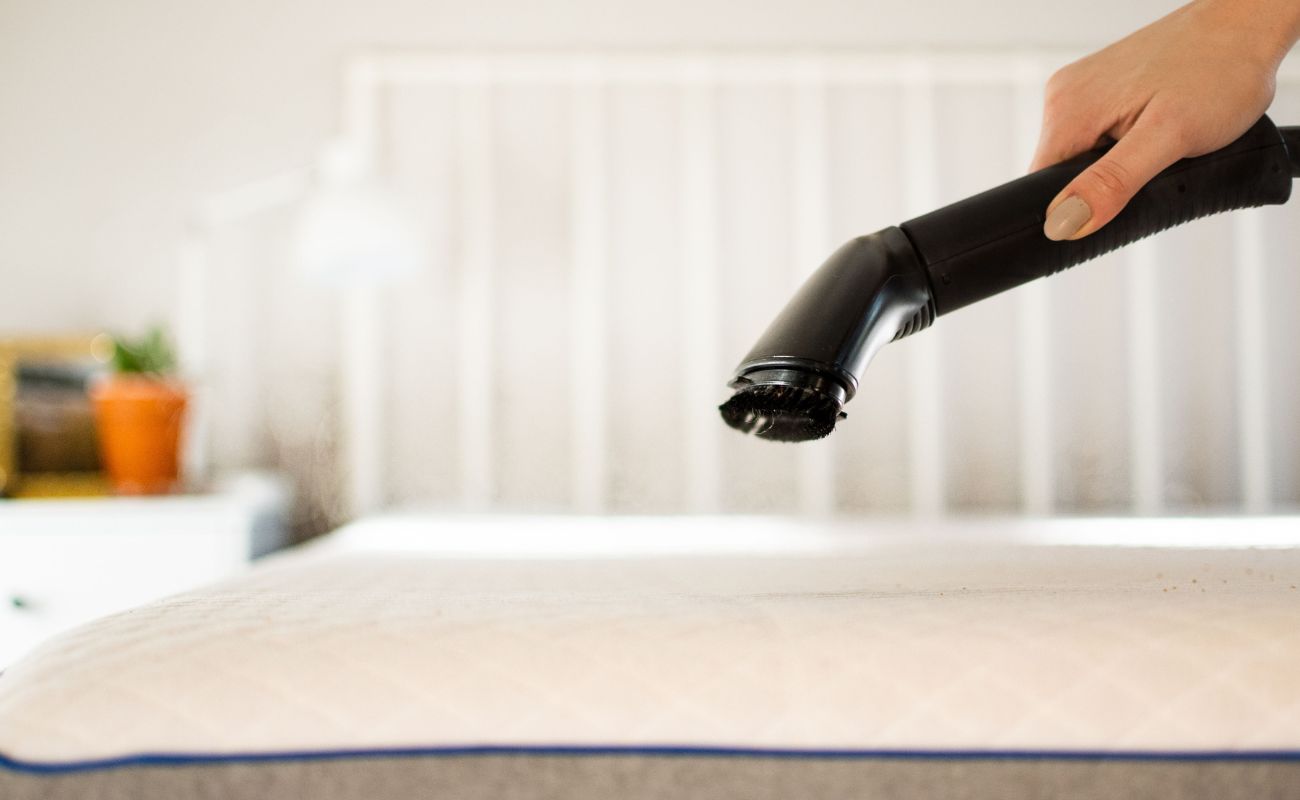
Vacuuming your mattress is an essential step in the cleaning process as it helps to remove dust, dirt, allergens, and any other debris that may have accumulated on the surface and within the layers of the mattress. Here’s how to effectively vacuum your Lull mattress:
- Start by attaching the upholstery attachment to your vacuum cleaner. This attachment is specifically designed to clean upholstery, making it ideal for mattresses.
- Before you begin, make sure the vacuum cleaner is clean and free of any clogs or debris that could affect its performance.
- Begin at one corner of the mattress and slowly move the vacuum cleaner across the surface in straight, overlapping passes. Apply gentle pressure to ensure that the vacuum penetrates the layers and effectively removes the dirt and dust.
- Pay special attention to the seams, edges, and corners of the mattress, as these areas tend to accumulate more debris. Use the crevice tool attachment to reach these tight spots.
- If your vacuum cleaner has a HEPA filter, it can effectively trap small particles and allergens, improving the air quality in your bedroom. Check the manufacturer’s instructions and replace or clean the filter as necessary.
- Continue vacuuming the entire surface of the mattress, moving systematically from one side to the other. Take your time and be thorough to ensure all areas are clean.
- Once you have vacuumed the entire mattress, it’s a good idea to vacuum the surrounding area too, such as the bed frame and underneath the bed. This will eliminate any dust or allergens that may have settled there.
- After vacuuming, empty the vacuum cleaner canister or replace the bag to prevent the collected dust and debris from spreading back into the air.
Vacuuming your Lull mattress regularly, ideally every few months, will help to keep it free from dust, allergens, and other unwanted particles. It’s an important step in maintaining a clean and healthy sleep environment.
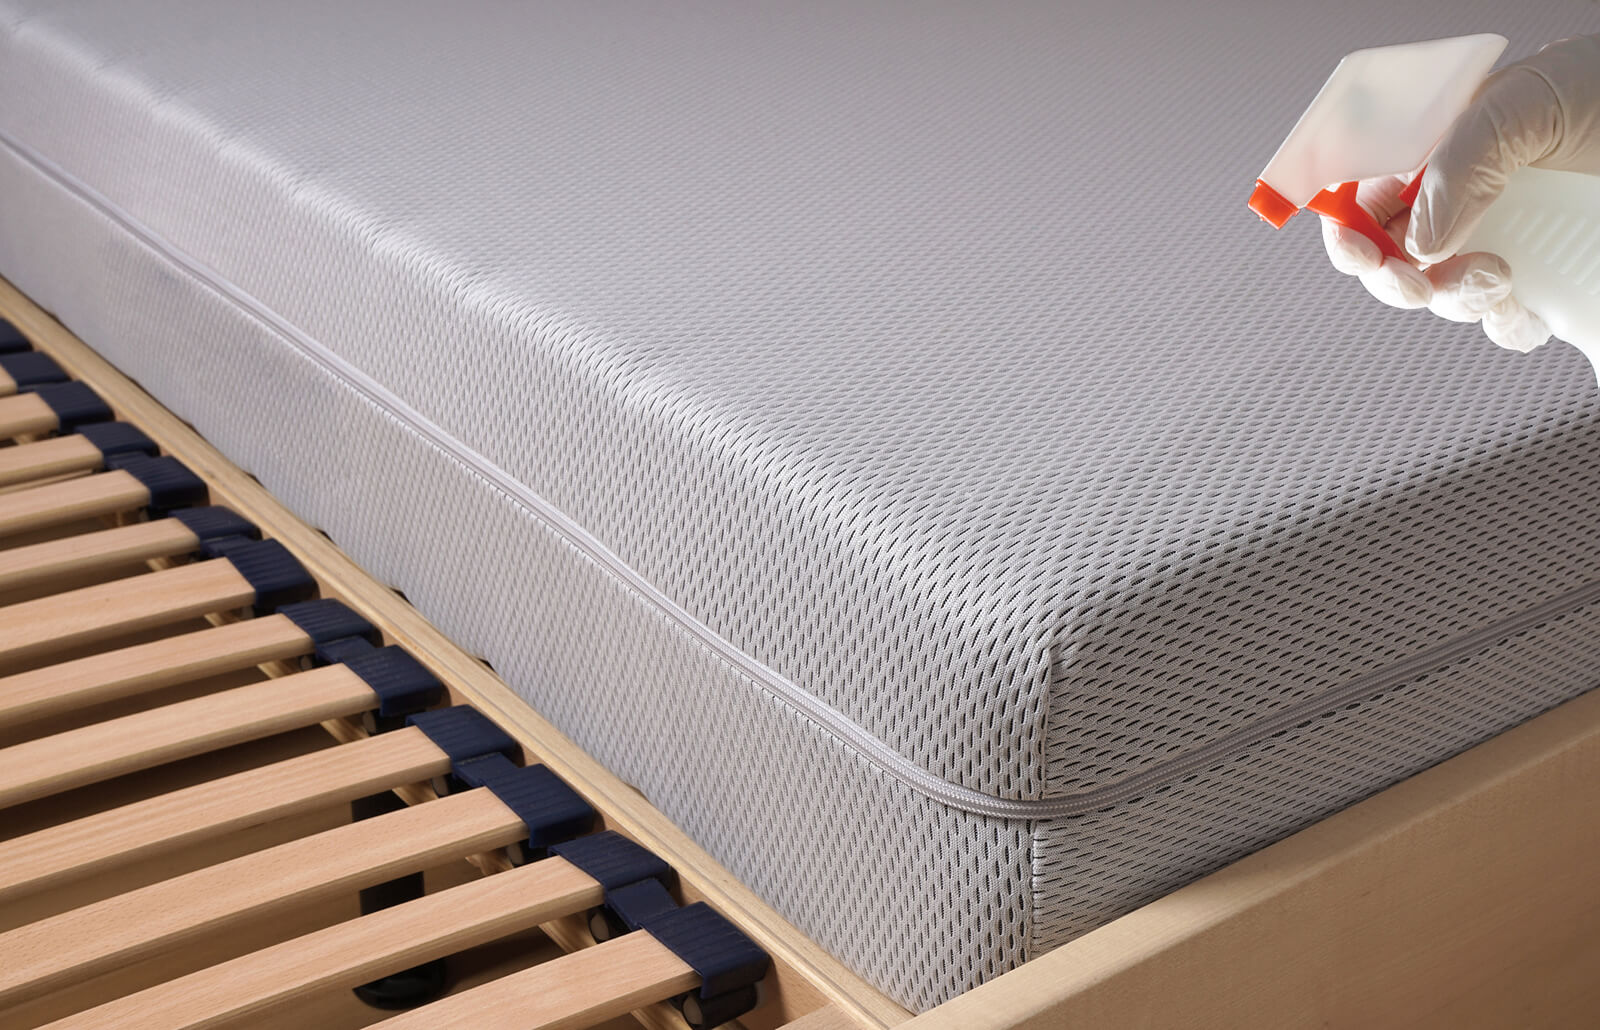
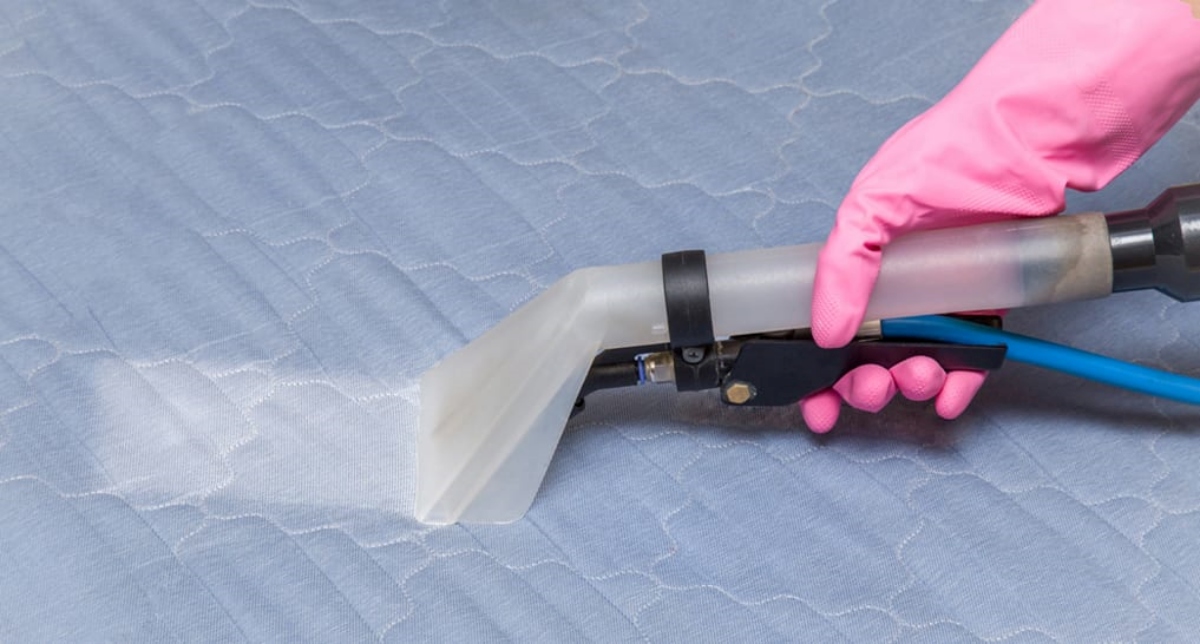
Use a mild detergent and warm water to spot clean any stains on your Lull mattress. Gently blot the area with a clean cloth and allow it to air dry completely before putting on any bedding.
Step 4: Spot clean any stains
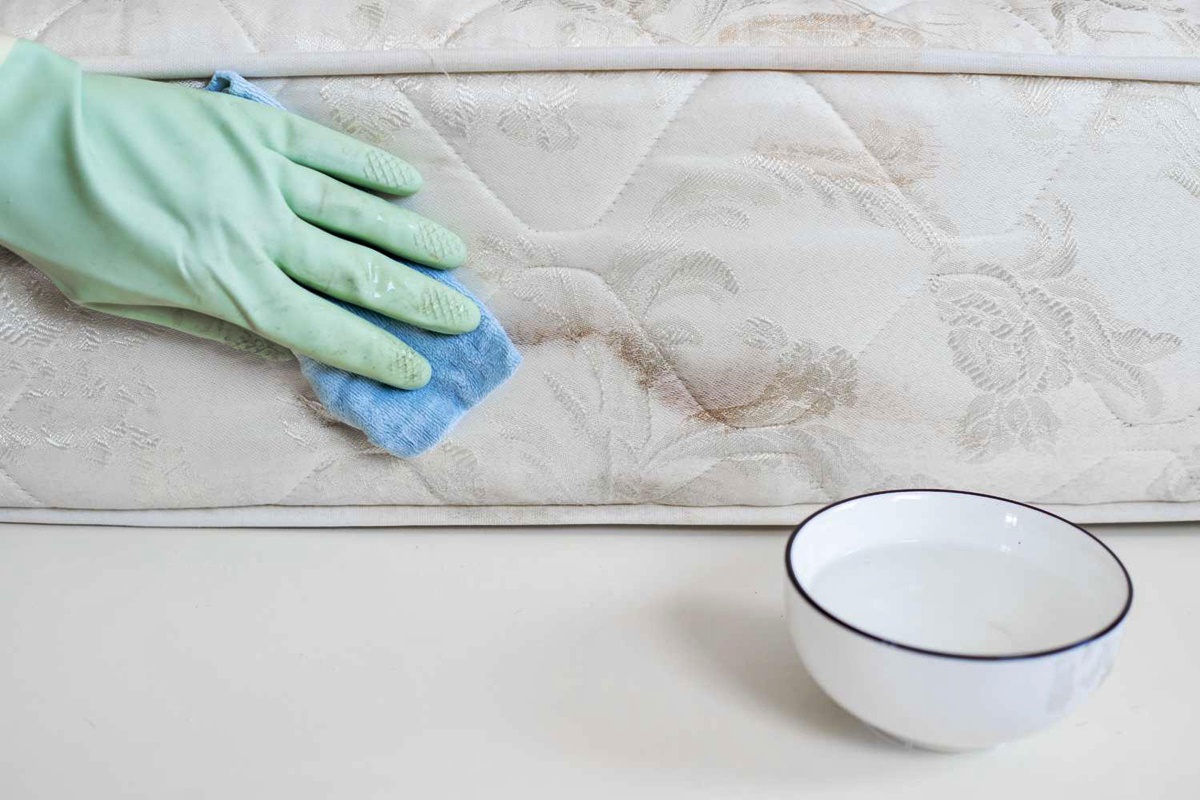
Over time, your Lull mattress may develop stains from spills, accidents, or other sources. Spot cleaning these stains promptly is crucial to prevent them from setting and becoming more challenging to remove. Here’s how to effectively spot clean stains on your mattress:
- Identify the stains on your mattress. Common types of stains include food or beverage spills, body fluids, or pet accidents.
- Create a cleaning solution by mixing a small amount of mild detergent or upholstery cleaner with warm water. Avoid using too much detergent, as excessive soap can leave residue on your mattress.
- Dip a clean cloth or sponge into the cleaning solution, wring it out to remove any excess moisture, and gently blot the stained area. Avoid rubbing the stain, as this can push it deeper into the mattress fibers.
- Continue blotting the stain until it starts to fade. Be patient, as some stains may require multiple rounds of blotting.
- If the stain persists, you can create a stronger cleaning solution by mixing equal parts water and white vinegar. Apply this mixture to the stain and blot it gently with a clean cloth. Vinegar is a natural stain remover and can be effective in breaking down stubborn stains.
- Once the stain is removed, dampen a clean cloth with plain water and gently blot the area to remove any cleaning solution residue.
- Allow the mattress to air dry completely before moving on to the next step. You can speed up the drying process by using a fan or opening windows for increased airflow.
It’s important to note that not all stains can be completely removed, especially if they have set into the mattress for an extended period. However, by following these steps and addressing stains promptly, you can significantly improve their appearance and minimize their impact on your mattress.
Read more: How To Clean And Deodorize A Mattress
Step 5: Deodorize the mattress
Over time, mattresses can develop odors due to sweat, body oils, or other factors. Deodorizing your Lull mattress is an important step to keep it smelling fresh and clean. Here’s how to effectively deodorize your mattress:
- Sprinkle a generous amount of baking soda evenly over the entire surface of the mattress. Baking soda is a natural deodorizer that can help absorb and neutralize odors.
- Using a clean cloth or a soft brush, gently rub the baking soda into the fabric of the mattress. This will ensure that the baking soda penetrates the surface and reaches the deeper layers of the mattress.
- Let the baking soda sit on the mattress for at least 1-2 hours, but overnight is even better. This will allow ample time for the baking soda to work its magic and absorb any odors.
- After the desired time has passed, vacuum the mattress once again to remove the baking soda. Use the upholstery attachment and make sure to thoroughly vacuum the entire surface, including the edges and corners.
- Pay special attention to areas where you applied more baking soda, as these areas may require a bit more time to vacuum completely.
- Additionally, if you notice any lingering odors, you can lightly mist the mattress with a fabric freshener or a mixture of water and a few drops of your favorite essential oil. Be cautious not to saturate the mattress, as excessive moisture can lead to mold or mildew growth.
- Allow the mattress to air out completely before placing any bedding or linen back onto it.
Deodorizing your Lull mattress regularly, every few months, can help keep it smelling fresh and inviting. The baking soda absorbs and neutralizes odors, leaving your mattress clean and pleasant.
Step 6: Allow the mattress to air dry
After going through the cleaning and deodorizing process, it’s crucial to allow your Lull mattress to air dry completely before using it again. Here’s how to ensure proper drying:
- Find a well-ventilated area where you can place the mattress to air dry. Ideally, choose a spot with good air circulation, such as near an open window or with the help of a fan.
- If possible, prop the mattress up on its side or against a wall to maximize airflow around all sides. This will help speed up the drying process and prevent any trapped moisture.
- Avoid direct exposure to sunlight, as it can cause fading or discoloration of the fabric and materials.
- Patience is essential during this step, as drying times can vary depending on factors such as humidity levels and the amount of moisture present. It may take anywhere from a few hours to a full day for your mattress to completely dry.
- During the drying process, periodically check the mattress for any signs of dampness or moisture. If you notice any, continue allowing it to air dry until it is fully dry.
- Once the mattress is completely dry, you can feel confident in placing your clean bedding and linens back on top.
Properly drying your Lull mattress is crucial to prevent the growth of mold or mildew. Moisture trapped within the mattress can lead to unpleasant odors and potential health hazards. By allowing it to air dry thoroughly, you ensure a hygienic and fresh sleep surface.
Conclusion
Cleaning and maintaining your Lull mattress is a vital part of ensuring its longevity, performance, and your overall sleep health. By following the steps outlined in this guide, you can effectively clean and refresh your mattress, creating a clean and comfortable sleep environment.
Gathering the necessary supplies, removing and washing the mattress cover, vacuuming the mattress, spot cleaning stains, deodorizing, and allowing the mattress to air dry are all essential steps in maintaining a hygienic and fresh sleep surface.
Regularly cleaning your Lull mattress not only helps to remove dirt, dust, and allergens, but it also helps to prolong its lifespan and ensure optimal sleep quality. By keeping your mattress clean, you create a healthier environment that promotes better sleep and overall well-being.
Remember, prevention is key. It’s a good idea to use a mattress protector that can further protect your mattress from spills, stains, and bacteria. Following the care instructions provided by the manufacturer is also important to maintain the warranty and ensure the best care for your specific Lull mattress model.
So, don’t neglect the cleanliness of your Lull mattress. With regular cleaning and maintenance, you can enjoy a comfortable and refreshing sleep for years to come.
Frequently Asked Questions about How To Clean A Lull Mattress
Was this page helpful?
At Storables.com, we guarantee accurate and reliable information. Our content, validated by Expert Board Contributors, is crafted following stringent Editorial Policies. We're committed to providing you with well-researched, expert-backed insights for all your informational needs.