Home>Furniture>Bedroom Furniture>How To Clean A Dusty Mattress
Bedroom Furniture
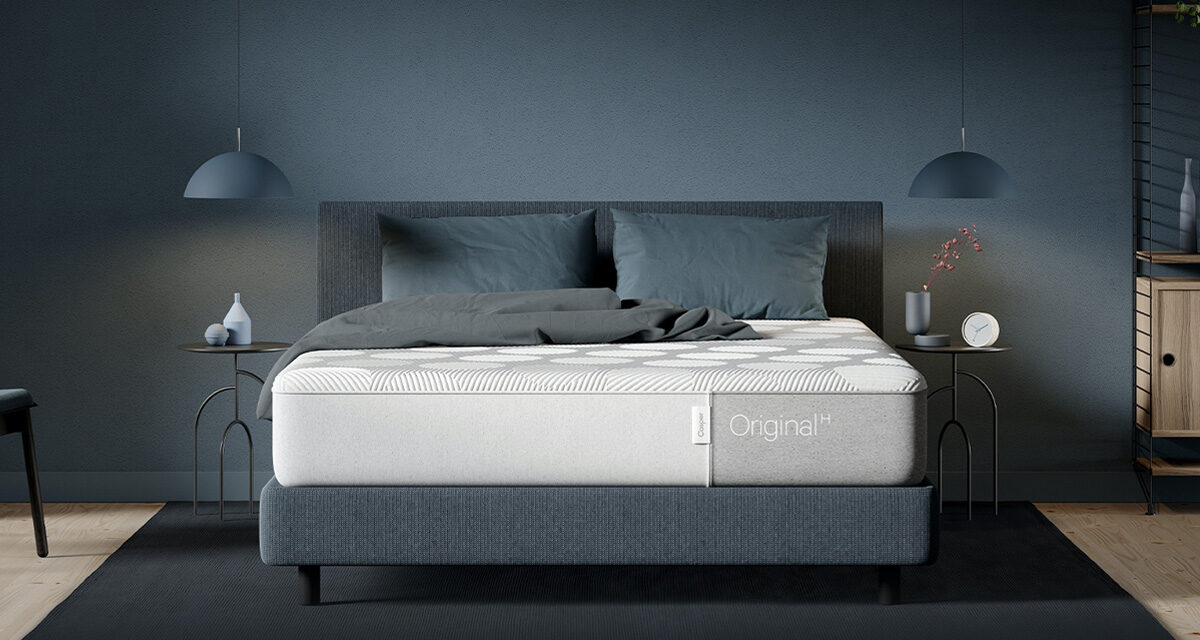
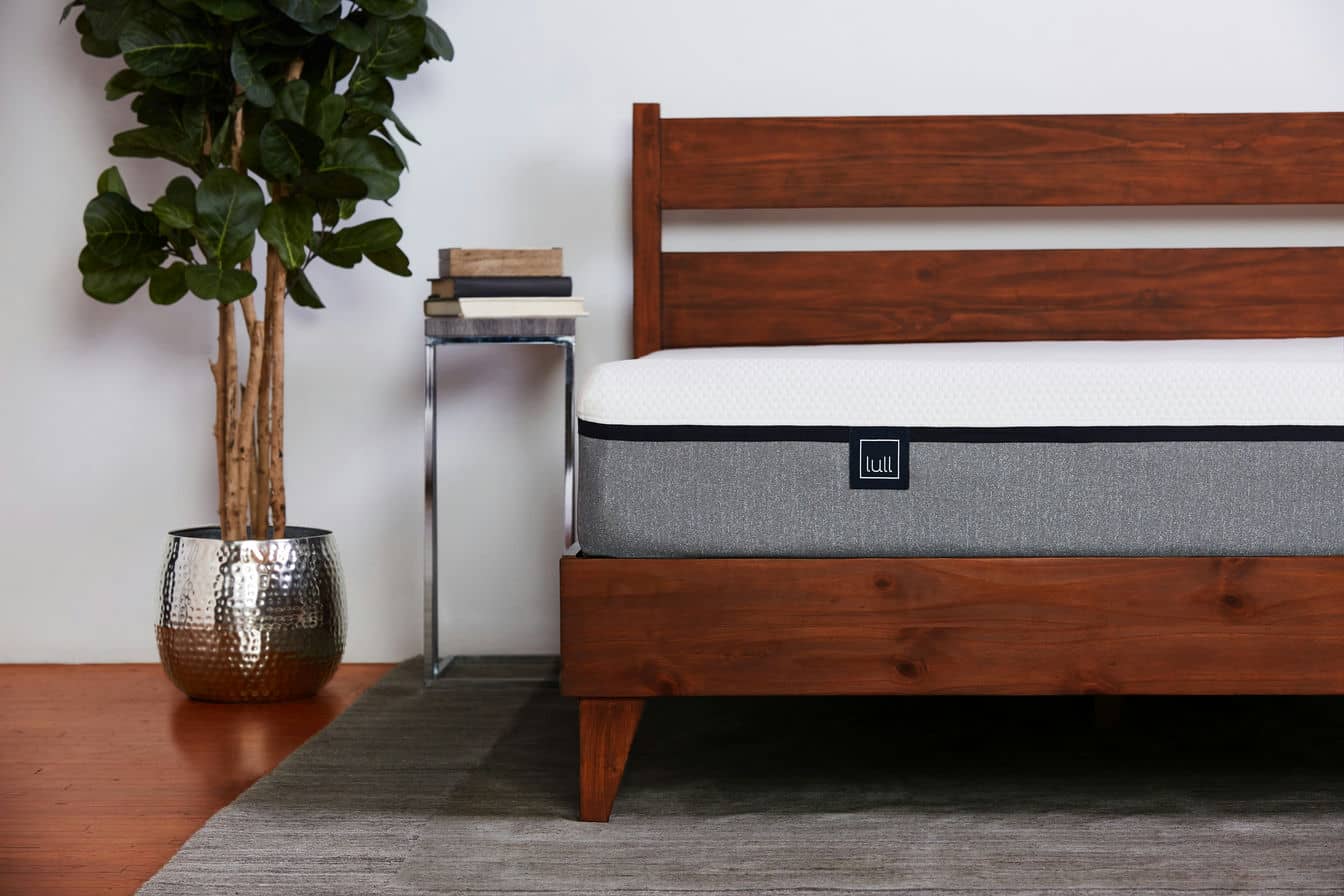
How To Clean A Dusty Mattress
Modified: October 18, 2024
Learn how to effectively clean your dusty mattress and improve the air quality in your bedroom. Discover the best tips and tricks for maintaining your bedroom furniture.
(Many of the links in this article redirect to a specific reviewed product. Your purchase of these products through affiliate links helps to generate commission for Storables.com, at no extra cost. Learn more)
Introduction
Having a dusty mattress can not only be unhygienic but also lead to various health issues. Dust mites, allergens, and debris can accumulate over time, making your bedtime experience less pleasant. However, with the right tools and techniques, you can easily clean and maintain your mattress to ensure a clean and comfortable sleep environment.
In this article, we will guide you through a step-by-step process on how to clean a dusty mattress effectively. Whether you’re dealing with surface dust or stubborn stains, our tips and tricks will help you restore your mattress to its pristine condition.
Before we dive into the cleaning process, it’s important to note that regular mattress maintenance is essential for its longevity and your overall well-being. Regular cleaning not only removes dirt and dust but also helps to eliminate odors and maintain a healthy sleep environment.
So, let’s gather our supplies and get ready to give your mattress the care it deserves!
Key Takeaways:
- Regularly cleaning and maintaining your mattress is essential for a hygienic and comfortable sleep environment. Follow the step-by-step guide to remove dust, stains, and odors, ensuring a fresh and rejuvenating night’s sleep.
- Gathering the necessary supplies, vacuuming, spot cleaning stains, deodorizing, flipping and rotating, vacuuming the other side, and replacing bedding are crucial steps in effectively cleaning and maintaining your mattress. These steps contribute to a clean, inviting, and long-lasting sleep surface.
Read more: How To Clean Dusty Basement Floor
Step 1: Gather the necessary supplies
Before you begin the cleaning process, it’s important to gather all the necessary supplies. Having these items on hand will make the cleaning process more efficient and effective. Here’s what you’ll need:
- Vacuum Cleaner: A vacuum cleaner with upholstery attachments is essential for removing dust, dirt, and allergens from the surface of your mattress.
- Brush or Broom: A soft-bristled brush or a broom will help you loosen and remove any debris or particles that may be embedded in the mattress.
- Stain Remover: Depending on the type of stains you have on your mattress, you may need a stain remover. There are various options available, such as baking soda, hydrogen peroxide, or a pre-made mattress stain remover.
- Enzyme Cleaner: If your mattress has any pet stains or odors, an enzyme cleaner specifically designed for pet accidents can be very effective in eliminating them.
- Fabric Cleaner: In case your mattress has removable covers or is made of fabric that requires a gentle cleaning solution, a fabric cleaner can be handy.
- Baking Soda: Baking soda is a versatile and natural deodorizer. It can help eliminate odors and freshen up your mattress during the cleaning process.
- Protective cover or mattress protector: Once your mattress is clean, it’s a good idea to invest in a protective cover or mattress protector to prevent future dust accumulation and stains.
Make sure to have all these supplies readily available before you start the cleaning process. Having everything in one place will save you time and ensure a smooth cleaning experience.
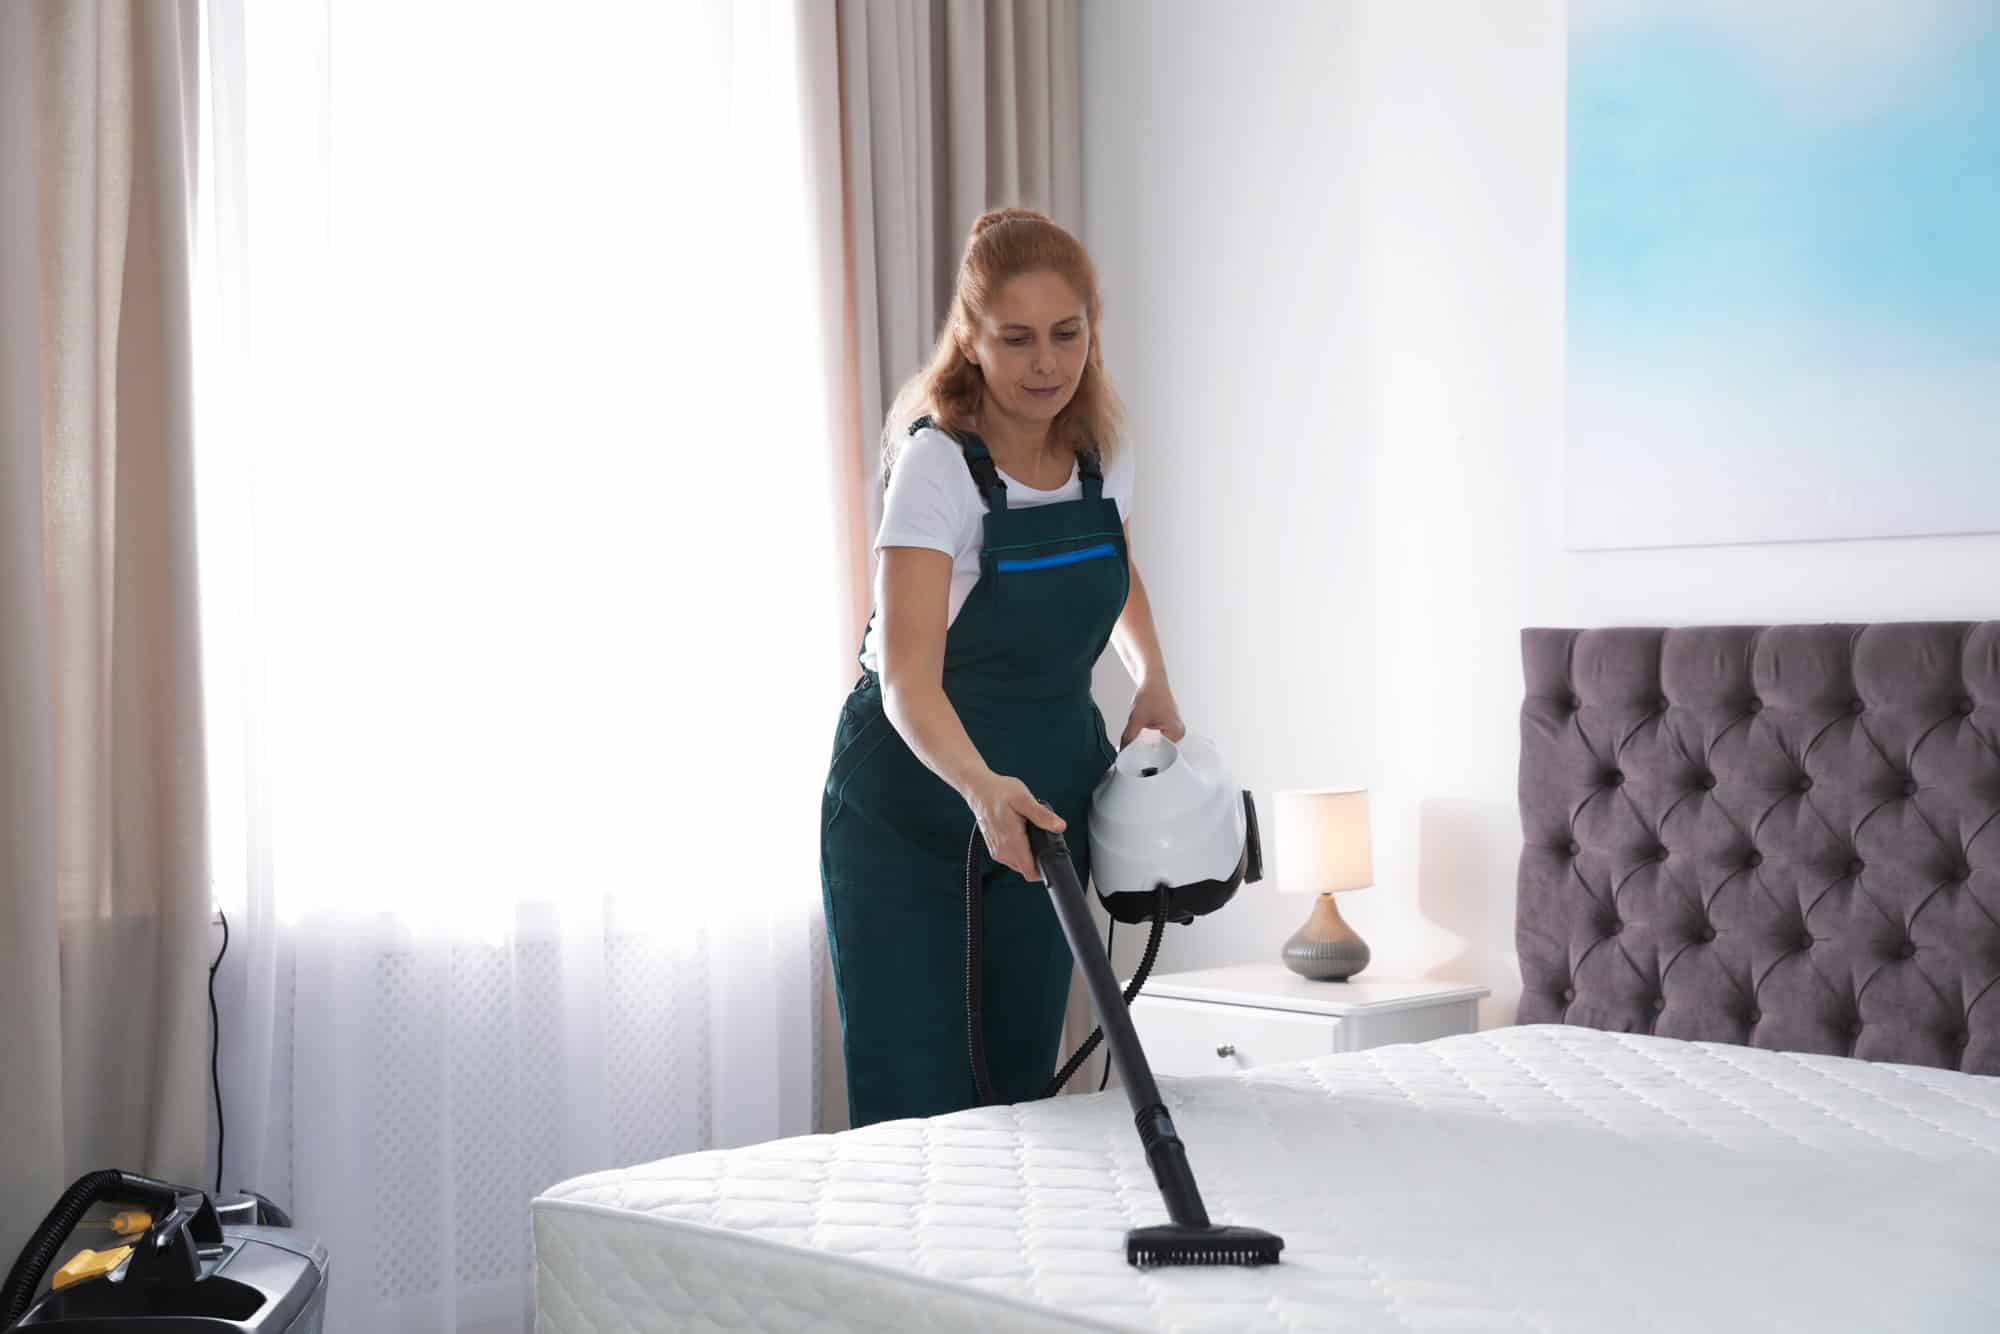
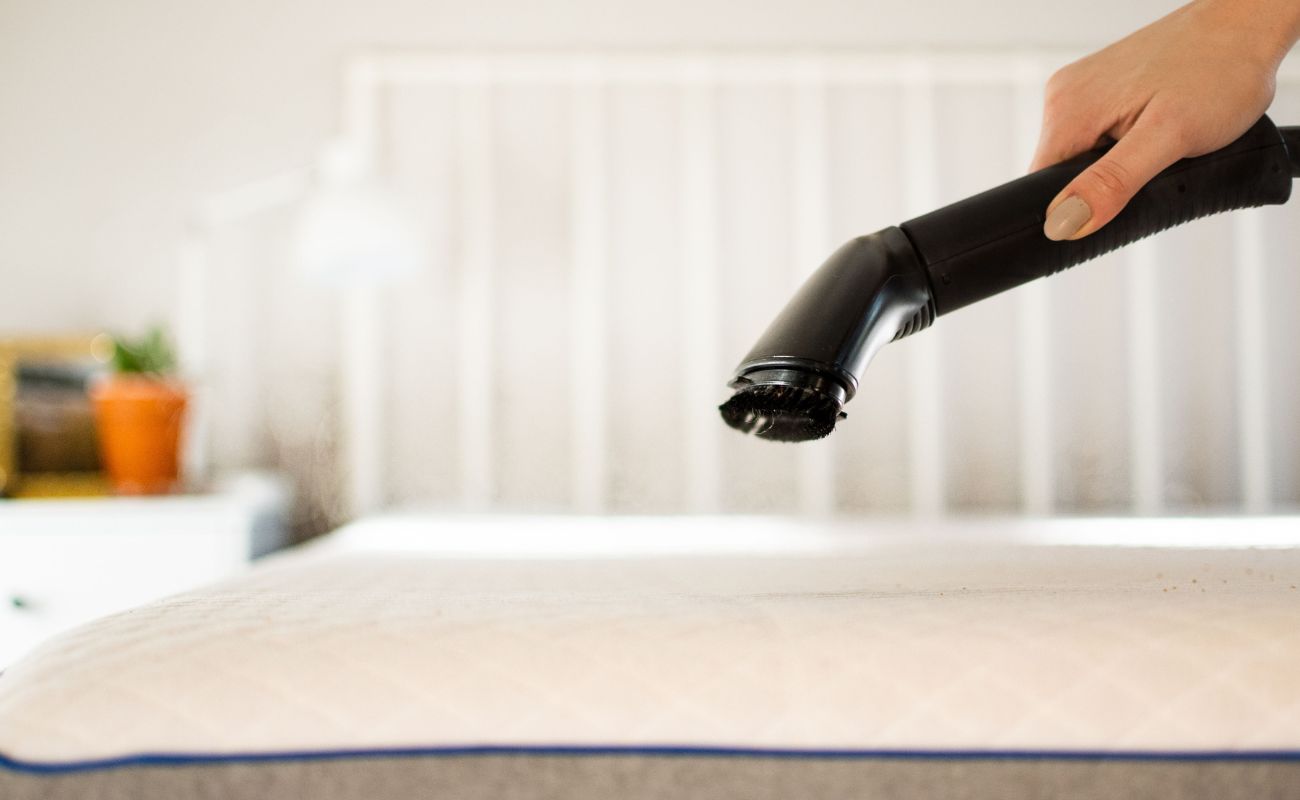
Step 2: Remove bedding and vacuum the mattress
Before you can start cleaning your mattress, you need to remove all bedding, including sheets, pillowcases, and mattress protectors. Set aside the bedding to be washed separately.
Once the bedding is removed, it’s time to give your mattress a thorough vacuuming. Using the upholstery attachment on your vacuum cleaner, carefully go over the entire surface of the mattress, including the sides and edges.
Begin by running the vacuum cleaner in long, overlapping strokes. This will help to remove any loose dirt, dust, and particles that may have accumulated on the surface of the mattress. Pay special attention to the seams and crevices where debris tends to accumulate.
Next, focus on the top surface of the mattress, using the upholstery attachment to gently remove any remaining dirt and dust. Ensure you cover the entire surface, working from one end to the other in a systematic manner.
If your mattress has any visible stains or spills, lightly go over those areas with the upholstery attachment to remove any loose particles before proceeding to the next step.
Vacuuming your mattress regularly not only eliminates surface dust and allergens but also helps to prevent the accumulation of dirt and debris deeper within the mattress. This is especially important if you suffer from allergies or asthma.
Now that your mattress is free of debris and dust, it’s time to move on to the next step: spot cleaning any stains or spills that may be present.
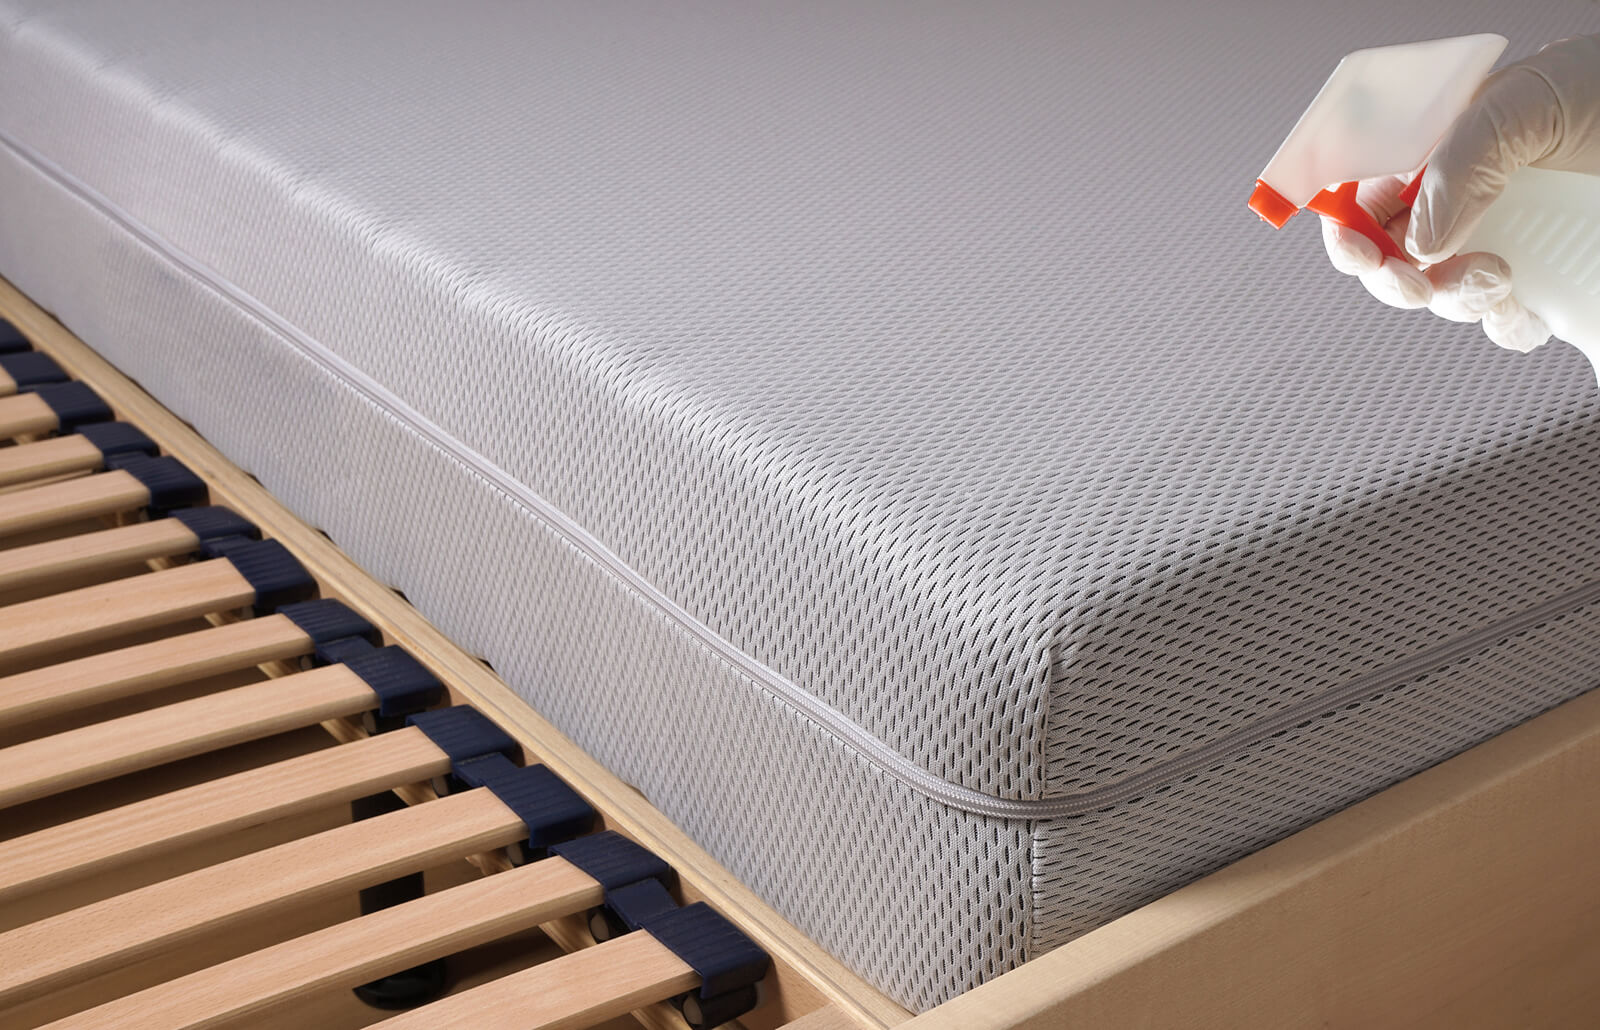
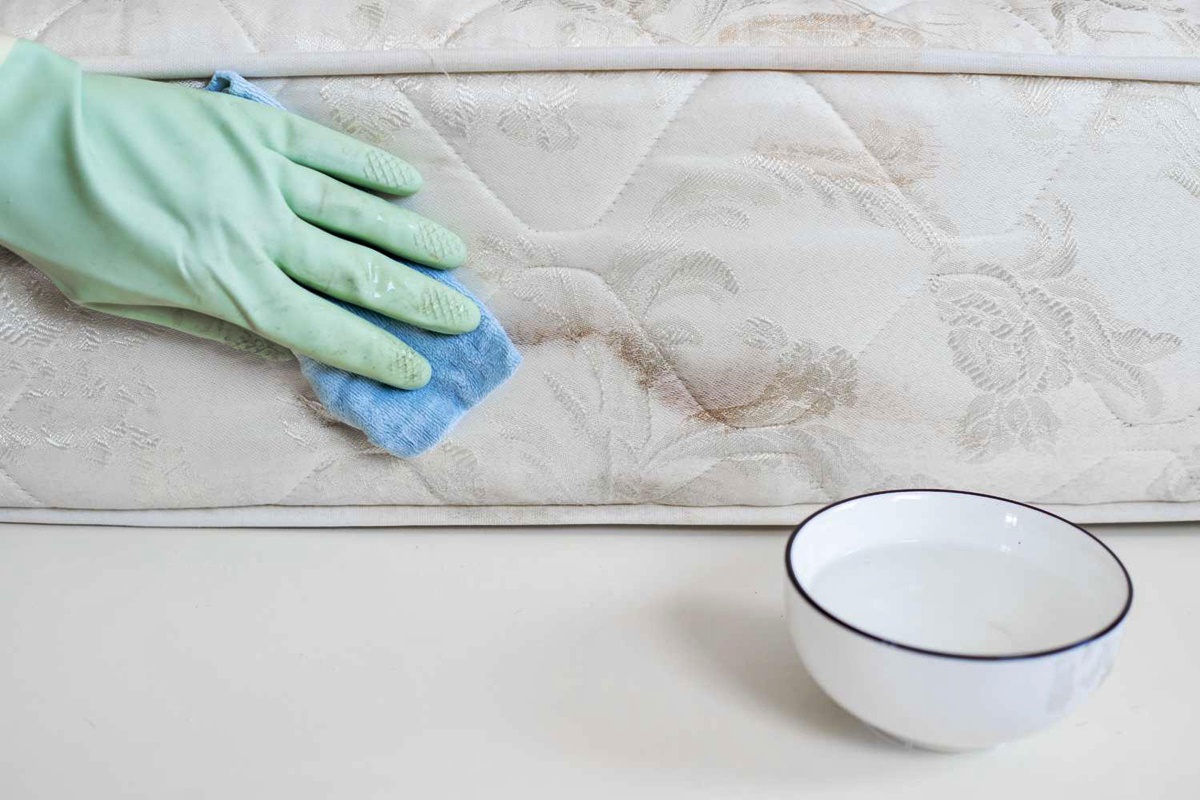
Step 3: Spot clean stains and spills
Even with regular care and maintenance, it’s not uncommon for mattresses to develop stains and spills over time. These can range from food and beverage stains to bodily fluids or even pet accidents. Spot cleaning these stains is crucial to keeping your mattress fresh and hygienic.
Here’s how you can effectively spot clean stains and spills on your mattress:
- Identify the stain: Determine the type of stain you’re dealing with. Common stains include sweat, blood, urine, or food. Knowing the nature of the stain can help you choose the appropriate cleaning solution.
- Blot the stain: Before applying any cleaning solution, gently blot the stained area with a clean, dry cloth to absorb any excess liquid. Avoid rubbing, as it can spread the stain and push it deeper into the mattress.
- Choose a cleaning solution: Depending on the type of stain, select the appropriate cleaning solution. Common options include a mixture of mild detergent and water, hydrogen peroxide for blood stains, or a baking soda paste for odors. Always test the cleaning solution on a small, inconspicuous area of the mattress before applying it to the stain directly.
- Apply the cleaning solution: Using a clean cloth or sponge, dab the cleaning solution onto the stain. Gently work the solution into the stain using circular motions. Avoid saturating the mattress with too much liquid, as it can lead to mildew or damage the mattress foam.
- Allow the solution to sit: Let the cleaning solution sit on the stain for a few minutes to penetrate and break down the stain. This will make it easier to remove.
- Blot and rinse: After the solution has had time to work, blot the stained area again with a clean, damp cloth to remove the cleaning solution. Rinse and wring out the cloth frequently to prevent spreading the stain.
- Air dry the mattress: Allow the treated area to air dry completely before proceeding to the next step. Open windows or use a fan to aid in the drying process.
Remember, the key to effectively spot cleaning stains is to address them as soon as they occur. The longer a stain sits on the mattress, the more challenging it can be to remove completely.
Once you have spot-cleaned any stains, it’s time to deodorize the mattress and eliminate any lingering odors.
Step 4: Deodorize the mattress
After spot cleaning stains and spills, it’s important to deodorize your mattress to eliminate any unpleasant odors and freshen it up. This step will leave your mattress smelling clean and inviting.
Here are some effective methods to deodorize your mattress:
- Baking Soda: Baking soda is a powerful natural deodorizer. Sprinkle a generous amount of baking soda over the entire surface of your mattress, focusing on areas with stains or odors. Let it sit for at least 15-30 minutes to allow the baking soda to absorb any odors. Then, use a vacuum cleaner with an upholstery attachment to thoroughly remove the baking soda.
- Essential Oils: Essential oils can add a pleasant aroma to your mattress while also providing antimicrobial properties. Dilute a few drops of your preferred essential oil, such as lavender or tea tree oil, in water and spray it lightly over the mattress. Allow it to air dry completely before putting back the bedding.
- Enzyme Cleaner: If your mattress has lingering pet odors, an enzyme cleaner designed for pet accidents can be very effective. Follow the instructions on the product label and spray it on the affected areas. Make sure to let the cleaner sit for the recommended amount of time before blotting and allowing the mattress to air dry.
Regularly deodorizing your mattress helps to keep it smelling fresh and inviting, ensuring a pleasant sleeping environment. It’s especially beneficial if you or your family members suffer from allergies or have pets.
Now that your mattress is clean and fresh, it’s time to flip and rotate it for even wear and longevity.
Vacuum your mattress regularly to remove dust and allergens. Use a handheld vacuum with a brush attachment for best results.
Read more: How To Clean A Latex Mattress
Step 5: Flip and rotate the mattress
Flipping and rotating your mattress is an important step in maintaining its shape, ensuring even wear, and extending its lifespan. This process prevents the mattress from developing permanent indentations and can help distribute body weight more evenly.
Here’s how you can flip and rotate your mattress:
- Check the manufacturer’s instructions: Before flipping or rotating your mattress, refer to the manufacturer’s guidelines. Some mattresses are designed to be one-sided and should not be flipped, while others can be rotated or flipped periodically. Follow the recommended instructions to avoid damaging the mattress.
- Remove bedding and accessories: Strip off all bedding, including sheets, pillowcases, and mattress protectors.
- Flip the mattress: If your mattress is double-sided and can be flipped, carefully rotate it 180 degrees so that the head of the bed is now the foot and vice versa. This helps to distribute the pressure points and wear more evenly across the mattress.
- Rotate the mattress: If flipping the mattress is not required, simply rotate it 180 degrees so that the top becomes the bottom. This allows for even weight distribution and prevents sagging in specific areas.
- Make sure the mattress is properly aligned: Once you’ve flipped and rotated the mattress, ensure that it is properly aligned within the bed frame or foundation.
Regularly flipping and rotating your mattress can help maintain its structural integrity and ensure a more comfortable sleep surface. This step is especially important for mattresses that are used regularly and can help extend their lifespan.
With the mattress now flipped and rotated, it’s time to give the other side a thorough vacuuming to remove any dust or debris.
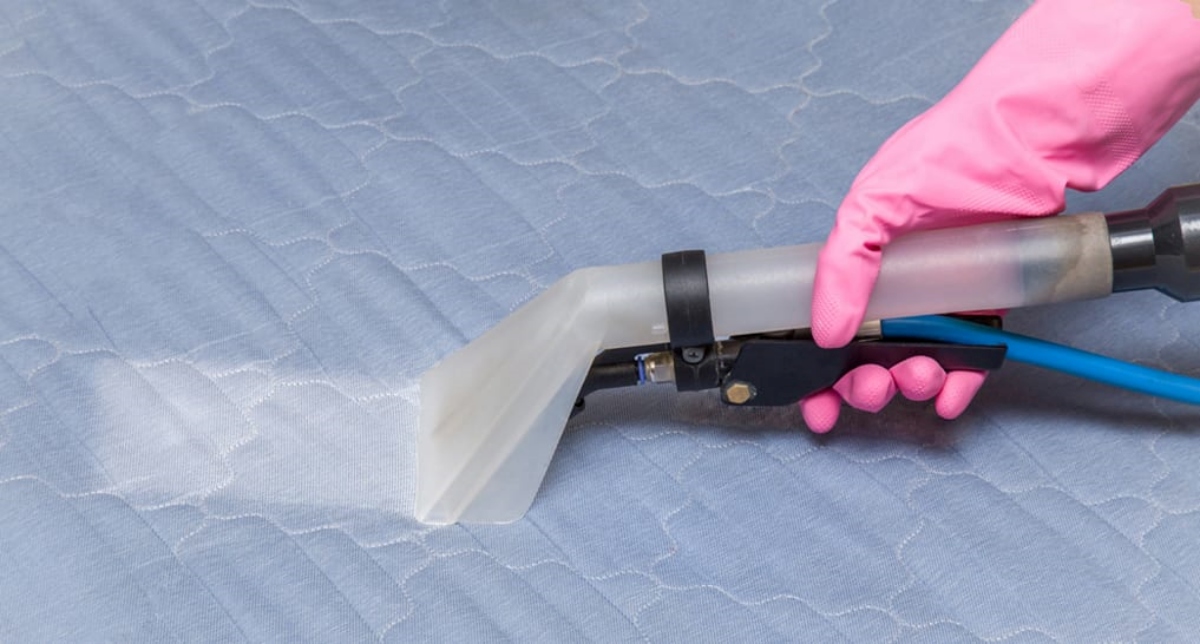
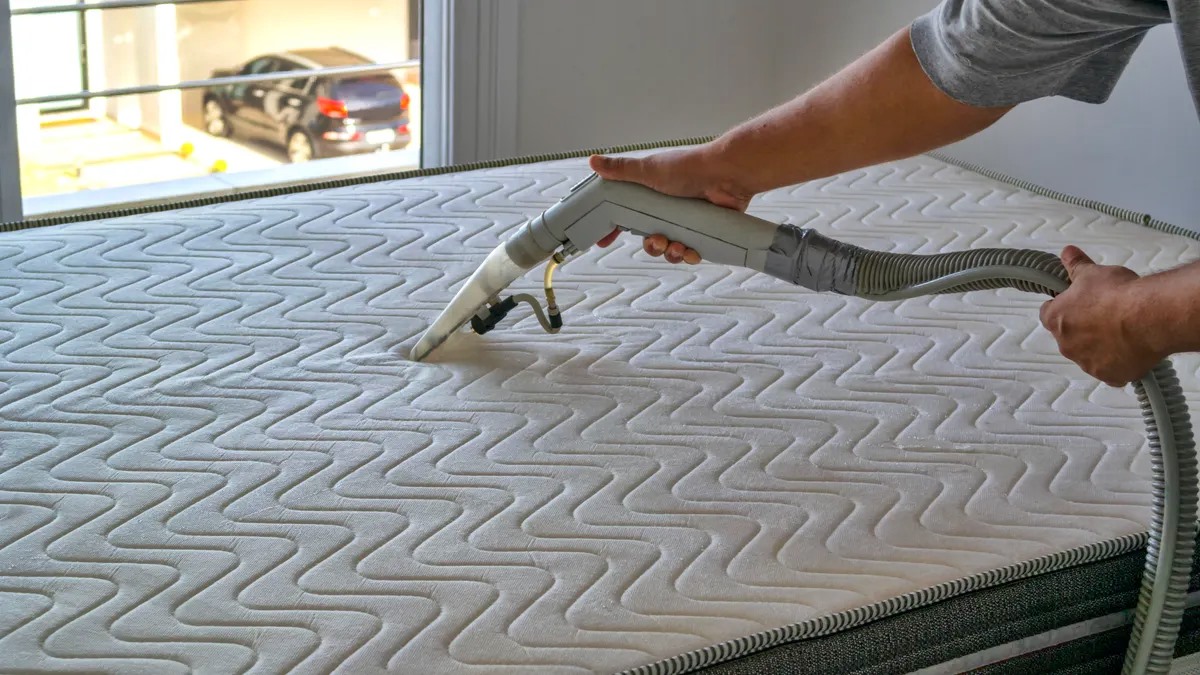
Step 6: Vacuum the other side of the mattress
Now that you have flipped and rotated your mattress, it’s important to vacuum the other side to remove dust, dirt, and allergens that may have accumulated. This step helps maintain a clean and hygienic sleep surface.
Follow these steps to effectively vacuum the other side of your mattress:
- Remove bedding and accessories: Start by removing all bedding, including sheets, pillowcases, and mattress protectors.
- Attach the upholstery attachment: Attach the upholstery attachment to your vacuum cleaner. This attachment is specifically designed to clean fabric surfaces and remove debris from your mattress.
- Vacuum the surface: Starting from the top of the mattress, use the upholstery attachment to thoroughly vacuum the other side. Pay attention to the seams, edges, and corners of the mattress, as these areas can collect more dust and dirt.
- Use overlapping strokes: To ensure thorough cleaning, use long, overlapping strokes as you vacuum. This helps to capture all the particles and allergens embedded in the mattress fabric.
- Pay attention to crevices: Use the crevice tool or a narrow attachment to clean hard-to-reach areas such as crevices or grooves in the mattress. Dust and debris tend to accumulate in these areas, so thorough cleaning is essential.
- Repeat the process: Repeat the vacuuming process on the other side of the mattress until you’re confident that you’ve removed all the dust and dirt.
Vacuuming the other side of your mattress helps maintain cleanliness and prevent the accumulation of allergens and particles that can affect your sleep quality and overall health. Regular cleaning of both sides of the mattress is important for maintaining a hygienic sleep environment.
With the vacuuming complete, it’s time to move on to the final step: replacing bedding and protectors.
Step 7: Replace bedding and protectors
After completing the cleaning and maintenance steps for your mattress, it’s time to put everything back together and ensure a fresh and cozy sleep environment. Replacing the bedding and protectors is the final touch to complete the process.
Follow these steps to effectively replace bedding and protectors:
- Wash and freshen up bedding: Before putting back the bedding, wash all sheets, pillowcases, and mattress protectors according to the manufacturer’s instructions. Freshly laundered bedding provides a clean and comfortable sleeping surface.
- Choose a mattress protector: Consider investing in a quality mattress protector. A mattress protector acts as a barrier to prevent dust, dirt, spills, and allergens from reaching the mattress. It also helps to prolong the lifespan of your mattress.
- Place the mattress protector: Carefully fit the mattress protector over the mattress, ensuring it securely covers the entire surface. Smooth out any wrinkles or creases for a neat appearance.
- Add the fitted sheet: Place a fresh fitted sheet over the mattress protector. Ensure that the sheet is tightly secured, with elastic corners fitting snugly around the edges of the mattress.
- Arrange the top sheet and pillowcases: Add the top sheet and pillowcases, smoothing them out and tucking them in neatly. Make sure the pillows are fluffed and placed at the head of the bed.
- Finish with blankets or duvets: If desired, add blankets or duvets to provide warmth and comfort. Arrange them neatly on top of the sheet and fluff any decorative pillows or cushions.
By properly replacing the bedding and protectors, you not only create a clean and inviting bed but also help maintain the cleanliness of your mattress. Regularly washing and refreshing bedding, coupled with the use of a mattress protector, can significantly contribute to the overall hygiene and longevity of your mattress.
Congratulations! With the bedding and protectors back in place, you’ve successfully completed the process of cleaning and maintaining your mattress. Ensuring a clean and comfortable sleep environment is essential for a restful night’s sleep and optimal well-being.
Now, it’s time to enjoy a fresh and rejuvenating night’s sleep on your newly cleaned and refreshed mattress!
Conclusion
Cleaning and maintaining your mattress is crucial for ensuring a clean, hygienic, and comfortable sleep environment. Regular care not only removes dust, dirt, and allergens but also helps to extend the lifespan of your mattress. By following the steps outlined in this article, you can effectively clean and refresh your mattress, allowing for better sleep and improved overall well-being.
Remember to gather all the necessary supplies before beginning the cleaning process. Vacuuming your mattress thoroughly, spot cleaning any stains or spills, and deodorizing it with baking soda or essential oils are essential steps in maintaining its freshness. Flipping and rotating the mattress helps distribute wear and prevent sagging, while vacuuming the other side ensures a thorough cleaning. Finally, replacing bedding and protectors completes the process, ensuring a clean and cozy bed ready for a restful night’s sleep.
Regularly following these steps will help keep your mattress in excellent condition, free from dust mites, allergens, and stains. Not only will you sleep better knowing your mattress is clean, but you’ll also enjoy increased longevity and better overall hygiene.
So, take the time to care for your mattress and reap the benefits of a clean and refreshing sleep surface. Your body and mind will thank you as you drift off into dreamland on a dust-free, fresh-smelling, and oh-so-comfortable mattress!
Frequently Asked Questions about How To Clean A Dusty Mattress
Was this page helpful?
At Storables.com, we guarantee accurate and reliable information. Our content, validated by Expert Board Contributors, is crafted following stringent Editorial Policies. We're committed to providing you with well-researched, expert-backed insights for all your informational needs.