Home>Furniture>Bedroom Furniture>How To Freshen Up A Mattress
Bedroom Furniture
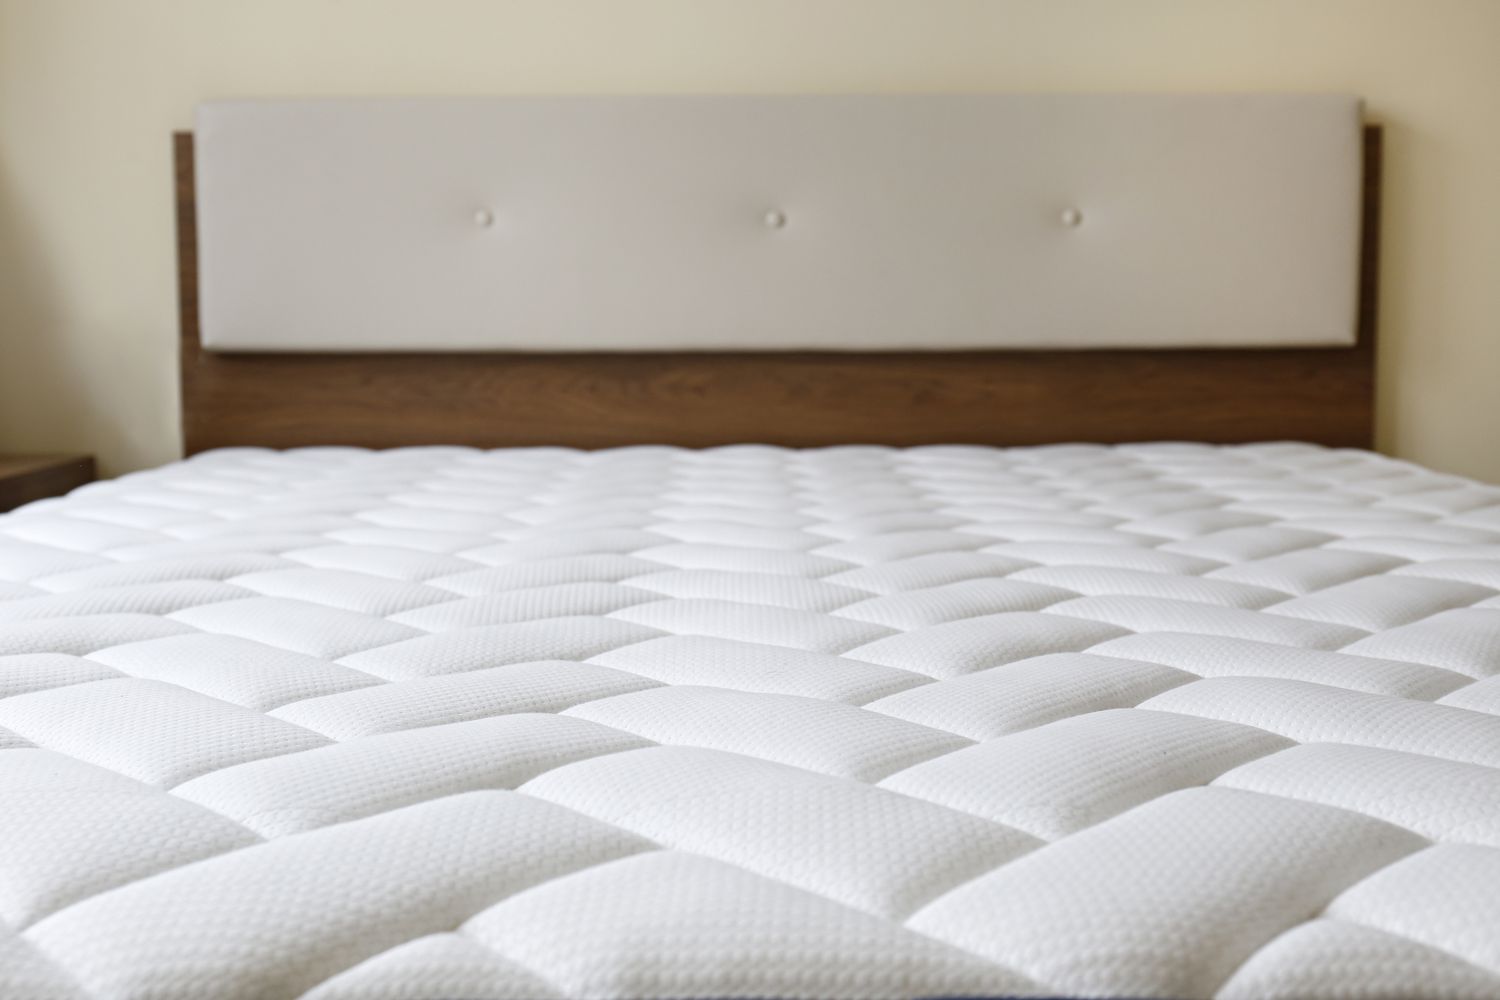
How To Freshen Up A Mattress
Modified: November 2, 2024
Learn how to freshen up your mattress and make it feel brand new with our expert tips and tricks. Transform your bedroom with our bedroom furniture solutions.
(Many of the links in this article redirect to a specific reviewed product. Your purchase of these products through affiliate links helps to generate commission for Storables.com, at no extra cost. Learn more)
Introduction
Having a good night’s sleep is essential for our overall well-being, and one of the key factors that can contribute to a restful slumber is the condition of our mattress. Over time, our mattresses can accumulate dirt, odors, and stains, which can affect both the comfort and hygiene of our sleeping surface. However, with a few simple steps, you can easily freshen up your mattress and restore its pristine condition.
In this article, we will discuss the importance of regularly freshening up your mattress and provide you with a comprehensive guide on how to do it effectively. By following these steps, you can maintain a clean and comfortable sleeping environment, ensuring that you wake up feeling refreshed and rejuvenated every day.
So, let’s dive in and learn how to freshen up your mattress!
Key Takeaways:
- Regularly freshening up your mattress is crucial for maintaining hygiene, preventing odors, improving sleep quality, and extending its lifespan, contributing to overall well-being.
- By following the comprehensive guide to freshen up your mattress, you can create a clean and comfortable sleeping environment, ensuring restful and rejuvenating sleep night after night.
Read more: How To Roll Up A Mattress
Why freshening up your mattress is important
A mattress is a significant investment, and it’s crucial to take proper care of it to extend its lifespan and ensure optimal sleep quality. Here are some reasons why regularly freshening up your mattress is essential:
- Maintaining hygiene: Our bodies shed dead skin cells, sweat, and oils while we sleep. Over time, these substances can accumulate on our mattresses, creating an environment for dust mites and allergens to thrive. By freshening up your mattress, you can remove these impurities and promote a cleaner and healthier sleeping surface.
- Preventing odors: Mattresses can develop unpleasant odors due to sweat, spills, or other sources. These odors can affect the quality of your sleep and make your bedroom less inviting. Freshening up your mattress helps eliminate these odors, creating a more pleasant environment for sleeping.
- Improving sleep quality: A fresh and clean mattress can significantly improve your sleep quality. Sleeping on a mattress that is free from stains, dirt, and allergens can enhance the comfort of your sleep, allowing you to wake up feeling more rested and rejuvenated.
- Extending mattress lifespan: Regularly freshening up your mattress can help extend its lifespan. By removing dirt and stains, you can prevent premature wear and tear, ensuring that your mattress remains in good condition for longer.
- Promoting overall well-being: A comfortable and hygienic sleeping environment is essential for overall well-being. By freshening up your mattress, you create a healthier space that promotes better sleep, reducing the risk of allergies, respiratory problems, and other health issues.
Now that we understand the importance of freshening up our mattresses, let’s move on to the practical steps you can take to achieve a clean and refreshed sleeping surface.
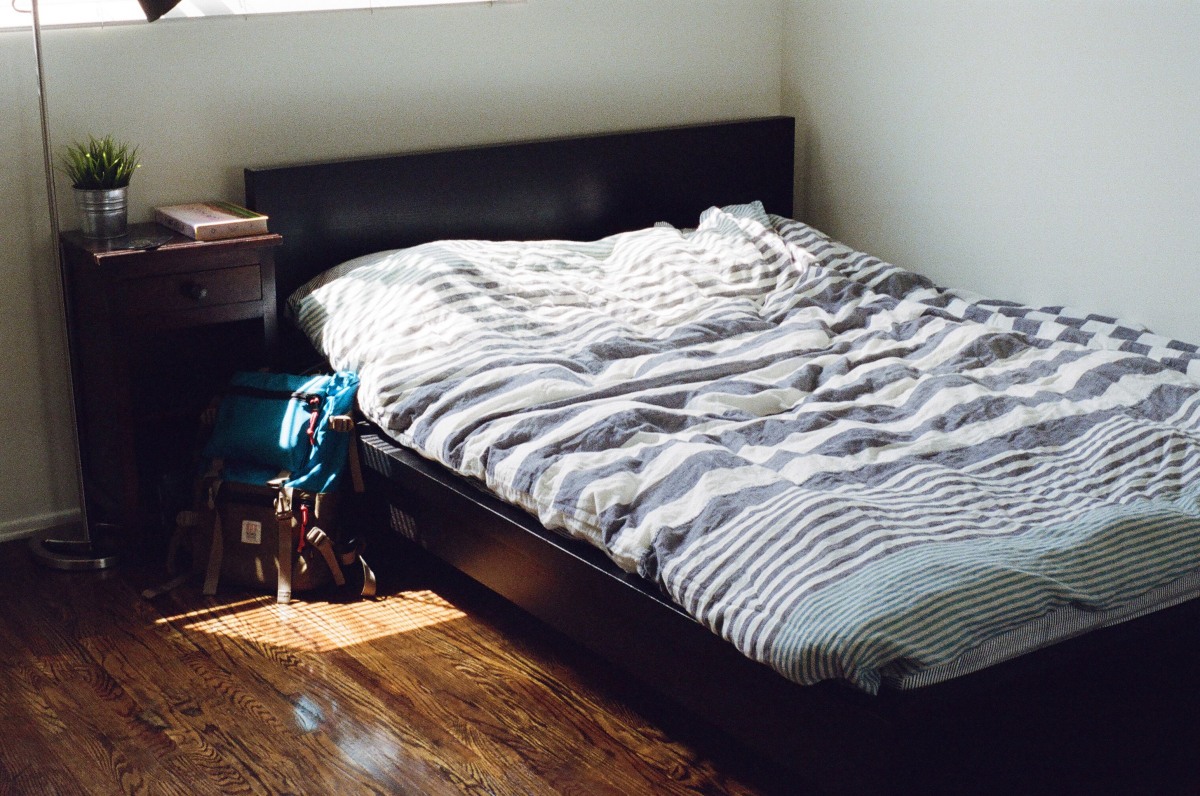
Step 1: Remove all bedding and wash it
The first step in freshening up your mattress is to remove all bedding, including sheets, pillowcases, and mattress covers. These items absorb sweat, dead skin cells, and body oils, which can transfer back to the mattress if not properly cleaned.
Once you’ve gathered all the bedding, check the care labels to determine the appropriate washing instructions. Most bedding, including cotton and polyester blends, can be machine washed in warm water with a mild detergent. However, it’s always a good idea to double-check the care instructions to ensure you’re following the correct washing and drying procedures.
Here are some general steps to follow when washing your bedding:
- Sort and pre-treat stains: Separate light-colored and dark-colored bedding to prevent color transfer. Before washing, pre-treat any stains using a stain remover or a combination of water and mild detergent.
- Use the appropriate wash cycle: Select a gentle or delicate cycle on your washing machine to avoid damaging the fabric. If your bedding is heavily soiled or has deep stains, you may consider using a longer wash cycle.
- Use mild detergent: Avoid using harsh chemicals or bleach, as they can be tough on the fabric and cause discoloration. Opt for a mild detergent that is suitable for your type of bedding.
- Hang or tumble dry: Check the care labels to determine whether your bedding should be air-dried or tumble-dried. Hanging your bedding in the sunlight can help remove any lingering odors and freshen them up naturally.
- Iron or fold: Once your bedding is dry, you can iron it if desired or fold it neatly, ready to be placed back on your freshened-up mattress.
Remember to check the specific instructions for your bedding, as different materials may require slightly different care.
Now that your bedding is clean and fresh, let’s move on to the next step: vacuuming the mattress.
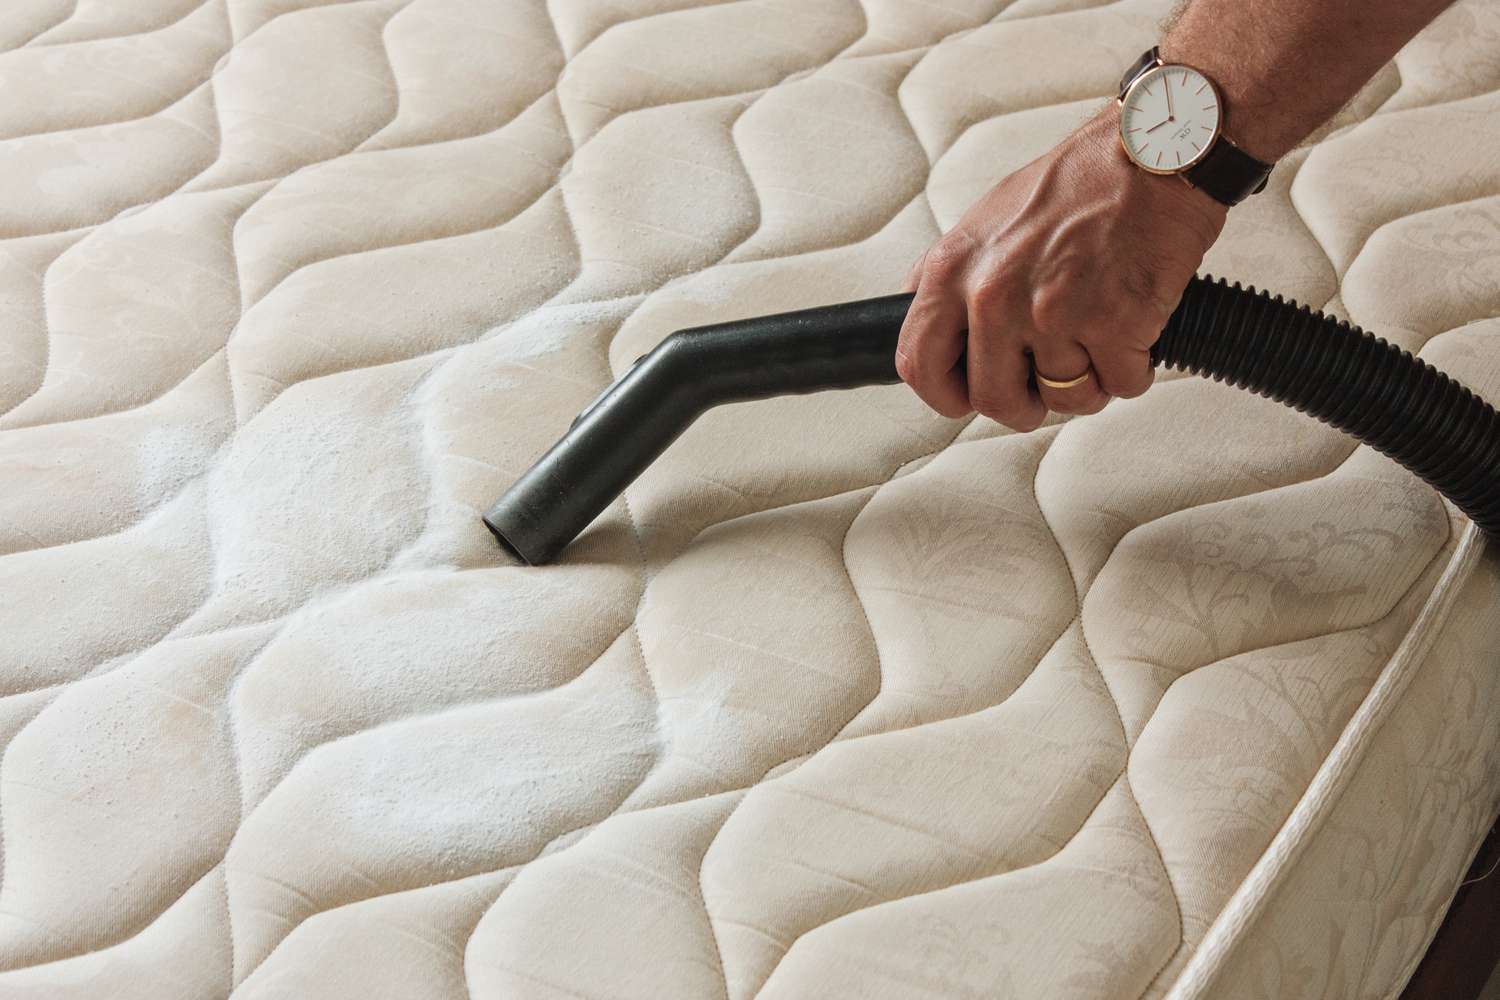
Step 2: Vacuum the mattress
After removing all the bedding, it’s time to give your mattress a thorough vacuuming. This step helps to remove dust, dirt, and debris that have settled on the surface and within the mattress fibers. Vacuuming also helps to eliminate any dust mites that may be present.
Here’s how to properly vacuum your mattress:
- Prepare your vacuum cleaner: Ensure that your vacuum cleaner has a clean filter and attachments suitable for upholstery cleaning. If necessary, refer to the user manual to understand how to set up the vacuum correctly.
- Start at the top: Begin by vacuuming the top of the mattress, working your way down to the sides and eventually the bottom. Use the crevice tool attachment to reach into the edges and corners of the mattress.
- Apply firm but gentle pressure: As you vacuum, press the attachment firmly against the mattress to remove dirt and dust. However, be careful not to apply too much pressure that can damage the surface or fabric.
- Pay attention to seams and crevices: Dust and debris tend to accumulate in the seams and crevices of the mattress. Ensure you thoroughly vacuum these areas to remove any hidden dirt.
- Vacuum both sides of the mattress: Flip the mattress and repeat the vacuuming process on the other side. This helps to ensure a comprehensive clean.
While vacuuming, you may notice small stains or spots on the mattress. Don’t worry – we will address those in the next step. For now, focus on removing loose dirt and dust.
Vacuuming your mattress regularly, at least every few months, helps keep it clean and free from allergens. It’s particularly important for individuals with allergies or asthma, as it reduces the presence of dust mites and their waste products that can trigger respiratory issues.
Now that your mattress is free from loose dirt and dust, let’s move on to step three: spot cleaning any stains.
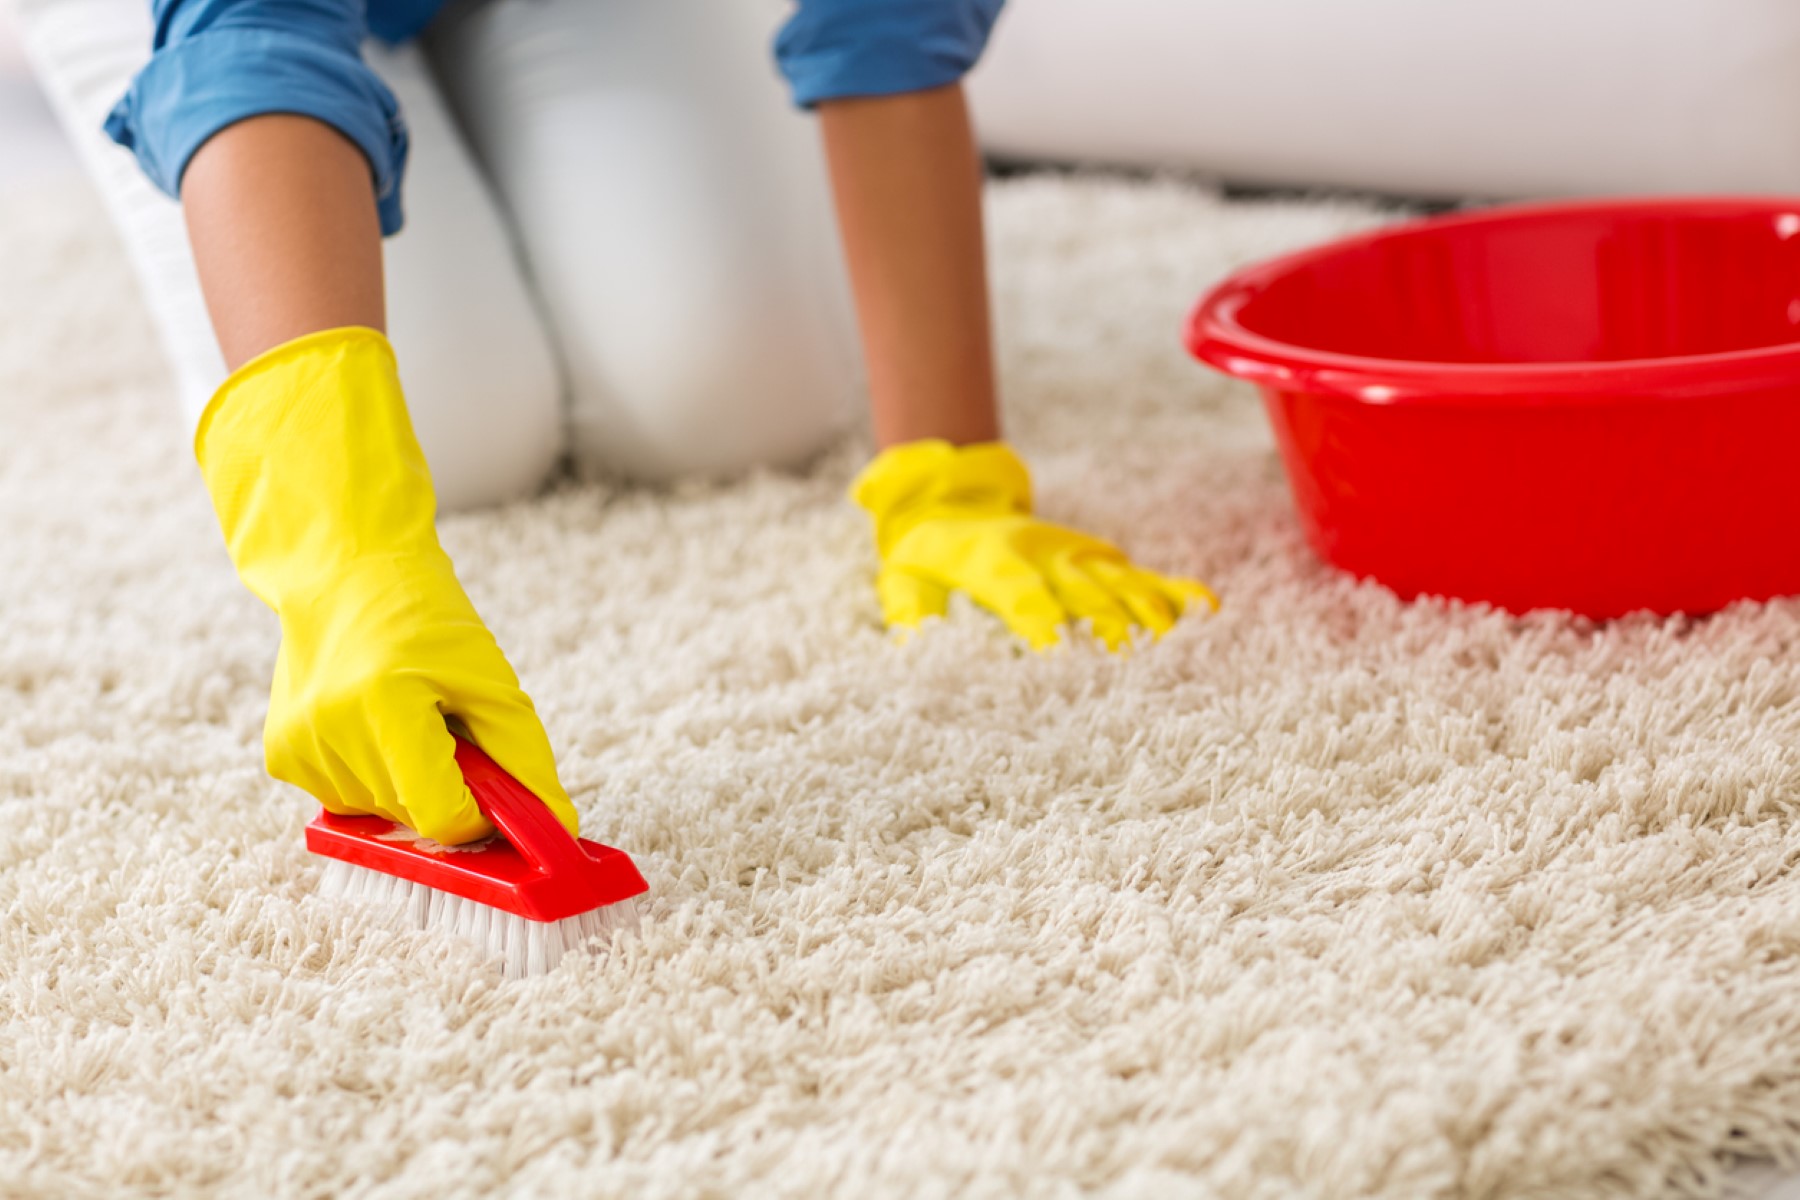
Step 3: Spot clean any stains
Over time, our mattresses can develop stains from spills, sweat, or other accidents. Spot cleaning these stains is necessary to maintain the cleanliness and appearance of your mattress. If left untreated, stains can set in and become more challenging to remove.
Here’s how you can spot clean stains on your mattress:
- Identify the type of stain: Before attempting to clean a stain, it’s crucial to determine the type of stain you’re dealing with. Common mattress stains include blood, urine, sweat, or beverage spills.
- Deal with fresh stains: If the stain is fresh, quickly blot it with a clean cloth or paper towel to absorb any excess liquid. Avoid rubbing the stain, as it can cause it to spread and penetrate further into the mattress.
- Use appropriate stain remover: Depending on the type of stain, choose an appropriate stain remover. For example, you can use a mild detergent mixed with water for general stains, or hydrogen peroxide for blood or urine stains. Follow the instructions on the stain remover product for the best results.
- Apply the stain remover: Dampen a clean cloth with the stain remover solution and gently blot the stained area. Avoid saturating the mattress with excessive liquid, as it can lead to mold or mildew growth.
- Blot and repeat: Continue blotting the stained area until the stain starts to fade. If necessary, repeat the process with a fresh cloth and more stain remover solution.
- Rinse and dry: After treating the stain, dampen a clean cloth with plain water and blot the area to remove any residue of the stain remover. Finally, allow the mattress to air dry completely before placing any bedding back on top.
Keep in mind that some stubborn stains may require professional cleaning services or specialized mattress cleaners. If you’re unsure how to tackle a particular stain or if the stain persists after your attempts, it’s best to seek professional assistance.
Now that you’ve spot cleaned any stains, let’s move on to step four: deodorizing the mattress.
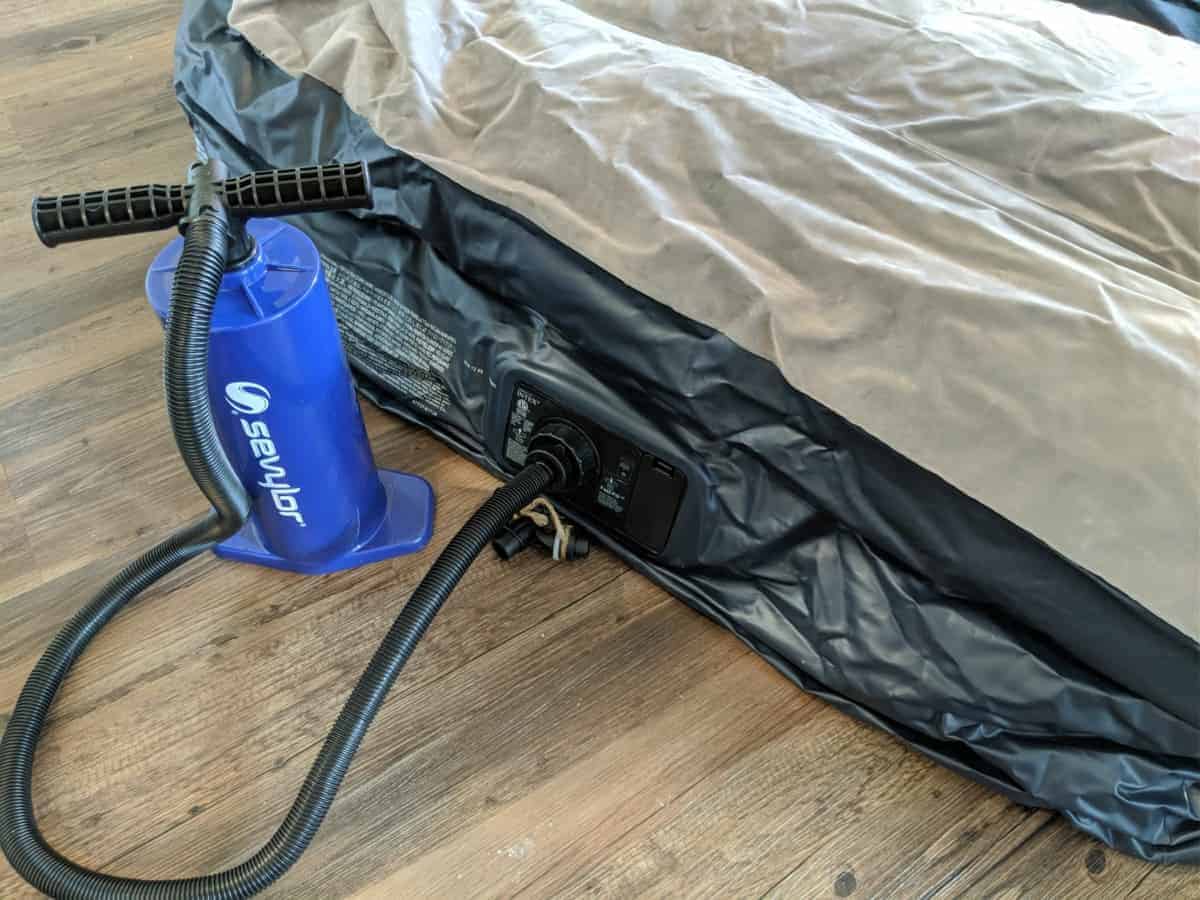
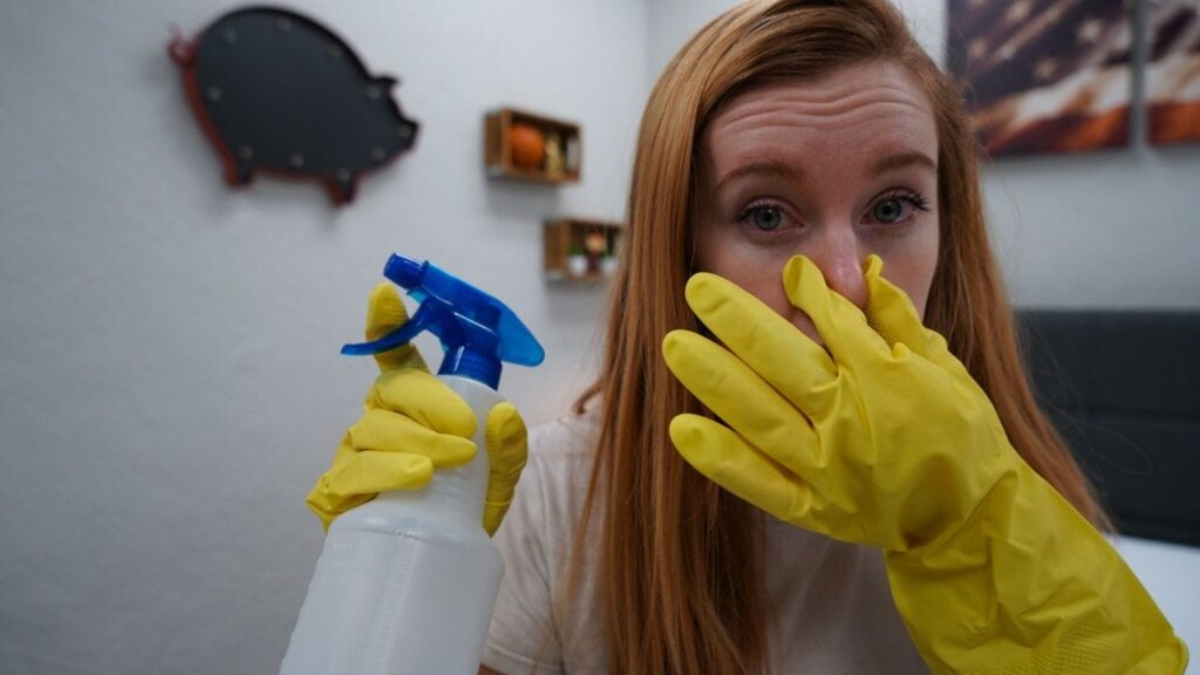
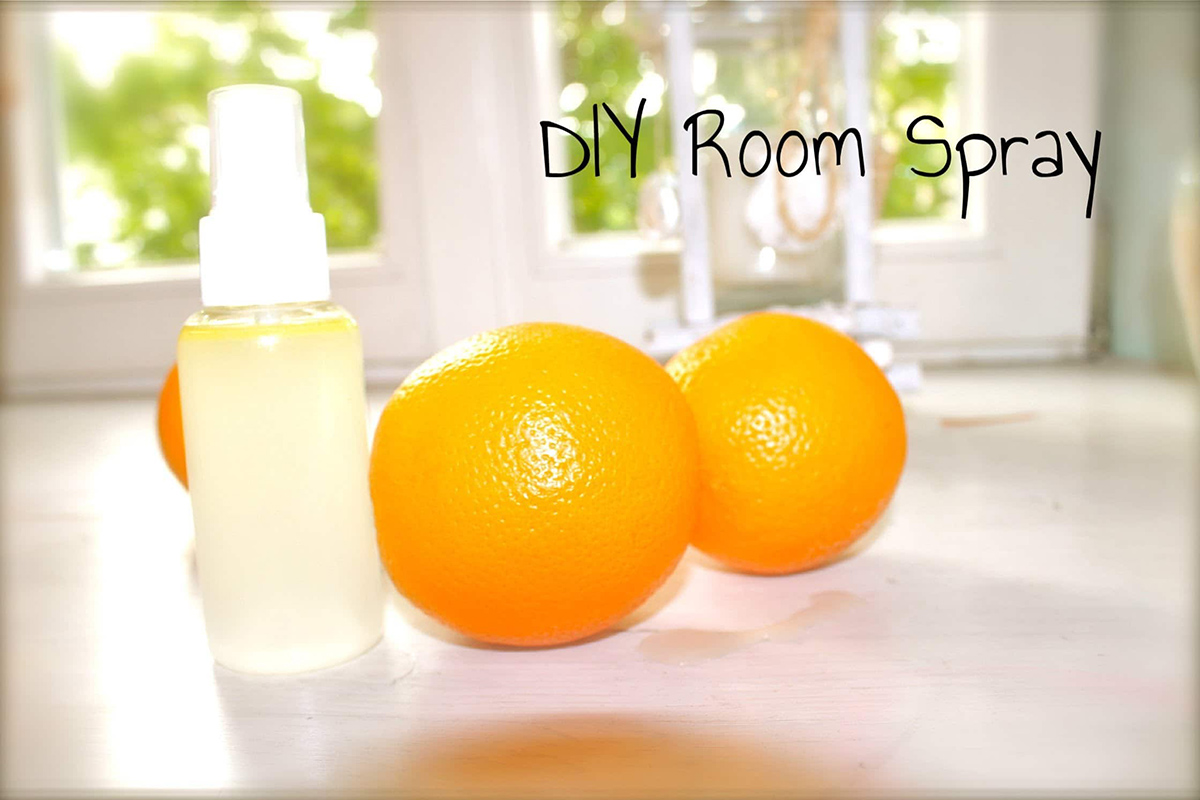
To freshen up a mattress, sprinkle baking soda over the surface and let it sit for at least 15 minutes before vacuuming it up. This will help to absorb any odors and leave your mattress smelling fresh.
Read more: How To Carry Mattress Up Stairs
Step 4: Deodorize the mattress
While freshening up your mattress, it’s essential to eliminate any unwanted odors that may have accumulated over time. Deodorizing your mattress helps to create a more pleasant and inviting sleeping environment. Here’s how you can effectively deodorize your mattress:
- Use baking soda: Baking soda is a natural deodorizer that can help absorb and neutralize odors. Sprinkle a generous amount of baking soda over the entire surface of the mattress.
- Spread evenly: Use a clean brush or your hands to spread the baking soda evenly across the mattress, ensuring that it covers all areas, including the sides.
- Let it sit: Allow the baking soda to sit on the mattress for at least a few hours, preferably overnight. This gives the baking soda time to absorb and neutralize any odors.
- Vacuum again: After the designated time, use your vacuum cleaner with an upholstery attachment to thoroughly vacuum the baking soda from the mattress. Be sure to get into all the crevices and corners.
The baking soda will not only help remove odors but also absorb any remaining moisture, leaving your mattress feeling fresh and clean. If you prefer a pleasant scent, you can add a few drops of essential oil to the baking soda before sprinkling it on the mattress. Lavender or eucalyptus oil, for example, can provide a calming and refreshing aroma.
Deodorizing your mattress regularly, especially if you notice any persistent odors, can significantly improve the comfort of your sleep and enhance your overall sleeping experience.
Now that your mattress is fresh and odor-free, let’s move on to step five: flipping or rotating the mattress.
Step 5: Flip or rotate the mattress
Flipping or rotating your mattress is an important step in maintaining its shape and preventing uneven wear. Depending on the type of mattress you have, you may need to either flip it over or rotate it 180 degrees.
Here’s how to properly flip or rotate your mattress:
- Check the manufacturer’s instructions: Before proceeding, refer to the manufacturer’s guidelines to determine if your mattress is designed to be flipped, rotated, or both. Some mattresses, such as pillow-top or Euro-top mattresses, may only require rotation.
- Clear the area: Clear the space around your mattress to provide enough room to maneuver it. Remove any obstacles, such as furniture or decor, to ensure a smooth process.
- Enlist a helper if needed: Depending on the size and weight of your mattress, you may need assistance in flipping or rotating it to prevent any strain or injury.
- If flipping:
- If your mattress is flippable, carefully lift one end of the mattress and rotate it 180 degrees.
- Lower the mattress onto the bed frame or foundation, ensuring that it is centered.
- Repeat the process for the other end, ensuring that you flip the mattress completely.
- If rotating:
- If your mattress only requires rotation, simply shift the mattress so that the head end becomes the foot end.
- Align the mattress properly on the bed frame or foundation.
Flipping or rotating your mattress helps distribute the weight and pressure evenly, reducing the risk of sagging and prolonging its lifespan. By regularly flipping or rotating your mattress, you can maintain its structural integrity and ensure a more comfortable sleep surface.
Now that you’ve successfully flipped or rotated your mattress, let’s move on to step six: using a mattress protector.
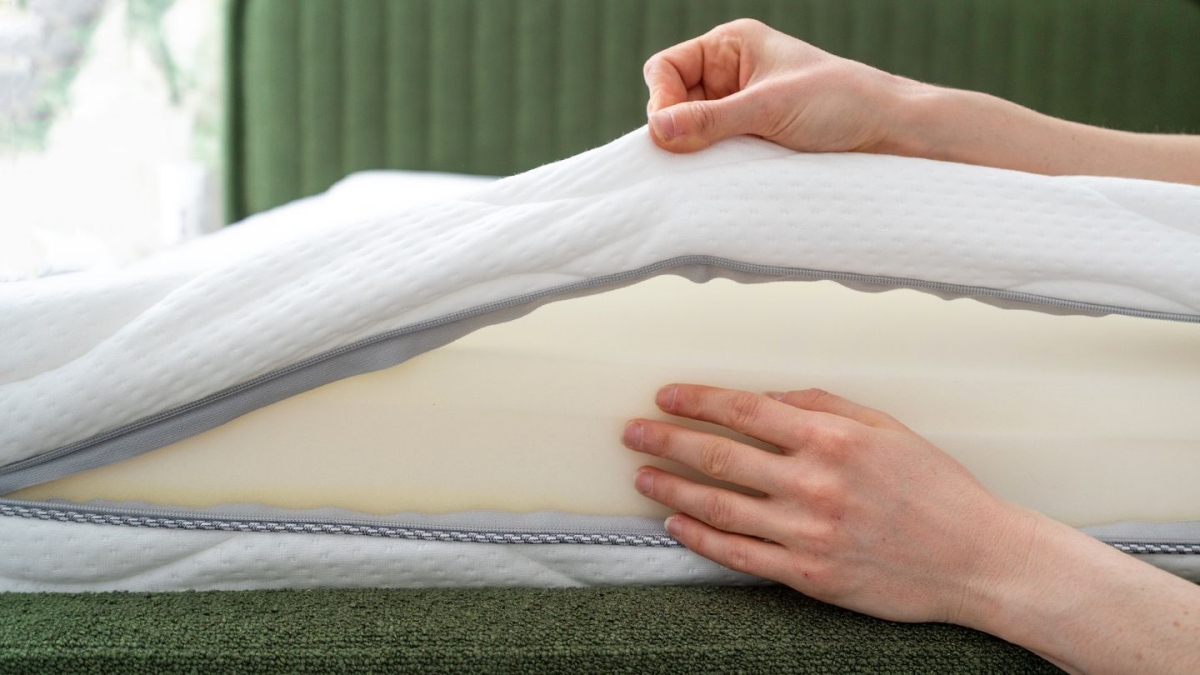
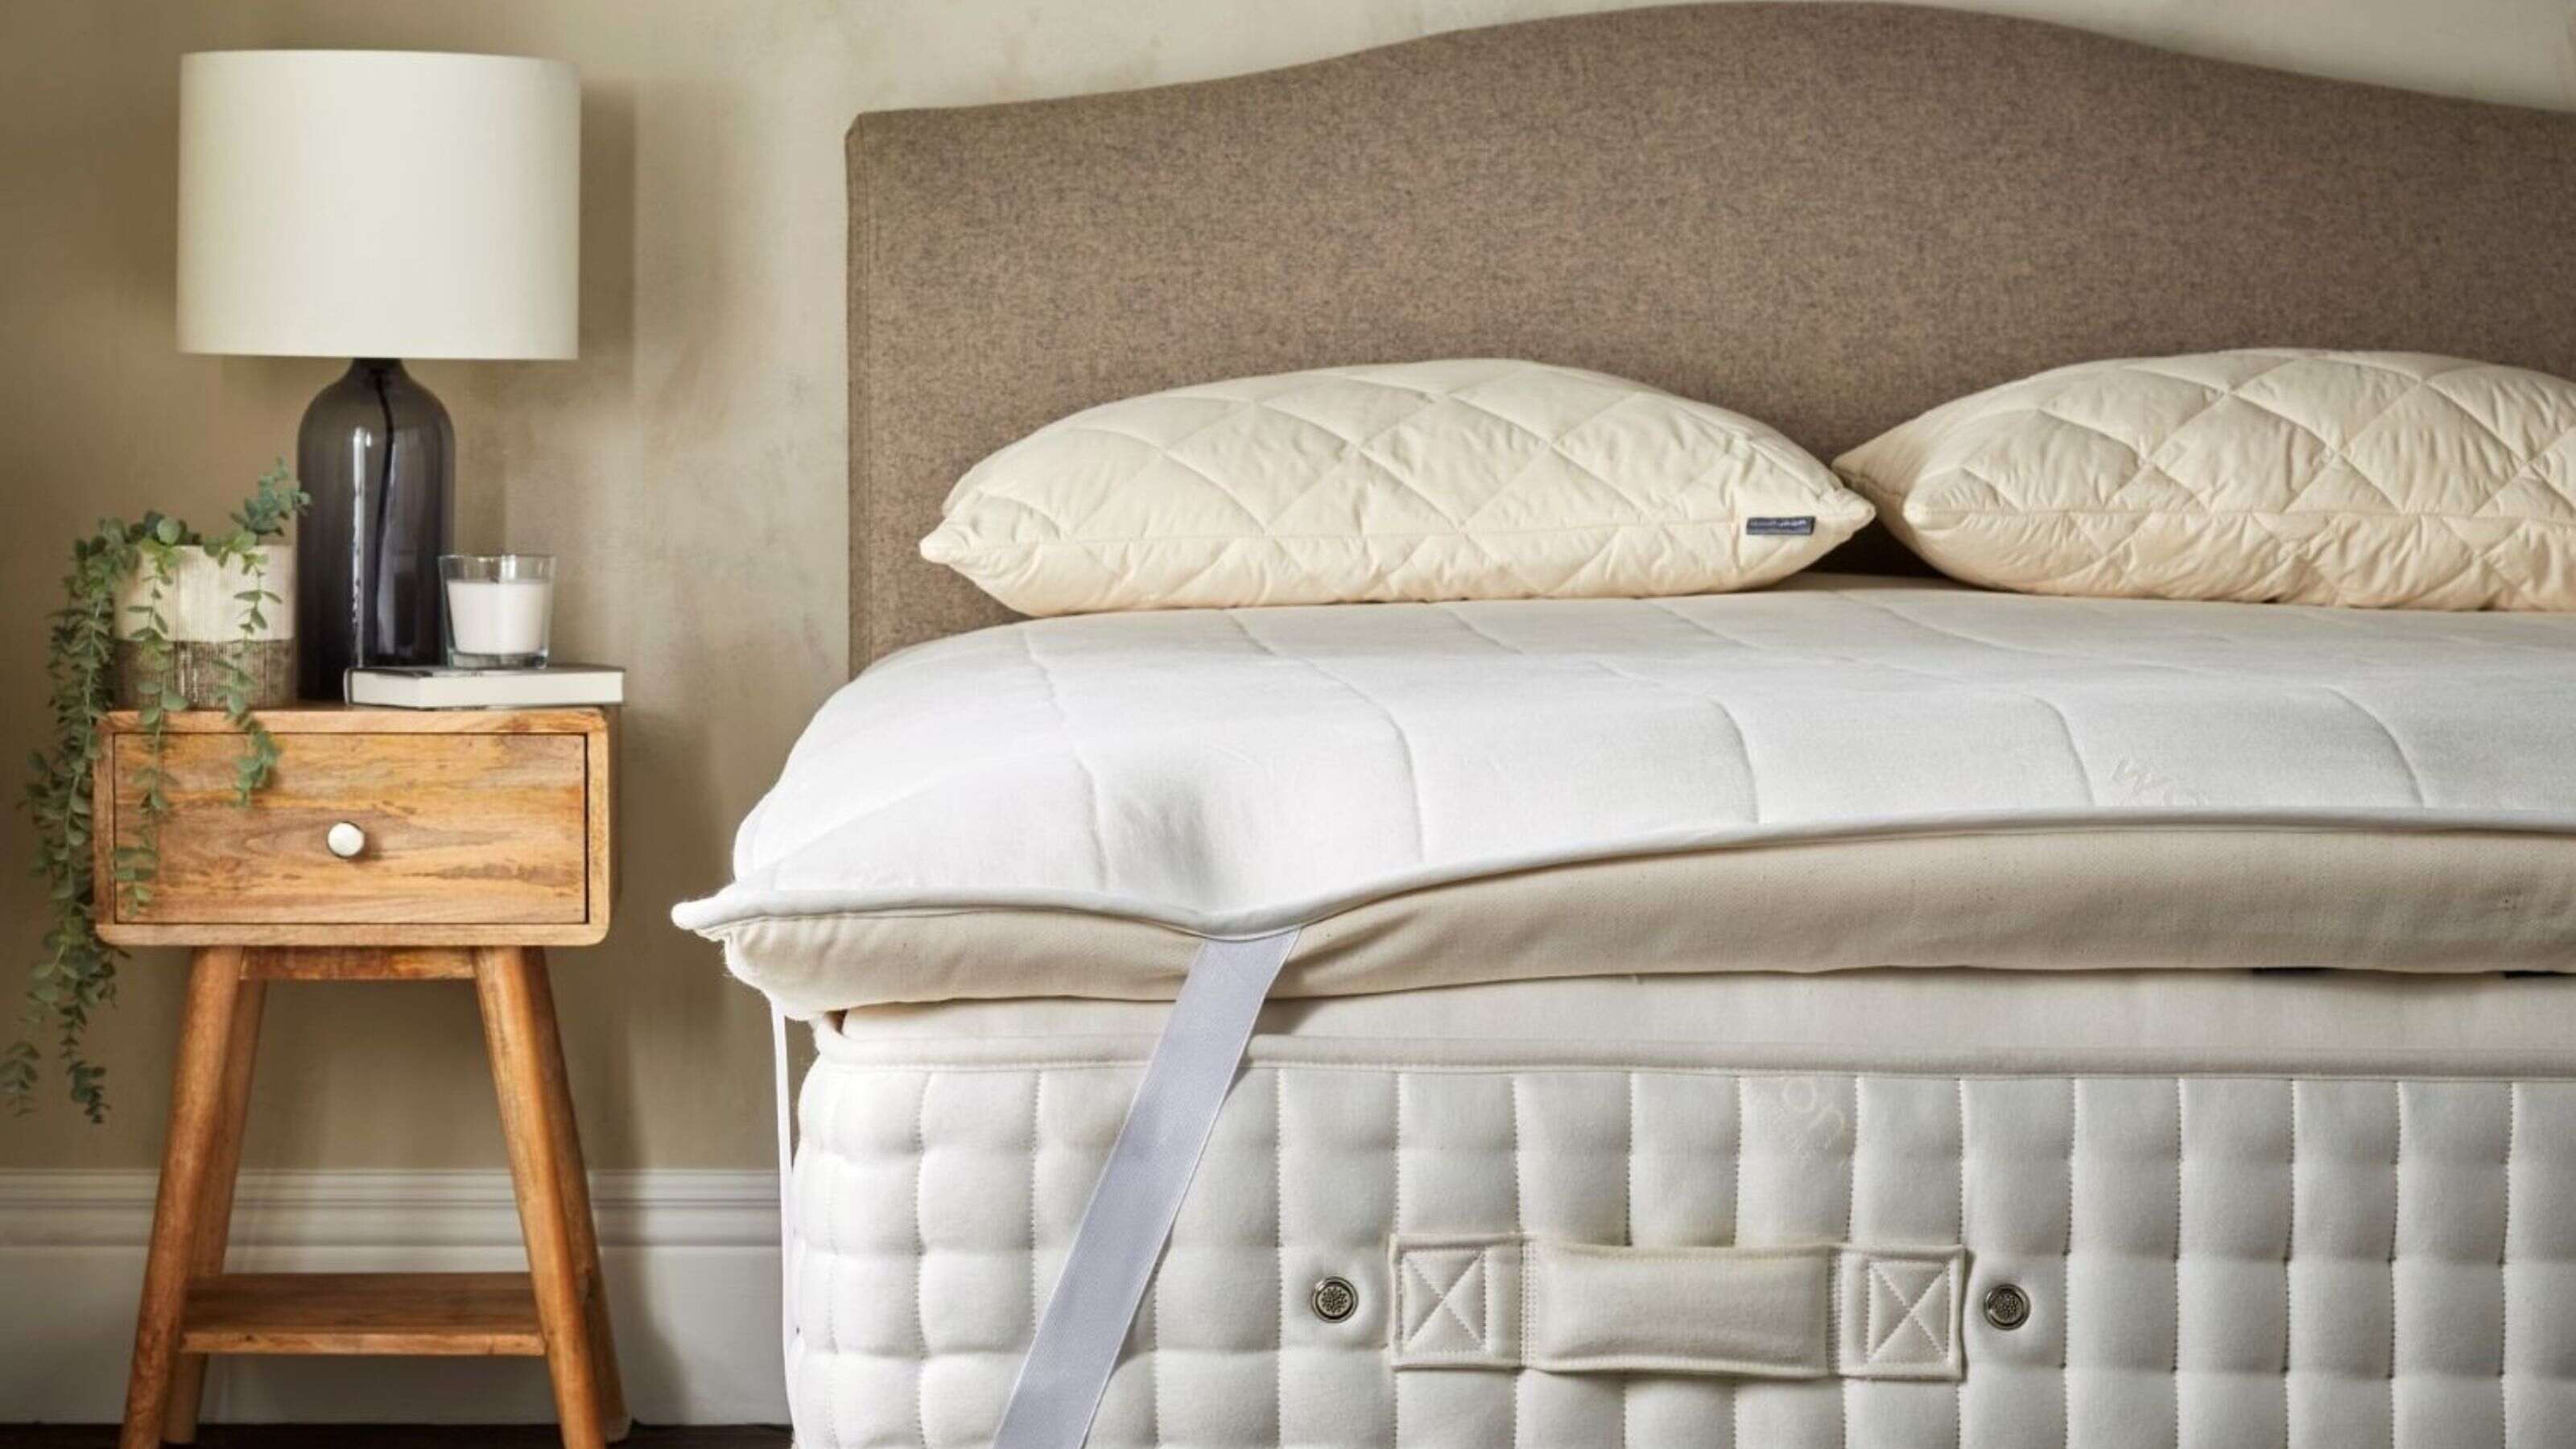
Step 6: Use a mattress protector
Using a mattress protector is a proactive step in maintaining the cleanliness and longevity of your mattress. A mattress protector acts as a barrier, protecting your mattress from spills, stains, dust mites, and allergens. It adds an extra layer of protection, ensuring that your mattress remains in pristine condition for years to come.
Here’s how to properly use a mattress protector:
- Select a high-quality mattress protector: Look for a mattress protector that is waterproof, hypoallergenic, and breathable. These qualities will help safeguard your mattress against spills, allergens, and moisture, while still allowing airflow for a comfortable sleep.
- Measure your mattress: Ensure that you choose a mattress protector that is the correct size for your mattress. It should fit snugly without being too tight or loose.
- Remove any packaging: When you have your mattress protector, remove it from its packaging and unfold it. Some protectors may require a brief period to expand and air out before use.
- Place the protector on your mattress: Depending on the type of mattress protector you have, it may either fit like a fitted sheet or have a zippered enclosure. Follow the instructions provided with your specific mattress protector to fit it securely on your mattress.
- Smooth out any wrinkles: Once the protector is in place, ensure that it lies flat and smooth across the mattress. Smooth out any wrinkles or creases to provide a comfortable sleeping surface.
A mattress protector serves as a shield, helping to prevent spills, stains, and allergens from penetrating your mattress. It is also easier to clean a mattress protector than it is to clean your entire mattress, making it a valuable investment for maintaining mattress hygiene.
Now that your mattress is fully protected, let’s move on to the final step: letting the mattress air out.
Step 7: Let the mattress air out
After you’ve completed the previous steps to freshen up your mattress, it’s important to allow it to air out before placing any bedding back on top. This step helps to remove any residual odors and allows the mattress to fully dry. Here’s how to properly let your mattress air out:
- Find a well-ventilated area: Choose a well-ventilated room or a spot near an open window where your mattress can get plenty of fresh air.
- Remove all covers and protectors: Take off any mattress covers or protectors that you used during the cleaning process.
- Prop up the mattress: If possible, prop up your mattress against a wall or use furniture to elevate it slightly. This allows air to circulate around both sides of the mattress, helping it dry more efficiently.
- Open windows or use fans: If weather conditions permit, open the windows or use fans to encourage airflow in the room. This will help speed up the drying process.
- Give it time: Let your mattress air out for at least a few hours, but preferably overnight, to ensure it’s completely dry and fresh.
- Inspect and reassemble: Once you’re confident that the mattress is thoroughly aired out, carefully inspect it for any remaining moisture or dust. If everything looks and feels dry, you can reassemble your mattress by putting the clean bedding back on.
Allowing your mattress to air out not only aids in drying any moisture from the cleaning process but also helps eliminate any lingering odors, leaving your mattress fresh and ready for a restful night’s sleep.
By following these seven steps – removing and washing bedding, vacuuming, spot cleaning stains, deodorizing, flipping or rotating, using a mattress protector, and letting the mattress air out – you can effectively freshen up your mattress and create a clean and comfortable sleeping environment.
Remember, it’s recommended to freshen up your mattress every few months or whenever you notice stains, odors, or a decrease in sleep quality. By taking care of your mattress, you can ensure its longevity and enjoy a peaceful and rejuvenating sleep night after night.
We hope these tips have been helpful in your journey to freshening up your mattress. Sleep well!
Read more: How To Cut Up A Mattress For Disposal
Conclusion
Freshening up your mattress is an important part of mattress maintenance that should not be overlooked. By following the steps outlined in this guide, you can easily restore your mattress to its former freshness and ensure a clean and hygienic sleeping surface.
We discussed the importance of regularly freshening up your mattress to maintain hygiene, prevent odors, improve sleep quality, and extend its lifespan. From removing all bedding and washing it to vacuuming the mattress, spot cleaning stains, deodorizing, flipping or rotating, using a mattress protector, and allowing the mattress to air out, each step serves a specific purpose in maintaining your mattress’s cleanliness and longevity.
By incorporating these steps into your mattress care routine, you can enjoy a more comfortable and restful sleep experience. A fresh and clean mattress not only contributes to better sleep quality but also promotes overall well-being.
Remember to pay attention to manufacturer guidelines specific to your mattress type and materials, as well as any additional care instructions for your bedding and mattress protector. These guidelines will ensure that you’re following the correct procedures and protecting your mattress investment.
So, don’t delay in freshening up your mattress. Take the time to give it the care it deserves and reap the benefits of a clean and comfortable sleeping environment. Your body and mind will thank you for it!
Here’s to many nights of restful sleep on your rejuvenated mattress!
Frequently Asked Questions about How To Freshen Up A Mattress
Was this page helpful?
At Storables.com, we guarantee accurate and reliable information. Our content, validated by Expert Board Contributors, is crafted following stringent Editorial Policies. We're committed to providing you with well-researched, expert-backed insights for all your informational needs.