Home>Furniture>Bedroom Furniture>How To Put On A Mattress Protector
Bedroom Furniture
How To Put On A Mattress Protector
Modified: February 29, 2024
Discover how to properly put on a mattress protector with our step-by-step guide. Protect your bedroom furniture and extend its longevity.
(Many of the links in this article redirect to a specific reviewed product. Your purchase of these products through affiliate links helps to generate commission for Storables.com, at no extra cost. Learn more)
Introduction
When it comes to creating a comfortable and clean sleeping environment, a mattress protector is an essential accessory. Not only does it provide a protective barrier against spills, stains, and allergens, but it also helps prolong the life of your mattress. Whether you have recently purchased a new mattress or simply want to refresh your sleep surface, knowing how to properly put on a mattress protector is key.
In this step-by-step guide, we will walk you through the process of putting on a mattress protector with ease. From gathering the necessary supplies to ensuring a smooth fit, you’ll have your mattress protected in no time.
So, roll up your sleeves and let’s dive in!
Key Takeaways:
- Protect your mattress by following these simple steps to put on a mattress protector. Ensure a clean and comfortable sleeping environment while prolonging the life of your mattress.
- Gather necessary supplies, prepare the mattress, position and secure the protector, smooth out wrinkles, and finish the bed-making process for a well-protected and inviting bed.
Read more: How To Put On Mattress Cover
Step 1: Gather the Necessary Supplies
Before you begin the process of putting on a mattress protector, it’s important to gather all the necessary supplies. Having everything within reach will help streamline the process and save you time. Here’s what you’ll need:
- A mattress protector: Choose a protector that is the right size for your mattress and made from a durable, waterproof material.
- Fitted sheet: This will be used to cover the mattress protector and provide an extra layer of comfort.
- Pillows: Set aside any pillows you will be using so that you can properly make the bed once the protector is in place.
- Optional: Mattress topper or additional padding for added comfort.
Ensure that the mattress protector you choose is of high quality and designed to fit your specific mattress size. Taking the time to find the right protector will ensure a proper fit and optimal protection for your mattress.
Once you have gathered all the necessary supplies, you’re ready to move on to the next step: preparing the mattress.
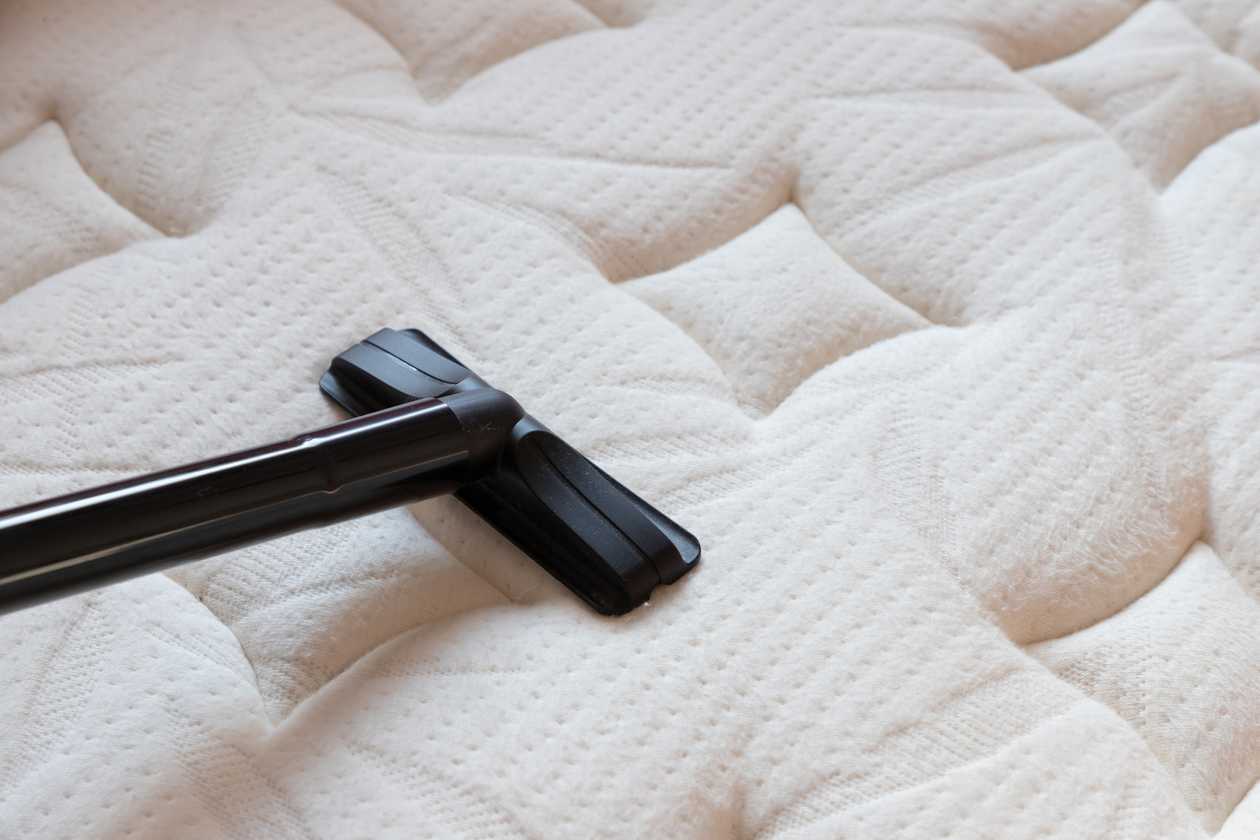
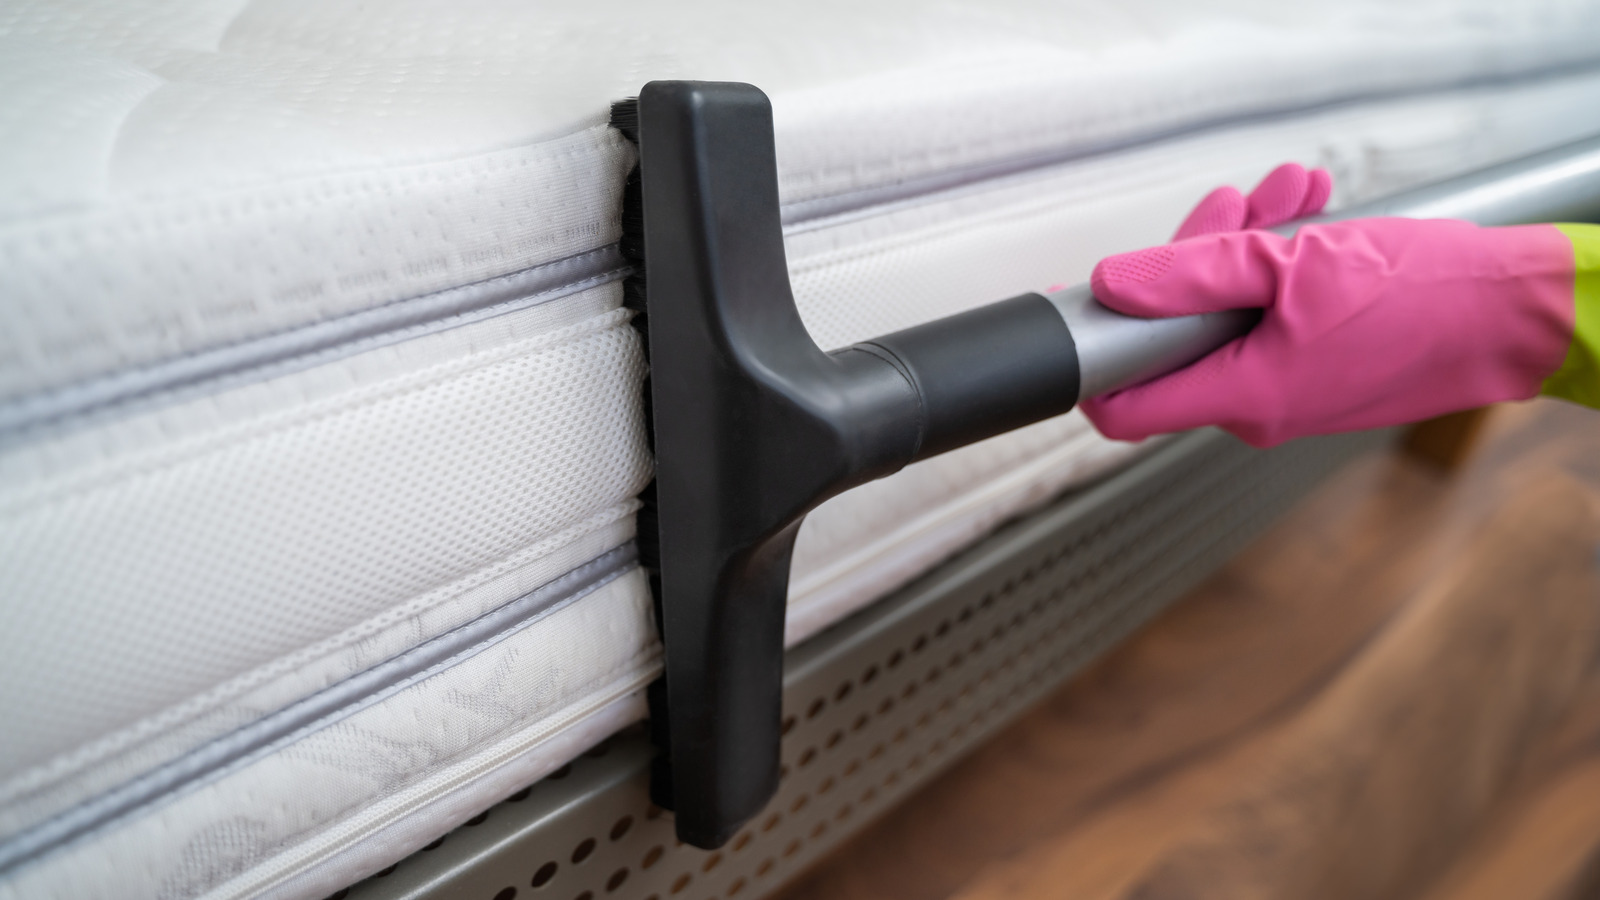
Step 2: Prepare the Mattress
Before you can put on the mattress protector, it’s important to prepare the mattress to ensure a clean and smooth surface. Follow these steps to properly prepare your mattress:
- Strip the bed: Remove any existing bedding, including sheets, blankets, and pillowcases. This will give you a fresh start and allow you to clean the mattress if needed.
- Vacuum the mattress: Take a few minutes to vacuum the entire surface of the mattress. This will help remove any dust, dirt, or debris that may have accumulated.
- Spot clean, if necessary: If there are any stains or spills on the mattress, use a mild detergent or upholstery cleaner to spot clean the affected areas. Gently blot the stain, rather than scrubbing, to avoid spreading the stain or damaging the mattress.
- Allow the mattress to fully dry: If you spot cleaned any areas, make sure the mattress is completely dry before proceeding. This will prevent moisture from getting trapped between the mattress and the protector.
By taking the time to properly prepare your mattress, you’ll ensure a clean and fresh surface for the mattress protector to go on. Now, let’s move on to the next step: positioning the mattress protector.
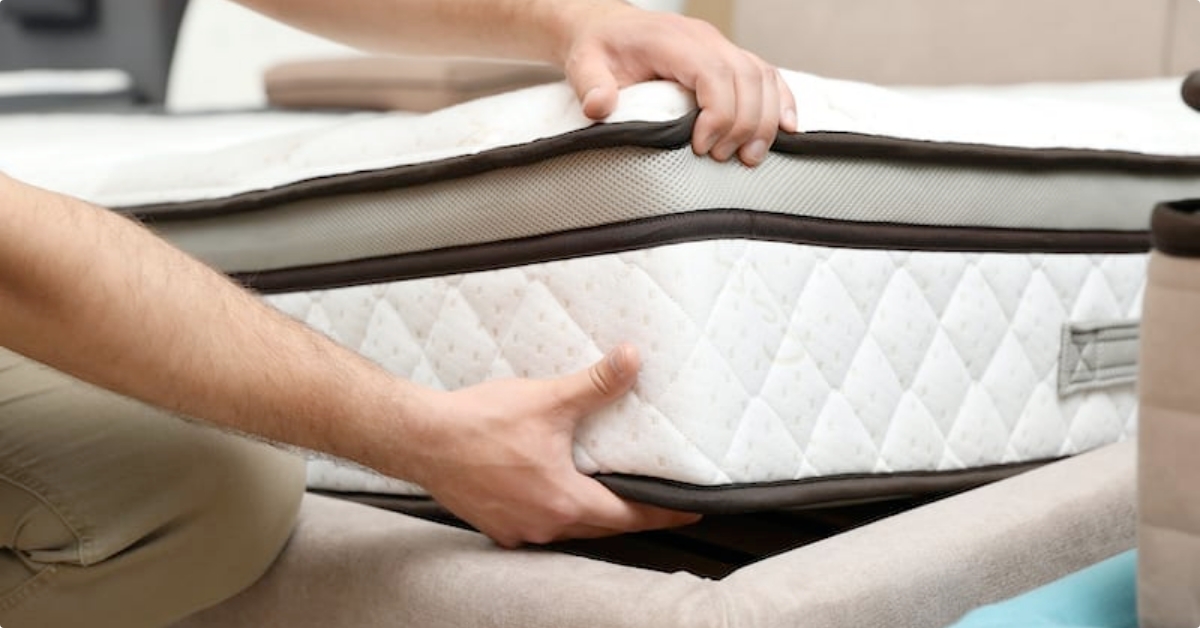
Step 3: Position the Mattress Protector
With your mattress properly prepared, it’s time to position the mattress protector. Follow these steps to ensure a smooth and secure fit:
- Start at one end of the mattress: Begin by placing one end of the mattress protector at the top edge of the mattress. Make sure it is evenly aligned with the sides of the mattress.
- Slowly unroll the protector: Gradually unroll the mattress protector, allowing it to cover the surface of the mattress. Smooth out any wrinkles or folds as you go.
- Align the corners: Once the protector is fully unrolled, make sure the corners are properly aligned with the corners of the mattress. This will ensure a snug fit.
- Center the protector: Adjust the position of the protector so that it is centered on the mattress. This will help distribute the weight evenly and prevent it from shifting during use.
Take your time during this step to ensure that the mattress protector is positioned correctly. The goal is to have it evenly covering the surface of the mattress without any excess material or bunching.
With the mattress protector in place, it’s time to move on to the next step: securing the protector in place.
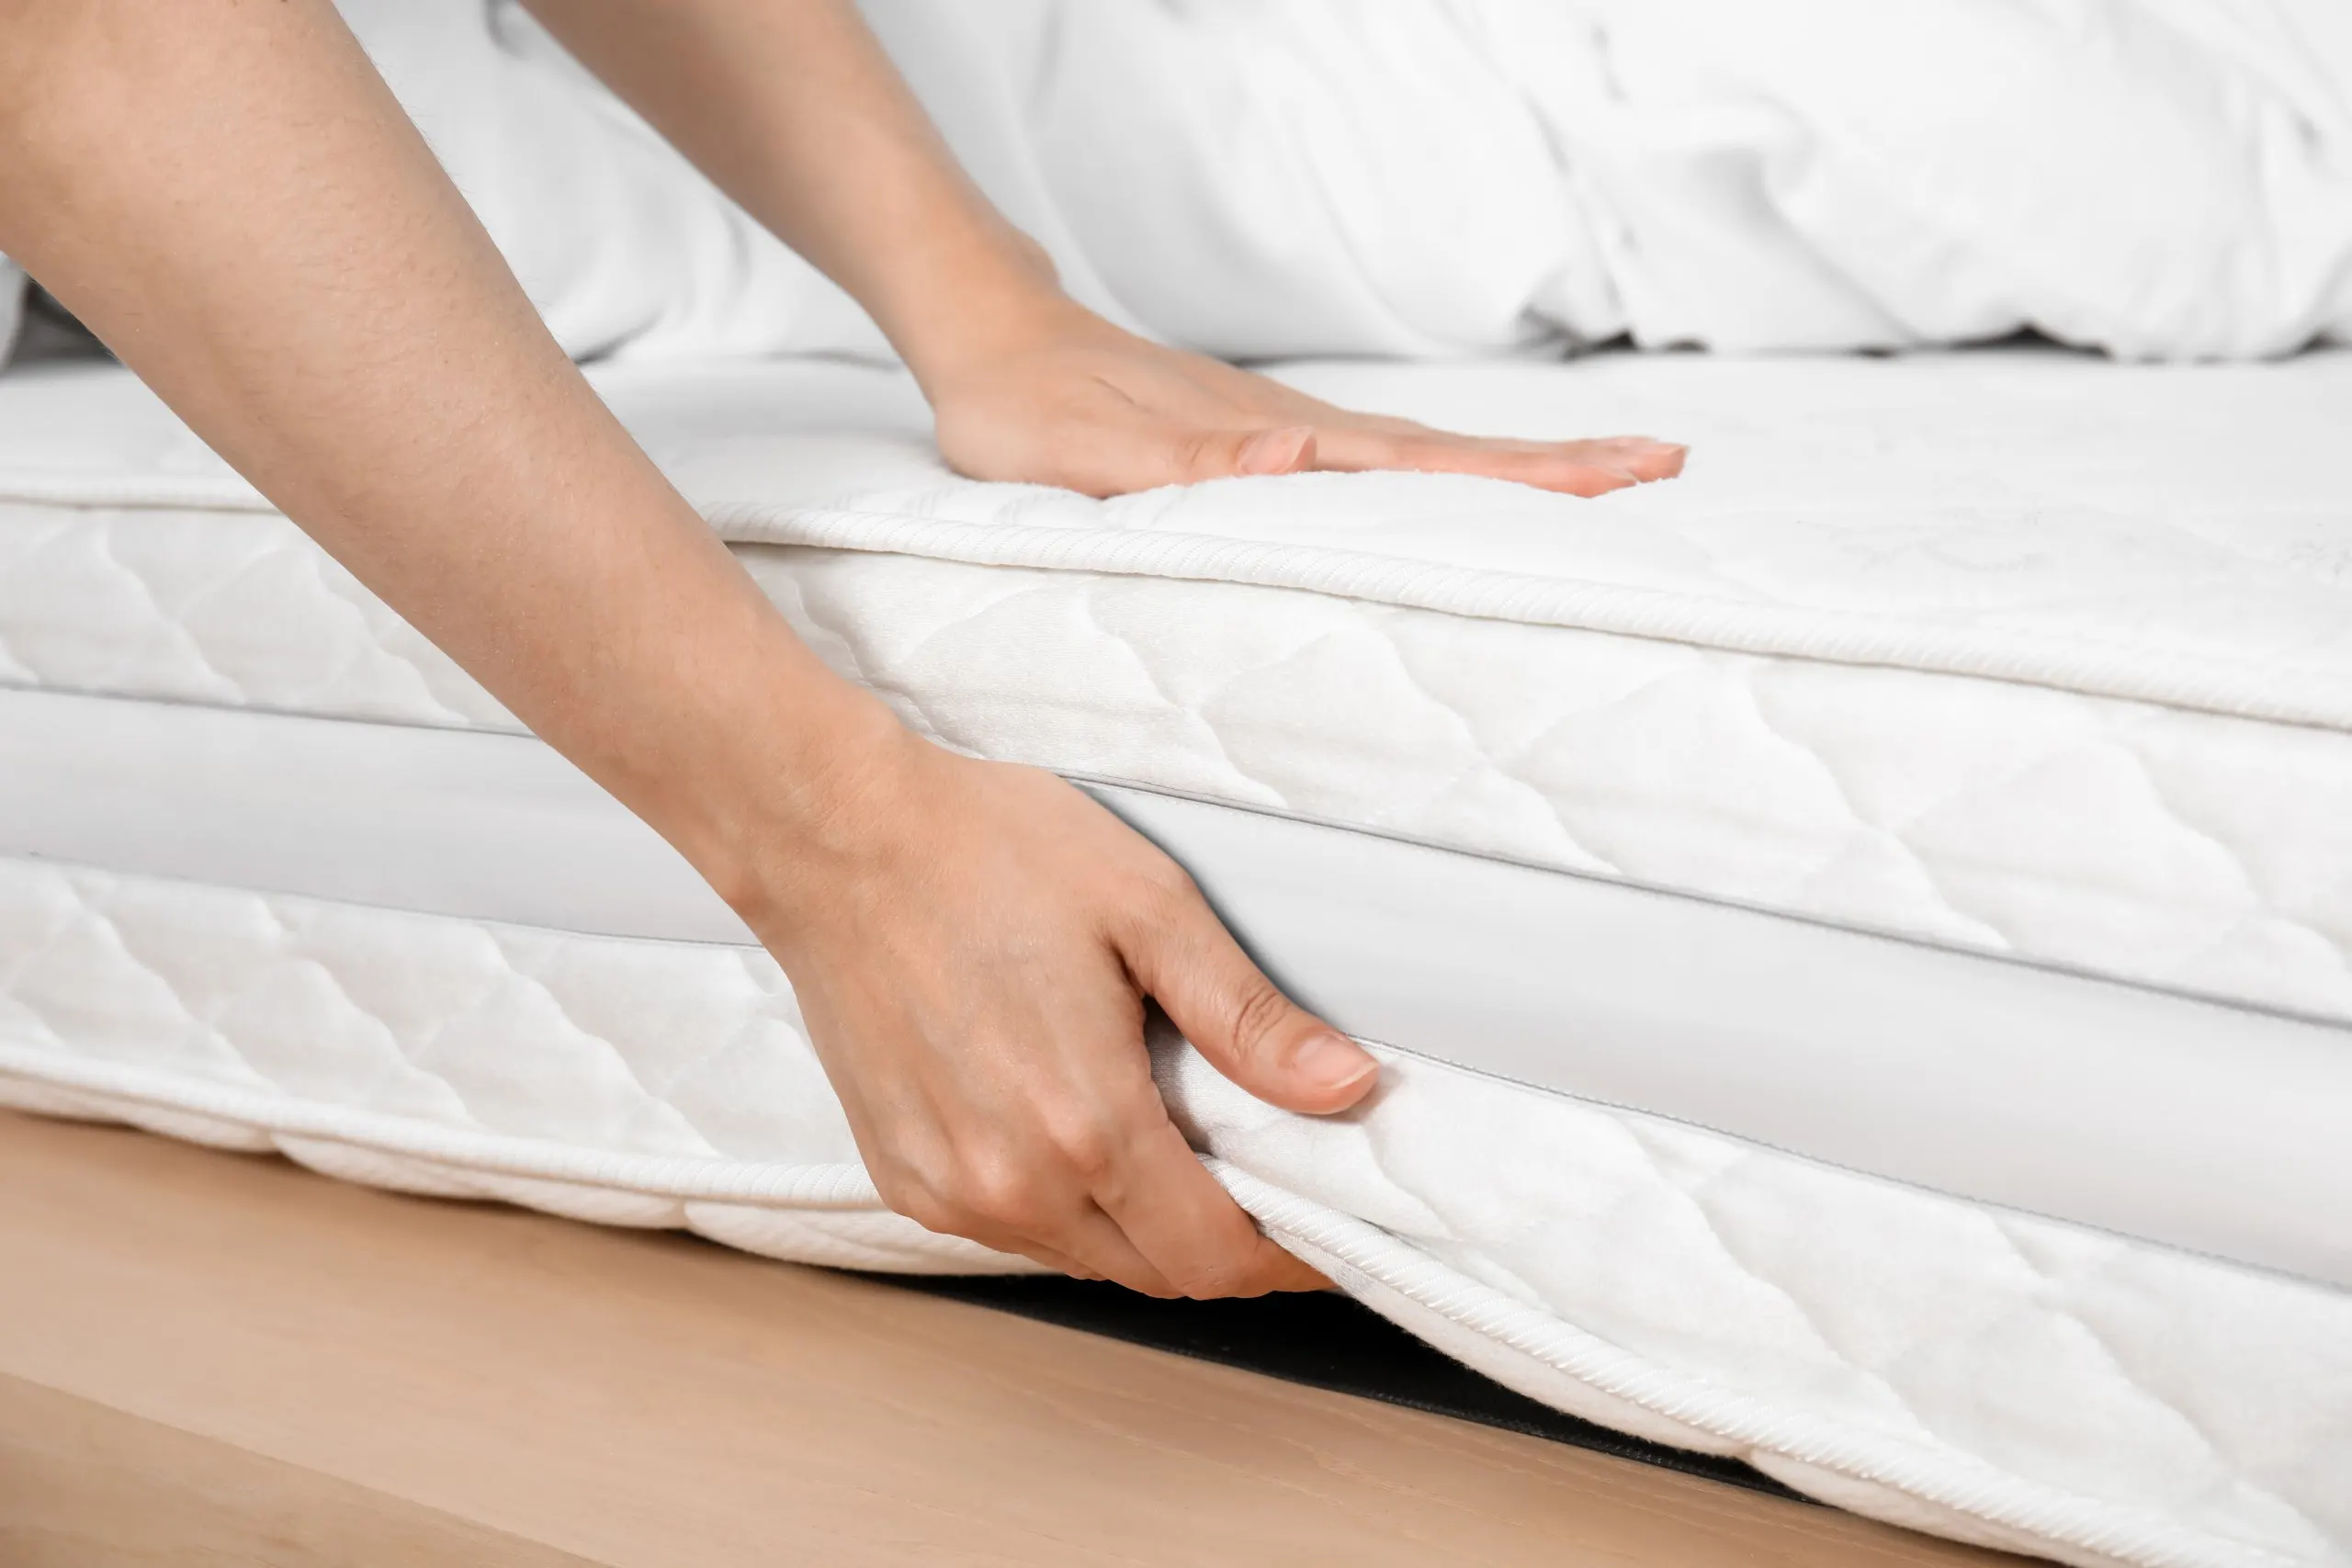
Step 4: Secure the Protector in Place
Now that the mattress protector is properly positioned, it’s important to secure it in place to prevent it from shifting or sliding off the mattress. Follow these steps to ensure a secure fit:
- Fit the corners: Start by tucking the corners of the protector under the mattress. Lift the mattress slightly to create a small gap and tuck the excess fabric of the protector underneath. Repeat this step for all four corners.
- Smooth out the sides: Move along the sides of the mattress, tucking in any excess material of the protector as you go. Pull the protector taut to ensure a snug fit without any sagging or loose areas.
- Use elastic straps, if available: Some mattress protectors come with elastic straps or bands that can be secured around the corners of the mattress. If your protector has these straps, use them to provide additional reinforcement and keep the protector in place.
- Double-check the fit: Once you have secured the protector, double-check the fit to ensure it is smooth and without any wrinkles or bunching. Adjust as necessary to achieve a neat appearance.
By properly securing the mattress protector, you’ll ensure that it stays in place during use and provides effective protection for your mattress.
With the protector securely in place, let’s move on to the next step: smoothing out any wrinkles.
When putting on a mattress protector, start by laying the protector flat on the bed with the elastic edges facing down. Then, stretch the protector over the corners of the mattress and smooth out any wrinkles for a snug fit.
Read more: How To Put On A Zippered Mattress Protector
Step 5: Smooth Out the Wrinkles
After securing the mattress protector, it’s time to give it a neat and wrinkle-free appearance. Follow these steps to smooth out any wrinkles:
- Smooth with your hands: Start by using your hands to gently smooth out any wrinkles or folds in the mattress protector. Work your way from one end to the other, applying light pressure to flatten the fabric.
- Use a flat object: If there are stubborn wrinkles that won’t easily smooth out with your hands, you can use a flat object like a ruler or a book to help. Place the object on top of the wrinkle and press down gently to smooth it out.
- Walk on the mattress: For more persistent wrinkles, you can walk along the surface of the mattress. This will help distribute your weight and make it easier to smooth out any creases or folds in the fabric.
- Allow time for settling: Sometimes, wrinkles may naturally settle on their own over time. Give the mattress protector some time to flatten out on its own, especially if it is made from a stretchy or elastic material.
By taking the time to smooth out the wrinkles, you’ll not only improve the appearance of your bed but also ensure a comfortable sleep surface.
With the wrinkles smoothed out, let’s move on to the next step: double-checking the fit of the mattress protector.
Step 6: Double Check the Fit
Before considering the mattress protector fully in place, it’s essential to double-check the fit and make any necessary adjustments. Follow these steps to ensure the mattress protector fits snugly and securely:
- Run your hand along the edges: Start by running your hand along the edges of the mattress protector to ensure it is evenly tucked in and there are no loose or exposed areas.
- Check the corners: Inspect the corners of the mattress to ensure that the protector is securely tucked and there are no loose or excess materials gathering in the corners.
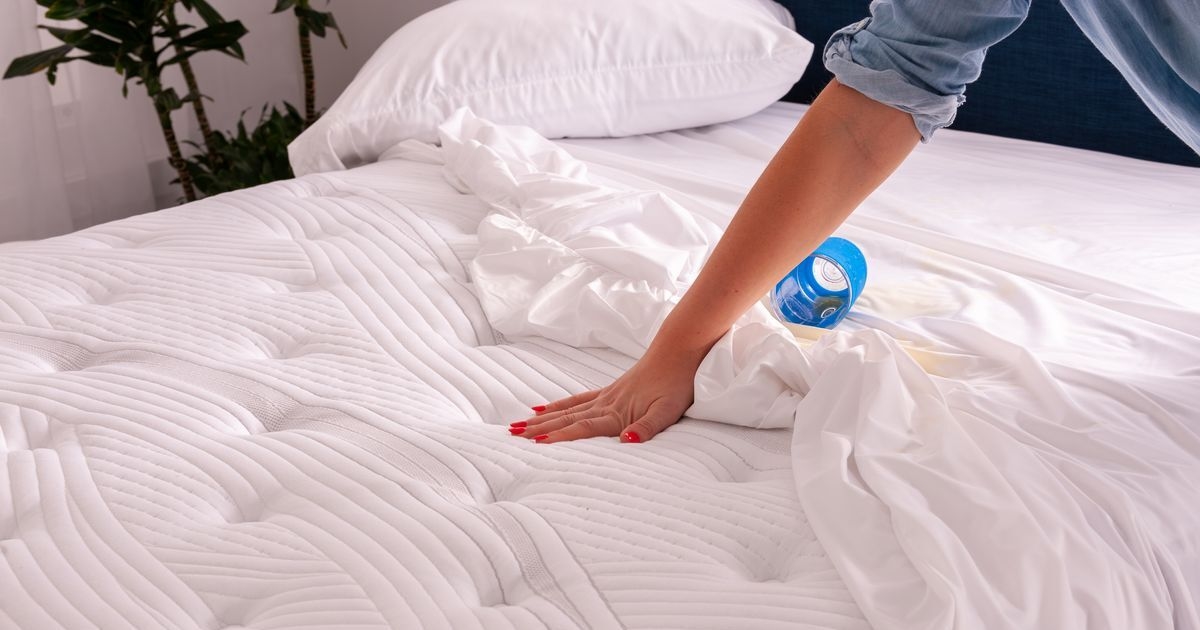
- Press down on the mattress: Gently press down on the mattress to test the tension of the protector. It should feel secure and not shift or move easily.
If you notice any areas that need adjustment, take the time to smooth them out or re-tuck the protector to ensure a proper fit. Remember, a properly fitted mattress protector will provide optimal protection for your mattress.
Now that you have double-checked the fit, it’s time to move on to the final step: finishing the bed-making process.
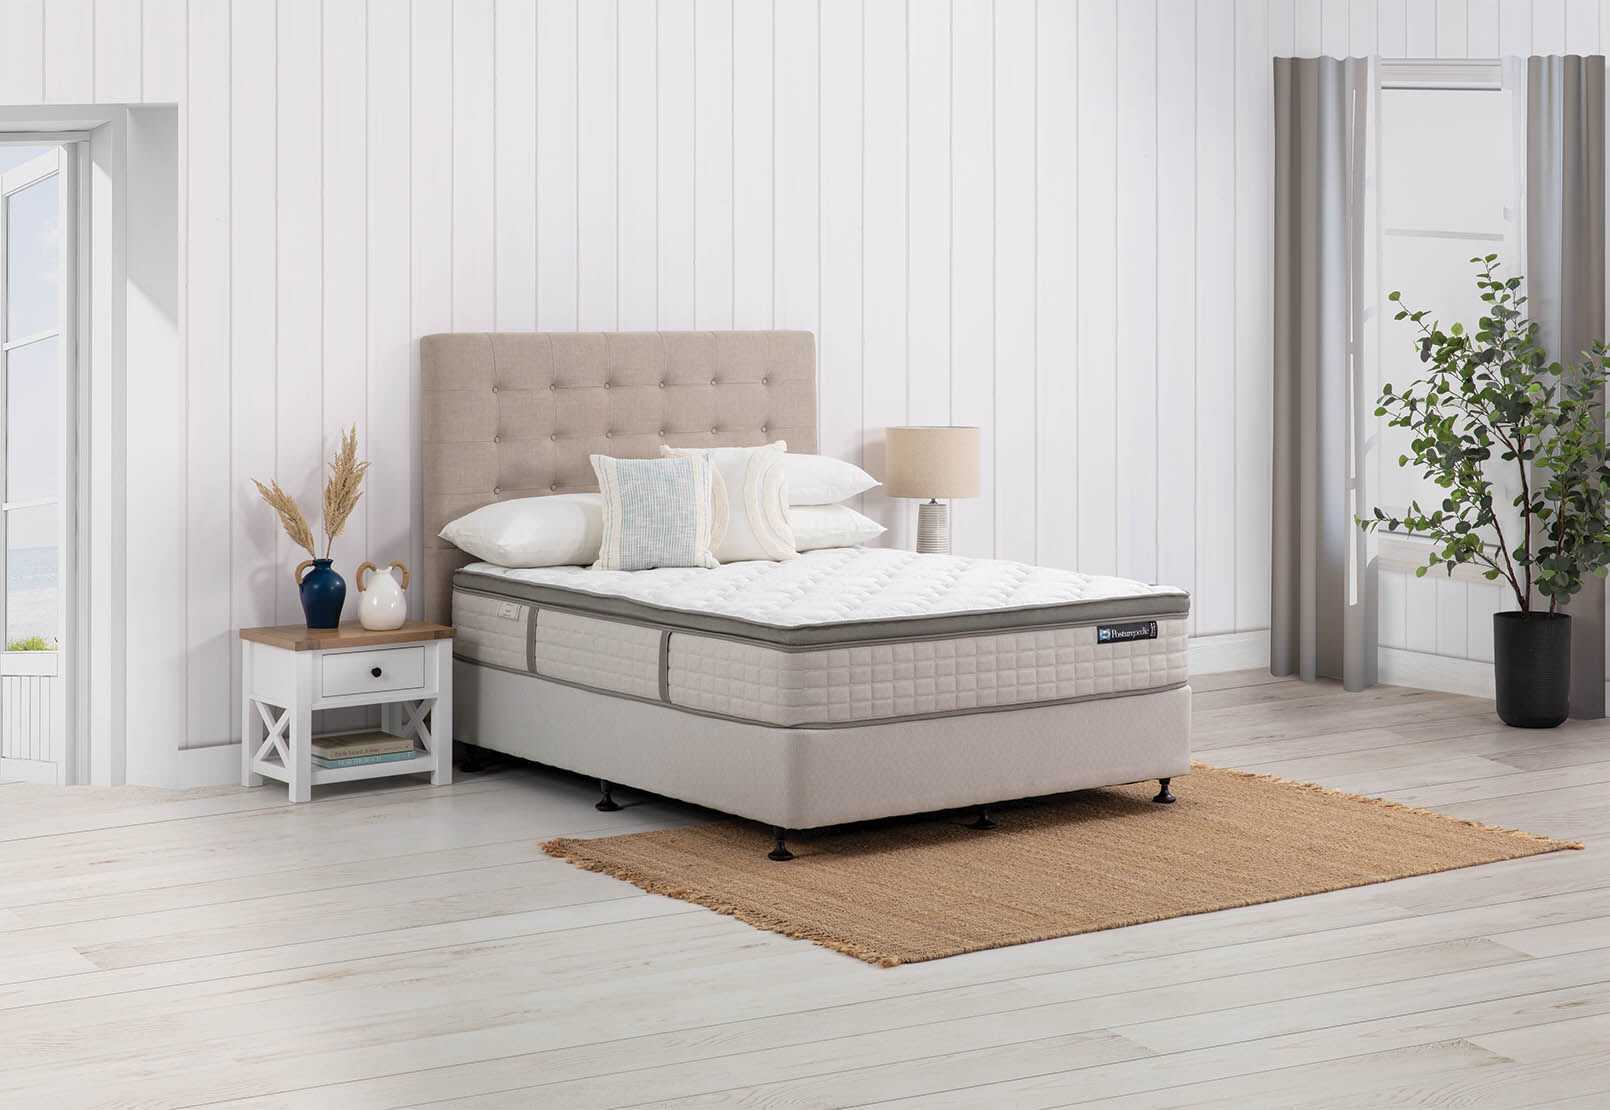
Step 7: Finish the Bed Making Process
With the mattress protector in place, it’s time to finish the bed-making process. Follow these steps to complete the look and ensure a cozy and inviting sleeping environment:
- Add a fitted sheet: Place a fitted sheet over the mattress protector to provide an extra layer of comfort and protection. Ensure that the sheet is properly aligned and taut on the mattress.
- Add a flat sheet or blanket: If desired, add a flat sheet or blanket on top of the fitted sheet. Smooth it out and tuck the edges under the mattress for a neat and tidy appearance.
- Add pillows and pillowcases: Arrange the pillows on the bed and add pillowcases to complete the look. Fluff up the pillows for a plush and inviting feel.
- Complete with additional decor: Place any additional decorative pillows, throws, or accessories to personalize the look of your bed. This will enhance the overall aesthetic and create a cozy atmosphere.
Take a moment to step back and admire your freshly made bed. The mattress protector not only provides practical benefits but also serves as a foundation for a beautiful and inviting bed.
With the bed-making process complete, you can now enjoy a clean and protected sleeping surface.
Congratulations! You have successfully put on a mattress protector and created a comfortable and inviting place to rest. Remember to periodically clean your mattress protector and replace it when necessary to maintain optimal protection for your mattress.
Thank you for following this step-by-step guide. We hope you found it helpful and informative. Sleep well!
Conclusion
Putting on a mattress protector is a simple yet important step in maintaining the cleanliness and longevity of your mattress. By following the steps outlined in this guide, you can easily and effectively protect your mattress from spills, stains, allergens, and general wear and tear.
Remember, the key is to gather all the necessary supplies, prepare the mattress, position the protector, secure it in place, smooth out any wrinkles, double-check the fit, and finish the bed-making process. Taking the time to properly put on a mattress protector will not only provide you with peace of mind but also enhance your overall sleep experience.
A well-protected mattress means a healthier sleeping environment, as it prevents allergens and dust mites from accumulating. It also helps maintain the comfort and support of your mattress, ensuring its longevity and durability over time.
So, invest in a high-quality mattress protector that suits your specific needs and mattress size. This small but essential addition will go a long way in improving the lifespan of your mattress and promoting a cleaner and healthier sleep environment.
Now that you have the knowledge and know-how, it’s time to get started! Put on that mattress protector, make your bed, and enjoy a restful and protected night’s sleep.
Thank you for reading our comprehensive guide on how to put on a mattress protector. Sleep well and wake up refreshed!
Frequently Asked Questions about How To Put On A Mattress Protector
Was this page helpful?
At Storables.com, we guarantee accurate and reliable information. Our content, validated by Expert Board Contributors, is crafted following stringent Editorial Policies. We're committed to providing you with well-researched, expert-backed insights for all your informational needs.