Home>Furniture>Bedroom Furniture>How To Dry A Mattress
Bedroom Furniture
How To Dry A Mattress
Modified: September 1, 2024
Learn the best methods to dry a mattress quickly and efficiently in your bedroom. Our expert tips will help you preserve your precious bedroom furniture.
(Many of the links in this article redirect to a specific reviewed product. Your purchase of these products through affiliate links helps to generate commission for Storables.com, at no extra cost. Learn more)
Introduction
When it comes to maintaining the cleanliness and longevity of your mattress, proper drying is essential. Whether you spilled a drink, had a pet accident, or simply want to freshen up your mattress, knowing how to dry it effectively is key. In this article, we will guide you through the steps to safely and efficiently dry your mattress, restoring it to its original condition and ensuring a comfortable and hygienic sleep surface.
Before we dive into the steps, it’s important to note that the method for drying a mattress may vary depending on the type of material it’s made of. Most mattresses today are made with either foam or springs, so we will focus on common methods that work well for both types. Keep in mind that these methods are suitable for drying a mattress that has been dampened, not one that is completely soaked or waterlogged.
So, let’s get started and learn how to dry your mattress the right way!
Key Takeaways:
- Properly drying your mattress is crucial for maintaining cleanliness and comfort. Follow these steps to ensure a hygienic and odor-free sleep surface, promoting a restful and healthy sleep experience.
- From absorbing excess moisture to using baking soda and air drying under the sun, each step plays a vital role in the mattress drying process. Regular maintenance will prolong the life of your mattress and ensure a comfortable sleeping surface.
Read more: How To Dry Out A Mattress
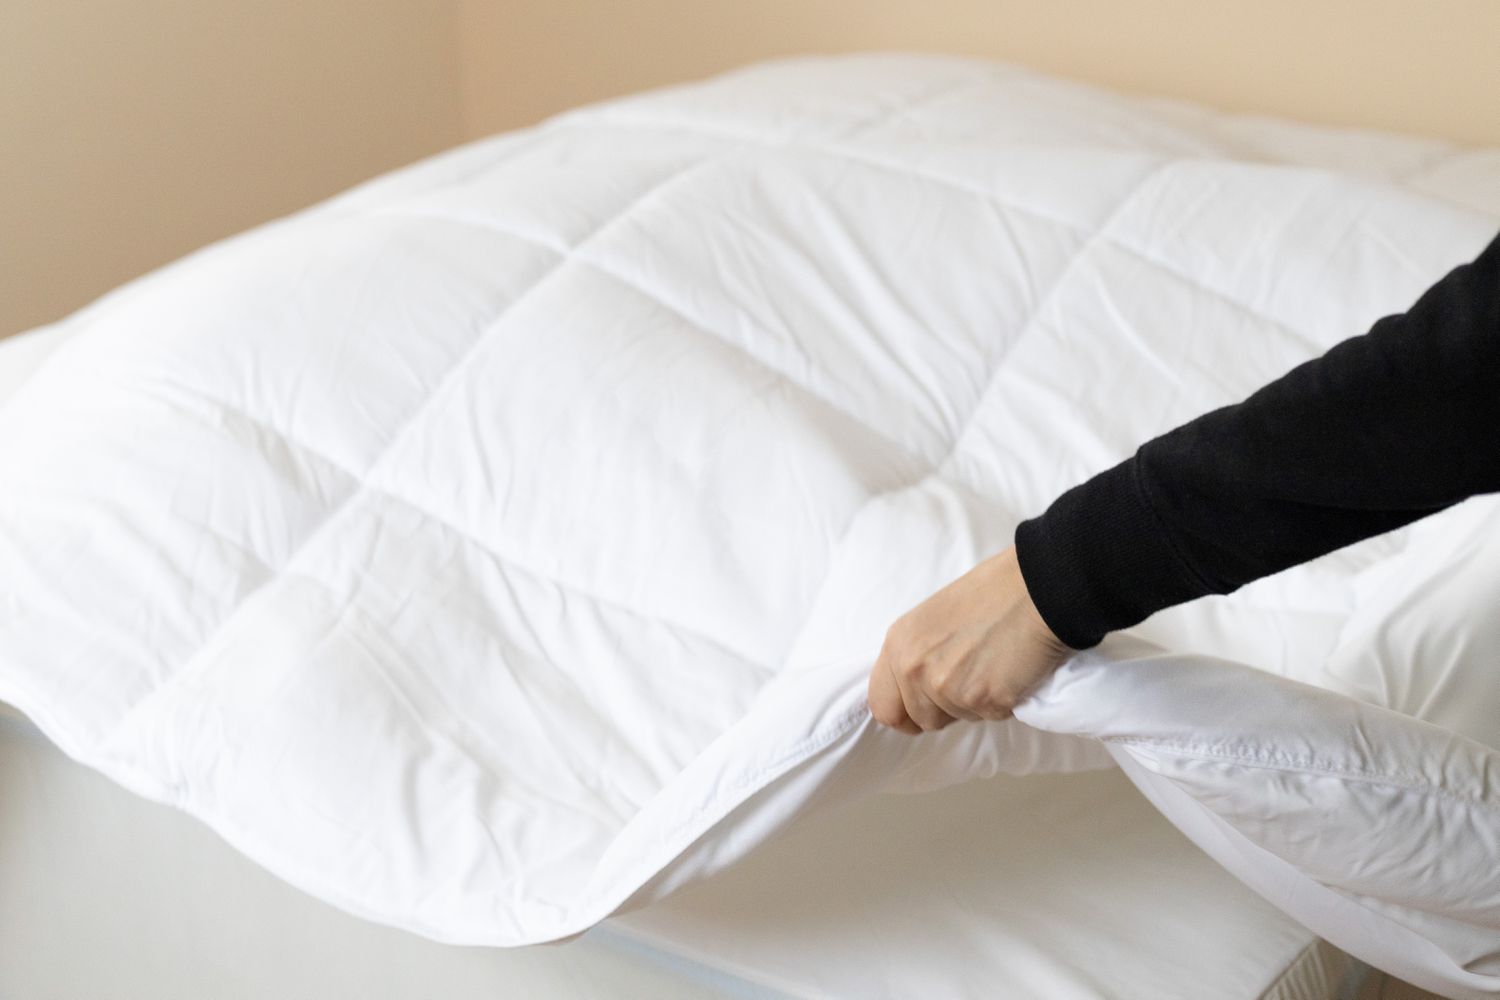
Step 1: Remove All Bedding
The first step in drying your mattress is to remove all bedding, including sheets, pillowcases, blankets, and mattress protectors. This will allow better airflow and prevent any moisture from being trapped between the layers. As you remove the bedding, take note of any stains or spots that may require additional treatment later on.
Once you have stripped the bed, it’s a good idea to wash the bedding separately. Use the appropriate laundry detergent and follow the care instructions for each item. This will ensure that your bedding is clean, fresh, and ready to be placed back on the mattress once it’s completely dry.
While the bedding is being washed, you can move on to the next step of the drying process.
Step 2: Absorb Excess Moisture
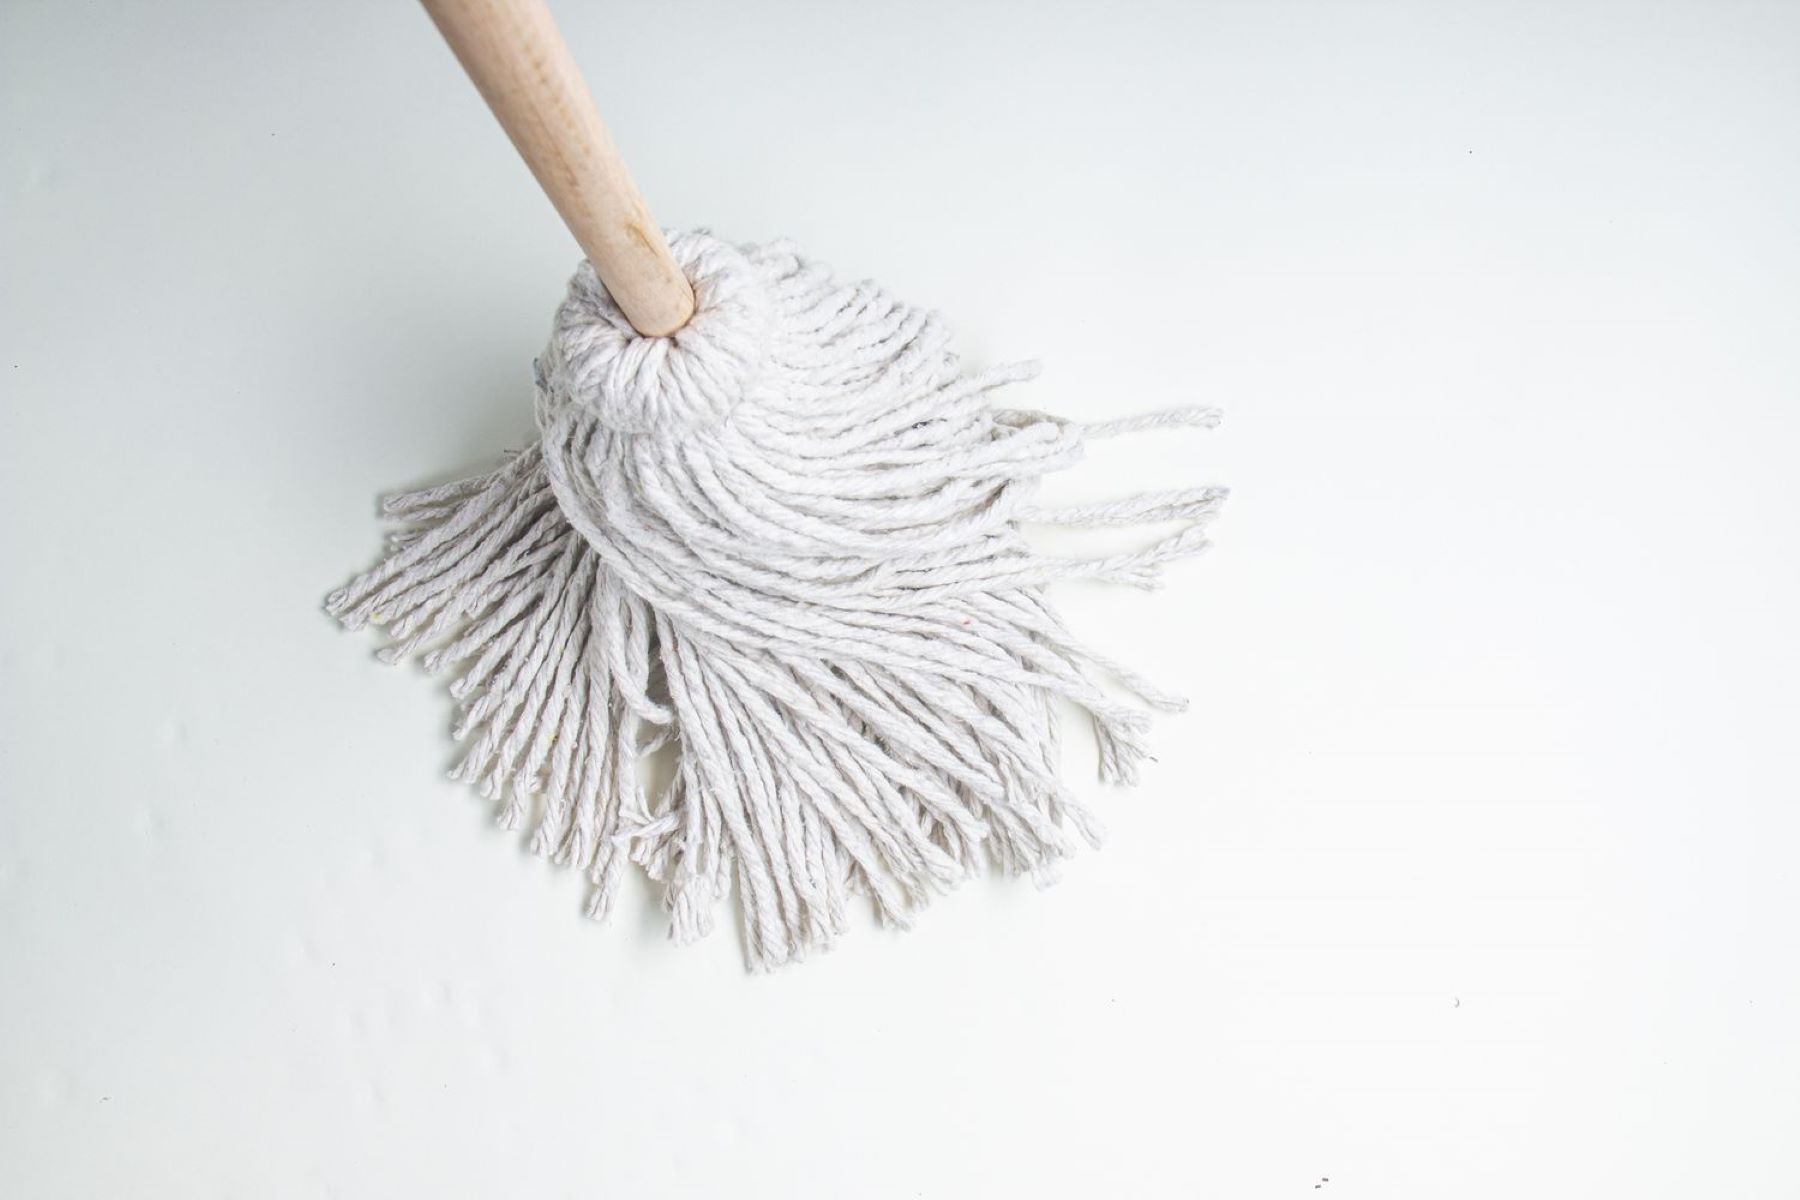
After removing the bedding, it’s important to quickly absorb any excess moisture from the surface of the mattress. You can do this by using a clean towel or a few layers of paper towels. Gently press the towel or paper towels onto the damp areas of the mattress, allowing them to absorb as much moisture as possible.
Be careful not to rub the towel against the mattress, as this can push the moisture deeper into the fabric and make it more difficult to dry. Instead, use a pressing motion to soak up the moisture without spreading it around.
If the mattress is heavily saturated, you may need to repeat this step a few times with fresh towels or paper towels until no more moisture is being absorbed.
Remember, the key here is to remove as much moisture as possible before moving on to the next steps. By doing so, you will speed up the drying process and minimize the risk of mold or mildew growth.
Step 3: Use a Fan or Open Windows
Once you have absorbed the excess moisture from the mattress, it’s time to enhance the airflow in the room. This can be done by using a fan or opening windows to allow fresh air to circulate.
If you have a fan, position it near the mattress and set it to a medium or high speed to create a breeze. This will help evaporate any remaining moisture and promote faster drying. Make sure the mattress is exposed to the airflow from the fan for optimal results.
If weather conditions permit, opening windows can also aid in the drying process. The natural airflow and sunlight will help to dry the mattress more efficiently. However, be mindful of humidity levels. If the air outside is humid, it may hinder the drying process, so it’s best to use a fan in conjunction with open windows to create a proper airflow.
Remember to leave the fan or windows open for several hours or even overnight to allow for thorough drying. Moving air and fresh air circulation are vital in removing moisture from the mattress and preventing any potential odors or mildew.
Step 4: Apply Baking Soda
Using baking soda is a simple yet effective method to absorb any remaining moisture and eliminate odors from your mattress. Baking soda is a natural deodorizer and can help freshen up your mattress during the drying process.
To apply baking soda, sprinkle a generous amount over the entire surface of the mattress. Focus on areas that may still be damp or have lingering odors. Use your hands or a clean brush to gently spread the baking soda evenly across the mattress.
Allow the baking soda to sit on the mattress for at least 1-2 hours. During this time, it will work to absorb moisture and neutralize any unpleasant smells. If your mattress has a particularly strong odor, you can leave the baking soda on for longer, even overnight.
After the designated time, use a vacuum cleaner with an upholstery attachment to thoroughly remove the baking soda. Ensure that you vacuum all sides of the mattress, including the edges and crevices. This will help remove any moisture trapped in the baking soda and leave your mattress clean and fresh.
By incorporating baking soda into your mattress drying routine, you can further promote a clean and odor-free sleeping surface.
To dry a mattress, place it in a well-ventilated area with good air circulation and direct sunlight. Use a fan to speed up the drying process and prevent mold growth. Flip the mattress regularly to ensure even drying.
Read more: How To Dry Out A Memory Foam Mattress
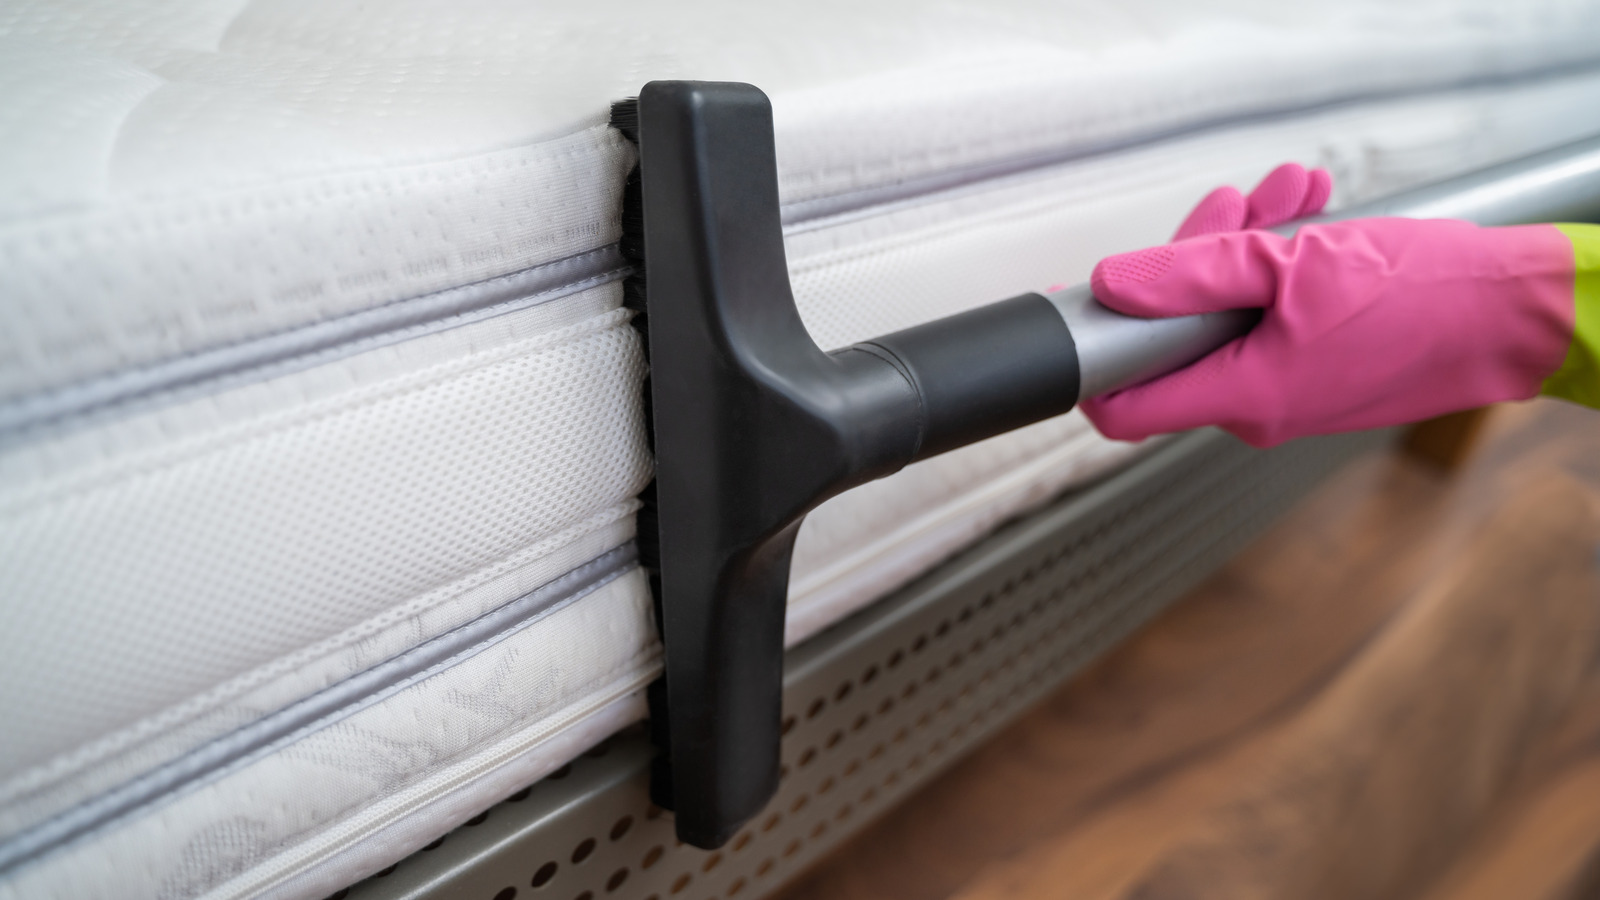
Step 5: Vacuum the Mattress
After you have removed the baking soda, it’s time to give your mattress a thorough vacuuming. Vacuuming helps to remove any remaining debris, allergens, or dust mites that may have accumulated on the surface of the mattress.
Start by attaching the upholstery attachment to your vacuum cleaner. This attachment is specifically designed for cleaning fabric surfaces and is ideal for use on mattresses. Begin vacuuming the mattress in a systematic manner, starting from the top and working your way down to the sides and corners.
Pay extra attention to the seams, crevices, and any areas with visible stains or spills. Move the vacuum slowly over these areas to ensure a deep clean. Repeat the process as necessary until you are satisfied that the mattress is free from any debris or particles.
Vacuuming not only helps to keep your mattress clean but also helps to improve its overall lifespan. Regular vacuuming, at least every few months, is recommended to maintain a healthy sleep environment and prevent the buildup of allergens.
Once you have finished vacuuming, it’s time to proceed to the next step in the mattress drying process.
Step 6: Air Dry Under the Sun
Now that you have prepared your mattress by removing excess moisture, enhancing airflow, and cleaning it, it’s time to harness the power of the sun to complete the drying process. Sunlight not only helps to dry the mattress but also acts as a natural disinfectant, killing bacteria and eliminating odors.
If weather conditions permit and it is a sunny day, take your mattress outside and find a clean, dry spot in direct sunlight. Place the mattress on a clean, elevated surface, such as a clothesline or a sturdy outdoor furniture piece.
Make sure to flip the mattress over once every hour to ensure that both sides receive ample sunlight exposure. This will help to evenly dry the mattress and prevent any remaining moisture from being trapped.
Allow the mattress to air dry under the sun for several hours, or ideally, for the entire day. The duration may vary depending on the thickness and type of mattress, as well as the intensity of the sunlight. Ensure that the mattress is completely dry before moving on to the next step.
Air drying your mattress under the sun not only aids in the drying process but also helps to naturally freshen it up. The sunlight will help to eliminate any lingering odors and leave your mattress feeling fresh and revitalized.
Step 7: Use a Dehumidifier
If you live in a humid climate or the weather conditions are not suitable for air drying your mattress, using a dehumidifier can be an effective alternative. A dehumidifier helps to reduce the moisture in the air, aiding in the drying process and preventing the growth of mold or mildew.
Place the dehumidifier in the room where the mattress is located. Make sure the room is properly closed off to contain the moisture. Set the dehumidifier to a medium or high setting, depending on the humidity level in the room. Allow it to run for several hours or overnight, depending on the level of dampness in the mattress.
The dehumidifier will extract the excess moisture from the air, helping to accelerate the drying process. Keep in mind that using a dehumidifier may take longer than air drying under the sun, so it’s important to be patient and allow sufficient time for the mattress to dry completely.
Remember to empty the water tank of the dehumidifier regularly, as it will collect the moisture extracted from the air. This will ensure optimal performance and prevent any water overflow.
Using a dehumidifier can be particularly beneficial in areas with high humidity or during rainy seasons when air drying may not be feasible. It provides a controlled environment for drying your mattress thoroughly and prevents the development of any moisture-related issues.
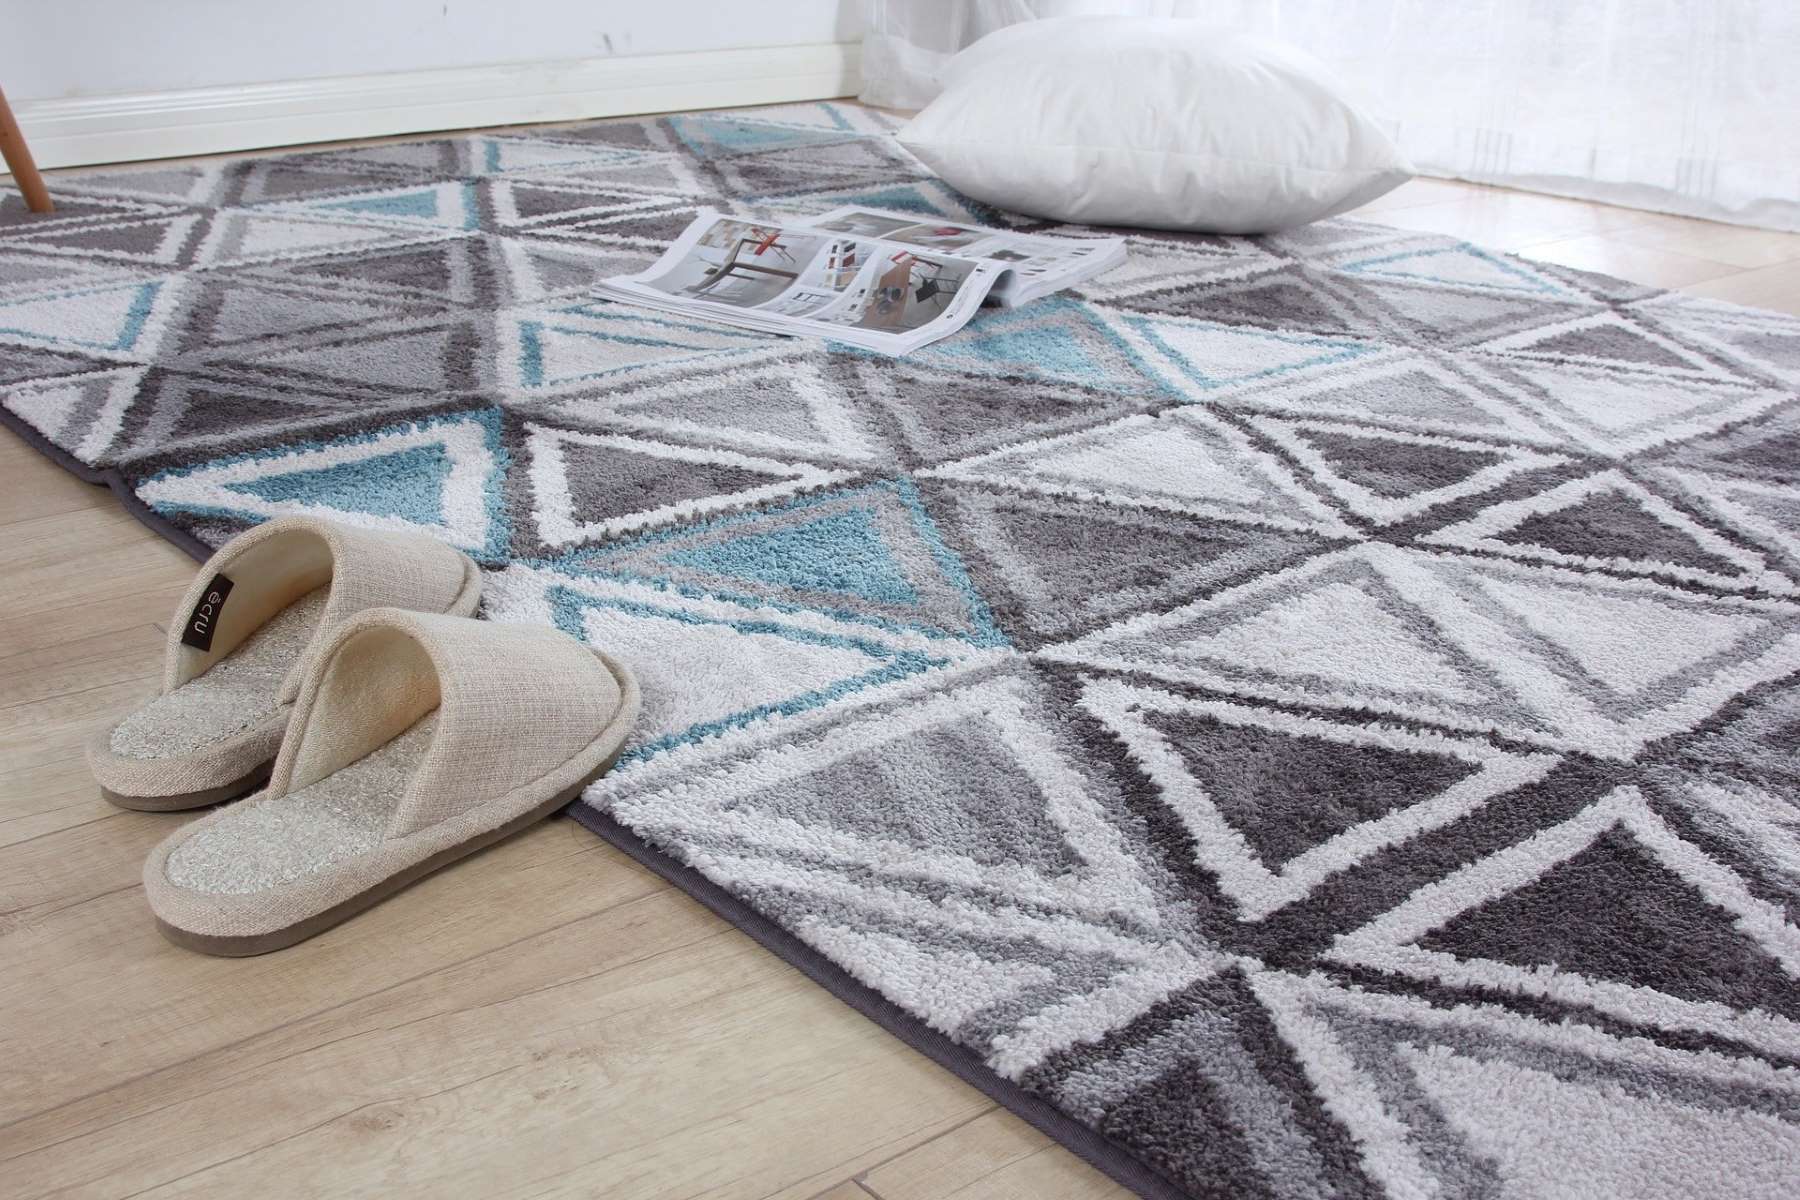
Step 8: Reassemble the Bedding
After your mattress has dried completely, it’s time to reassemble the bedding and get your bed ready for a restful night’s sleep. Follow these steps to ensure that your mattress is properly protected and comfortable:
- Start by placing a mattress protector or encasement over the clean and dry mattress. This will provide an additional layer of protection against spills, stains, and allergens.
- Next, add a fitted sheet over the mattress protector. Make sure the corners are properly aligned and secure the sheet tightly to prevent it from coming loose during the night.
- If using a flat sheet, place it over the fitted sheet with the top edge tucked under the mattress. Smooth out any wrinkles and ensure that the sheet is evenly spread over the mattress.
- Add your pillows, pillowcases, and any additional blankets or comforters as desired. Make sure they are clean and fresh before placing them on the bed.
- Give your bed a final fluff and adjust the pillows and bedding for maximum comfort.
With the bedding reassembled, your mattress is now clean, dry, and fully prepared for a cozy night’s sleep. It’s important to maintain good sleeping hygiene by regularly washing your bedding and mattress protector to keep your sleep surface fresh and free of allergens.
By following these steps, you can ensure that your mattress stays clean, dry, and comfortable for years to come.
Read more: How To Get Dried Milk Out Of A Mattress
Conclusion
Drying your mattress properly is crucial for maintaining its cleanliness, comfort, and longevity. Whether you’ve dealt with a spill, pet accident, or simply want to freshen up your mattress, following the steps outlined in this article will help you accomplish that.
From removing all bedding and absorbing excess moisture to utilizing fans or open windows for airflow and applying baking soda for odor elimination, each step plays a vital role in the drying process. Vacuuming the mattress and letting it air dry under the sun or using a dehumidifier are equally important in ensuring that your mattress is completely dry and free from moisture-related issues.
Remember to reassemble your bedding once the mattress is dry, using a mattress protector and clean sheets to maintain a hygienic sleep environment. Keeping your mattress and bedding clean and dry is essential for a good night’s sleep and overall well-being.
By following these steps regularly and incorporating them into your mattress care routine, you can prolong the life of your mattress and enjoy a comfortable and healthy sleeping surface for years to come.
So, take the time to dry your mattress properly and reap the benefits of a clean, fresh, and comfortable bed that promotes a restful sleep experience.
Frequently Asked Questions about How To Dry A Mattress
Was this page helpful?
At Storables.com, we guarantee accurate and reliable information. Our content, validated by Expert Board Contributors, is crafted following stringent Editorial Policies. We're committed to providing you with well-researched, expert-backed insights for all your informational needs.