Home>Furniture>Bedroom Furniture>How To Transform A Bed Frame Into A Platform Bed
Bedroom Furniture
How To Transform A Bed Frame Into A Platform Bed
Modified: August 22, 2024
Learn how to easily transform your bed frame into a stylish and functional platform bed with our step-by-step guide. Enhance your bedroom furniture with this affordable DIY project.
(Many of the links in this article redirect to a specific reviewed product. Your purchase of these products through affiliate links helps to generate commission for Storables.com, at no extra cost. Learn more)
Introduction
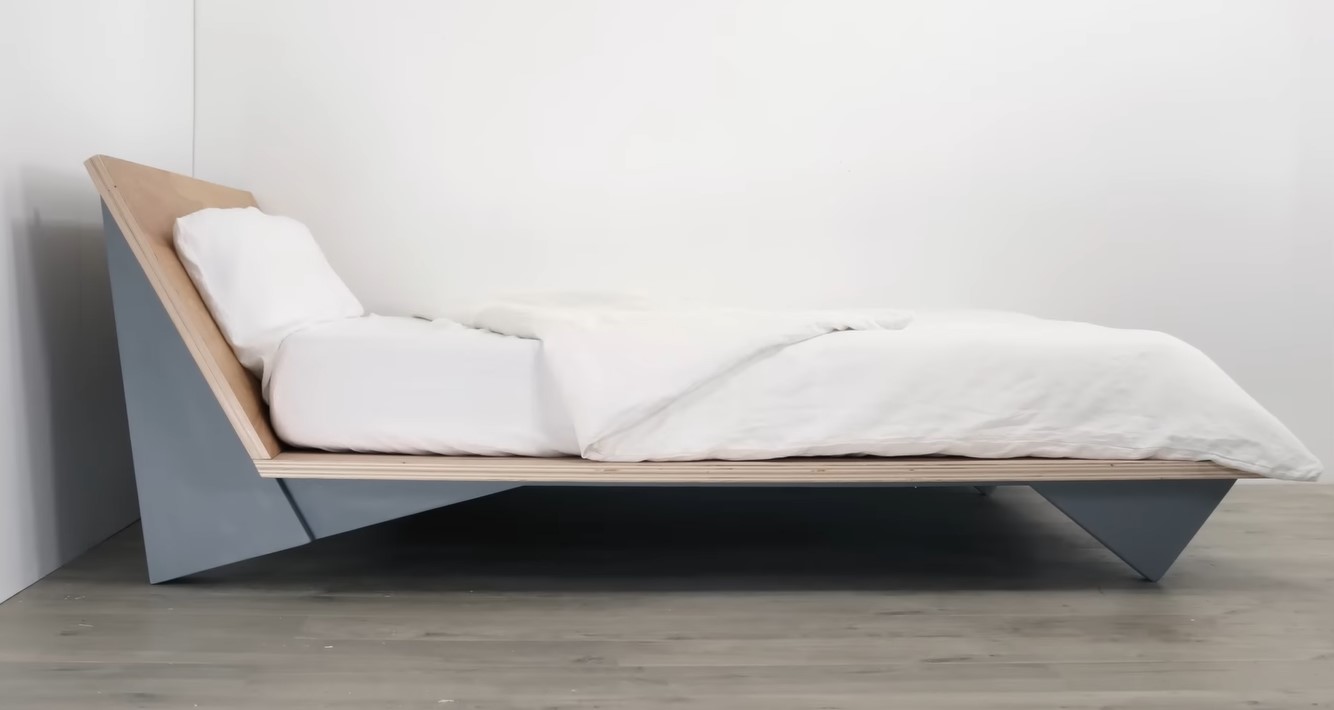
Are you looking to upgrade your bedroom furniture? Transforming a regular bed frame into a platform bed is a great DIY project that can enhance both the style and functionality of your bedroom. A platform bed offers a sleek and modern look while providing excellent support for your mattress. Plus, it eliminates the need for a box spring, making it a more cost-effective and space-saving option.
In this article, we will guide you through the step-by-step process of transforming a bed frame into a platform bed. With just a few materials and some basic tools, you can create a customized platform bed that suits your personal style and preferences. So, grab your tools and let’s get started!
Key Takeaways:
- Transforming a regular bed frame into a platform bed is a cost-effective DIY project that enhances bedroom style and functionality, providing excellent mattress support and eliminating the need for a box spring.
- By following a step-by-step process, you can create a customized platform bed that suits your personal style and preferences, adding stability and durability with support beams and reinforcing the platform.
Read more: What Is A Platform Bed Frame
Materials Needed
Before you begin transforming your bed frame into a platform bed, gather the necessary materials. Here’s a list of items you’ll need:
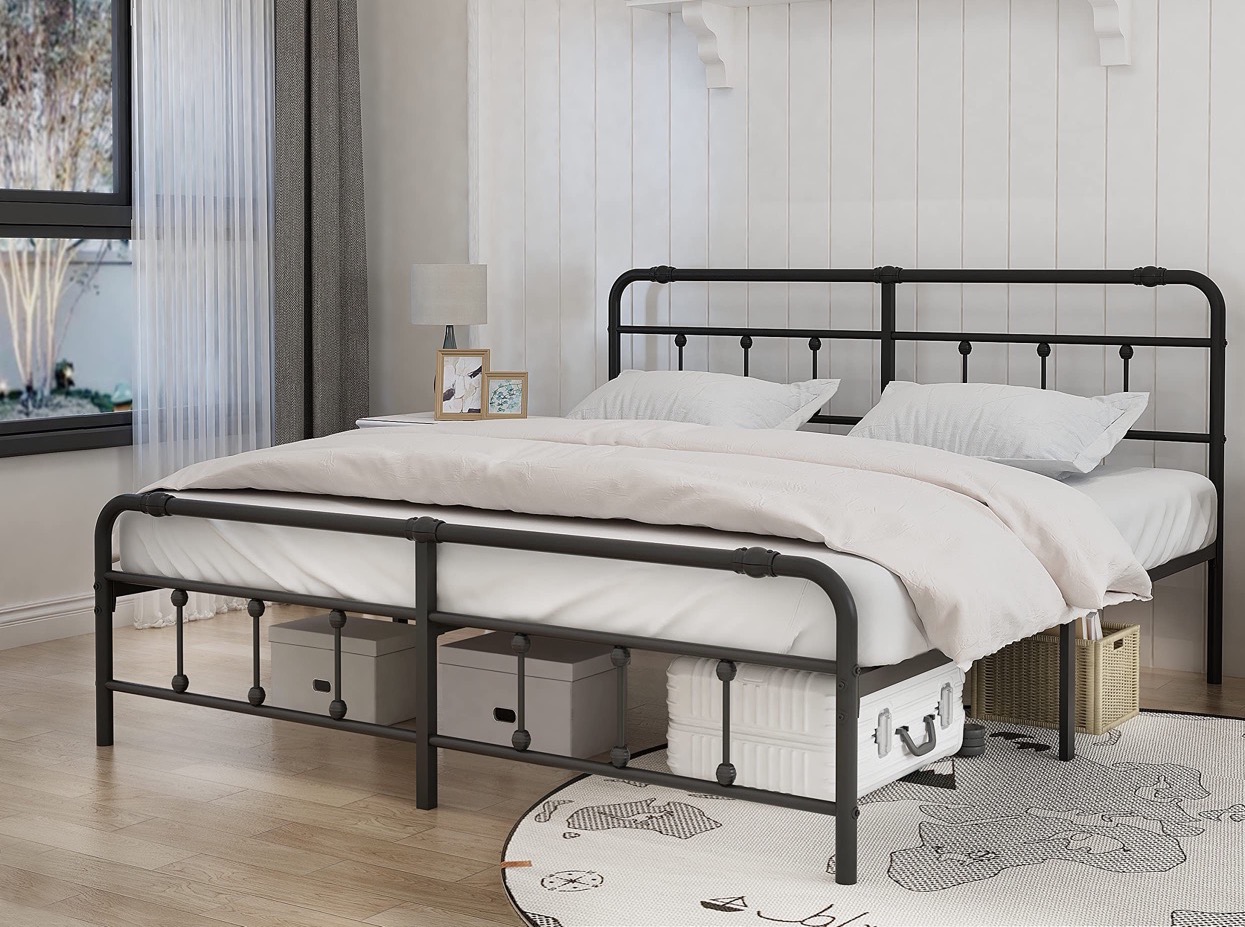
- A bed frame: Choose a bed frame that is sturdy and in good condition.
- Plywood: Opt for a high-quality plywood that is at least ¾-inch thick. The size of the plywood will depend on the dimensions of your bed frame.
- Saw: You’ll need a saw to cut the plywood to the correct dimensions.
- Sander: A sander will help smooth out the edges of the plywood, ensuring a neat and polished finish.
- Measuring tape: Use a measuring tape to accurately measure the dimensions of your bed frame and plywood.
- Screws: Choose screws that are suitable for attaching the plywood to the bed frame securely.
- Drill or screwdriver: Use a drill or screwdriver to drive the screws into the plywood and bed frame.
- Screwdriver bits: Select screwdriver bits that correspond to the type and size of screws you’re using.
- Sandpaper: Have sandpaper on hand to smooth rough surfaces and prepare the plywood for paint or stain, if desired.
Once you have gathered all the necessary materials, you’ll be ready to start transforming your ordinary bed frame into a stylish and functional platform bed.
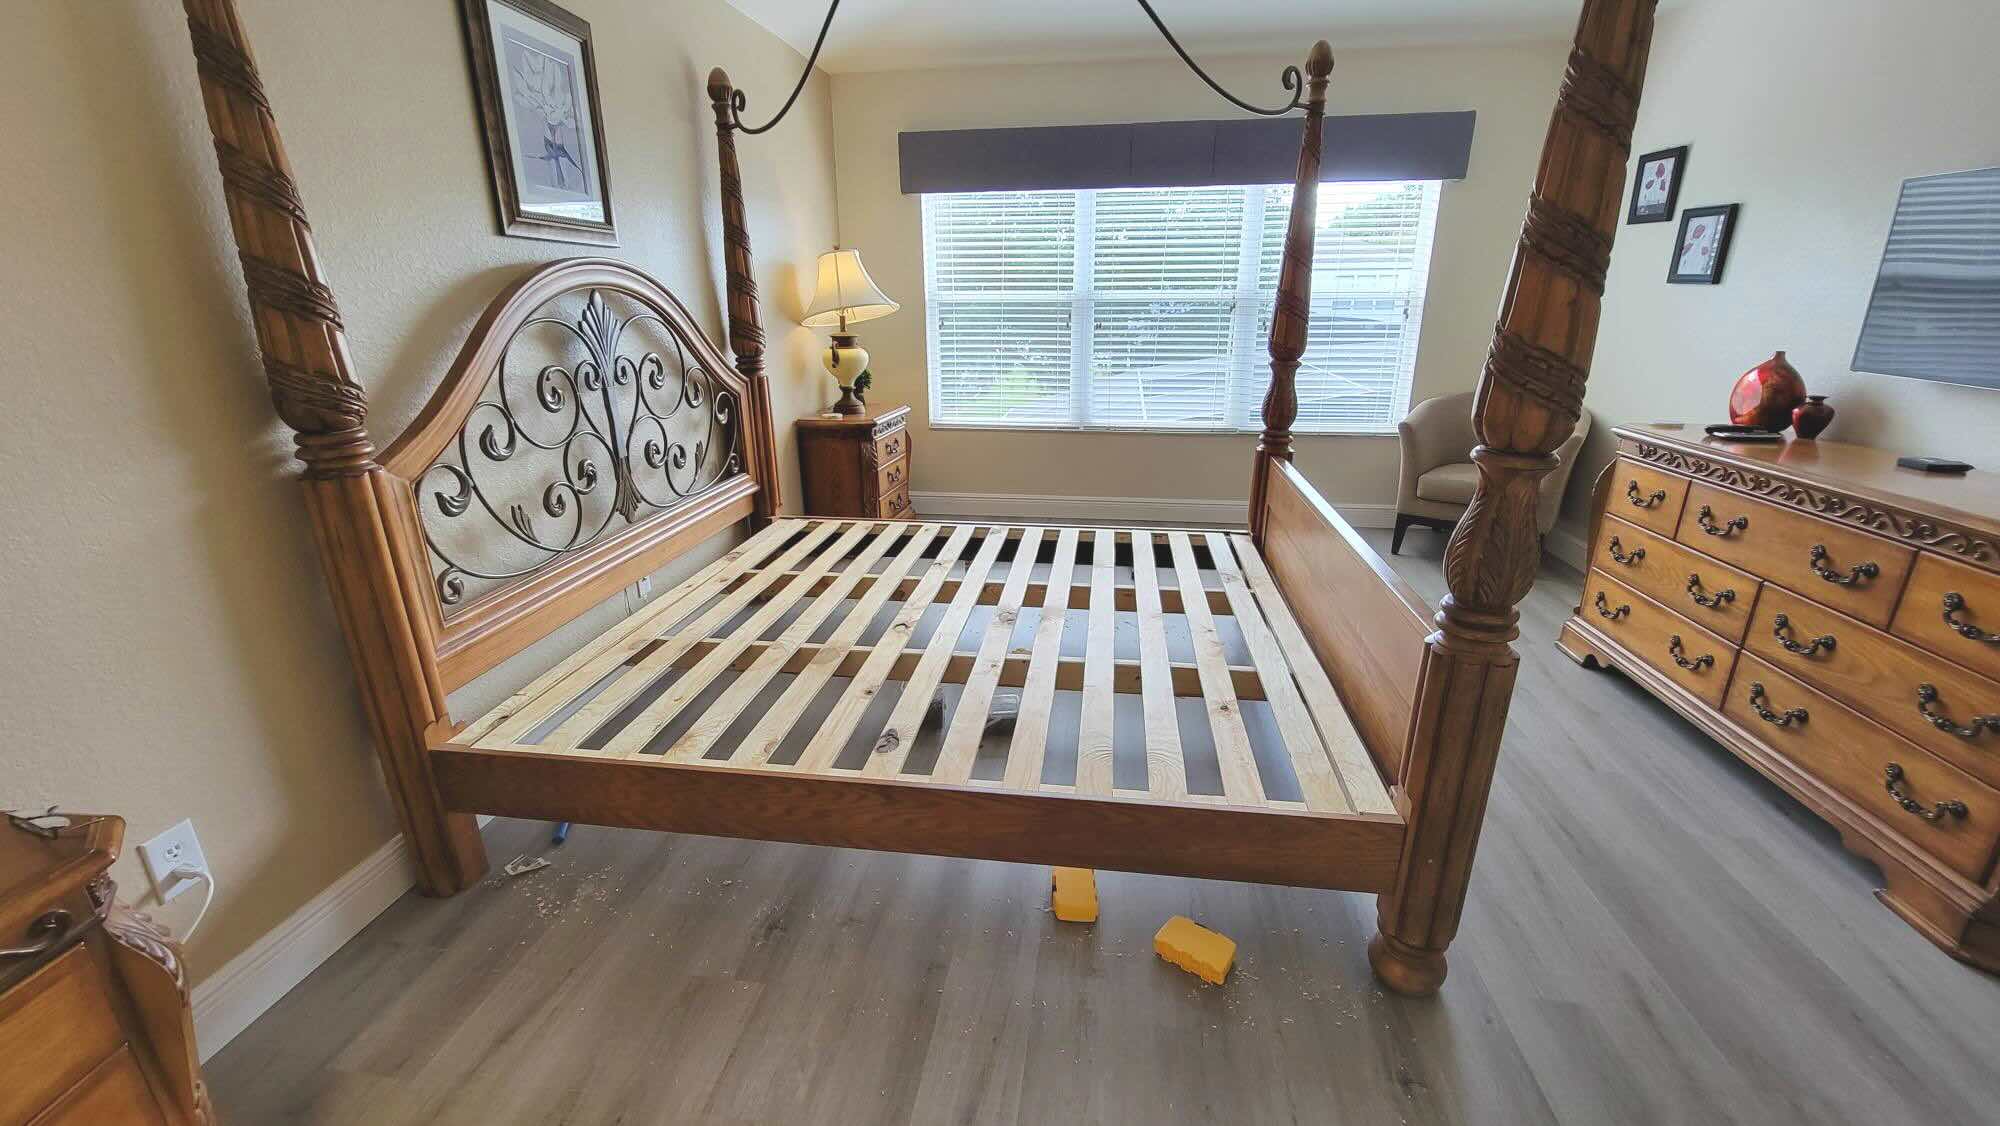
Step 1: Disassembling the Bed Frame
The first step in transforming your bed frame into a platform bed is to disassemble it. Start by removing the mattress, bedding, and any other items from the bed. This will give you easy access to the frame and make the transformation process more efficient.
Next, locate the screws or bolts that hold the bed frame together. Using a screwdriver or wrench, carefully remove these fasteners to separate the different parts of the bed frame. Keep track of the screws or bolts as you will need them later to reassemble the frame.
It is important to disassemble the bed frame completely, as this will allow you to work on each part more easily. By taking apart the frame, you can focus on the specific modifications required to turn it into a platform bed.
Once the bed frame is disassembled, set aside the individual pieces in a safe and organized manner. This will prevent any confusion when it comes time to reassemble the platform bed.
Now that you have successfully disassembled the bed frame, you’re ready to move on to the next step: removing the legs.
Step 2: Removing the Legs
With the bed frame fully disassembled, it’s time to remove the legs. Most bed frames have legs that can be detached easily, allowing you to transform it into a platform bed.
Take a close look at the legs of your bed frame. They are typically attached with screws or bolts. Use a screwdriver or wrench to loosen and remove these fasteners, one by one, until all the legs are detached from the frame.
Make sure to keep the screws or bolts in a safe place, as you will need them later for the reassembly process.
Removing the legs will give your bed frame a lower profile, which is essential for creating a platform bed. By eliminating the space between the frame and the floor, you’ll achieve a sleek and modern look.
If your bed frame has center support legs, be sure to remove those as well. Platform beds typically do not require center support legs, as the plywood platform will provide adequate support for the mattress.
Once all the legs and center support legs, if applicable, are removed, you’re ready to move on to the next step: measuring and cutting the plywood.
Step 3: Measuring and Cutting the Plywood
Now that you have your bed frame ready, it’s time to measure and cut the plywood that will serve as the platform for your mattress. The plywood will provide a sturdy and even surface, ensuring excellent support for your bed.
Start by measuring the dimensions of your bed frame using a measuring tape. You’ll need to measure both the length and width of the frame to determine the size of the plywood needed.
When measuring the width, take into account the space between the inner edges of the frame where the mattress will rest. This will ensure a snug fit for the platform.
Once you have the measurements, transfer them onto the plywood using a pencil or marker. Make precise marks to indicate where the cuts will be made.
Using a saw, carefully cut the plywood along the marked lines. Take your time and ensure that the cuts are straight and accurate. It’s recommended to use a straight guide or a leveler to achieve precise cuts.
If you don’t have the necessary tools or feel uncomfortable cutting the plywood yourself, you can have it cut at a local hardware store. Many hardware stores offer cutting services, allowing you to provide the measurements and have them cut the plywood for you.
Once the plywood is cut to the correct dimensions, set it aside for the next step. You’re now ready to move on to sanding the plywood.
Read also: 9 Unbelievable Platform Bed Frame for 2025
Step 4: Sanding the Plywood
After cutting the plywood for your platform bed, it’s important to sand it to ensure a smooth and polished surface. Sanding will remove any rough edges or imperfections, creating a sleek and comfortable platform for your mattress.
Start by using a medium-grit sandpaper to sand the edges of the plywood. Hold the sandpaper firmly and move it in a back-and-forth motion along the edges to smooth them out. Be sure to sand both sides of the plywood to ensure a consistent finish.
Next, switch to a fine-grit sandpaper and sand the entire surface of the plywood, including the edges. Sanding in the direction of the grain will help achieve a more even and seamless result.
While sanding, be sure to remove any splinters, rough patches, or sharp corners. This will ensure that your platform bed is comfortable and safe to use.
After sanding, wipe the plywood clean with a damp cloth to remove any dust or debris. Inspect the surface to make sure it is smooth and free of imperfections. If necessary, you can go over any remaining rough spots with the sandpaper again.
Now that the plywood is sanded, it’s time to move on to the next step: attaching the plywood to the bed frame.
Note: If you plan to paint or stain the plywood, it’s best to do so before attaching it to the bed frame. This will allow for easier application and ensure that the entire platform bed is finished uniformly.
When transforming a bed frame into a platform bed, make sure to measure the height of the bed frame and purchase the appropriate plywood or slats to create a level surface for the mattress. This will ensure a comfortable and stable platform bed.
Step 5: Attaching the Plywood to the Bed Frame
With the plywood sanded and ready, it’s time to attach it to the bed frame to create the platform bed base. This step will provide the foundation that holds your mattress securely and evenly distributes its weight.
Begin by laying the plywood on top of the disassembled bed frame. Ensure that it is centered and aligned properly with the edges of the frame.
Using a drill or screwdriver, secure the plywood to the bed frame by driving screws through the plywood and into the frame. Place the screws evenly along the edges of the plywood, ensuring a strong and secure attachment.
It’s important to use screws that are long enough to penetrate through the plywood and into the frame securely. The exact length of the screws will depend on the thickness of your plywood and the depth of your bed frame.
As you attach the plywood, check for any gaps or areas where the plywood might not be flush with the frame. If necessary, add additional screws or adjust the position of the plywood to ensure a snug and secure fit.
Once the plywood is securely attached to the bed frame, give it a gentle shake to check for stability. If there is any wobbling or movement, add more screws or make any necessary adjustments to reinforce the attachment.
Now that the plywood is successfully attached, you’ve created the base of your platform bed. The next step is to add support beams to provide additional stability and strength.
Step 6: Adding Support Beams
Adding support beams to your platform bed is essential for ensuring optimal stability and durability. The support beams will reinforce the plywood platform and distribute the weight of the mattress evenly, preventing sagging or bowing over time.
Start by measuring the length of the bed frame from one side to the other. This will determine the length of your support beams. Typically, two to three support beams are used, depending on the size and width of the bed.
Using a saw, cut the support beams to the appropriate length. Make sure the beams are compatible with the width of the bed frame, allowing them to fit snugly and securely underneath the plywood platform.
Once the support beams are cut, position them horizontally across the bed frame, evenly spaced apart. They should run parallel to the headboard and footboard of the bed.
Using a drill or screwdriver, attach the support beams to the bed frame by driving screws through the sides of the frame and into the beams. Make sure the screws are long enough to provide a secure attachment without protruding through the frame.
For added stability, consider attaching additional support blocks or brackets where the support beams meet the bed frame. This will further reinforce the connection and prevent any movement or shifting over time.
Once the support beams are securely in place, give the bed a gentle test to ensure that it feels sturdy and solid. Check for any wobbling or flexing and make any necessary adjustments or reinforcements.
With the support beams successfully added, your platform bed is now structurally sound and ready for the final step: reinforcing the platform.
Step 7: Reinforcing the Platform
In order to further reinforce the platform bed and ensure its long-lasting durability, it is important to add additional support to the plywood platform. This step will help prevent any sagging or flexing, providing a sturdy and reliable base for your mattress.
Start by inspecting the plywood platform for any areas that may feel slightly weak or show signs of potential sagging. This is usually more common in the center of the platform where most of the weight from the mattress is concentrated.
Using additional pieces of plywood or wooden slats, create perpendicular supports that run across the width of the platform bed. These supports should be placed strategically underneath the plywood, centered along the areas that need reinforcement.
Measure and cut the additional pieces of plywood or slats to the appropriate length to fit between the side rails of the bed frame. The number of supports needed will depend on the size and weight distribution of your mattress.
Attach the supports to the plywood platform using screws or nails, ensuring a secure and stable connection. Make sure the supports are evenly spaced to provide consistent reinforcement across the entire platform.
For added strength, consider using wood glue in addition to screws or nails when attaching the supports. This will create a stronger bond and further prevent any potential shifting or movement.
Once the additional supports are in place, test the platform bed for stability by applying gentle pressure or sitting on different areas of the mattress. Ensure that there is no visible flexing or sagging, and make any necessary adjustments or reinforcements if needed.
With the platform bed now reinforced, it is ready for the final step: adding the finishing touches.
Step 8: Finishing Touches
Now that you have successfully transformed your bed frame into a platform bed, it’s time to add the finishing touches to complete the project. These final touches will not only enhance the aesthetics of your platform bed but also provide additional comfort and functionality.
One option for finishing your platform bed is to paint or stain the plywood platform and bed frame. This can be done to match your existing bedroom decor or create a whole new look. Choose a paint or stain color that complements the style of your room and allows the natural beauty of the wood to shine through. Apply multiple coats for a smooth and even finish, and let it dry according to the manufacturer’s instructions.
If desired, you can also consider adding a fabric or upholstered headboard to your platform bed. This will further elevate the style of your bed and provide a comfortable backrest for reading or lounging. Measure and cut the fabric or upholstery material to fit the desired headboard size, and attach it securely to the bed frame using staples or upholstery nails.
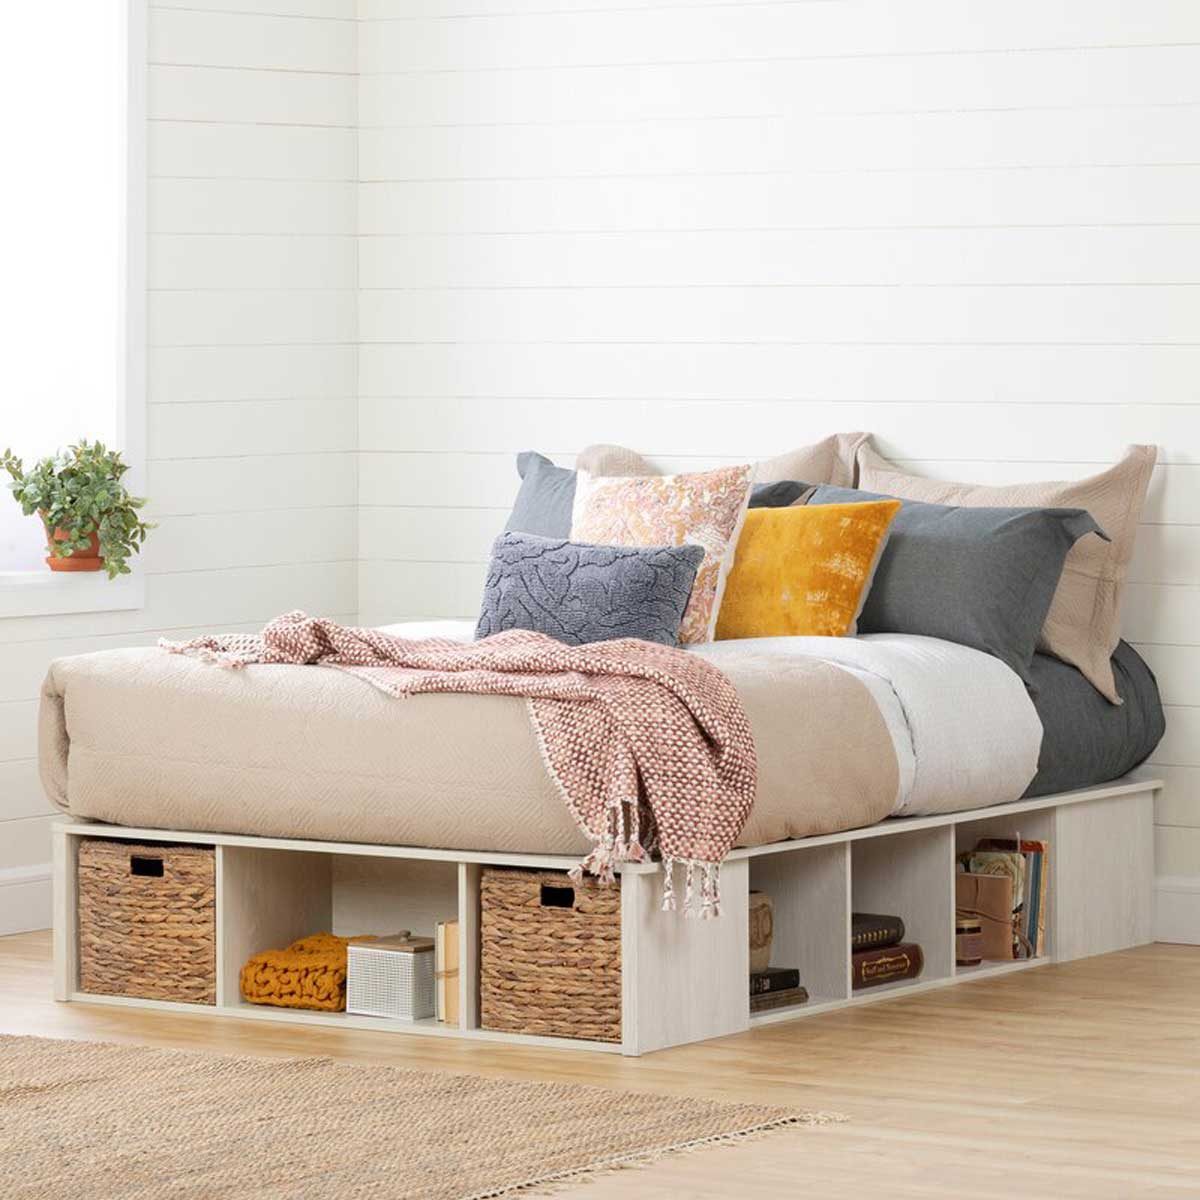
Another finishing touch to consider is adding under-bed storage to maximize the functionality of your platform bed. This can be done by attaching storage containers or drawers to the underside of the bed frame. This will provide valuable space to store extra bedding, pillows, or other items, keeping your bedroom neat and organized.
Lastly, don’t forget to put your mattress back on the platform bed. Place the mattress evenly on top of the plywood platform, ensuring that it sits securely and doesn’t shift or move around. Add your favorite bedding and pillows, and your newly transformed platform bed is ready to provide a comfortable and stylish sleep space.
With these finishing touches in place, take a moment to admire your DIY platform bed transformation. Not only have you created a functional and modern bed, but you’ve also gained the satisfaction of completing a project that enhances your bedroom decor and overall sleep experience.
Enjoy your newly transformed platform bed and the countless nights of restful sleep it will provide!
Conclusion
Congratulations! You have successfully transformed your ordinary bed frame into a stylish and functional platform bed. By following the step-by-step process outlined in this article, you have created a modern sleep space that not only enhances the visual appeal of your bedroom but also provides excellent support for your mattress.
Starting with the disassembly of the bed frame, you carefully removed the legs and prepared the foundation for the platform bed. Measuring and cutting the plywood allowed you to create a sturdy platform that fits perfectly within the frame. Sanding the plywood ensured a smooth and polished surface, while attaching it securely to the bed frame provided a solid base for your mattress.
Adding support beams and reinforcing the platform further enhanced the stability and durability of your platform bed. These steps are crucial in preventing any sagging or flexing and ensuring a comfortable and long-lasting sleep experience.
Finally, the finishing touches added personal style and functionality to your platform bed. Whether through painting or staining the platform, adding an upholstered headboard, or incorporating under-bed storage, these final details have elevated the overall look and usability of your bed.
Now, you can enjoy the benefits of your transformed platform bed. It provides a sleek and modern aesthetic while creating a supportive and comfortable sleeping environment. With your new bed setup, you can look forward to restful nights and wake up feeling refreshed.
Remember, this transformation was not just about upgrading your bedroom furniture; it was also an opportunity to unleash your creativity and DIY skills. Celebrate your accomplishment and take pride in the fact that you have created a custom platform bed tailored to your preferences and needs.
Thank you for following this DIY journey. We hope that this guide has been helpful in transforming your bed frame into a platform bed that brings both style and comfort to your bedroom.
Frequently Asked Questions about How To Transform A Bed Frame Into A Platform Bed
Was this page helpful?
At Storables.com, we guarantee accurate and reliable information. Our content, validated by Expert Board Contributors, is crafted following stringent Editorial Policies. We're committed to providing you with well-researched, expert-backed insights for all your informational needs.


0 thoughts on “How To Transform A Bed Frame Into A Platform Bed”