Home>Furniture>Bedroom Furniture>How To Build A Platform Bed
Bedroom Furniture
How To Build A Platform Bed
Modified: August 23, 2024
Discover how to build a stylish and functional platform bed for your bedroom with our helpful guide. Create a cozy haven with this essential piece of bedroom furniture.
(Many of the links in this article redirect to a specific reviewed product. Your purchase of these products through affiliate links helps to generate commission for Storables.com, at no extra cost. Learn more)
Introduction
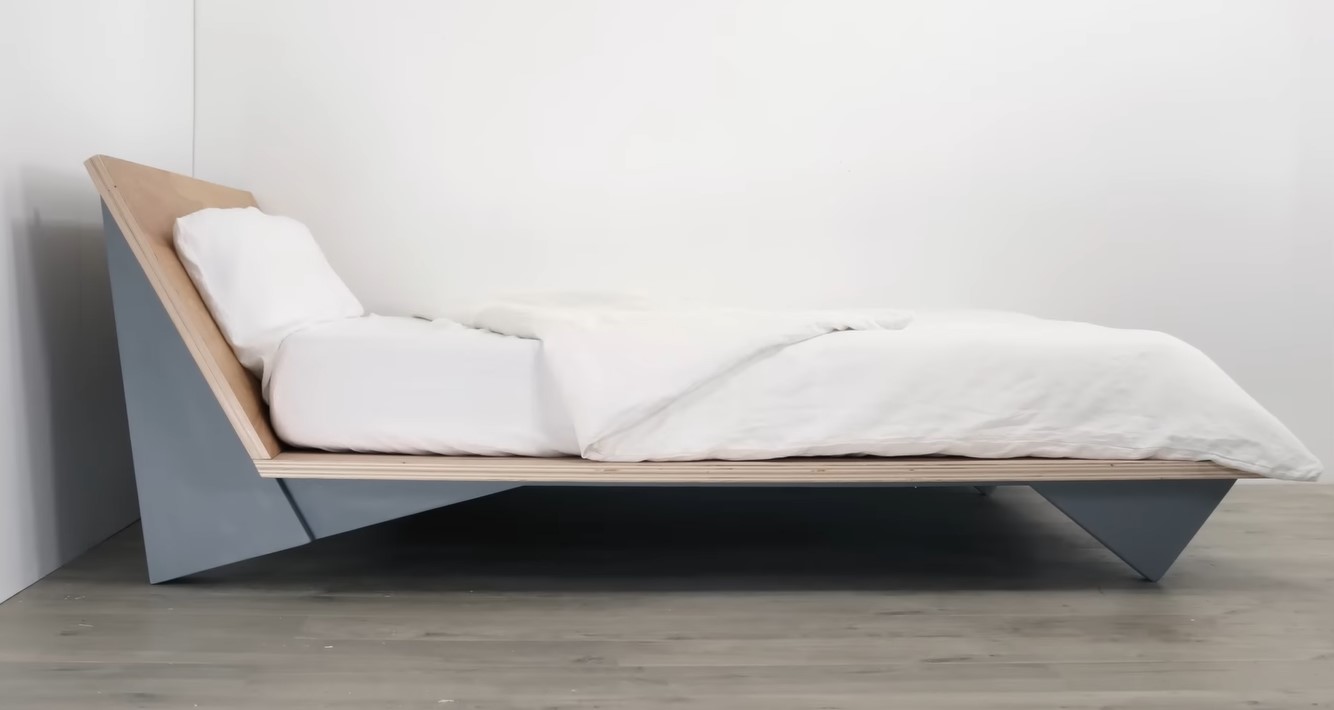
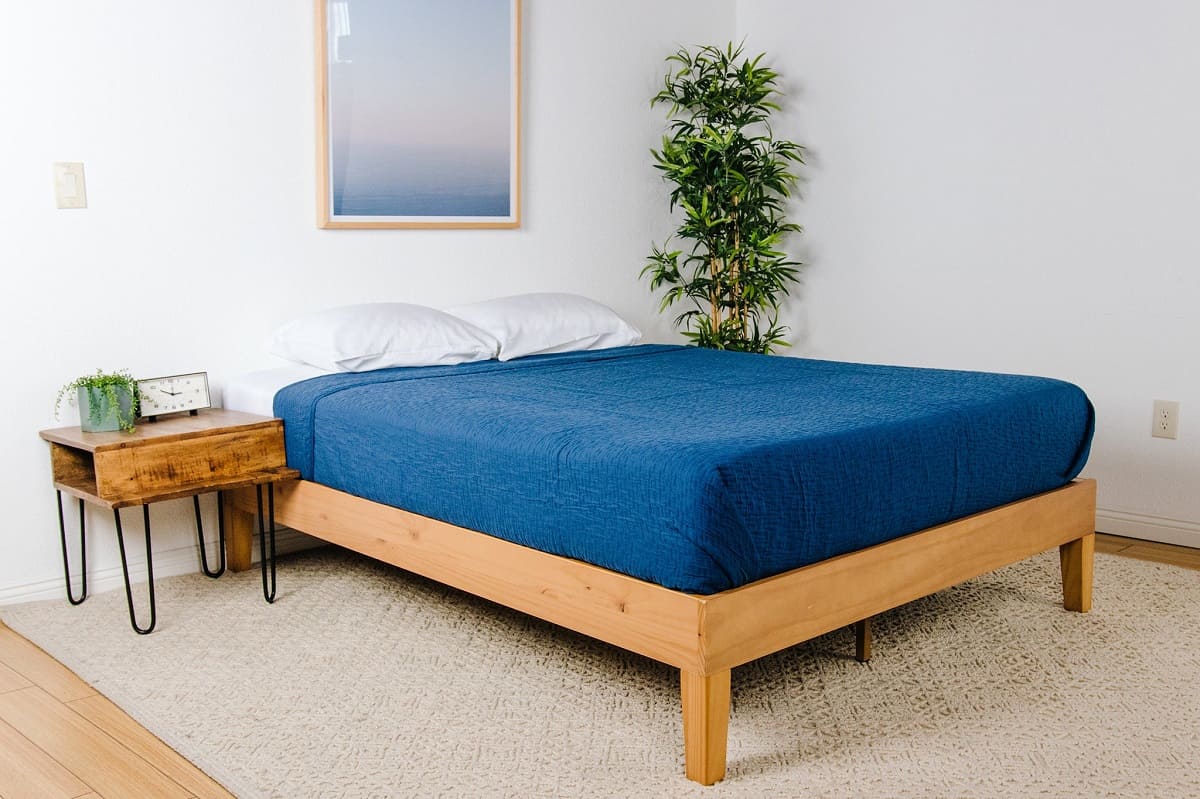
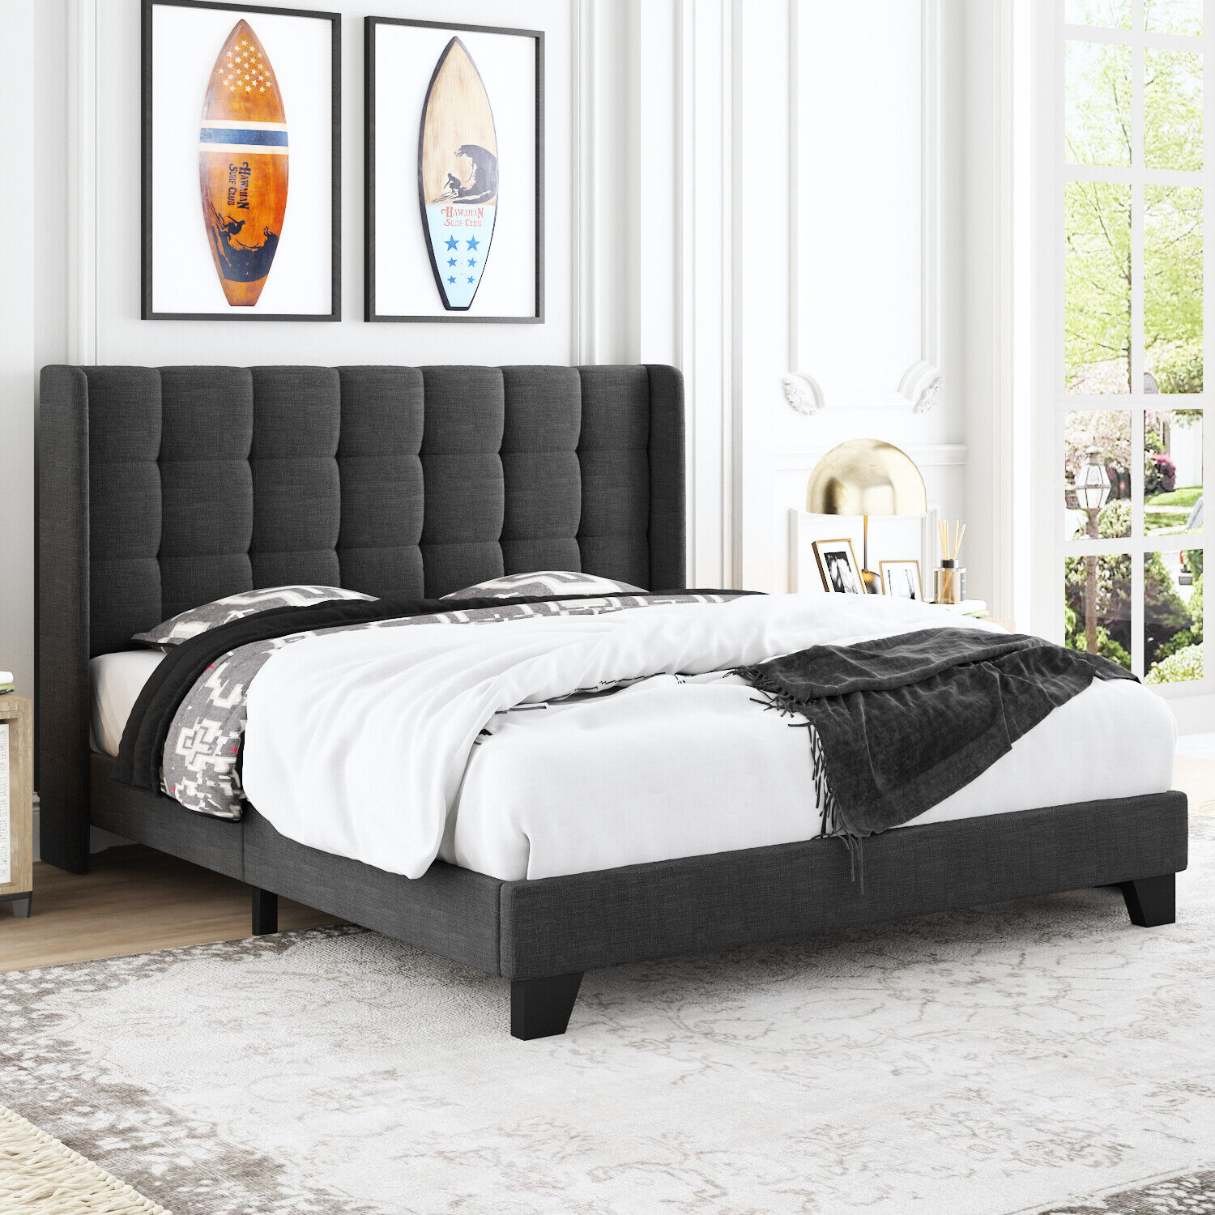
When it comes to furnishing your bedroom, a bed frame plays a crucial role in providing both comfort and style. If you’re looking to add a touch of modern elegance and functionality to your bedroom, building your own platform bed might be the perfect solution. Not only will you have control over the design and materials used, but you’ll also have the satisfaction of creating a unique piece of furniture tailored to your exact specifications.
Building a platform bed might sound like a daunting task, especially if you’re not familiar with woodworking. However, with the right tools, materials, and a little bit of patience, you can easily construct a sturdy and stylish bed frame that will elevate the aesthetics of your bedroom space. In this article, we’ll provide you with a step-by-step guide on how to build a platform bed that will not only meet your needs but also become a focal point in your bedroom.
Before we dive into the construction process, let’s first gather the materials and tools you’ll need:
Materials Needed:
- 1.5 inch thick plywood boards for the base
- 2×4 and 2×6 inch boards for the frame and support slats
- Wood screws
- Wood glue
- Sanding paper
- Finishing materials (e.g., paint, stain, or sealant)
- Measuring tape
- Saw
- Drill
- Screwdriver
Now that we have all the necessary materials, let’s start building your dream platform bed!
Key Takeaways:
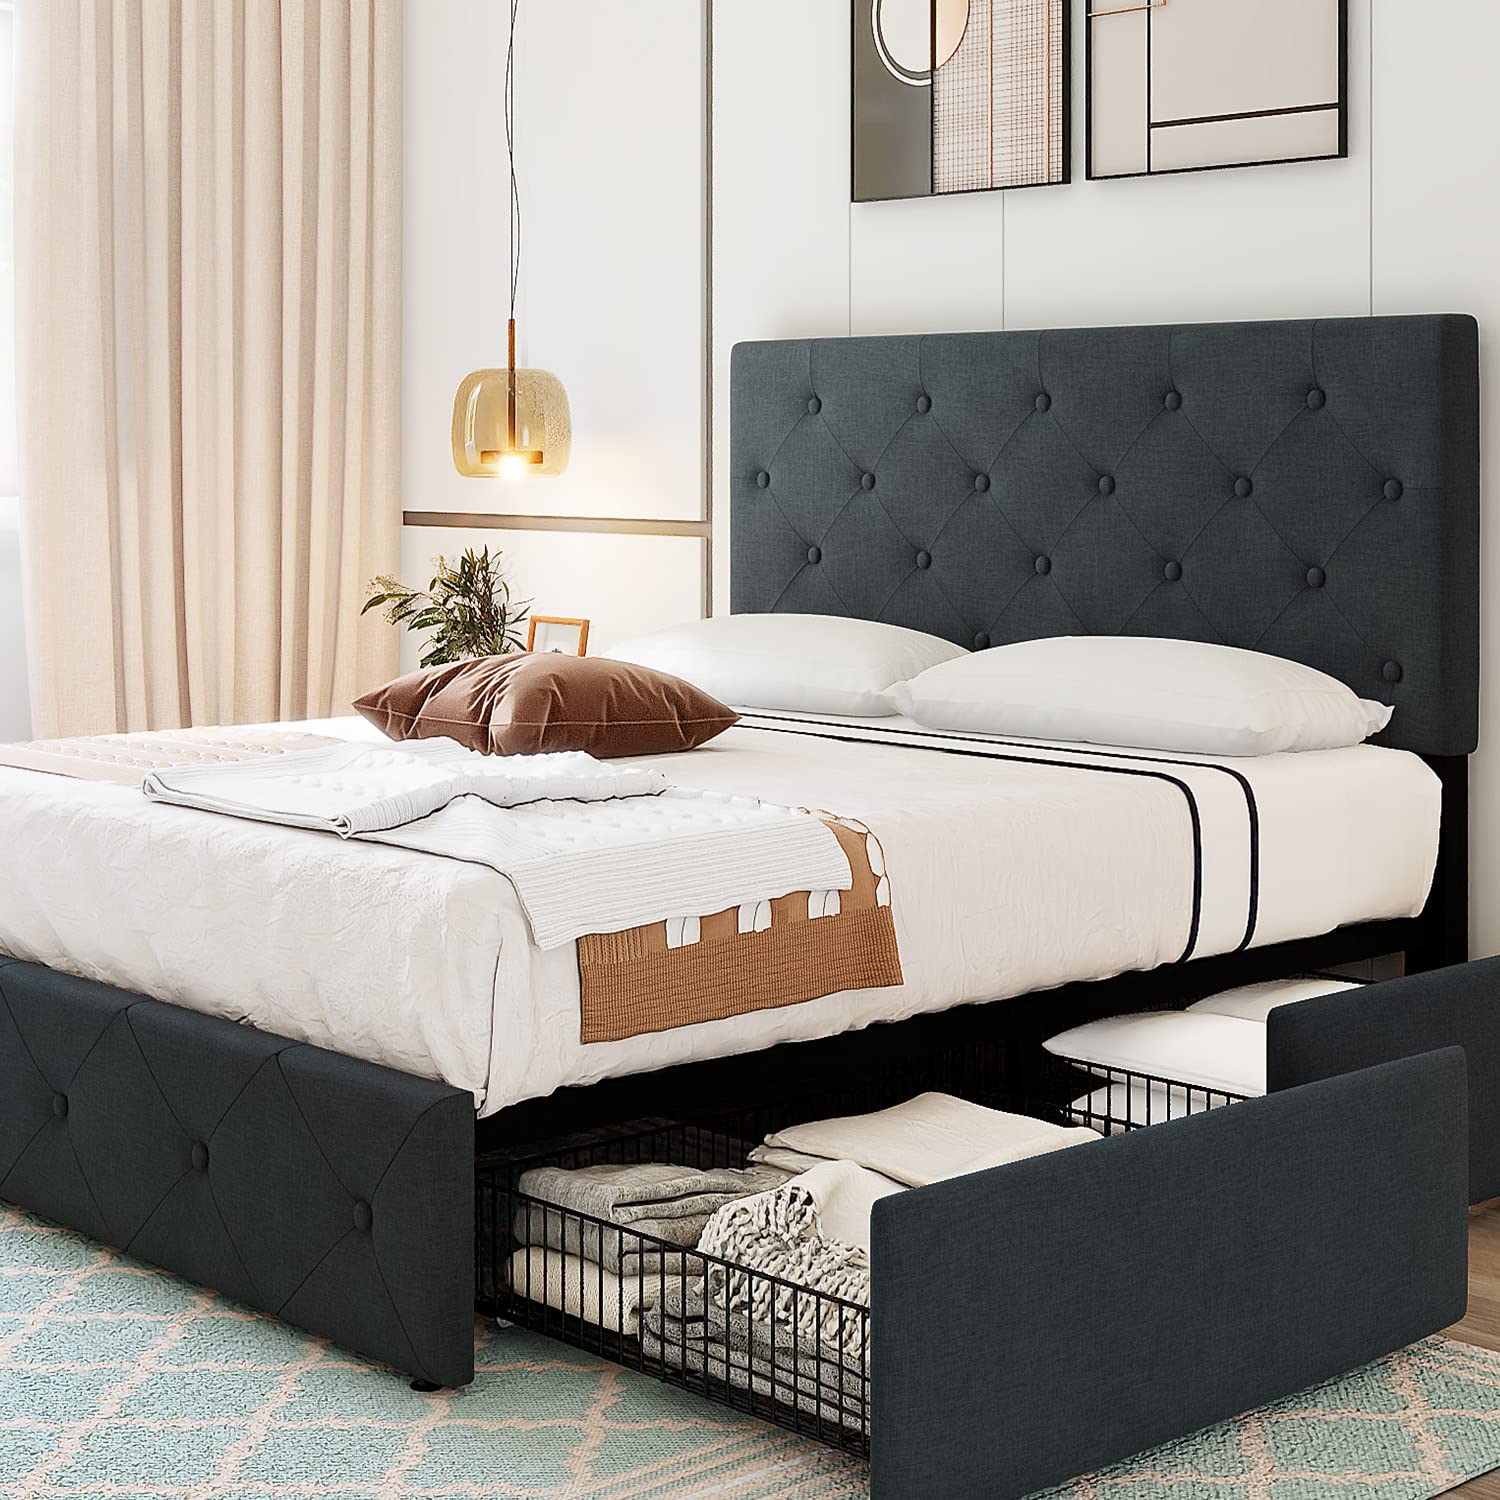
- Building a platform bed allows for customization of design and materials, providing a unique and stylish addition to your bedroom while saving money compared to pre-made options.
- Constructing a platform bed involves measuring and cutting wood, assembling the base, building the headboard and footboard, and adding support slats, resulting in a durable and personalized furniture masterpiece.
Read more: How To Build Platform Bed With Storage
Materials Needed
Before you begin building your platform bed, it’s important to gather all the necessary materials. Having everything on hand will make the construction process much smoother and more efficient. Here’s a list of materials you’ll need:
- 1.5 inch thick plywood boards for the base: The base of the platform bed provides the foundation and support for the mattress. These plywood boards should be cut to the dimensions of your mattress.
- 2×4 and 2×6 inch boards for the frame and support slats: These boards will be used to construct the frame of the bed as well as the support slats. The size and length will vary based on the dimensions of your bed.
- Wood screws: You’ll need wood screws of appropriate size to secure the boards together. Make sure to choose screws that are long enough to provide a secure connection.
- Wood glue: Wood glue will help to reinforce the joints and add extra stability to the bed frame. Invest in a high-quality wood glue that will provide a strong bond.
- Sanding paper: Sanding paper is essential for smoothing out rough edges and creating a polished finish. Choose a medium-grit sandpaper for initial sanding and finish with a finer-grit paper for a smooth surface.
- Finishing materials (e.g., paint, stain, or sealant): Depending on your preference, you can choose to leave the wood natural or apply a finish such as paint, stain, or sealant to enhance its appearance and protect it from wear and tear.
- Measuring tape: A measuring tape is essential for accurately measuring the dimensions of the bed frame and ensuring everything is aligned properly.
- Saw: A saw is needed to cut the plywood boards, 2x4s, and 2x6s to the desired lengths. A circular saw or a miter saw would be suitable for this task.
- Drill: A drill will be used to make pilot holes for the screws and to attach the boards together. Make sure to have the appropriate drill bits on hand.
- Screwdriver: A screwdriver will be needed to tighten the screws and secure the joints.
By gathering all these materials before starting the construction process, you’ll be well-prepared to build your platform bed efficiently and effectively. Now, let’s move on to the step-by-step instructions on how to build your own platform bed!
Step 1: Measure and Cut the Wood
The first step in building your platform bed is to measure and cut the wood to the desired dimensions. Start by measuring the size of your mattress to determine the dimensions of the bed frame. Keep in mind that the bed frame should be slightly larger than the mattress to allow for a snug fit.
Using a measuring tape, measure the length and width of the mattress. Add a few inches to each dimension to account for the size of the frame. This will ensure that the mattress fits securely on the bed frame without any overhang.
Next, cut the plywood boards to the measured dimensions using a saw. You will need two long boards for the sides of the bed frame and two shorter boards for the headboard and footboard.
Take your time while cutting the wood to ensure clean and precise cuts. You can use a circular saw or a miter saw for this task, depending on personal preference.
Once you have cut the plywood boards for the base, double-check the measurements to ensure accuracy. It’s always a good idea to measure twice and cut once to avoid any mistakes or unnecessary waste of materials.
With the wood now cut to the desired dimensions, you’re ready to move on to the next step in the construction process: assembling the base of the platform bed.
Step 2: Assemble the Base
With the wood cut to the proper dimensions, it’s time to assemble the base of your platform bed. The base serves as the foundation for the mattress and provides stability and support to the entire bed frame.
Start by laying the two long plywood boards parallel on the ground, with the shorter plywood boards positioned perpendicularly between them to create a rectangular shape. Make sure the edges are flush and the corners are square.
Once the boards are aligned correctly, use wood screws and a drill to attach the shorter boards to the longer boards. Pre-drill pilot holes to prevent the wood from splitting, and then drive the screws through the pilot holes to secure the joints. Add additional screws as needed to ensure a sturdy connection.
Check the alignment and squareness of the frame during the assembly process. This will ensure that the base is stable and properly aligned with the mattress dimensions.
After attaching all the corners, reinforce the joints with wood glue. Apply a generous amount of wood glue to each joint and use clamps to hold the boards together while the glue dries. This will add extra strength to the frame and prevent any movement or sagging over time.
Once the glue has dried and the joints are secure, double-check the stability of the base by gently rocking it from side to side. If any wobbling occurs, reinforce the joints with additional screws or add corner braces for extra support.
With the base assembled and stable, you’re ready to move on to the next step: building the headboard and footboard.
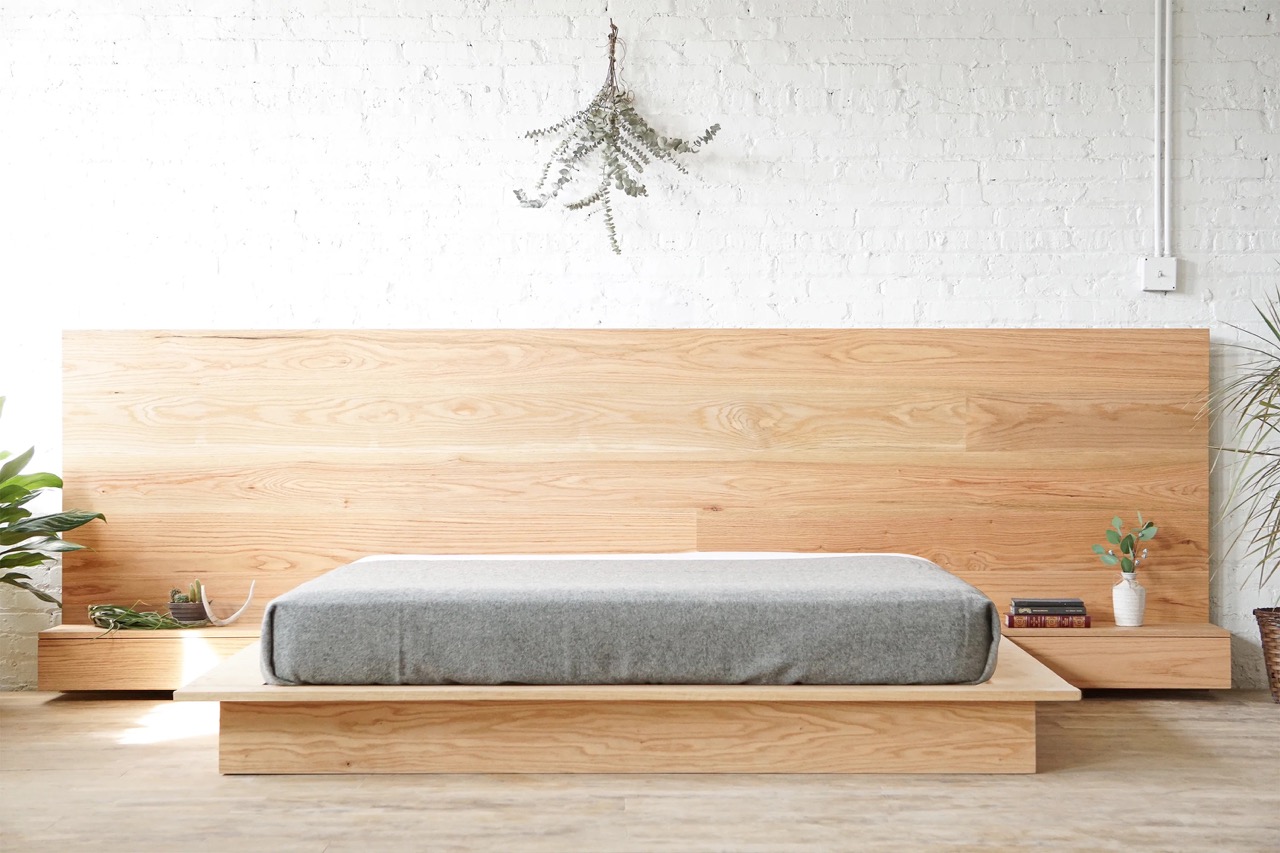
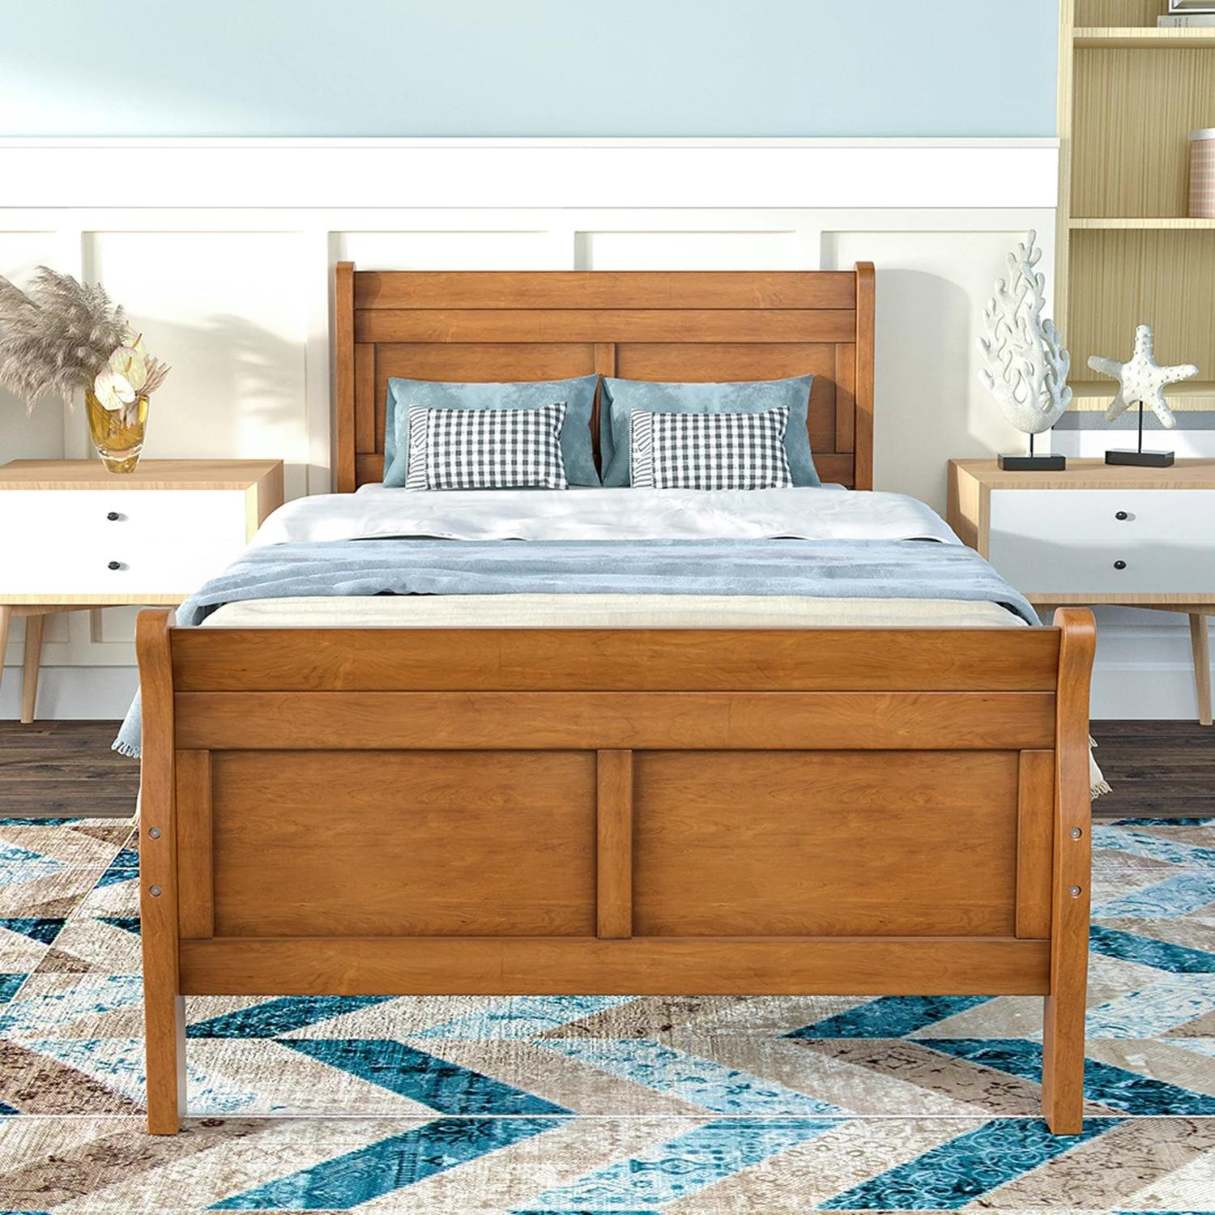
Step 3: Build the Headboard and Footboard
In this step, we will focus on building the headboard and footboard of your platform bed. The headboard and footboard add visual interest and serve as decorative elements while also providing additional support to the bed frame.
Start by measuring and cutting the 2×4 inch boards for the headboard and footboard. The height of the headboard will depend on your preference, but a typical height ranges from 24 to 36 inches. Cut two long boards for the sides of the headboard and two shorter boards for the top and bottom.
Arrange the boards on the ground to form a rectangular shape, with the shorter boards positioned between the longer boards. Make sure the edges are flush and the corners are square.
Similar to assembling the base, use wood screws and a drill to attach the boards together. Pre-drill pilot holes to prevent splitting and then drive the screws through the holes to secure the joints. Add additional screws as needed for stability.
Once the headboard is assembled, repeat the process to build the footboard using the same measurements and techniques. The height of the footboard is typically lower than the headboard to create a balanced and aesthetically pleasing design.
After the headboard and footboard are assembled, sand the surfaces to ensure they are smooth and free from any rough edges. Sanding not only improves the appearance but also prepares the wood for painting or staining.
If desired, you can customize the headboard and footboard by adding decorative elements such as trim, molding, or upholstered panels. These design options allow you to personalize the bed frame and make it uniquely yours.
With the headboard and footboard constructed, you’re ready to move on to the next step: attaching them to the base of the platform bed.
When building a platform bed, make sure to measure and cut your materials accurately to ensure a snug and secure fit. This will help to create a sturdy and stable base for your mattress.
Read more: What Is A Platform Bed
Step 4: Attach the Headboard and Footboard to the Base
In this step, we will be attaching the headboard and footboard to the base of the platform bed. This will not only add stability and support to the bed frame but also create a cohesive and finished look.
Begin by positioning the headboard against one end of the base, ensuring that the bottom of the headboard is flush with the base. Use clamps to hold the headboard in place temporarily.
Next, pre-drill pilot holes through the headboard and into the base. Make sure to align the holes with the upright supports of the base for maximum stability.
Once the pilot holes are drilled, drive wood screws through the holes and into the base to secure the headboard. Consider using longer screws for added strength and stability.
Repeat the same process for attaching the footboard to the opposite end of the base. Ensure that the footboard is aligned properly and flush with the base, pre-drill pilot holes, and drive wood screws to secure it.
After attaching both the headboard and footboard to the base, check that they are level and securely fastened. Gently shake the bed frame to ensure there is no movement or wobbling.
If necessary, add additional screws or brackets to reinforce the connection between the headboard, footboard, and base. This will ensure a sturdy and durable platform bed that can withstand daily use.
Once everything is securely attached, step back and admire your progress. The headboard and footboard have transformed the platform bed into a stylish and functional piece of furniture. Now it’s time to move on to the next step: sanding and finishing the bed frame.
Step 5: Sand and Finish the Bed Frame
Now that the bed frame is fully assembled, it’s time to sand and finish the wood surfaces. This step will not only enhance the appearance of the platform bed but also protect the wood from wear and tear.
Begin by using sandpaper to gently sand all the exposed surfaces of the bed frame. Start with a medium-grit sandpaper to smooth out any rough edges, imperfections, or splinters. Then, switch to a finer-grit sandpaper to achieve a smoother finish. Make sure to sand in the direction of the wood grain for the best results.
Take your time while sanding to ensure that all surfaces are even and there are no rough spots. This will help create a polished final appearance for your platform bed.
After sanding, thoroughly clean the bed frame to remove any dust or debris. You can use a damp cloth or a vacuum to ensure a clean surface for the finishing materials.
Next, it’s time to apply the finish to the bed frame. There are several options you can choose from, depending on your desired look and the type of wood used for the platform bed.
If you prefer a natural wood look, you can apply a clear sealant or varnish. This will protect the wood while highlighting its natural beauty. Apply the sealant evenly using a paintbrush or a roller, following the manufacturer’s instructions.
If you want to add color or enhance the wood grain, you can use paint or stain. Before applying the paint or stain, make sure to apply a wood primer to ensure proper adhesion and an even finish. Apply multiple coats, allowing each coat to dry completely before applying the next.
Once the finish is applied, allow sufficient drying time according to the manufacturer’s instructions. Make sure the bed frame is completely dry before moving on to the next step.
With the bed frame sanded and finished, you’ve brought out the beauty in the wood and protected it for years to come. Now it’s time to move on to the next step in the construction process: adding support slats to the platform bed.
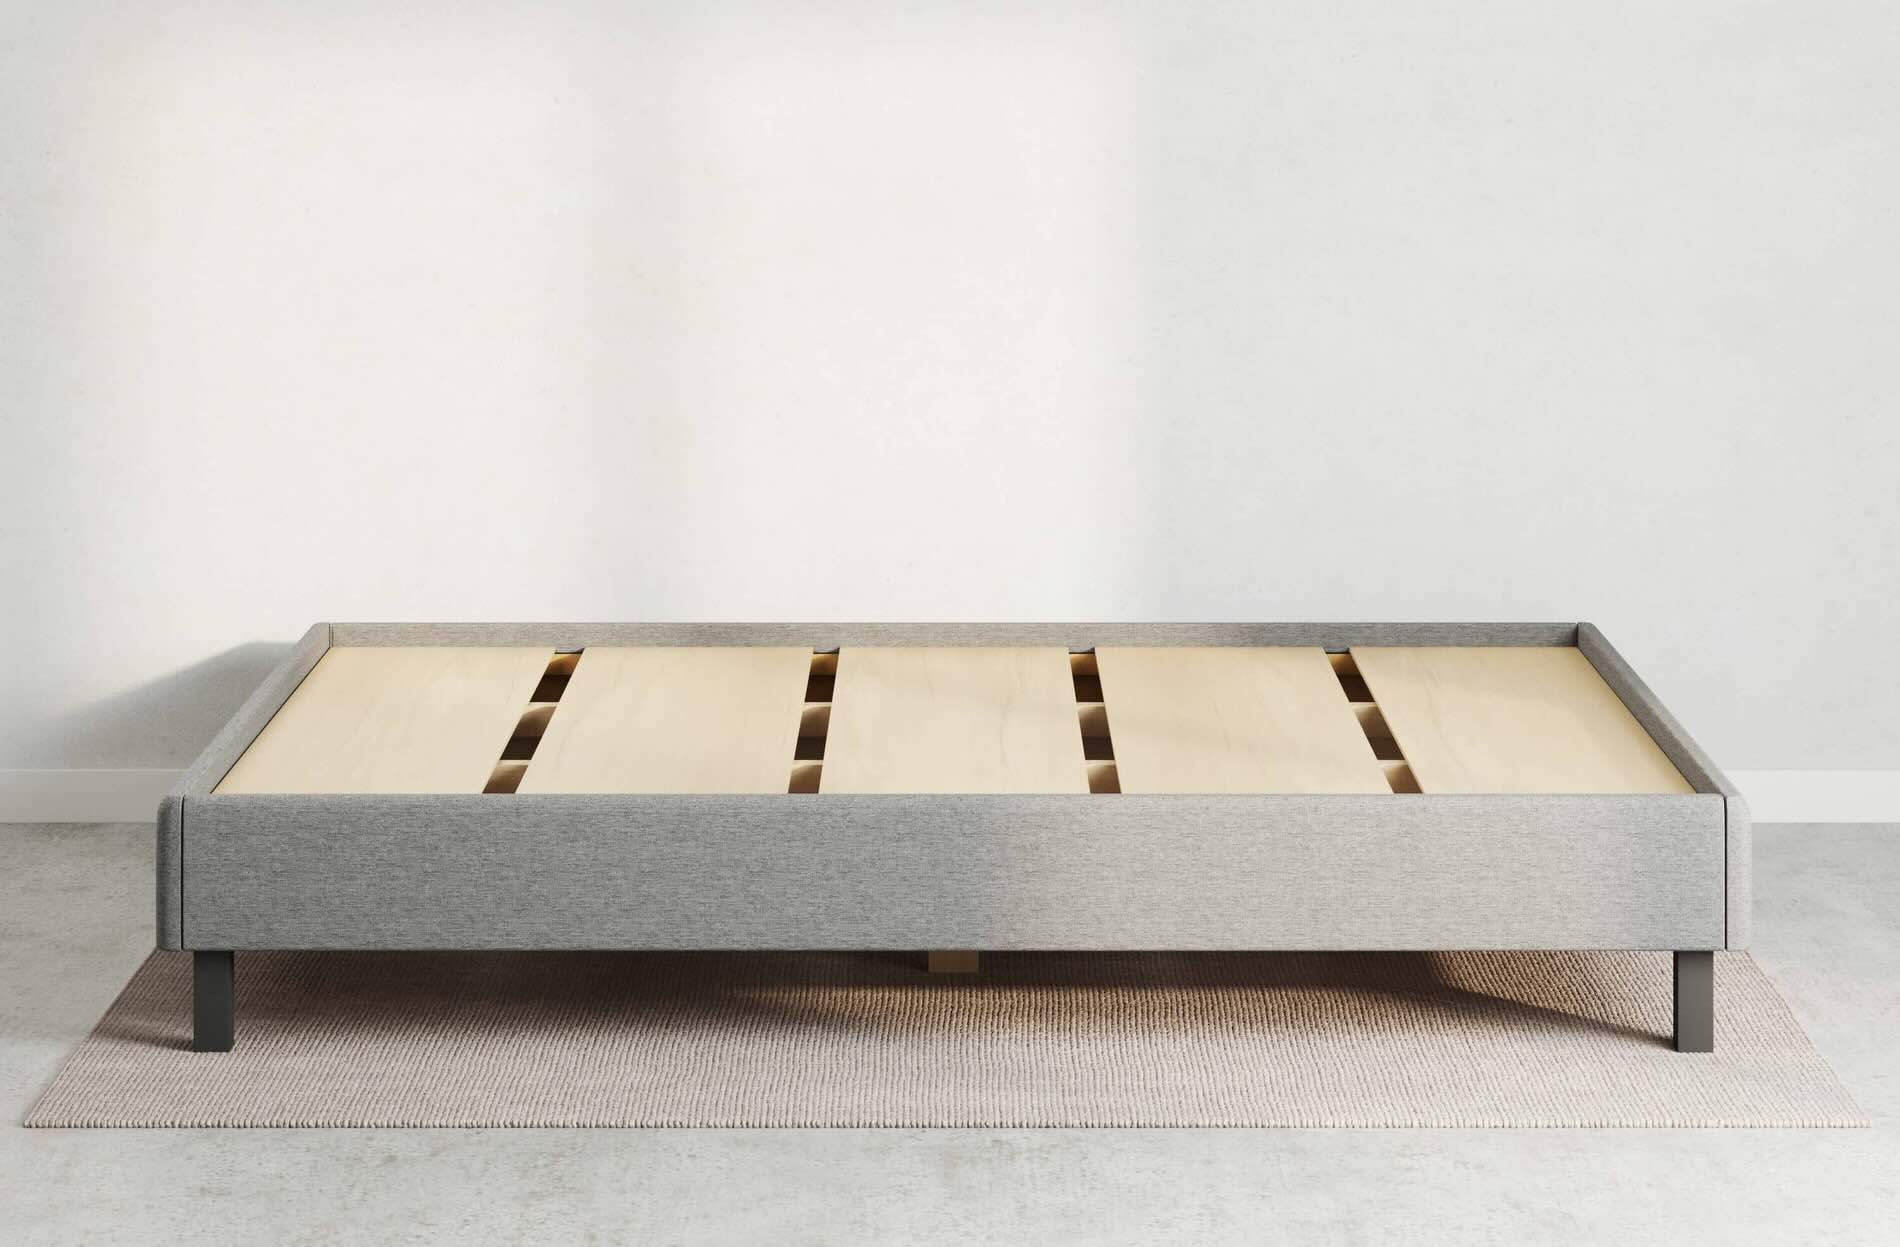
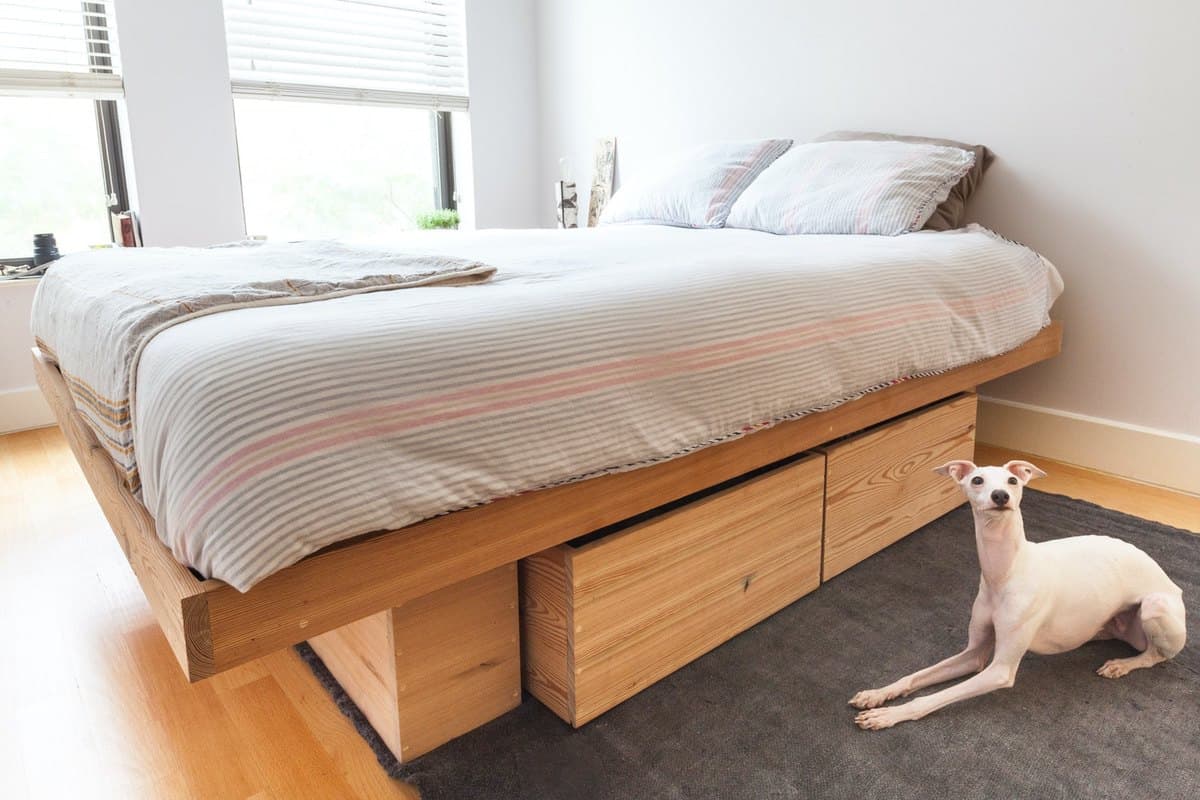
Step 6: Add Support Slats
Adding support slats to your platform bed is an essential step to ensure proper weight distribution and mattress support. These slats will provide stability while preventing the mattress from sagging or shifting over time.
Start by measuring the distance between the headboard and the footboard. Divide this measurement by the desired spacing between the slats. This will determine the number of slats needed for your platform bed.
Cut the 2×6 inch boards to the appropriate length for your slats. Each slat should span the distance between the headboard and footboard.
Place the first slat near the headboard, ensuring it is centered and aligned properly. Use a measuring tape to ensure equal spacing between each slat. Attach the slat to the base using wood screws, making sure it is securely fastened.
Continue adding the rest of the slats, evenly spacing them apart. The spacing between slats should typically be 2-3 inches to provide adequate support for the mattress.
If you have extra slats, you can add additional support in the center of the bed for added stability. This will help distribute the weight evenly and prevent any sagging in the middle.
Once all the slats are in place, test the bed frame by gently applying pressure to different areas. The slats should feel sturdy and provide uniform support.
If necessary, you can reinforce the slats by adding additional screws or brackets to the joints between the slats and the base. This will add extra strength to the support system.
Adding support slats to your platform bed ensures the proper distribution of weight and provides the necessary support for your mattress. With this step complete, let’s move on to the final step: the final assembly of your platform bed.
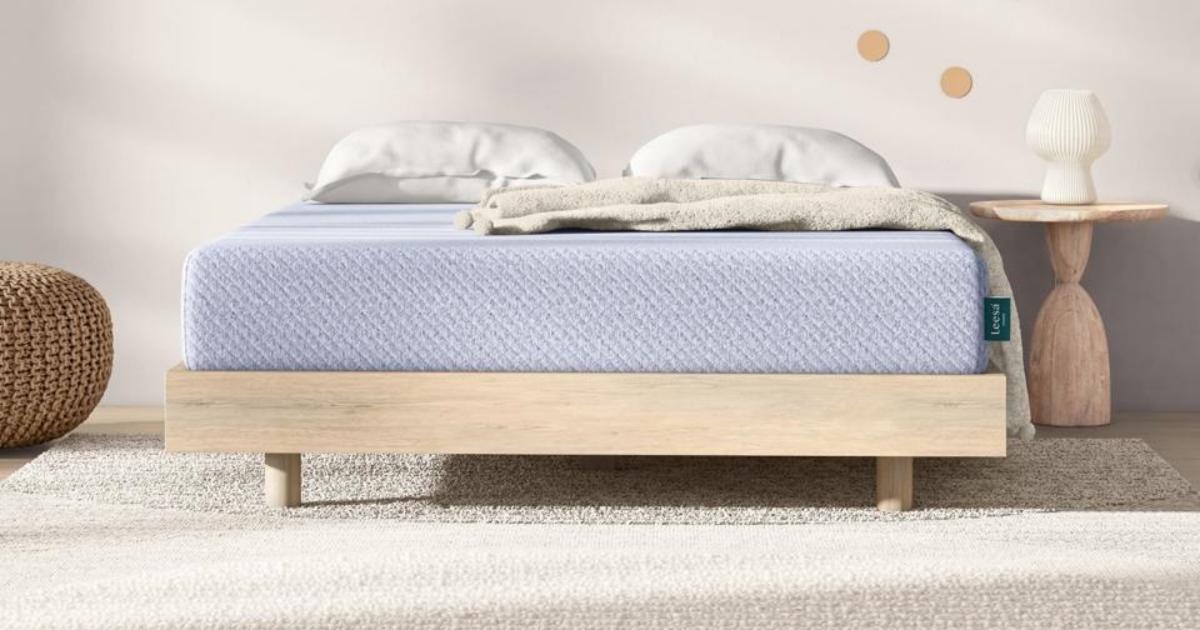
Step 7: Final Assembly
Congratulations! You’ve reached the final step of building your platform bed. In this step, we will complete the final assembly and make sure everything is securely in place.
Start by checking all the previous steps to ensure that everything is aligned, stable, and properly attached. Tighten any loose screws and make any necessary adjustments.
Next, carefully lift the mattress and place it on top of the support slats. Make sure it is centered and sits evenly on the bed frame.
Once the mattress is in place, test the bed for stability by gently sitting or lying down on it. The platform bed should feel solid and provide firm support.
Take a few moments to appreciate your hard work and the beautiful platform bed you’ve created. Admire the craftsmanship and the personalized design that suits your style and preferences.
Finally, add any finishing touches to your bedroom to complement the new platform bed. Consider adding decorative pillows, a bedspread, or a headboard cover to enhance the overall look and create a cozy atmosphere.
Remember to regularly inspect and maintain your platform bed to ensure its longevity. Check the screws and joints periodically, tighten if necessary, and clean the surfaces as needed.
Building your own platform bed allows you to customize your bedroom furniture and create a comfortable and stylish space that reflects your personality. Enjoy a good night’s sleep in your beautiful new platform bed!
Thank you for following this step-by-step guide on how to build a platform bed. We hope you found it helpful and that you enjoy the satisfaction of creating your own furniture masterpiece.
Read more: How To Build A Recliner Platform
Conclusion
Building your own platform bed is a rewarding and fulfilling project that allows you to create a custom piece of furniture that perfectly suits your bedroom and personal style. By following the step-by-step guide outlined in this article, you have gained the knowledge and skills to construct a sturdy and stylish platform bed that will provide both comfort and aesthetic appeal.
Throughout the construction process, you learned how to measure and cut the wood, assemble the base, build the headboard and footboard, attach them to the base, sand and finish the bed frame, add support slats, and complete the final assembly. Each step plays an important role in creating a solid foundation and a beautiful finished product.
By building your own platform bed, you not only save money compared to purchasing a pre-made bed frame, but you also have the freedom to customize it to your preferences. You can choose the type of wood, the finish, and the design elements that best fit your personal style and bedroom decor.
Not only is a platform bed a functional piece of furniture, but it also serves as a centerpiece in your bedroom. The clean lines and modern design help create a sleek and contemporary look, while the sturdy construction ensures long-lasting durability.
Remember to properly maintain your platform bed by periodically checking for loose screws, maintaining the finish, and keeping it clean. This will help ensure its longevity and continue to provide you with a comfortable and stylish sleeping space.
Now that you have completed the construction of your platform bed, it’s time to enjoy the fruits of your labor. Curl up with a good book or have a restful night’s sleep on your newly built platform bed, knowing that you created it with your own hands.
Thank you for embarking on this DIY journey with us. We hope the information and guidance provided in this article have been helpful in your quest to build a platform bed. Happy crafting!
Frequently Asked Questions about How To Build A Platform Bed
Was this page helpful?
At Storables.com, we guarantee accurate and reliable information. Our content, validated by Expert Board Contributors, is crafted following stringent Editorial Policies. We're committed to providing you with well-researched, expert-backed insights for all your informational needs.


0 thoughts on “How To Build A Platform Bed”