Home>Furniture>Bedroom Furniture>How To Disassemble A Bed Frame

Bedroom Furniture
How To Disassemble A Bed Frame
Modified: December 7, 2023
Learn how to disassemble a bed frame with our easy step-by-step guide. Save time and effort when moving or storing your bedroom furniture.
(Many of the links in this article redirect to a specific reviewed product. Your purchase of these products through affiliate links helps to generate commission for Storables.com, at no extra cost. Learn more)
Introduction
Welcome to our comprehensive guide on how to disassemble a bed frame. Whether you are moving to a new home, rearranging your bedroom, or simply replacing your current bed frame, knowing how to take it apart properly is essential. Disassembling a bed frame may seem like a daunting task, but with the right tools and a systematic approach, it can be a straightforward process.
By following the steps outlined in this article, you’ll be able to dismantle your bed frame with confidence, ensuring that all components are safely separated and ready for transportation or storage. So, let’s get started and learn how to disassemble a bed frame efficiently and effectively.
Key Takeaways:
- Disassembling a bed frame requires the right tools, systematic approach, and careful handling. From removing the mattress to organizing the disassembled parts, following the steps ensures a smooth and efficient process.
- After disassembling the bed frame, consider storage, donation, recycling, or proper disposal of the components. Making a conscious decision contributes to sustainability and responsible waste management.
Read more: How To Disassemble An Adjustable Bed Frame
Step 1: Gather the necessary tools and supplies
Before you begin disassembling your bed frame, it’s important to gather all the necessary tools and supplies. Having everything you need at hand will save you time and frustration during the process. Here are the essential items you’ll need:
- Allen wrench or screwdriver: Depending on the type of bed frame, you may need either an Allen wrench or a screwdriver to remove screws or bolts.
- Adjustable wrench: This tool will come in handy if there are any nuts or bolts that need to be loosened or tightened.
- Pliers: Pliers can be useful for gripping and turning stubborn screws or bolts.
- Protective gloves: It’s always a good idea to wear protective gloves to prevent any injuries while handling sharp or heavy components.
- Blankets or plastic covers: These will protect the disassembled parts from scratches or damage during transportation or storage.
- Ziplock bags or plastic containers: Use these to store small screws, nuts, or bolts, making them easier to find when reassembling the bed frame.
- Marker or labels: A marker or labels will help you identify the different parts and keep them organized.
Once you have gathered all these tools and supplies, arrange them in a convenient and easily accessible location near the bed frame. This way, you won’t have to search for tools while in the middle of disassembly, ensuring a smooth and efficient process.
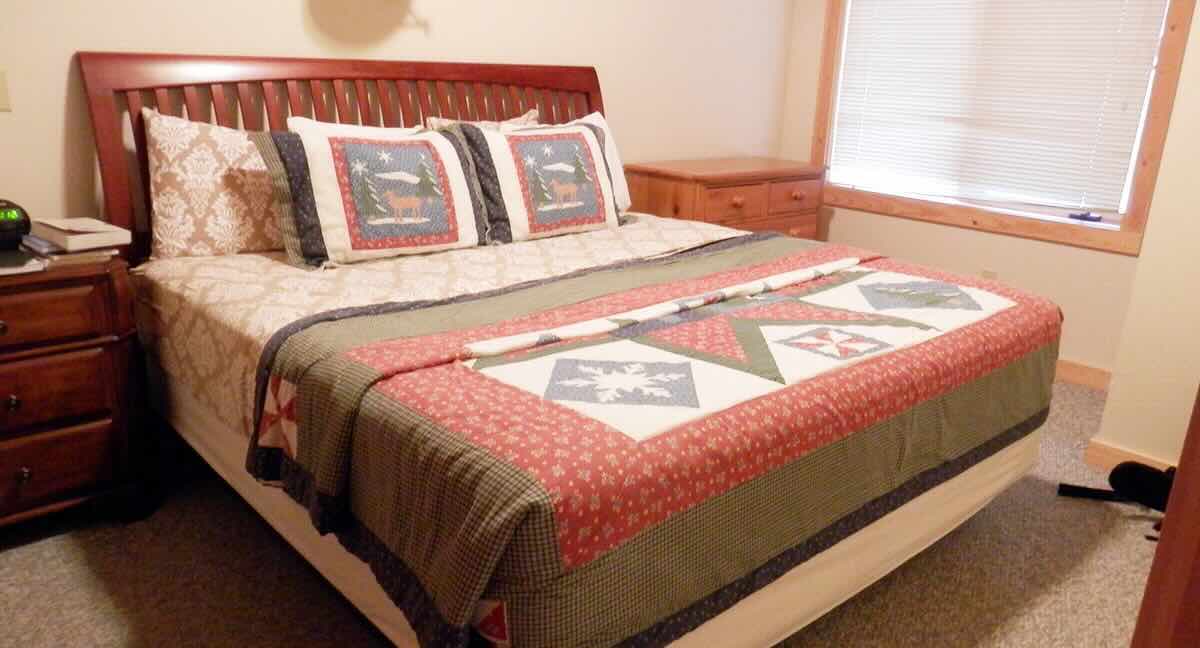
Step 2: Remove the mattress and bedding
Before you can start disassembling the bed frame, you’ll need to remove the mattress and bedding. This step ensures that the frame is clear and allows for easier access to the components. Here’s how to do it:
- Remove any pillows, blankets, and sheets from the mattress.
- If you have a headboard attached to the bed frame, check for any bolts or screws securing it to the frame. Use the appropriate tool to remove them.
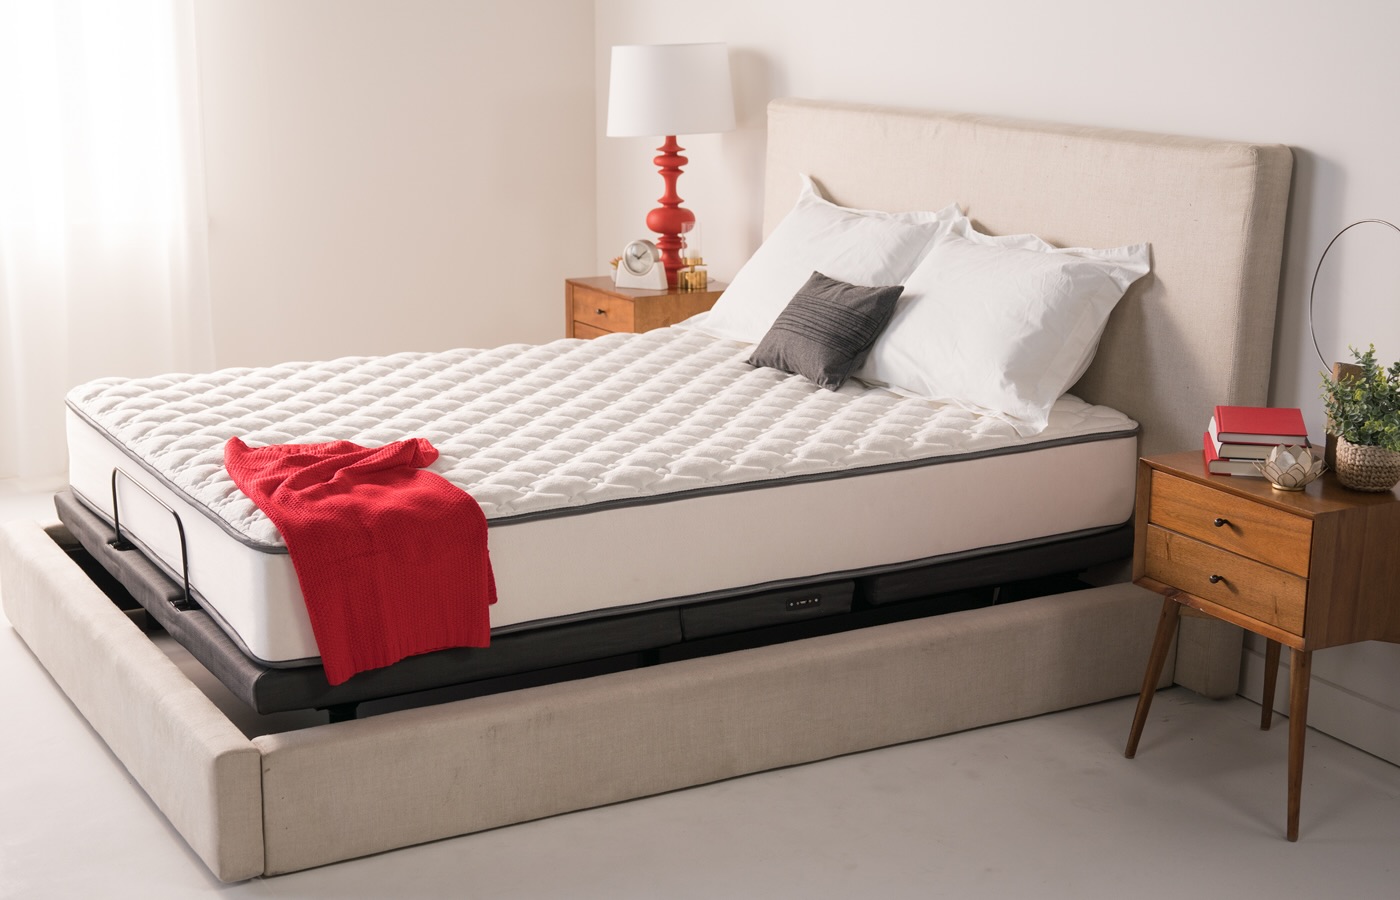
- Once the headboard is detached, carefully lift the mattress off the bed frame.
- Place the mattress in a clean and safe location, away from the disassembly area.
- Next, remove the box spring if your bed frame has one. This can usually be lifted off or detached from the frame by removing any screws or bolts.
- Store the box spring in a separate area or cover it with a protective sheet to prevent damage.
By removing the mattress and bedding, you provide yourself with a clear working space and minimize the risk of accidentally damaging these items during the disassembly process. Remember to handle the mattress and box spring with care to avoid any unnecessary wear and tear.
Step 3: Locate and remove any screws or bolts holding the frame together
Once the mattress and bedding have been removed, it’s time to locate and remove any screws or bolts holding the bed frame together. Depending on the design of your bed frame, there may be multiple screws or bolts in different locations. Here’s what you need to do:
- Inspect the corners and joints of the bed frame. Look for visible screws or bolts that are securing the frame together.
- Using the appropriate tool, such as an Allen wrench or screwdriver, begin to remove the screws or bolts.
- If some screws or bolts are difficult to loosen, try using pliers to grip and turn them.
- Depending on your bed frame’s construction, there may be additional screws or bolts along the center support beam or slats. Locate and remove these as well.
- As you remove each screw or bolt, place them in a labeled ziplock bag or container to keep them organized and prevent loss.
Remember to work systematically and start from one corner of the bed frame, gradually moving around until all screws or bolts have been removed. Take your time to ensure that each screw or bolt is completely loosened before moving on to the next one. This careful approach will help prevent any accidental damage to the frame or the surrounding area.
Once all the screws or bolts have been removed, the bed frame should start to come apart. However, there may still be other components that need to be disassembled. Let’s move on to the next step to find out what they are.
Step 4: Disassemble the headboard and footboard
After removing the screws or bolts holding the frame together, it’s time to disassemble the headboard and footboard, if applicable. Here’s how to do it:
- Examine the headboard and footboard for any additional screws or bolts attaching them to the bed frame.
- Using the appropriate tool, carefully remove these screws or bolts.
- Once detached, place the headboard and footboard in a safe and secure location to prevent any damage.
- If your headboard or footboard has intricate designs or decorations, handle them with care to avoid any breakage.
Disassembling the headboard and footboard will likely make the bed frame easier to transport and store. Additionally, it can help prevent any potential damage during the moving process. Be sure to keep all screws or bolts in the labeled ziplock bag or container you prepared earlier.
If your bed frame does not have a separate headboard or footboard, you can skip this step and proceed to the next one.
Now that the headboard and footboard are disassembled, let’s move on to dismantling the side rails and support beams in the next step.
When disassembling a bed frame, start by removing the mattress and bedding. Then, use a screwdriver or Allen wrench to loosen and remove the bolts or screws holding the frame together. Keep track of the hardware to avoid losing any pieces.
Read more: How To Disassemble A Zinus Bed Frame
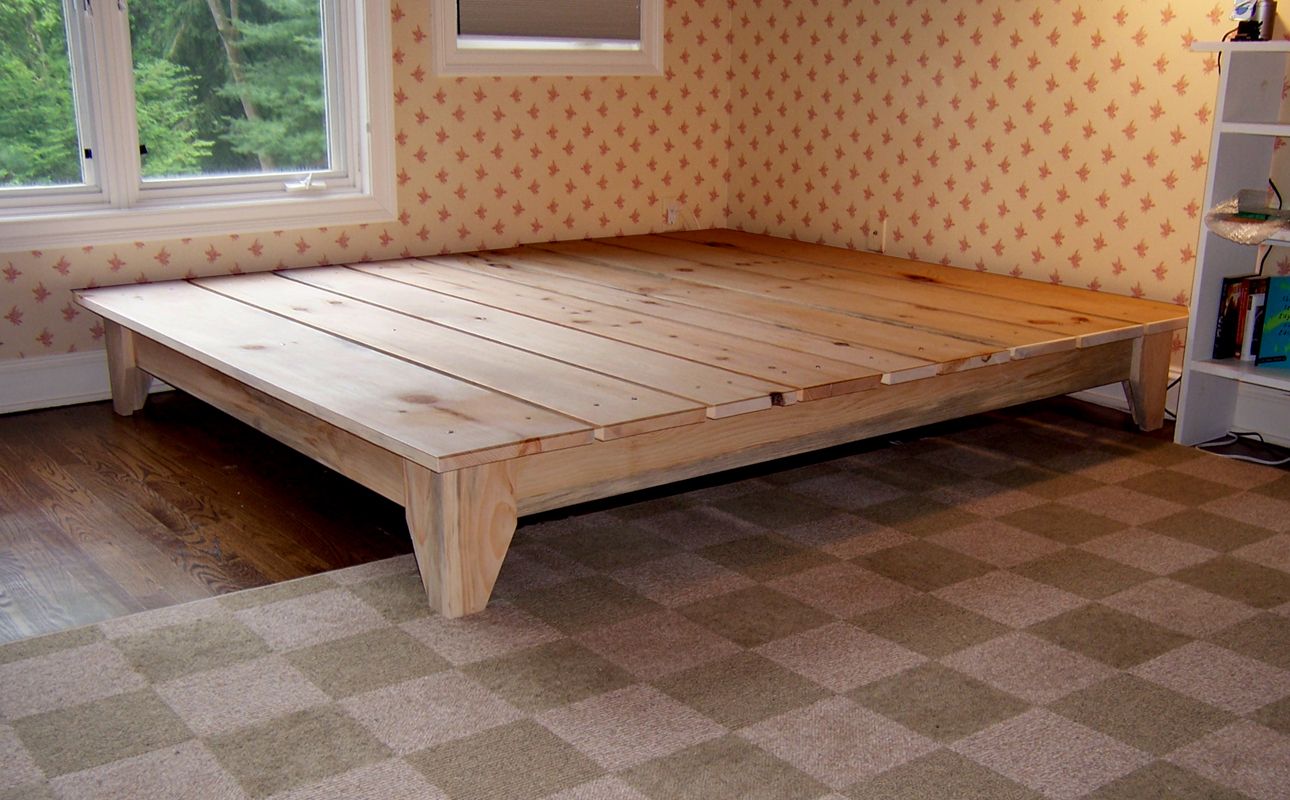
Step 5: Take apart the side rails and support beams
With the headboard and footboard disassembled, it’s time to focus on taking apart the side rails and support beams of the bed frame. Follow these steps to complete this process:
- Start by locating the connection points between the side rails and the rest of the bed frame. Look for screws, bolts, or brackets holding them in place.
- Using the appropriate tool, carefully remove these screws, bolts, or brackets.
- Once the connection points are loosened or detached, gently slide out the side rails from the bed frame.
- If your bed frame has support beams running across the width or length of the frame, locate any screws or bolts connecting them to the rest of the frame.
- Remove these screws or bolts to separate the support beams from the frame.
As you disassemble the side rails and support beams, be cautious of any cables or wires that may be attached to them, especially if your bed frame has additional features like built-in lighting or storage compartments. Take care to disconnect or detach these components safely before removing the rails and beams.
Once the side rails and support beams are removed, place them alongside the other disassembled parts in a secure location. Remember to keep all the screws, bolts, or brackets in the labeled ziplock bag or container.
Now that the main components of the bed frame are disassembled, we can move on to removing any additional accessories or components in the next step.
Step 6: Remove any additional components or accessories
In this step, we will focus on removing any additional components or accessories that may be attached to the bed frame. These items can vary depending on the type and design of your bed frame. Here’s what you need to do:
- Inspect the bed frame for any attached shelves, drawers, or storage compartments.
- Check for screws, bolts, or brackets securing these additional components to the bed frame.
- Using the appropriate tool, carefully remove any screws, bolts, or brackets.
- Once detached, set aside these additional components in a secure location.
Pay attention to any electrical components, such as built-in lighting or USB charging ports. If your bed frame has these features, make sure to unplug any cords or cables before removing the components.
If there are any other accessories that you want to disassemble, such as attached side tables or decorative elements, follow a similar process of locating the connection points and removing any screws or bolts.
By removing these additional components, you can further break down the bed frame into manageable pieces and ensure that it is ready for storage or transportation. As always, keep all the screws, bolts, or brackets in the labeled ziplock bag or container for easy retrieval when reassembling the bed frame.
With the main components and additional accessories removed, it’s time to move on to the next step – cleaning and organizing the disassembled parts.
Step 7: Clean and organize the disassembled parts
After disassembling all the components of your bed frame, it’s important to take the time to clean and organize them. This step ensures that the parts are in good condition, ready for storage or future use. Here’s what you need to do:
- Inspect each disassembled part for any dirt, dust, or stains. Use a damp cloth or mild cleaning solution to wipe down the surfaces and remove any debris.
- If you encounter any stubborn stains, you may need to use a gentle scrub brush or sponge to remove them. Be careful not to use any abrasive or harsh cleaning agents that could damage the parts.
- Allow the disassembled parts to dry fully before proceeding to the next step. This will prevent any potential damage or corrosion.
- Once dry, arrange the parts in a systematic and organized manner. You can use blankets, plastic covers, or furniture bags to protect them from dust and scratches.
- If you have labeled the screws, bolts, or brackets, make sure they are securely stored alongside their respective parts.
Cleaning and organizing the disassembled parts not only ensures their longevity but also makes it easier to locate and reassemble them when needed. It’s a small but important step that adds to the overall maintenance and care of your bed frame.
With the disassembled parts now cleaned and organized, let’s move on to the final step – storing or disposing of the bed frame components.
Step 8: Store or dispose of the bed frame components
Now that you have successfully disassembled, cleaned, and organized the components of your bed frame, it’s time to decide whether to store them for future use or dispose of them responsibly. Follow these guidelines to make the best decision:
- Storage: If you plan on keeping the bed frame components for future use, find a suitable storage area that is clean, dry, and secure. You can use a storage unit, basement, or garage. Make sure to protect the parts with blankets or plastic covers to prevent dust and damage during storage. Keep the labeled ziplock bag or container with the screws, bolts, or brackets with their respective parts for easy reassembly.
- Donation: Consider donating your bed frame components if they are in good condition and can be of use to someone else. Check with local charities, shelters, or second-hand stores to see if they accept bed frames or furniture donations. This way, you can give back to the community and help those in need.
- Recycling: If your bed frame components cannot be donated or reused, check with your local recycling facilities to see if they accept metal or wooden furniture. Recycling helps reduce waste and promotes a more sustainable approach to disposal.
- Proper disposal: If neither storage, donation, nor recycling options are available or feasible, you may need to dispose of the bed frame components as waste. Contact your local waste management authorities to inquire about the proper procedures for disposing of bulky furniture items.
Remember to consider the environmental impact and the potential for reuse or recycling before resorting to disposal. By making a conscious decision about the fate of your bed frame components, you contribute to sustainability efforts and responsible waste management.
Congratulations! You have successfully disassembled your bed frame and have taken the necessary steps to store or dispose of its components. Whether you choose to repurpose the components in the future or ensure their proper disposal, you have completed the process with care and consideration.
By following this comprehensive guide, you have gained the knowledge and confidence to tackle any bed frame disassembly. Remember to refer back to these steps when reassembling your bed frame or when assisting others in the future.
We hope this guide has been helpful, and we wish you success in all your future bed frame endeavors!
Read more: How To Disassemble A Wooden Bed Frame
Conclusion
Disassembling a bed frame may seem like a challenging task, but with the right tools, knowledge, and approach, it can be a straightforward and efficient process. By following the steps outlined in this guide, you have learned how to disassemble a bed frame effectively and safely.
Remember, before starting the disassembly, gather all the necessary tools and supplies to avoid delays or frustrations. Remove the mattress, bedding, and any attached headboard or footboard to create a clear working space. Locate and remove the screws or bolts holding the frame together, and disassemble the headboard, footboard, side rails, and support beams.
In addition, be sure to remove any additional components or accessories, clean and organize the disassembled parts, and make a conscious decision to store, donate, recycle, or dispose of the bed frame components responsibly.
By following these steps, you have not only gained the ability to disassemble a bed frame but also contributed to sustainability efforts by considering reuse and recycling options.
We hope this comprehensive guide has provided you with the knowledge and confidence to tackle any bed frame disassembly project successfully. Remember to refer back to this guide when reassembling your bed frame or helping others in the future.
Thank you for reading, and we wish you all the best in your future bed frame endeavors!
Frequently Asked Questions about How To Disassemble A Bed Frame
Was this page helpful?
At Storables.com, we guarantee accurate and reliable information. Our content, validated by Expert Board Contributors, is crafted following stringent Editorial Policies. We're committed to providing you with well-researched, expert-backed insights for all your informational needs.


0 thoughts on “How To Disassemble A Bed Frame”