Furniture
How Do I Clean My Salt Lamp
Modified: April 22, 2024
Learn how to properly clean your salt lamp without damaging your furniture. Discover the best techniques and products to keep your salt lamp looking pristine.
(Many of the links in this article redirect to a specific reviewed product. Your purchase of these products through affiliate links helps to generate commission for Storables.com, at no extra cost. Learn more)
Introduction
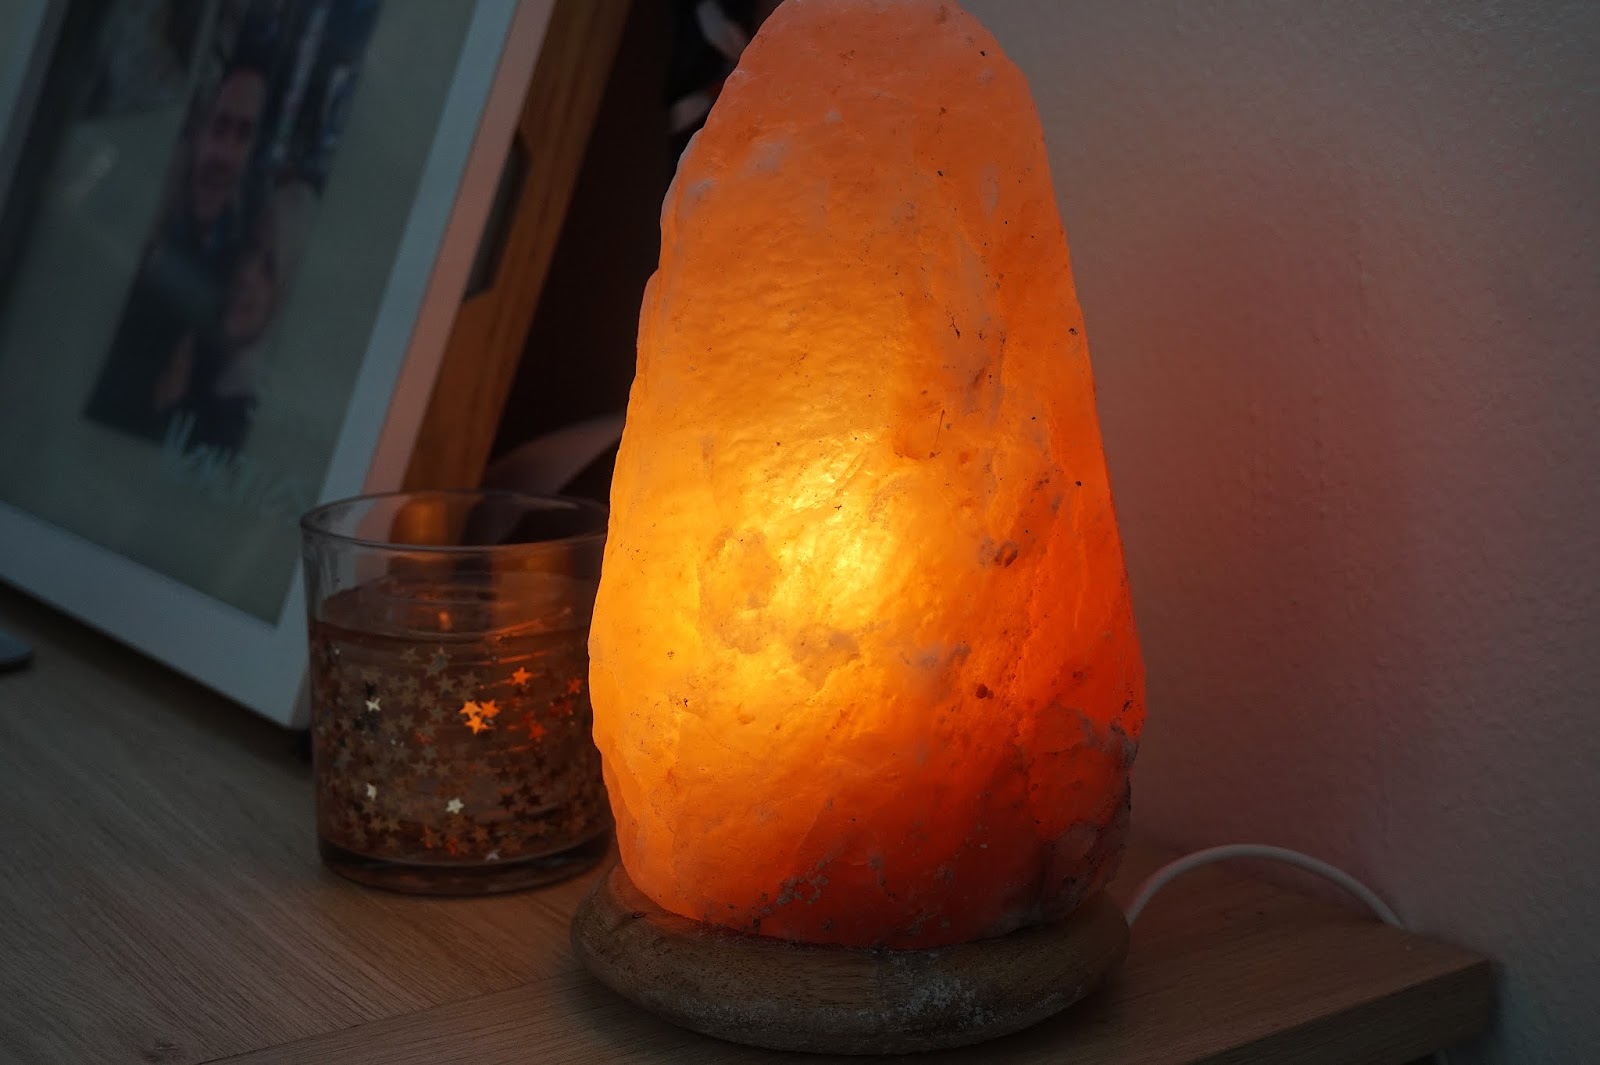
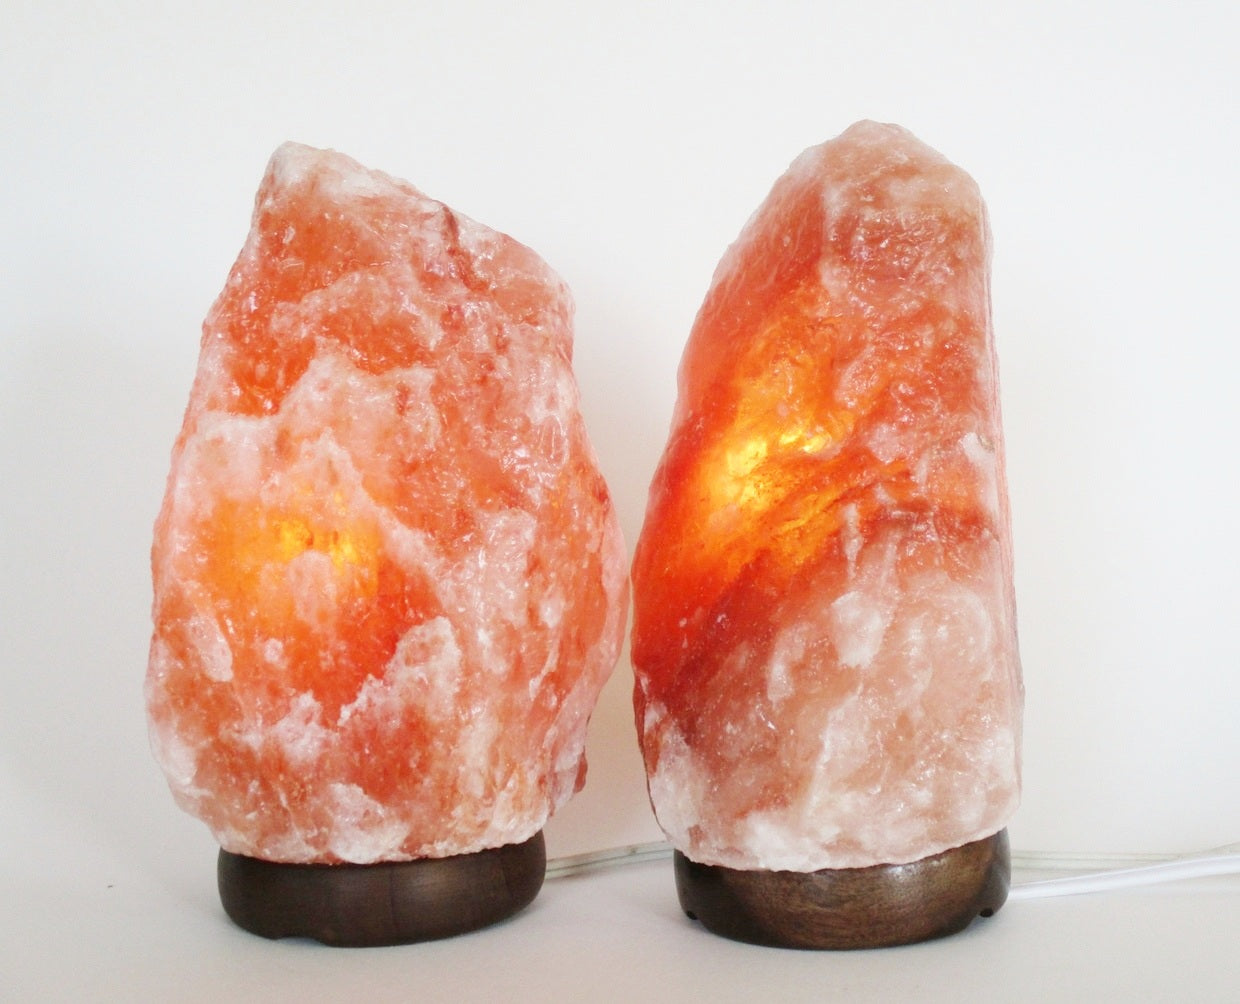
Salt lamps have become increasingly popular in recent years, not only for their unique aesthetics but also for the potential health benefits they offer. These lamps are made from natural Himalayan salt crystals that are believed to emit negative ions when heated, which can help purify the air and create a more relaxing environment.
While salt lamps require minimal maintenance, it’s important to clean them periodically to preserve their appearance and functionality. In this article, we will guide you through the process of cleaning your salt lamp, ensuring it remains a beautiful addition to your home.
Before we dive into the cleaning process, let’s take a closer look at what salt lamps are and why they are worth keeping clean.
Key Takeaways:
- Regularly cleaning your salt lamp preserves its beauty, functionality, and potential health benefits, ensuring a fresh and soothing environment in your home.
- Handle your salt lamp with care, keep it in a dry area, and follow maintenance tips to maintain its effectiveness and aesthetic appeal for years to come.
Read more: What Size Salt Lamp Do I Need
Understanding Salt Lamps
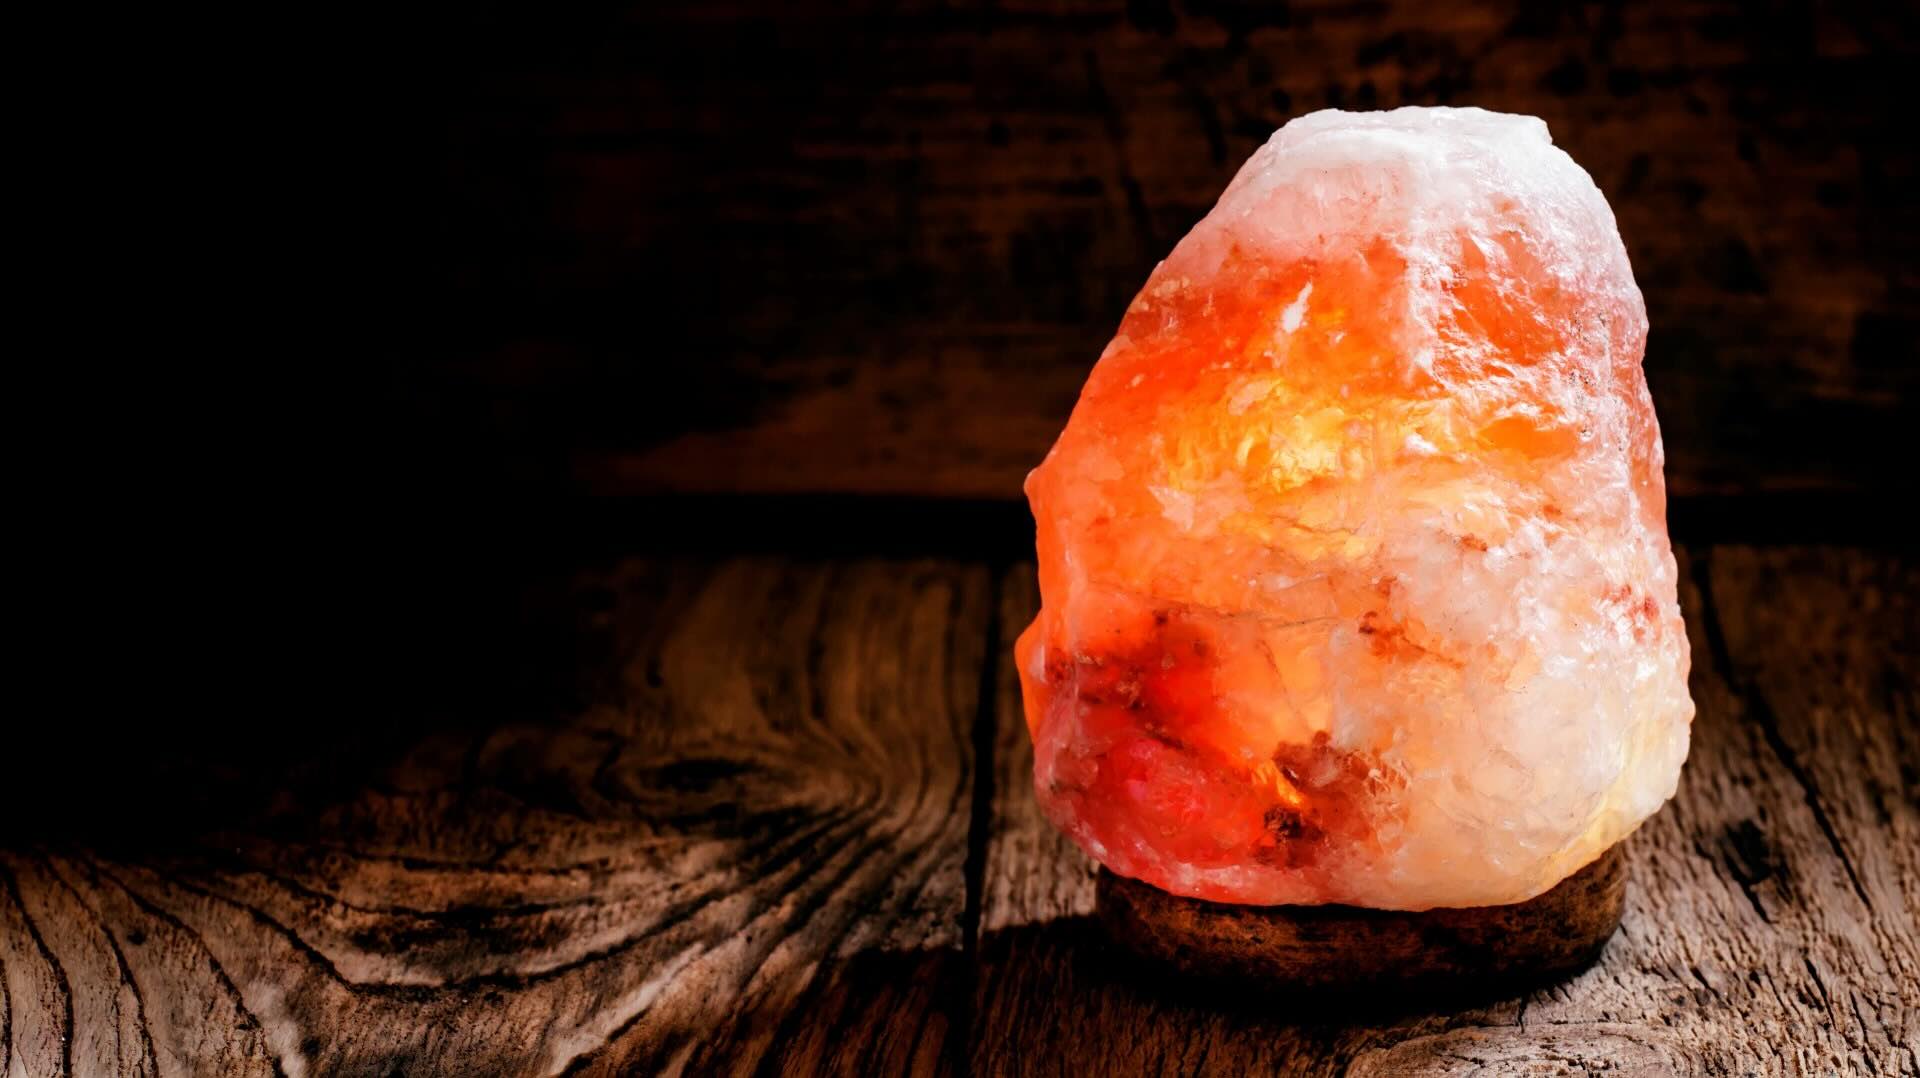
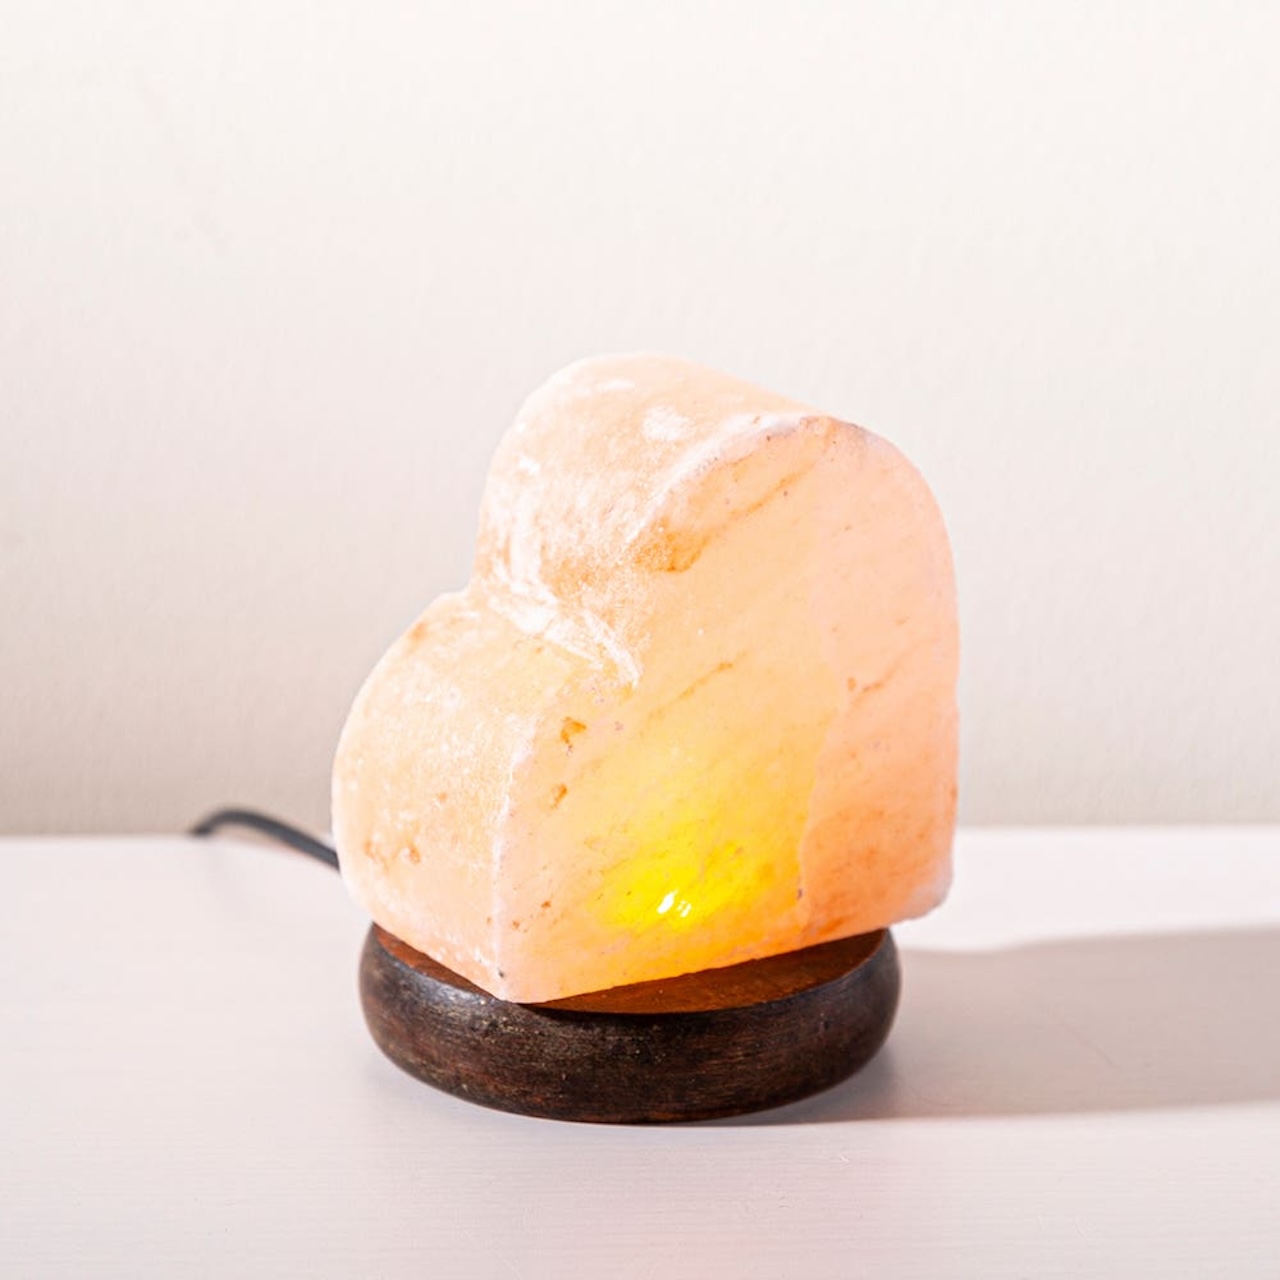
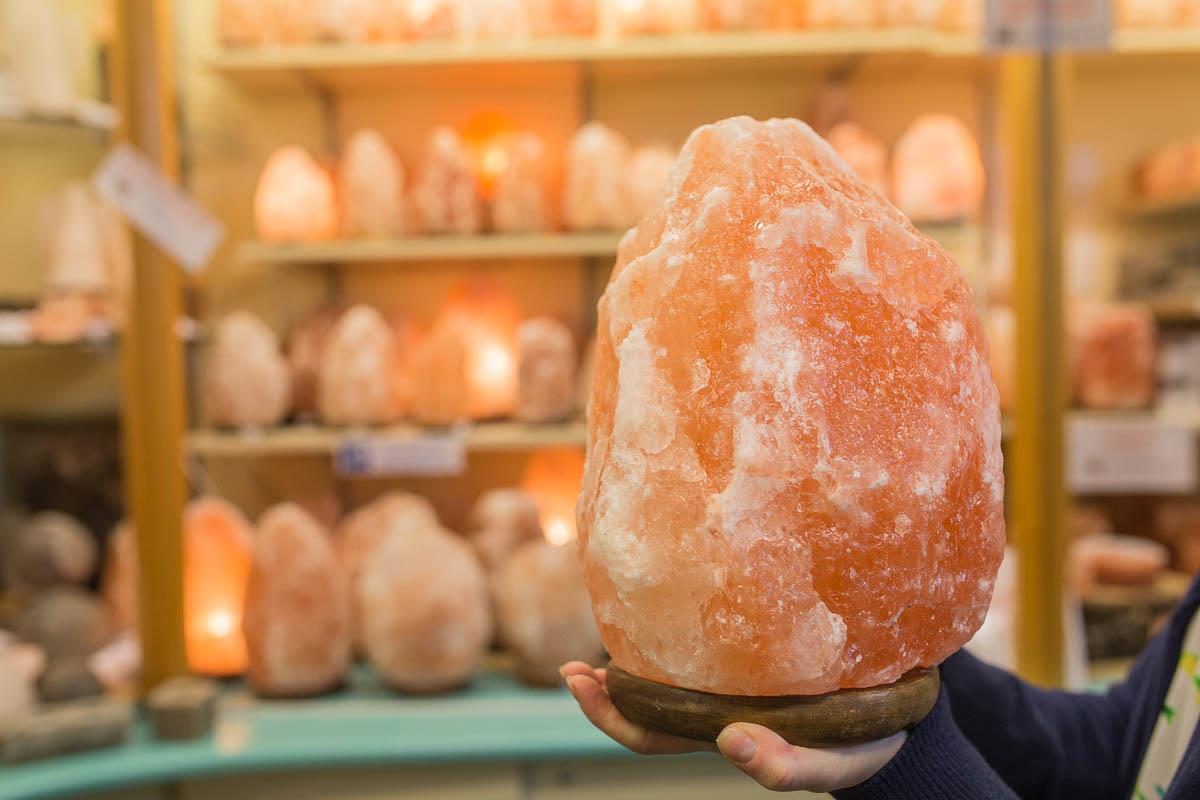
Salt lamps are made from large chunks of natural Himalayan salt crystals. These crystals are believed to contain numerous minerals and trace elements that are beneficial to our health. When the lamp is heated, typically by a small bulb inside, it emits a warm, soft glow that can create a cozy and calming atmosphere.
One of the unique properties of salt lamps is their ability to release negative ions into the surrounding air. Negative ions are typically found in nature, such as near waterfalls or after a thunderstorm, and are associated with increased air quality and overall well-being. It is believed that salt lamps can help counteract the positive ions emitted by electronic devices, which can lead to feelings of stress and fatigue.
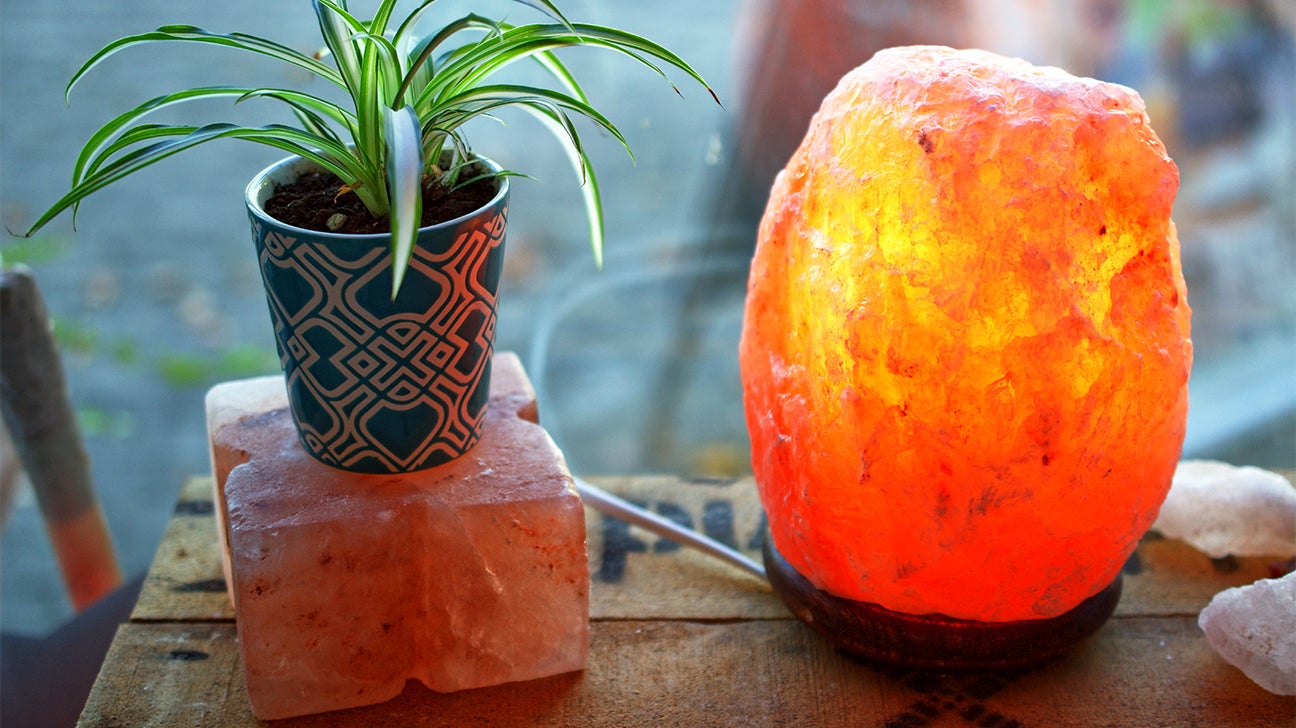
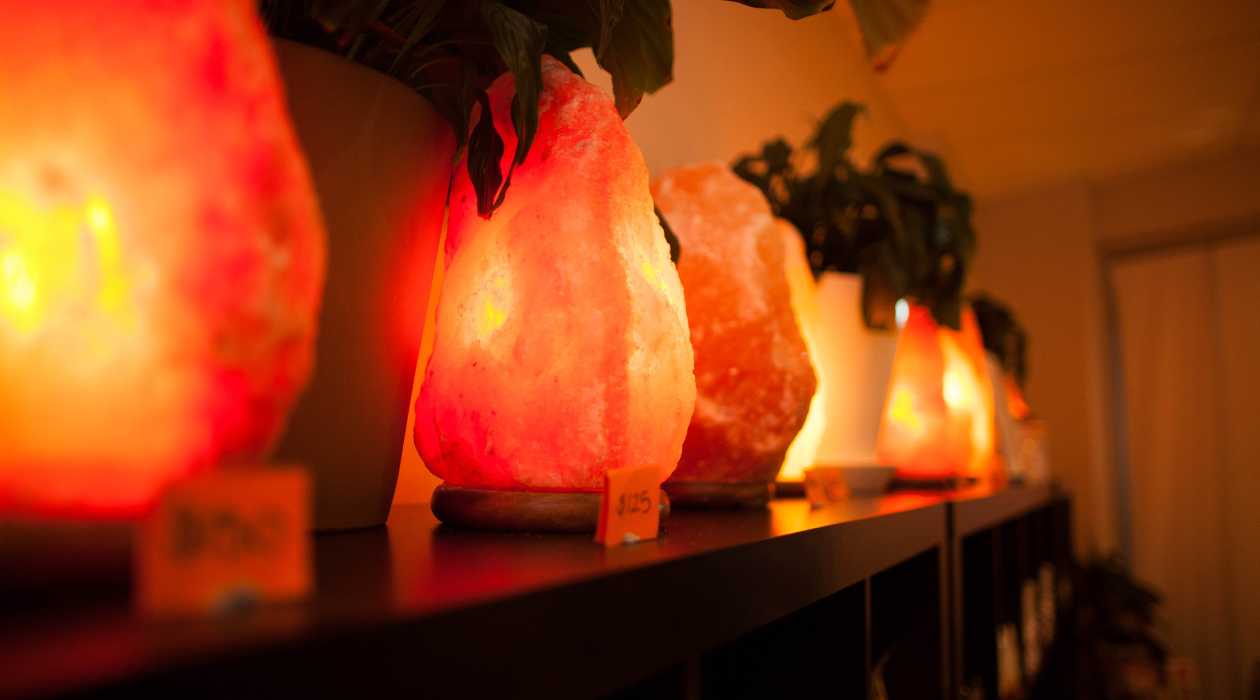
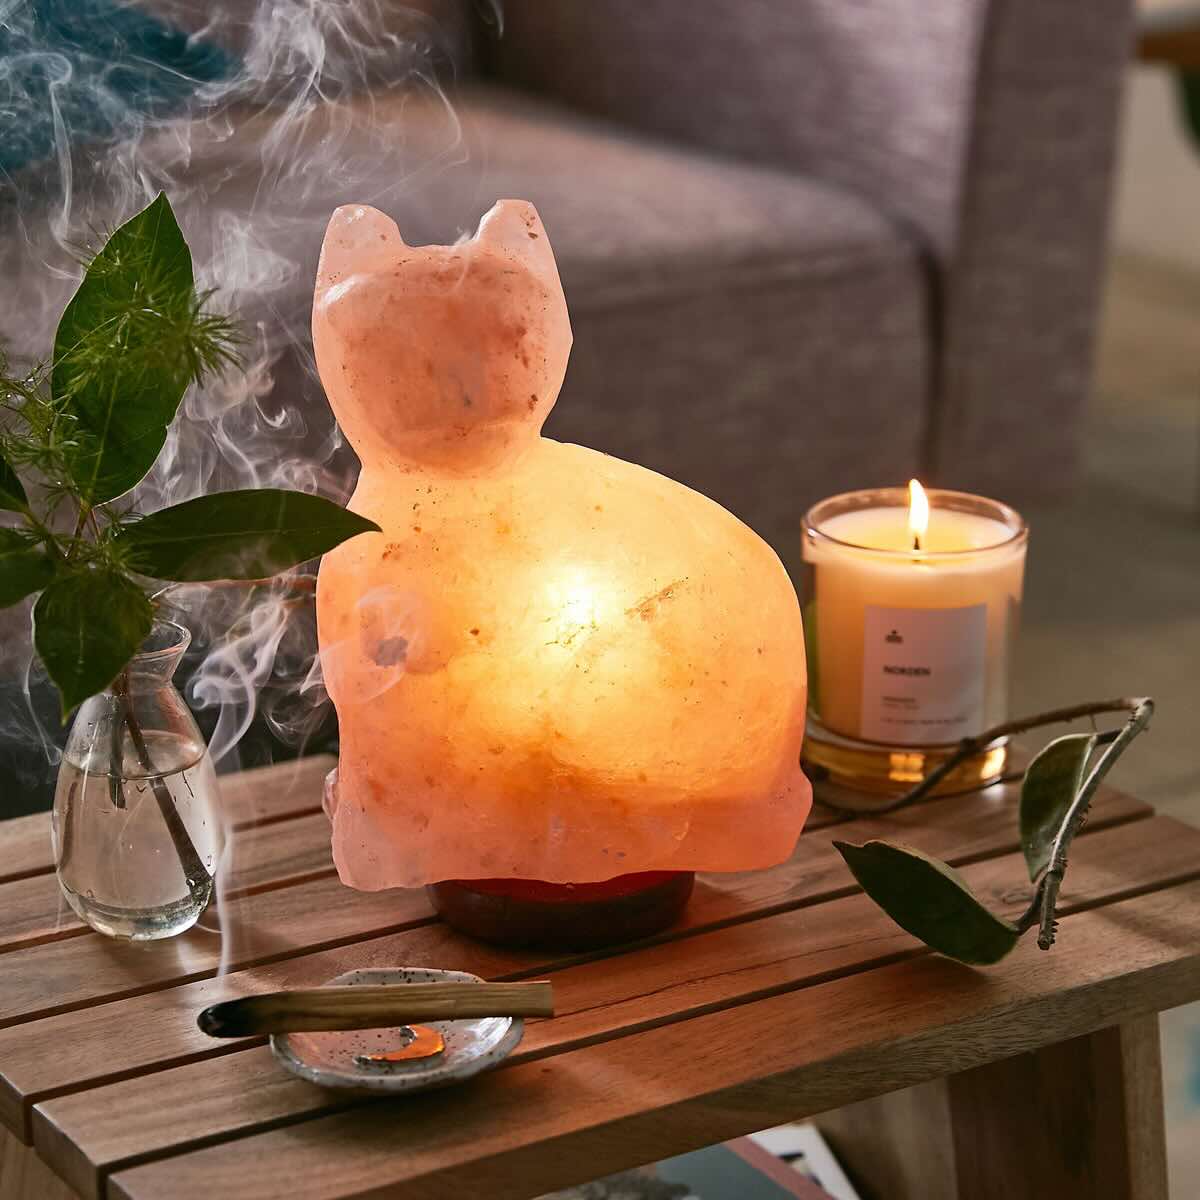
Aside from the potential health benefits, salt lamps are also valued for their distinct and natural beauty. The crystalline structure of the salt creates a mesmerizing glow when illuminated, making them an eye-catching addition to any space.
While salt lamps are generally low-maintenance, they can collect dust and debris over time, which can diminish their effectiveness and appearance. Regular cleaning is necessary to ensure that your salt lamp continues to provide optimal benefits.
Now that we understand the basics of salt lamps, let’s explore why cleaning them is crucial.
Why Cleaning is Important
Keeping your salt lamp clean is essential for several reasons. Firstly, regular cleaning helps to maintain the lamp’s aesthetic appeal. Dust and debris can accumulate on the surface of the lamp, causing it to appear dull and less vibrant when illuminated. By cleaning the lamp, you can restore its natural beauty and ensure that it continues to serve as an eye-catching decorative piece in your home.
Furthermore, a clean salt lamp functions more effectively. When dust and debris settle on the lamp, they can obstruct the release of negative ions into the air. This can diminish the lamp’s ability to purify the surrounding environment and offer potential health benefits. By regularly cleaning the lamp, you can ensure that it continues to emit negative ions and create a fresh and invigorating atmosphere.
Another reason to clean your salt lamp is to prevent the build-up of moisture or residue. In humid environments, the salt lamp can attract moisture from the air, leading to the formation of a layer of salt residue or even mold. By cleaning the lamp regularly, you can remove any moisture or residue, preserving the lamp’s integrity and preventing potential issues.
Lastly, cleaning your salt lamp promotes better air quality. Over time, dust, allergens, and pollutants can settle on the surface of the lamp. By removing these particles through regular cleaning, you can ensure that the lamp continues to purify the air effectively, creating a healthier living space for you and your family.
Now that we understand the importance of cleaning salt lamps, let’s gather the supplies needed for the cleaning process.
Supplies Needed
Before you begin cleaning your salt lamp, gather the following supplies:
- Microfiber cloth or soft, lint-free cloth: This will be used to remove dust and debris from the lamp’s surface.
- Bowl of lukewarm water: You’ll need this to moisten the cloth for wiping down the lamp.
- Mild detergent or salt lamp cleaner: If your lamp has stubborn stains or residue, a gentle cleanser specifically formulated for salt lamps can be used.
- Soft-bristle brush: This can be used to clean hard-to-reach crevices or intricate designs on the lamp.
- Dry cloth or towel: You’ll need this to dry the lamp after cleaning.
It’s important to note that you should avoid using harsh chemicals or abrasive materials on your salt lamp, as they can damage the surface or affect its functionality. Stick to gentle and non-abrasive cleaning methods to preserve the lamp’s beauty and effectiveness.
Once you have gathered all the necessary supplies, you’re ready to begin the step-by-step cleaning process for your salt lamp. Let’s dive in!
Step-by-Step Cleaning Guide
Follow these steps to effectively clean your salt lamp:
- Unplug and cool down: Before cleaning the lamp, make sure it is unplugged and has had enough time to cool down. Handling a hot lamp can cause burns or damage.
- Remove the bulb: Take out the bulb from the lamp socket, if possible. This will make it easier to clean the lamp without worrying about the bulb getting wet or damaged.
- Removing dust and debris: Start by gently wiping the lamp’s surface with a dry microfiber cloth or soft, lint-free cloth. This will remove any loose dust and debris. Avoid using water at this stage, as it can lead to the formation of salt residue.
- Wiping down the lamp: Moisten the cloth with lukewarm water, ensuring it is not dripping wet. Gently wipe the surface of the lamp, using circular motions or back-and-forth strokes. This will help remove any stubborn dirt or residue. If needed, you can use a mild detergent or a salt lamp cleaner to tackle tougher stains. Be sure to read and follow the instructions on the cleaner, if using.
- Cleaning hard-to-reach areas: For intricate designs or crevices on the lamp, use a soft-bristle brush to gently scrub away any dirt or debris. Be careful not to apply too much pressure, as this can cause damage to the lamp.
- Drying and maintaining the lamp: Once you have finished cleaning, use a dry cloth or towel to thoroughly dry the lamp. Ensure there is no moisture left on the surface, as this can lead to the formation of salt residue. Once dry, you can reinsert the bulb into the lamp socket.
It’s important to note that salt lamps are hygroscopic, meaning they can absorb moisture from the air. To prevent the lamp from becoming too damp and potentially developing salt residue or mold, it’s recommended to keep it in a dry area and use it regularly.
Now that you have successfully cleaned your salt lamp, let’s explore some additional tips and precautions to keep in mind for ongoing maintenance.
To clean your salt lamp, use a dry or slightly damp cloth to gently wipe away any dust or debris. Avoid using any cleaning products or submerging the lamp in water, as this can damage the salt.
Read more: Why Is My Salt Lamp Melting?
Removing Dust and Debris
Regularly removing dust and debris from your salt lamp is essential to keep it looking its best and functioning effectively. Here’s how you can do it:
- Unplug and cool down: Always start by unplugging the lamp and allowing it to cool down before cleaning.
- Use a dry microfiber cloth or soft, lint-free cloth: Gently wipe the surface of the lamp to remove any loose dust and debris. You can use circular motions or back-and-forth strokes to ensure thorough cleaning. Avoid using water at this stage, as it can lead to salt residue.
- Pay attention to crevices and intricate designs: If your salt lamp has detailed patterns or hard-to-reach areas, use a soft-bristle brush to gently brush away any dust or debris. Be cautious not to apply too much pressure to prevent damage.
- Repeat the process regularly: To maintain the cleanliness of your salt lamp, it’s recommended to remove dust and debris on a weekly or bi-weekly basis, depending on the environment it is placed in.
By regularly removing dust and debris, you can keep your salt lamp looking beautiful and ensure it continues to emit negative ions effectively.
Now, let’s move on to the next step in cleaning your salt lamp: wiping it down.
Wiping Down the Lamp
After removing dust and debris from your salt lamp, the next step is to give it a thorough wipe down. Here’s how you can do it:
- Prepare lukewarm water: Fill a bowl with lukewarm water. Ensure that the water is not too hot or too cold.
- Moisten a soft cloth: Dip a clean, lint-free cloth into the lukewarm water. Make sure the cloth is moistened but not dripping wet.
- Gently wipe the lamp: Begin by gently wiping the surface of the lamp with the moistened cloth. Use circular motions or back-and-forth strokes to effectively clean the entire surface.
- Pay attention to stains or residue: If your salt lamp has stubborn stains or residue, you can add a small amount of mild detergent or a salt lamp cleaner to the water. Follow the instructions on the cleaner for the appropriate amount to use. This will help remove tough stains or residue.
- Avoid submerging the lamp: It’s important to note that you should never submerge your salt lamp in water. Only use a moistened cloth to wipe it down.
By wiping down your salt lamp, you can remove any remaining dirt, grime, or residue, ensuring a clean and refreshed surface.
Now that you have wiped down your lamp, it’s time to move on to the next step: drying and maintaining it.
Drying and Maintaining the Lamp
After cleaning and wiping down your salt lamp, it’s important to make sure it is thoroughly dried to prevent any moisture buildup. Here’s how to properly dry and maintain your lamp:
- Use a dry cloth or towel: Take a clean, dry cloth or towel and gently pat the surface of the lamp to remove any excess moisture. Make sure to dry all areas, including crevices and intricate designs.
- Avoid direct sunlight or heat: Place the lamp in a well-ventilated area away from direct sunlight or sources of heat. Excessive heat or prolonged exposure to sunlight can cause the salt lamp to sweat or leave behind salt residue.
- Avoid using a hairdryer or fan: While it may be tempting to speed up the drying process using a hairdryer or fan, it’s best to let the lamp air dry naturally. Using artificial heat or air can cause damage to the lamp.
- Regularly check for moisture or residue: After cleaning and drying, periodically check the lamp for any signs of moisture or salt residue. If you notice any, repeat the drying process or consider moving the lamp to a drier location.
As you continue to enjoy your salt lamp, make sure to keep it in a dry environment and use it regularly to prevent any moisture buildup. This will help maintain its effectiveness and prolong its lifespan.
Congratulations! You have successfully cleaned and dried your salt lamp. Before we wrap up, let’s explore some additional tips and precautions to keep in mind.
Additional Tips and Precautions
Here are some additional tips and precautions to ensure the proper care and maintenance of your salt lamp:
- Avoid placing the lamp in humid areas: Salt lamps are hygroscopic and can absorb moisture from the air. To prevent issues like salt residue or mold, it’s best to keep the lamp in a dry area with good ventilation.
- Keep the lamp away from water sources: Salt lamps are not waterproof, so it’s important to keep them away from sinks, showers, or other water sources that can cause moisture to accumulate on the lamp’s surface.
- Avoid direct contact with liquids: While cleaning, make sure to only use a moistened cloth and avoid getting the lamp excessively wet. Direct contact with liquids can damage the lamp and affect its overall appearance.
- Consider using a salt lamp cover: If you live in an area with high humidity or if you don’t use the lamp regularly, you may want to consider using a salt lamp cover. This can help protect the lamp from moisture and preserve its integrity.
- Regularly inspect the cord and socket: Check the lamp’s cord and socket for any signs of wear or damage. If you notice any frayed wires or loose connections, it’s best to replace the cord or seek professional assistance to ensure safe usage.
- Use caution when handling the lamp: As salt lamps are made of delicate salt crystals, handle them with care to avoid any accidental drops or breaks. This can prevent injuries and prolong the lifespan of the lamp.
- Enjoy the benefits of your salt lamp: Salt lamps are not only decorative but also believed to offer various health benefits. By keeping your lamp clean and well-maintained, you can continue to enjoy its soothing glow and potential positive effects on air quality and well-being.
By following these tips and precautions, you can ensure that your salt lamp remains a beautiful and beneficial addition to your home for years to come.
Now that you are equipped with the knowledge of how to clean and maintain your salt lamp, you can confidently enjoy its beauty and potential health benefits. Happy cleaning!
Read more: Why Is My Salt Lamp Not Working
Conclusion
Cleaning and maintaining your salt lamp is essential to preserve its beauty, functionality, and potential health benefits. By following the step-by-step guide outlined in this article, you can keep your salt lamp looking its best and ensure that it continues to emit negative ions, creating a fresh and soothing environment in your home.
Regularly removing dust and debris, wiping down the lamp, and drying it thoroughly are key steps in the cleaning process. Additionally, following the additional tips and precautions will help you avoid common pitfalls and ensure the longevity of your salt lamp.
Remember to handle your lamp with care and keep it in a dry area with good ventilation to prevent moisture buildup and maintain its effectiveness. By taking these simple steps, you can enhance the aesthetic appeal of your salt lamp and enjoy its potential health benefits for years to come.
So go ahead, make cleaning your salt lamp a regular part of your home maintenance routine. Embrace the natural beauty and soothing glow it provides, and create a calm and inviting ambiance in your living space.
Now, it’s time to sit back, relax, and enjoy the tranquil ambiance of your sparkling clean salt lamp.
Frequently Asked Questions about How Do I Clean My Salt Lamp
Was this page helpful?
At Storables.com, we guarantee accurate and reliable information. Our content, validated by Expert Board Contributors, is crafted following stringent Editorial Policies. We're committed to providing you with well-researched, expert-backed insights for all your informational needs.