Furniture
How To Change A Salt Lamp Bulb
Modified: August 22, 2024
Learn how to easily change a salt lamp bulb with our step-by-step guide. Discover the best tips and tricks for replacing the bulb in your salt lamp.
(Many of the links in this article redirect to a specific reviewed product. Your purchase of these products through affiliate links helps to generate commission for Storables.com, at no extra cost. Learn more)
Introduction
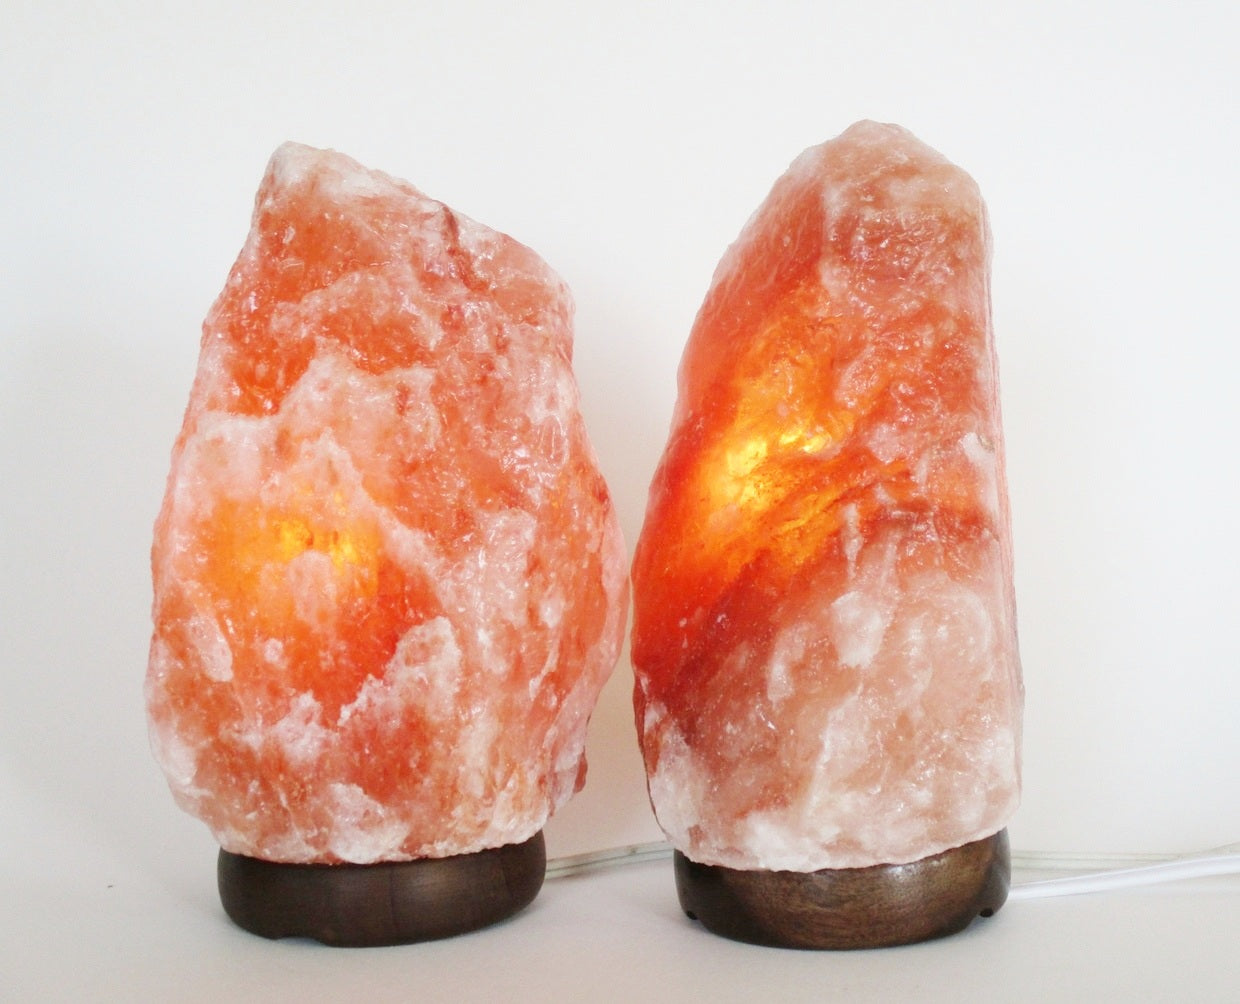
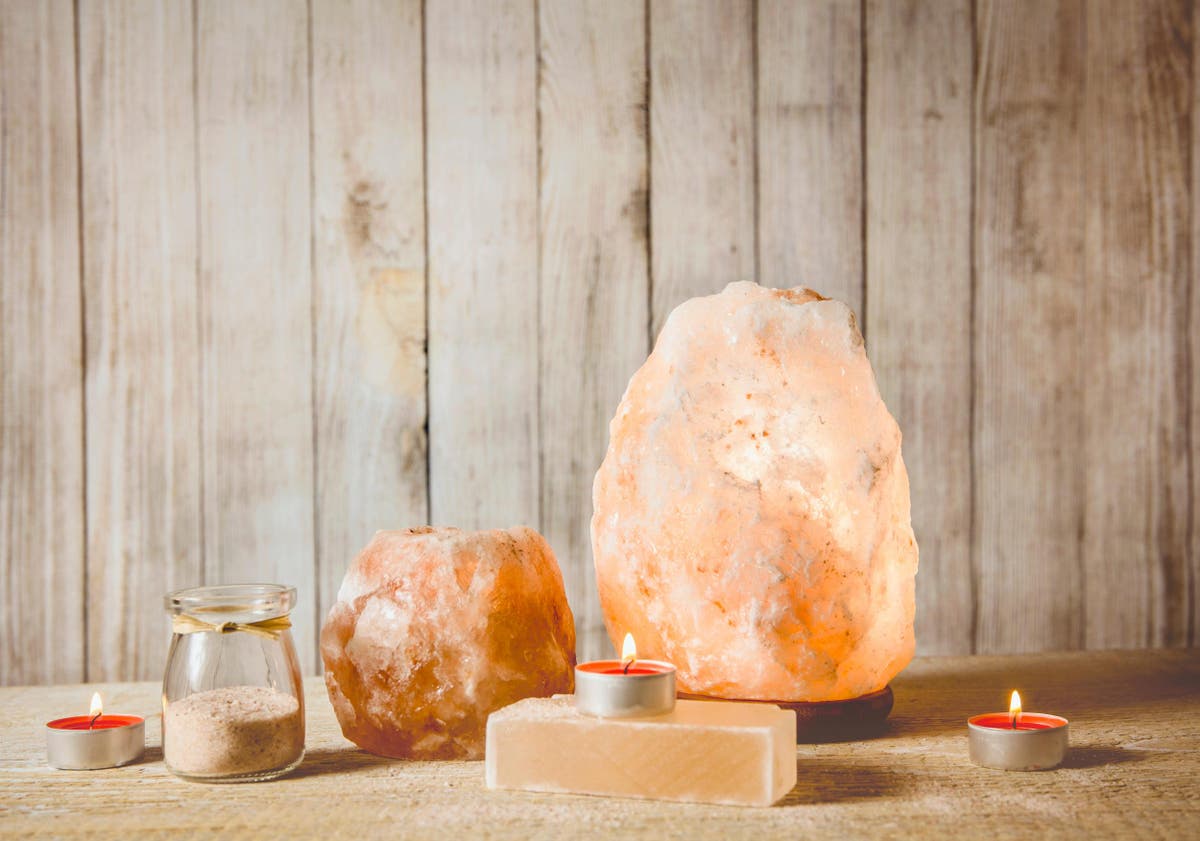
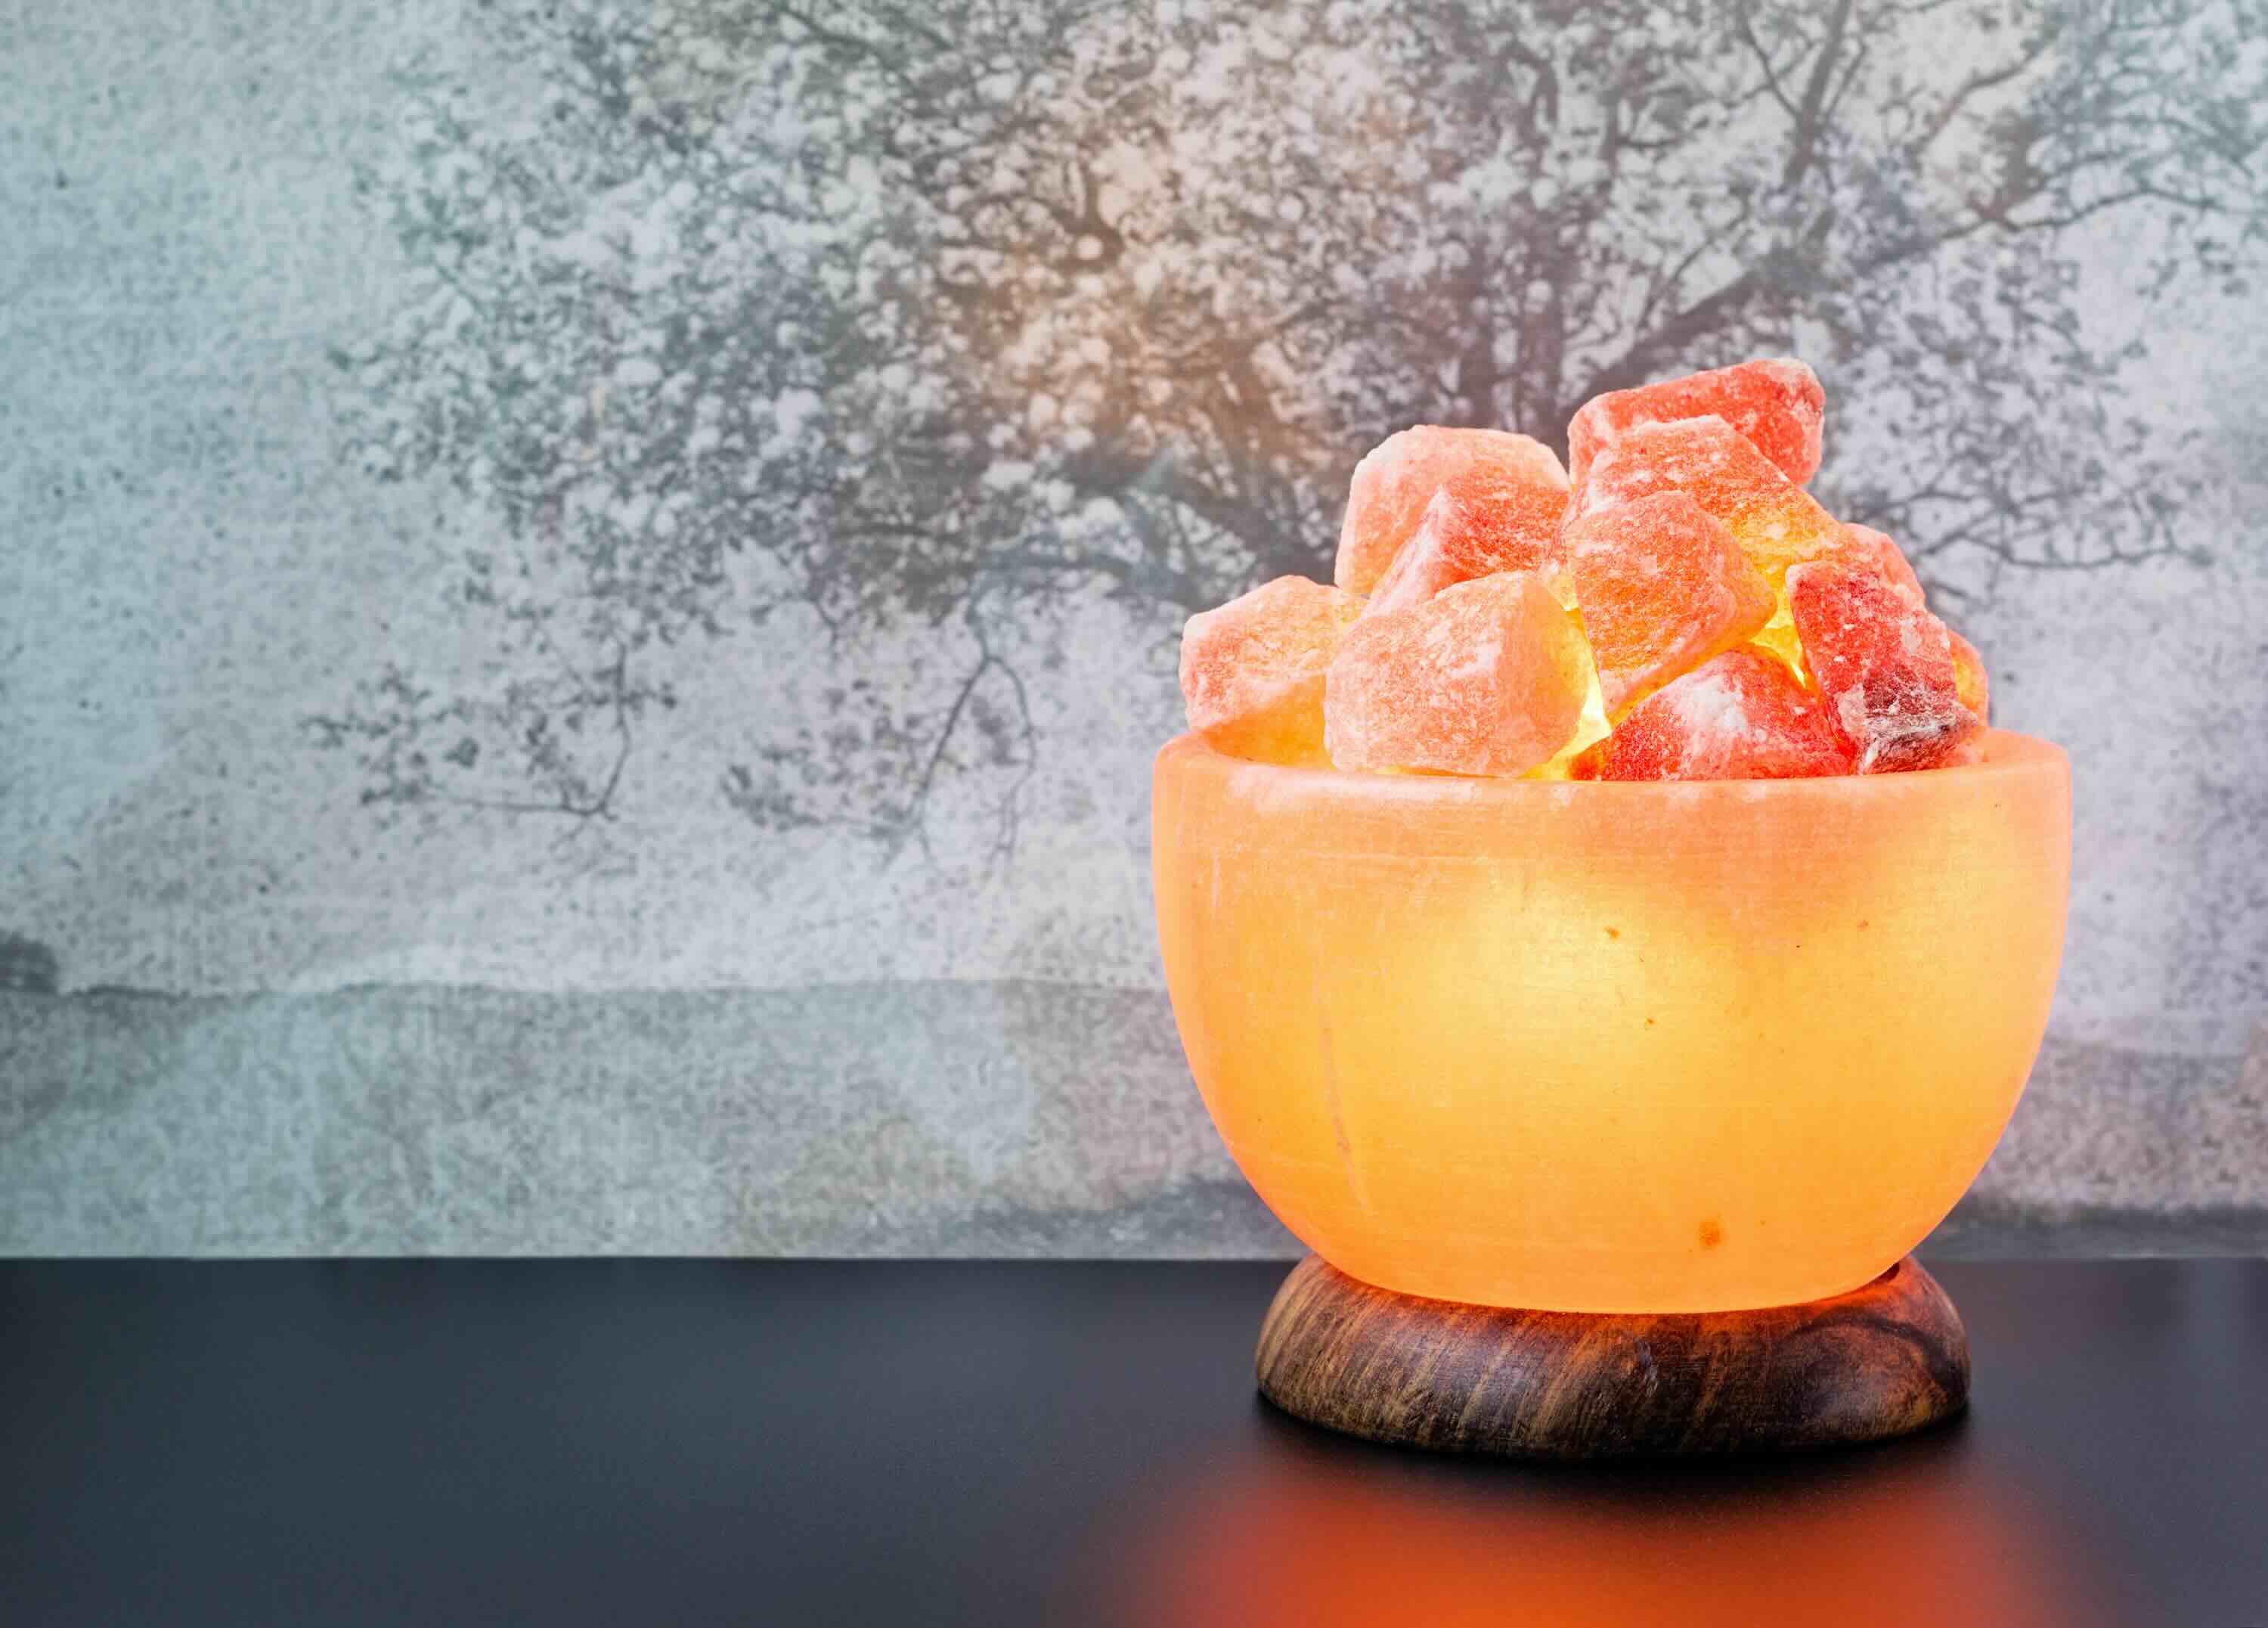
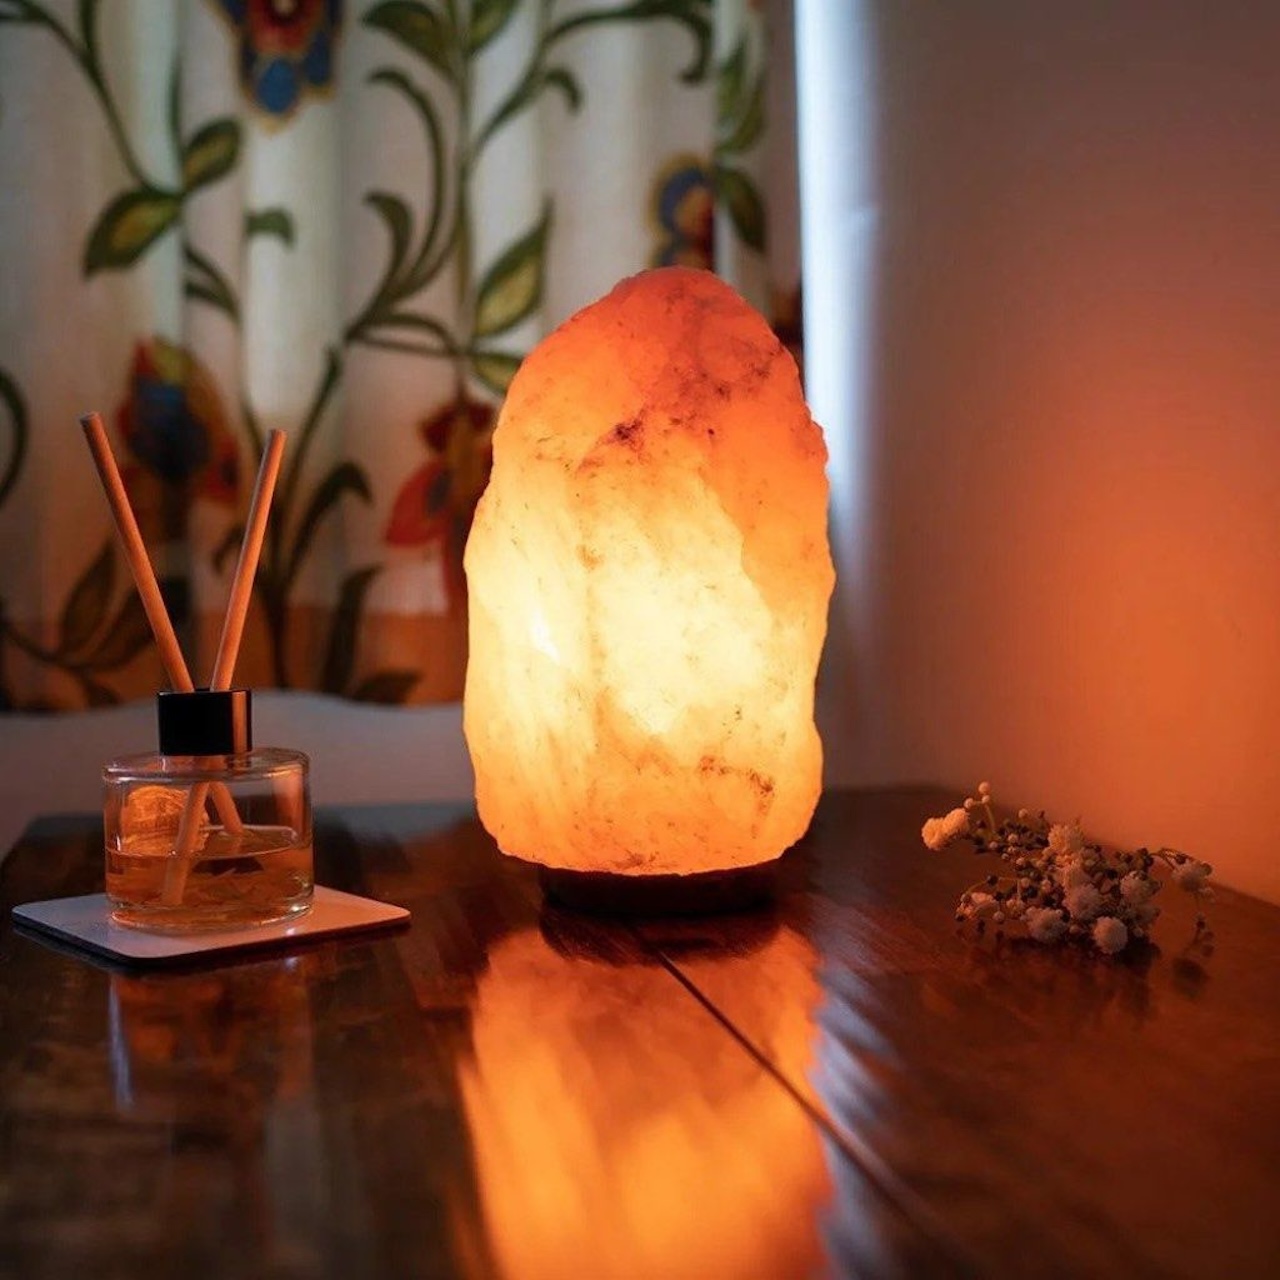
Welcome to our guide on how to change a salt lamp bulb! Salt lamps not only emit a warm and cozy glow, but they also have numerous health benefits. These decorative lamps are made from Himalayan salt crystals and are believed to purify the air, reduce allergens, and promote a sense of calm and relaxation. However, like any other light fixture, salt lamps require maintenance, including replacing the bulb when it burns out.
Changing a salt lamp bulb is a straightforward process that can be easily done at home. By following a few simple steps and taking some safety precautions, you can ensure a smooth and successful bulb replacement without any hassle. In this guide, we will walk you through each step of the process and provide you with helpful tips along the way.
So, whether you’re a salt lamp owner looking to replace a burnt-out bulb or you’re interested in getting a salt lamp and want to know how to maintain it, this guide is for you. Let’s dive in and learn how to change a salt lamp bulb!
Key Takeaways:
- Safety first! Always unplug the lamp, allow it to cool, and wear gloves when changing a salt lamp bulb. Choosing the right replacement bulb and testing it ensures a cozy and hazard-free environment.
- By following simple steps like turning off the power, choosing the correct replacement bulb, and testing it, you can easily maintain and enjoy the soothing glow of your salt lamp. Regular maintenance and care will prolong its life and offer potential health benefits.
Read also: 15 Best Salt Lamp Bulbs for 2025
Safety Precautions
Before you begin the process of changing a salt lamp bulb, it’s important to ensure your safety. Follow these safety precautions to minimize the risk of accidents or damage:
- Unplug the lamp: Before starting the bulb replacement, make sure the lamp is unplugged from the power source. This step will help avoid any electrical shocks or accidents while handling the bulb.
- Allow the lamp to cool: Salt lamps can get hot when they are in use. To avoid burning yourself, let the lamp cool down for at least 15-20 minutes before attempting to change the bulb.
- Wear protective gloves: Salt lamps are made of fragile salt crystals, which can break easily. To protect your hands and fingers from any potential injury, it’s recommended to wear gloves while handling the lamp and the bulb.
- Ensure a stable surface: Place the salt lamp on a stable and secure surface before starting the bulb replacement. This will prevent any unnecessary movement or accidents that could occur if the lamp were to fall.
- Choose the correct bulb wattage: Salt lamps typically require low-wattage bulbs, such as 15 or 25 watts. Using higher wattage bulbs can cause overheating and potentially damage the lamp. Always check the manufacturer’s recommendations for the appropriate bulb wattage to use.
- Avoid excessive touching of the bulb: When handling the new bulb, avoid touching the glass surface directly with your fingers. The natural oils from your skin can cause the bulb to heat unevenly and reduce its lifespan. If you accidentally touch the bulb, wipe it clean with a soft cloth before installing it.
By following these safety precautions, you can ensure a safe and successful bulb replacement process. Now let’s move on to the step-by-step guide on how to change a salt lamp bulb.
Step 1: Turn off the Power
The first step in changing a salt lamp bulb is to turn off the power. Locate the power outlet or switch that the lamp is connected to and switch it off. This will ensure that there is no electricity running through the lamp and minimize the risk of electrical shock during the bulb replacement process.
If your salt lamp has a cord with an on/off switch, simply toggle the switch to the off position. However, if your lamp is directly connected to a wall outlet without a switch, you will need to unplug it from the socket.
Remember, safety should always be the top priority when working with any electrical appliance. Double-check that the power is indeed turned off before proceeding to the next step.
By turning off the power, you eliminate the risk of electrocution and ensure a safe environment for handling the salt lamp and replacing the bulb. Once the power is off, you can move on to the next step of the process.
Step 2: Allow Lamp to Cool
After turning off the power, it’s essential to allow the salt lamp to cool down before proceeding with the bulb replacement. Salt lamps can become quite hot when in use, and attempting to handle the lamp or the bulb while it is still hot can cause burns or damage.
It is recommended to wait at least 15-20 minutes to ensure that the lamp has cooled down sufficiently. During this time, the heat emitted from the lamp will dissipate, making it safer to handle.
In the meantime, you can take this opportunity to gather the necessary tools and materials for the bulb replacement. This includes a pair of gloves to protect your hands, the replacement bulb, and a soft cloth or tissue to handle the bulb without touching the glass surface directly.
Remember, safety is paramount, and it’s better to be patient and let the lamp cool down completely before proceeding to the next step. Rushing the process can lead to accidents or damages. Once you have allowed enough time for the lamp to cool down, you can move on to the next step.
Step 3: Remove Old Bulb
With the salt lamp cooled down and the power turned off, it’s time to remove the old bulb. Follow these steps to safely remove the old bulb:
- Put on protective gloves: Before touching the lamp or the bulb, wear a pair of protective gloves to prevent any injury or damage.
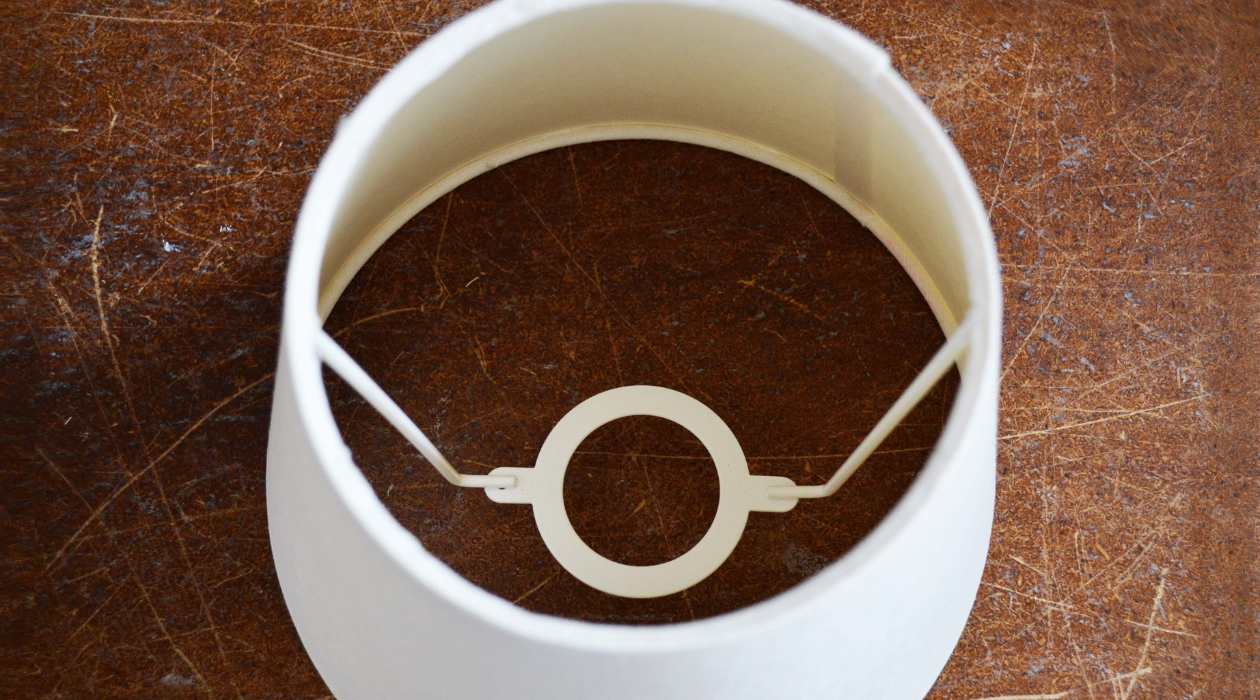
- Locate the bulb housing: In most salt lamps, the bulb housing is located at the top of the lamp. It is often covered by a metal or wooden cap. Gently remove the cap to expose the bulb.
- Unscrew the old bulb: Once the bulb is exposed, carefully unscrew it counterclockwise. Use a gentle twisting motion to avoid any damage to the bulb or the lamp.
- Remove the bulb from the housing: Once the old bulb is unscrewed, pull it out from the socket. Be cautious and handle the bulb with care to avoid any breakage or injury.
- Inspect the bulb and housing: Take a moment to inspect the old bulb and the bulb housing. Check for any signs of damage or corrosion. If you notice any issues, it may be a good idea to clean the housing or replace it if necessary.
Remember to dispose of the old bulb properly. Check with your local regulations for the correct disposal method for incandescent or halogen bulbs. Some areas may have designated recycling centers for these types of bulbs.
With the old bulb safely removed, you’re now ready to move on to the next step: choosing the right replacement bulb.
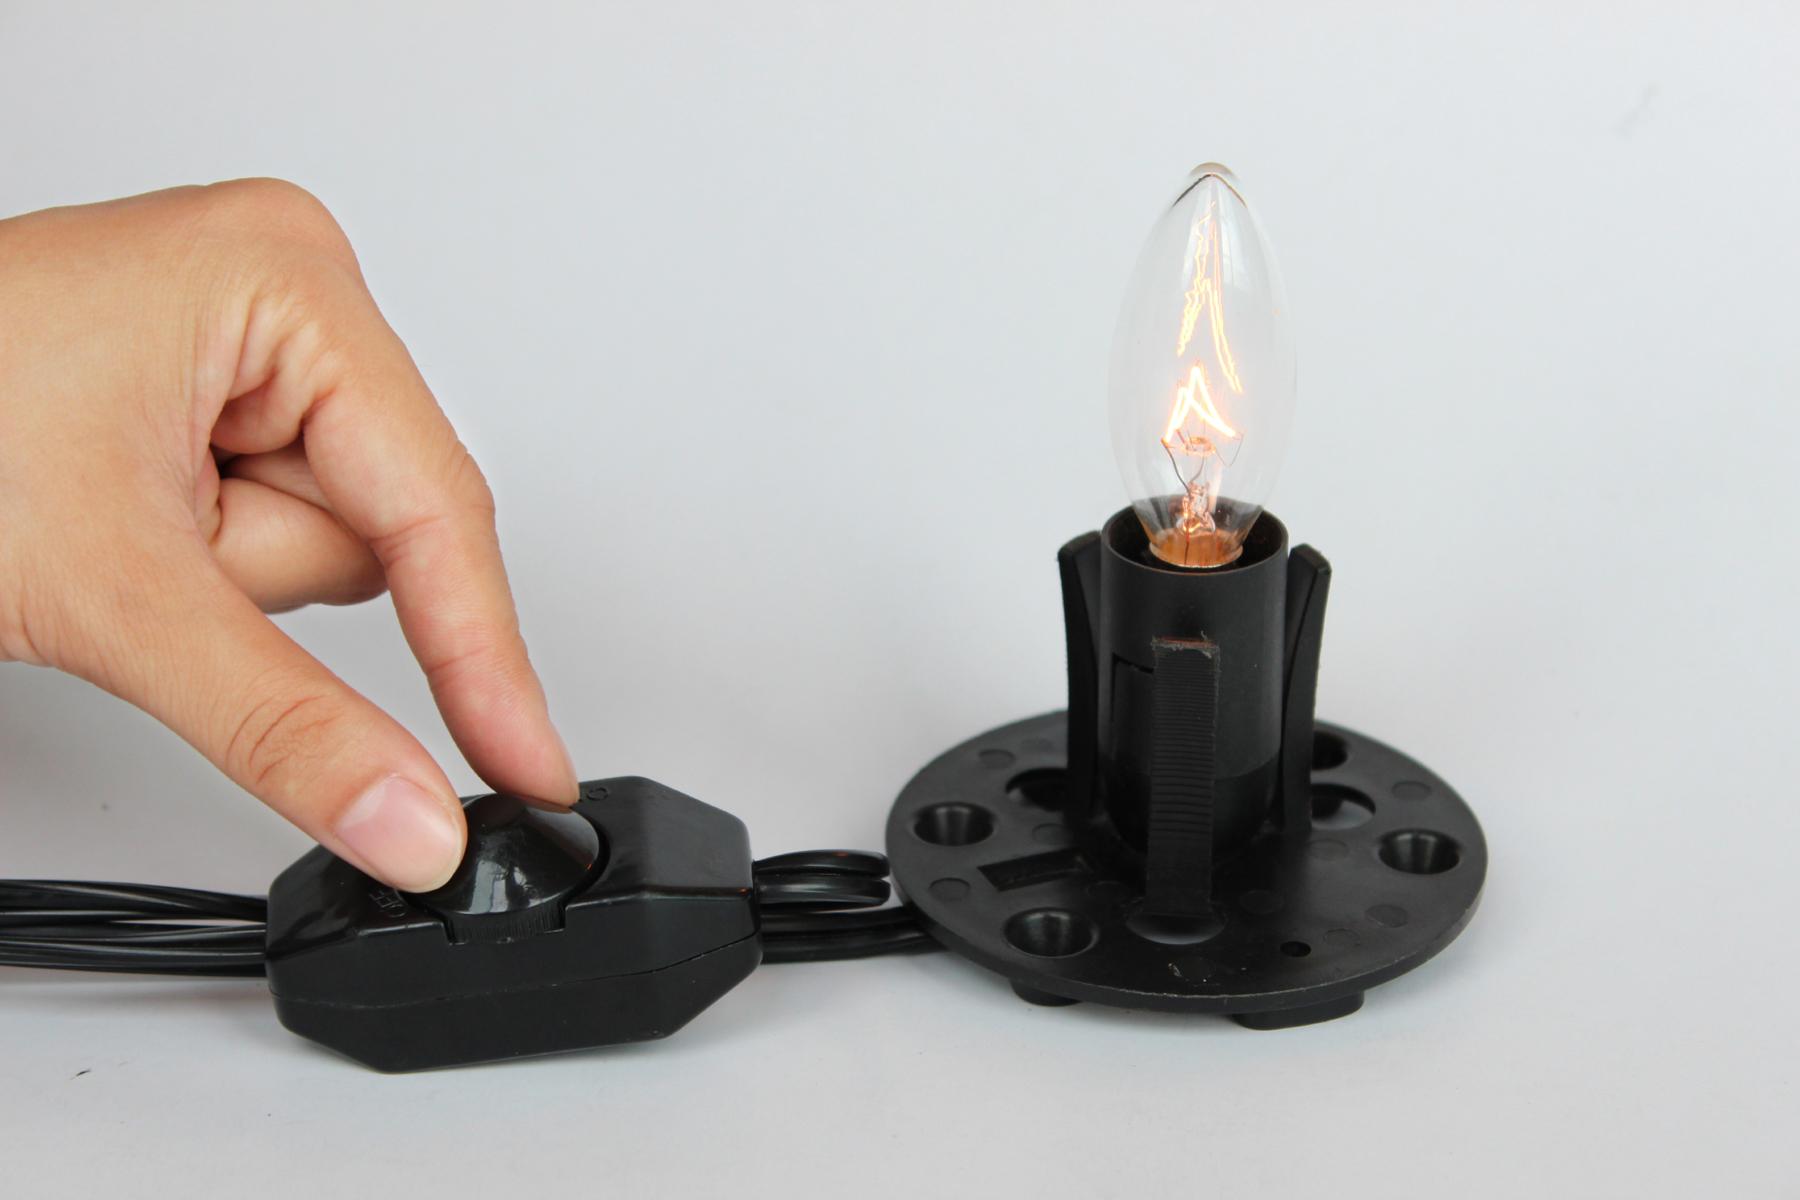
When changing a salt lamp bulb, make sure to unplug the lamp and let it cool down before handling. Use a small screwdriver to remove the old bulb and replace it with a new one of the same wattage. Be gentle to avoid damaging the lamp.
Read more: How To Change A Light Bulb In A Lamp Post
Step 4: Choose the Right Replacement Bulb
Choosing the correct replacement bulb for your salt lamp is crucial to ensure proper functioning and longevity. Here are a few factors to consider when selecting the right bulb:
- Refer to the manufacturer’s recommendations: Start by checking the manufacturer’s instructions or any labeling on the lamp itself. They may provide specific recommendations for the type and wattage of bulb to use. Following their guidelines will help maintain the lamp’s optimal performance.
- Choose the appropriate wattage: Salt lamps typically require low-wattage bulbs, such as 15 watts or 25 watts. These lower wattage bulbs prevent excessive heat, which can potentially damage the salt crystals. Using a higher wattage bulb than recommended can also cause fraying or melting of the cord.
- Consider the bulb type: Salt lamps can accommodate various types of bulbs, including incandescent, halogen, or LED bulbs. Incandescent bulbs emit a warm and cozy glow, while LED bulbs are energy-efficient and have a longer lifespan. Consider your preferences in terms of light output and energy efficiency when selecting the bulb type.
- Size of the bulb: Pay attention to the size and shape of the replacement bulb. Salt lamps usually have a specific socket size or type, so ensure that the replacement bulb matches the specifications. Avoid using bulbs that are too large or small as they may not fit properly or provide the desired lighting effect.
If you’re uncertain about which bulb to choose, reach out to the manufacturer or consult a professional to ensure you select the right replacement for your specific salt lamp model.
Once you have determined the correct replacement bulb, you’re ready to move on to the next step: installing the new bulb.
Step 5: Install the New Bulb
Now that you have chosen the right replacement bulb for your salt lamp, it’s time to install the new bulb. Follow these steps to safely and securely install the new bulb:
- Put on protective gloves: Before handling the new bulb, put on a pair of protective gloves to prevent any damage to the bulb or injury to your hands.
- Locate the bulb housing: Just like when removing the old bulb, locate the bulb housing at the top of the lamp. If there is a metal or wooden cap covering the housing, remove it to access the socket.
- Insert the new bulb into the socket: Take the new bulb and gently insert it into the socket. Make sure it aligns properly with the socket and is inserted straight. Avoid using excessive force to avoid damaging the bulb or the socket. Twist the bulb clockwise until it is securely in place.
- Replace the cap (if applicable): If your salt lamp has a cap that covers the bulb housing, put it back on. Ensure that it is properly aligned and secured in place.
It’s important to handle the new bulb with care and avoid touching the glass surface with your bare hands. If you accidentally touch the bulb, wipe it clean with a soft cloth or tissue before installing it to prevent any residue or oils from interfering with the bulb’s performance.
Now that the new bulb is installed, you’re one step closer to enjoying the warm glow and health benefits of your salt lamp. The next step is to test the bulb to ensure it is working correctly.
Step 6: Test the Bulb
After installing the new bulb, it’s important to test it to ensure it is functioning properly. Here’s how to test the bulb in your salt lamp:
- Turn on the power: Plug in your salt lamp or switch on the power outlet to supply electricity to the lamp.
- Check the glow: Once the power is on, observe the lamp to see if the new bulb emits a warm and calming glow. The intensity of the glow may vary depending on the type of bulb you chose.
- Ensure proper fit: Carefully examine the bulb to make sure it is securely and properly positioned in the socket. Ensure that it is not loose or wobbling, as this can cause flickering or inconsistent lighting.
- Check for any issues: Monitor the lamp for a few minutes to ensure there are no signs of flickering, buzzing sounds, or unusual heat coming from the bulb. If you notice any of these issues, turn off the power and double-check the bulb’s installation. It may need to be repositioned or replaced.
If the bulb is functioning as expected and there are no apparent issues, congratulations! You have successfully replaced the bulb in your salt lamp. Your lamp is now ready to create a warm and serene ambiance in your space.
However, if you encounter any problems or the bulb is not working correctly, it may be necessary to troubleshoot or seek professional assistance. Don’t hesitate to reach out to the manufacturer or consult an electrician if needed.
Once you are satisfied with the bulb’s performance, you can proceed to the final step: turning on the power to enjoy the soothing glow of your salt lamp.
Step 7: Turn on the Power
After successfully testing the new bulb and ensuring it is functioning correctly, it’s time to turn on the power and enjoy the beautiful glow of your salt lamp. Here’s how to complete this final step:
- Make sure the lamp is in a safe position: Ensure that the salt lamp is placed on a stable surface away from any flammable materials or objects that could pose a hazard.
- Plug in the lamp or switch on the power outlet: If your salt lamp has a cord with an on/off switch, toggle the switch to the on position. If your lamp is directly connected to a wall outlet, plug it back in.
- Gently adjust the bulb’s position (if necessary): Sometimes, when turning on the power, the bulb may slightly shift or rotate due to the passage of electrical currents. If needed, gently adjust the position of the bulb to restore the desired lighting effect.
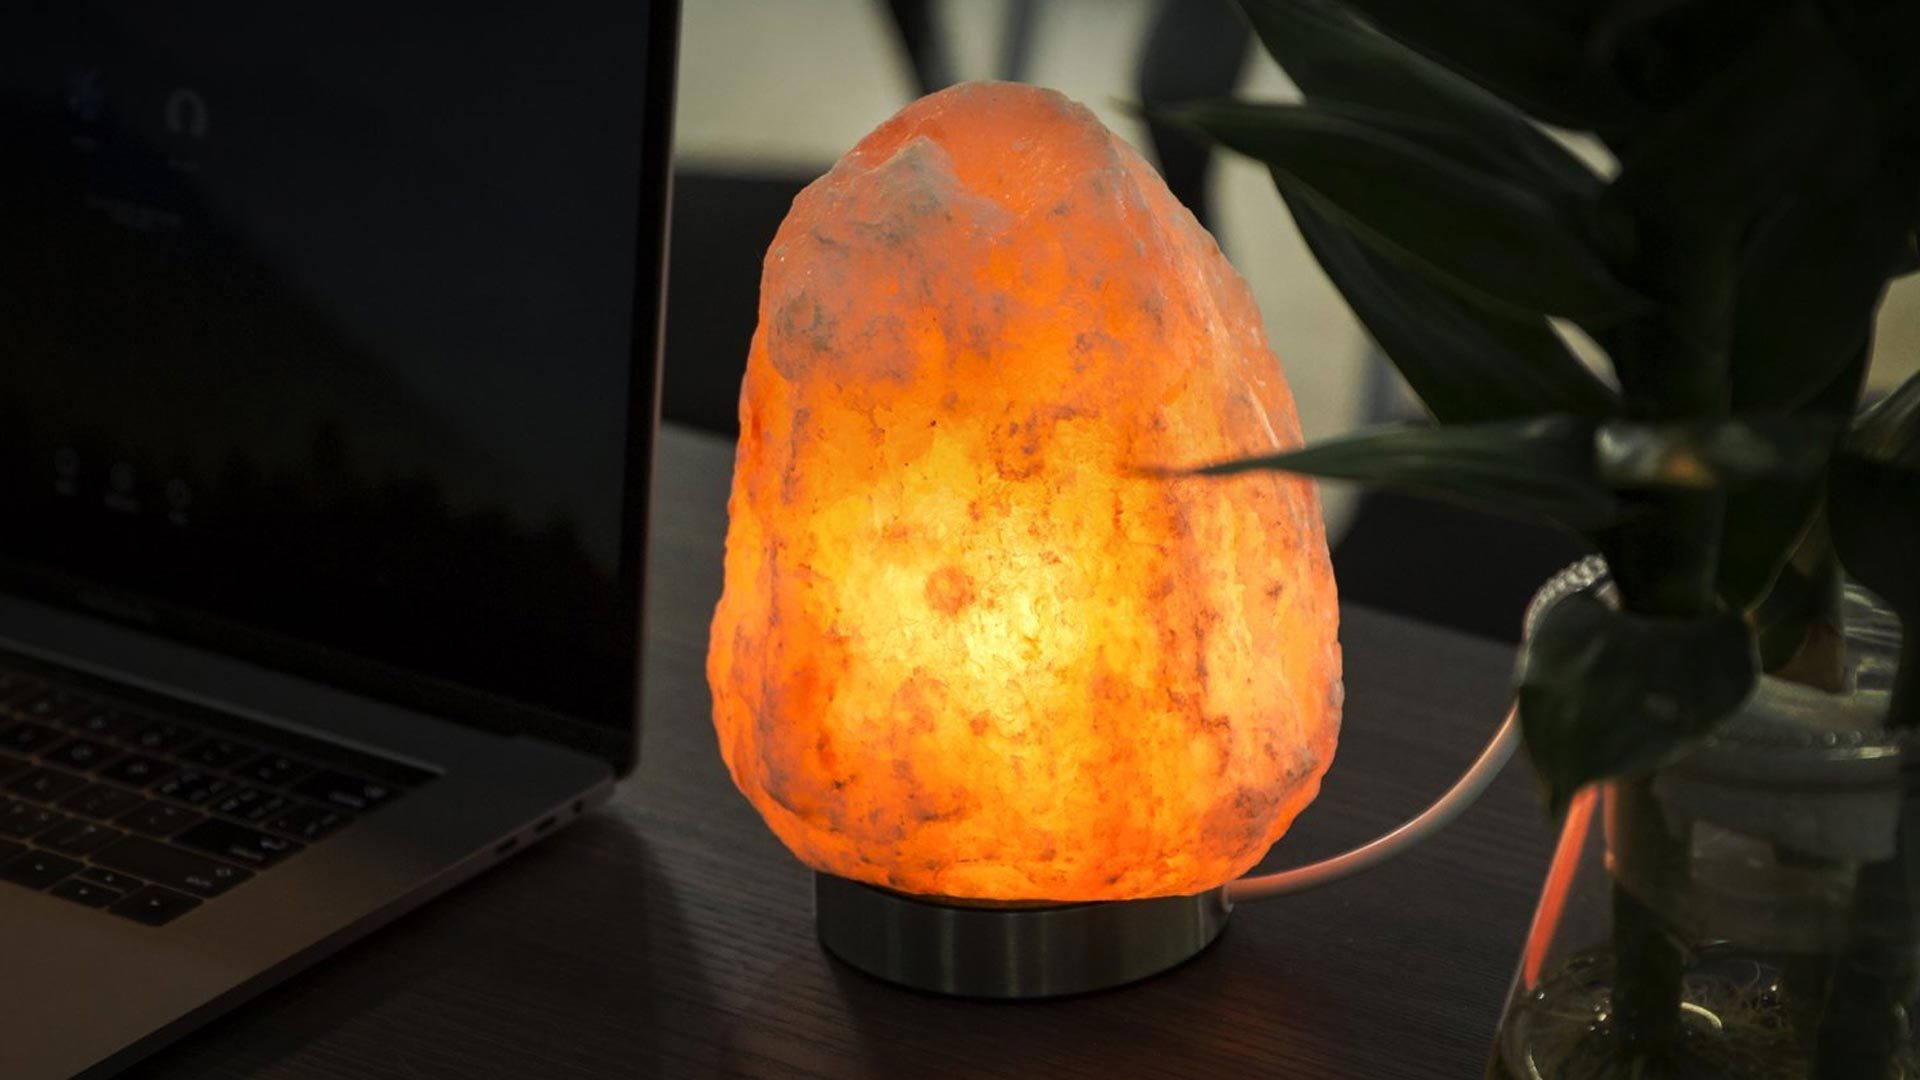
- Admire the warm glow: Once the lamp is powered on, take a moment to enjoy the gentle and soothing illumination emitted by your salt lamp. Bask in its warm ambiance and the potential benefits it may bring to your space.
Remember to keep an eye on your salt lamp whenever it is turned on, especially if you plan to leave it unattended. While salt lamps are generally safe to use, it is always wise to practice caution and follow basic fire safety protocols.
By following these steps and turning on the power, you have successfully completed the process of changing the bulb in your salt lamp. Congratulations! Your salt lamp is now ready to create a cozy and tranquil atmosphere in your home or office.
As a final note, make sure to regularly clean and maintain your salt lamp to keep it in optimal condition. This includes dusting the lamp and replacing the bulb as needed. With proper care, your salt lamp will continue to enhance your space’s aesthetic appeal and potentially provide a range of health benefits.
Enjoy the soothing glow and all the positive vibes your salt lamp brings!
Read more: How To Choose A Salt Lamp
Conclusion
Changing a salt lamp bulb is a simple task that can be accomplished with a few easy steps. By following the safety precautions, turning off the power, allowing the lamp to cool, removing the old bulb, choosing the right replacement bulb, installing the new bulb, testing it, and finally turning on the power, you can successfully maintain and enjoy the beautiful glow of your salt lamp.
Remember to always prioritize safety when working with any electrical appliance. Unplugging the lamp, allowing it to cool, and wearing protective gloves are crucial steps to minimize the risk of accidents or injuries. Additionally, choosing the correct replacement bulb by referring to the manufacturer’s recommendations and considering factors like wattage and bulb type is essential for the lamp’s proper functionality and lifespan.
Testing the new bulb before turning on the power ensures that it is working correctly and delivering the desired warm glow. If any issues arise, troubleshooting or seeking professional assistance may be necessary. Once the bulb is confirmed to be functioning properly, turning on the power allows you to enjoy the tranquil ambiance created by your salt lamp.
Regular maintenance and care, such as cleaning the lamp and replacing the bulb when necessary, will help prolong the life and performance of your salt lamp. Not only does it add a touch of beauty and warmth to your space, but it may also offer various health benefits, such as air purification and a sense of relaxation.
Now that you have learned how to change a salt lamp bulb, you can confidently maintain your salt lamp and continue to enjoy the cozy atmosphere it provides. So go ahead, bask in the gentle glow, and let your salt lamp create a serene environment in your home or office.
Happy bulb changing!
Frequently Asked Questions about How To Change A Salt Lamp Bulb
Was this page helpful?
At Storables.com, we guarantee accurate and reliable information. Our content, validated by Expert Board Contributors, is crafted following stringent Editorial Policies. We're committed to providing you with well-researched, expert-backed insights for all your informational needs.