Furniture
How To Make Homemade Lava Lamp
Modified: January 3, 2024
Learn how to make a mesmerizing homemade lava lamp at home with simple ingredients. Create a unique and stylish piece of furniture that will add a touch of magic to any room.
(Many of the links in this article redirect to a specific reviewed product. Your purchase of these products through affiliate links helps to generate commission for Storables.com, at no extra cost. Learn more)
Introduction
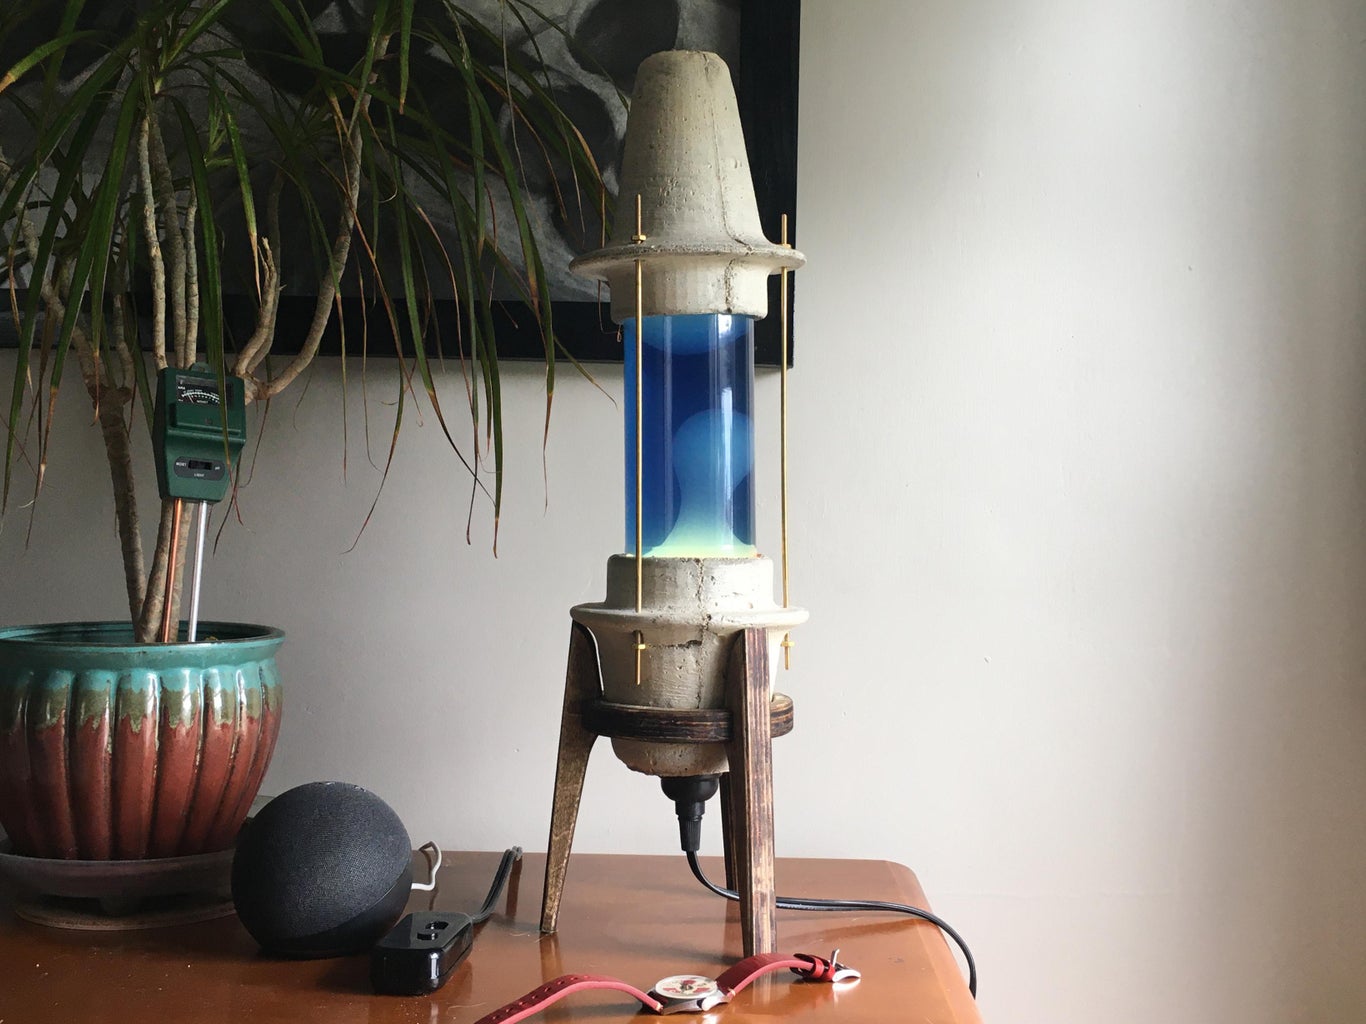
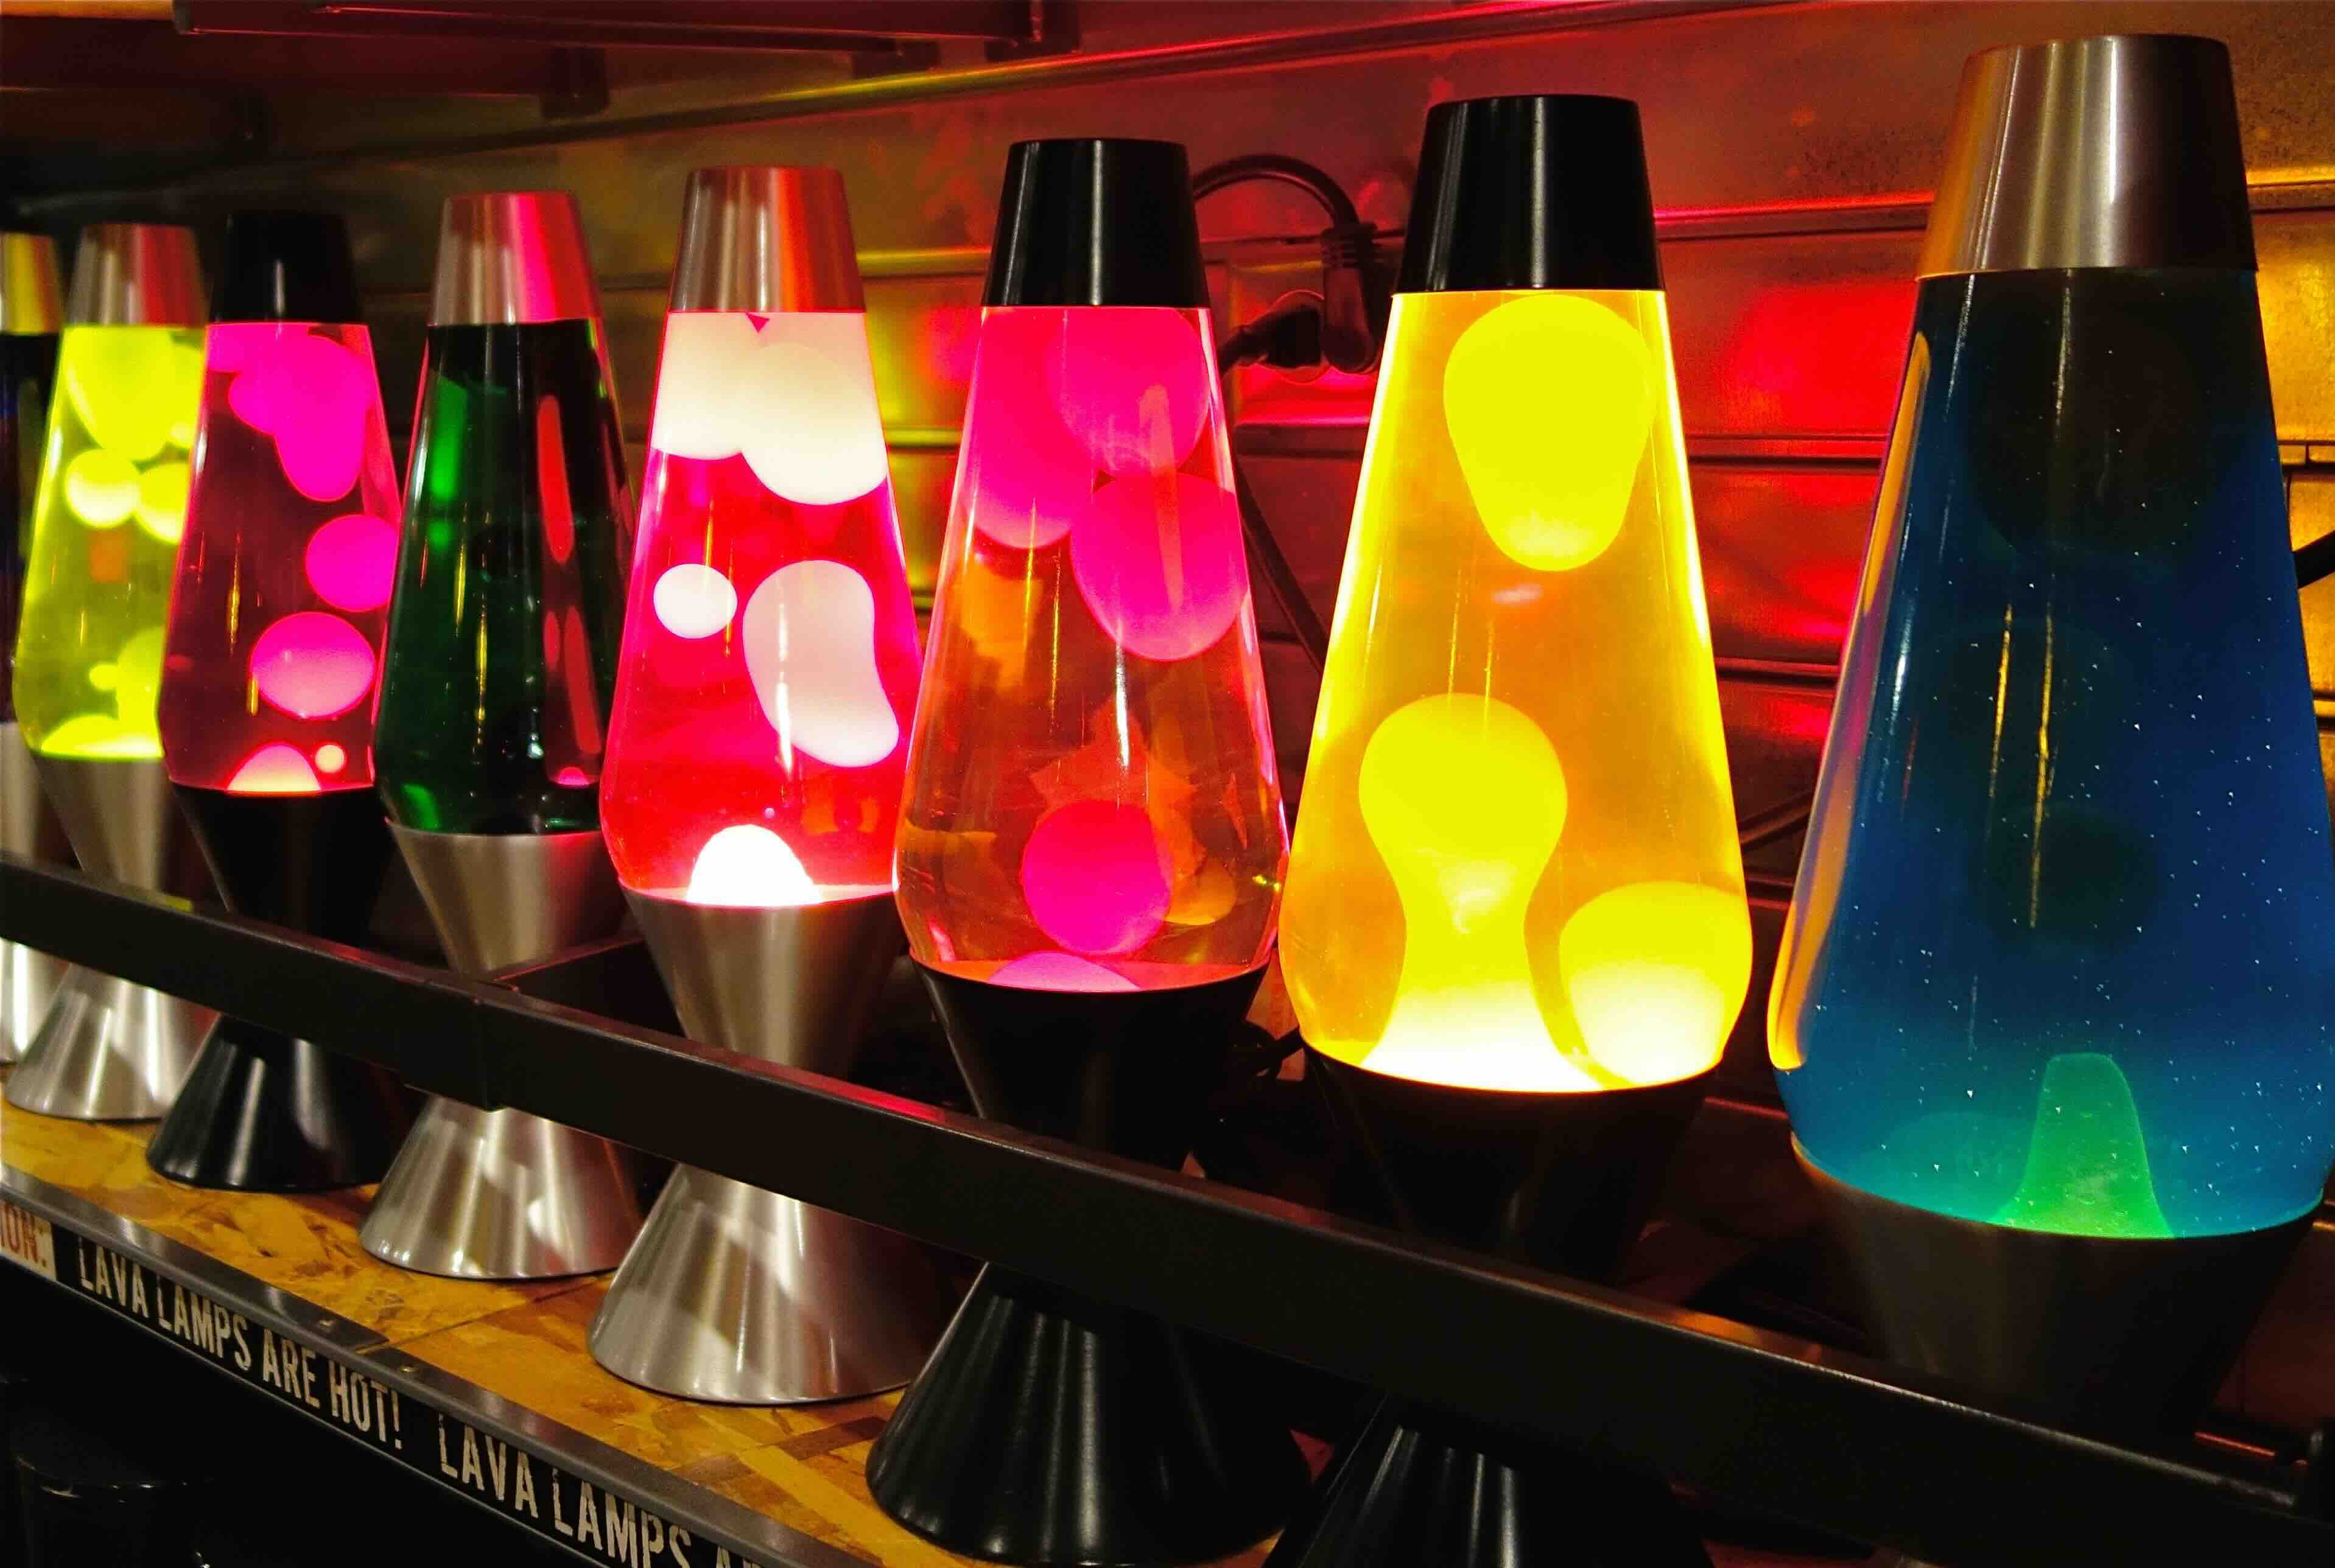
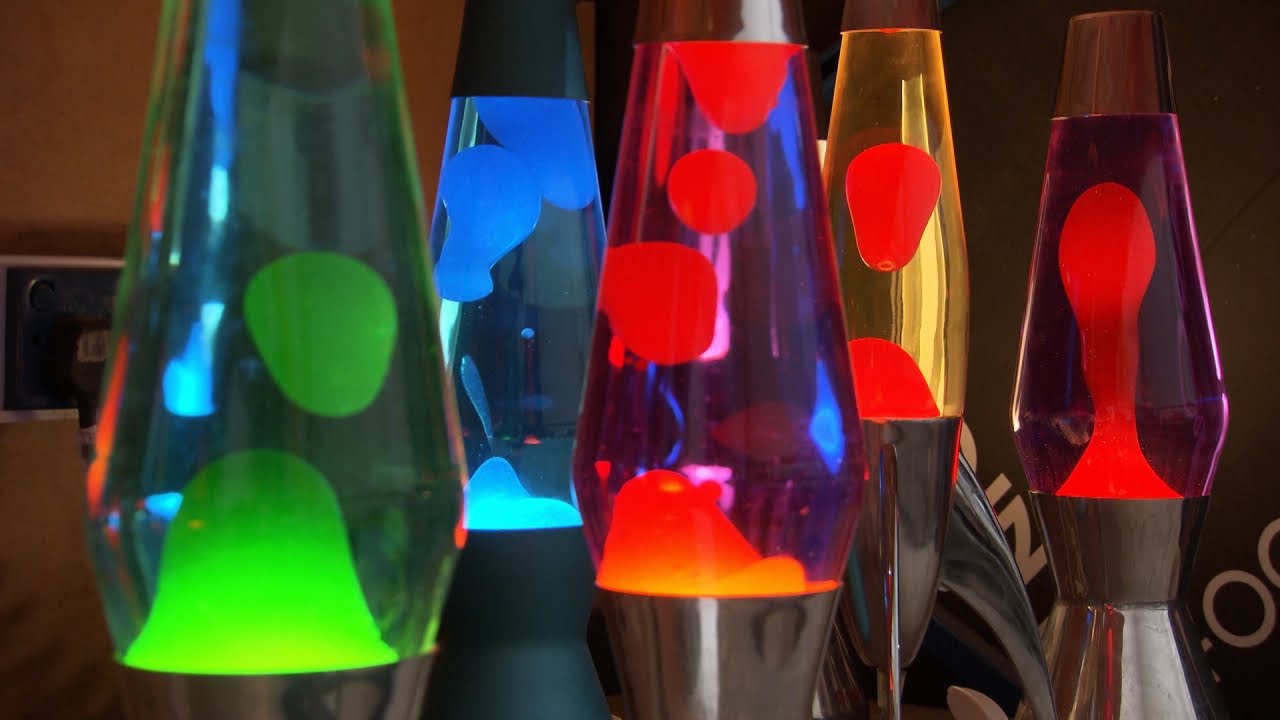
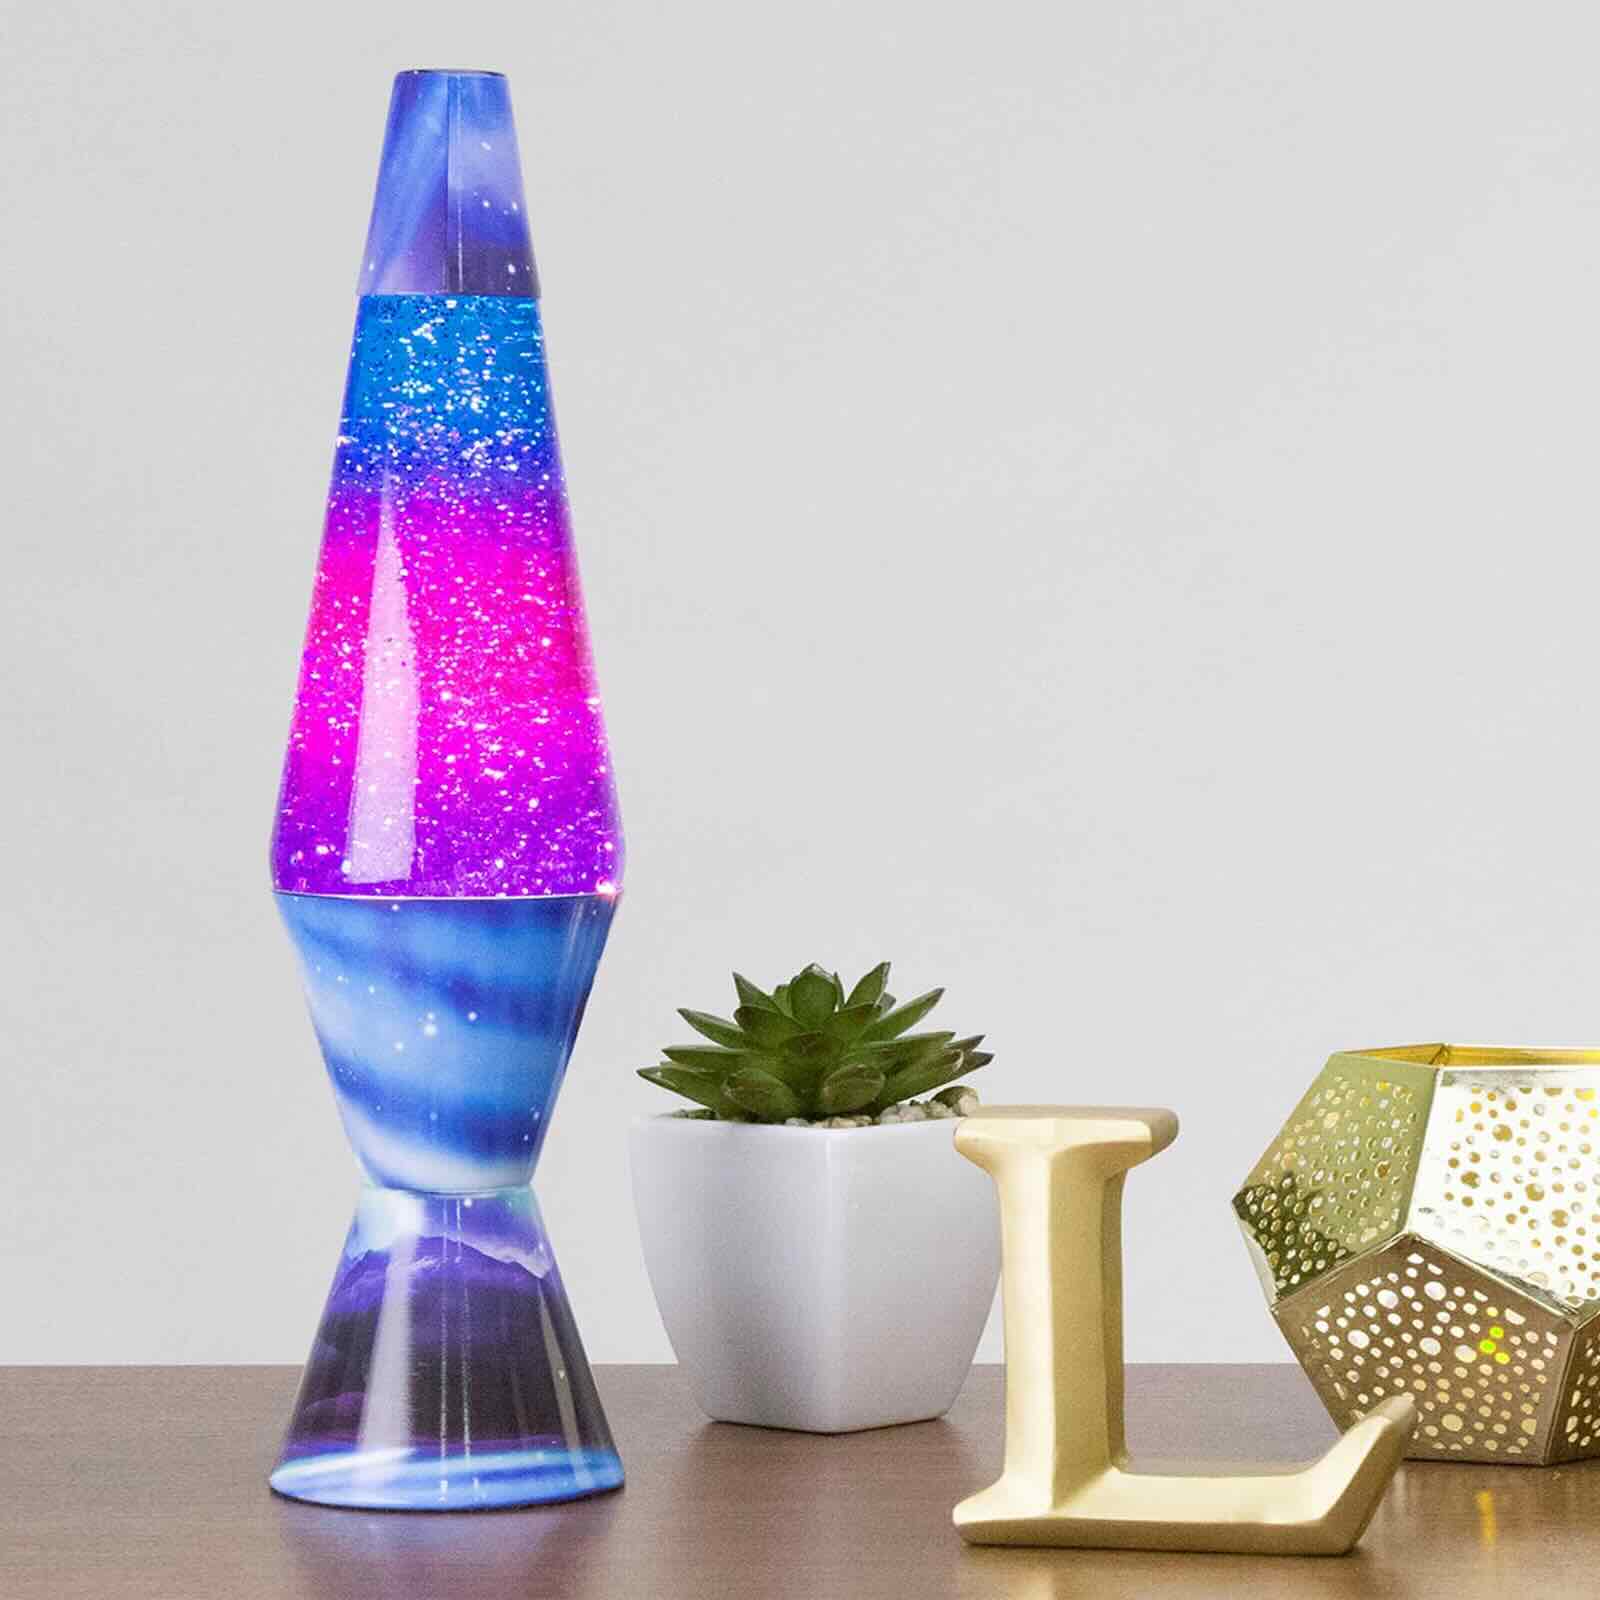
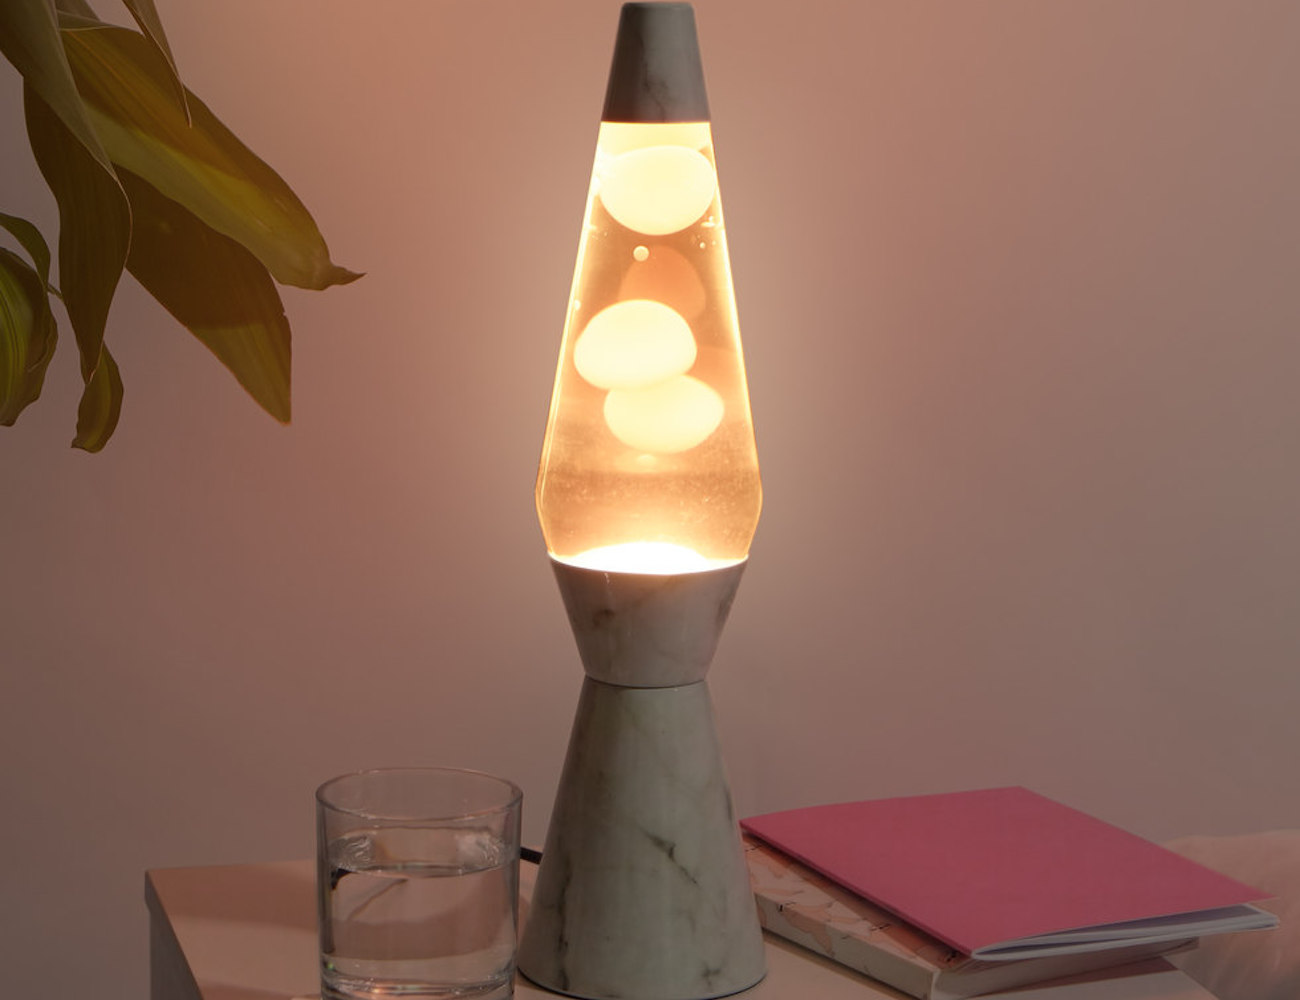
Welcome to the exciting world of homemade lava lamps! Making your own lava lamp is a fun and engaging activity that not only provides a unique decorative piece for your home but also allows you to explore the fascinating scientific principles behind the mesmerizing lava lamp effect. Whether you are looking for a creative project to do with your kids or simply want to add a touch of retro charm to your living space, homemade lava lamps are a fantastic option.
In this article, we will guide you through the step-by-step process of creating your very own lava lamp using simple materials that you may already have at home. Get ready to unleash your creativity and embark on a colorful journey into the world of DIY lava lamps!
Before we dive into the process, let’s briefly understand how a lava lamp works. The basic principle behind a lava lamp is the interaction of oil and water, which creates a mesmerizing, flowing effect. The oil floats on top of the water due to their differing densities. When heated, the oil expands and rises to the top, creating bubbles that carry colored “lava” blobs. As the oil cools down, it sinks back to the bottom, ready to repeat the process again.
Now that you have a basic understanding of how a lava lamp works, let’s gather the materials needed for this exciting project.
Key Takeaways:
- Unleash your creativity and explore the mesmerizing world of homemade lava lamps using simple materials found at home. Enjoy the soothing ambiance and captivating display of colors in your personalized lava lamp masterpiece.
- Engage in hands-on experimentation and learn about scientific principles while creating a fun and educational DIY lava lamp. Let your imagination run wild as you embark on a colorful journey into the world of homemade lava lamps!
Materials Needed
Before we begin, it’s important to gather all the necessary materials to ensure a smooth and successful lava lamp-making experience. Luckily, you won’t need anything too elaborate or hard to find. Here’s what you need:
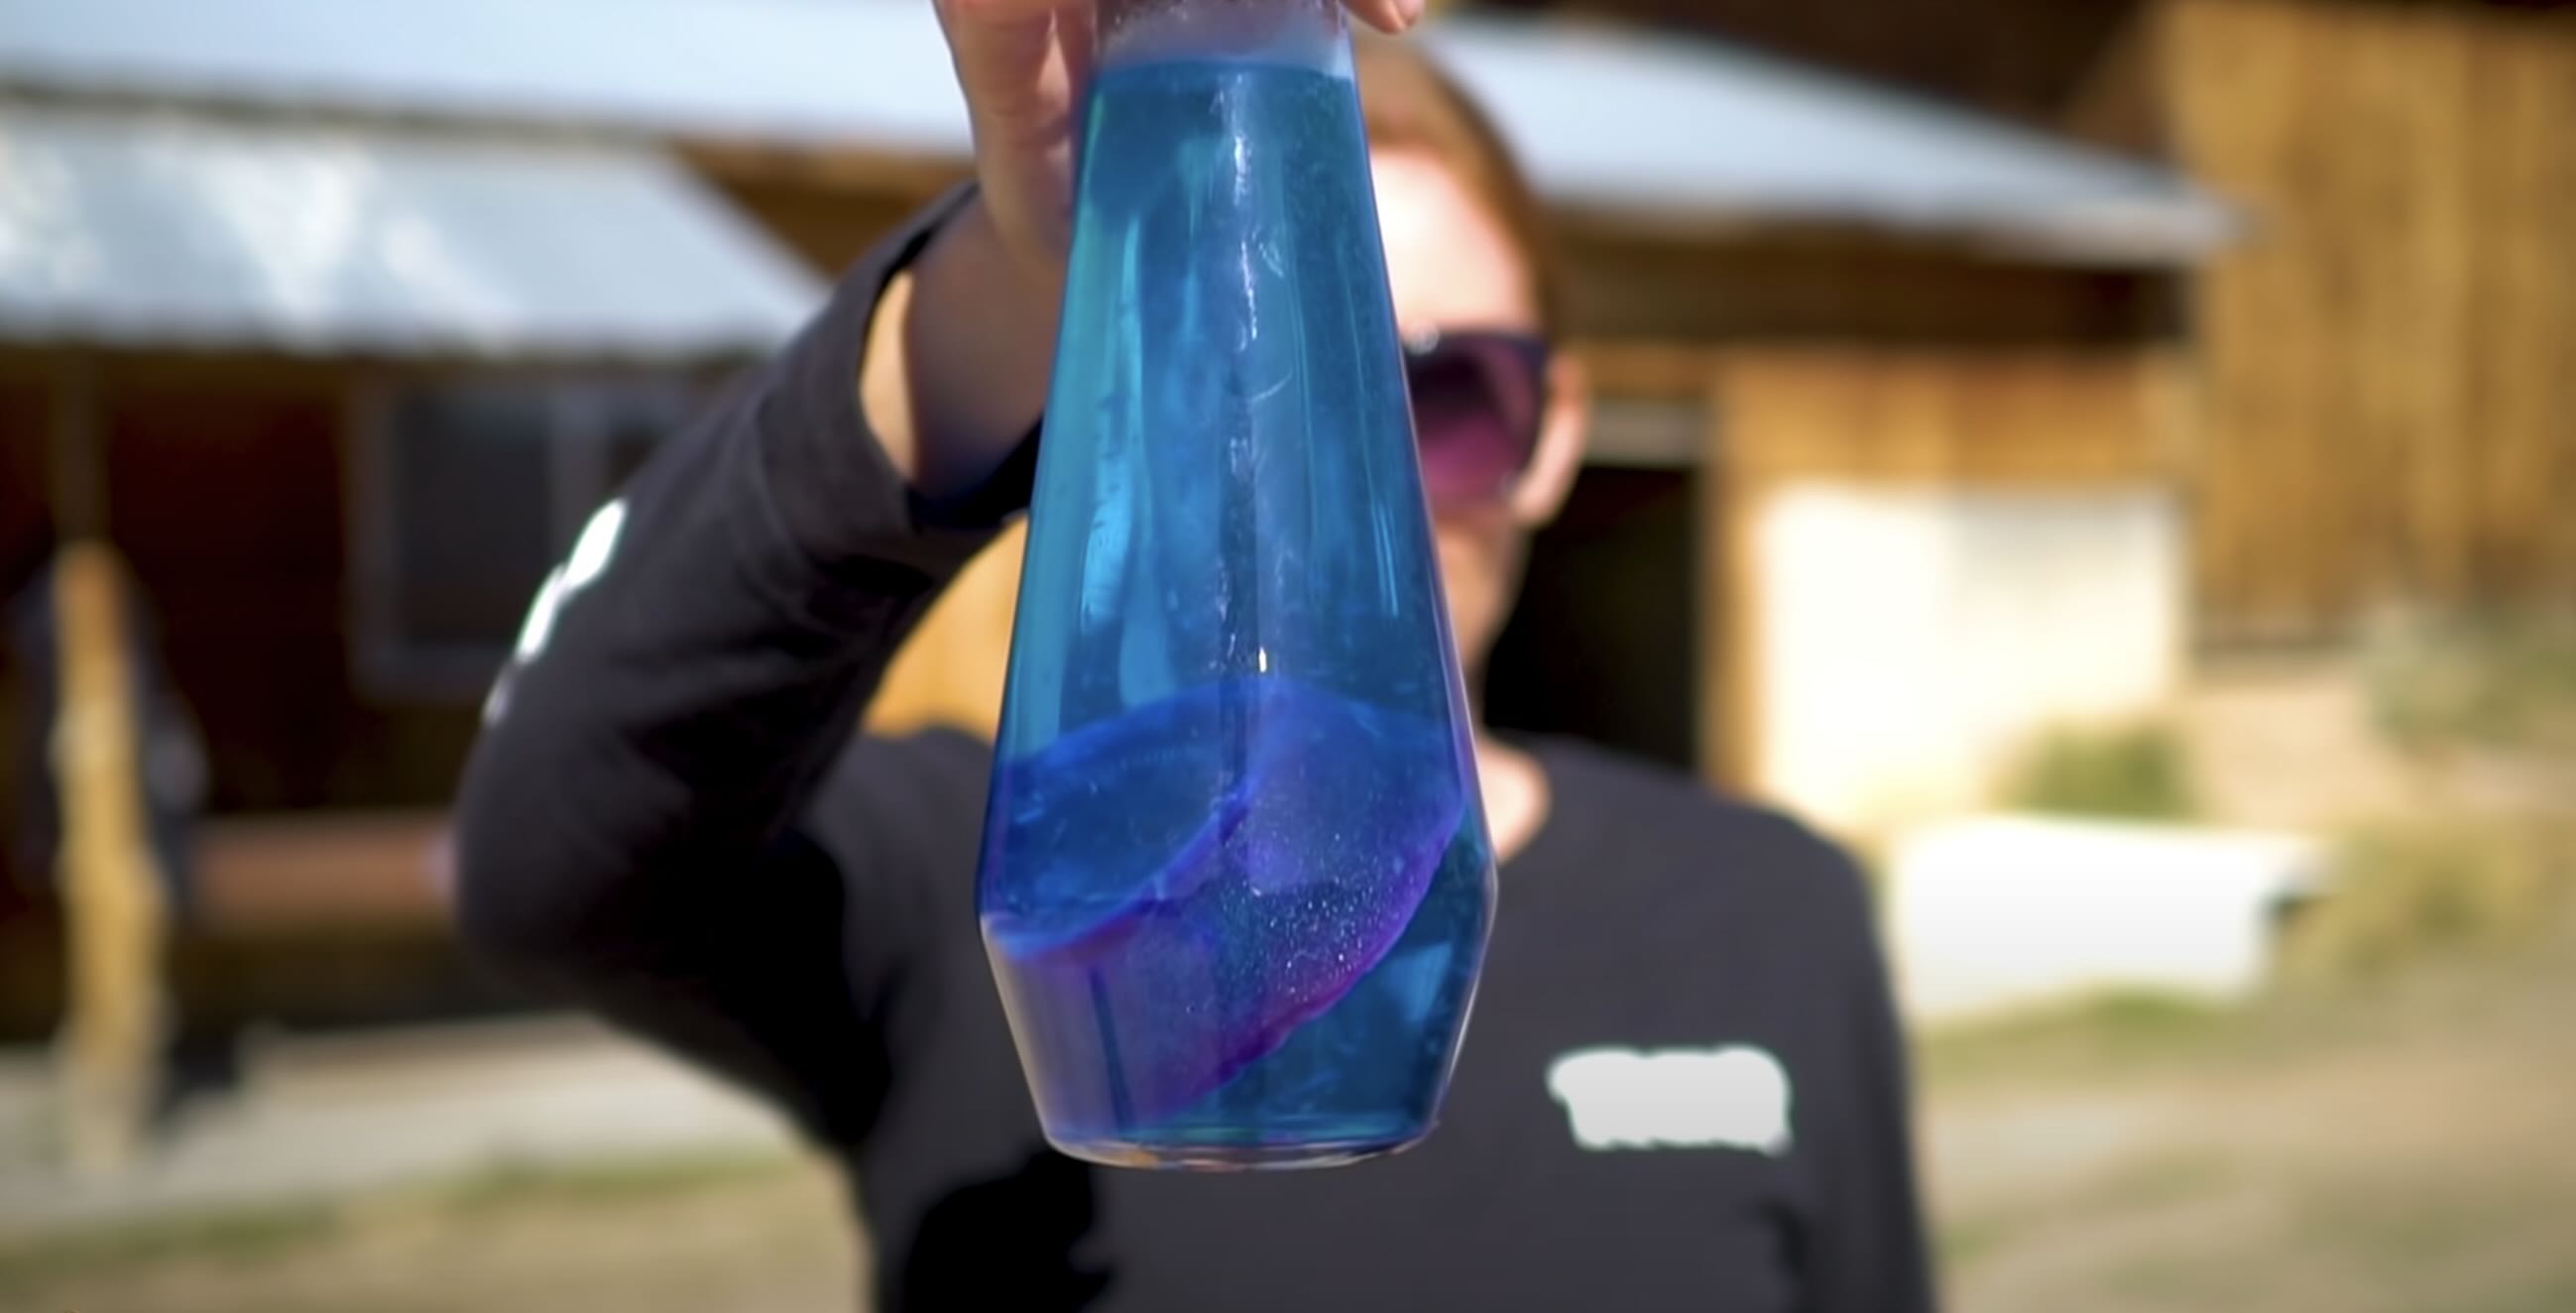
- A clear plastic bottle: Choose a bottle with a narrow neck and a capacity of at least 16 ounces. This will serve as the body of your lava lamp.
- Vegetable oil: Opt for a clear oil such as vegetable oil or mineral oil. This will be the main component that creates the mesmerizing lava effect.
- Water: You’ll need distilled water to fill the remaining volume of the bottle. Using distilled water helps prevent mineral deposits from forming inside the lamp.
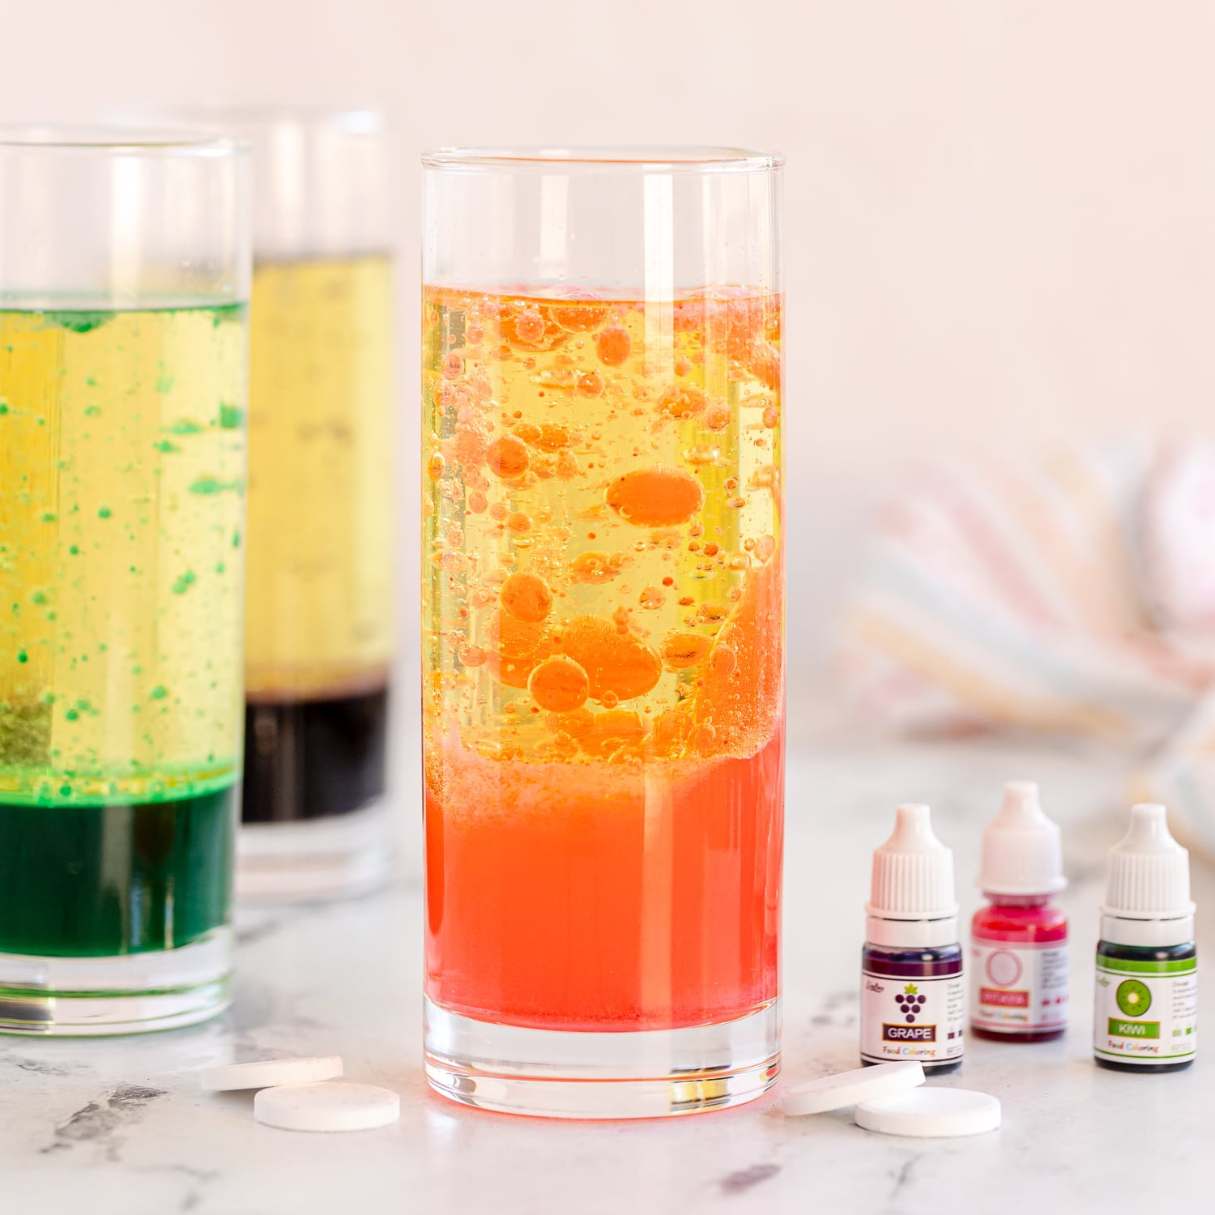
- Food coloring: Select a few different colors of liquid food coloring. This will give your lava lamp its vibrant, eye-catching appearance.
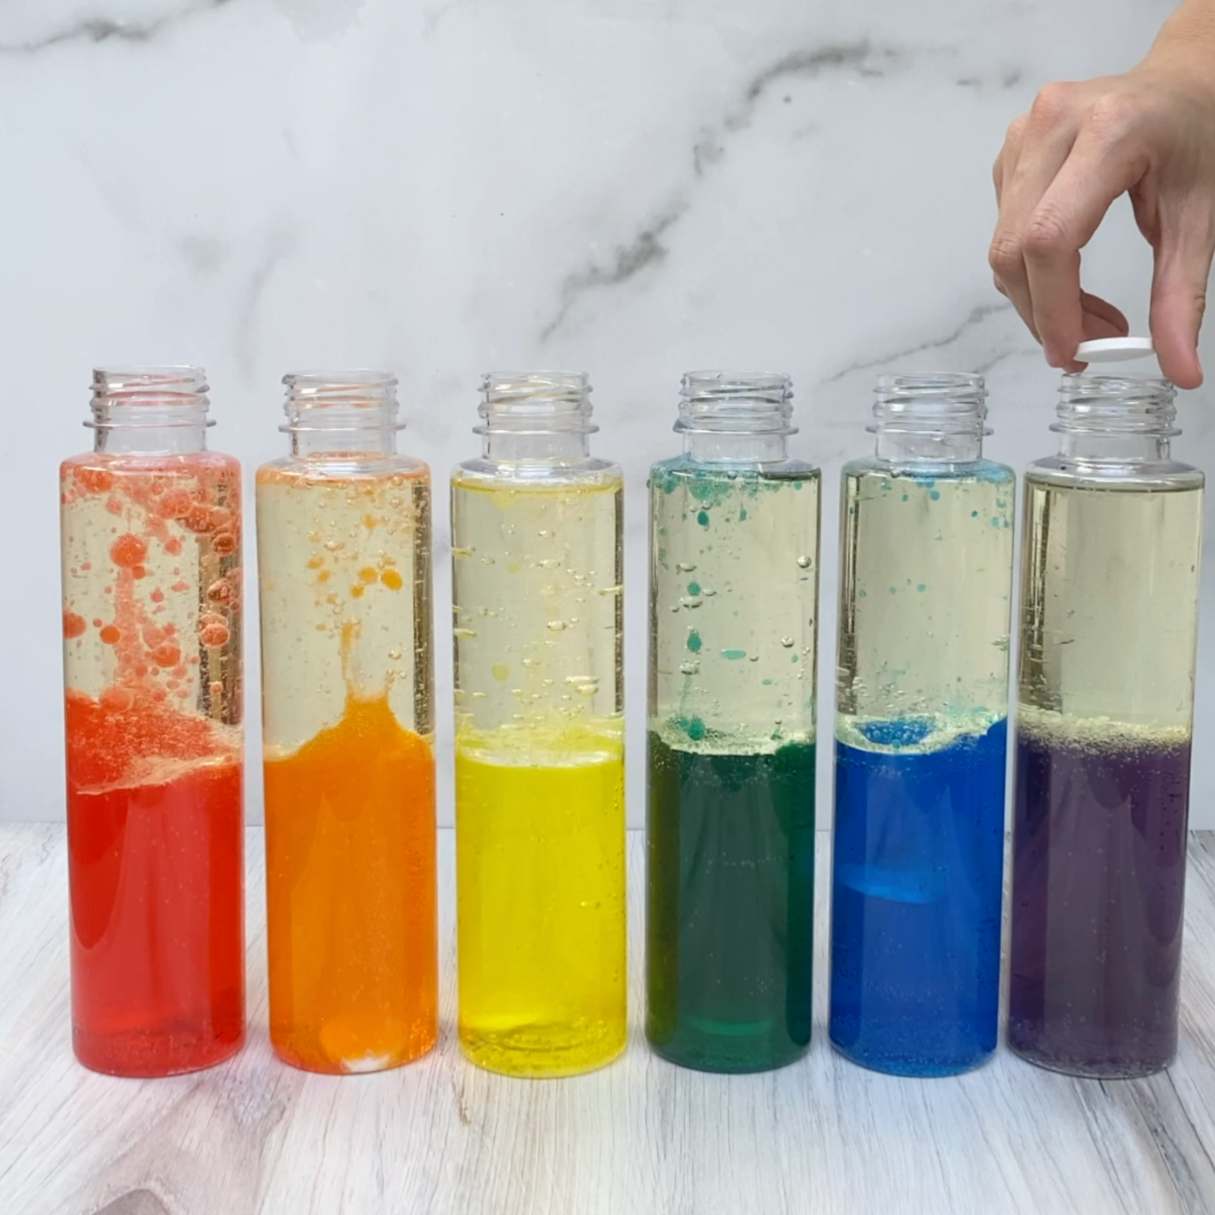
- Alka-Seltzer tablets: These effervescent tablets will be the catalyst that creates the bubbling effect inside the lava lamp.
- A funnel: This will make it easier to pour the ingredients into the bottle without making a mess.
Now that you have all the necessary materials, it’s time to dive into the fun part and start creating your homemade lava lamp. Follow the step-by-step instructions to bring your lava lamp to life!
Step 1: Preparing the Bottle
The first step in creating your homemade lava lamp is to prepare the bottle that will serve as the body of your lamp. Follow these simple instructions:
- Clean the bottle: Ensure that the plastic bottle is clean and dry. Any residue or dirt inside the bottle may affect the effectiveness of your lava lamp.
- Remove the label: If the bottle has a label, carefully peel it off. You want the bottle to be as transparent as possible to showcase the vibrant colors of the lava lamp.
- Optional: Decorate the bottle (if desired): This step is completely optional but can add a personal touch to your lava lamp. You can use permanent markers, stickers, or any other decorative materials to unleash your creativity and make your lava lamp unique.
Once you’ve prepared the bottle, it’s time to move on to the next step: mixing the oil and water to create the lava effect. Get ready for the exciting part!
Step 2: Mixing the Oil and Water
Now that your bottle is prepared, it’s time to create the mesmerizing lava effect by mixing oil and water. Follow these simple steps:
- Pour oil into the bottle: Using a funnel, carefully pour vegetable oil into the bottle, filling it up to around three-quarters full. The exact amount will depend on the size of your bottle.
- Add water: Fill the remaining quarter of the bottle with distilled water. Make sure not to overfill the bottle, as you need some room for the lava effect to occur.
- Observe the separation: As you pour the water into the bottle, you’ll notice that it sinks to the bottom while the oil floats on top. This separation is what creates the lava lamp effect.
- Screw the cap tightly: Once you’ve added oil and water, securely screw the cap onto the bottle. This will prevent any accidental spills during the bubbling process.
Now that you’ve successfully mixed the oil and water, it’s time to add some vibrant colors to your lava lamp. Let’s move on to the next step!
Step 3: Adding Food Coloring
Brace yourself for a burst of color! In this step, you will add food coloring to your lava lamp to give it a vibrant and eye-catching appearance. Follow these simple instructions:
- Choose your colors: Select the liquid food coloring of your choice. You can opt for a single color or multiple colors to create a more dynamic effect. Experiment and let your creativity flow!
- Add the food coloring: Carefully drop a few drops of your chosen food coloring into the bottle. Start with a small amount and observe the color intensity. You can always add more later if desired.
- Observe the dispersion: As you add the food coloring, watch as it disperses through the water and blends with the oil. The colorful blobs will resemble flowing lava once the lamp is activated.
- Cap and shake gently (optional): If you want to mix the colors more evenly, you can gently shake the bottle. However, be careful not to shake too vigorously as it may emulsify the oil and water, affecting the lava lamp effect.
With the addition of food coloring, your lava lamp is now bursting with vibrant hues. Get ready to bring it to life in the next step!
To make a homemade lava lamp, use a clear plastic bottle, water, vegetable oil, food coloring, and effervescent tablets. Fill the bottle with 3/4 oil and 1/4 water, add a few drops of food coloring, and drop in the tablet to create the lava effect.
Read more: How Does A Homemade Lava Lamp Work?
Step 4: Adding Alka-Seltzer Tablets
Now comes the exciting part – creating the bubbling lava effect! In this step, you’ll add Alka-Seltzer tablets to initiate the mesmerizing bubbles in your lava lamp. Here’s what to do:
- Break the Alka-Seltzer tablets: Take an Alka-Seltzer tablet and break it into smaller pieces. You can use a mortar and pestle or simply snap it with your fingers. Breaking the tablet into smaller pieces will prolong the bubbling effect.
- Add the Alka-Seltzer: Drop one piece of the tablet into the bottle. Observe as it reacts with the water and starts releasing carbon dioxide gas bubbles. The gas bubbles will carry the colored oil blobs, creating the lava lamp effect.
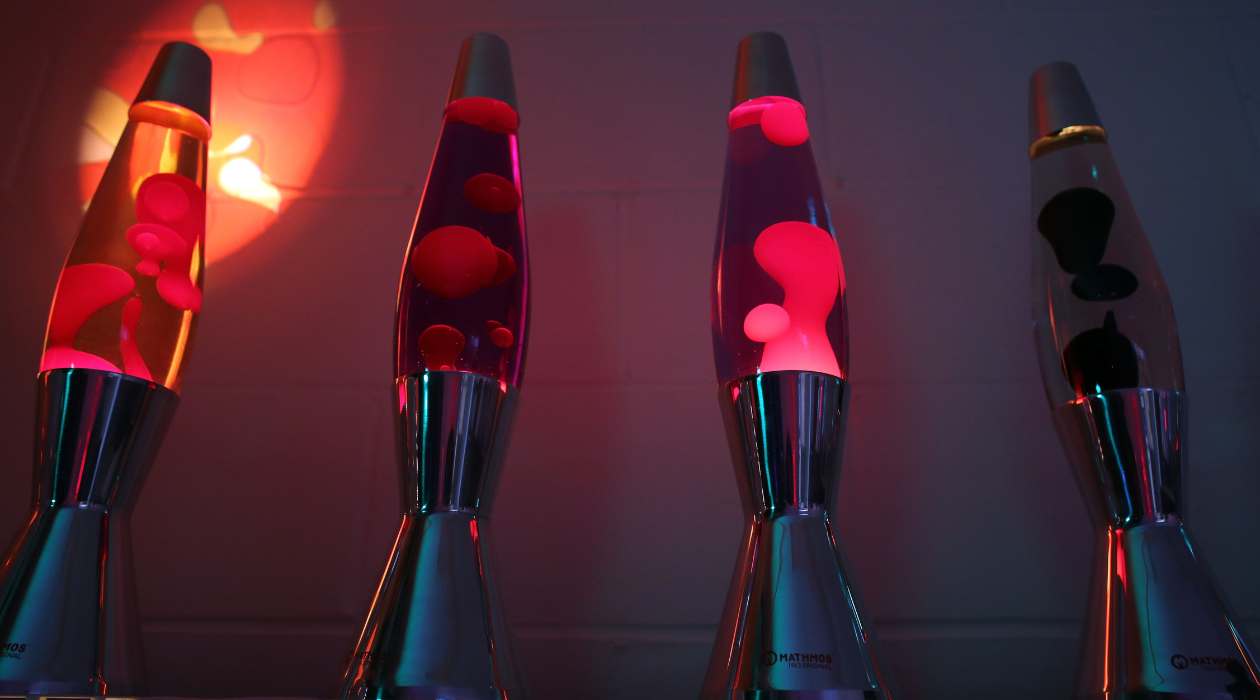
- Watch the lava lamp come to life: Sit back and enjoy the mesmerizing display as the bubbling action unfolds. The colorful blobs will rise and fall, resembling flowing lava within your homemade lava lamp. The effect will continue until the Alka-Seltzer tablet has completely dissolved.
- Repeating the process: Once the bubbling subsides, you can add another piece of the Alka-Seltzer tablet to reactivate the lava lamp. Keep adding more tablet pieces as needed to continue the spectacle.
By adding the Alka-Seltzer tablets, you’ve activated the lava lamp effect, and your homemade lava lamp is now in full swing. Get ready to be mesmerized by the captivating display of colors and movement!
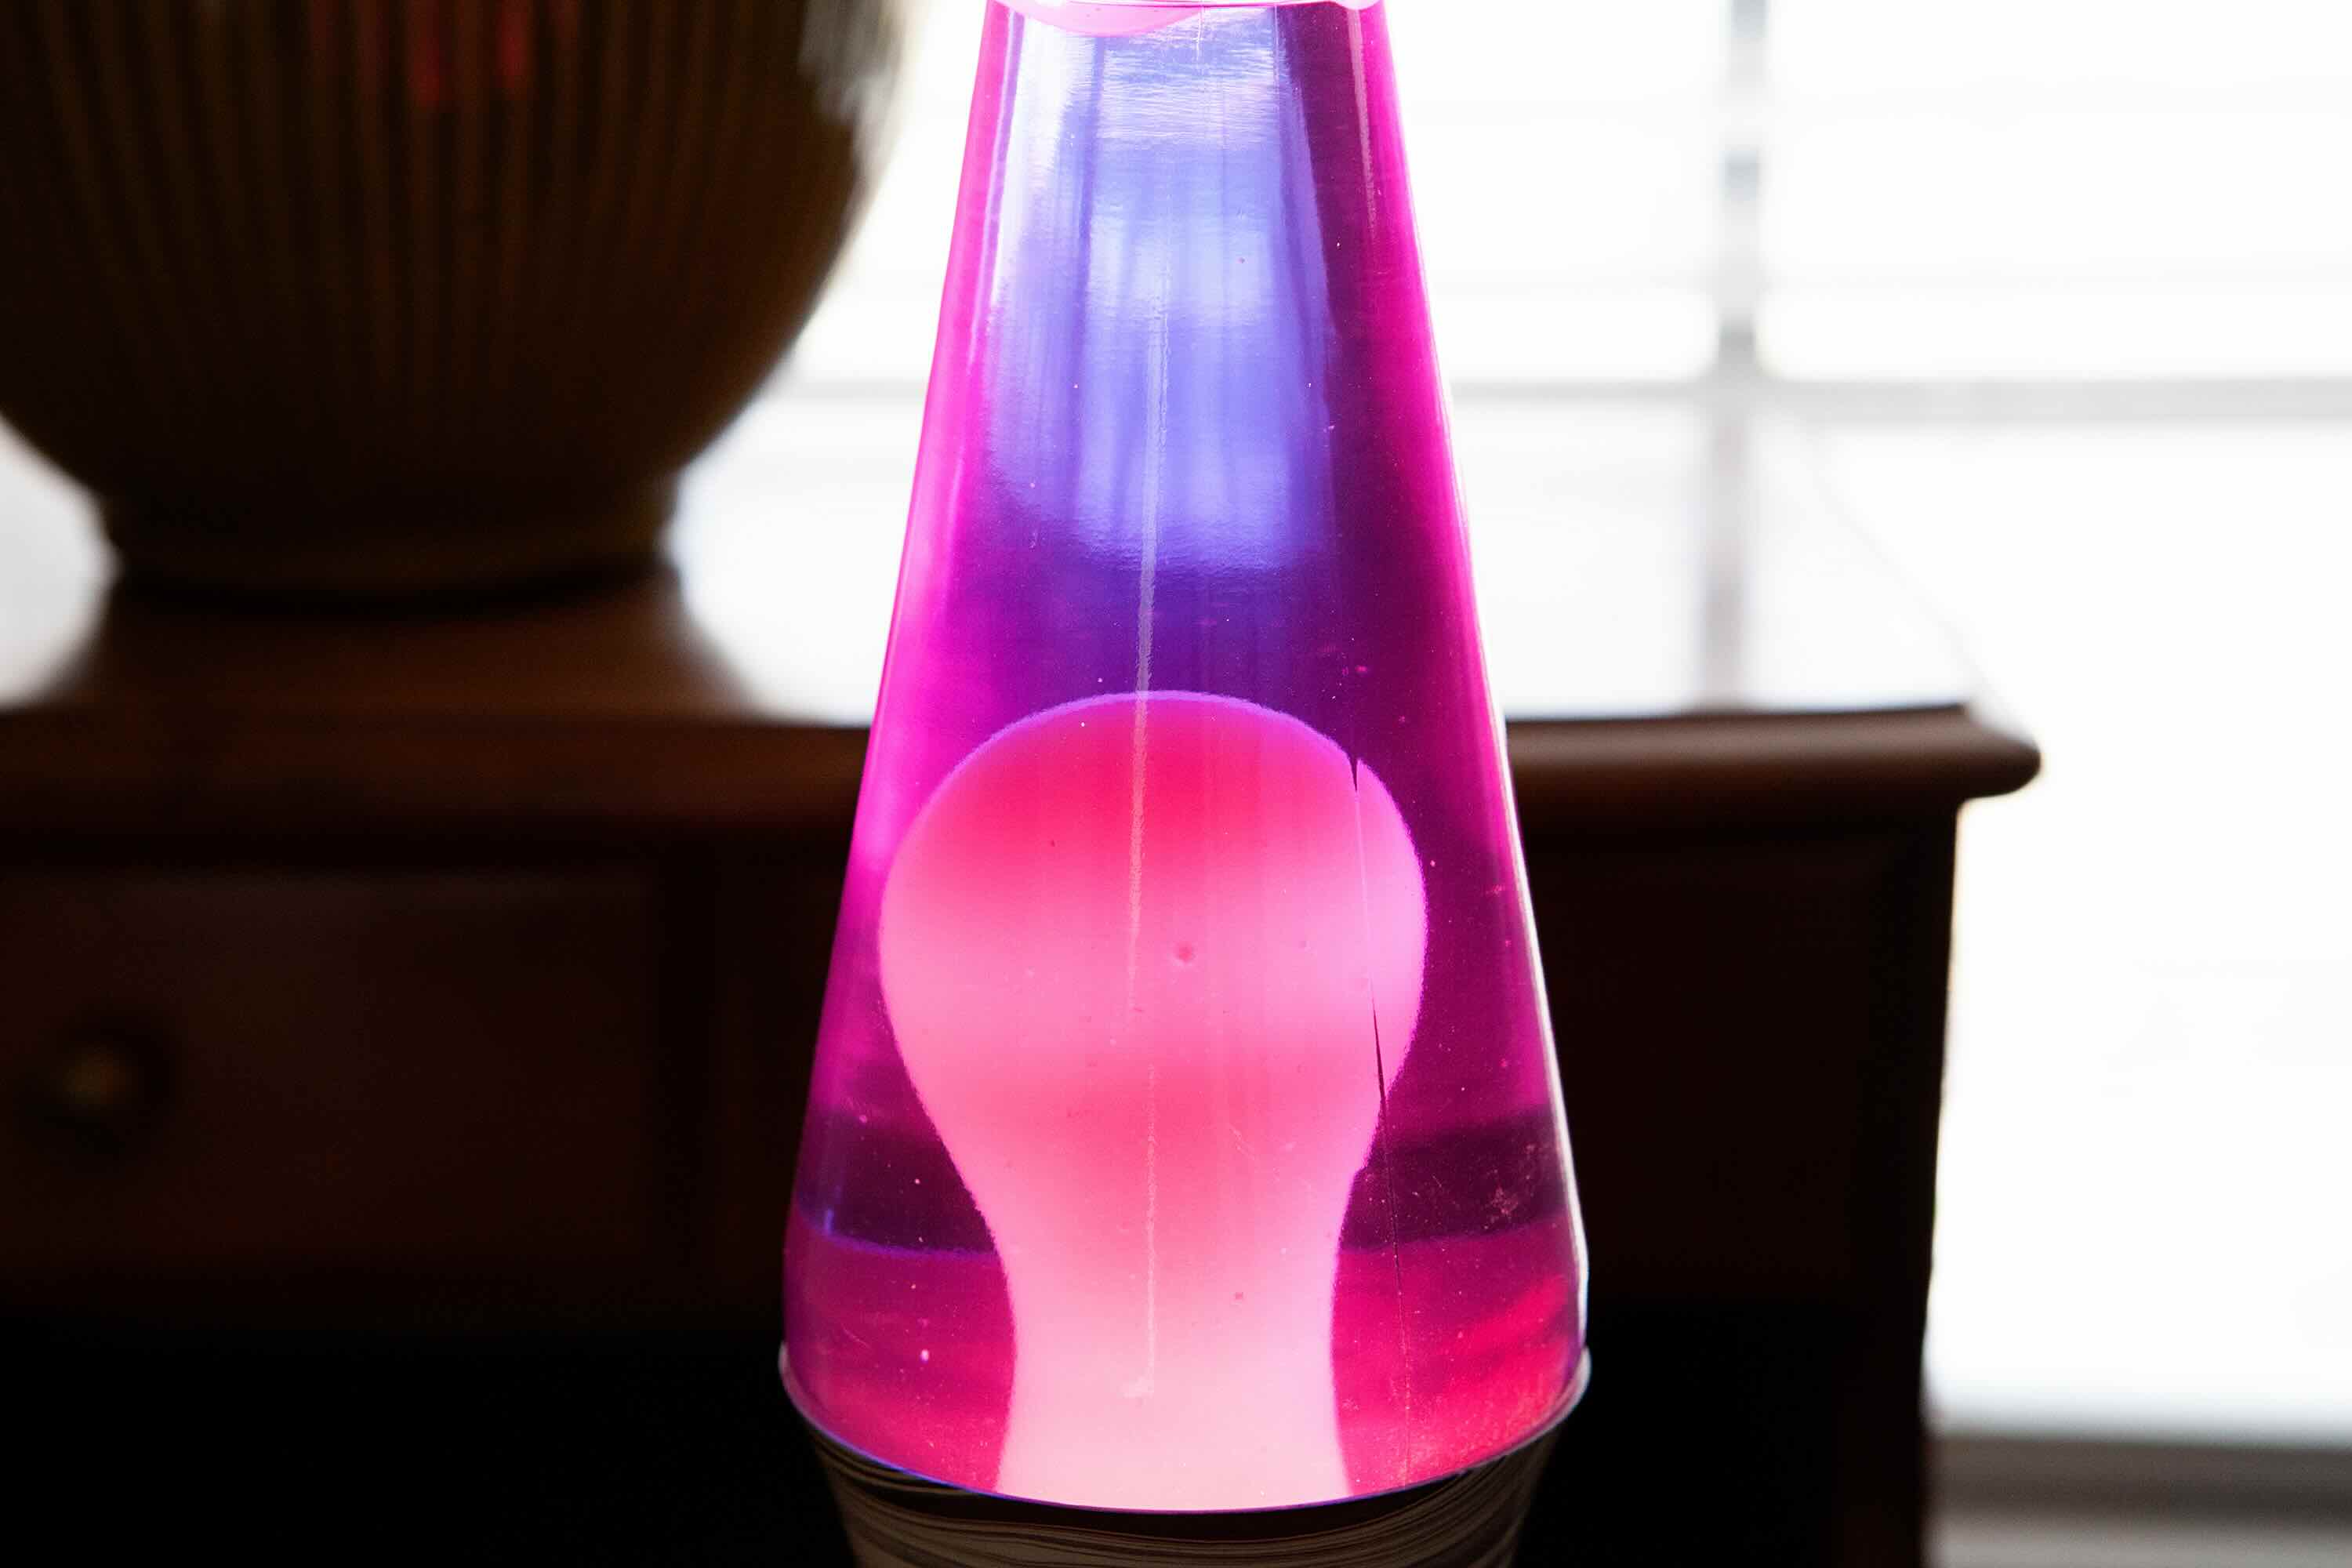
Step 5: Observing the Lava Lamp Effect
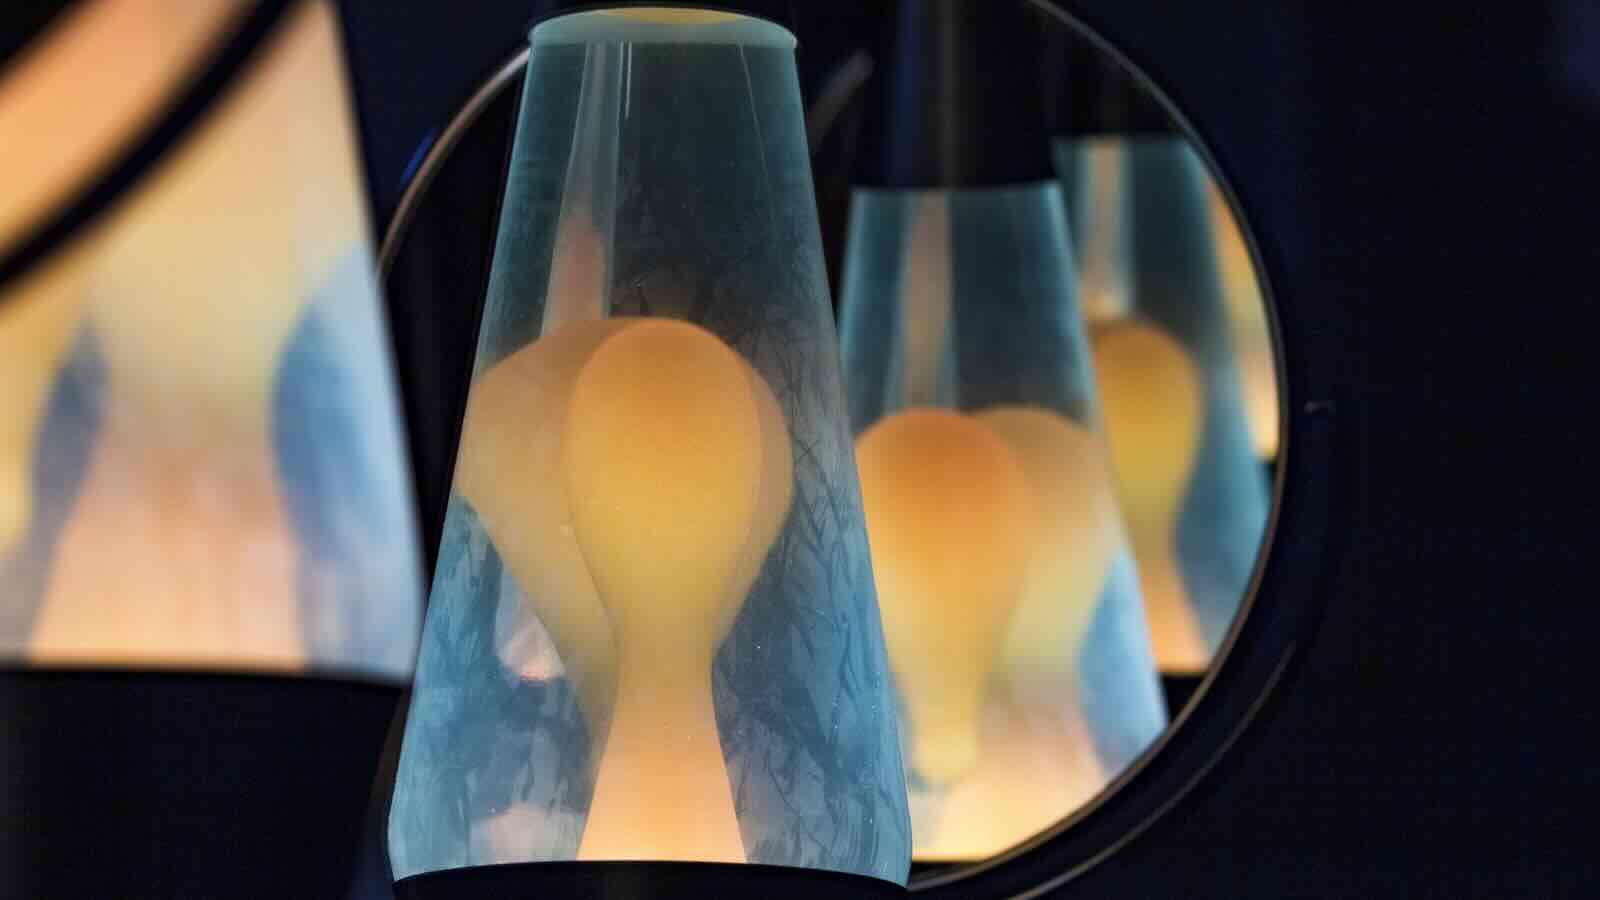
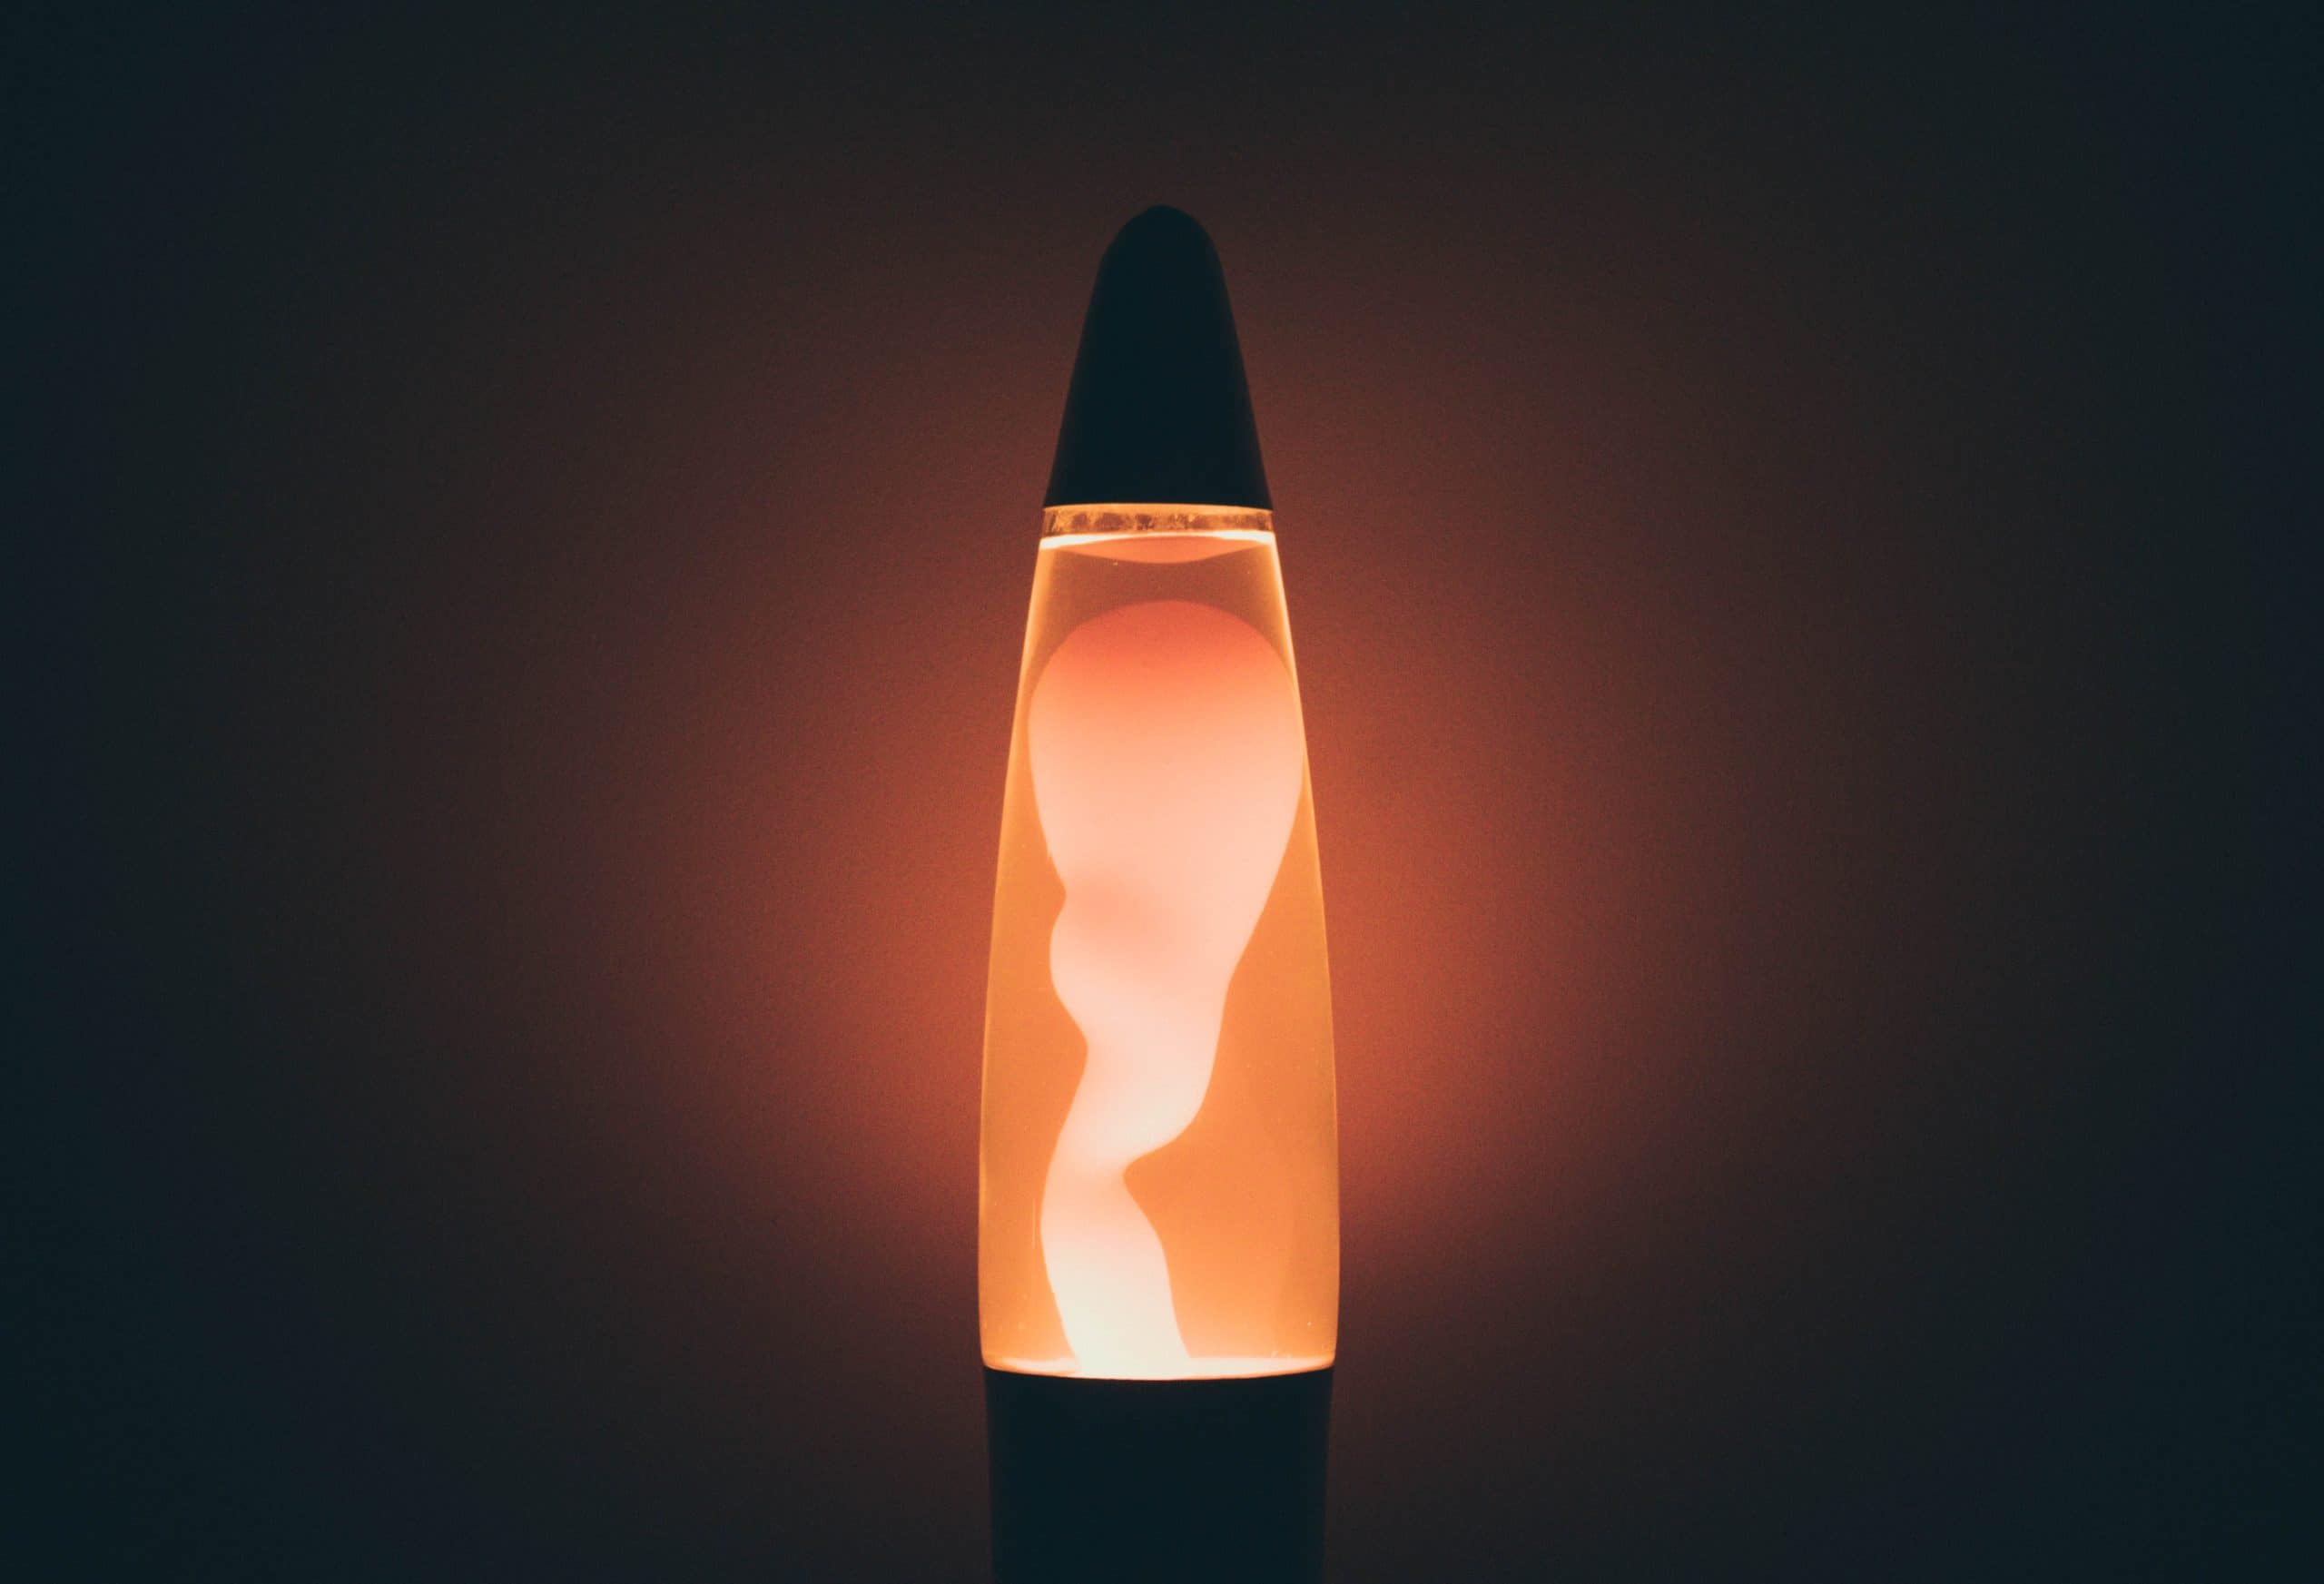
Now that your lava lamp is bubbling and swirling with colored blobs, it’s time to sit back, relax, and enjoy the mesmerizing lava lamp effect. Here’s what you can do to fully appreciate the beauty of your creation:
- Dim the lights: Lava lamps look most captivating in a dimly lit room. Turn off or dim the overhead lights to create a cozy and enchanting atmosphere.
- Watch the movement: Take a moment to observe the movement of the floating colored blobs. Notice how they rise and fall, creating a mesmerizing dance of colors within the lamp.
- Experiment with temperature: You can experiment with the temperature of your lava lamp for different effects. Try gently warming the bottle with your hands or placing it near a gentle heat source to see how it affects the movement of the blobs.
- Capture the moment: If you want to preserve the beauty of your lava lamp, take photos or videos of it in action. Share your creations with friends and family and spread the joy of homemade lava lamps!
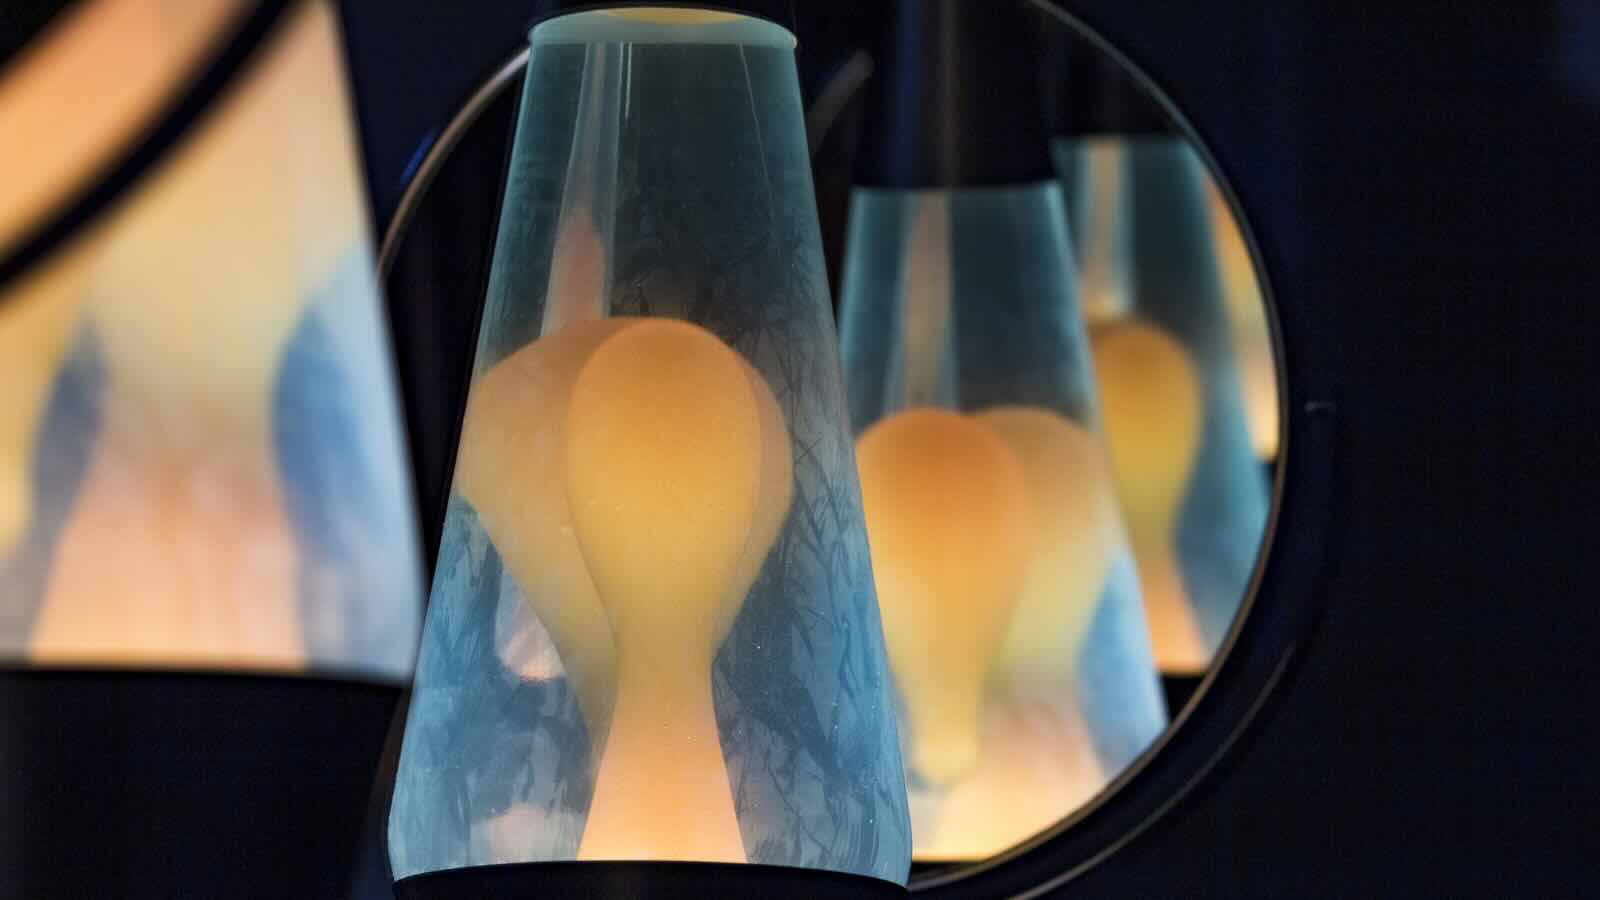
- Enjoy the ambiance: Whether you’re using your lava lamp as a decorative piece in your living room or as a mesmerizing nightlight, simply enjoy the soothing ambiance it creates.
Remember, safety first! While lava lamps are fun and fascinating, it’s essential to practice caution. Keep the lava lamp out of reach of young children, and make sure to handle the materials and lighting with care.
Congratulations! You have successfully created your very own homemade lava lamp. Enjoy the calming and mesmerizing effects it brings to your space.
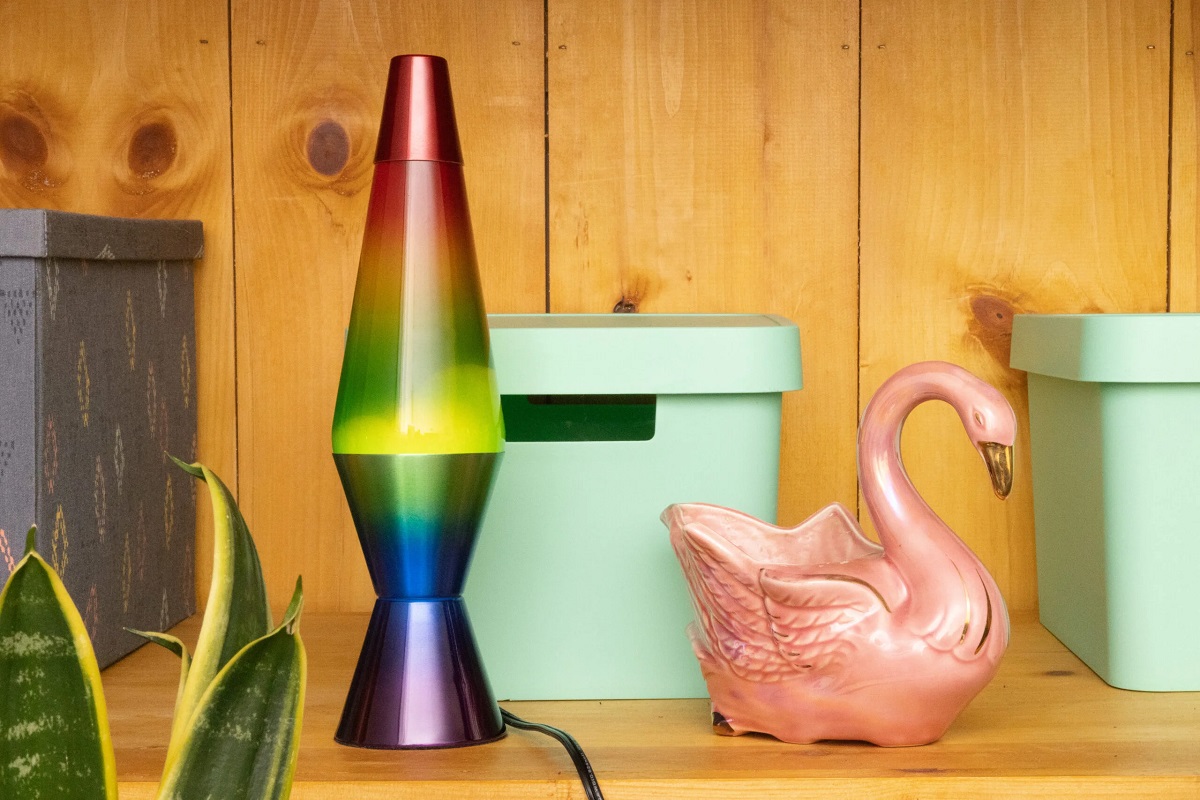
Conclusion
Creating a homemade lava lamp is a delightful and engaging activity that allows you to explore the captivating world of science while adding a touch of retro charm to your living space. By following the simple steps outlined in this guide, you can create a mesmerizing lava lamp using basic materials found at home.
As you observed the interaction between oil and water, and witnessed the bubbling effect initiated by Alka-Seltzer tablets, you experienced the magic of a lava lamp coming to life. The vibrant colors and flowing motion of the blobs create a captivating display that can provide a soothing and mesmerizing ambiance to any room.
Remember, you can always experiment with different colors, bottle sizes, and even temperature variations to create unique and personalized lava lamp experiences. Let your creativity shine as you design and customize your very own lava lamp masterpiece.
Homemade lava lamps also serve as an educational tool, offering a fun way to learn about density, heat, and the principles of fluid dynamics. By engaging in hands-on experimentation, you gain a deeper understanding of scientific concepts while having a blast.
So, gather your materials, follow the steps, and let your imagination run wild as you create your homemade lava lamp. Whether you’re adding a whimsical touch to your home decor, hosting a fun DIY project with your kids, or simply indulging in a nostalgic trip down memory lane, homemade lava lamps are a mesmerizing and enjoyable experience for all.
Now, it’s time to sit back, relax, and bask in the colorful glow of your homemade lava lamp. Enjoy the soothing ambiance and let the magical lava lamp effect transport you to a world of tranquility and wonder.
Tips and Safety Precautions
While creating your homemade lava lamp can be an exciting and enjoyable experience, it’s essential to keep some tips and safety precautions in mind to ensure a smooth and safe process. Here are some guidelines to follow:
- Choose the right bottle: Opt for a clear plastic bottle with a narrow neck. This will allow for better visibility of the lava lamp effect and make it easier to add and mix the ingredients.
- Use distilled water: Using distilled water helps prevent mineral deposits from forming inside the bottle, which can affect the performance and longevity of your lava lamp.
- Be cautious with heat sources: If you decide to experiment with temperature variations, make sure to use gentle heat sources and avoid placing the bottle near open flames or hot surfaces.
- Secure the bottle cap: Ensure that the bottle cap is tightly screwed to prevent any accidental spills or leaks during the bubbling process.
- Handle Alka-Seltzer tablets with care: When breaking the tablets into smaller pieces, be cautious and avoid inhaling the powder. Wash your hands after handling the tablets to avoid contact with eyes or mouth.
- Supervise young children: If you’re doing this activity with young children, make sure to supervise them at all times. Keep the lava lamp out of their reach and ensure they understand the importance of not opening the bottle.
- Dispose of materials properly: Once you’re done with your lava lamp, dispose of the materials appropriately. Use proper waste disposal methods for the remaining oil, water, and Alka-Seltzer tablets.
- Involve creativity and experimentation: Don’t be afraid to experiment with different colors, bottle sizes, and even additives to create unique lava lamp variations. Let your creativity flow and have fun exploring the possibilities!
By following these tips and safety precautions, you can ensure a smooth and enjoyable lava lamp-making experience. Remember to prioritize safety and have fun exploring the mesmerizing world of homemade lava lamps!
Frequently Asked Questions about How To Make Homemade Lava Lamp
Was this page helpful?
At Storables.com, we guarantee accurate and reliable information. Our content, validated by Expert Board Contributors, is crafted following stringent Editorial Policies. We're committed to providing you with well-researched, expert-backed insights for all your informational needs.