Furniture
How To Put A Mirror On A Dresser
Modified: September 1, 2024
Learn how to easily and securely mount a mirror on your dresser with our step-by-step guide. Enhance your furniture and add a touch of style to your bedroom.
(Many of the links in this article redirect to a specific reviewed product. Your purchase of these products through affiliate links helps to generate commission for Storables.com, at no extra cost. Learn more)
Introduction
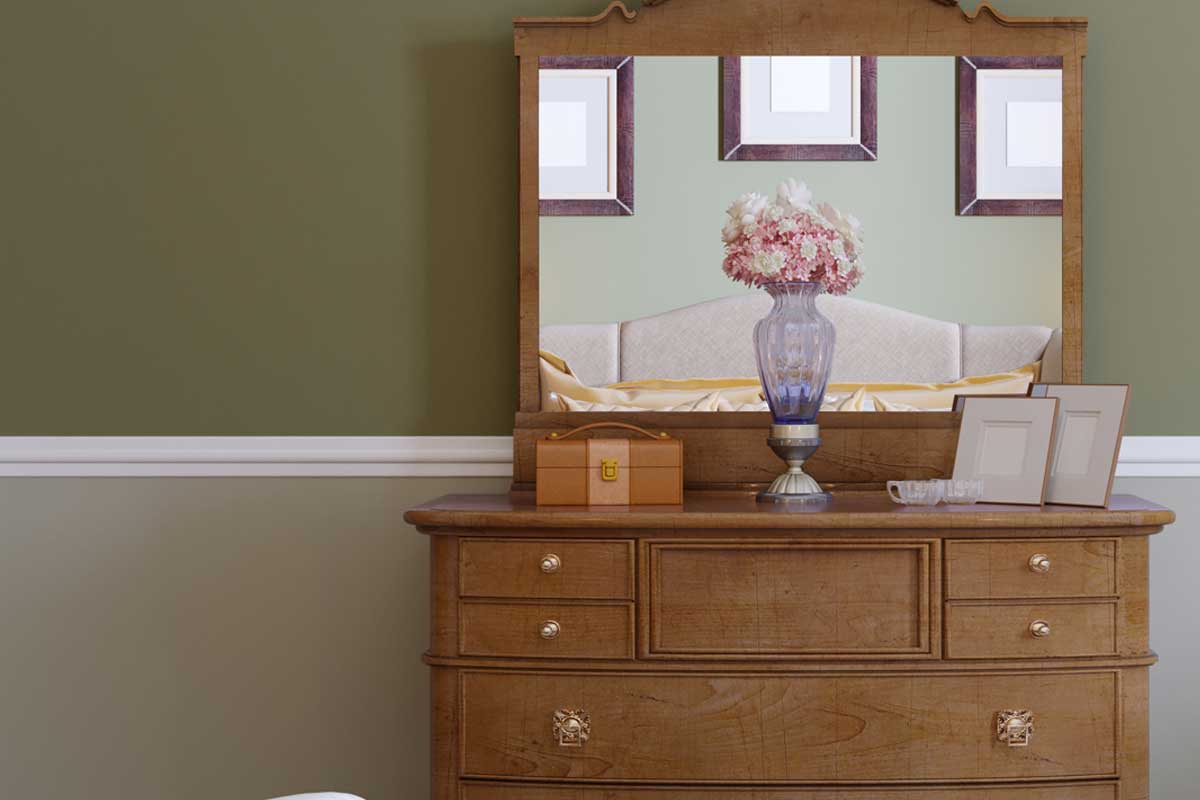
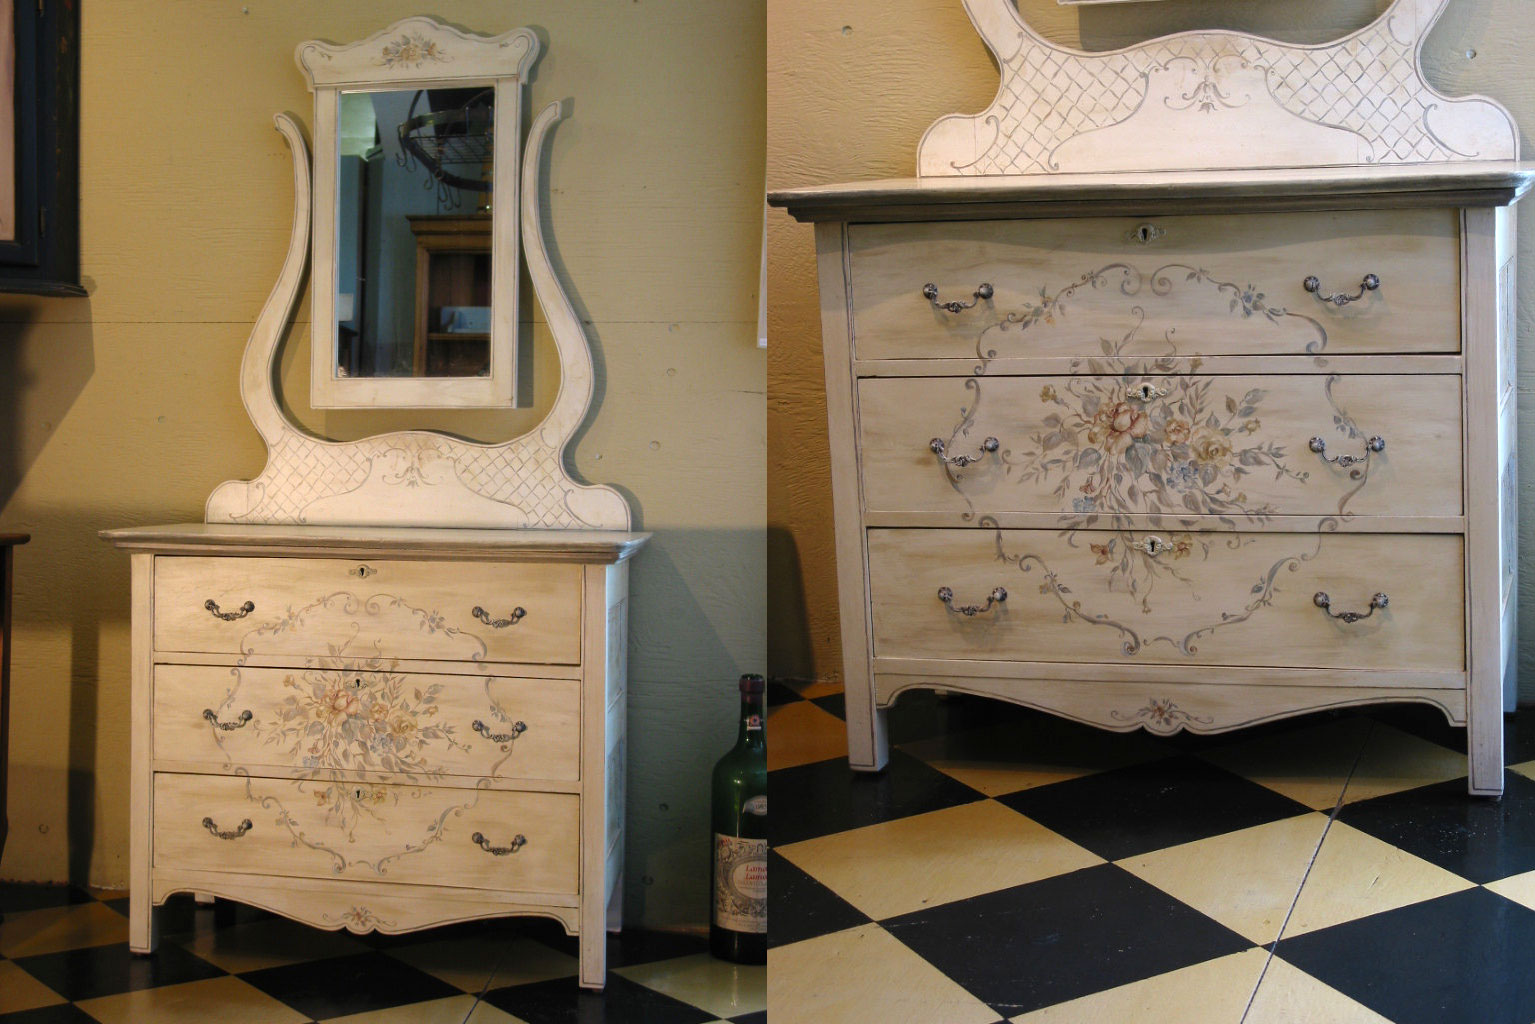
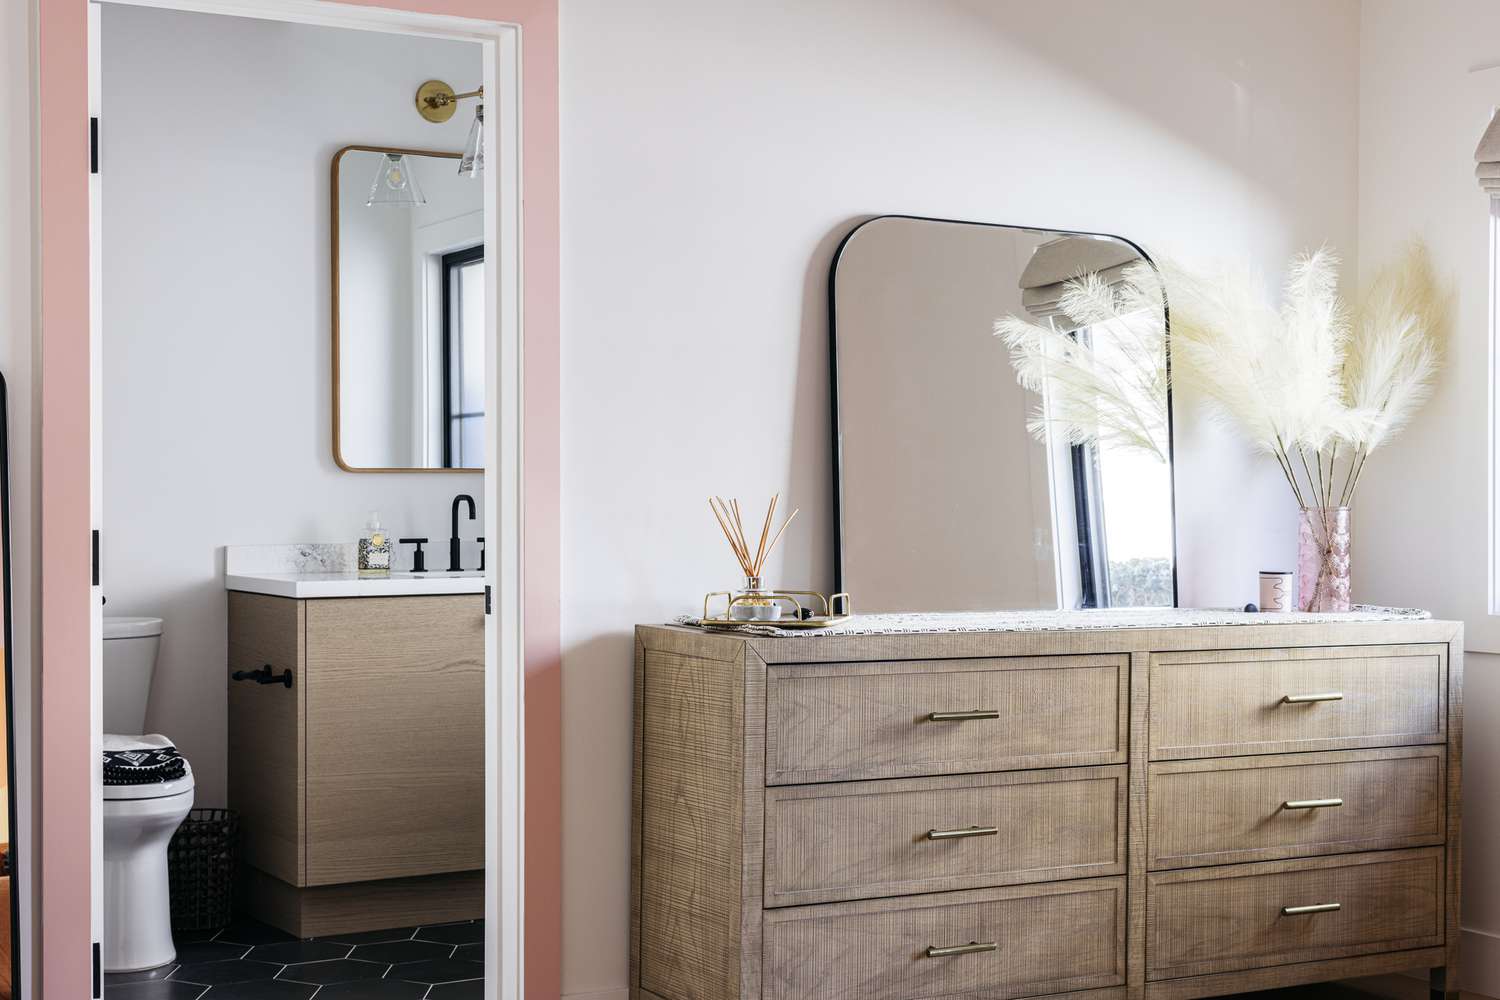
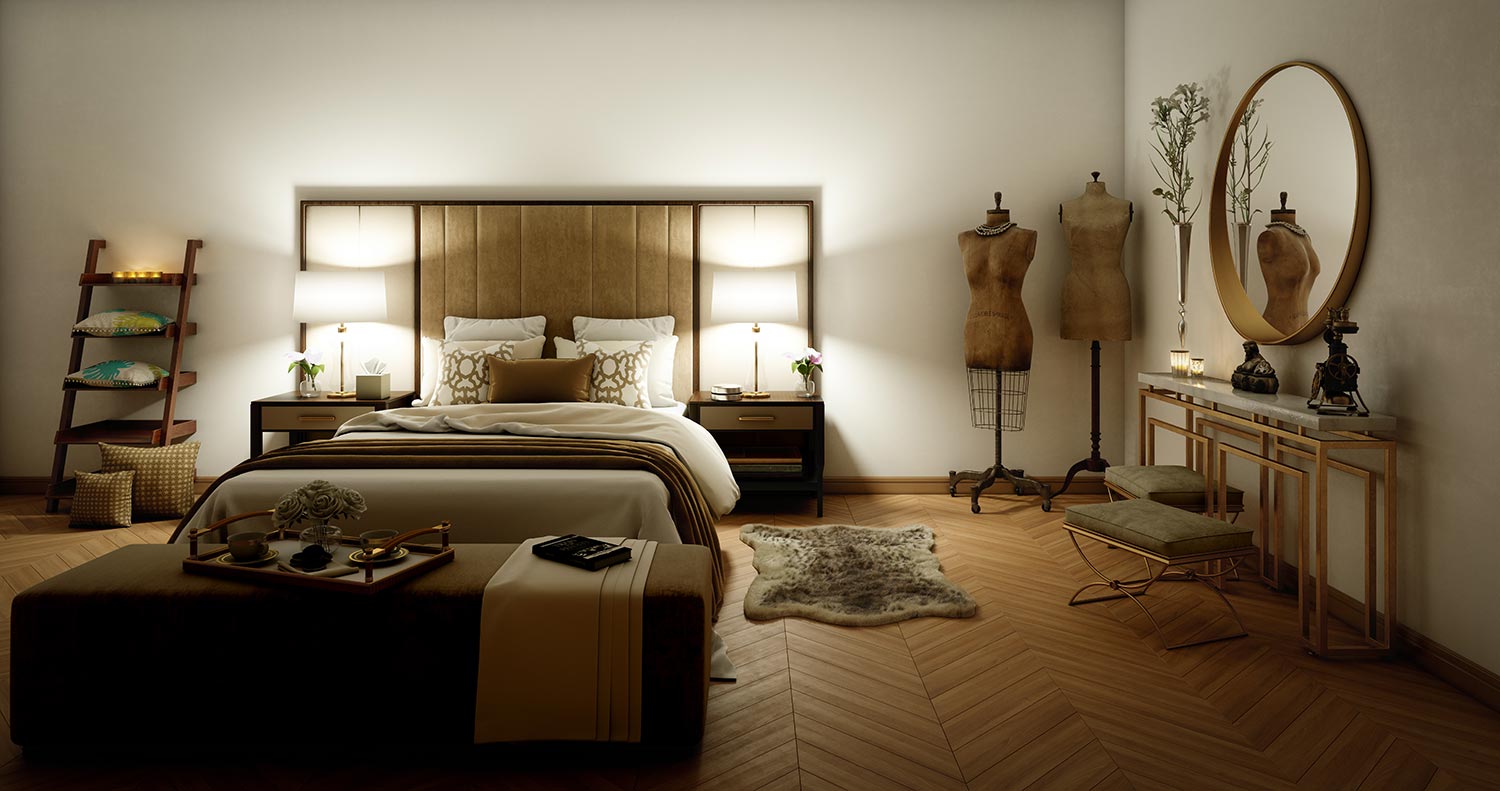
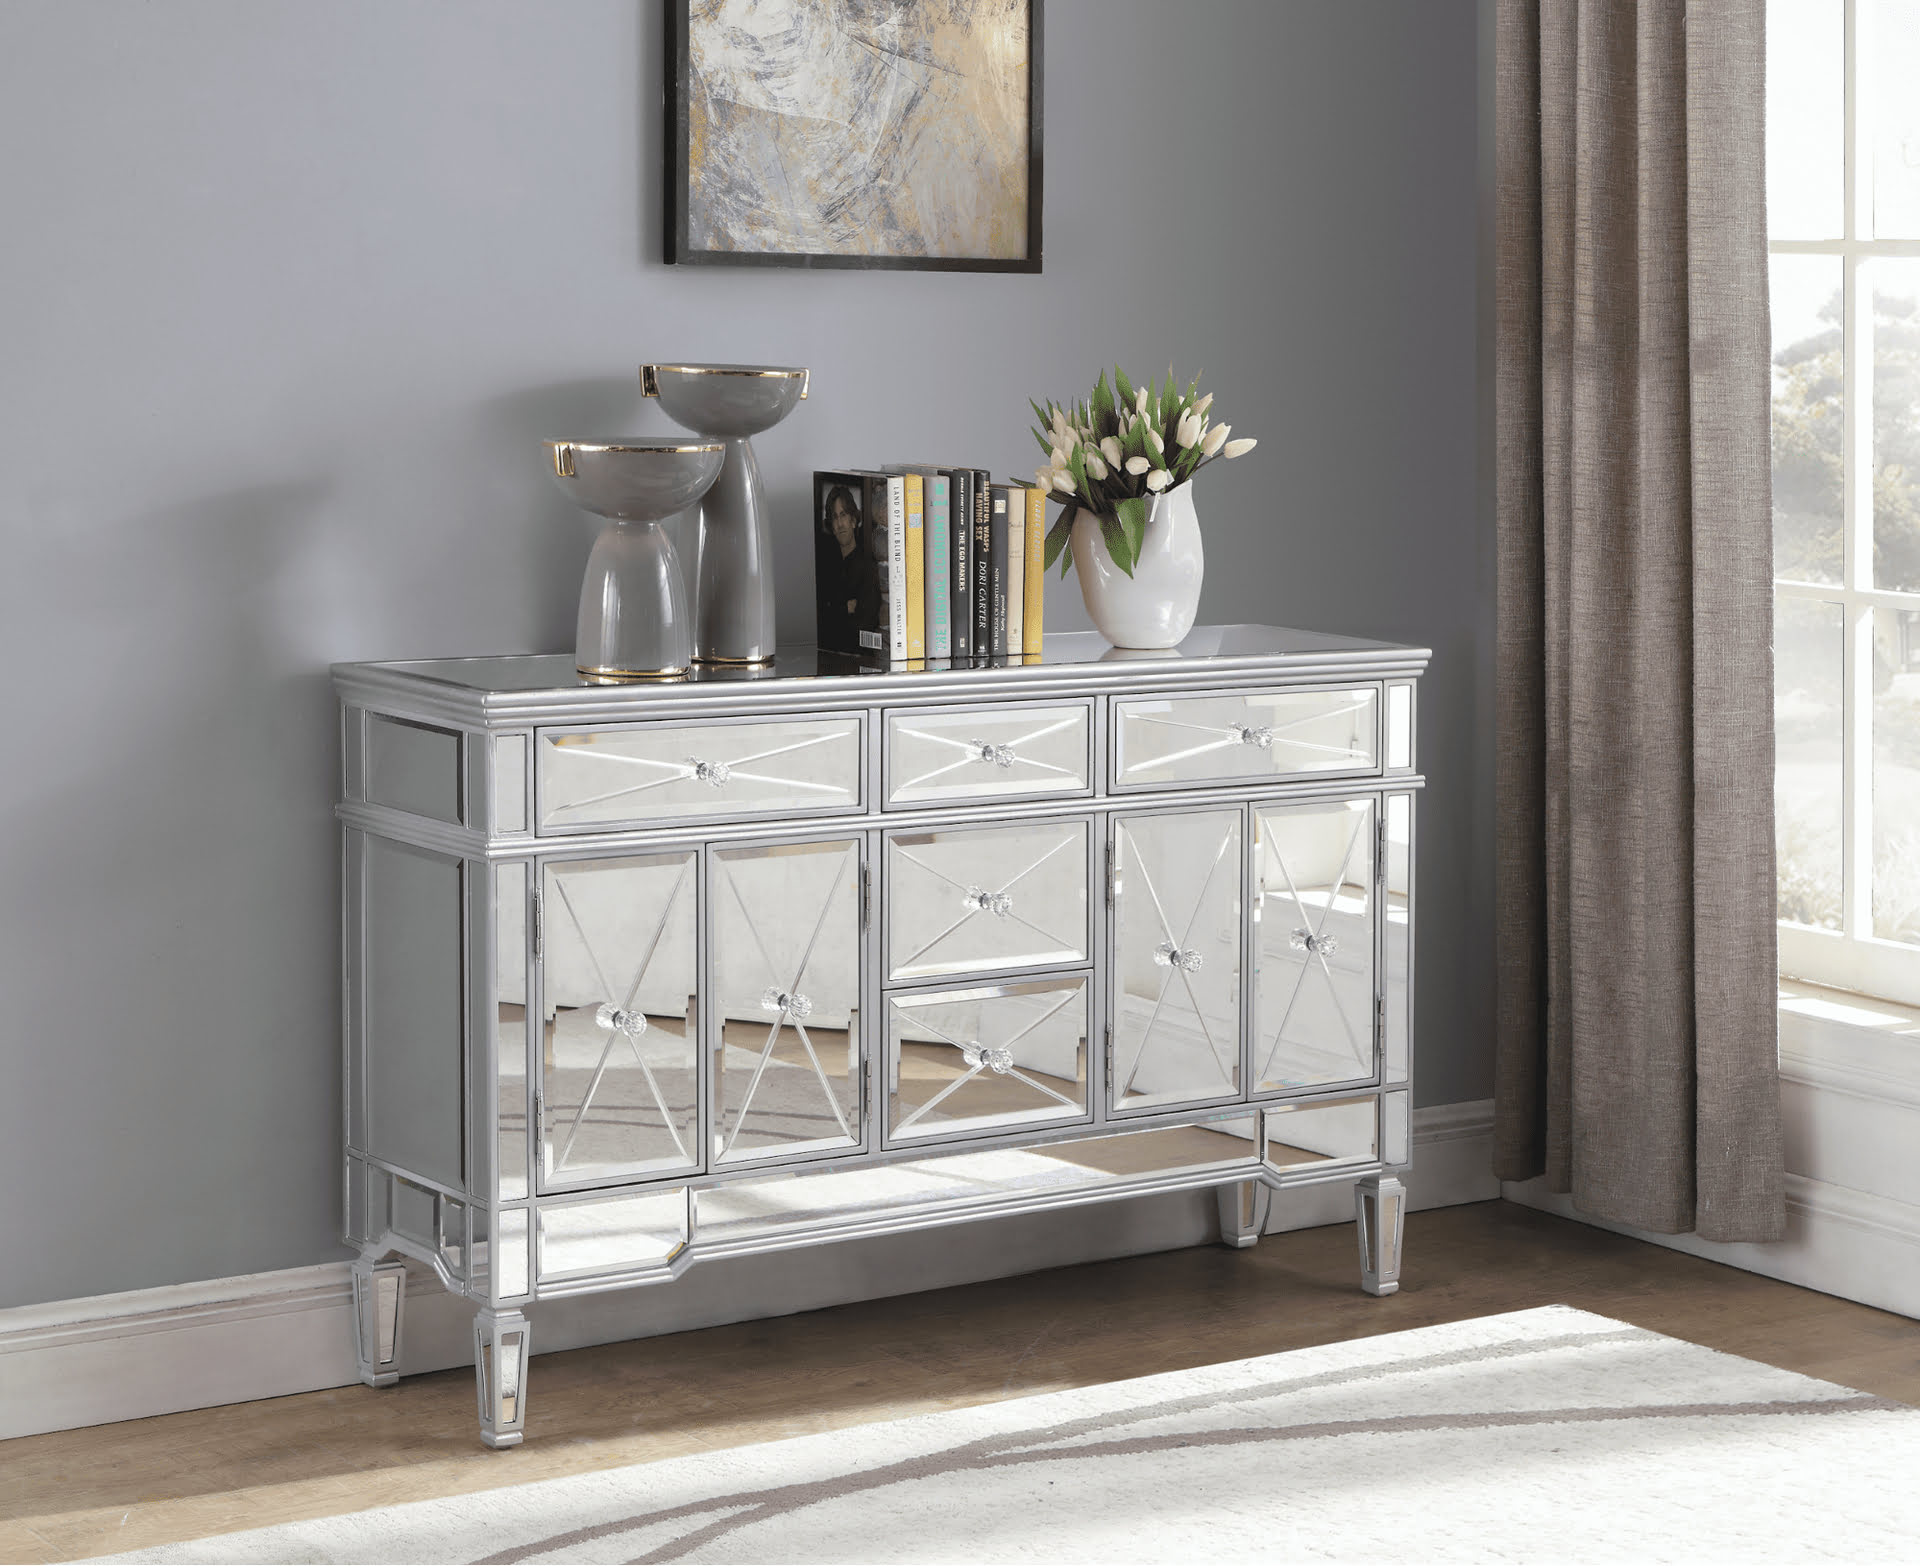
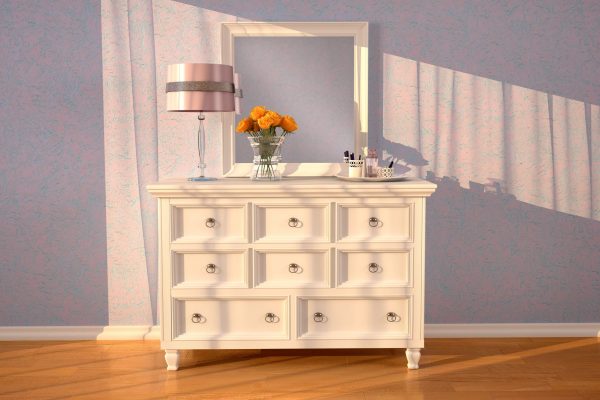
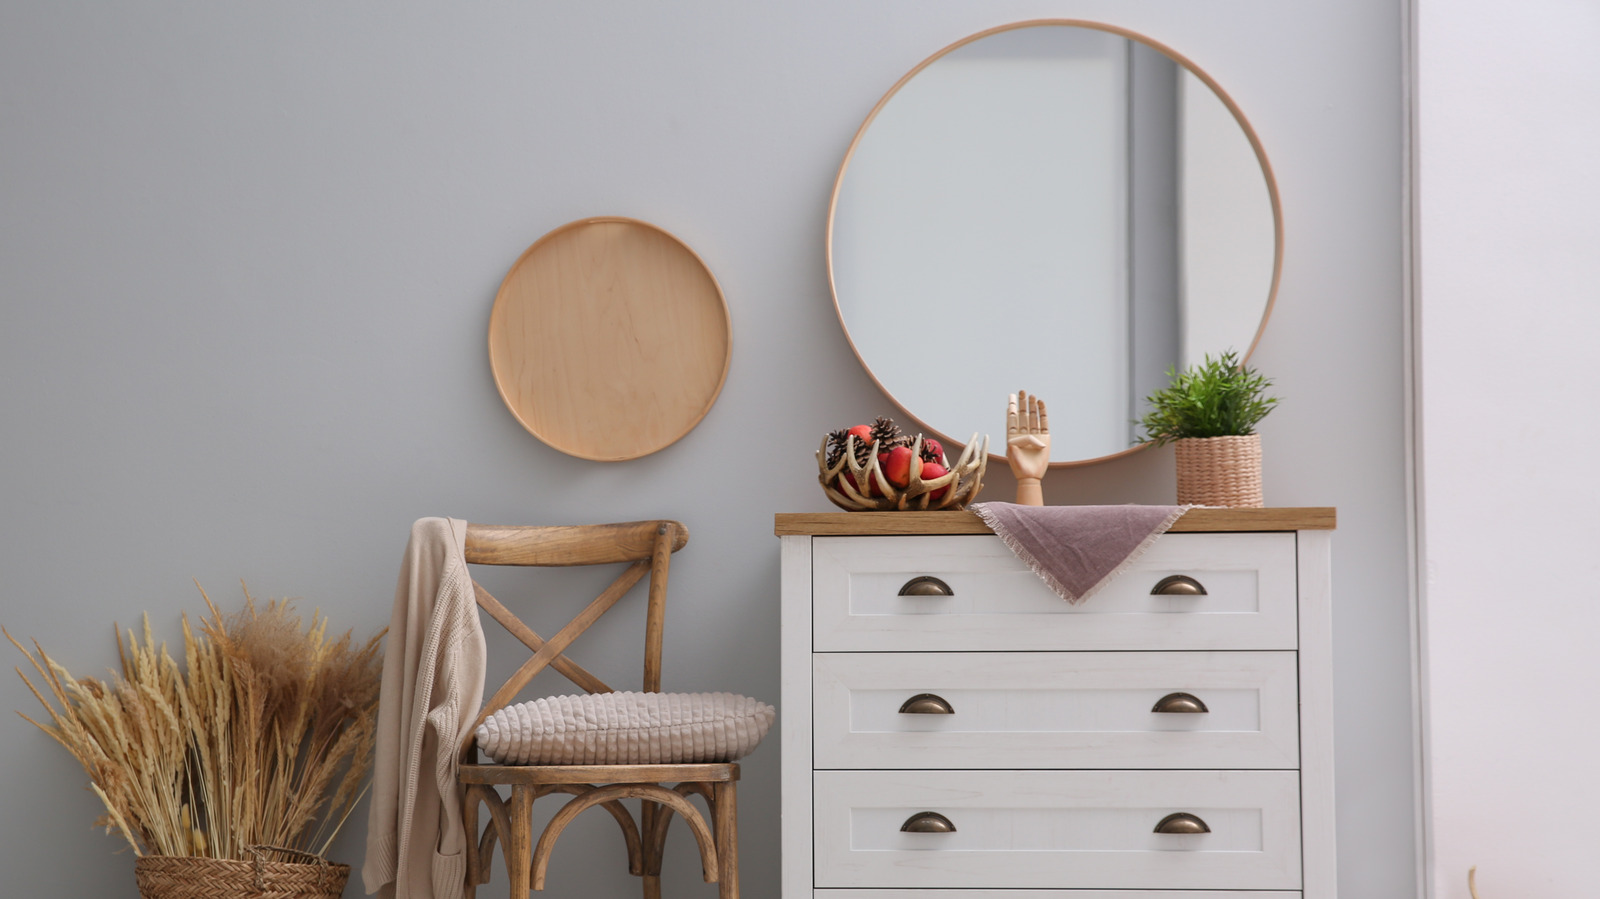
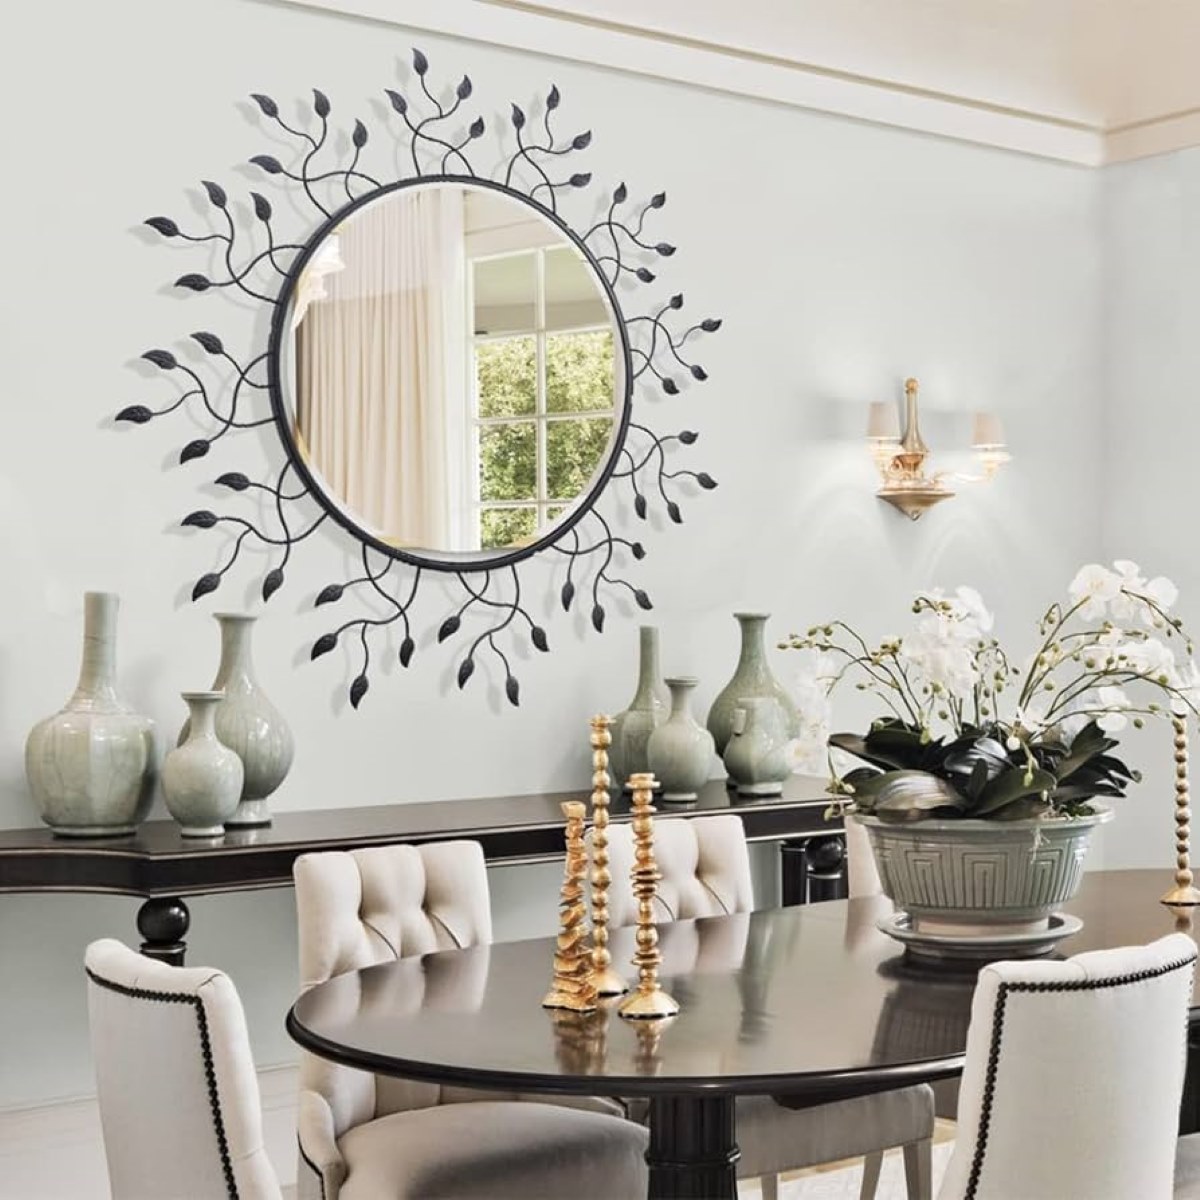
Adding a mirror to a dresser is not only a functional choice but also a stylish one. The mirror brings a sense of elegance and sophistication to any bedroom or dressing area. It provides a convenient place to check your appearance and helps to create the illusion of a larger space. Whether you’re looking to update the look of your dresser or want to maximize functionality, putting a mirror on a dresser is a simple and rewarding project.
In this article, we will guide you through the step-by-step process of how to put a mirror on a dresser. We will cover everything from gathering the necessary materials to securing the mirror in place. So, let’s get started!
Key Takeaways:
- Elevate your bedroom with a stunning mirror dresser by following our step-by-step guide. Enjoy the benefits of a beautifully adorned dresser and a flawless reflection for years to come!
- Transform your space with a well-placed mirror on a dresser. Enhance functionality, elevate style, and enjoy the process of creating a beautifully adorned and elegant bedroom or dressing area.
Read more: How To Decorate A Dresser With A Mirror
Step 1: Gather the necessary materials
Before you begin the process of putting a mirror on a dresser, it’s important to gather all the necessary materials. Having everything you need in one place will make the installation process much smoother and more efficient.
Here’s a list of materials you’ll need:
- A mirror: Choose a mirror that fits the dimensions of your dresser and complements your existing decor. You can opt for a framed mirror or a frameless one depending on your preference.
- Dresser: Make sure your dresser is sturdy enough to support the weight of the mirror. Ensure that it is clean and free from any dust or debris.
- Adhesive or mirror clips: Depending on the type of mirror you have, you’ll need either adhesive or mirror clips to attach the mirror to the dresser. Adhesive is a good option for frameless mirrors, while mirror clips are better suited for framed mirrors.
- Measuring tape: This will come in handy for accurately measuring the dimensions of both the mirror and the dresser.
- Safety equipment: It’s always a good idea to protect yourself during any DIY project. Consider wearing gloves and safety goggles to prevent any accidents or injuries.
- Cleaning supplies: You’ll need some cleaning supplies to ensure that both the dresser surface and the mirror are clean and free from dirt or grime.
By gathering all these materials beforehand, you’ll be fully prepared to move on to the next step of the process.
Step 2: Measure the dresser and mirror
Accurate measurements are crucial when it comes to putting a mirror on a dresser. Before proceeding, take the time to measure both the dresser and the mirror to ensure a proper fit.
Here’s how to measure the dresser and mirror:
- Measure the width and height of the dresser: Use a measuring tape to determine the dimensions of the top surface of the dresser. Write down these measurements as they will be needed when positioning the mirror.
- Measure the mirror: Measure the width and height of the mirror itself. If it has a frame, include the frame in the measurements. Ensure that the mirror is larger than the width of the dresser.
Once you have the measurements, compare them to ensure that the mirror is proportionate to the dresser and will fit nicely on its surface. If necessary, trim the mirror to size using a glass cutter or have it professionally cut to the desired dimensions.
Having accurate measurements will help you properly position the mirror and avoid any issues during the installation process.
Step 3: Prepare the dresser surface
Preparing the dresser surface is an important step to ensure a secure and durable placement of the mirror. By properly cleaning and prepping the surface, you’ll create an ideal base for attaching the mirror.
Follow these steps to prepare the dresser surface:
- Clean the surface: Start by wiping down the dresser surface with a clean, damp cloth to remove any dust, dirt, or grime. This will create a clean and smooth surface for the adhesive or mirror clips.
- Remove any protruding elements: Check the dresser for any knobs, handles, or decorative elements that may interfere with the placement of the mirror. If necessary, remove or reposition them to create a flat and even surface.
- Sand or smooth rough spots: If you come across any rough spots or imperfections on the dresser surface, use sandpaper to gently smooth them out. This will prevent any unevenness that could affect the mirror’s stability.
- Apply a primer (optional): If your dresser surface has a glossy or slippery finish, consider applying a primer to improve the adhesion of the adhesive or mirror clips. Follow the instructions on the primer’s packaging for proper application.
By thoroughly preparing the dresser surface, you’ll ensure that the mirror adheres securely and stays in place over time. Take your time with this step to ensure a clean and smooth surface for optimal mirror installation.
Step 4: Apply adhesive or clips to the mirror
Depending on the type of mirror you have, you’ll need to choose either adhesive or mirror clips to attach it to the dresser. The method you choose will depend on the design of the mirror and your personal preference.
If you have a frameless mirror, adhesive is typically the best option. Follow these steps to apply adhesive to the mirror:
- Clean the back of the mirror: Use a glass cleaner and a lint-free cloth to thoroughly clean the back of the mirror. This will ensure proper adhesion.
- Apply the adhesive: Apply the adhesive to the back of the mirror, following the manufacturer’s instructions and recommendations. Be sure to apply the adhesive evenly and in the designated areas.
- Allow for drying and curing: After applying the adhesive, allow it to dry and cure according to the instructions provided. This will ensure a strong bond between the mirror and the dresser surface.
If you have a framed mirror, mirror clips are typically used for secure mounting. Follow these steps to attach mirror clips to the mirror:
- Clean the back of the mirror: Just like with the frameless mirror, clean the back of the mirror using a glass cleaner and a lint-free cloth.
- Place the mirror clips: Position the mirror clips along the top and bottom edges of the mirror. Make sure they are evenly spaced and properly aligned.
- Secure the mirror clips: Use screws or other appropriate fasteners to secure the mirror clips to the back of the mirror. Make sure they are tightened securely but not excessively, as this can damage the mirror.
Remember to follow the instructions provided with the adhesive or mirror clips for the best results. Adhering or attaching the mirror properly will ensure its stability and longevity on the dresser surface.
When putting a mirror on a dresser, make sure to use the appropriate hardware for the weight of the mirror. Measure and mark the placement before attaching the hardware to ensure it is level and secure.
Read more: What Is A Dresser With A Mirror Called
Step 5: Position the mirror on the dresser
Now that you have prepared the dresser surface and attached the adhesive or mirror clips to the mirror, it’s time to position the mirror on the dresser. Take your time with this step to ensure the mirror is centered and aligned correctly.
Follow these steps to position the mirror on the dresser:
- Carefully lift the mirror: With the help of a friend or family member, lift the mirror and hold it above the dresser surface. Be cautious to avoid scratching the dresser or damaging the mirror.
- Align the mirror: Slowly lower the mirror onto the dresser surface and align it with the edges of the dresser. Make sure it is centered and positioned exactly where you want it.
- Check the placement: Step back and visually inspect the mirror’s placement on the dresser. Ensure that it is level and accurately positioned. Make any necessary adjustments before proceeding.
Take your time during this step to ensure the mirror is positioned correctly. It’s worth the extra effort to achieve a balanced and visually pleasing result.
Once you are satisfied with the positioning of the mirror, you can move on to the next step to secure it in place.
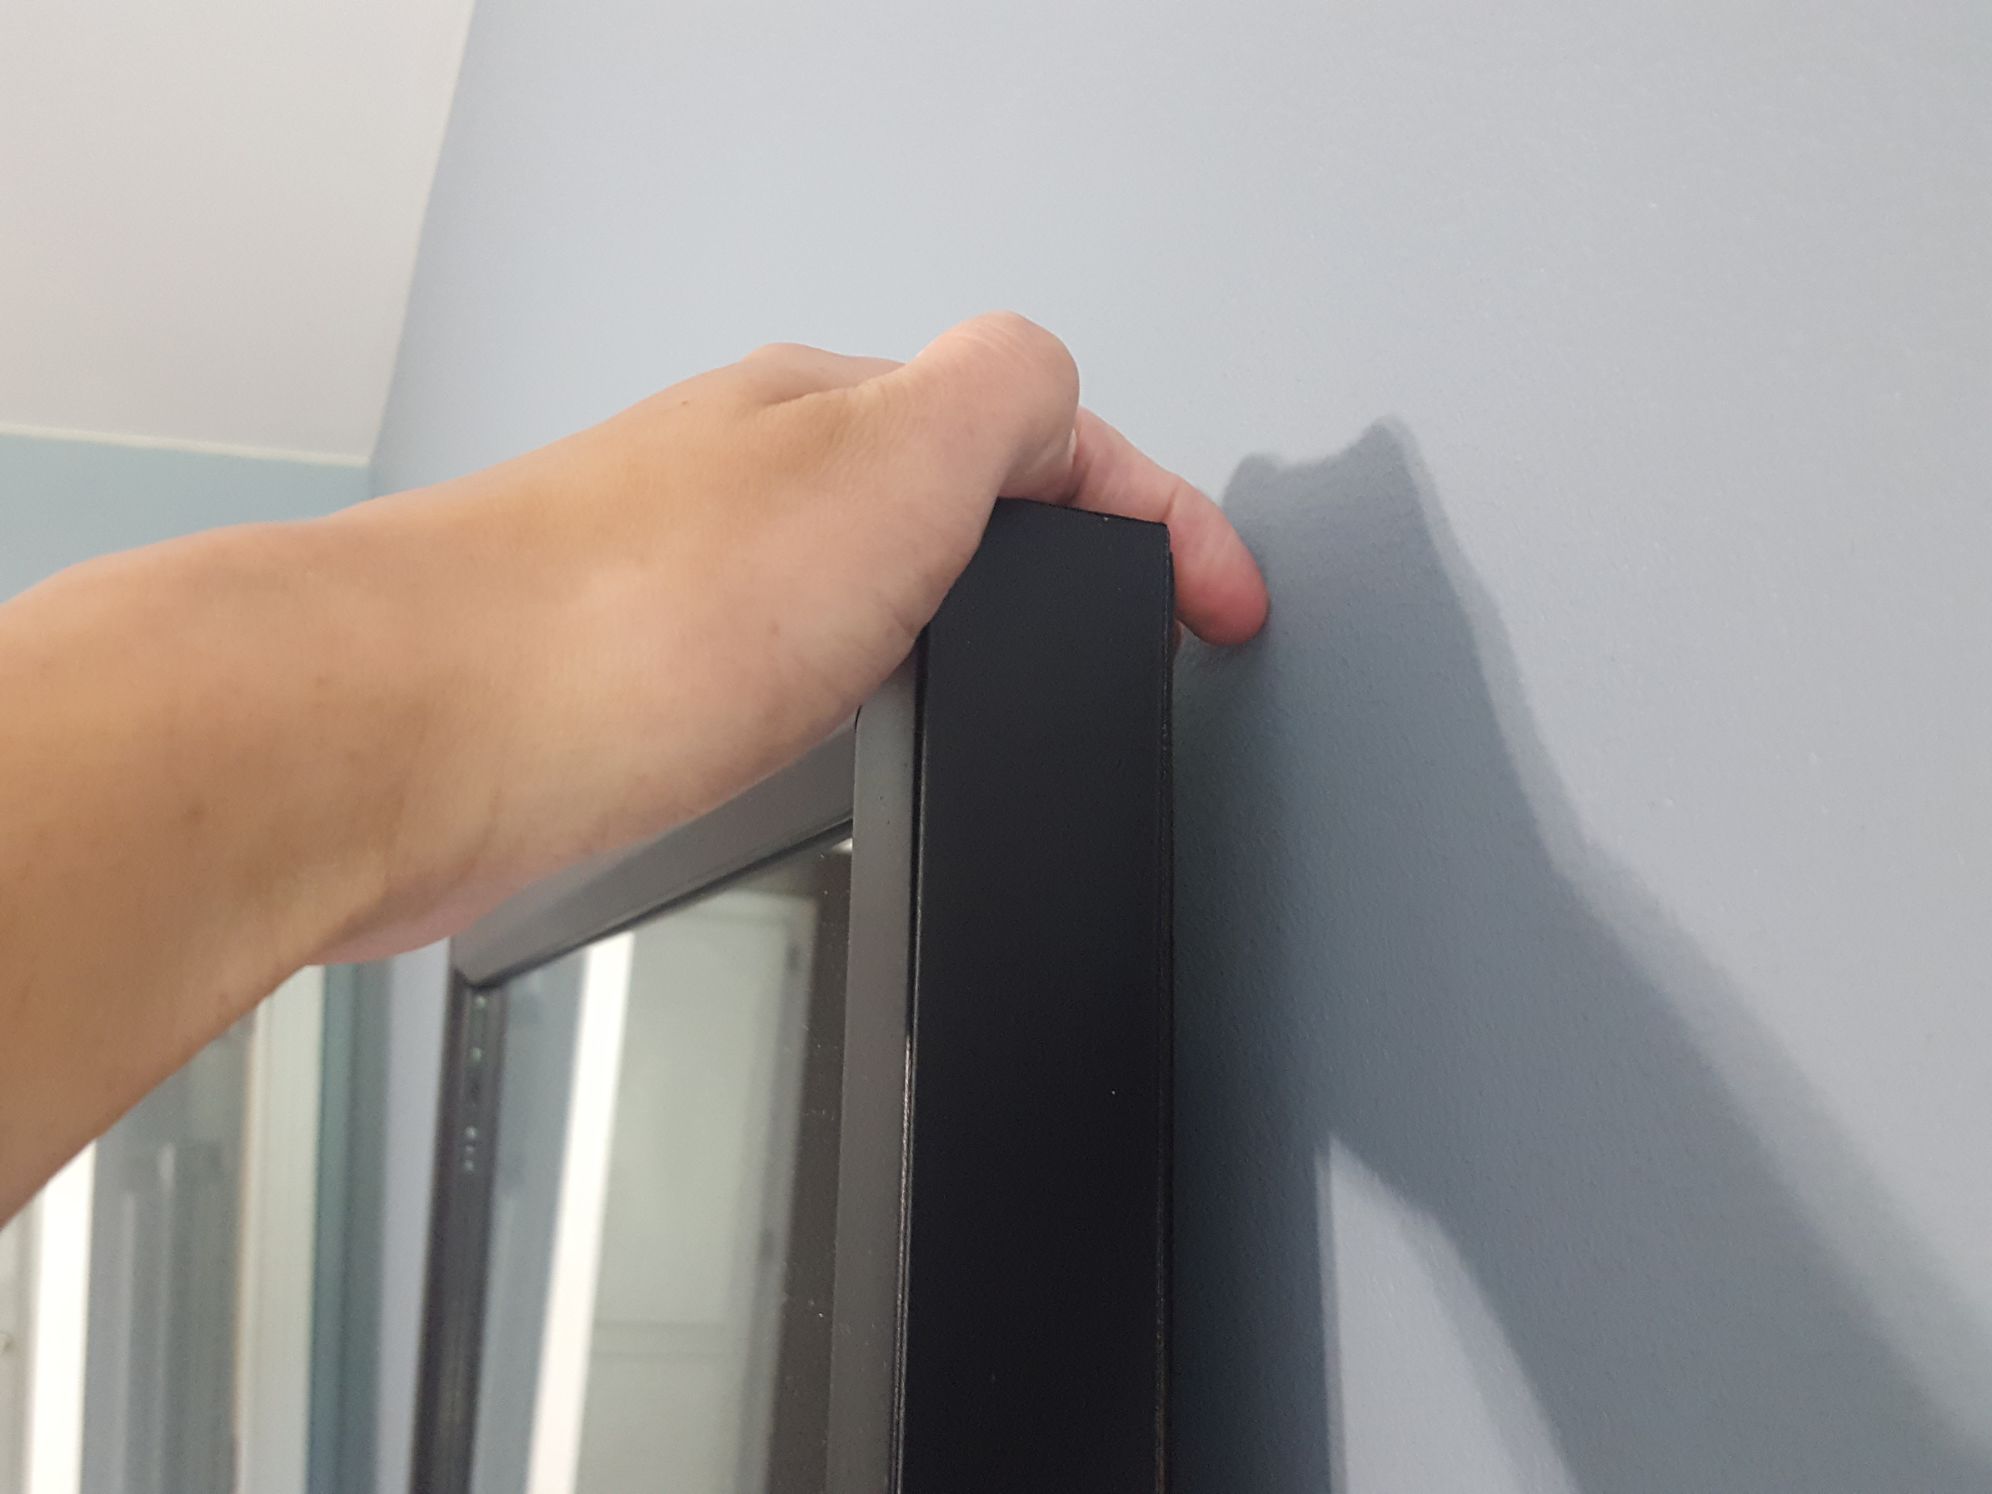
Step 6: Secure the mirror in place
After positioning the mirror on the dresser, it’s important to secure it in place to ensure stability and prevent any accidents or damage. The method you use to secure the mirror will depend on whether you opted for adhesive or mirror clips.
If you used adhesive to attach the mirror:
- Press the mirror firmly: Using gentle yet firm pressure, press the mirror against the dresser surface. This will help the adhesive create a strong bond.
- Allow for curing time: Follow the manufacturer’s instructions to allow the adhesive to fully cure. Avoid placing any objects on or near the mirror during this time.
If you used mirror clips to attach the mirror:
- Tighten the mirror clips: Use a screwdriver or appropriate tool to securely tighten the mirror clips. This will ensure that the mirror is tightly held in place and won’t move or shift.
- Double-check the tightness: Make sure to go back and double-check that all the screws or fasteners on the mirror clips are tightened properly. This will provide added stability.
After securing the mirror, give it a gentle shake or test to make sure it’s sturdy. If it wobbles or feels loose, re-evaluate the method you used to secure it and make any necessary adjustments.
Remember, the goal is to have a mirror that is securely attached to the dresser, providing functionality and safety for daily use.
Step 7: Clean and polish the mirror
Now that the mirror is securely in place on the dresser, it’s time to give it a final touch by cleaning and polishing it. This step will not only enhance the mirror’s appearance but also ensure a clear, spotless reflection.
Follow these steps to clean and polish the mirror:
- Gather your cleaning supplies: Grab a glass cleaner specifically formulated for mirrors, a lint-free cloth or microfiber cloth, and a soft brush or cotton swabs.
- Spray the glass cleaner: Spray the glass cleaner directly onto the mirror surface. Use a moderate amount, making sure to cover the entire mirror area.
- Wipe the mirror: Gently wipe the mirror with a lint-free cloth in a circular motion or from top to bottom. This will remove any smudges, fingerprints, or dust particles from the surface.
- Pay attention to corners and edges: Use a soft brush or cotton swabs to clean the corners and edges of the mirror, where dirt and grime tend to accumulate. Be gentle to avoid scratching the mirror.
- Buff the mirror: Once the mirror is clean, use a dry, lint-free cloth to buff the surface. This will give the mirror a sparkling shine and remove any remaining streaks.
Take your time and be thorough when cleaning and polishing the mirror. A well-maintained mirror not only adds beauty to your dresser but also ensures a clear and crisp reflection.
Consider adding a mirror cleaner or polish to your routine for regular maintenance. This will help keep the mirror looking its best for years to come.
Conclusion
Putting a mirror on a dresser is a simple yet impactful way to enhance the functionality and aesthetic appeal of your bedroom or dressing area. The process may seem daunting at first, but by following the step-by-step guide outlined in this article, you’ll be able to successfully complete the installation with confidence.
Remember to gather all the necessary materials, measure both the dresser and mirror accurately, prepare the dresser surface, and securely attach the mirror using adhesive or mirror clips. Take the time to position the mirror correctly and ensure its stability by firmly securing it in place.
Once the mirror is in place, give it a final touch by cleaning and polishing to achieve a flawless reflection. Regular maintenance of the mirror will help preserve its beauty and functionality for years to come.
Adding a mirror to a dresser not only provides you with a practical space to check your appearance but also elevates the overall look and feel of your room. So, why wait? Follow these steps and enjoy the benefits of a beautifully adorned dresser with a stunning mirror.
Remember, a well-placed mirror can truly transform a space and bring a sense of style and elegance to your home. Enjoy the process and admire the beautiful reflection in your newly adorned mirror dresser!
Frequently Asked Questions about How To Put A Mirror On A Dresser
Was this page helpful?
At Storables.com, we guarantee accurate and reliable information. Our content, validated by Expert Board Contributors, is crafted following stringent Editorial Policies. We're committed to providing you with well-researched, expert-backed insights for all your informational needs.


0 thoughts on “How To Put A Mirror On A Dresser”