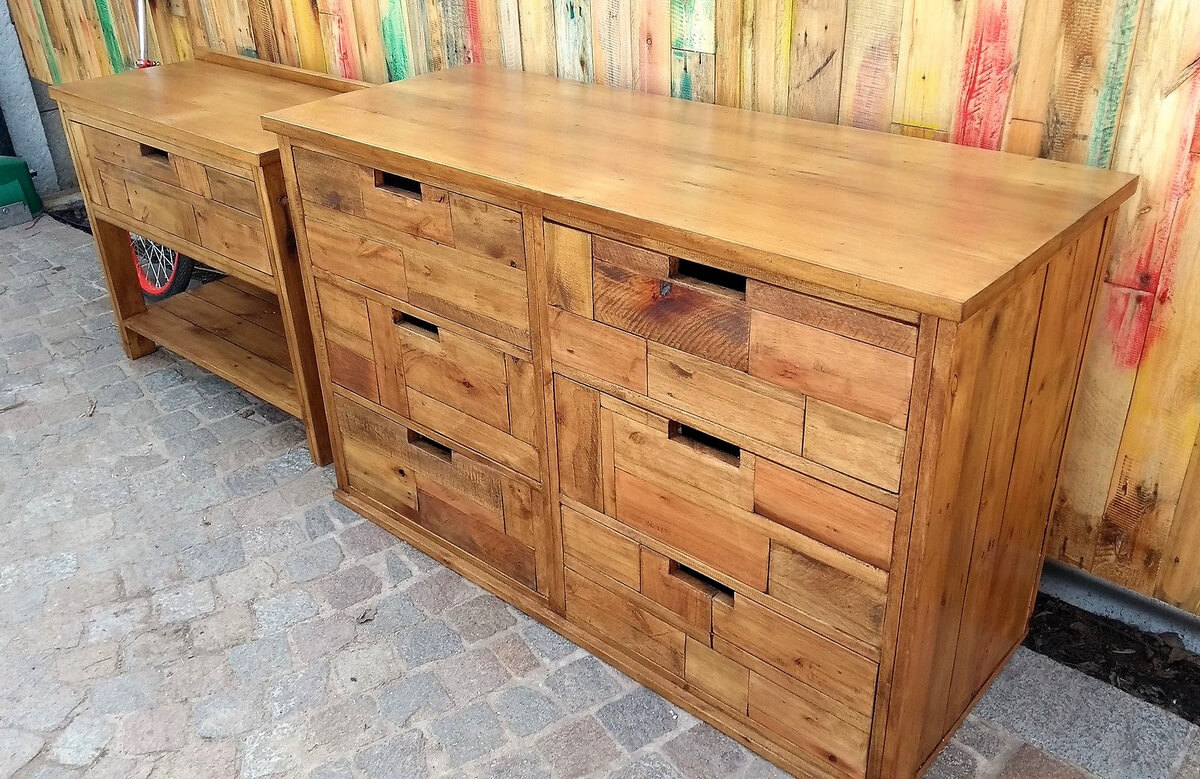
Furniture
How To Build A Dresser Out Of Pallets
Modified: October 19, 2024
Learn how to build a beautiful and functional dresser using pallets. Transform your space with this DIY furniture project.
(Many of the links in this article redirect to a specific reviewed product. Your purchase of these products through affiliate links helps to generate commission for Storables.com, at no extra cost. Learn more)
Introduction
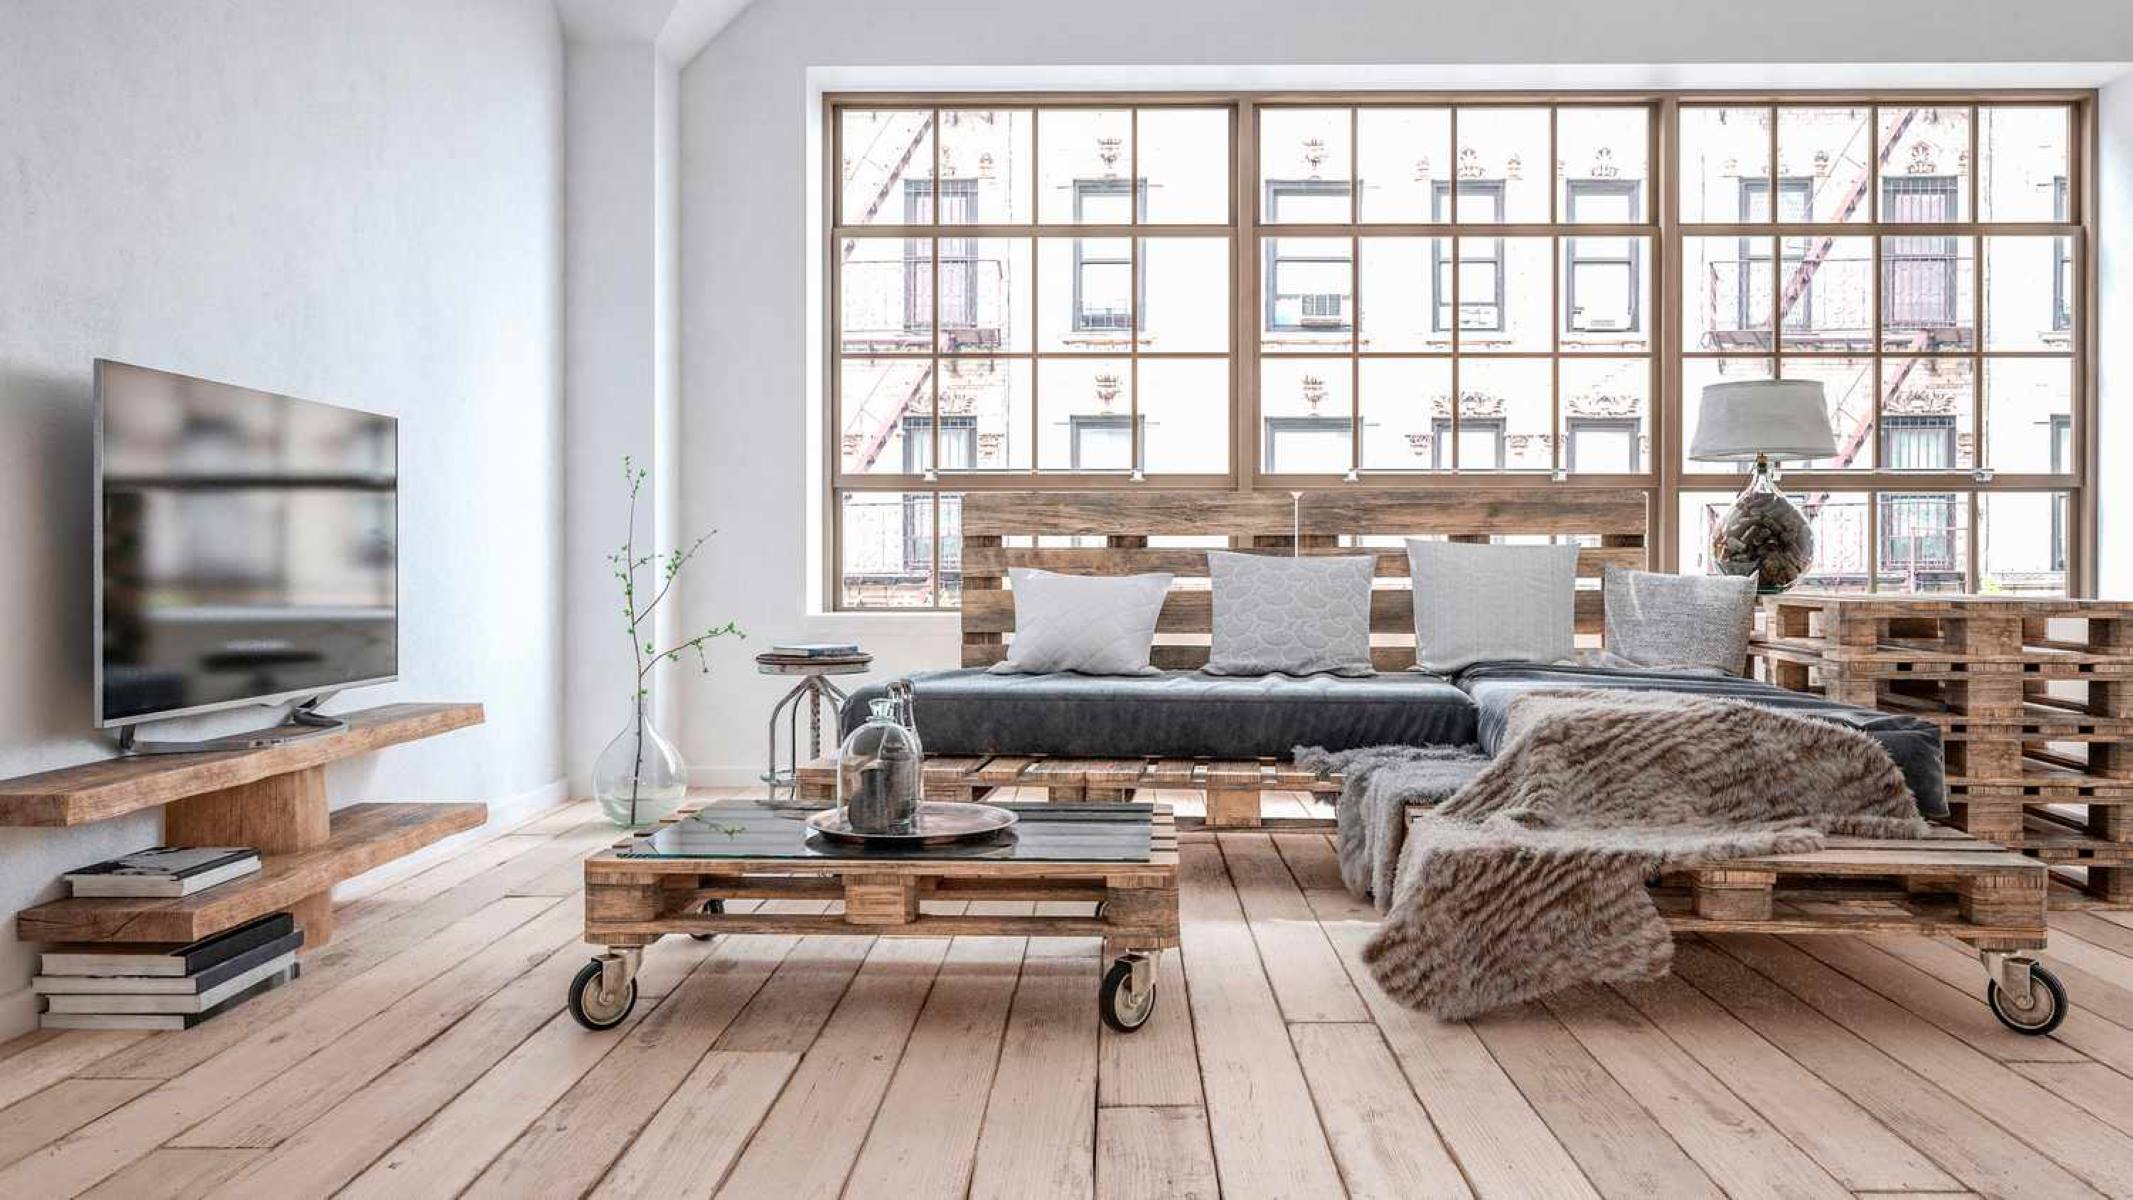
Welcome to the world of DIY furniture! If you’re looking to add a unique piece to your home decor without breaking the bank, building a dresser out of pallets is a fantastic option. Pallets are versatile, cost-effective, and readily available, making them the perfect material for your DIY project.
Not only will building a dresser out of pallets give you a sense of accomplishment and showcase your creativity, but it also allows you to have a one-of-a-kind piece of furniture that perfectly suits your style.
In this article, we will guide you through the process of building a dresser out of pallets step-by-step. We will cover everything from preparing the pallets and disassembling them to building the frame, adding shelves, attaching drawers, and finishing touches. So, let’s get started!
Key Takeaways:
- Building a dresser out of pallets is a cost-effective and creative way to add a unique piece of furniture to your home. From preparing the pallets to adding finishing touches, this DIY project allows you to showcase your craftsmanship and personal style.
- By following the step-by-step process of preparing, disassembling, and constructing, you can create a durable and stylish dresser that reflects your ingenuity. This DIY journey not only results in a functional piece of furniture but also provides a sense of accomplishment and satisfaction.
Read more: How To Build A Wine Rack Out Of Pallets
Materials Needed
Before diving into the project, it’s important to gather all the necessary materials. Here’s a list of what you’ll need:
- Pallets: Depending on the size of your desired dresser, you’ll need around 4-6 pallets. Look for ones that are in good condition and made from sturdy wood.
- Screwdriver or pry bar: For disassembling the pallets.
- Sander or sandpaper: To smooth out the rough surfaces of the pallet wood.
- Measuring tape: for accurate measurements.
- Saw: For cutting the pallets and creating the desired shapes.
- Nails, Screws, and Wood Glue: to assemble the frame and attach the pieces together.
- Drawer Slides or Runners: If you plan on adding drawers, you’ll need these for smooth opening and closing.
- Paint or Stain: To add a finishing touch and protect the wood.
- Paintbrushes and Rollers: For applying paint or stain.
- Handles or Knobs: Optional, but they can add a personal touch to your dresser.
Take a moment to gather all these materials before starting the construction process. Having everything ready will make the process smoother and more enjoyable.
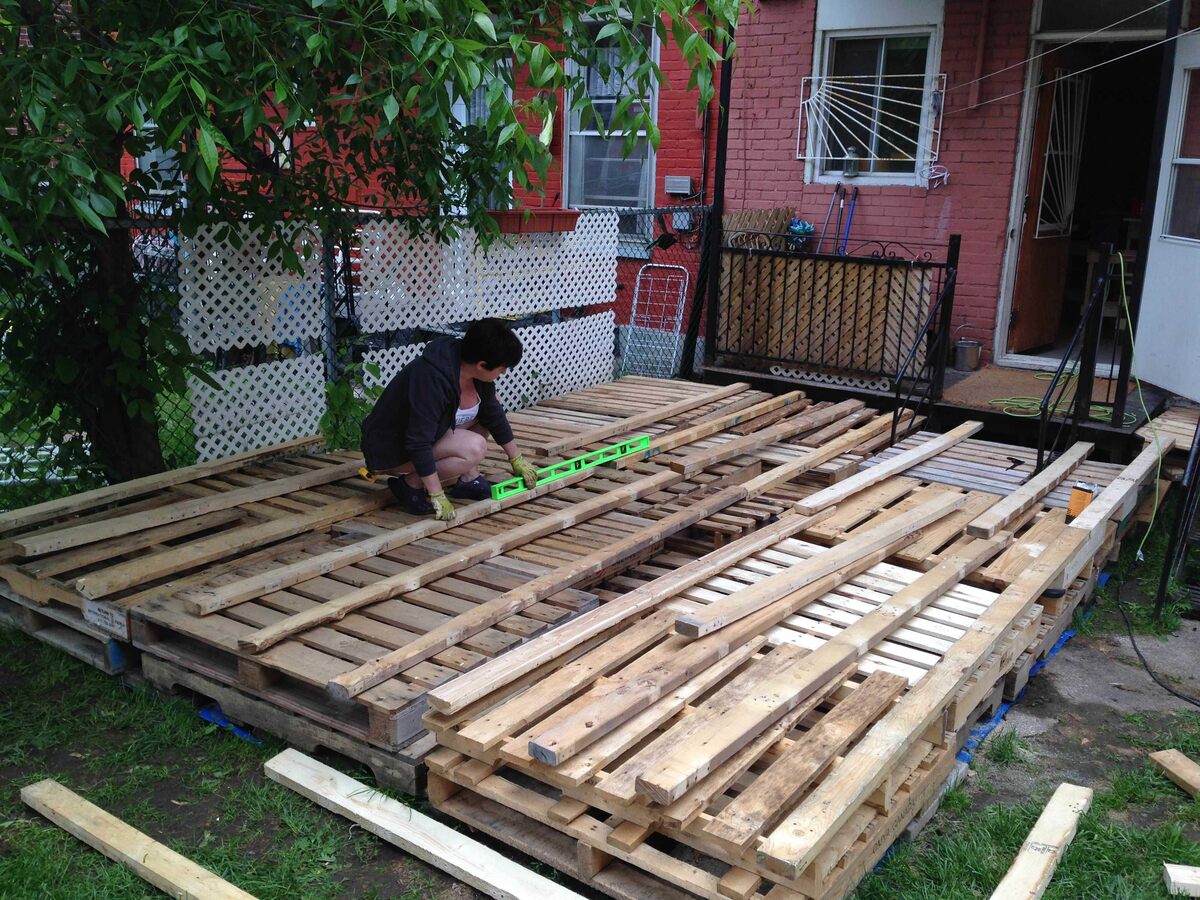
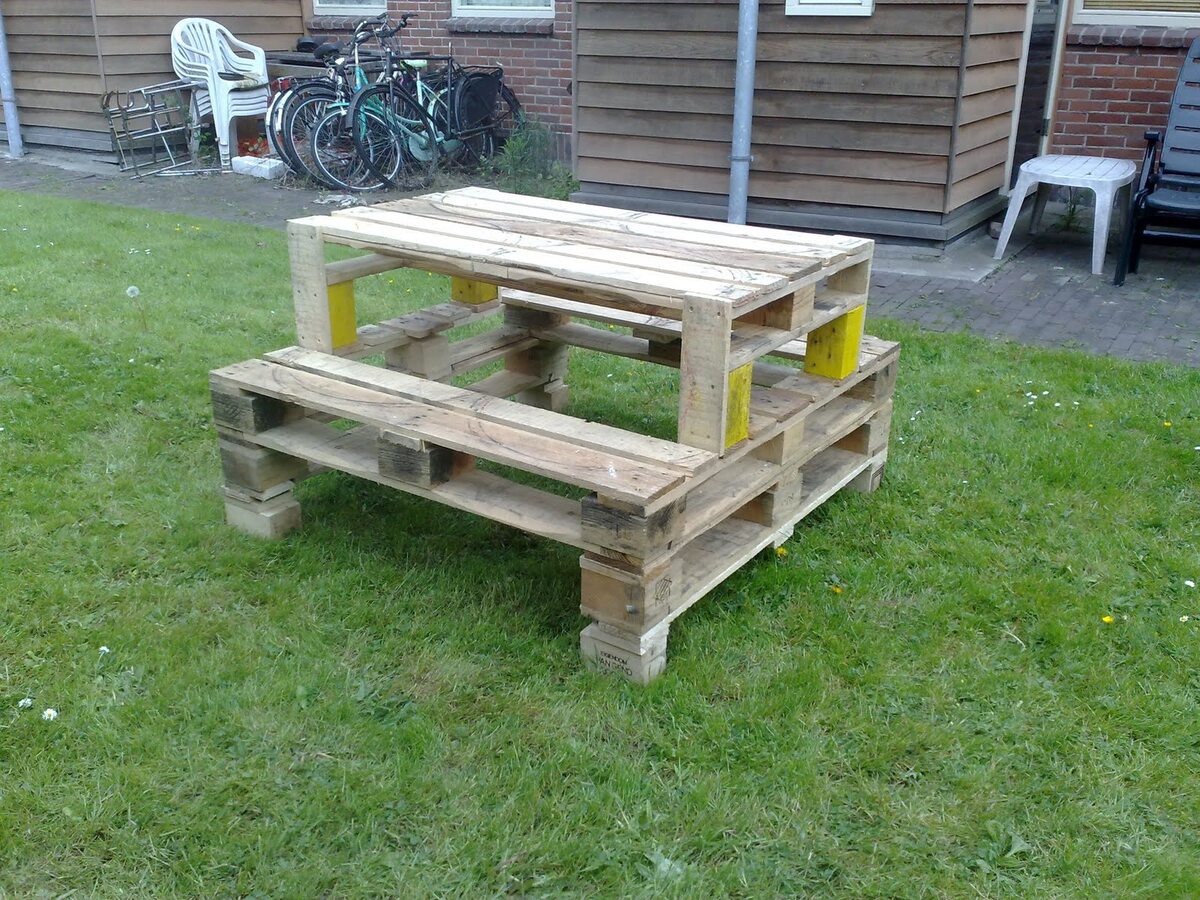
Step 1: Preparing the Pallets
The first step in building a dresser out of pallets is to prepare the pallets for construction. Follow these steps:
- Inspect the pallets: Carefully examine each pallet for any damages, such as cracked or split wood. Choose pallets that are in good condition and sturdy.
- Clean the pallets: Remove any dirt, debris, or stickers from the pallets. You can use a stiff brush or a pressure washer to clean them thoroughly.
- Remove the excess planks: Determine the desired height of your dresser and remove any excess planks from the pallets. This will help create a more streamlined and proportional design.
By preparing the pallets properly, you’ll have a solid foundation to build your dresser and ensure the stability and durability of the final product.
Step 2: Disassembling the Pallets
Once you’ve prepared the pallets, the next step is to disassemble them. Follow these steps:
- Identify the nails: Using a pry bar or a screwdriver, locate the nails that are holding the pallet together.
- Remove the planks: Carefully remove the nails using the pry bar or screwdriver. Start from one end of the pallet and work your way through, ensuring that you don’t damage the wood.
- Separate the planks: Once the nails are removed, separate the planks from the pallet frame. This will give you a stack of wooden planks to work with.
Disassembling the pallets might require some effort, but it’s a crucial step in building your dresser. It allows you to have more control over the size and shape of the wood pieces and gives you the freedom to create a unique design.
Step 3: Sanding the Wood
Now that you have your wooden planks ready, it’s important to sand them to create a smooth and polished surface. Sanding the wood will remove any rough edges or splinters, making it more comfortable to touch and preventing any potential snags on clothing or other items. Follow these steps:
- Prepare your sanding equipment: Depending on the size of your project, you can choose to use sandpaper and a sanding block or an electric sander for a more efficient process.
- Start with coarse-grit sandpaper: Begin sanding the surface of each wooden plank with a coarse-grit sandpaper. This will help remove any imperfections and unevenness in the wood.
- Gradually move to finer-grit sandpaper: Once you’ve achieved a smooth surface with the coarse-grit sandpaper, switch to a finer-grit sandpaper for a more refined finish. This will give the wood a silky texture.
- Sand in the direction of the grain: Always sand in the direction of the wood grain to prevent any scratches or damage to the surface.
- Wipe down the wood: After sanding, use a clean cloth to wipe away any dust or residue from the surface of the wood.
Sanding the wood will not only improve the aesthetics of your dresser but also help create a professional and polished look. It’s an essential step in achieving a high-quality final product.
Read more: How To Build A Fence With Pallets
Step 4: Planning the Design
Before you start building your dresser, it’s essential to plan the design and layout. This step will help you visualize how the finished piece will look and ensure that you have all the necessary measurements and materials. Follow these steps:
- Measure your space: Take precise measurements of the area where you plan to place your dresser. Consider the height, width, and depth of the space to determine the ideal dimensions for your dresser.
- Determine the number of drawers: Decide how many drawers you want to incorporate into your design. This will depend on the purpose of the dresser and your specific storage needs.
- Sketch your design: Using graph paper or a digital design software, sketch out your dresser’s layout and dimensions. This will help you visualize the placement of shelves, drawers, and any decorative elements you plan to include.
- Consider functionality and aesthetics: Think about how you want your dresser to function. Do you need more open shelves for displaying items, or would you prefer concealed storage with drawers? Additionally, consider the overall style and aesthetic you want to achieve to ensure that your dresser fits seamlessly with your existing decor.
- Make a materials list: Based on your design and measurements, create a list of the materials you’ll need, such as additional lumber for the frame or drawer slides. Double-check your list to ensure you have everything you need before moving on to the construction phase.
Planning the design ahead of time will save you time and effort during the building process. By having a clear vision and measurements, you can move forward confidently and create a dresser that meets your functional and aesthetic requirements.
When building a dresser out of pallets, make sure to sand down the wood to remove any rough edges and splinters. This will give your dresser a smoother and more polished finish.
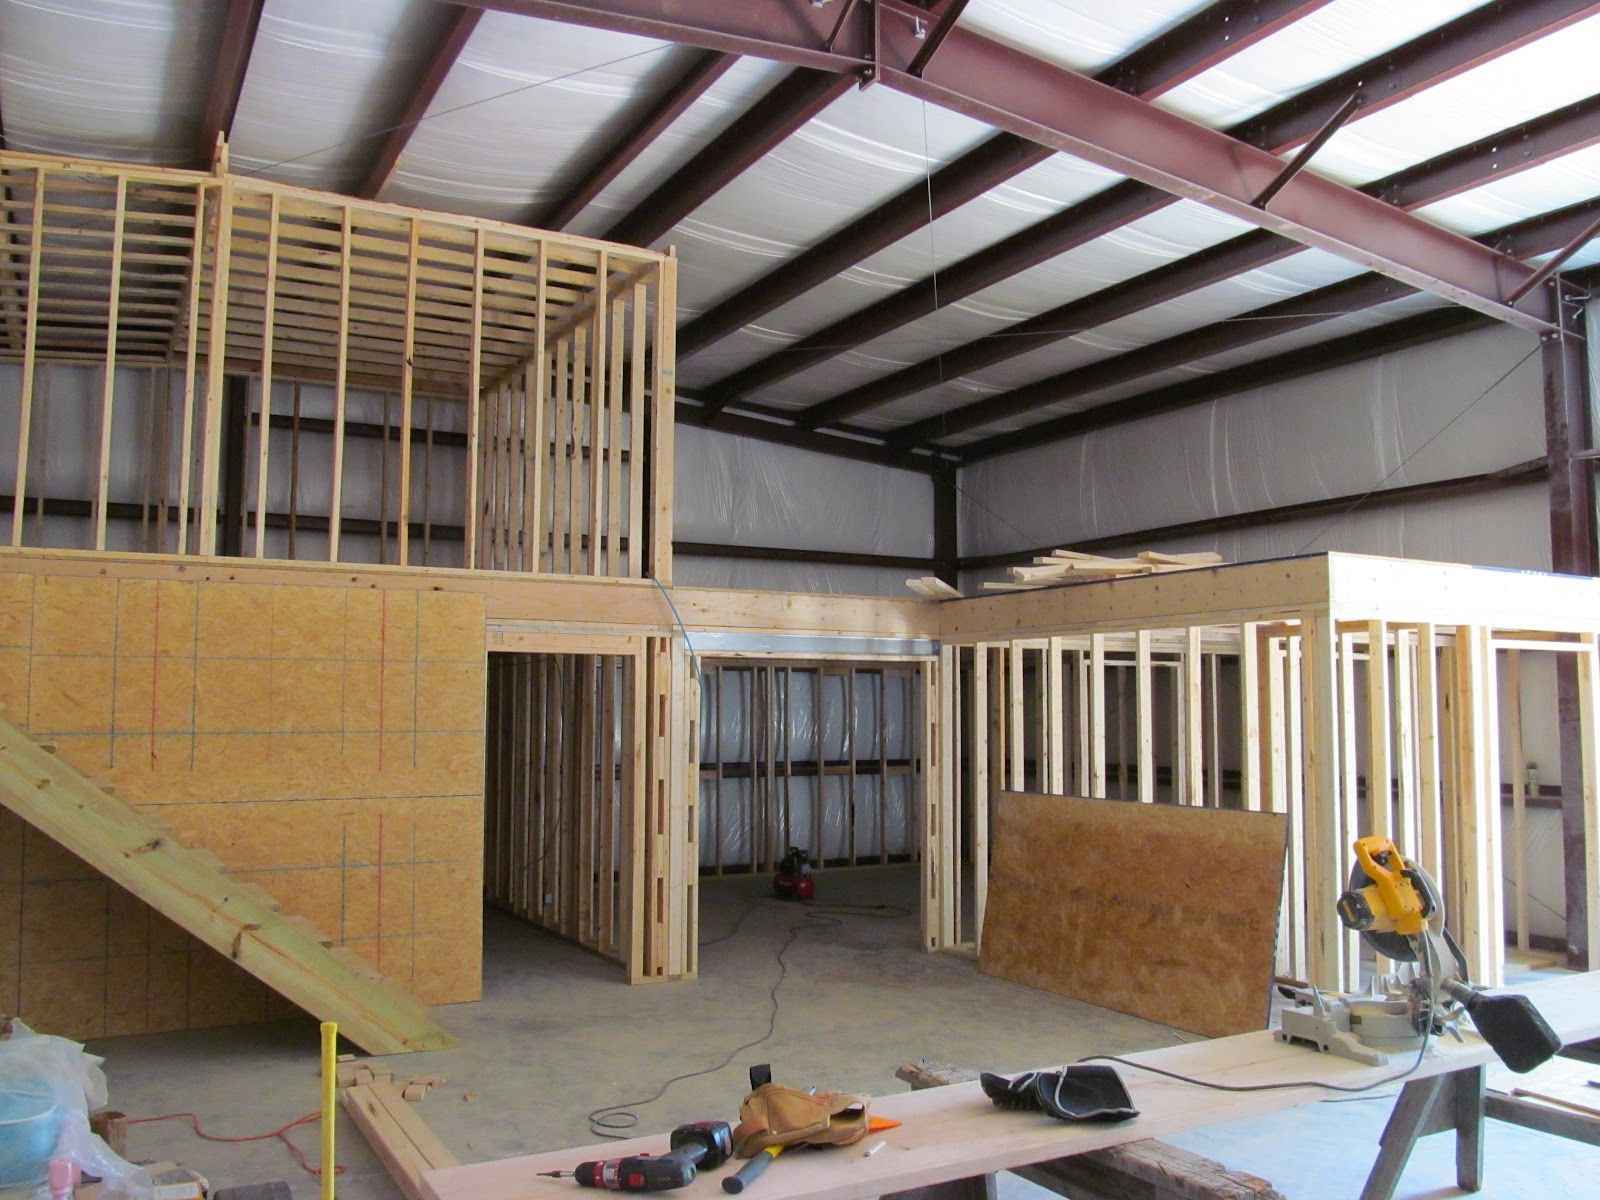
Step 5: Building the Frame
Now it’s time to start constructing the frame of your dresser. The frame provides structural support and serves as the foundation for the rest of the components. Follow these steps:
- Measure and cut the lumber: Using your design plan as a guide, measure and cut the lumber according to the dimensions for the frame. Make sure to double-check your measurements to ensure accuracy.
- Assemble the sides of the frame: Start by attaching the vertical pieces of lumber to the horizontal pieces using screws or nails. This will create the sides of the frame. Use a level to ensure the components are straight and square.
- Attach the top and bottom pieces: Once the sides of the frame are secure, attach the top and bottom pieces to complete the rectangular structure. Make sure all connections are sturdy and secure.
- Reinforce the frame: To add extra stability to the frame, consider adding additional support boards or braces along the backside or bottom of the dresser.
Building a sturdy and well-constructed frame is crucial to the longevity and durability of your dresser. Take your time with this step, ensuring precise measurements and secure connections.
Step 6: Adding the Shelves
Now that the frame of your dresser is complete, it’s time to add the shelves. The shelves provide additional storage and organization for your belongings. Follow these steps:
- Measure and cut the shelf boards: Using your design plan as a guide, measure and cut the boards for the shelves according to the desired dimensions.
- Place the shelves inside the frame: Carefully slide the shelf boards into the frame at the desired height. Use a level to ensure they are evenly positioned.
- Secure the shelves: Depending on your preference, you can attach the shelves using screws, nails, or wood glue. Make sure they are securely fastened to the frame so that they can support the weight of the items you’ll be placing on them.
When adding the shelves, consider the spacing between each shelf to accommodate the height of the items you plan to store. You can make adjustable shelves by using shelf pins or brackets, allowing you to customize the configuration based on your needs.
Adding shelves to your dresser not only increases its functionality but also provides an opportunity to showcase decorative items or display your favorite belongings.
Step 7: Attaching the Drawers
Now comes the exciting part – attaching the drawers to your dresser. Drawers provide convenient storage and organization for smaller items. Follow these steps to attach the drawers:
- Measure and cut the drawer pieces: Using your design plan as a reference, measure and cut the pieces for the drawer fronts, sides, and backs. Ensure that each piece is the correct size and fits snugly within the dresser frame.
- Assemble the drawer boxes: Start by attaching the sides to the front piece using nails or screws. Then attach the back piece to complete the box structure. Check that all the corners are square and the box is sturdy.
- Add drawer slides: Install drawer slides or runners on each side of the drawer opening in the dresser frame. Follow the manufacturer’s instructions for proper installation.
- Attach the drawer slides: Attach the corresponding part of the drawer slides to the sides of the drawer boxes. Make sure the slides are aligned correctly to ensure smooth opening and closing.
- Test the drawer fit: Carefully slide each drawer into its designated space and test how it glides in and out. Make any necessary adjustments to the slides or the drawer box to ensure a smooth and even fit.
- Add drawer pulls or handles: Attach your chosen drawer pulls or handles to the front of each drawer. This step adds a decorative element and makes it easier to open and close the drawers.
Attaching the drawers requires precision and attention to detail. Take your time to ensure the drawers slide smoothly and fit properly within the dresser frame.
Once the drawers are in place, you’ll have a functional and stylish piece of furniture ready to store all your items!
Read more: How To Build A Dresser
Step 8: Sanding and Finishing
After the construction of the dresser is complete, it’s time to give it a final touch by sanding and finishing the wood. This step will not only enhance the appearance but also protect the wood from wear and tear. Follow these steps:
- Sand the entire dresser: Use a fine-grit sandpaper or an electric sander to smooth out any rough edges or imperfections on the surface of the dresser. Sand in the direction of the wood grain for the best results.
- Remove dust: After sanding, use a clean cloth or a tack cloth to remove any dust or debris that may have accumulated on the dresser.
- Choose a finish: Decide on the type of finish you want for your dresser. You can choose to paint it using a brush or a roller, or you can opt for a stain to highlight the natural beauty of the wood. Consider the style and aesthetic of your space when making your decision.
- Apply the finish: Follow the manufacturer’s instructions to apply the chosen finish evenly across the entire surface of the dresser. Allow it to dry completely before moving on to the next step.
- Sand between coats (optional): If you’re applying multiple coats of paint or stain, lightly sand the surface between each coat to ensure a smooth and professional finish.
Sanding and finishing the dresser adds a final layer of protection and gives it a polished and refined look. It’s an essential step in completing your DIY project and ensuring its longevity.
Remember to work in a well-ventilated area and take appropriate safety precautions when using paint or stain.
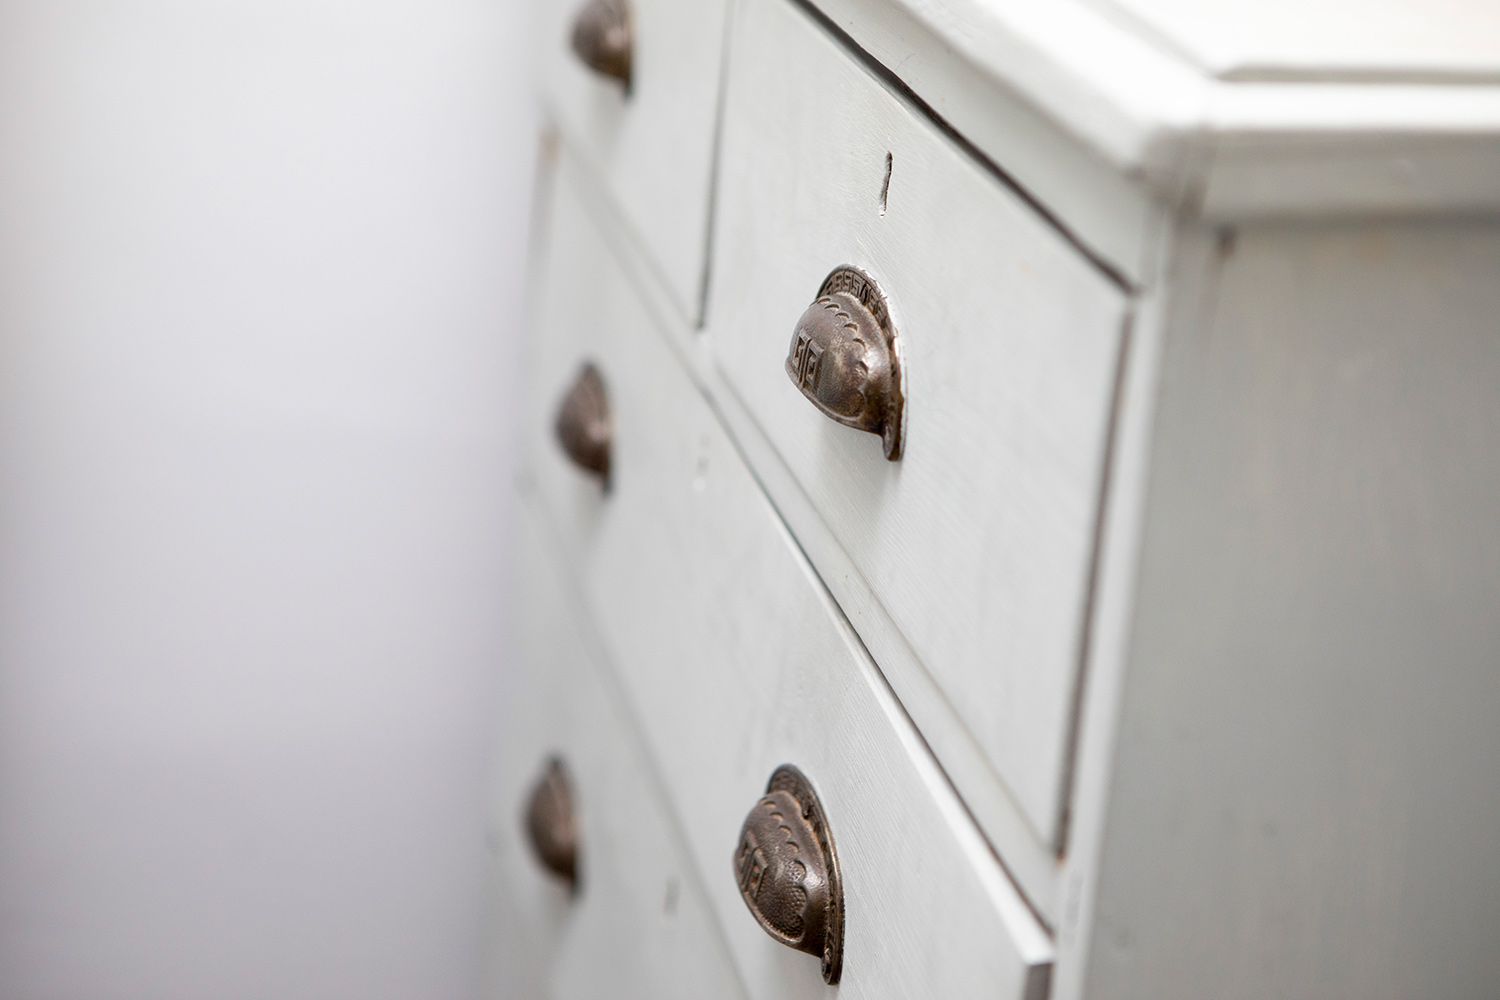
Step 9: Adding Handles or Hardware
The final step in building your dresser is adding handles or hardware. These finishing touches not only enhance the overall appearance but also provide functional elements that make opening and closing drawers easier. Here’s how to add handles or hardware:
- Choose your handles or hardware: Select the style and design of handles or hardware that complement the overall look of your dresser. Consider the material, finish, and size that best suits your aesthetic.
- Measure and mark the mounting locations: Determine the exact placement of the handles or hardware on each drawer front. Use a ruler or measuring tape to ensure accuracy and consistency.
- Drill holes for mounting: Use a drill and an appropriate-sized drill bit to create the holes for mounting the handles or hardware. Take care to drill straight and at the right depth to avoid damaging the drawer fronts.
- Attach the handles or hardware: Insert the screws through the backside of the drawer fronts and tighten them into the holes of the handles or hardware. Make sure they are securely fastened but avoid overtightening to prevent damage to the wood.
- Test the handles or hardware: Double-check that the handles or hardware are aligned correctly and function smoothly. Open and close each drawer to ensure they are comfortable to use.
Adding handles or hardware is like adding the finishing touch to your dressers. It not only adds a decorative element but also makes it easier to access the contents of your drawers.
Take your time in selecting the perfect handles or hardware that complements the overall aesthetic of your dresser and enjoy the sense of accomplishment as you complete your DIY furniture project!
Conclusion
Congratulations on building your very own dresser out of pallets! You have embarked on a creative and fulfilling journey, using cost-effective materials to create a unique piece of furniture. By following the step-by-step process outlined in this guide, you now have a beautiful and functional dresser that adds character and charm to your home.
Throughout the construction process, you’ve learned important skills such as preparing pallets, disassembling them, sanding the wood, planning the design, building the frame, adding shelves, attaching drawers, and finishing with sanding and adding handles or hardware. Each step contributed to the overall quality and craftsmanship of your dresser.
Not only does your DIY dresser showcase your ingenuity and craftsmanship, but it also reflects your personal style. It’s a statement piece that can’t be found in any store, making it a truly special addition to your home decor.
Remember, building furniture is an ongoing journey. As you continue to hone your skills, don’t hesitate to experiment with different designs, finishes, and techniques to create more unique pieces. With each project, you’ll gain confidence and expand your woodworking abilities.
Now that you’ve successfully built a dresser out of pallets, why stop here? You can apply your newfound knowledge and skills to other furniture projects such as coffee tables, bookshelves, or even bed frames. The possibilities are endless!
Enjoy the satisfaction of your completed dresser and the functional storage it provides. Admire your handiwork, and take pride in the fact that you’ve created a durable and stylish piece of furniture that will be enjoyed for years to come.
Happy crafting!
Excited about your new DIY dresser? Keep the momentum going with our next feature on the best woodworking projects. Hone skills, master new techniques, and discover projects that will transform any space. Whether you're a seasoned woodworker or just starting, this guide is packed with insights and ideas perfect for 2024.
Frequently Asked Questions about How To Build A Dresser Out Of Pallets
Was this page helpful?
At Storables.com, we guarantee accurate and reliable information. Our content, validated by Expert Board Contributors, is crafted following stringent Editorial Policies. We're committed to providing you with well-researched, expert-backed insights for all your informational needs.


0 thoughts on “How To Build A Dresser Out Of Pallets”