Furniture
How To Hang A Dresser Mirror On The Wall
Modified: February 23, 2024
Learn how to easily hang a dresser mirror on the wall with our step-by-step guide. Enhance your furniture arrangement and create a stylish focal point in any room.
(Many of the links in this article redirect to a specific reviewed product. Your purchase of these products through affiliate links helps to generate commission for Storables.com, at no extra cost. Learn more)
Introduction
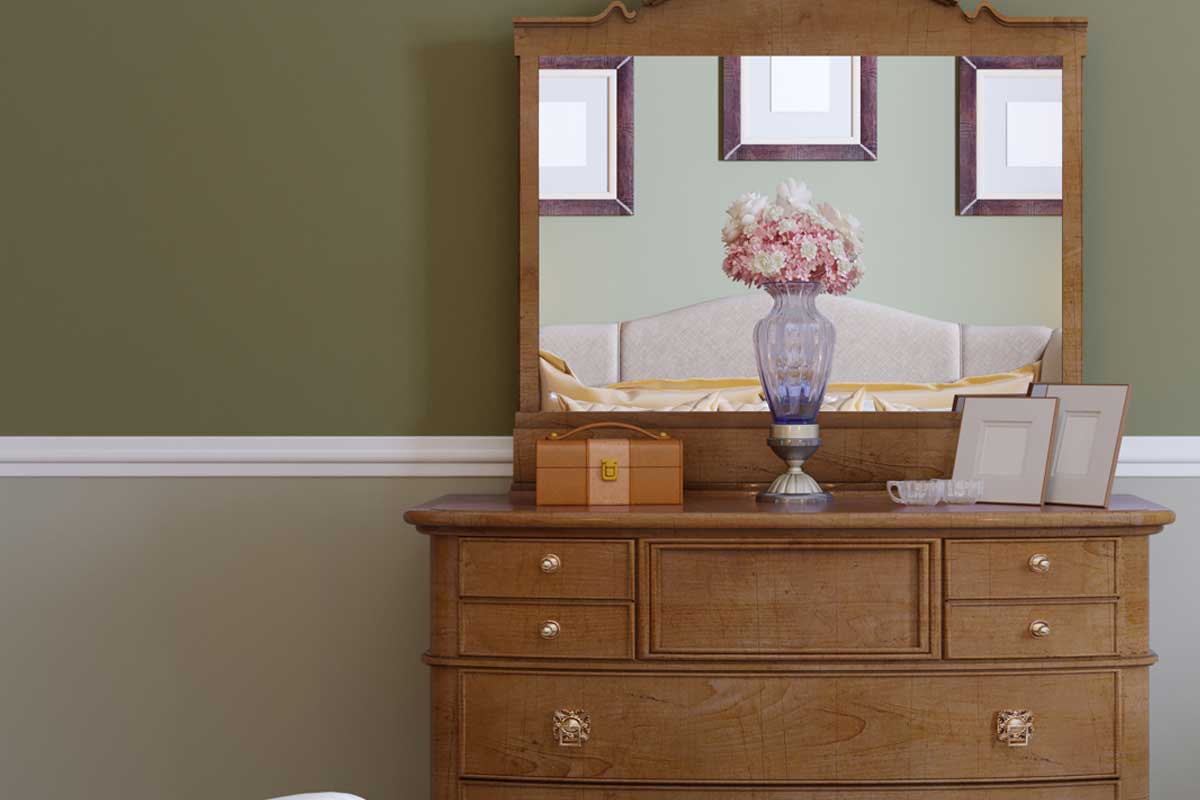
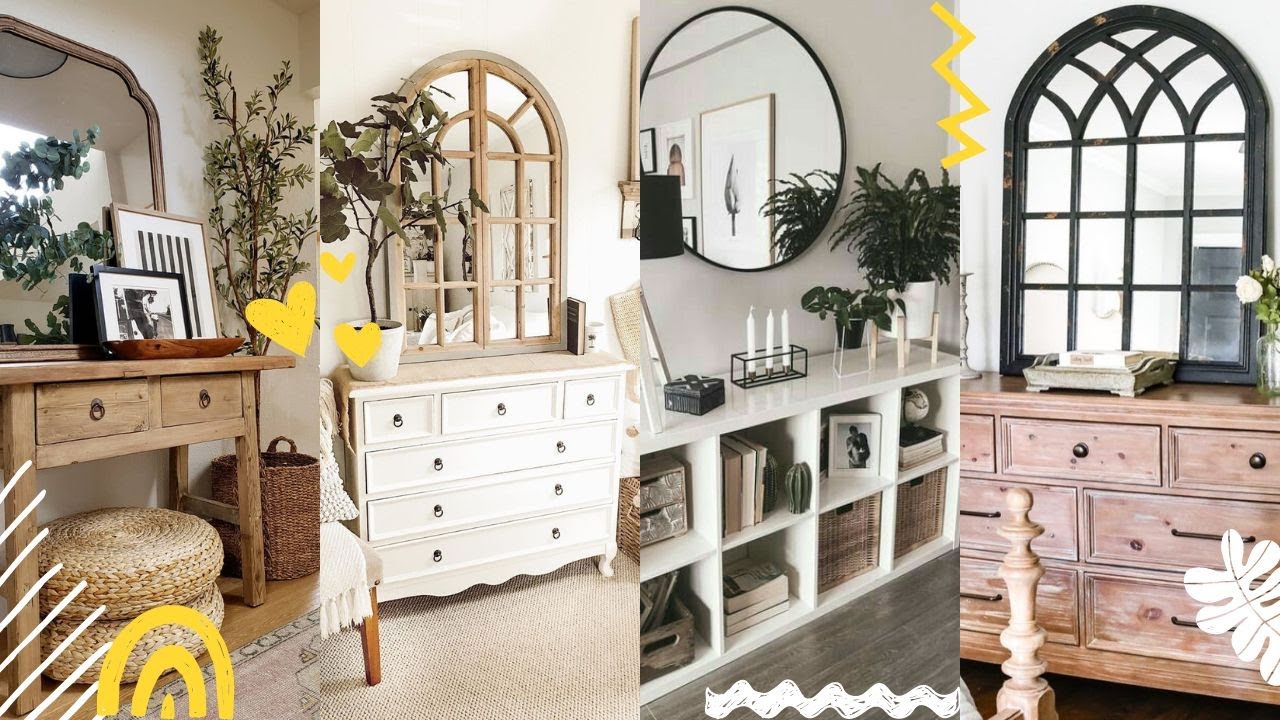
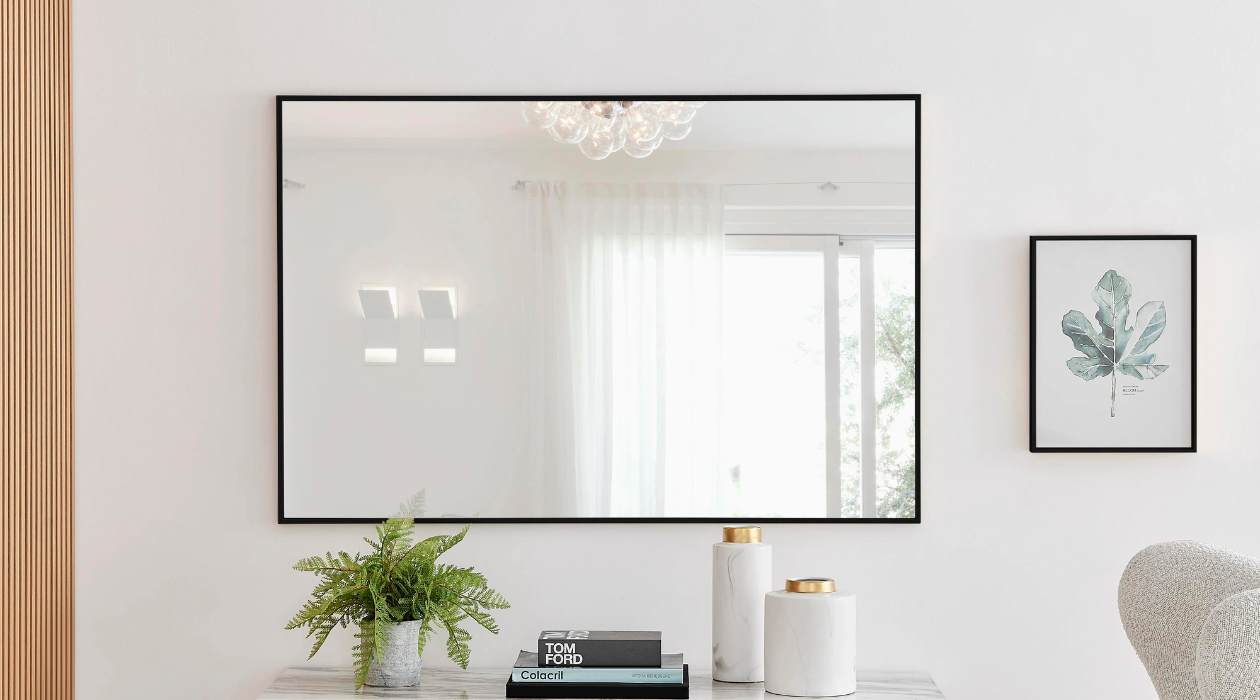
When it comes to decorating your living space, a dresser mirror can serve as a stylish and functional addition. Not only does it provide a practical solution for getting ready in the morning, but it can also add depth and light to a room, making it appear larger and more inviting.
However, before you can fully enjoy the benefits of a dresser mirror, you need to know how to properly hang it on the wall. This step-by-step guide will walk you through the process, ensuring that your mirror is securely mounted and perfectly aligned.
Before starting the installation, it’s important to gather the necessary tools and materials:
- Stud finder
- Tape measure
- Pencil
- Drill
- Screwdriver
- Wall anchors (if needed)
- Hanging hardware (such as mirror brackets or D-rings)
With these tools in hand, you’ll be ready to transform any wall into a stunning focal point with a beautiful dresser mirror.
Key Takeaways:
- Transform any wall into a stunning focal point with a beautiful dresser mirror by following these step-by-step instructions for a secure and visually pleasing installation.
- Ensure the stability and safety of your dresser mirror by testing its stability and taking necessary precautions for a rewarding and transformative project in your living space.
Read more: How To Decorate A Dresser With A Mirror
Step 1: Gather the necessary tools and materials
The first step in hanging a dresser mirror on the wall is to gather all the tools and materials you will need. Having everything ready beforehand will ensure a smooth and efficient installation process.
Here is a list of the essential tools and materials:
- Stud finder: This handy device will help you locate the wall studs, which are essential for securely mounting the mirror.
- Tape measure: Accurate measurements are crucial for positioning the mirror in the desired location.
- Pencil: It’s important to mark the exact spots where the mirror will be mounted for precise installation.
- Drill: You will need a drill to make holes in the wall for the mounting hardware.
- Screwdriver: A screwdriver will be used to tighten and secure the screws or bolts that attach the mirror to the wall.
- Wall anchors (if needed): If you’re unable to locate wall studs or if the mirror is heavy, wall anchors can provide additional support.
- Hanging hardware: Depending on the design of your mirror, you may need specific hanging hardware such as mirror brackets or D-rings.
Having all these tools and materials readily available will save you time and frustration during the installation process. Make sure to check that you have everything you need before moving on to the next steps.
Now that you’re fully equipped, let’s move on to measuring and marking the desired location for your dresser mirror.
Step 2: Measure and mark the desired location for the mirror
Before you start hanging your dresser mirror on the wall, it’s important to measure and mark the desired location. This will ensure that the mirror is positioned correctly and at the desired height.
Here’s how to measure and mark the location for your mirror:
- Choose the wall: Select the wall where you want to hang the mirror. Consider factors such as lighting, room layout, and personal preference.
- Measure the wall height: Use a tape measure to determine the height of the wall where the mirror will be placed. This measurement will help you decide how high or low you want the mirror to hang.
- Measure the mirror width: Measure the width of the mirror to determine the appropriate placement on the wall. Take into account any surrounding furniture or decor that may affect the positioning.
- Mark the centerline: Find the center point of the wall and mark it with a pencil. This will serve as a reference point for aligning the mirror.
- Mark the desired height: Measure from the floor to the desired height where you want the bottom of the mirror to be. Mark this point on the wall.
- Double-check the measurements: Review all the measurements and markings to ensure accuracy and make any necessary adjustments.
By taking the time to measure and mark the desired location for your mirror, you’ll ensure a visually pleasing and balanced installation. Now that you have the location determined, it’s time to move on to locating the wall studs.
Step 3: Locate the wall studs
Locating the wall studs is crucial for securely mounting your dresser mirror. The studs provide the necessary support to hold the weight of the mirror and prevent it from collapsing or falling off the wall. Here’s how you can locate the wall studs:
- Use a stud finder: A stud finder is a handheld device that detects the presence of wooden studs behind the wall. Start by placing the stud finder flat against the wall and slowly moving it horizontally. The device will emit a beep or display a light when it detects a stud.
- Note the stud locations: Once you’ve located a stud, mark its position with a pencil. Continue scanning the area to find any additional studs and mark them as well. Typically, studs are spaced 16 to 24 inches apart.
- Tap and listen: If you don’t have a stud finder or want to double-check the stud locations, you can also tap the wall lightly with your knuckles. A solid, dull thud indicates that you’ve hit a stud, whereas a hollow sound indicates an empty space between studs.
It’s important to remember that studs are typically found around doorframes, windows, and electrical outlets. However, they may not always be in the expected locations, so it’s best to use a stud finder for greater accuracy.
Once you’ve located the wall studs, you’ll have a better understanding of where the mirror can be securely mounted. In the next step, we’ll discuss choosing the appropriate hanging method for your mirror.
Step 4: Choose the appropriate hanging method
Choosing the right hanging method is crucial for ensuring the stability and security of your dresser mirror. The method you choose will depend on factors such as the mirror’s weight, the wall surface, and the type of hanging hardware available. Here are a few common hanging methods to consider:
- Mirror brackets: Mirror brackets are a popular choice for hanging mirrors. They typically consist of metal brackets that are attached to the back of the mirror frame with screws. These brackets then hook onto corresponding wall-mounted brackets, providing a secure and stable connection.
- D-rings and wire: D-rings are metal rings that are attached to the back of the mirror frame, usually near the top. They can be used in combination with picture wire, which is threaded through the D-rings and secured to sturdy hooks or screws in the wall. This method allows for easy adjustment of the mirror’s height.
- French cleat: A French cleat is a sturdy hanging system that provides excellent support for heavy mirrors. It consists of two interlocking pieces: one attached to the back of the mirror and the other mounted on the wall. The cleats slide together, creating a secure and level mount.
- Adhesive strips/hooks: For smaller, lightweight mirrors, adhesive strips or hooks can be an easy and damage-free hanging option. These strips or hooks adhere to the back of the mirror and then stick to the wall. However, keep in mind that these may not provide as secure a hold as other methods.
When choosing the hanging method, consider the weight and size of the mirror, as well as the condition of your wall. If in doubt, consult the manufacturer’s instructions or seek advice from a professional.
Now that you’ve selected the appropriate hanging method, the next step is to install the hanging hardware on the mirror itself. We’ll cover that in the next step.
When hanging a dresser mirror on the wall, use a stud finder to locate the wall studs for secure mounting. Use heavy-duty mirror hangers and ensure they are level for a professional finish.
Read more: How To Put A Mirror On A Dresser
Step 5: Install the hanging hardware on the mirror
Before you can mount the mirror on the wall, you’ll need to install the appropriate hanging hardware on the back of the mirror. The type of hardware will depend on the hanging method you’ve chosen in the previous step. Here’s how to install the hanging hardware:
- Measure and mark: Measure the distance between the top edge of the mirror and the desired location of the hanging hardware. Mark this measurement on the back of the mirror using a pencil.
- Position the drilling points: Based on the hanging hardware you’re using, position the drilling points on the back of the mirror. For mirror brackets or D-rings, align them with the marked measurement. For a French cleat, follow the manufacturer’s instructions for positioning.
- Drill pilot holes: Use a drill with a small drill bit to create pilot holes at the marked drilling points. Be careful not to drill too deep, as it can damage the mirror surface.
- Attach the hardware: Depending on the hardware, attach the mirror brackets, D-rings, or French cleat to the back of the mirror using screws or bolts. Ensure that they are securely fastened and aligned with the pilot holes.
- Double-check the hardware: Give the hardware a gentle tug to ensure that it’s firmly attached to the mirror. If any adjustments are needed, make them before moving on to the next step.
Take your time during this step to ensure that the hanging hardware is installed accurately and securely. Once the hardware is in place, you’re ready to mount the mirror on the wall. We’ll cover this in the next step.
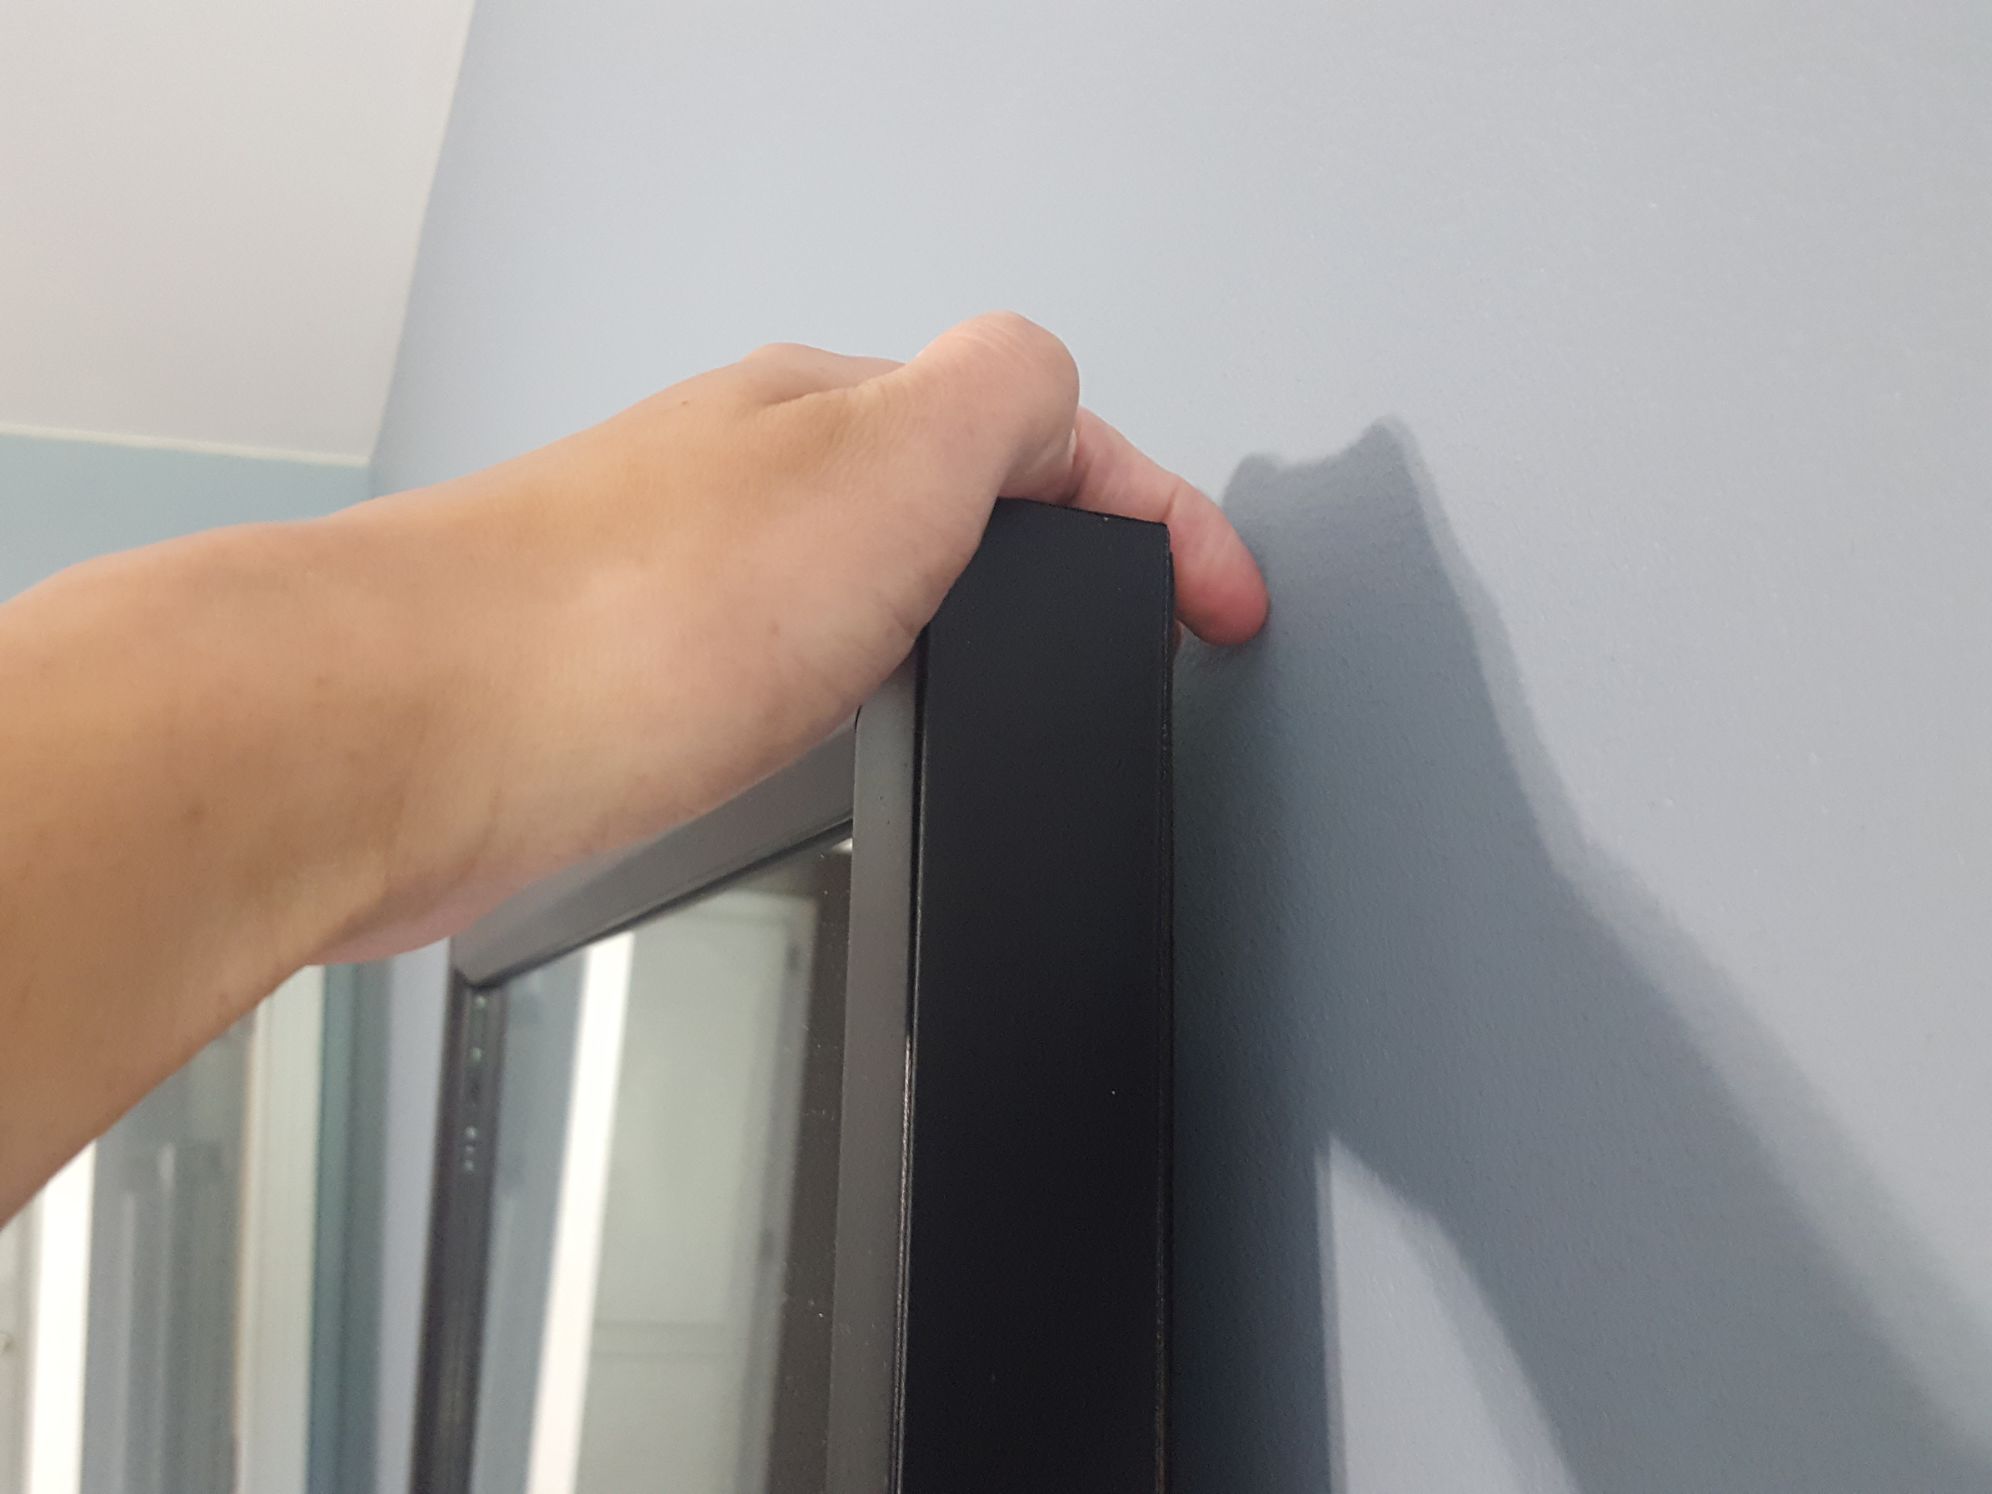
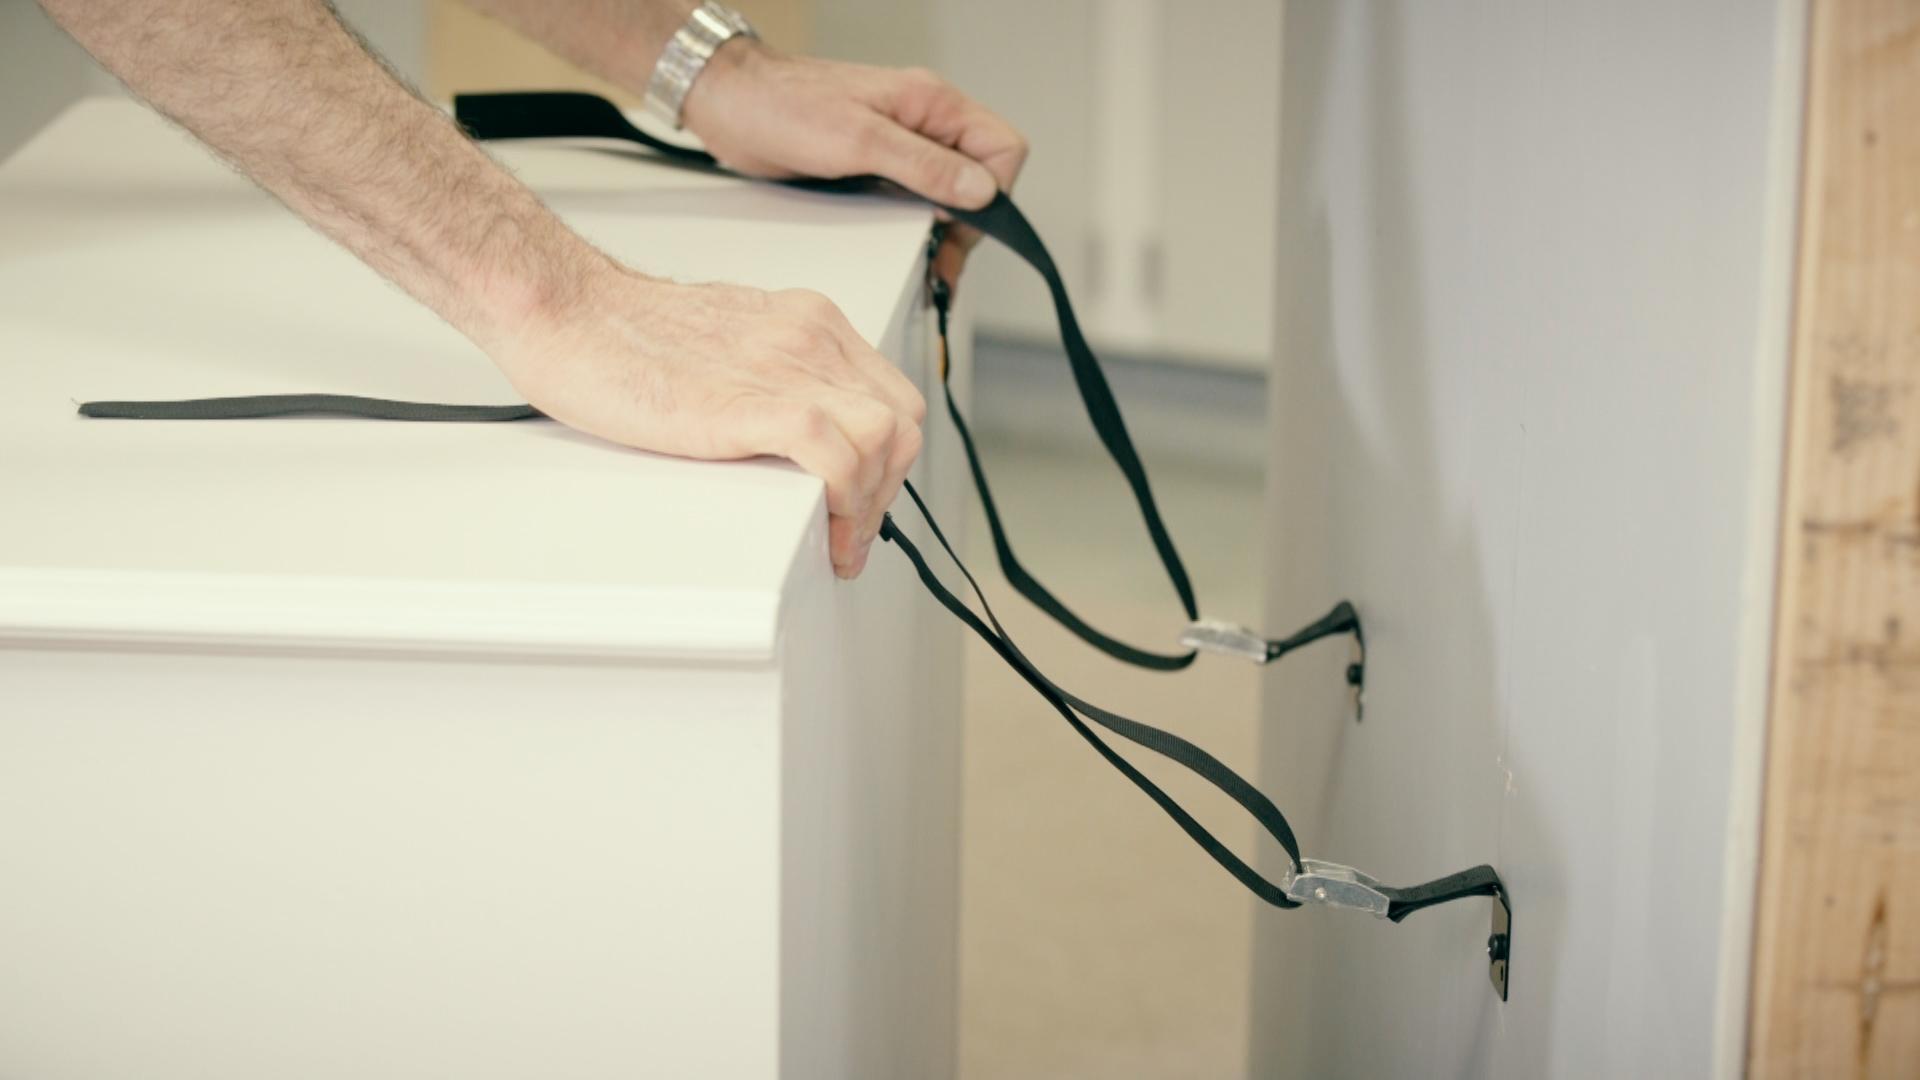
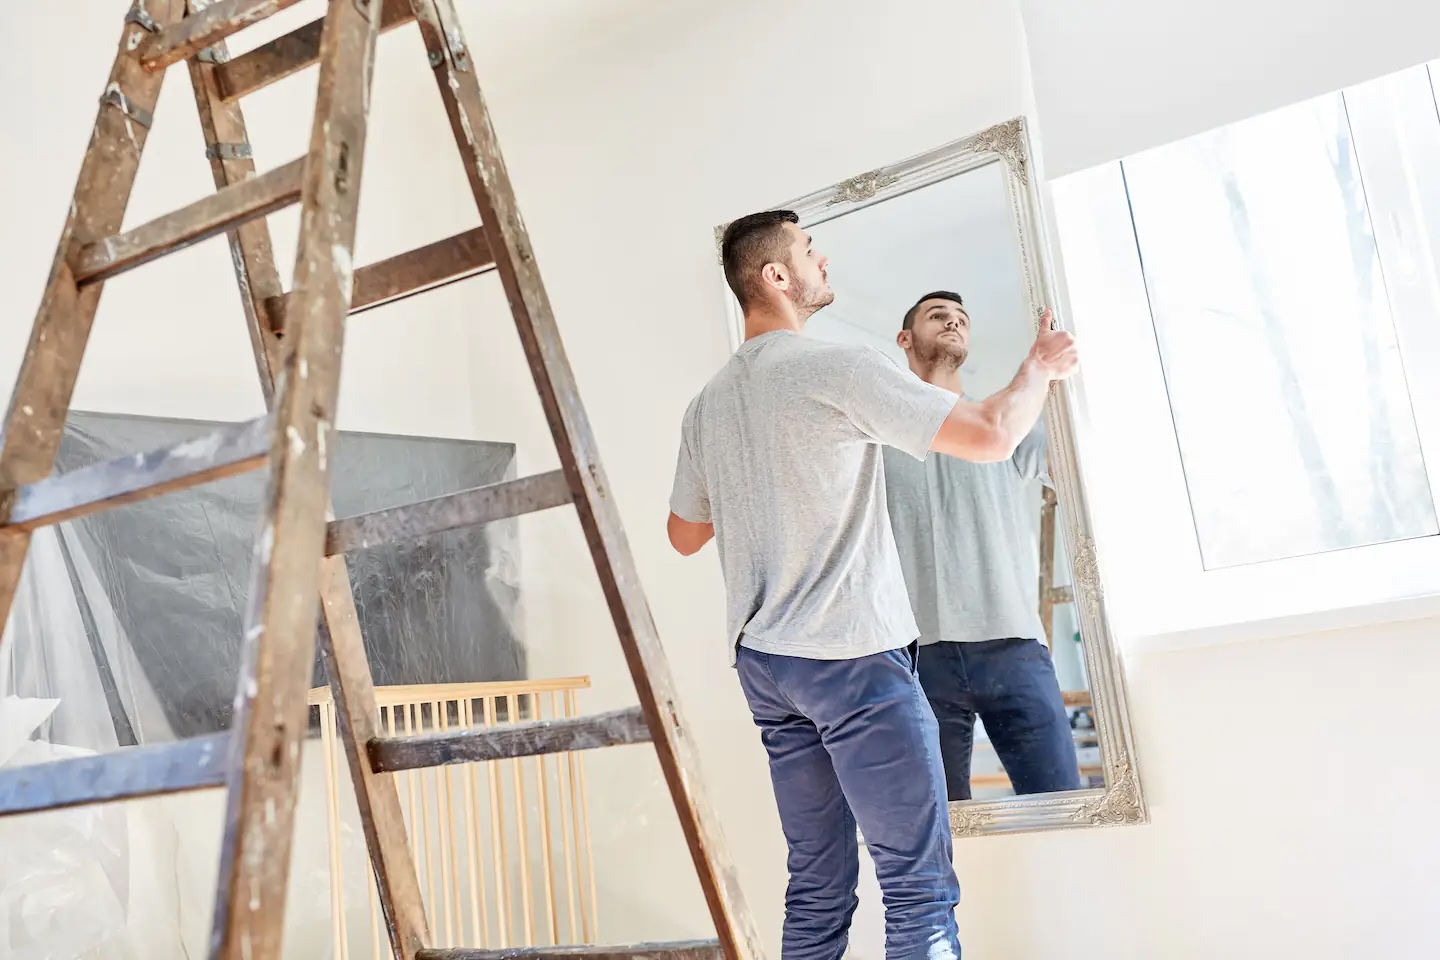
Step 6: Mount the mirror on the wall
With the hanging hardware securely installed on the back of the mirror, it’s time to mount the mirror on the wall. This step requires careful alignment and precise positioning to ensure a level and stable installation. Follow these steps to mount the mirror:
- Enlist a helper: It’s recommended to have someone assist you during this step, especially if the mirror is large or heavy. They can help you hold the mirror in place while you make adjustments and secure it to the wall.
- Position the mirror: Carefully hold the mirror against the wall at the desired height and position. Ensure that it is centered based on your earlier measurements and markings.
- Mark the mounting points: With your helper holding the mirror steady, use a pencil to mark the mounting points on the wall through the holes in the hanging hardware. These marks will guide you when drilling or installing the screws.
- Double-check alignment: Step back and visually inspect the position and alignment of the mirror. Make any necessary adjustments to ensure it is level and centered.
- Drill or install screws: Depending on your wall surface and the chosen hanging method, either drill pilot holes or directly install screws through the marked points on the wall. For wooden studs, drilling pilot holes is recommended for easier screw insertion.
- Attach the mirror to the wall: With the pilot holes or screws in place, carefully lift the mirror and align the hanging hardware with the corresponding holes or screws on the wall. Slowly lower the mirror onto the wall, ensuring that the hardware securely attaches to the mounting points.
- Secure the mirror: If using mirror brackets or D-rings, use a screwdriver to tighten the screws and secure the mirror in place. If using a French cleat, ensure that the interlocking pieces are properly aligned and securely connected.
Throughout this process, take your time and make adjustments as needed to achieve a level and aesthetically pleasing result. Once the mirror is mounted, move on to the final step to ensure its stability.
Step 7: Secure the mirror in place
After successfully mounting the mirror on the wall, it’s important to secure it properly to ensure its stability and prevent any accidents. Securing the mirror will provide peace of mind and prevent it from shifting or falling off the wall. Follow these steps to secure the mirror in place:
- Tighten any loose screws: Check all the screws or bolts that hold the mirror hardware in place. Use a screwdriver or wrench to tighten them if any are loose.
- Secure with wall anchors (if required): If you are not able to anchor the mirror directly into wall studs or if the mirror is particularly heavy, it may be necessary to use wall anchors. Follow the manufacturer’s instructions to install the wall anchors securely.
- Use adhesive strips or hooks (optional): If you have a smaller or lightweight mirror, you may choose to use adhesive strips or hooks for an additional layer of security. Make sure to follow the instructions provided by the manufacturer for the best results.
- Inspect and test stability: Carefully inspect the mirror to ensure that it is secure and stable. Gently shake the mirror to test its stability and make sure it doesn’t wobble or move.
It’s important to periodically check the mirror’s stability over time, especially if it is regularly exposed to vibrations or movement in the room. If you notice any signs of instability or loosening, take immediate action to reinforce the mirror’s support or consult a professional for assistance.
With the mirror now securely in place, you can move on to the final step to test its stability.
Step 8: Test the stability of the mirror
After successfully securing the mirror on the wall, it’s essential to test its stability to ensure that it is securely attached and won’t pose a safety risk. Testing the stability of the mirror will give you peace of mind and ensure that it remains safely in place. Follow these steps to test the stability:
- Gently shake the mirror: Give the mirror a gentle shake to see if it wobbles or moves. If it feels loose or unstable, stop immediately and reassess the installation. It may be necessary to tighten screws, adjust the hanging hardware, or reinforce the mounting points.
- Lean on the mirror: Apply light pressure against the mirror by leaning on it gently. This will help determine if the mirror is firmly secured to the wall. If it feels unstable or shifts significantly, take immediate action to reinforce it.
- Inspect for any gaps: Carefully inspect the area where the mirror meets the wall. Look for any noticeable gaps or spaces that indicate the mirror is not flush against the wall. If you notice gaps, adjust the hanging hardware or make necessary modifications to ensure a tight fit.
- Periodically check for stability: Regularly assess the stability of the mirror over time. Factors like temperature changes, humidity, and vibrations in the room can affect the integrity of the installation. Make it a habit to conduct periodic stability checks to ensure ongoing safety.
By thoroughly testing the stability of the mirror, you can prevent any potential accidents or damage. If you have any concerns about the mirror’s stability or are unsure about the installation, don’t hesitate to seek assistance from a professional handyman or installer.
Congratulations! You have now successfully hung your dresser mirror on the wall and ensured its stability. Take a step back, admire your handy work, and enjoy the beauty and functionality that the mirror brings to your living space.
Read more: How To Hang Mirror On The Ceiling
Conclusion
Hanging a dresser mirror on the wall can be a rewarding and transformative project for your living space. By following these step-by-step instructions, you can ensure a secure and visually pleasing installation.
Remember, gathering the necessary tools and materials, measuring and marking the desired location, locating wall studs, choosing the appropriate hanging method, installing the hanging hardware, mounting the mirror on the wall, securing it in place, and testing its stability are all crucial steps in the process.
Throughout the installation, be mindful of safety precautions and seek professional assistance if needed, especially for heavy or large mirrors. Properly mounted and secured mirrors not only add aesthetic appeal to your room but also serve as functional and practical additions.
With your dresser mirror securely hung, take a moment to appreciate the enhanced beauty and functionality it brings to your living space. Whether it’s for getting ready in the morning or adding depth and light to a room, properly installed mirrors can truly elevate the overall ambiance of your home.
Now that you have the knowledge and confidence to hang a dresser mirror on the wall, go ahead and bring that finishing touch to your decor. Enjoy the benefits of a well-placed mirror and admire the reflection of your own beautiful space!
Frequently Asked Questions about How To Hang A Dresser Mirror On The Wall
Was this page helpful?
At Storables.com, we guarantee accurate and reliable information. Our content, validated by Expert Board Contributors, is crafted following stringent Editorial Policies. We're committed to providing you with well-researched, expert-backed insights for all your informational needs.


0 thoughts on “How To Hang A Dresser Mirror On The Wall”