Furniture
What To Do With An Old Dresser Mirror
Modified: August 28, 2024
Looking to repurpose a dresser mirror? Discover creative furniture ideas to give your old dresser mirror a new life and transform it into a functional and stylish piece for your home.
(Many of the links in this article redirect to a specific reviewed product. Your purchase of these products through affiliate links helps to generate commission for Storables.com, at no extra cost. Learn more)
Introduction
Are you looking for creative ways to repurpose your old dresser mirror? Instead of letting it gather dust in storage or throwing it away, consider giving it a new lease on life. With a little imagination and some DIY skills, you can transform your old dresser mirror into a unique and functional piece of decor.
Repurposing furniture not only helps reduce waste but also allows you to add a personal touch to your home. In this article, we will explore various ways to repurpose an old dresser mirror and provide step-by-step instructions to guide you through each project.
Whether you prefer a rustic farmhouse look, a modern and sleek design, or something in between, there’s a repurposing idea that will suit your style. Let’s dive in and discover the endless possibilities for repurposing your old dresser mirror!
Key Takeaways:
- Repurposing old dresser mirrors into functional decor pieces adds a unique touch to your home while reducing waste. Get creative and transform them into wall decor, standing mirrors, vanity trays, and more!
- With DIY skills and imagination, old dresser mirrors can be repurposed into stunning decor pieces that reflect your personal style. From chalkboards to decorative windowpane mirrors, the possibilities are endless!
Read more: What To Do With Old Large Mirrors
Repurpose as Wall Decor
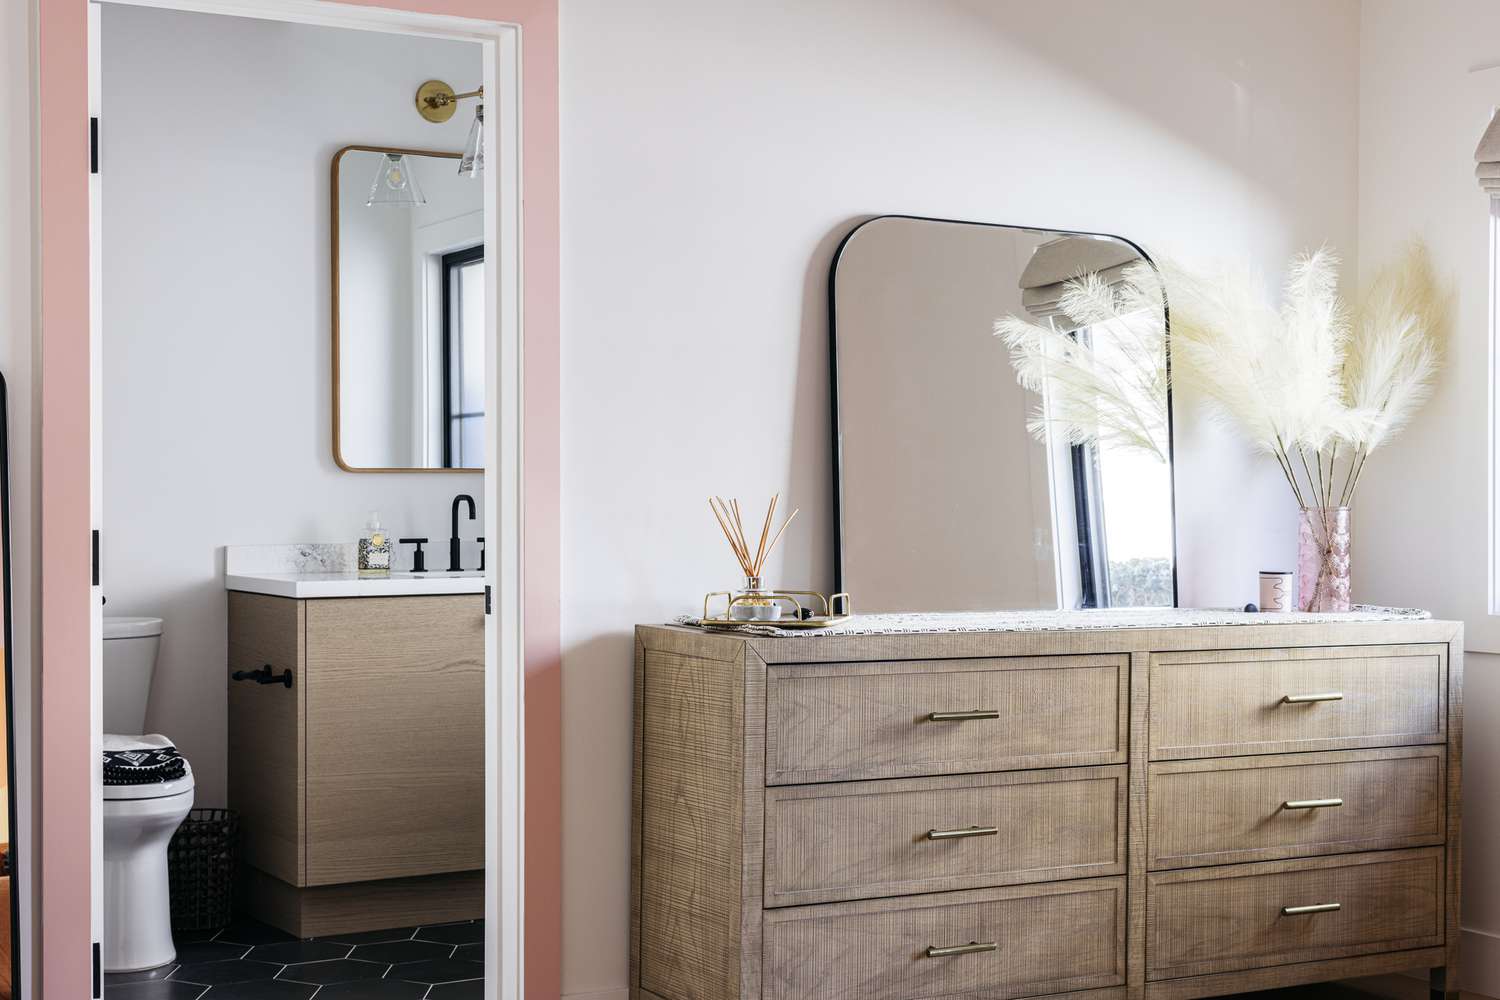
One of the easiest and most versatile ways to repurpose an old dresser mirror is to turn it into wall decor. Whether you want to add a focal point to a blank wall or create a gallery wall, a dresser mirror can be the perfect centerpiece.
To repurpose your old dresser mirror as wall decor, start by removing it from the dresser. Clean the mirror thoroughly to ensure it’s free from any dirt or residue. You can use glass cleaner or a mixture of vinegar and water for this step.
Once the mirror is clean and dry, you can get creative with how you display it on the wall. Here are a few ideas to inspire you:
- Hanging Mirror: Install picture hanging hooks on the back of the mirror frame and hang it directly on the wall. This is a simple and classic way to display your repurposed mirror.
- Frame It: If the mirror frame is detachable, remove it and replace it with a decorative or ornate frame. This will give your mirror a new, personalized look and add a touch of elegance to your wall decor.
- Gallery Wall: If you have multiple dresser mirrors or other small mirrors, you can create a gallery wall by arranging them in an aesthetically pleasing pattern. Mix and match different sizes and styles for a visually interesting display.
- Mirror Collage: Cut the mirror into smaller pieces to create a mosaic-like effect. Arrange the mirror pieces on a wooden board or canvas, and secure them with adhesive. This unique mirror collage can be a beautiful and eye-catching addition to any room.
Remember to consider the room’s overall style and your personal taste when deciding on the placement and arrangement of your repurposed dresser mirror wall decor. And don’t be afraid to experiment and get creative!
With a bit of imagination, your old dresser mirror can be transformed into a stunning piece of wall decor that adds character and style to your home.
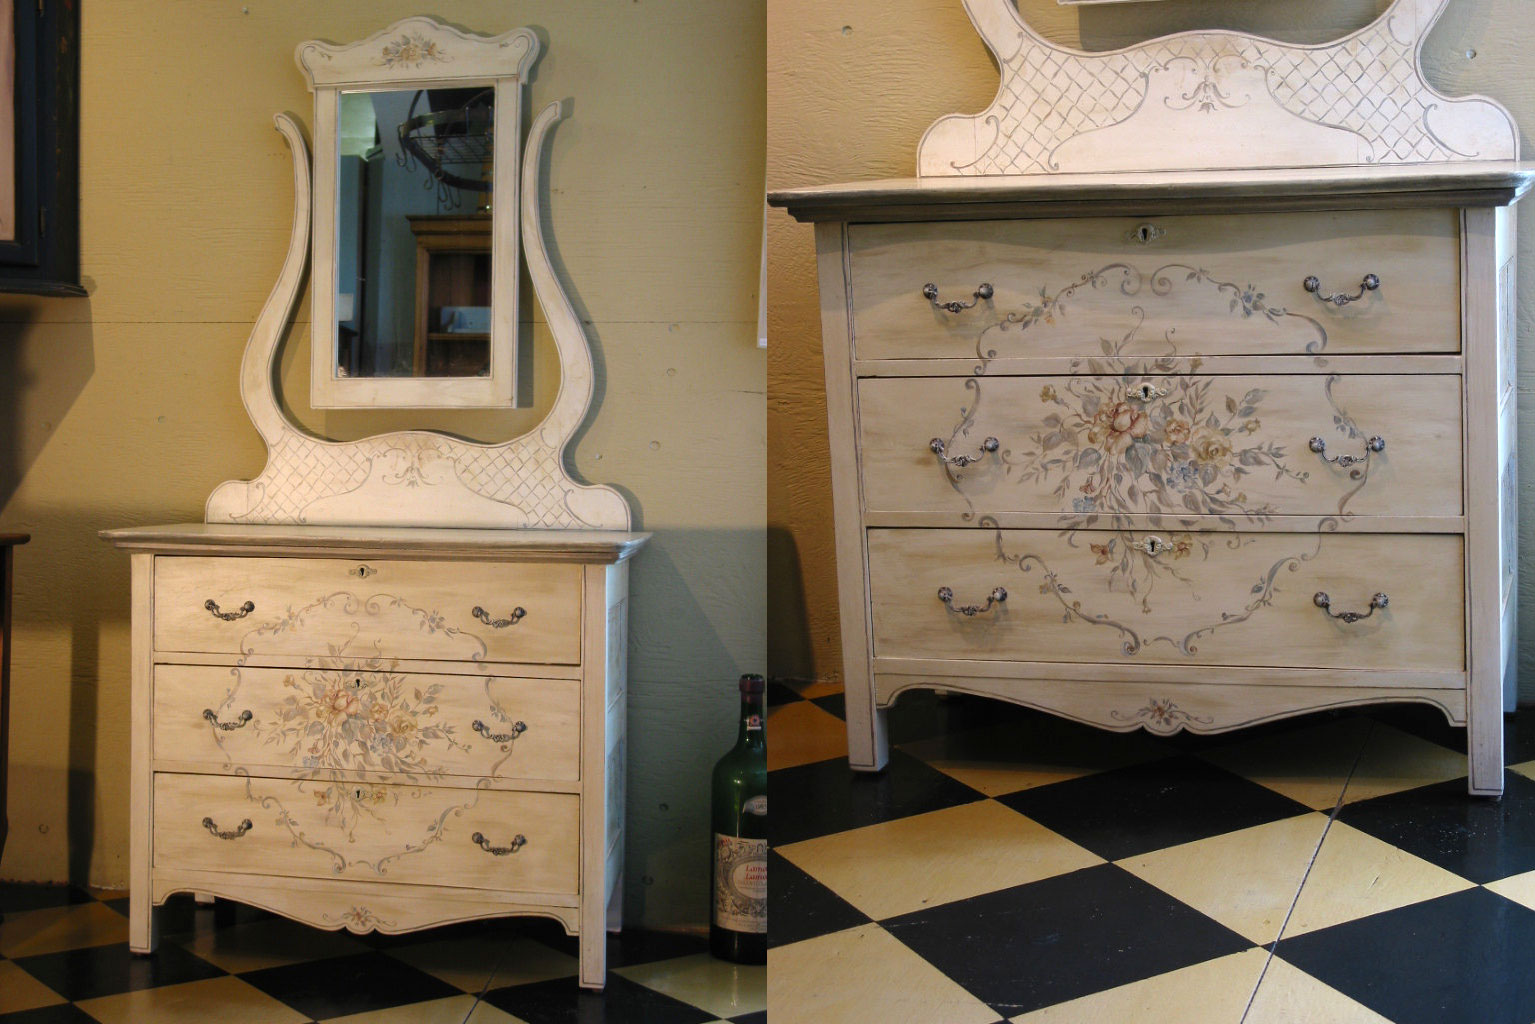
Convert into a Standing Mirror
If you prefer a freestanding mirror that can be easily moved around, consider converting your old dresser mirror into a standing mirror. This is a great option if you need a full-length mirror for your bedroom, dressing area, or entryway.
To convert your old dresser mirror into a standing mirror, you’ll need a few additional materials:
- A sturdy wooden base or a repurposed piece of furniture
- Hinges or brackets
- Screws and a screwdriver
- Wood glue
Here’s a step-by-step guide on how to convert your dresser mirror into a standing mirror:
- Start by removing the mirror from the dresser. Clean it thoroughly to remove any dirt or residue.
- Next, measure the width of the mirror frame. This will determine the size of the wooden base you’ll need.
- Using a saw or asking for assistance from a local carpenter, cut the wooden base to match the width of the mirror frame.
- Position the mirror on top of the wooden base, ensuring it is centered. Mark the spots where the hinges or brackets will be placed.
- Attach the hinges or brackets to both the mirror frame and the wooden base, following the manufacturer’s instructions.
- If needed, you can reinforce the connection between the mirror and the wooden base by applying wood glue and screwing them together.
- Allow the wood glue to dry, following the recommended drying time on the label.
- Once everything is securely attached, test the standing mirror for stability. Make any necessary adjustments or tighten the screws if needed.
- Your repurposed standing mirror is now ready to be placed in your desired location.
By repurposing your old dresser mirror into a standing mirror, you not only save money but also create a unique piece that adds functionality and style to your home. Now you can easily check your outfit from head to toe before heading out the door!
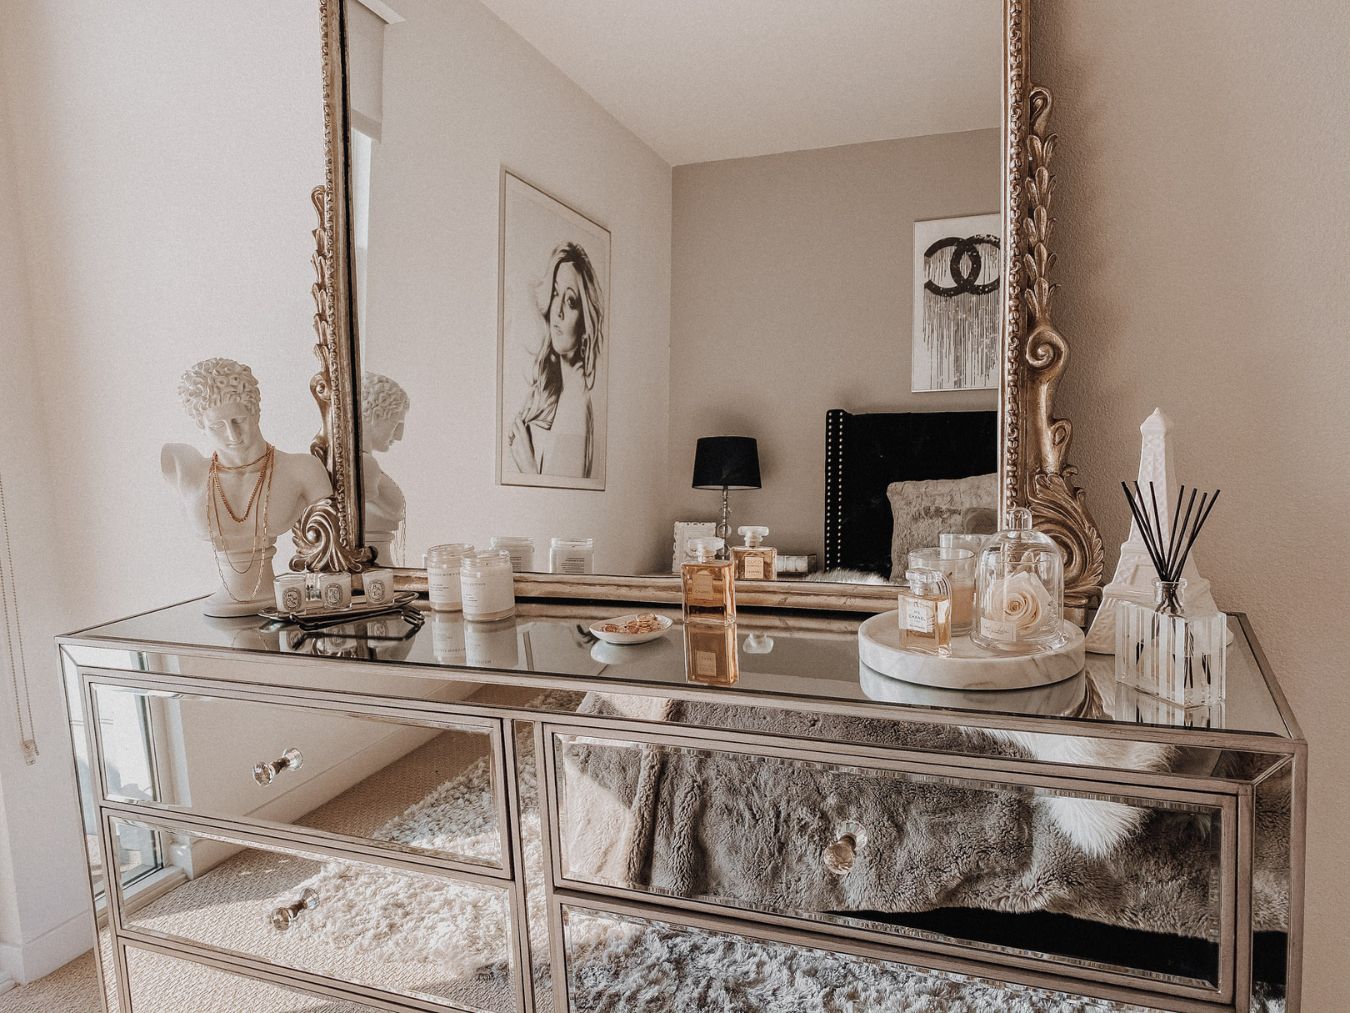
Create a Vanity Tray
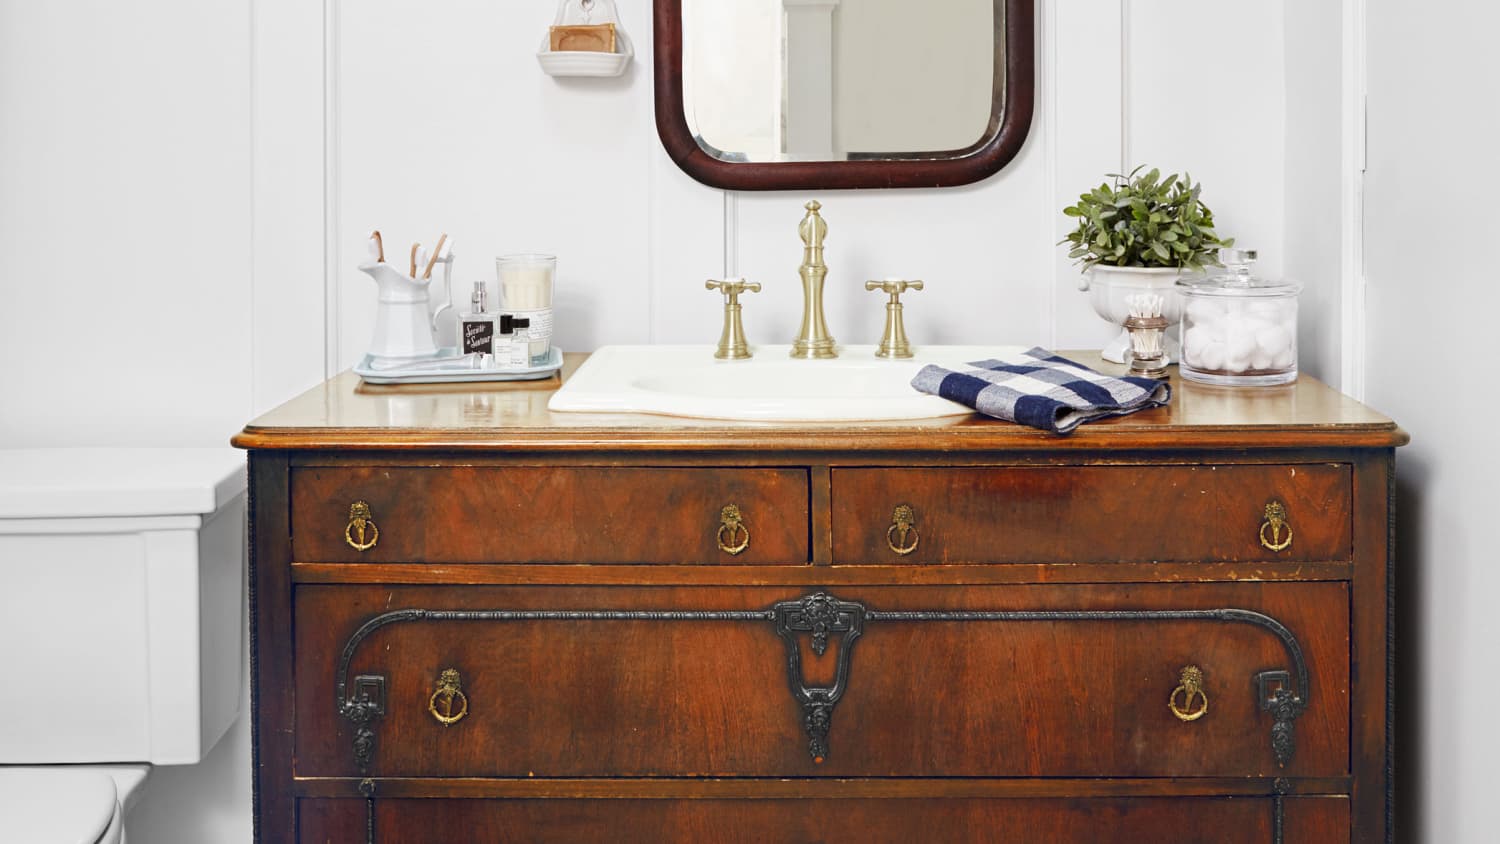
An old dresser mirror can be transformed into a stylish vanity tray, providing a beautiful and practical way to organize your beauty products, jewelry, and other essentials. This repurposing idea adds a touch of elegance to your vanity or bathroom countertop.
To create a vanity tray from your old dresser mirror, follow these steps:
- Remove the mirror from the dresser and clean it thoroughly.
- Measure the dimensions of the mirror to determine the size of the tray.
- Find a wooden or acrylic tray that fits the size of the mirror. You can purchase one from a home decor store or repurpose an old tray.
- If the tray does not already match the style you desire, you can paint it or apply decorative paper or fabric to create a personalized look.
- Apply a thin, even layer of adhesive or double-sided tape to the bottom of the tray.
- Carefully position the mirror on top of the tray, pressing it down to ensure a secure attachment.
- Allow the adhesive to dry as per the manufacturer’s instructions.
- Your repurposed vanity tray is now ready to be displayed on your vanity or bathroom countertop.
Once your vanity tray is ready, you can arrange your beauty products, perfumes, brushes, and accessories on it. This not only keeps your items organized but also adds a touch of glamour to your daily routine.
For an extra touch of elegance, consider adding decorative accents such as candles, flowers, or small trinkets that complement your personal style. This can transform your vanity tray into a centerpiece that reflects your individual taste.
Repurposing your old dresser mirror into a vanity tray is a creative and practical way to give new life to an old piece of furniture. It adds functionality to your space while maintaining a stylish and organized aesthetic.
Turn into a Jewelry Organizer
If you’re looking for an attractive and practical way to display and organize your jewelry, repurposing your old dresser mirror into a jewelry organizer is the perfect solution. Not only will it keep your accessories in one place, but it will also add a decorative touch to your dressing area or bedroom.
Here’s how you can transform your old dresser mirror into a jewelry organizer:
- Remove the mirror from the dresser and clean it thoroughly.
- Determine the desired layout for your jewelry organizer. You can either attach hooks directly to the mirror frame or attach a decorative grid or mesh to hang your jewelry from.
- If you choose to attach hooks, measure and mark the spots where you want them to be placed. Make sure to space them evenly and consider the size and length of your jewelry pieces.
- Screw small hooks into the marked spots on the mirror frame. Make sure they are secure and can hold the weight of your jewelry.
- If you prefer a grid or mesh, you can attach it to the back of the mirror frame using adhesive or small screws.
- Once the hooks or grid are in place, you can start hanging your jewelry. Use the hooks to hang necklaces, bracelets, and rings. If you have earrings, insert them into the grid or mesh.
- You can also add small decorative dishes or trays on the bottom ledge of the mirror to store smaller jewelry pieces like earrings or rings.
The result is a stunning jewelry organizer that displays your accessories beautifully while keeping them tangle-free and easily accessible.
Additionally, you can enhance the aesthetic of your jewelry organizer by decorating the frame. You can paint it in a color that complements your room’s decor, add decorative trim, or even apply adhesive gems or beads to give it a luxurious finish.
Repurposing your old dresser mirror into a jewelry organizer not only provides a practical solution for organizing your accessories but also gives you a chance to showcase your jewelry as a stylish piece of decor.
Read more: What Are Old Mirrors Made Of
Transform into a Chalkboard
If you’re looking for a fun and functional way to repurpose your old dresser mirror, consider transforming it into a chalkboard. This creative idea allows you to add a charming and versatile chalkboard to any room in your home.
To turn your old dresser mirror into a chalkboard, follow these steps:
- Remove the mirror from the dresser and thoroughly clean it to ensure a smooth surface for the chalkboard paint.
- Mask off the edges of the mirror with painter’s tape to protect them from the paint.
- Apply several coats of chalkboard paint to the glass surface of the mirror, allowing each coat to dry completely before applying the next one. Follow the instructions on the paint can for the best results.
- Once the final coat is dry, carefully remove the painter’s tape from the edges of the mirror.
- Condition the chalkboard surface by rubbing the side of a piece of chalk all over it, then wiping it off with a dry cloth. This step helps prevent “ghosting” and ensures that the chalk writes smoothly on the surface.
- Your repurposed mirror is now a chalkboard! Hang it on the wall or lean it against a surface in your chosen room.
Now you can use your new chalkboard for a variety of purposes. In the kitchen, you can write down recipes, grocery lists, or daily menus. In the entryway, you can use it to leave reminders or welcoming messages for guests. In a child’s room, it can serve as a creative space for drawing and doodling.
You can also get creative with the design of your chalkboard by adding decorative elements. For example, you could frame the chalkboard with reclaimed wood or paint the frame in a contrasting color to make it stand out. The possibilities are endless, and you can add your personal touch to make it uniquely yours.
Repurposing your old dresser mirror into a chalkboard not only gives it a new purpose but also adds a whimsical and functional element to your home decor.
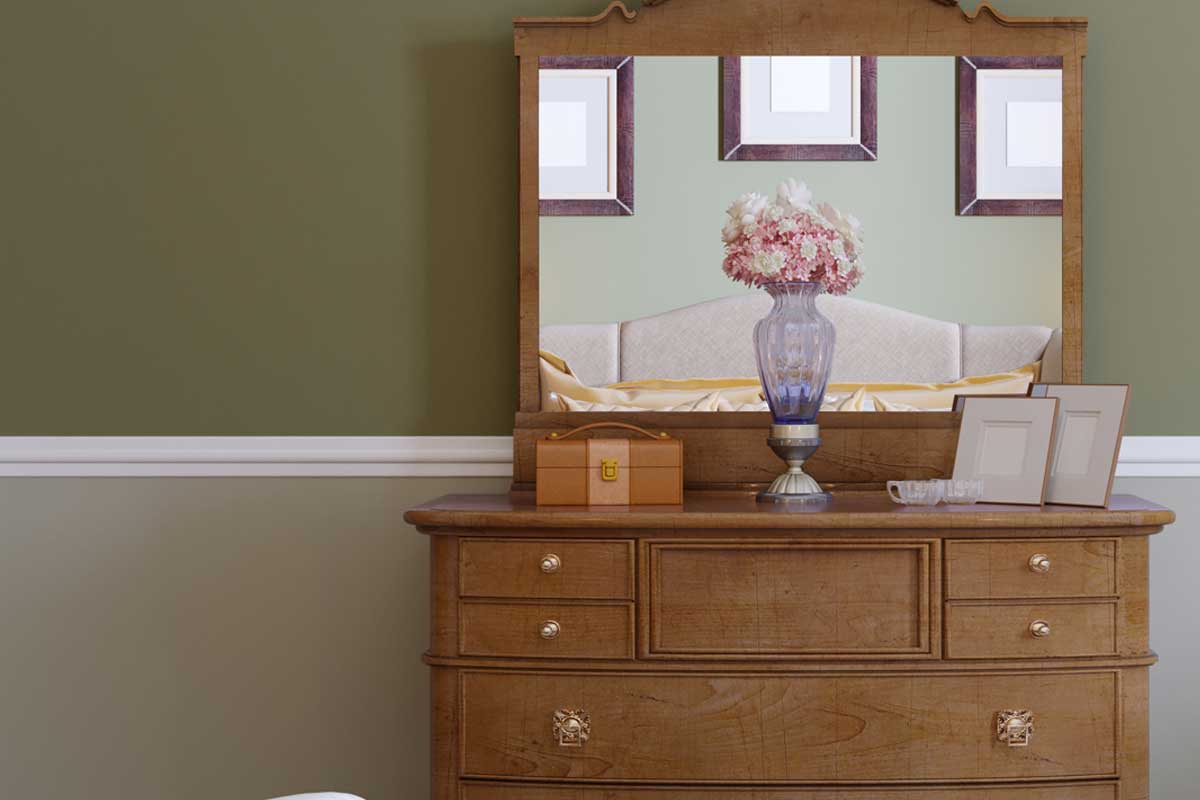
Consider repurposing the old dresser mirror by removing it from the dresser and hanging it on the wall as a decorative accent. You can also use it as a tray or tabletop by adding legs or a base.
Design a Picture Frame
Repurposing your old dresser mirror into a beautiful picture frame is a creative way to showcase your favorite photographs or artwork. By transforming it into a unique and personalized frame, you can add a touch of charm and nostalgia to any room in your home.
To design a picture frame from your old dresser mirror, follow these steps:
- Remove the mirror from the dresser and clean it thoroughly.
- Measure the dimensions of the mirror to determine the size of the frame.
- Choose a frame material that suits your style and matches the decor of the room where it will be displayed.
- Using a saw or asking for assistance from a local carpenter, cut the frame material to match the measurements of the mirror.
- Sand the edges of the frame material to ensure a smooth finish.
- Apply a wood stain, paint, or varnish to the frame material, allowing it to dry completely.
- Place the mirror in the center of the frame and secure it using adhesive or small screws.
- Select your favorite photographs or artwork to display within the frame.
- Attach the photographs or artwork to the back of the frame using tape or photo corners.
Once your picture frame is complete, you can hang it on the wall or place it on a tabletop or shelf. It will serve as a meaningful and decorative piece that highlights your cherished memories and adds a personal touch to your home.
Add even more character to your picture frame by embellishing it with decorative accents. For example, you could glue small seashells or beads to the frame for a coastal theme, or attach small wooden letters to spell out a meaningful word or name.
Remember to consider the style and color palette of the room where the picture frame will be displayed. This will ensure that it seamlessly integrates into the overall design scheme.
Repurposing your old dresser mirror into a picture frame not only breathes new life into the mirror but also allows you to create a unique and sentimental display for your favorite images. Get ready to showcase your treasured moments in a beautiful and one-of-a-kind way!
Build a Shelf with Mirror Backing
Repurposing your old dresser mirror to create a shelf with mirror backing is a fantastic way to combine functionality and style. This project allows you to add storage space while utilizing the reflective properties of the mirror to enhance the overall aesthetic of your room.
To build a shelf with mirror backing, you’ll need the following materials:
- The old dresser mirror
- Wood boards for the shelf
- Brackets or brackets and corbels for support
- Screws
- Level
Follow these steps to build your shelf with mirror backing:
- Remove the dresser mirror from its frame and clean it thoroughly.
- Measure the dimensions of the mirror to plan the size and layout of your shelf.
- Choose the wood boards for the shelf and cut them to the desired length and width.
- Sand the boards to create a smooth surface and remove any rough edges.
- Attach the brackets or combination of brackets and corbels to the wall at the desired height for your shelf, making sure they are level.
- Place the wood boards on top of the brackets or brackets and corbels, ensuring they are secure.
- Attach the wood boards to the brackets or brackets and corbels using screws.
- Place the cleaned dresser mirror against the wall behind the shelf, ensuring proper alignment and stability.
- If necessary, use mirror clips or adhesive to secure the mirror to the wall.
Once assembled, your shelf with mirror backing is ready to be utilized. The mirror will create a visually appealing backdrop while also reflecting light and making the space appear larger.
You can decorate the shelf with your favorite items such as plants, books, or decorative objects. The mirror backing will beautifully highlight these objects, adding depth and interest to your display.
Moreover, the shelf provides a practical storage solution for keeping everyday items organized and easily accessible. Whether placed in the entryway, living room, or bedroom, this repurposed dresser mirror turned shelf will undoubtedly become a focal point of your space.
By repurposing your old dresser mirror into a shelf with mirror backing, you not only create an eye-catching piece of functional decor but also add a touch of elegance and utility to any room in your home.
Make a Medicine Cabinet
Repurposing your old dresser mirror into a medicine cabinet is a clever and practical way to add storage space in your bathroom while keeping your medications and personal care items organized.
To make a medicine cabinet from your old dresser mirror, you’ll need the following materials:
- The old dresser mirror
- Wood boards for the cabinet frame
- Hinges
- Magnetic closures
- Screws
- Knob or handle
- Shelf inserts or adjustable shelves
- Safety latches (optional)
Follow these steps to create your medicine cabinet:
- Measure the dimensions of the mirror to determine the size of the cabinet frame.
- Using the wood boards, construct a frame for the cabinet that matches the measurements of the mirror.
- Attach hinges to one side of the frame, allowing for the door to open and close smoothly.
- Attach magnetic closures to the corresponding spots on the frame and door to ensure secure closure.
- Attach a knob or handle to the door for easy access.
- If desired, install shelf inserts or adjustable shelves inside the cabinet for added storage functionality.
- If you have young children at home, consider adding safety latches to the cabinet to prevent accidental access to medications or potentially harmful items.
- Mount the cabinet frame on the wall of your bathroom, ensuring proper alignment and stability.
- Place the cleaned dresser mirror on the front of the cabinet as the door.
- Secure the mirror to the frame using screws or adhesive, ensuring it stays in place.
Your repurposed dresser mirror medicine cabinet is now ready to use. Utilize the shelves and compartments inside to store medications, toiletries, and other bathroom essentials.
Having a dedicated storage space for your bathroom items not only keeps your space organized but also ensures that everything is within reach and easily accessible when needed.
Remember to keep your medicine cabinet well-organized and periodically check expiration dates to dispose of any expired medications or products.
By repurposing your old dresser mirror into a medicine cabinet, you not only save money but also create a unique and functional storage solution that adds convenience and style to your bathroom.
Read more: What Is A Dresser With A Mirror Called
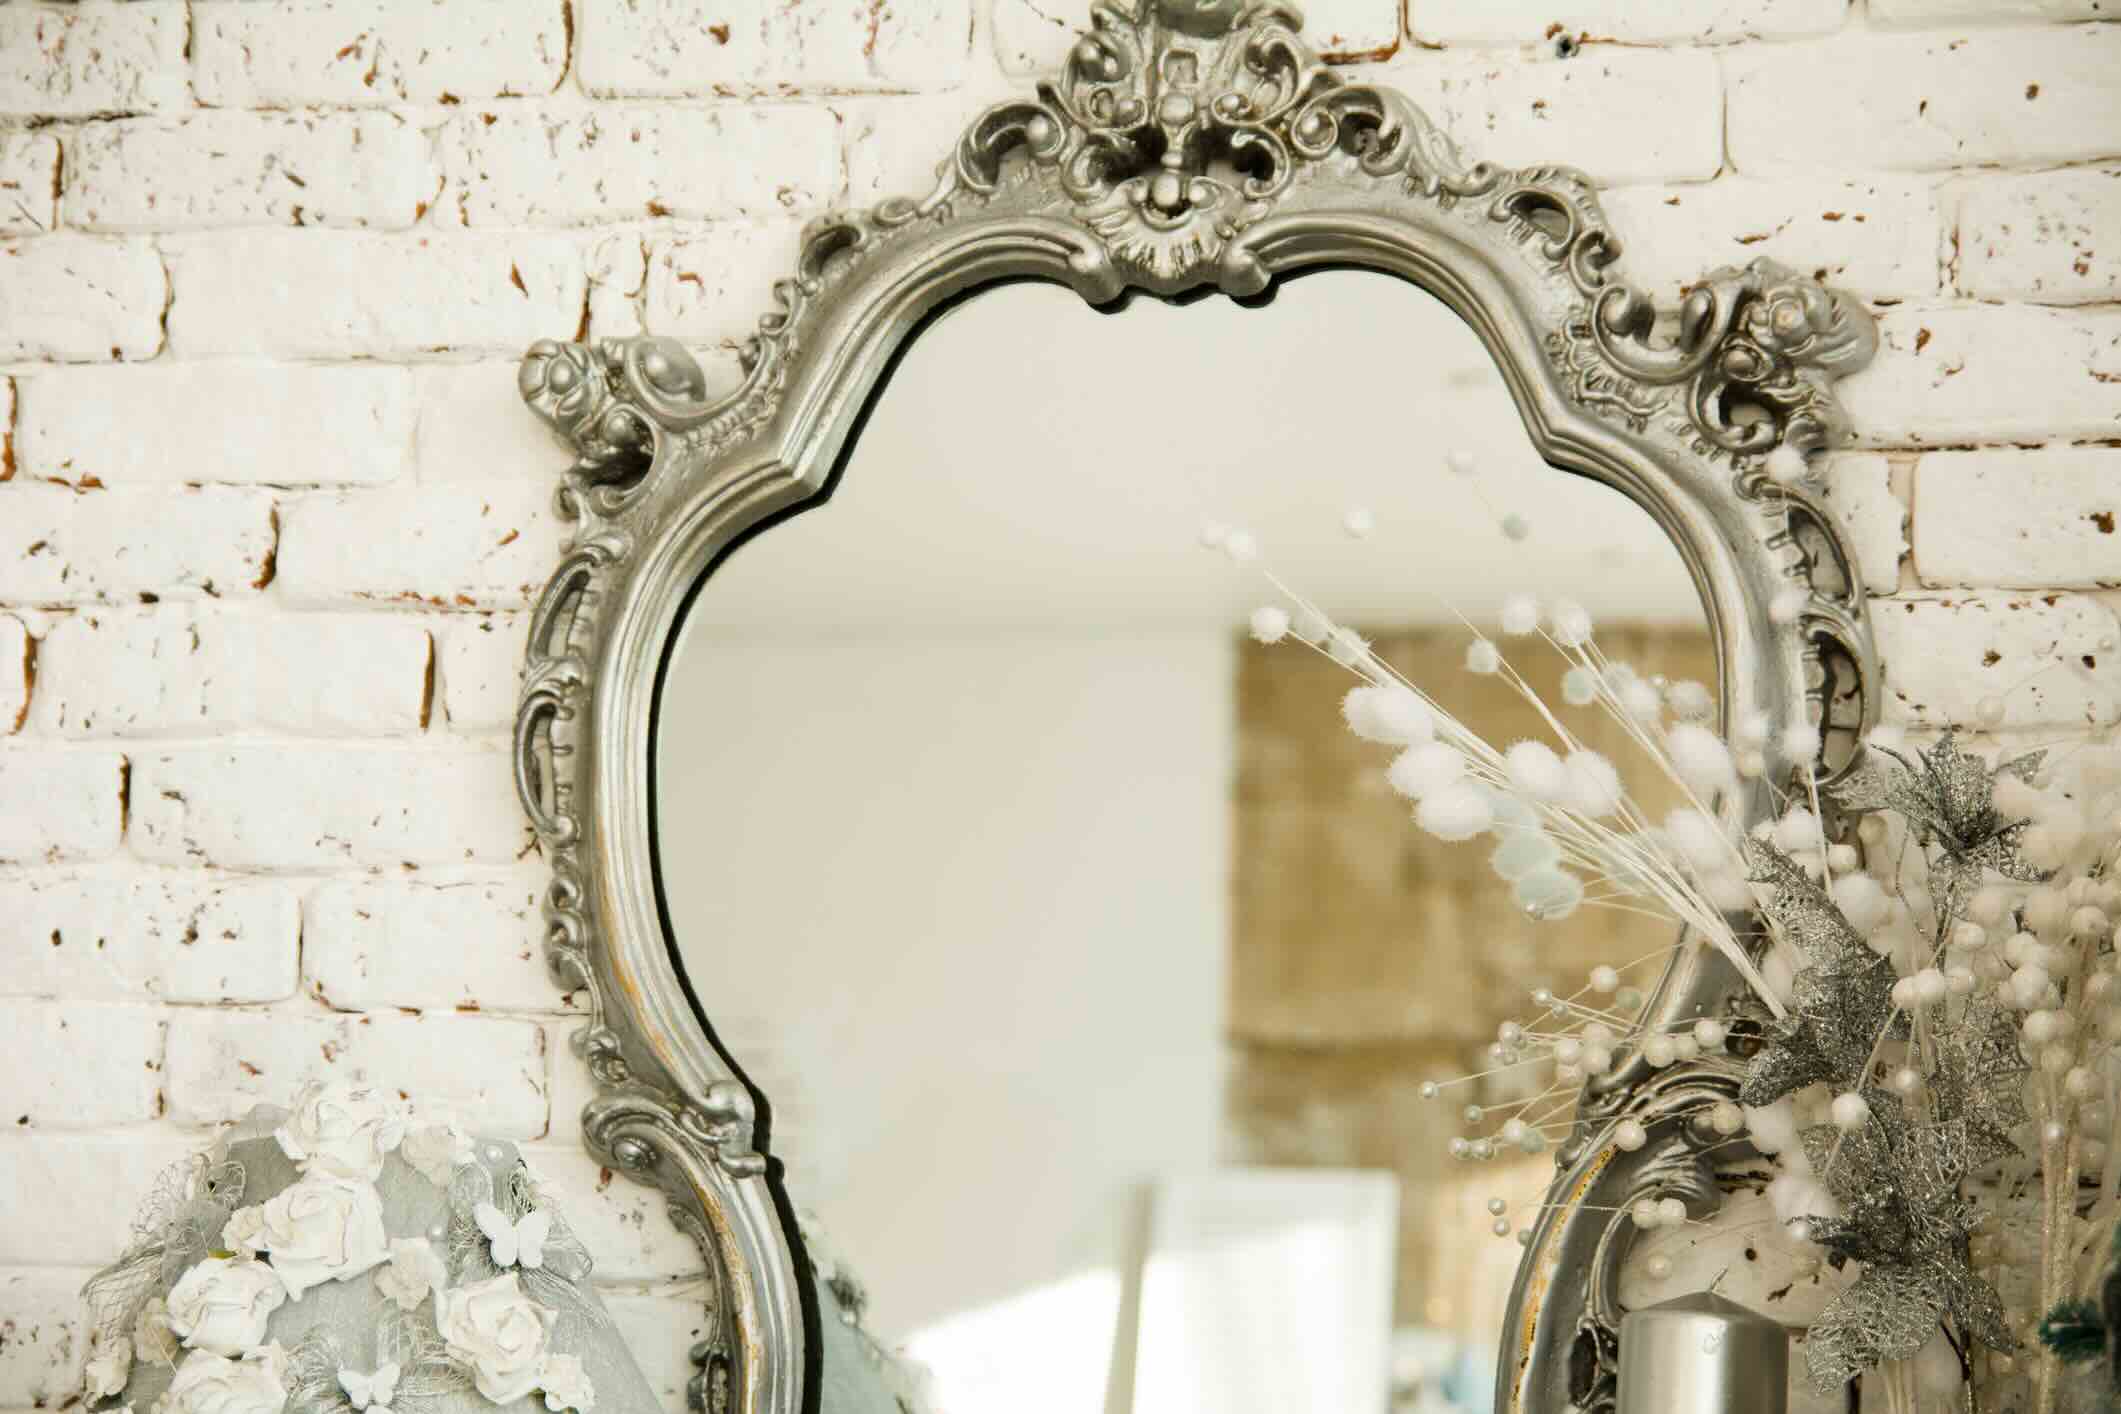
Construct a Decorative Windowpane Mirror
Transforming your old dresser mirror into a decorative windowpane mirror is a wonderful way to add charm and character to any room in your home. This repurposing project allows you to create a unique piece of decor that mimics the look of a vintage window.
To construct a decorative windowpane mirror, gather the following materials:
- The old dresser mirror
- Wood boards or trim
- Wood glue
- Nails or screws
- Saw
- Sandpaper
- Paint or stain (optional)
- Hanging hardware
Follow these steps to create your own decorative windowpane mirror:
- Remove the mirror from the dresser and thoroughly clean it.
- Measure and cut the wood boards or trim to create a frame for the mirror. Determine the dimensions based on your desired windowpane design.
- Sand the edges of the wood boards or trim to ensure a smooth finish.
- Attach the wood boards or trim to the mirror using wood glue and nails or screws. Create a grid pattern with the wood to mimic the look of windowpanes.
- Allow the wood glue to dry completely before moving on to the next step.
- If desired, paint or stain the frame in a color that complements your decor. Apply multiple coats to achieve the desired finish, allowing each coat to dry before applying the next.
- Once the paint or stain is dry, attach hanging hardware to the back of the mirror for easy wall mounting.
- Hang your decorative windowpane mirror on a wall, either as a standalone piece or as part of a gallery wall.
Your repurposed dresser mirror now resembles a charming windowpane mirror, bringing a touch of elegance and vintage style to your space. The mirror within the frame will reflect light and make the room appear more spacious.
You can enhance the overall aesthetic by adding window-like details such as decorative hinges, handles, or faux lead lines on the mirror’s surface. These little touches can further enhance the illusion of a real window.
Place your decorative windowpane mirror in an area that could benefit from additional light or a focal point. This could be your living room, bedroom, hallway, or any space that needs a stylish decorative element.
By repurposing your old dresser mirror into a decorative windowpane mirror, you not only breathe new life into the mirror, but you also create a unique piece of decor that adds character and visual interest to your home.
Conclusion
Repurposing your old dresser mirror is a creative and sustainable way to give it a new purpose and add a unique touch to your home decor. Instead of letting it collect dust in storage or sending it to a landfill, you can transform your mirror into functional and eye-catching pieces that enhance the style and functionality of your living spaces.
Whether you choose to repurpose your old dresser mirror as wall decor, a standing mirror, a vanity tray, a jewelry organizer, a chalkboard, a picture frame, a shelf with mirror backing, a medicine cabinet, or a decorative windowpane mirror, the possibilities are practically endless.
By incorporating some DIY skills and a little bit of imagination, you can turn your old dresser mirror into a stunning piece of decor that reflects your personal style and adds a touch of personality to your home.
Remember to consider the overall style and theme of the room when repurposing your mirror and to have fun with the process. DIY projects allow you to express your creativity and make your living spaces truly unique.
Repurposing your old dresser mirror not only contributes to a more sustainable lifestyle but also offers the opportunity to create something beautiful and functional that you can be proud of. So go ahead, grab your tools, and let your imagination guide you as you embark on your mirror repurposing adventure!
Frequently Asked Questions about What To Do With An Old Dresser Mirror
Was this page helpful?
At Storables.com, we guarantee accurate and reliable information. Our content, validated by Expert Board Contributors, is crafted following stringent Editorial Policies. We're committed to providing you with well-researched, expert-backed insights for all your informational needs.

0 thoughts on “What To Do With An Old Dresser Mirror”