Furniture
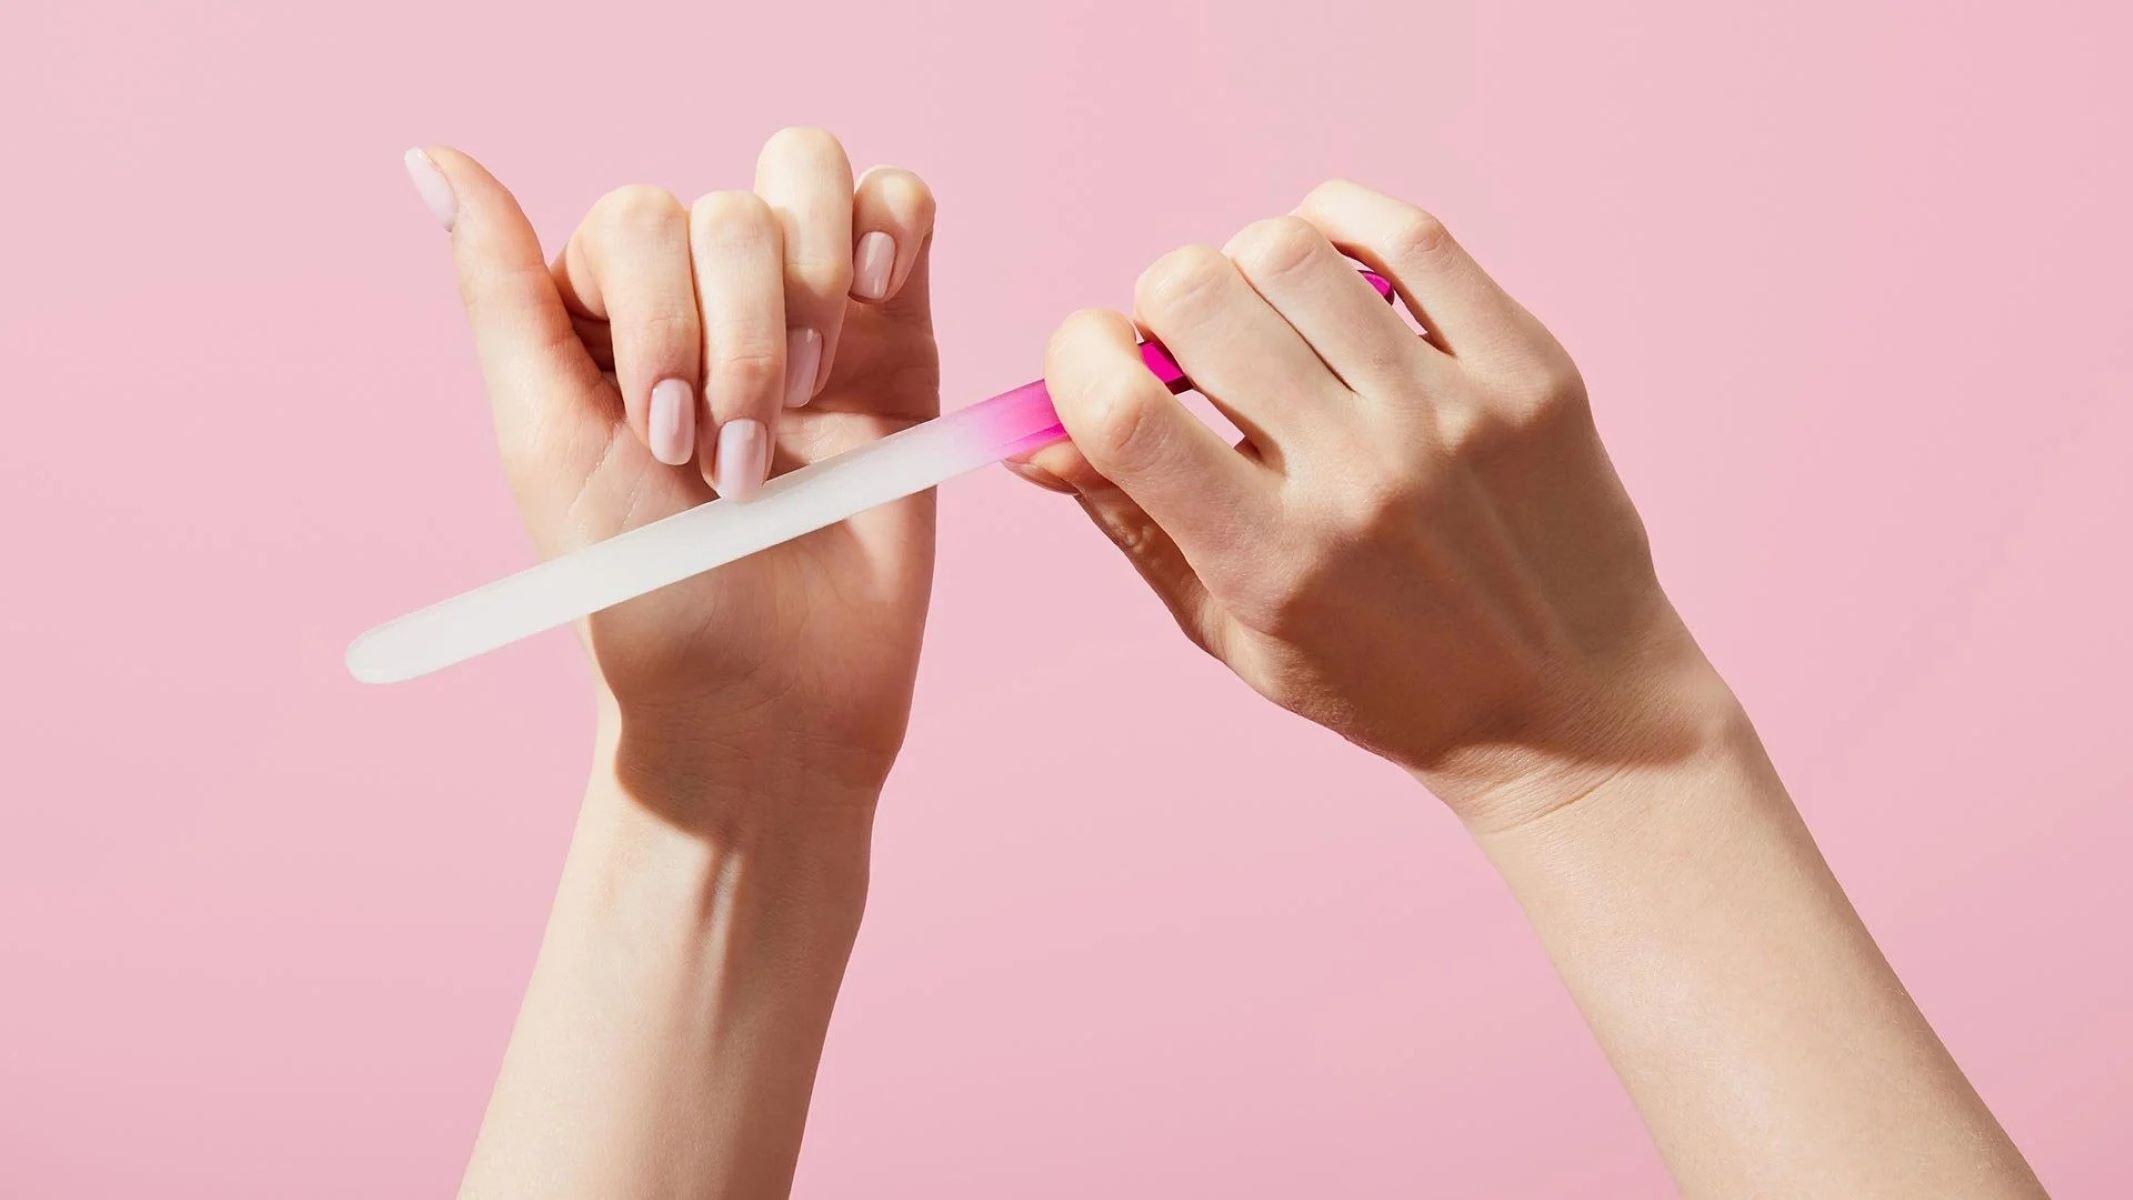
How To Use A UV Nail Lamp
Modified: December 7, 2023
Discover how to effectively use a UV nail lamp to achieve salon-quality results at home. Get professional-looking and long-lasting manicures with the help of this innovative furniture.
(Many of the links in this article redirect to a specific reviewed product. Your purchase of these products through affiliate links helps to generate commission for Storables.com, at no extra cost. Learn more)
Introduction
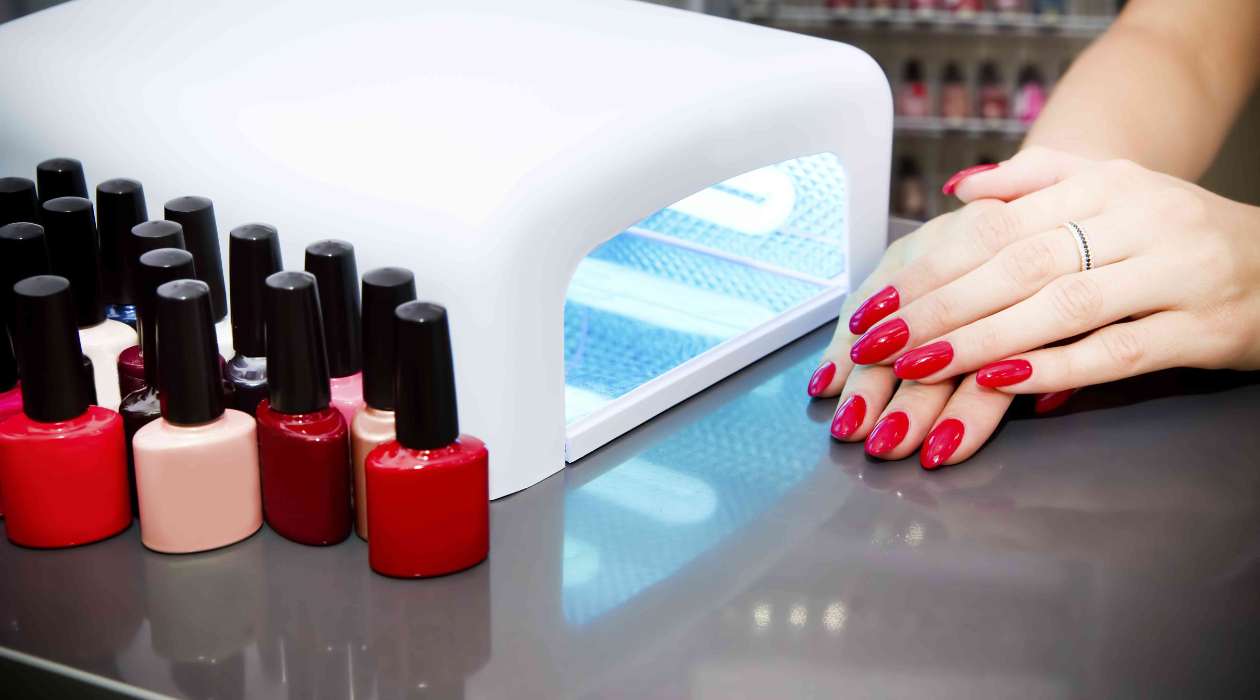
Welcome to the world of UV nail lamps! If you’re someone who loves doing your nails at home or in a salon, then you’re in for a treat. A UV nail lamp is a must-have tool for achieving professional-looking gel nails that last longer than traditional nail polish. Whether you’re a nail technician or simply a nail enthusiast, a UV nail lamp can take your nail game to the next level.
With the rise in popularity of gel nail polishes, a UV nail lamp has become an essential tool for curing and drying gel nails. These lamps use ultraviolet light technology to cure the gel polish, resulting in a durable, chip-resistant finish that can last for weeks. They not only save you time by reducing the drying time to mere minutes, but they also provide a salon-quality finish in the comfort of your own home.
In this article, we will explore the benefits of using a UV nail lamp and provide you with a step-by-step guide on how to use it. We’ll also share some tips for choosing the right UV nail lamp and maintenance and cleaning techniques to keep it in top condition. So, get ready to transform your nail game and achieve stunning, long-lasting gel nails with the help of a UV nail lamp.
Key Takeaways:
- Achieve salon-quality gel nails at home with a UV nail lamp, offering long-lasting results, quick drying time, and versatile nail art possibilities. Say goodbye to frequent touch-ups and hello to stunning, chip-resistant nails that last for weeks.
- Proper maintenance and cleaning of your UV nail lamp are essential for optimal performance and longevity. Follow manufacturer’s instructions, replace bulbs when needed, and store the lamp in a clean, dry area to ensure flawless gel manicures every time.
Read more: Why Is My UV Nail Lamp Not Working
What is a UV Nail Lamp?
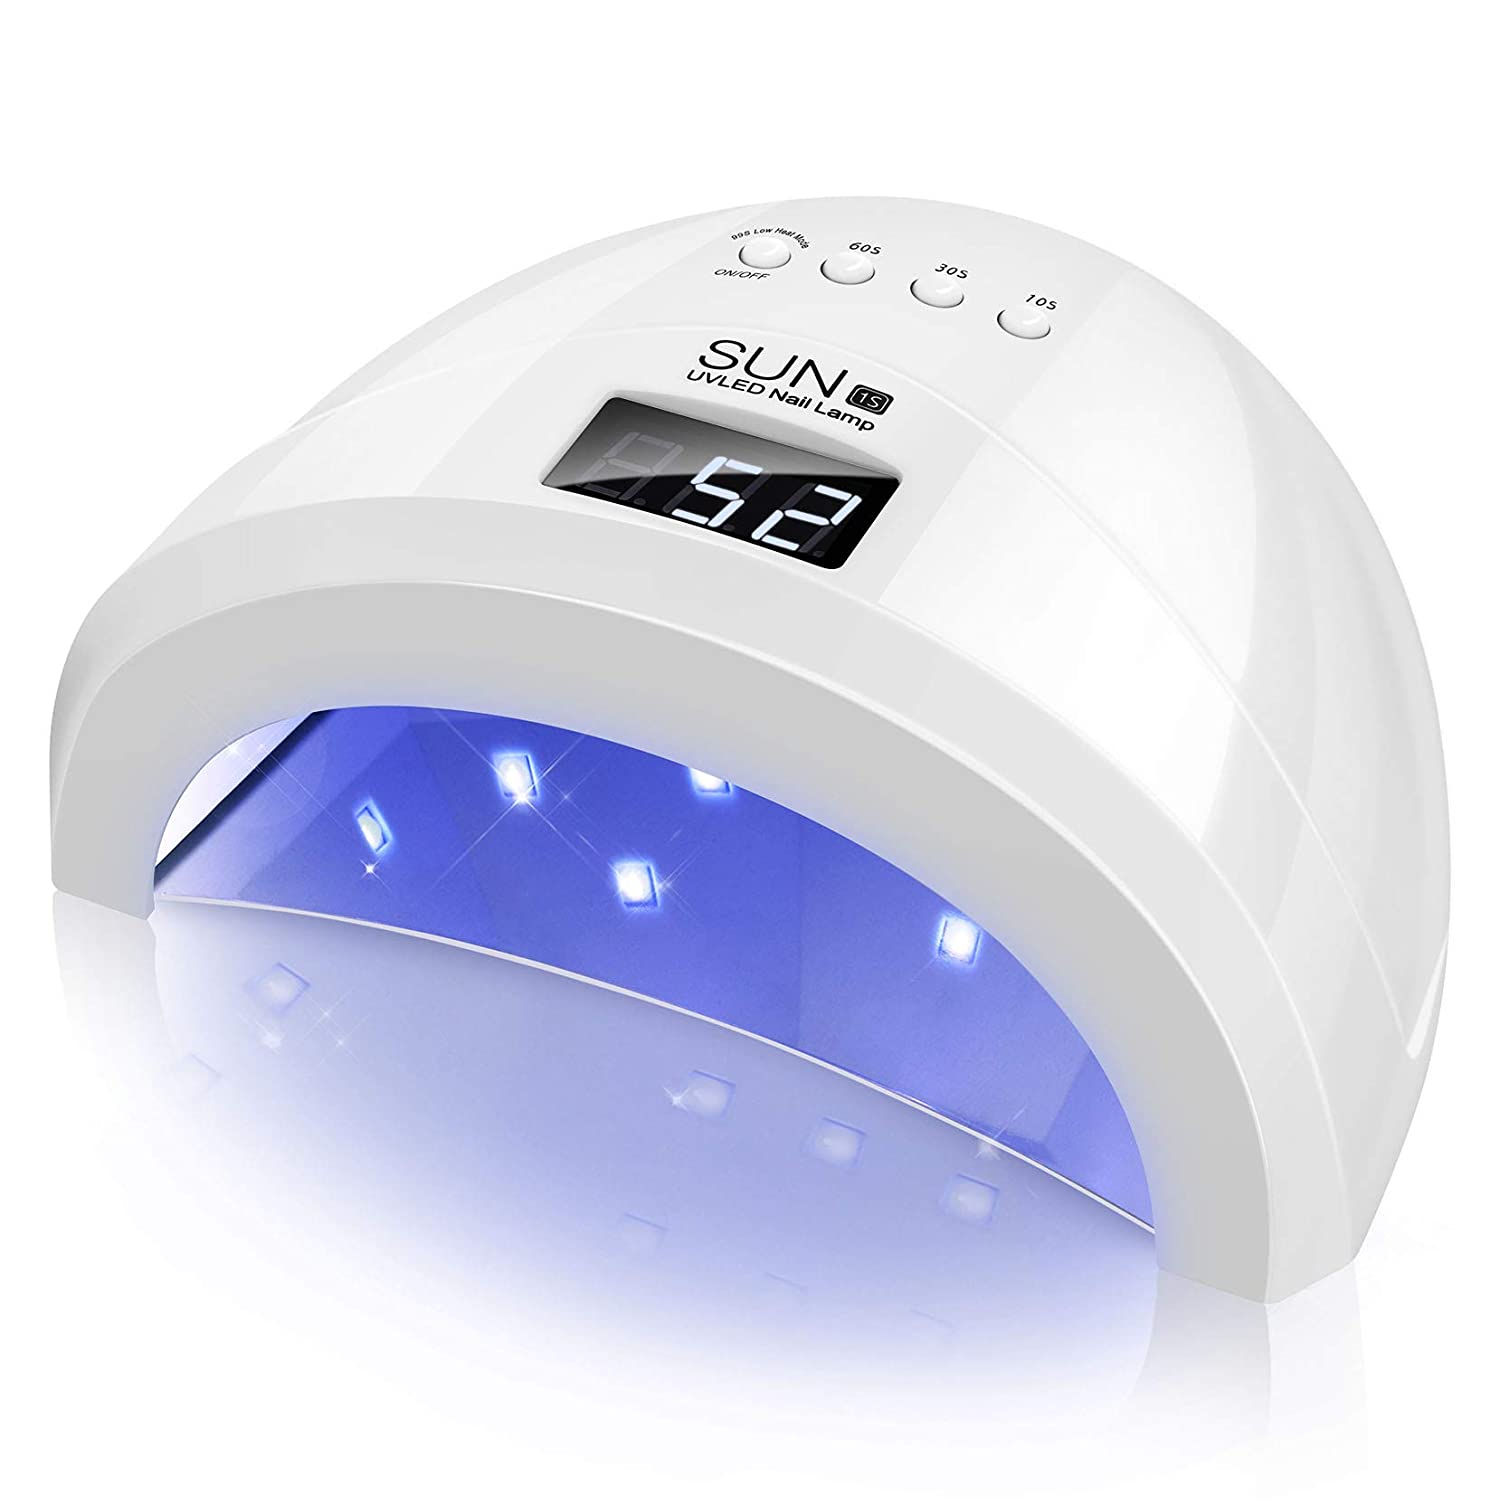
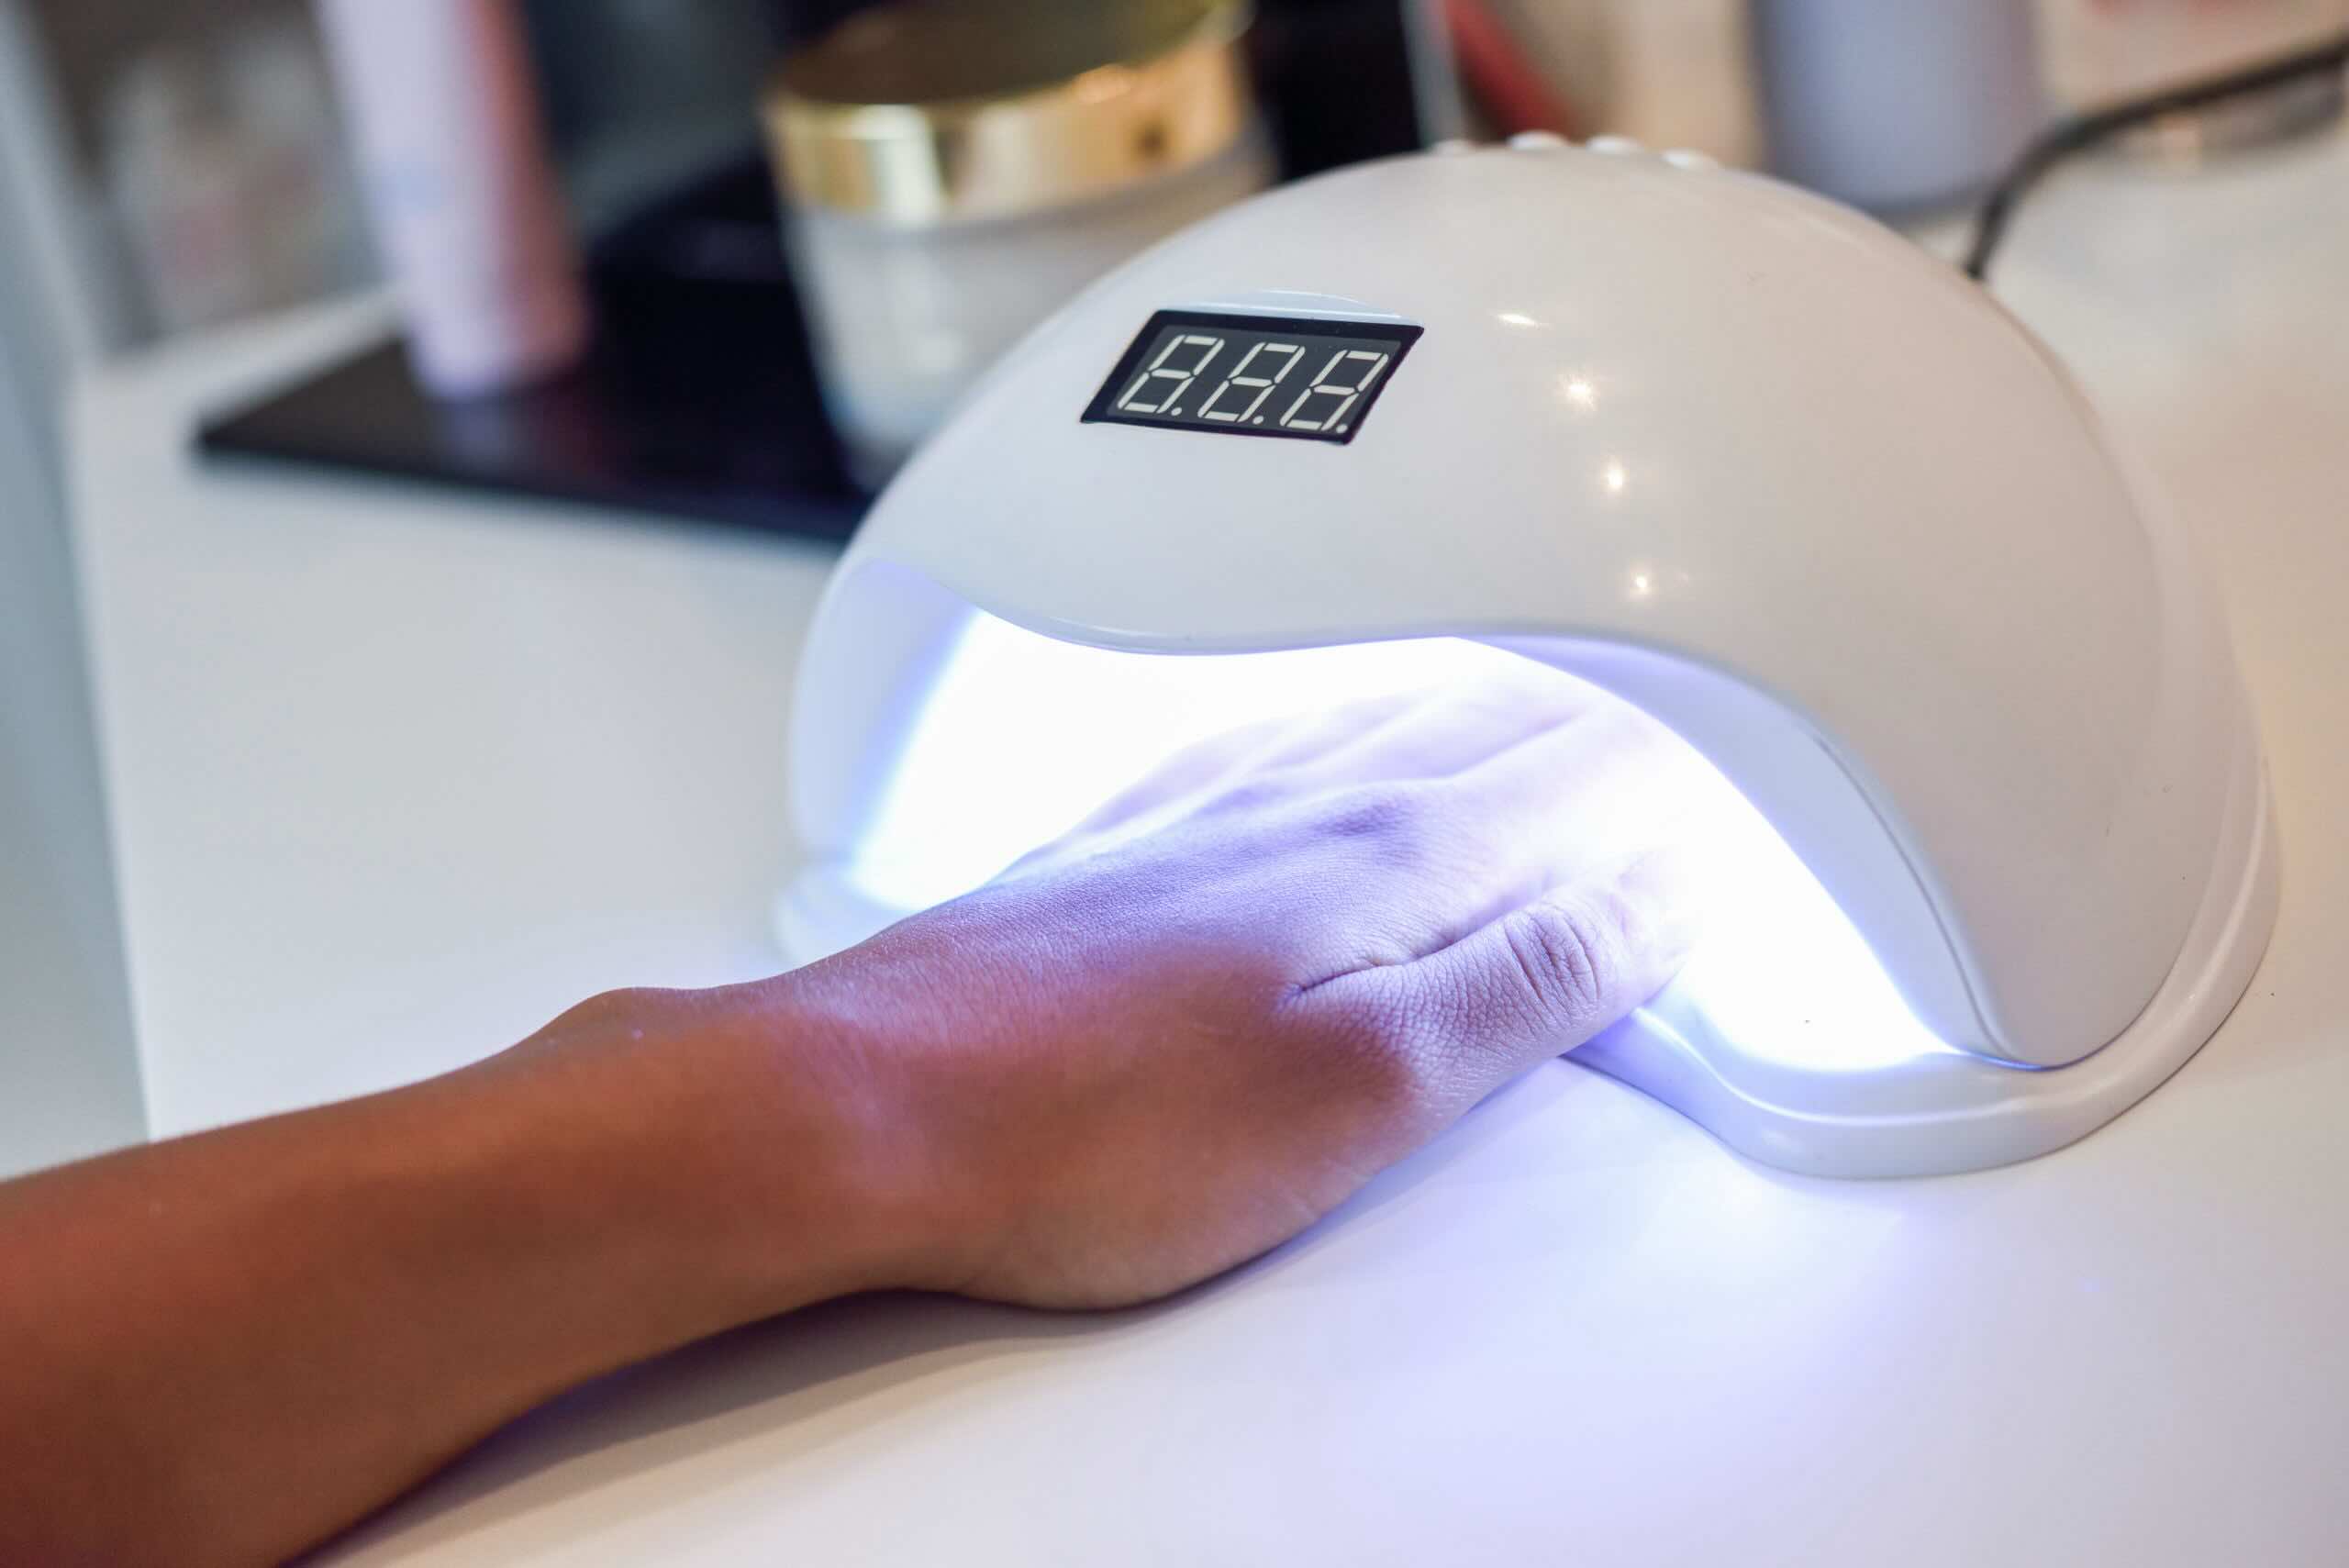
A UV nail lamp is a specialized tool used to cure and dry gel nail polish. It uses ultraviolet light technology to harden and set the gel polish, resulting in a glossy and long-lasting finish. The lamp emits ultraviolet rays in a specific wavelength range to activate photoinitiators in the gel polish, causing it to harden and bond to the nail surface.
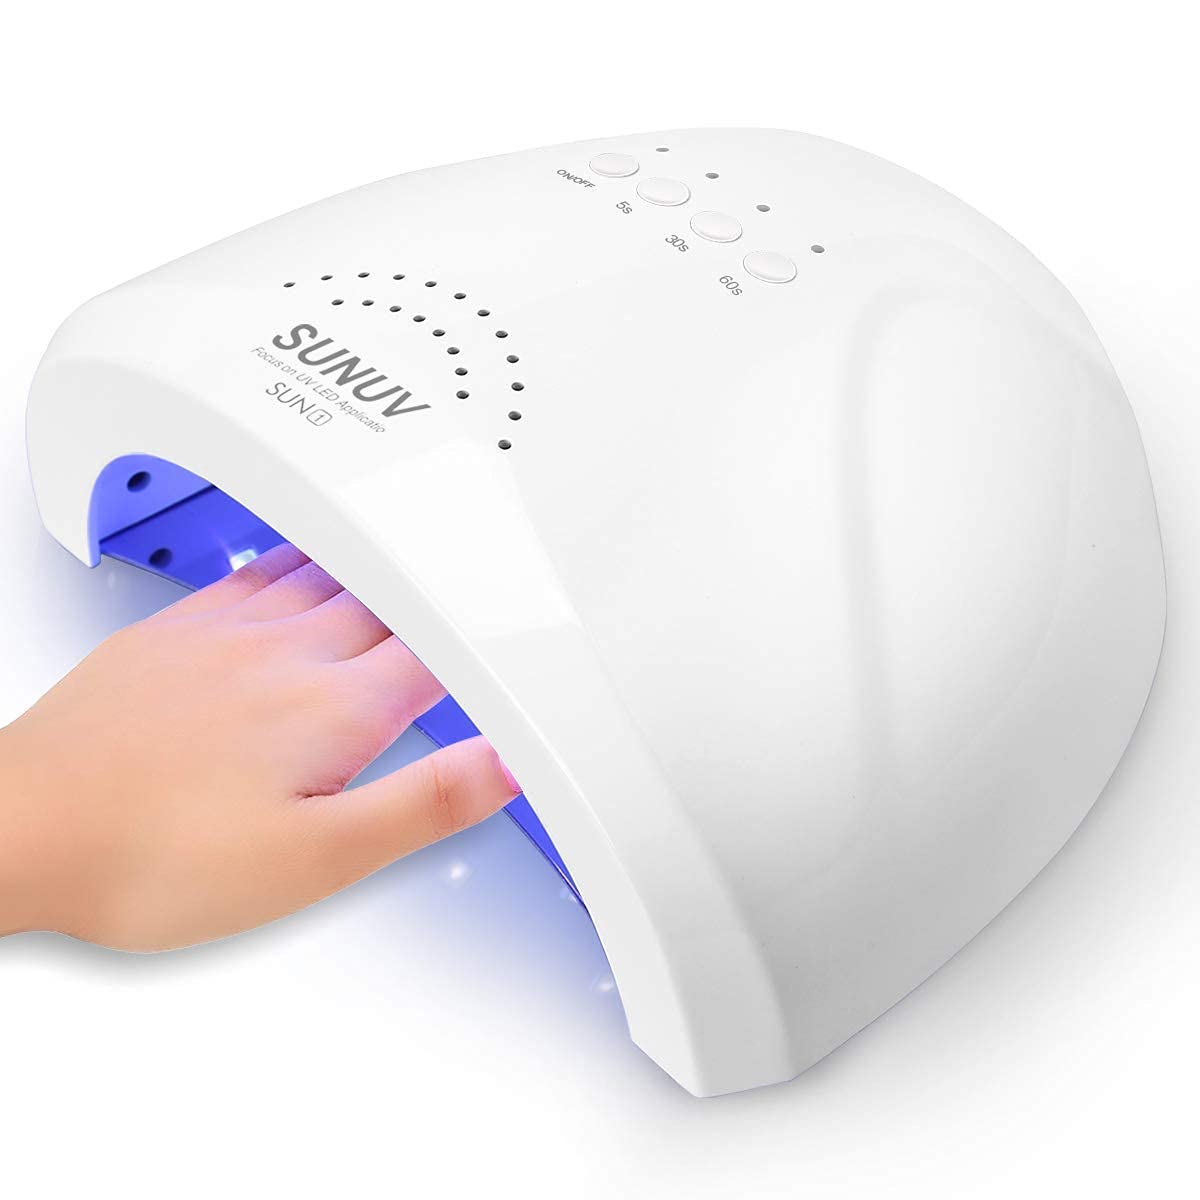
UV nail lamps come in various shapes and sizes, but the most common type is a box-like device with UV bulbs or LED lights placed inside. These bulbs emit UV-A rays, which are the specific wavelength of light required for curing gel polish. UV lamps generally have a timer that allows you to set the curing time, ensuring proper and efficient drying of the polish.
Unlike regular nail polish that air-dries, gel polish needs to be cured under a UV nail lamp to achieve maximum durability and longevity. The curing process under the UV lamp also enhances the bonding of the gel to the natural nail, reducing the risks of chipping and peeling.
UV nail lamps are commonly used in both professional salons and at-home nail care routines. They have become increasingly popular due to the rising trend of gel nail manicures, which offer a high-gloss finish and long-lasting wear. With a UV nail lamp, you can achieve salon-quality results without the need to visit a professional nail technician.
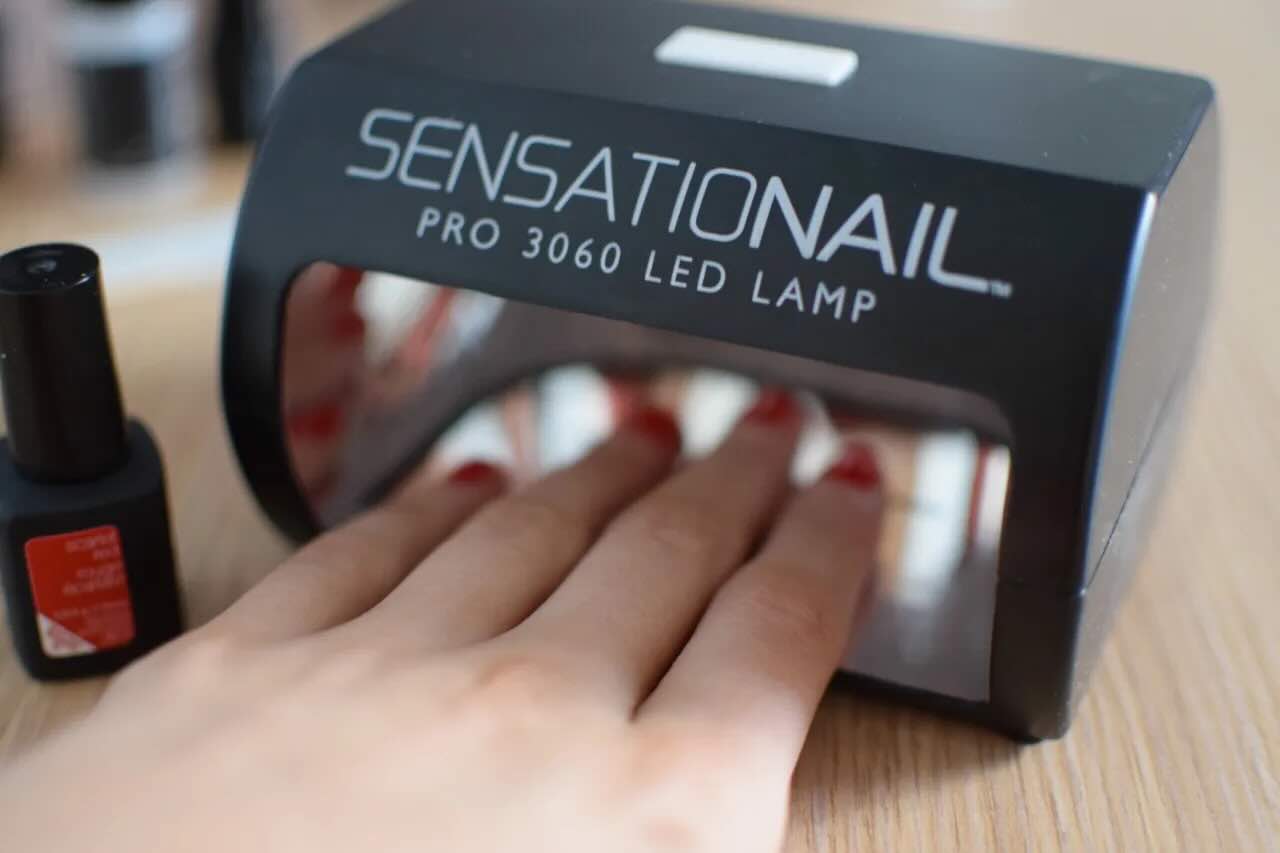
It’s worth noting that there are also LED nail lamps available on the market. LED lamps use light-emitting diodes to cure the gel polish and offer a faster curing time compared to UV lamps. LED lamps also emit a narrower wavelength range, resulting in reduced heat and potential skin damage. While UV nail lamps are still widely used, LED lamps are gaining popularity due to their energy efficiency and quicker curing times.
Now that you have a basic understanding of what a UV nail lamp is, let’s explore the incredible benefits it offers for your nail care routine.
Benefits of Using a UV Nail Lamp
Using a UV nail lamp to cure gel nail polish offers numerous benefits that make it a popular choice among nail enthusiasts and professionals alike. Let’s explore some of these benefits:
- Long-lasting results: The primary benefit of using a UV nail lamp is that it helps to create long-lasting gel nails. The UV light cures the gel polish, resulting in a durable finish that can resist chipping and peeling for up to two weeks or more. This means you can enjoy beautiful, salon-quality nails for an extended period without worrying about regular touch-ups.
- Quick drying time: Traditional nail polish can take a significant amount of time to fully dry, leading to smudging and accidental damage. UV nail lamps significantly reduce the drying time, allowing you to move on with your day without waiting for the polish to dry naturally. With a UV lamp, your nails can dry within minutes, saving you time and frustration.
- Easy application: Gel nail polish can be applied more smoothly and evenly than regular polish, thanks to its viscous consistency. The UV nail lamp provides an ideal environment for the gel to cure, ensuring that it settles evenly on the nail surface without streaks or patchiness. This makes the application process easier and delivers a flawless end result.
- Protection and strength: The curing process under the UV lamp strengthens the gel polish, creating a protective layer over your natural nails. This extra layer adds strength to your nails, reducing the risk of breakage and brittleness. It also makes them less susceptible to damage from daily activities, such as typing, cleaning, or other manual tasks.
- Versatile nail art possibilities: UV nail lamps open up a world of possibilities for nail art enthusiasts. The gel polish can be combined with various techniques, such as layering, stamping, or using nail art accessories, to create intricate and personalized designs. The light-curing process ensures that each layer is solidly bonded, allowing you to experiment with multiple colors and textures.
In addition to these benefits, using a UV nail lamp also saves you money in the long run. By investing in a UV nail lamp and doing gel manicures at home, you can save on expensive salon visits. Additionally, gel nails tend to last longer than traditional polish, reducing the need for frequent touch-ups and potentially extending the life of your manicure.
Now that you understand the benefits of using a UV nail lamp, let’s move on to the next section, where we will guide you through the process of choosing the right UV nail lamp for your needs.
Choosing the Right UV Nail Lamp
When it comes to choosing a UV nail lamp, there are a few factors to consider to ensure you find the right one for your needs. Here are some key points to keep in mind:
- Type of lamp: As mentioned earlier, there are both UV and LED nail lamps available on the market. UV lamps have been widely used for many years, while LED lamps have gained popularity due to their faster curing times and energy efficiency. Consider your priorities, such as curing time, heat generation, and budget, to decide which type of lamp is best for you.
- Size and portability: UV nail lamps come in a range of sizes, from compact travel-friendly options to larger salon-sized lamps. Consider your usage and portability requirements. If you plan to use the lamp at home or when traveling, a smaller and lightweight lamp may be more suitable. However, if you’re a professional nail technician or prefer a salon-like experience, a larger lamp may be preferable.
- Number of bulbs: The number of bulbs in a UV nail lamp can vary. Higher-end lamps often have more bulbs, providing more consistent and even curing across all nails. However, keep in mind that the number of bulbs can also impact the cost and size of the lamp.
- Timer settings: Look for a UV nail lamp with adjustable timer settings. Different gel polishes may require varying curing times, so having the flexibility to set the timer is essential. Additionally, some lamps may have preset timers for different types of gel polish, making it even more convenient.
- Compatibility: Ensure that the UV nail lamp you choose is compatible with the gel polish brands you prefer. Most UV lamps work well with popular gel polish brands, but it’s always a good idea to double-check to avoid any compatibility issues.
- Budget: UV nail lamps are available at various price points. Consider your budget and the features you prioritize to find a suitable option. Remember that investing in a higher-quality lamp may offer better performance and durability in the long run.
Reading customer reviews and doing research on different UV nail lamp models can also help you make an informed decision. Look for feedback on durability, ease of use, and overall customer satisfaction to narrow down your options.
By considering these factors, you can find a UV nail lamp that meets your requirements and provides the best results for your gel nail manicures. In the next section, we will guide you through the step-by-step process of using a UV nail lamp to achieve stunning gel nails.
Step-by-Step Guide to Using a UV Nail Lamp
Using a UV nail lamp to achieve salon-quality gel nails is easier than you might think. Follow this step-by-step guide to get the best results:
- Prepare your nails: Start by ensuring your nails are clean and free from any old polish. Shape and file your nails to your desired length and gently push back your cuticles. This will create a smooth surface for the gel polish.
- Apply a base coat: Apply a thin layer of base coat to each nail, making sure to cover the entire surface. The base coat helps the gel polish adhere to the nails and creates a smooth foundation for the color.
- Apply the gel polish: Take your chosen gel polish color and apply a thin layer to each nail, using smooth and even strokes. Avoid applying the polish too close to the cuticles or the skin, as this can lead to lifting or peeling. Repeat this step to achieve the desired intensity of color.
- Cure under the UV nail lamp: Once you have applied the gel polish, place your nails under the UV nail lamp. Set the timer according to the curing time recommended by the gel polish manufacturer. Typically, this can range from 30 seconds to 2 minutes per coat. Avoid over-curing, as it can lead to overheating or potential damage to the nails.
- Apply additional coats (if needed): Depending on the opacity of the gel polish, you may need to apply additional coats to achieve the desired color intensity. Repeat steps 3 and 4 for each additional coat, curing under the UV nail lamp after each application.
- Apply a top coat: Once you are satisfied with the color and opacity, apply a thin layer of top coat to each nail. The top coat adds shine, protects the color, and ensures the longevity of your manicure. Be sure to seal the free edge of each nail to prevent chipping.
- Cure the top coat: Place your nails back under the UV nail lamp and cure the top coat according to the recommended curing time. This step helps to ensure the top coat is fully dried and provides a glossy finish.
- Wipe off the tacky layer: After curing the top coat, you may notice a tacky or sticky layer on the nails. This layer is common and can be easily removed by wiping each nail with a lint-free wipe soaked in rubbing alcohol or a gel cleanser. This step leaves your nails with a shiny and smooth finish.
And voila! You have now successfully used a UV nail lamp to achieve beautiful and long-lasting gel nails. Remember to take proper care of your nails after the manicure, such as moisturizing your cuticles and using a nourishing nail oil regularly.
In the next section, we will discuss how to prepare your nails before using a UV nail lamp and the importance of proper maintenance and cleaning.
Read also: 13 Amazing Uv Nail Lamp for 2025
Preparing Your Nails
Proper nail preparation is essential to ensure the longevity and quality of your gel nail manicure. By following these steps, you can ensure that your nails are in the best condition before using a UV nail lamp:
- Clean your nails: Start by removing any old nail polish or residue from your nails. Use an acetone-based nail polish remover and a cotton pad to thoroughly clean the surface of your nails. This will ensure that the gel polish adheres properly to the nail bed.
- Shape and file your nails: Use a nail file to shape your nails according to your desired length and style. Gently file the edges of your nails to create a smooth and even shape. Be careful not to file too aggressively, as this can weaken the nail.
- Push back your cuticles: Use a cuticle pusher or an orangewood stick to gently push back your cuticles. This step helps create a clean and neat nail bed. Be gentle and avoid putting too much pressure to prevent damage or injury.
- Remove excess cuticles: Carefully trim any excess or overgrown cuticles using a cuticle nipper. Be cautious not to cut too close to the skin, as this can cause pain or bleeding. Only trim away the dead or loose cuticles to create a tidy nail appearance.
- Buff the nail surface: Use a gentle buffer or a nail file with a buffing side to smooth out the surface of your nails. This helps to remove any ridges or imperfections, creating a better adherence surface for the gel polish.
- Dehydrate your nails: Wipe each nail with a lint-free wipe soaked in rubbing alcohol or a gel cleanser. This step removes any oils or residue from the nail surface, allowing the gel polish to bond securely to the nail bed.
- Apply a pH bonder (optional): Some nail professionals recommend using a pH bonder prior to applying the base coat. This product helps to balance the pH level of the nails, creating an optimal environment for gel polish application. Follow the instructions provided with the pH bonder for best results.
Following these prepping steps will ensure that your nails are clean, healthy, and ready to receive the gel polish. This preparation process helps to improve the longevity and adhesion of the gel nails, resulting in a professional-looking manicure.
Now that your nails are prepped and ready, let’s move on to the next section, where we will guide you through the process of applying UV gel polish.
When using a UV nail lamp, always apply a thin layer of UV gel polish and cure it for the recommended time to ensure a long-lasting and durable manicure.
Applying UV Gel Polish
Now that your nails are prepped and ready, it’s time to apply the UV gel polish. Follow these steps for a smooth and flawless application:
- Prepare your gel polish: Shake the gel polish bottle well to ensure that the formula is thoroughly mixed. This helps to achieve a consistent color and texture.
- Apply a thin layer of base coat: Start by applying a thin, even layer of base coat to each nail. Be sure to cover the entire nail surface, including the free edge. The base coat helps the gel polish adhere to the nails and creates a smooth foundation for the color.
- Use smooth and even strokes: Take your desired gel polish color and apply a thin layer to each nail. Use smooth and even strokes, starting from the base of the nail and working your way towards the tip. Avoid touching the skin or cuticles to prevent peeling or lifting.
- Repeat for full coverage: If the color appears sheer or uneven, apply a second thin layer of gel polish. This will help to achieve the desired color intensity and coverage. Be sure to cure each layer separately under the UV nail lamp.
- Seal the free edge: After applying the gel polish to each nail, use the brush to seal the free edge of the nail. This means brushing the edge of the polish horizontally across the tip of the nail to prevent premature chipping.
- Clean up any mistakes: If you accidentally get gel polish on your skin or cuticles, use a clean brush or an orangewood stick dipped in nail polish remover or gel cleanser to gently clean up any excess polish. This step ensures a neat and tidy application.
- Remove any gel polish from the skin: Before curing your nails under the UV nail lamp, it’s essential to remove any gel polish that may have gotten on your skin. Use a brush dipped in nail polish remover or gel cleanser to clean any excess polish around the nails. This prevents the gel polish from getting stuck to the skin and causing lifting or peeling.
Remember, a thin and even application is key to achieving the best results with gel polish. Multiple thin layers are preferable to one thick layer, as excessive thickness can lead to an uneven drying process and potential chipping or peeling.
Now that the gel polish is applied, it’s time to move on to the next step: curing your nails under the UV nail lamp. We will guide you through this process in the next section.
Placing Your Nails Under the UV Lamp
Now that you have applied the UV gel polish, it’s time to cure your nails under the UV lamp. Follow these steps for successful curing:
- Check the curing time: Different gel polish brands may have different recommended curing times. Check the instructions provided with your gel polish to determine the appropriate amount of time to cure your nails under the UV lamp.
- Set the timer: Most UV lamps have built-in timers that allow you to set the curing time. Set the timer according to the recommended curing time specified for your gel polish. This ensures that your nails receive the optimal amount of UV light for curing.
- Place your hand under the lamp: Carefully place your nails onto the designated area under the UV lamp. Make sure that each nail is positioned directly under the UV bulbs or LED lights for maximum exposure.
- Keep your hand steady: Once your hand is positioned under the lamp, try to keep it as still as possible. Movement or slight shifts in position during the curing process can lead to uneven curing and compromised results.
- Avoid touching the polish: While your nails are curing, it’s important to avoid touching the freshly applied gel polish. Touching the polish can leave fingerprints or smudges, affecting the final appearance of your manicure.
- Allow the lamp to do its job: Once your nails are positioned and the timer is set, allow the UV lamp to do its job. The ultraviolet light will activate the photoinitiators in the gel polish, causing it to harden and bond to your nails. Follow the recommended curing time provided by the gel polish manufacturer.
- Remove your hand once cured: Once the recommended curing time is complete, carefully remove your hand from under the UV lamp. Be cautious not to touch or bump your nails against any surface that may cause damage or smudging.
It’s important to note that curing times may vary depending on the brand of gel polish and the UV lamp you are using. Always refer to the instructions provided by the gel polish manufacturer and adjust the curing time accordingly.
By following these steps, you will ensure that your gel polish is properly cured and your nails reach their maximum durability and shine. In the next section, we will discuss the recommended curing time and duration for optimal results.
Curing Time and Duration
When using a UV nail lamp to cure gel polish, it’s important to understand the recommended curing time and duration to achieve optimal results. The curing time can vary depending on factors such as the brand of gel polish, the wattage of the UV lamp, and the thickness of the gel polish applied. Here are some general guidelines to follow:
- Curing time per coat: The recommended curing time per coat of gel polish is typically between 30 seconds to 2 minutes under a UV nail lamp. Thinner coats may require less curing time, while thicker coats may need longer to fully cure. Be sure to refer to the instructions provided by the gel polish manufacturer for specific guidance.
- Number of coats: Gel polish typically requires two to three coats for full coverage and color intensity. Each coat should be cured under the UV lamp to ensure proper drying and bonding. If you apply multiple coats, be sure to adjust the curing time to allow for complete curing of each layer.
- Over-curing: While it’s important to cure the gel polish for the recommended time, it’s equally important not to over-cure. Over-curing can result in overheating, potential damage to the nails, or a brittle and uneven finish. Follow the recommended curing time and avoid prolonged exposure to the UV lamp.
- Recommended duration: Gel polish generally requires a total curing time of 2-3 minutes per hand when using a UV nail lamp. This includes the curing time for each coat of gel polish, as well as the final top coat. The exact duration may vary depending on the specific products used, so always refer to the guidelines provided by the gel polish manufacturer.
- LED lamps: If you are using an LED nail lamp instead of a UV lamp, the curing time may be shorter. LED lamps typically require 10-60 seconds per coat of gel polish, depending on the specific lamp and gel polish compatibility. LED lamps offer faster curing times and may be a preferred choice for those seeking quicker results.
It’s important to note that different gel polish brands may have their own recommended curing times and instructions. Always refer to the guidelines provided by the gel polish manufacturer for the best results. Additionally, remember that gel polish requires a proper base coat and top coat for optimal durability and shine.
By following the recommended curing time and duration, you can ensure that your gel polish is properly cured, resulting in long-lasting and beautiful nails. In the next section, we will discuss the maintenance and cleaning of a UV nail lamp to keep it in top condition.
Read more: What Does A UV LED Nail Lamp Do
Maintenance and Cleaning of UV Nail Lamp
To ensure the longevity and optimal performance of your UV nail lamp, proper maintenance and cleaning are essential. Here are some tips to help you keep your UV nail lamp in top condition:
- Unplug the lamp: Before performing any maintenance or cleaning tasks, always make sure to unplug the UV nail lamp from the power source. This ensures your safety and prevents any accidental damage.
- Wipe the lamp after each use: After each use, take a soft, lint-free cloth and gently wipe the interior and exterior of the UV nail lamp. This removes any dust, debris, or residue from the bulbs or LED lights, keeping them clean and allowing for maximum light output.
- Replace bulbs or LED lights: Over time, the bulbs or LED lights in your UV nail lamp may dim or stop working. If you notice a significant decrease in curing efficiency or if the bulbs no longer light up, it may be time to replace them. Refer to the manufacturer’s instructions for the appropriate replacement bulbs or LED lights.
- Clean the lamp’s interior: Regularly clean the interior of your UV nail lamp to remove any gel polish residue or buildup. Dampen a cotton pad or cloth with rubbing alcohol or gel cleanser and gently wipe the interior, focusing on the areas where gel polish may have dripped or splattered. This helps to maintain the efficiency and effectiveness of the UV light.
- Check the power cord: Periodically inspect the power cord of your UV nail lamp for any signs of damage or wear. If you notice any frayed wires or exposed parts, discontinue use and replace the power cord with a new one to prevent any potential electrical hazards.
- Store the lamp properly: When not in use, store your UV nail lamp in a clean and dry area. Ensure that it is protected from dust and moisture. If possible, store the lamp in its original packaging or use a dedicated storage case to prevent any accidental damage.
- Follow manufacturer’s instructions: Always follow the manufacturer’s instructions and guidelines for maintenance, cleaning, and any specific care instructions for your UV nail lamp. Different models may have varying maintenance requirements, so it’s important to refer to the provided documentation.
Proper maintenance and cleaning of your UV nail lamp not only extends its lifespan but also ensures that it continues to deliver optimal curing results for your gel nail manicures. By following these tips, you can maintain the performance and efficiency of your UV nail lamp for many uses to come.
Now that you have learned how to properly care for your UV nail lamp, let’s move on to the next section, where we will share some valuable tips and precautions for using a UV nail lamp effectively.
Tips and Precautions for Using UV Nail Lamp
Using a UV nail lamp to achieve flawless gel nails requires some tips and precautions to ensure the best results and to protect your nails. Here are some valuable tips and precautions to keep in mind:
- Read and follow the instructions: Always read and follow the instructions provided by the gel polish and UV nail lamp manufacturers. Each product may have specific guidelines and recommendations for optimal usage and safety.
- Apply thin, even coats: Avoid applying thick layers of gel polish, as they may not cure properly and can result in an uneven surface. Apply thin, even coats of gel polish for the best results.
- Keep hands steady during curing: While your nails are curing under the UV lamp, try to keep your hands steady to ensure even curing. Any movements or shifts can lead to an uneven application and potential chipping.
- Avoid prolonged exposure to UV light: Limit your exposure to UV light by following the recommended curing time. Prolonged exposure can cause skin irritation, dryness, or potential damage. If you have sensitive skin, consider using a broad-spectrum sunscreen or UV protective gloves.
- Do not touch the lamp’s bulbs: Avoid touching the UV lamps or LED lights in the nail lamp, as they can become hot during use and may cause burns or injuries. Always handle the lamp with caution and allow it to cool down before any maintenance tasks.
- Ensure good ventilation: Maintain good ventilation while using the UV nail lamp, as the curing process can release strong odor. Work in a well-ventilated area or consider using a fan or an air purifier to circulate air and reduce fumes.
- Avoid soaking nails for prolonged periods: While gel nails are durable, soaking them in water for prolonged periods can weaken the gel polish or cause it to lift. When engaging in activities such as washing dishes or using harsh cleaning chemicals, it’s advisable to wear protective gloves.
- Monitor the condition of your nails: Regularly inspect your nails for any signs of damage, such as lifting, cracking, or peeling. If you notice any issues, it’s best to remove the gel polish and seek proper nail care to prevent further damage.
- Take breaks between gel manicures: Give your nails a break between gel manicures to allow them to breathe and recover. Overuse of gel polish or frequent exposure to UV light can weaken the nails over time. Use these breaks to moisturize and nourish your nails with cuticle oil or a nourishing nail treatment.
By following these tips and taking the necessary precautions, you can achieve stunning gel nails while keeping your nails and skin healthy. Be mindful of proper usage and care to ensure both the short-term and long-term well-being of your nails.
Now that you are equipped with these tips and precautions, let’s wrap up the article in the next section.
Conclusion
Using a UV nail lamp is a game-changer for achieving beautiful, long-lasting gel nails. With its ability to cure gel polish quickly and efficiently, a UV nail lamp offers numerous benefits, such as durability, time-saving results, and endless nail art possibilities.
Throughout this article, we have explored what a UV nail lamp is and its benefits, guided you on choosing the right UV nail lamp, provided a step-by-step guide to using the lamp effectively, and shared tips for maintenance and cleaning. We’ve also discussed the importance of proper nail preparation and the precautions to keep in mind for safe usage.
Remember, proper nail preparation is crucial for a flawless gel manicure. Take the time to clean, shape, and buff your nails before applying the gel polish. Follow the recommended curing time and duration, and take care not to over-cure or touch the freshly applied gel polish during the process. Additionally, maintaining and cleaning your UV nail lamp regularly will ensure its optimal performance and longevity.
By following these guidelines and using a UV nail lamp correctly, you can achieve salon-quality gel nails from the comfort of your own home. Say goodbye to frequent touch-ups and hello to stunning, chip-resistant nails that last for weeks.
However, it’s important to remember to give your nails occasional breaks from gel manicures to prevent any damage or weakening. Take the time to care for your natural nails, nourish them with cuticle oil, and allow them to breathe in between gel manicures.
So, whether you’re a nail technician or a nail enthusiast, a UV nail lamp is a valuable tool that can elevate your nail care routine to new heights. Enjoy the convenience and beauty of gel nails with the help of a UV nail lamp, and let your creativity shine through with endless nail art possibilities.
Now, go ahead and unleash your inner nail artist with the power of a UV nail lamp!
Frequently Asked Questions about How To Use A UV Nail Lamp
Was this page helpful?
At Storables.com, we guarantee accurate and reliable information. Our content, validated by Expert Board Contributors, is crafted following stringent Editorial Policies. We're committed to providing you with well-researched, expert-backed insights for all your informational needs.