Articles
What Nails To Use For Hardie Siding
Modified: October 28, 2024
Find the best nails for Hardie siding with our comprehensive articles. Get expert advice and make sure your installation is a success.
(Many of the links in this article redirect to a specific reviewed product. Your purchase of these products through affiliate links helps to generate commission for Storables.com, at no extra cost. Learn more)
Introduction
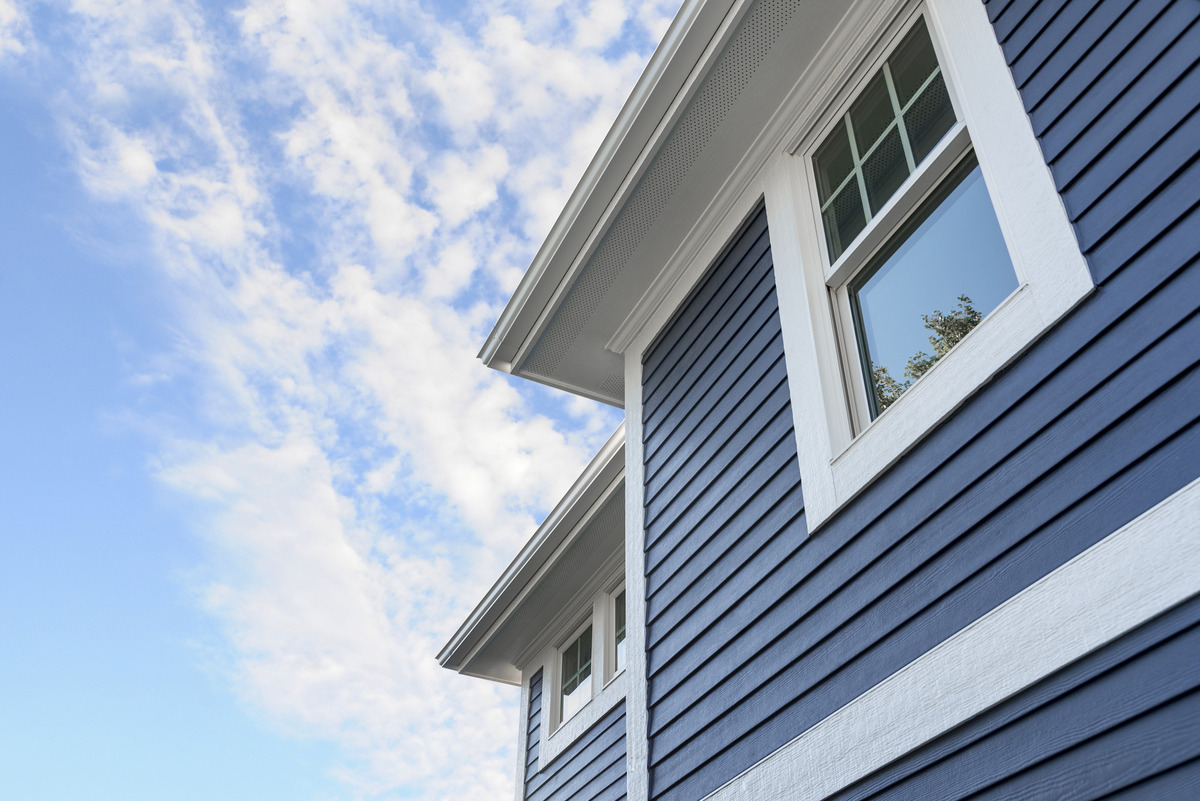
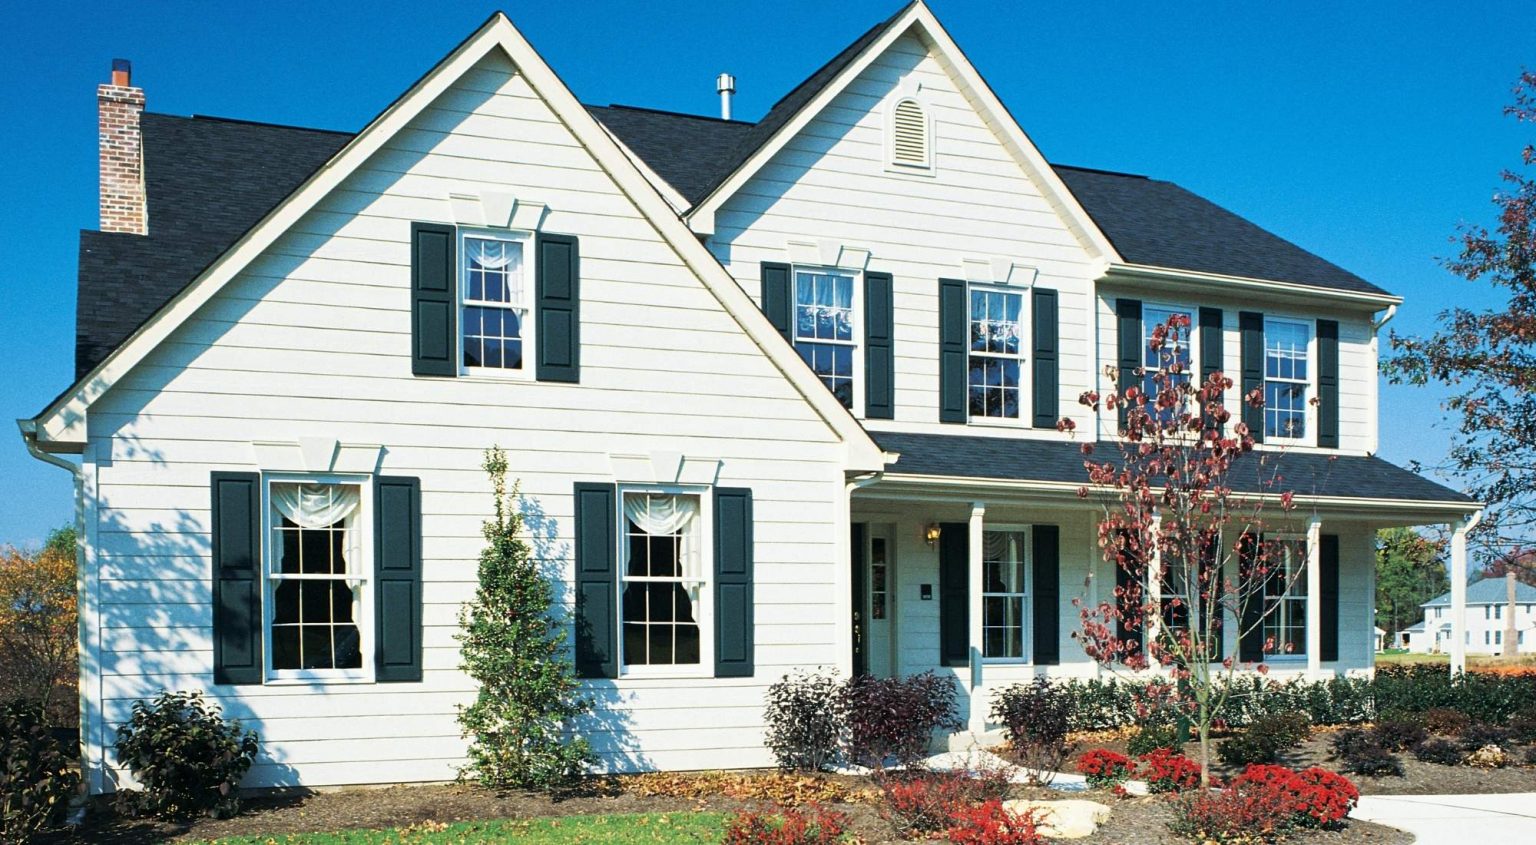
As homeowners, we all want our houses to look beautiful and be well-protected from the elements. That’s why choosing the right materials for siding is crucial. Hardie siding, also known as fiber cement siding, has gained popularity due to its durability, resistance to rot and pests, and low-maintenance requirements. It is made from a combination of cement, sand, and cellulose fibers.
While Hardie siding is an excellent choice for enhancing the aesthetic appeal and value of your home, using the correct nails for its installation is equally important. The right nails will ensure that the siding is securely attached to your home, providing long-lasting results.
In this article, we will explore the importance of choosing the right nails for Hardie siding and provide recommendations for selecting the appropriate ones for your installation project. Additionally, we’ll discuss factors to consider when choosing nails and common mistakes to avoid to ensure a successful and professional-looking siding installation.
Key Takeaways:
- Choosing the right nails for Hardie siding is crucial for a secure and long-lasting installation. Avoid common mistakes like using the wrong type or size of nails to ensure the durability and warranty of your siding.
- Hot-dipped galvanized or stainless steel nails specifically designed for fiber cement materials are recommended for Hardie siding. Consider factors like material compatibility, size, and spacing to achieve a professional and visually appealing installation.
Read more: What Is Hardie Plank Siding Made Of
Understanding Hardie Siding
Before diving into the topic of choosing the right nails for Hardie siding, it’s essential to have a solid understanding of what Hardie siding is and why it has become a popular choice for homeowners.
Hardie siding, also known as James Hardie fiber cement siding, is a type of exterior cladding material that is designed to mimic the appearance of traditional wood siding while offering superior durability and resistance to various weather conditions.
One of the primary reasons homeowners prefer Hardie siding is its exceptional durability. Unlike wood siding, which is prone to rot, decay, and insect damage, Hardie siding is engineered to withstand the harshest elements. It is specially formulated with cement, sand, and cellulose fibers, creating a strong and resilient composite material.
Hardie siding is also known for its longevity. It can last for several decades without requiring extensive maintenance or replacement. This makes it a cost-effective investment, as homeowners can enjoy the benefits of a beautiful and low-maintenance exterior for years to come.
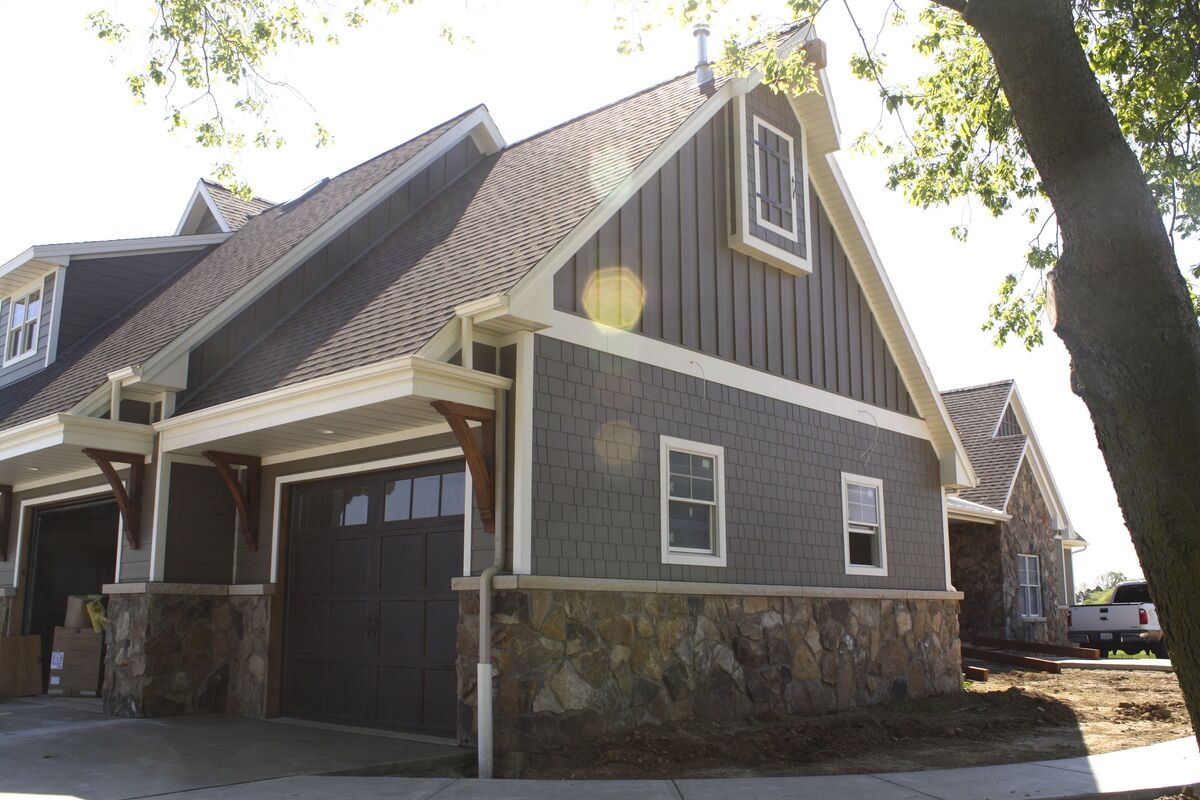
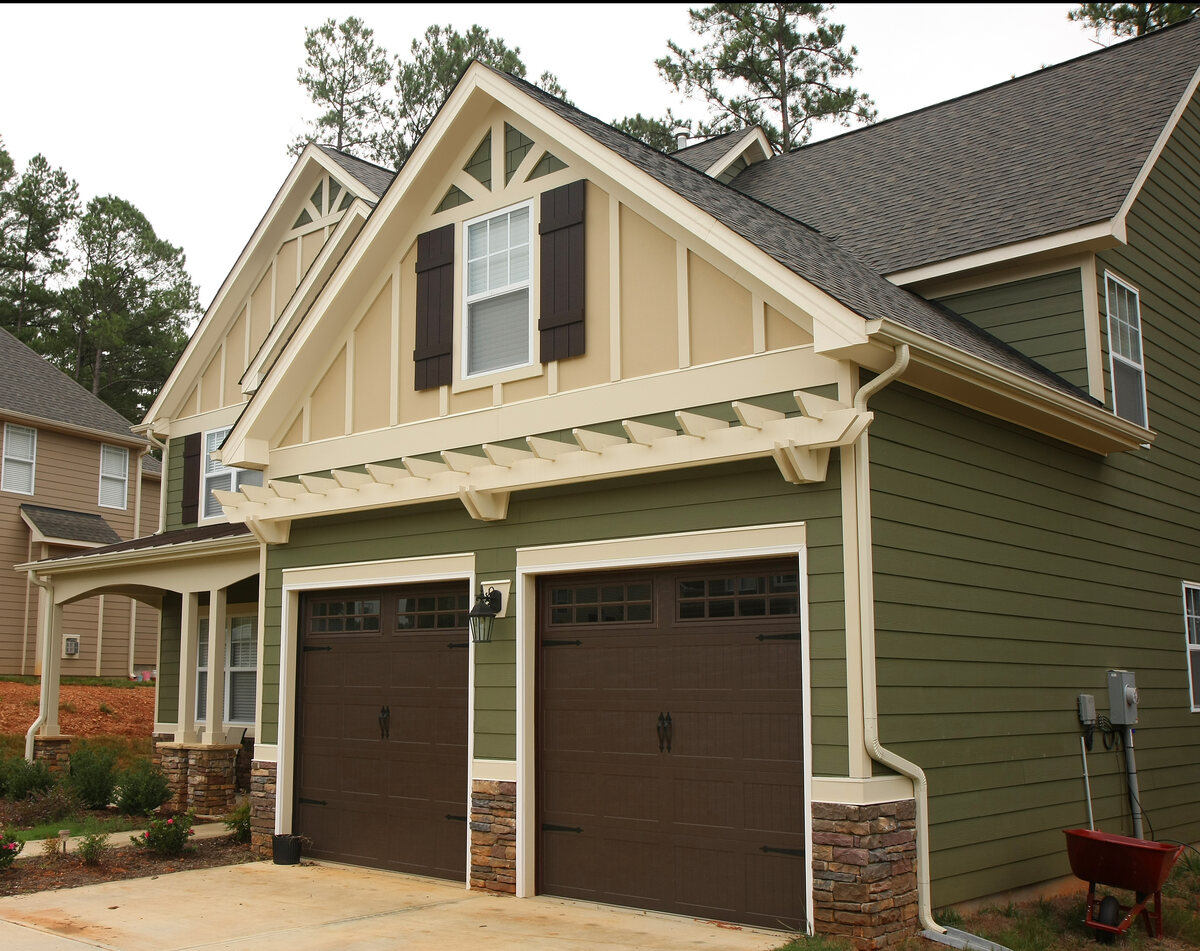
In addition to its durability, Hardie siding is extremely versatile. It comes in a wide range of styles, textures, and colors, allowing homeowners to achieve their desired aesthetic for their home’s exterior. From classic lap siding to modern vertical panels, Hardie siding offers endless possibilities to enhance the curb appeal of any home.
Another advantage of Hardie siding is its fire resistance. Unlike wood siding, which is highly flammable, Hardie siding is non-combustible and can help protect your home from fires. This can provide invaluable peace of mind for homeowners, especially those living in areas prone to wildfires or with strict fire safety regulations.
Overall, Hardie siding offers a winning combination of durability, versatility, and aesthetics. However, to ensure that your Hardie siding installation is successful and long-lasting, it’s crucial to choose the right nails for the job. The next section will explore the importance of selecting the appropriate nails for your Hardie siding installation project.
Importance of Choosing the Right Nails
When it comes to installing Hardie siding, the importance of choosing the right nails cannot be overstated. The right nails will ensure that your siding is securely attached to your home, withstanding strong winds, temperature changes, and other external factors that can potentially damage the siding if not properly fastened.
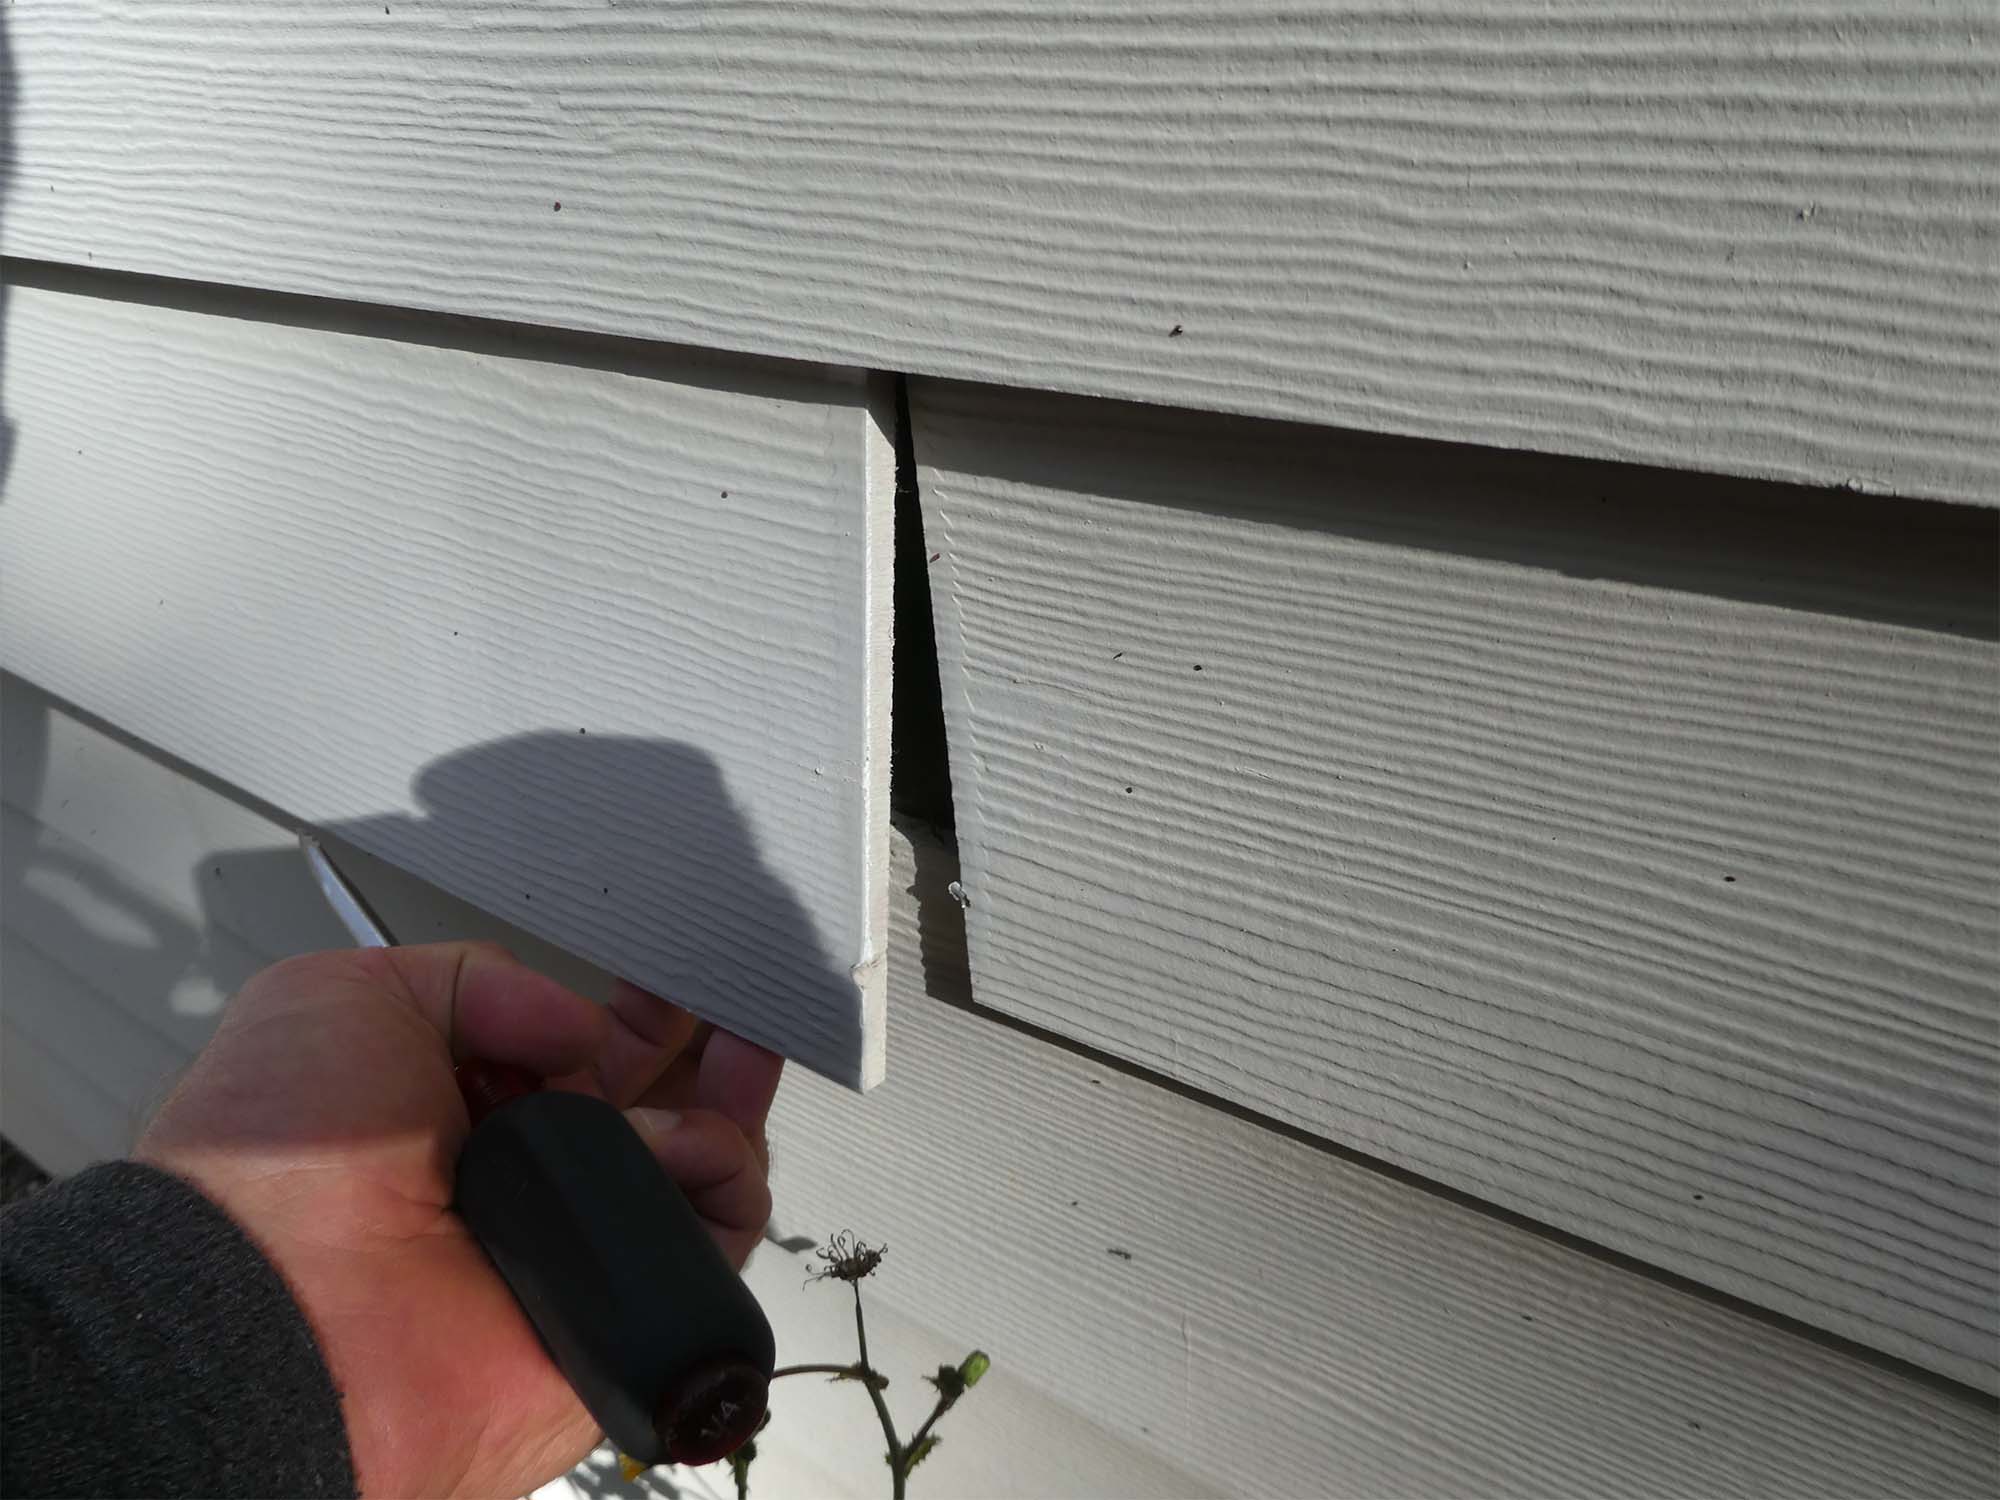
One of the main reasons for choosing the correct nails is to prevent siding failure. Using the wrong type or size of nails can result in the siding becoming loose, warped, or even falling off over time. This not only compromises the appearance of your home but also affects its overall structure and protection.
Choosing the right nails also plays a critical role in maintaining the warranty of your Hardie siding. Most manufacturers specify the type and size of nails that should be used for their products. Failure to follow these guidelines may void the warranty, leaving you responsible for any repairs or replacements that may be needed down the line.
Additionally, the right nails ensure that your Hardie siding installation meets building code requirements. Building codes specify the minimum standards for construction and safety. Using the correct nails will help ensure that your installation is up to code and passes inspection if required.
Another important factor to consider is the compatibility of the nails with the Hardie siding material. Hardie siding is made from a unique composition of cement, sand, and cellulose fibers. As such, it requires nails that are specifically designed for use with fiber cement materials. These nails are typically coated or treated to prevent corrosion and provide optimal holding power.
Using the wrong type of nails, such as standard steel or galvanized nails meant for wood siding, can lead to corrosion and damage to the siding over time. This not only compromises the aesthetic appeal of your home but also reduces its durability and performance.
Overall, choosing the right nails for your Hardie siding installation is crucial for ensuring a durable, secure, and long-lasting exterior. In the next section, we will discuss the recommended nails for installing Hardie siding.
Recommended Nails for Hardie Siding Installation
When it comes to choosing nails for Hardie siding installation, it’s important to select ones that are specifically designed for fiber cement materials. These speciality nails are coated or treated to provide optimal holding power and corrosion resistance, ensuring a secure and long-lasting installation.
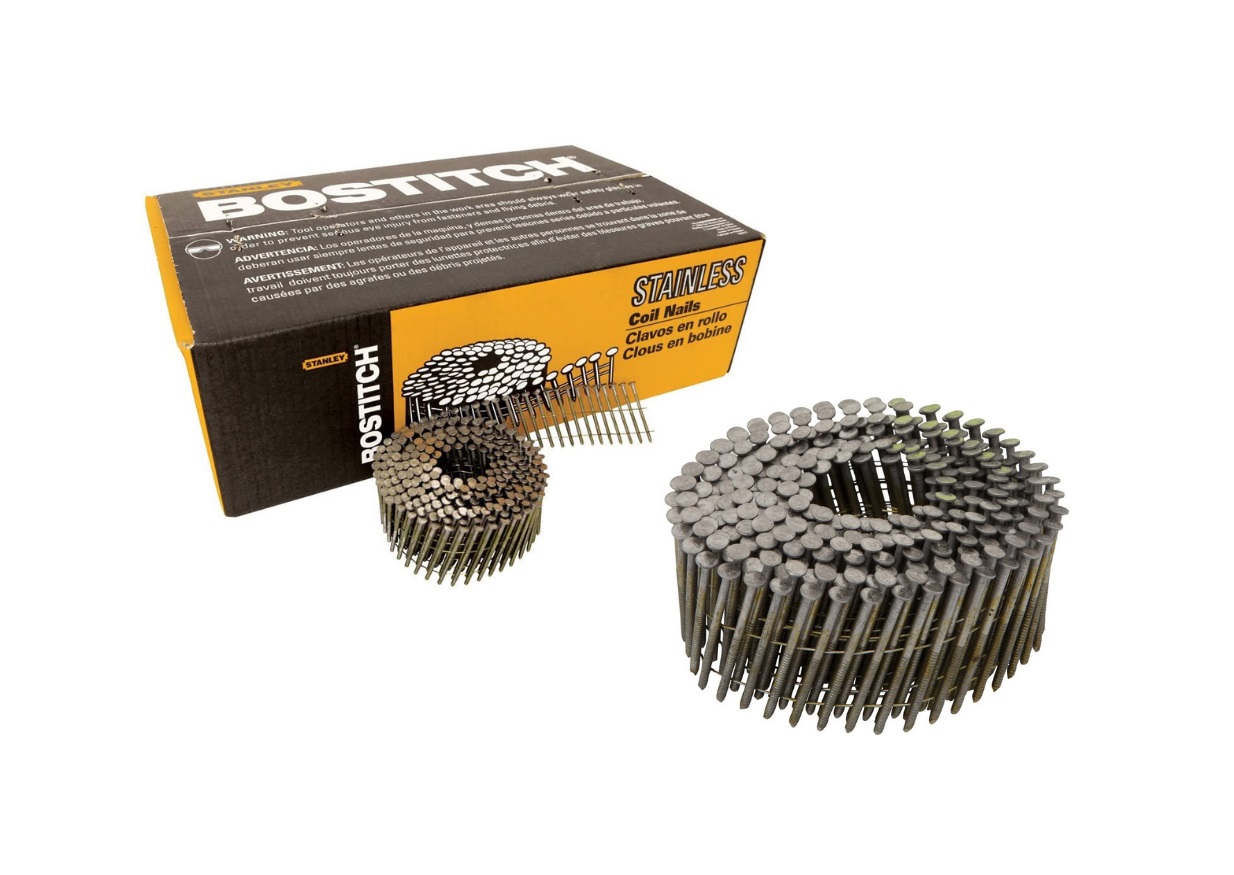
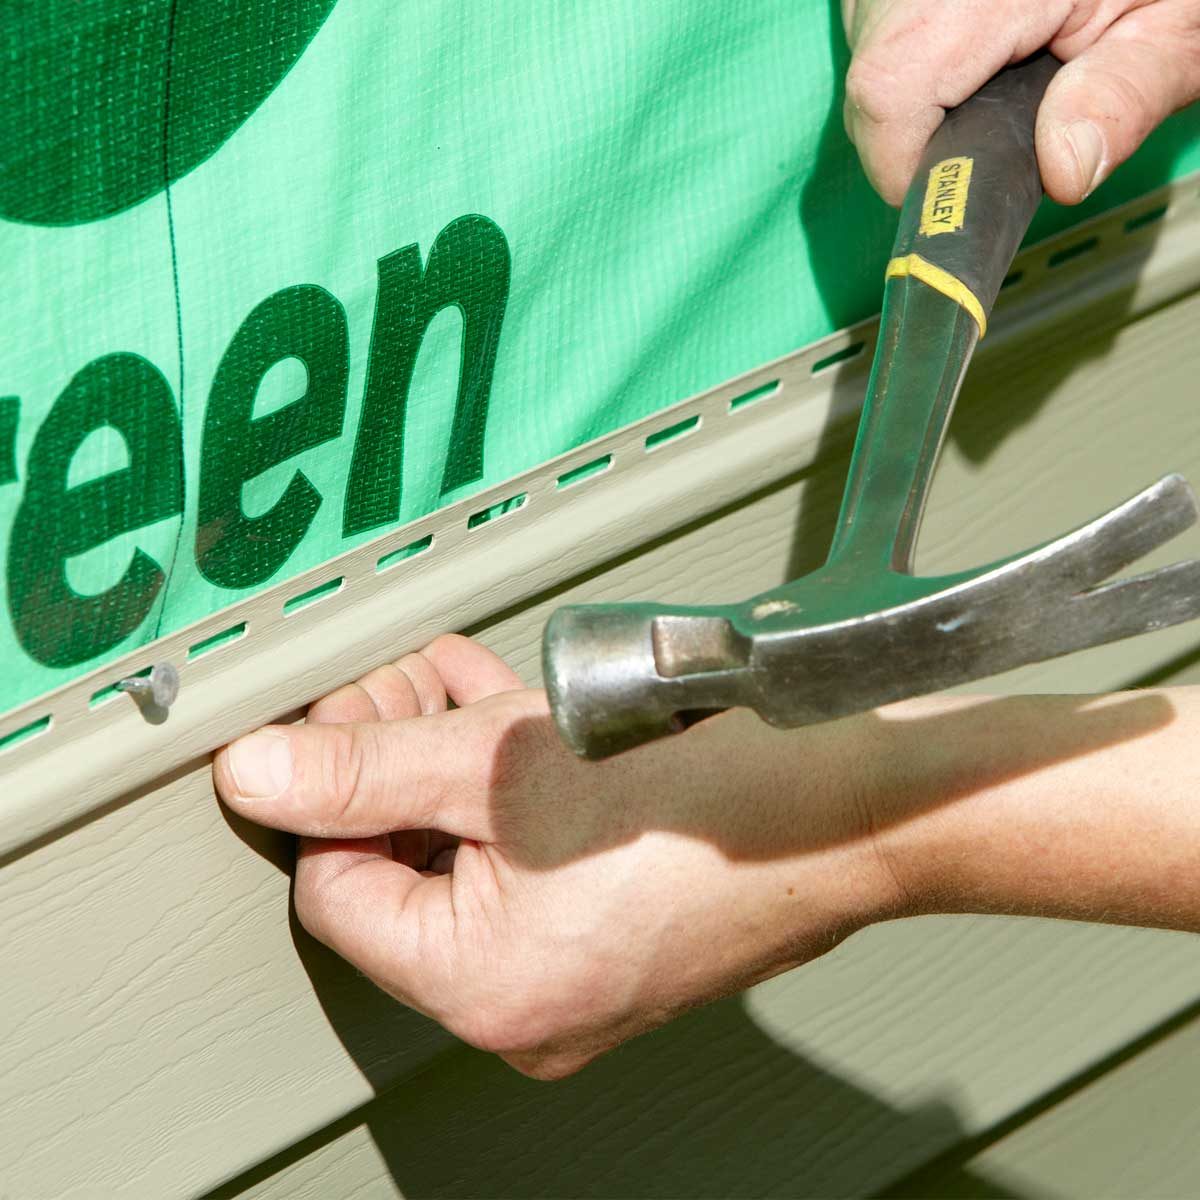
One of the most commonly recommended nails for Hardie siding is the hot-dipped galvanized nail. These nails are made from steel and then coated with a layer of zinc through a hot-dipping process. The zinc coating provides excellent corrosion resistance, making these nails suitable for exterior applications. It’s important to choose nails that are specifically labeled as “hot-dipped galvanized” to ensure maximum durability.
Another recommended option is stainless steel nails. These nails are highly resistant to corrosion and are recommended in coastal areas or areas with high humidity levels. Stainless steel nails are more expensive than other options but offer superior longevity and protection against rust.
There are also Hardie siding-specific nails available on the market. These nails are specially designed for fiber cement materials and often have features that make installation easier and more secure. They may have a ring shank, helical thread, or other design features that provide enhanced holding power. It’s always a good idea to check with the manufacturer of your Hardie siding for their recommended nails, as they may offer their own proprietary options.
When selecting the nail size, it’s essential to follow the guidelines provided by the manufacturer of your Hardie siding. The size and length of nails required can vary depending on the thickness and style of the siding. Typically, 2 1/2 or 3-inch nails are suitable for Hardie siding installation. However, it’s always best to refer to the manufacturer’s recommendations to ensure the appropriate size for your specific installation.
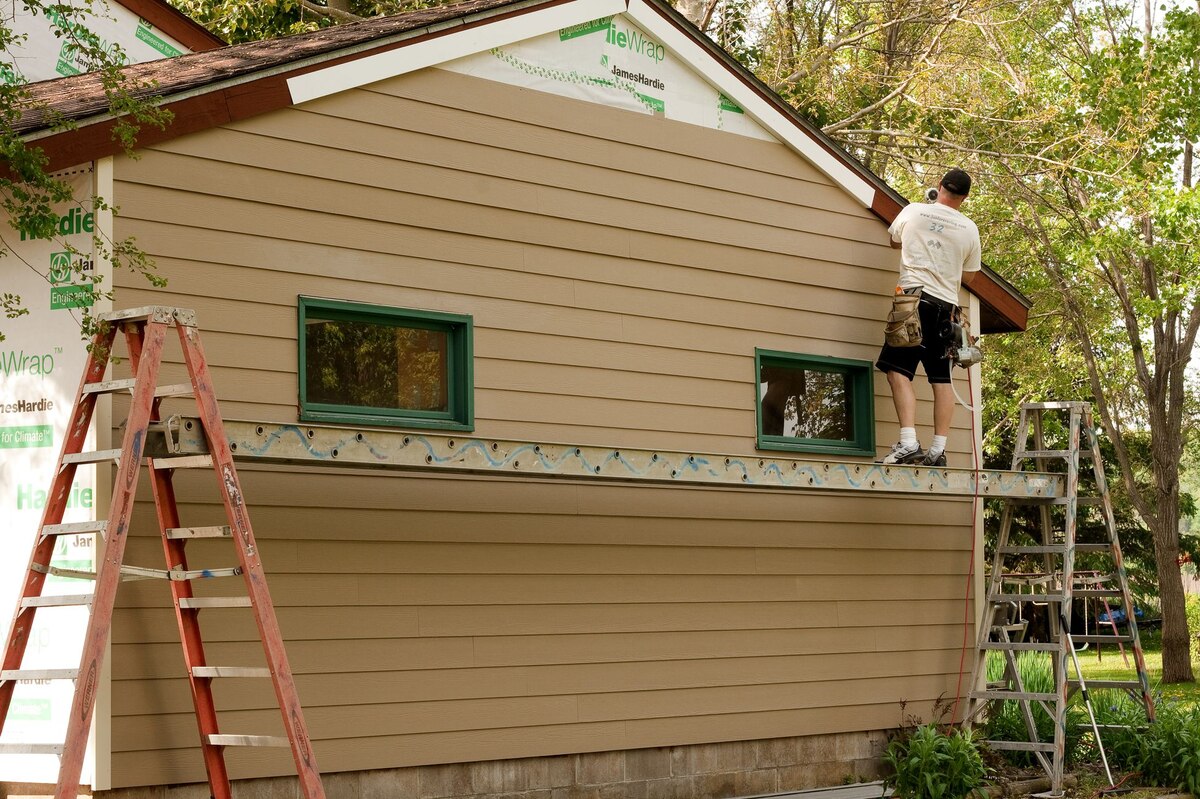
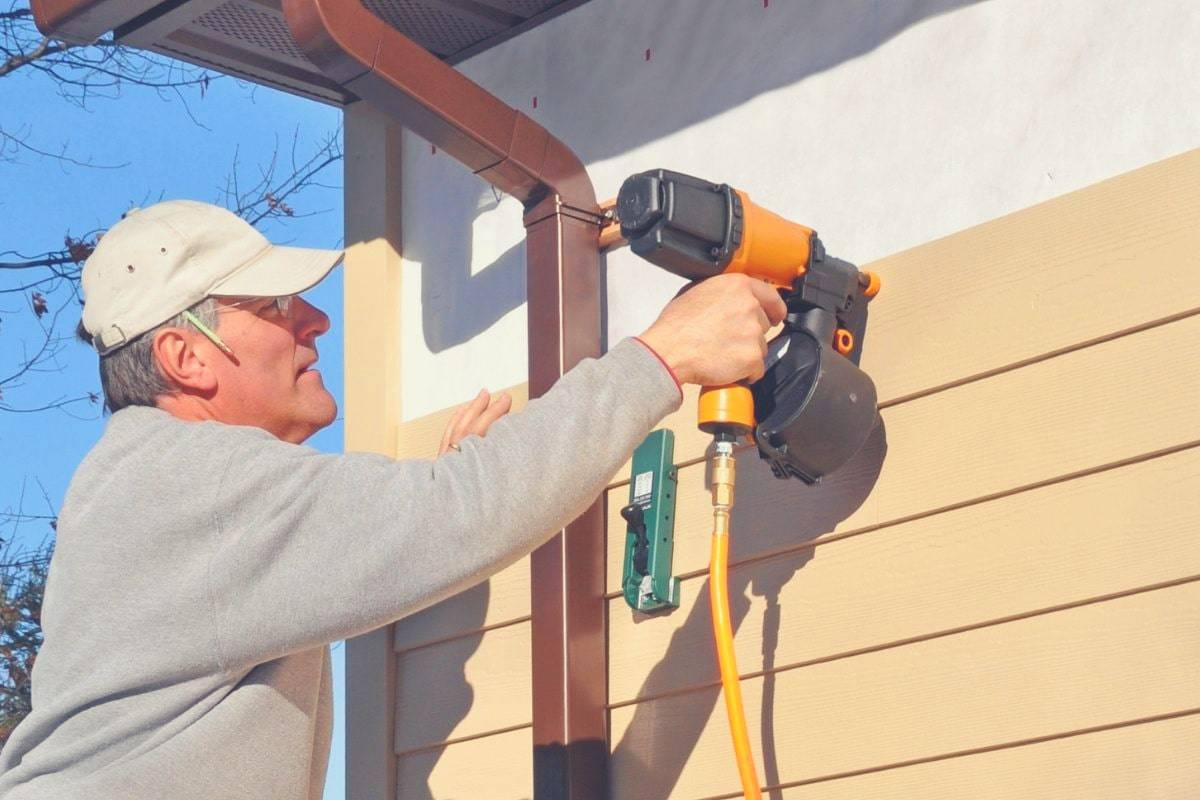
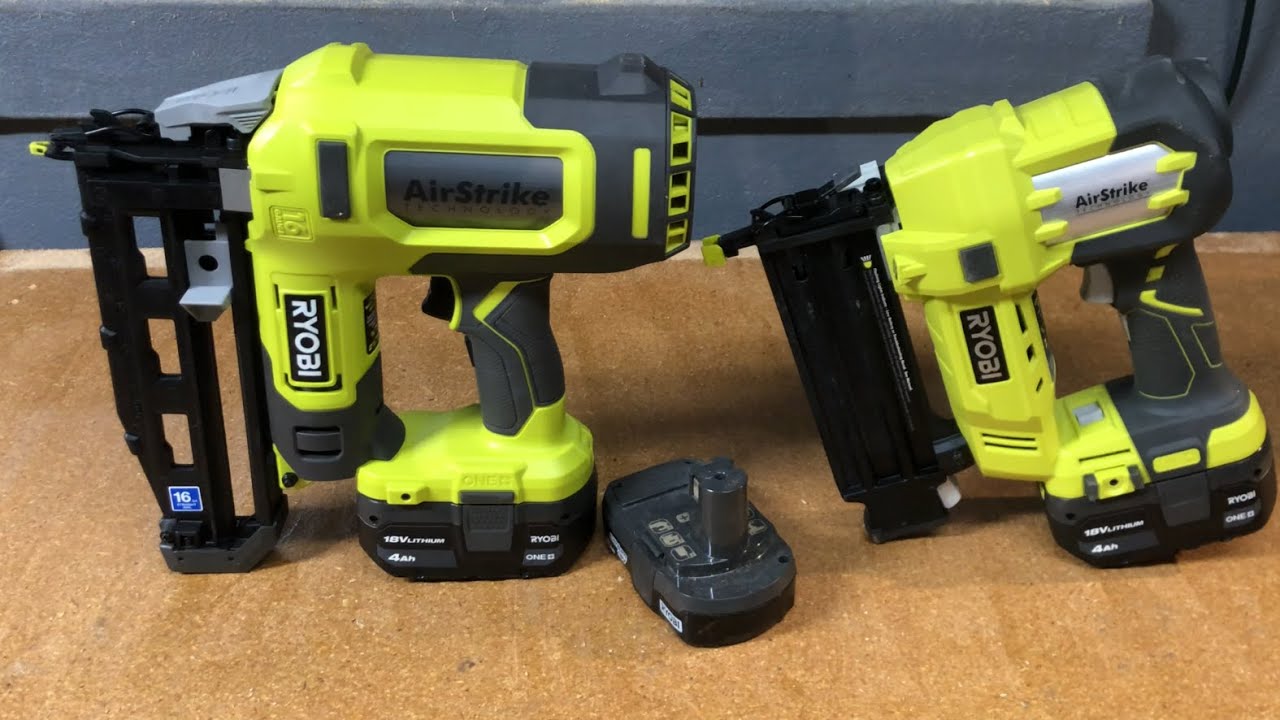
Lastly, it’s worth mentioning that using a nail gun or pneumatic nailer can significantly speed up the installation process and ensure consistent nail placement. However, it’s important to choose a nail gun specifically designed for fiber cement siding to avoid damaging the material or compromising the installation.
By using the recommended nails for Hardie siding, you can ensure a secure, durable, and professional-looking installation. In the next section, we’ll explore the factors to consider when choosing nails for Hardie siding installation.
When installing Hardie siding, use hot-dipped galvanized or stainless steel nails to prevent rust and corrosion. These nails are specifically designed to withstand the elements and provide a secure hold for the siding.
Factors to Consider When Choosing Nails
When choosing nails for Hardie siding installation, several factors should be taken into consideration to ensure the best results. These factors include the material of the nails, compatibility with the siding, size and length of the nails, and the installation method.
Firstly, it’s important to select nails that are specifically designed for use with fiber cement materials like Hardie siding. Nails for fiber cement are often hot-dipped galvanized or made of stainless steel to provide maximum corrosion resistance. Using nails made for other materials may result in rusting and damage to the siding over time.
Secondly, consider the compatibility of the nails with the Hardie siding material. Different types of siding may have different requirements, so it’s crucial to follow the manufacturer’s recommendations. Check if the nails are approved by the siding manufacturer and meet the specifications outlined in their installation guidelines.
The size and length of the nails are also important factors. The thickness of the siding and the type of installation (such as lap siding or panel siding) will determine the appropriate nail size. Typically, 2 1/2 or 3-inch nails are recommended for Hardie siding installation, but it’s always best to refer to the manufacturer’s guidelines for the precise nail size requirements.
Additionally, consider the installation method that will be used. If using a pneumatic nailer or nail gun, ensure that it is specifically designed for fiber cement siding. Using the wrong type of tool can result in damage to the siding or inconsistent nail placement.
It’s worth mentioning that local building codes may also dictate specific requirements for nail selection. Before starting your project, check with your local building department or consult with a professional contractor to ensure compliance with these regulations.
Lastly, budget is another factor to consider when choosing nails for your Hardie siding installation. Stainless steel nails, although more expensive, offer superior corrosion resistance and are recommended in areas with high humidity or coastal regions. However, if budget is a concern, hot-dipped galvanized nails can offer reliable performance at a more affordable price point.
By carefully considering these factors and following the manufacturer’s recommendations, you can ensure that the nails chosen for your Hardie siding installation are the right fit for the job. This will result in a secure and long-lasting siding installation that enhances the aesthetics and durability of your home.
Read more: What Kind Of Nails Do You Use For Siding
Common Mistakes to Avoid When Using Nails for Hardie Siding
Installing Hardie siding requires precision and attention to detail, particularly when it comes to using nails. To ensure a successful installation and prevent potential issues down the line, it’s important to avoid common mistakes that can compromise the integrity and appearance of your siding. Here are some common mistakes to avoid when using nails for Hardie siding:
- Using the wrong type of nails: Using nails that are not specifically designed for fiber cement materials can lead to corrosion and damage. Avoid using standard steel or galvanized nails meant for wood siding, as they are not suitable for Hardie siding. Instead, opt for hot-dipped galvanized nails or stainless steel nails that provide optimal corrosion resistance.
- Choosing the wrong nail size: The size and length of the nails should be carefully selected based on the thickness and style of the Hardie siding. Using nails that are too short may not provide sufficient holding power, while using nails that are too long can penetrate the siding or compromise its integrity. Always refer to the manufacturer’s guidelines for the appropriate nail size requirements.
- Improper nail spacing: Incorrect nail spacing can lead to siding failure and decreased longevity. Be sure to follow the manufacturer’s recommendations for nail placement and spacing. Typically, nails should be spaced around 16 inches apart horizontally and 12 inches apart vertically, but this may vary depending on the specific installation guidelines.
- Overdriving or underdriving nails: Nails should be driven flush with the surface of the siding, neither too deep nor too shallow. Overdriving nails can result in cracking or crushing of the siding, while underdriving nails may not provide adequate holding power. Take care to ensure that the nails are driven in at the appropriate depth for a secure and professional installation.
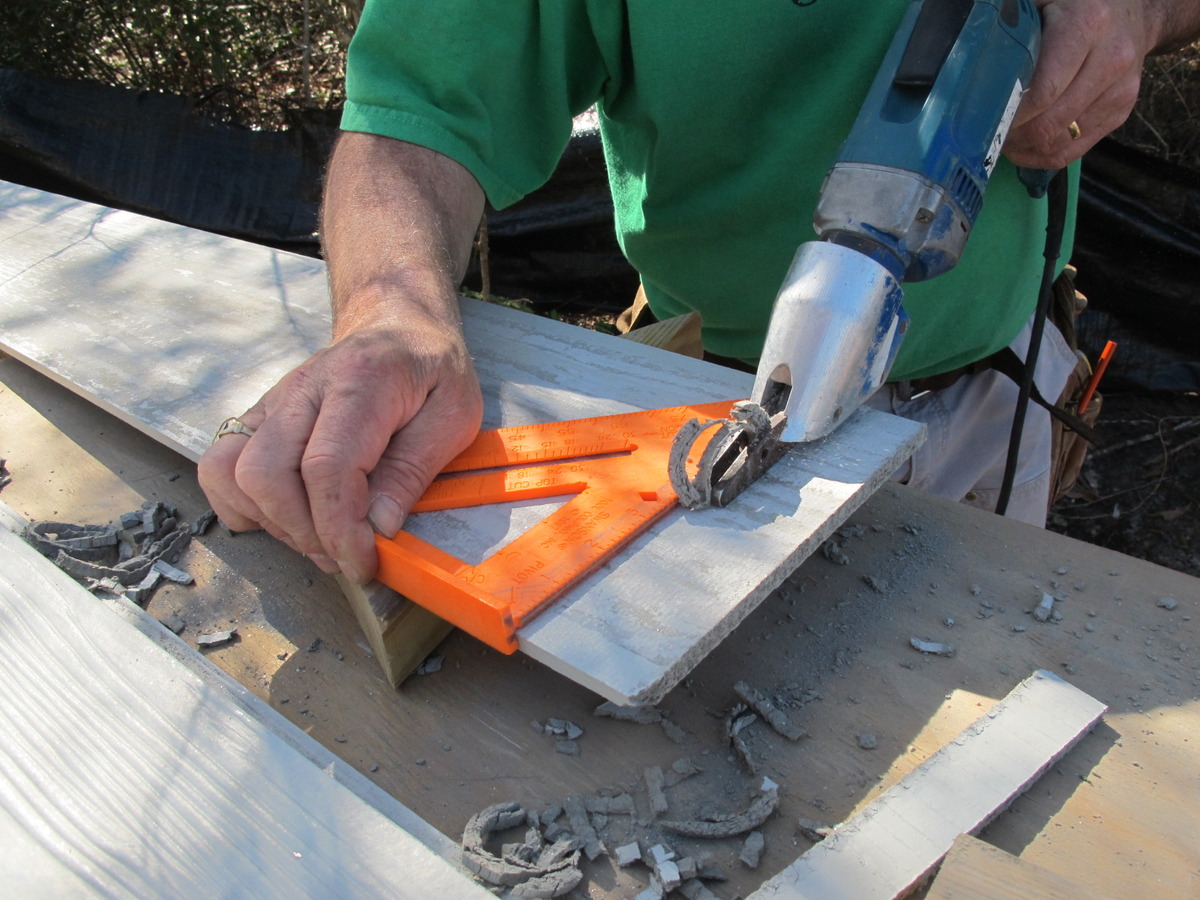
- Failure to pre-drill holes: In some situations, pre-drilling pilot holes may be necessary, especially when installing near the edges or ends of the siding panels. Pre-drilling helps prevent splitting or cracking of the siding and provides better control when driving the nails. Refer to the manufacturer’s instructions or consult a professional to determine if pre-drilling is necessary for your specific installation.
- Ignoring building code requirements: Each local area may have specific building code requirements for siding installation, including the type and size of nails to be used. It is crucial to familiarize yourself with these requirements and ensure compliance to avoid issues during inspections or potential warranty claims.
By avoiding these common mistakes, you can ensure a proper and secure installation of Hardie siding, maximizing its longevity, aesthetics, and performance. If you are unsure about any aspect of the installation process, it’s always recommended to consult with a professional contractor or refer to the manufacturer’s guidelines for guidance.
Conclusion
Choosing the right nails for Hardie siding installation is a crucial step in ensuring a secure, durable, and visually appealing exterior for your home. By understanding the importance of selecting the appropriate nails, you can avoid common pitfalls and ensure a successful siding installation project.
Hardie siding offers numerous benefits, including durability, fire resistance, and versatile design options. However, using the wrong nails or making common mistakes during the installation process can compromise these advantages and lead to issues down the line.
When choosing nails for Hardie siding, it’s important to select ones specifically designed for fiber cement materials. Hot-dipped galvanized nails and stainless steel nails are highly recommended due to their corrosion resistance properties. Additionally, following the manufacturer’s guidelines for nail size, spacing, and installation techniques is crucial for achieving a professional and long-lasting result.
By avoiding common mistakes such as using the wrong type of nails, choosing the wrong nail size, improperly spacing the nails, or failing to pre-drill holes when necessary, you can ensure a secure and aesthetically pleasing siding installation.
Remember to consult local building codes and adhere to their requirements to ensure compliance. Taking the time to choose the right nails and follow proper installation techniques will not only enhance the durability and appearance of your home but also maintain the warranty of your Hardie siding.
If you’re unsure about any aspect of the installation process, it’s always a good idea to consult with a professional contractor or refer to the manufacturer’s guidelines for guidance. This will ensure that your Hardie siding installation is of the highest quality and provides long-lasting protection for your home.
In conclusion, by understanding the importance of choosing the right nails, considering factors such as material compatibility and size, and avoiding common mistakes, you can achieve a successful and professional-looking Hardie siding installation that enhances the beauty and value of your home for years to come.
Curious about more than just the right nails for your siding project? Dive deeper into the world of home construction by exploring our detailed guide on siding itself. Understanding the basics and intricacies of siding construction can save you both time and money, ensuring your home’s exterior is both beautiful and durable. Don't miss out on this essential read for any home improvement enthusiast.
Frequently Asked Questions about What Nails To Use For Hardie Siding
Was this page helpful?
At Storables.com, we guarantee accurate and reliable information. Our content, validated by Expert Board Contributors, is crafted following stringent Editorial Policies. We're committed to providing you with well-researched, expert-backed insights for all your informational needs.


0 thoughts on “What Nails To Use For Hardie Siding”