Furniture
How To Use An Alcohol Lamp
Modified: December 12, 2023
Learn how to safely and effectively use an alcohol lamp for various furniture projects with our step-by-step guide. Master the art of using an alcohol lamp today!
(Many of the links in this article redirect to a specific reviewed product. Your purchase of these products through affiliate links helps to generate commission for Storables.com, at no extra cost. Learn more)
Introduction
Welcome to the fascinating world of the alcohol lamp! This humble yet versatile tool has been a mainstay in laboratories, workshops, and classrooms for generations, offering a reliable and consistent source of heat for a myriad of applications. Whether you are a seasoned scientist, a budding chemist, or a curious hobbyist, understanding how to use an alcohol lamp effectively can open up a world of possibilities in your experiments and projects.
In this comprehensive guide, we will delve into the intricacies of the alcohol lamp, exploring its components, functions, and safety considerations. From preparing and lighting the lamp to mastering the art of flame adjustment, we will cover everything you need to know to harness the full potential of this invaluable instrument. Additionally, we will highlight essential safety precautions to ensure that your experience with the alcohol lamp is not only productive but also secure.
So, grab your safety goggles, roll up your sleeves, and let's embark on a journey into the realm of the alcohol lamp. Whether you are a newcomer seeking guidance or a seasoned pro looking for a refresher, this guide is tailored to equip you with the knowledge and confidence to make the most of this timeless tool. Let's ignite our curiosity and dive into the art of using an alcohol lamp!
Key Takeaways:
- Mastering the art of using an alcohol lamp involves careful preparation, safe lighting, and precise flame adjustment to harness its versatile heat source for various applications.
- Prioritizing safety measures and responsible handling ensures a secure and productive experience with the alcohol lamp, fostering a culture of awareness and respect for this timeless tool.
Read more: How To Use A Sunset Lamp
Understanding the Alcohol Lamp
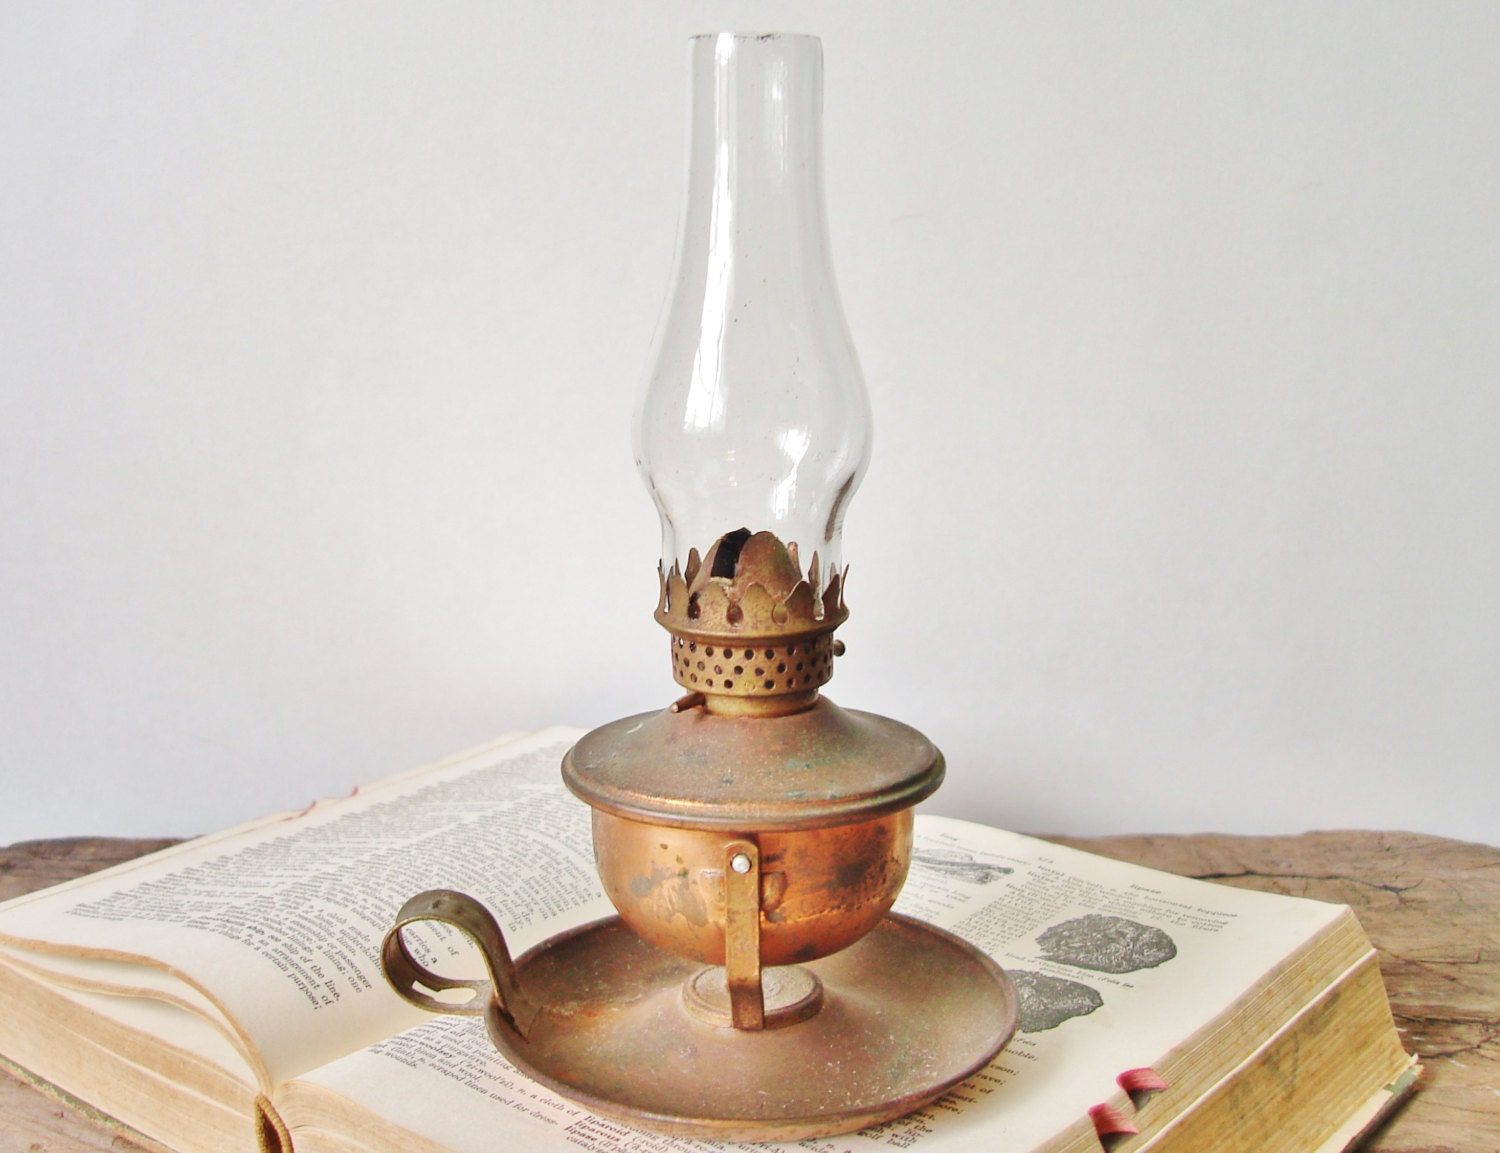
Before diving into the practical aspects of using an alcohol lamp, it’s essential to grasp its fundamental structure and function. An alcohol lamp typically consists of a base, a reservoir for the alcohol fuel, a wick, and a cap or collar to control the airflow and flame size. The most common fuel used in these lamps is denatured alcohol, which burns cleanly and is relatively safe to handle.
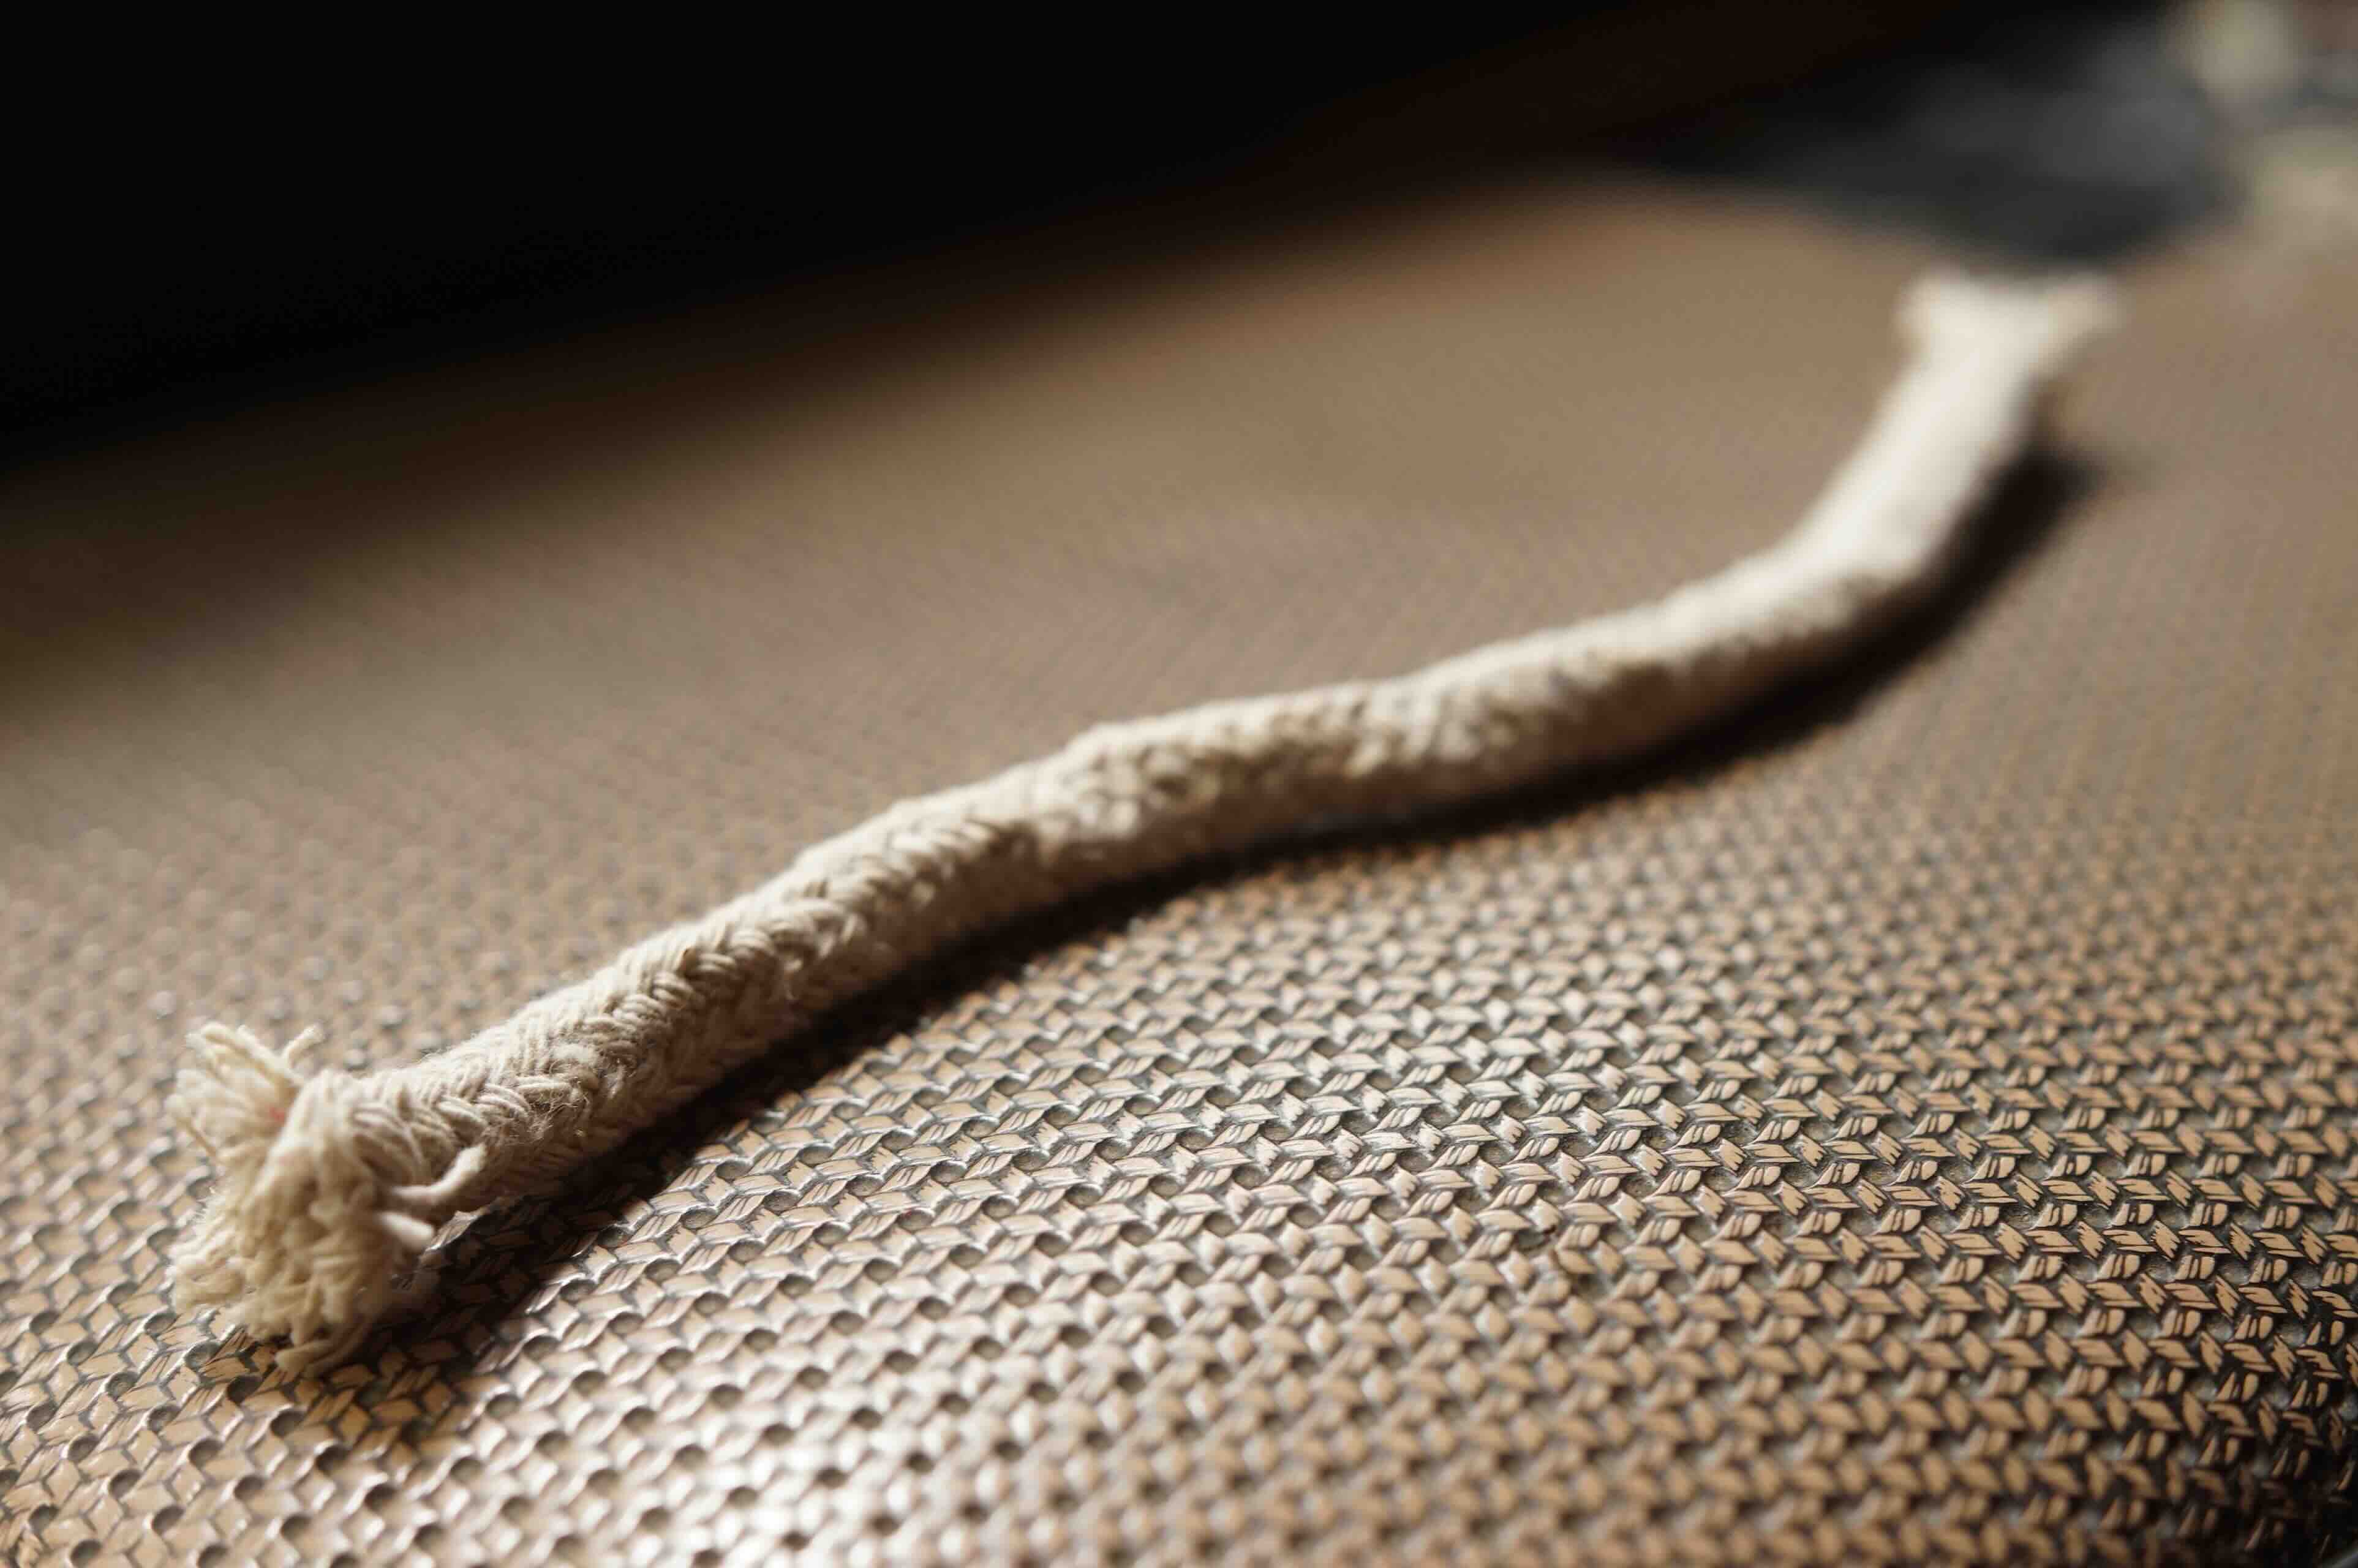
The wick, usually made of cotton or fiberglass, serves as the medium through which the alcohol fuel travels from the reservoir to the flame. When the wick is saturated with alcohol and ignited, the cap or collar can be adjusted to regulate the airflow, thereby controlling the size and intensity of the flame. This simple yet ingenious design allows for precise heat application in various settings.
Alcohol lamps come in a range of sizes, from small, portable models suitable for fieldwork to larger, more robust versions for laboratory use. The versatility of these lamps makes them indispensable for tasks such as sterilization, heating, and flame-based experiments. Their relatively low cost, ease of use, and portability have cemented their status as a staple tool in scientific and educational environments.
By understanding the components and functionality of the alcohol lamp, users can appreciate its versatility and adaptability to a wide array of heating and sterilization needs. Whether employed in a professional laboratory setting or a home workshop, the alcohol lamp remains a reliable and efficient heat source, embodying a perfect union of simplicity and utility.
Preparing the Alcohol Lamp
Before igniting the alcohol lamp, it is crucial to ensure that it is properly prepared to operate safely and efficiently. The following steps outline the essential procedures for preparing the alcohol lamp:
- Check the Fuel Level: Begin by inspecting the reservoir to ensure an an adequate amount of denatured alcohol is present. If the fuel level is low, carefully refill the reservoir using a funnel to prevent spills.
- Inspect the Wick: Examine the wick to ensure it is clean, free of debris, and of an appropriate length. Trim any frayed edges to maintain a tidy and uniform appearance, which facilitates efficient fuel absorption and combustion.
- Secure the Cap or Collar: Ensure that the cap or collar, which controls the airflow and flame size, is properly secured to the lamp. This component plays a critical role in regulating the intensity of the flame and should be in good working condition.
- Place the Lamp on a Stable Surface: Select a stable, level surface on which to position the alcohol lamp. Stability is crucial to prevent accidental spills or tip-overs during operation.
- Prepare a Fire-Safe Area: Clear the surrounding area of any flammable materials and ensure that a fire extinguisher or suitable fire suppression equipment is readily accessible. Safety should always be a top priority when working with an open flame.
By meticulously following these preparatory steps, users can establish a safe and conducive environment for operating the alcohol lamp. Attention to detail during the preparation phase not only enhances safety but also contributes to the lamp’s optimal performance, ensuring a reliable and consistent heat source for various applications.
Lighting the Alcohol Lamp
Once the alcohol lamp is properly prepared, the next step is to safely ignite the flame. Follow these steps to ensure a smooth and controlled lighting process:
- Position the Lamp: Place the alcohol lamp in a secure position on a stable, non-flammable surface, away from any drafts or flammable materials. This minimizes the risk of accidental fires and ensures a steady flame.
- Saturate the Wick: Using a dropper or a small funnel, carefully saturate the wick with denatured alcohol from the reservoir. Allow the wick to absorb the alcohol for a few moments to ensure proper fuel uptake.
- Ignite the Wick: Using a long-reach lighter or a match, carefully ignite the saturated wick. Exercise caution to avoid contact with the flame, and be mindful of any flammable vapors that may be present during the initial lighting process.
- Observe the Initial Flame: As the wick ignites, observe the initial size and behavior of the flame. It may initially produce soot or smoke, which should dissipate as the lamp reaches its optimal operating temperature.
- Adjust the Flame: Once the flame is established, use the cap or collar to adjust the airflow and control the size of the flame as needed for the intended application. A well-adjusted flame should burn cleanly and steadily, without excessive flickering or sputtering.
By following these steps, users can safely and effectively light the alcohol lamp, setting the stage for precise and controlled heat application. Attention to detail during the lighting process contributes to a stable and predictable flame, ensuring optimal performance and safety throughout the lamp’s operation.
Always use a metal cap to extinguish the flame of an alcohol lamp. This prevents the flame from reigniting and causing accidents.
Adjusting the Flame
Mastering the art of flame adjustment is crucial for harnessing the full potential of an alcohol lamp. The ability to control the size and intensity of the flame enables users to tailor the heat output to suit specific tasks and applications. Follow these guidelines to effectively adjust the flame of an alcohol lamp:
- Understanding Airflow and Flame Size: The cap or collar of the alcohol lamp plays a pivotal role in regulating the airflow to the flame. By opening or closing the cap, users can increase or decrease the amount of oxygen reaching the flame, thereby influencing its size and intensity.
- Observing the Flame: When adjusting the flame, carefully observe its behavior and appearance. A well-adjusted flame should burn steadily and cleanly, without excessive flickering or sooting. The color and shape of the flame can also provide valuable insights into its temperature and combustion efficiency.
- Optimizing Heat Output: For applications requiring gentle heat, such as warming a test tube, a small, steady flame is preferable. Conversely, tasks that demand more intense heat, such as sterilization or metalworking, may benefit from a larger, more robust flame. Adjust the flame size accordingly to achieve the desired heat output.
- Ensuring Stability: As the flame size is adjusted, pay attention to the stability of the flame. A well-regulated flame should burn consistently without excessive flickering or sudden fluctuations in size. This stability is essential for precise and controlled heat application.
By honing the skill of flame adjustment, users can optimize the performance of the alcohol lamp for a diverse range of heating and sterilization tasks. The ability to fine-tune the flame size and intensity empowers users to wield the lamp with precision, unlocking its full potential as a versatile and reliable heat source.
Read more: How To Use A Salt Lamp
Extinguishing the Alcohol Lamp
After completing the intended tasks or experiments, it is essential to safely extinguish the alcohol lamp to prevent accidents and conserve fuel. Follow these steps to responsibly and effectively extinguish the flame:
- Prepare the Extinguishing Tool: Keep a metal cap or a designated snuffer at hand for extinguishing the flame. This tool allows for controlled and immediate smothering of the flame without risking burns or spills.
- Stabilize the Lamp: Ensure that the alcohol lamp is positioned on a stable, non-flammable surface. This prevents accidental tip-overs or spills during the extinguishing process.
- Approach with Caution: Carefully approach the alcohol lamp with the extinguishing tool, being mindful of the residual heat emanating from the flame. Exercise caution to avoid accidental contact with the hot components of the lamp.
- Cover the Flame: Using the metal cap or snuffer, gently cover the flame to smother it and prevent further combustion. Hold the tool in place for a few moments to ensure that the flame is completely extinguished.
- Allow Cooling Time: After extinguishing the flame, allow the alcohol lamp to cool down before handling it. The metal components may retain heat, posing a risk of burns if touched immediately after use.
- Inspect for Residual Heat: Before storing the alcohol lamp, ensure that all components have cooled to a safe temperature. This precaution minimizes the risk of accidental burns or damage to surrounding materials.
By following these steps, users can safely and effectively extinguish the alcohol lamp, concluding its operation with care and responsibility. Proper extinguishing practices not only enhance safety but also prolong the lifespan of the lamp and its components, ensuring reliable performance in future uses.
Safety Precautions
When working with an alcohol lamp, observing stringent safety measures is paramount to prevent accidents and ensure a secure working environment. The following safety precautions should be diligently adhered to during the setup, operation, and maintenance of an alcohol lamp:
- Fire-Safe Environment: Always operate the alcohol lamp in a well-ventilated area free of flammable materials, ensuring that a fire extinguisher or suitable fire suppression equipment is readily accessible.
- Stable Positioning: Place the alcohol lamp on a stable, level surface to prevent accidental tip-overs and spills during operation.
- Caution with Fuel: Handle denatured alcohol with care, avoiding spills and ensuring that the reservoir is securely closed when not in use to prevent evaporation and potential fire hazards.
- Protective Gear: When lighting and adjusting the alcohol lamp, wear appropriate personal protective equipment, such as safety goggles and heat-resistant gloves, to shield against potential splashes and heat exposure.
- Supervision: Never leave an actively burning alcohol lamp unattended, and ensure that it is extinguished properly after use to mitigate the risk of accidental fires.
- Heat Awareness: Exercise caution when handling the alcohol lamp, as its components may retain heat even after the flame is extinguished. Allow sufficient cooling time before handling the lamp or its immediate surroundings.
- Education and Training: Familiarize yourself and others with the proper handling and operation of the alcohol lamp, particularly in educational or laboratory settings, to promote a culture of safety and responsibility.
By integrating these safety precautions into the practice of using an alcohol lamp, users can cultivate a secure and controlled working environment, mitigating potential hazards and ensuring a safe and productive experience with this versatile tool.
Conclusion
As we conclude our exploration of the alcohol lamp, it becomes evident that this seemingly simple tool embodies a wealth of utility, versatility, and historical significance. From its humble origins to its enduring presence in laboratories, workshops, and classrooms worldwide, the alcohol lamp continues to serve as a reliable heat source for a myriad of applications.
By understanding the components, functions, and safety considerations of the alcohol lamp, users can harness its full potential with confidence and precision. From the meticulous preparation and lighting process to the art of flame adjustment and responsible extinguishing, each step contributes to a seamless and secure experience with this timeless instrument.
Furthermore, the integration of safety precautions underscores the importance of cultivating a secure working environment, fostering a culture of responsibility and awareness when utilizing the alcohol lamp. By prioritizing safety and adherence to best practices, users can maximize the lamp’s efficiency and longevity while minimizing potential risks and hazards.
Whether employed in scientific research, educational demonstrations, or practical experiments, the alcohol lamp remains a steadfast companion, offering a consistent and controllable source of heat. Its enduring legacy and practicality underscore its enduring relevance in a wide array of fields, making it an indispensable tool for scientists, educators, and hobbyists alike.
As we bid adieu to our exploration of the alcohol lamp, let us carry forward the knowledge and appreciation gained from this guide, infusing our future endeavors with the time-honored art of using an alcohol lamp. With a blend of tradition, innovation, and safety at our side, we embark on our respective journeys, equipped with the wisdom to wield this classic tool with skill and reverence.
Frequently Asked Questions about How To Use An Alcohol Lamp
Was this page helpful?
At Storables.com, we guarantee accurate and reliable information. Our content, validated by Expert Board Contributors, is crafted following stringent Editorial Policies. We're committed to providing you with well-researched, expert-backed insights for all your informational needs.