Home>Furniture>Kitchen Furniture>How To Use A Panasonic Rice Cooker
Kitchen Furniture
How To Use A Panasonic Rice Cooker
Modified: October 20, 2024
Learn how to effectively use a Panasonic rice cooker with our informative articles. Discover tips, recipes, and step-by-step instructions to enhance your cooking experience.
(Many of the links in this article redirect to a specific reviewed product. Your purchase of these products through affiliate links helps to generate commission for Storables.com, at no extra cost. Learn more)
Introduction
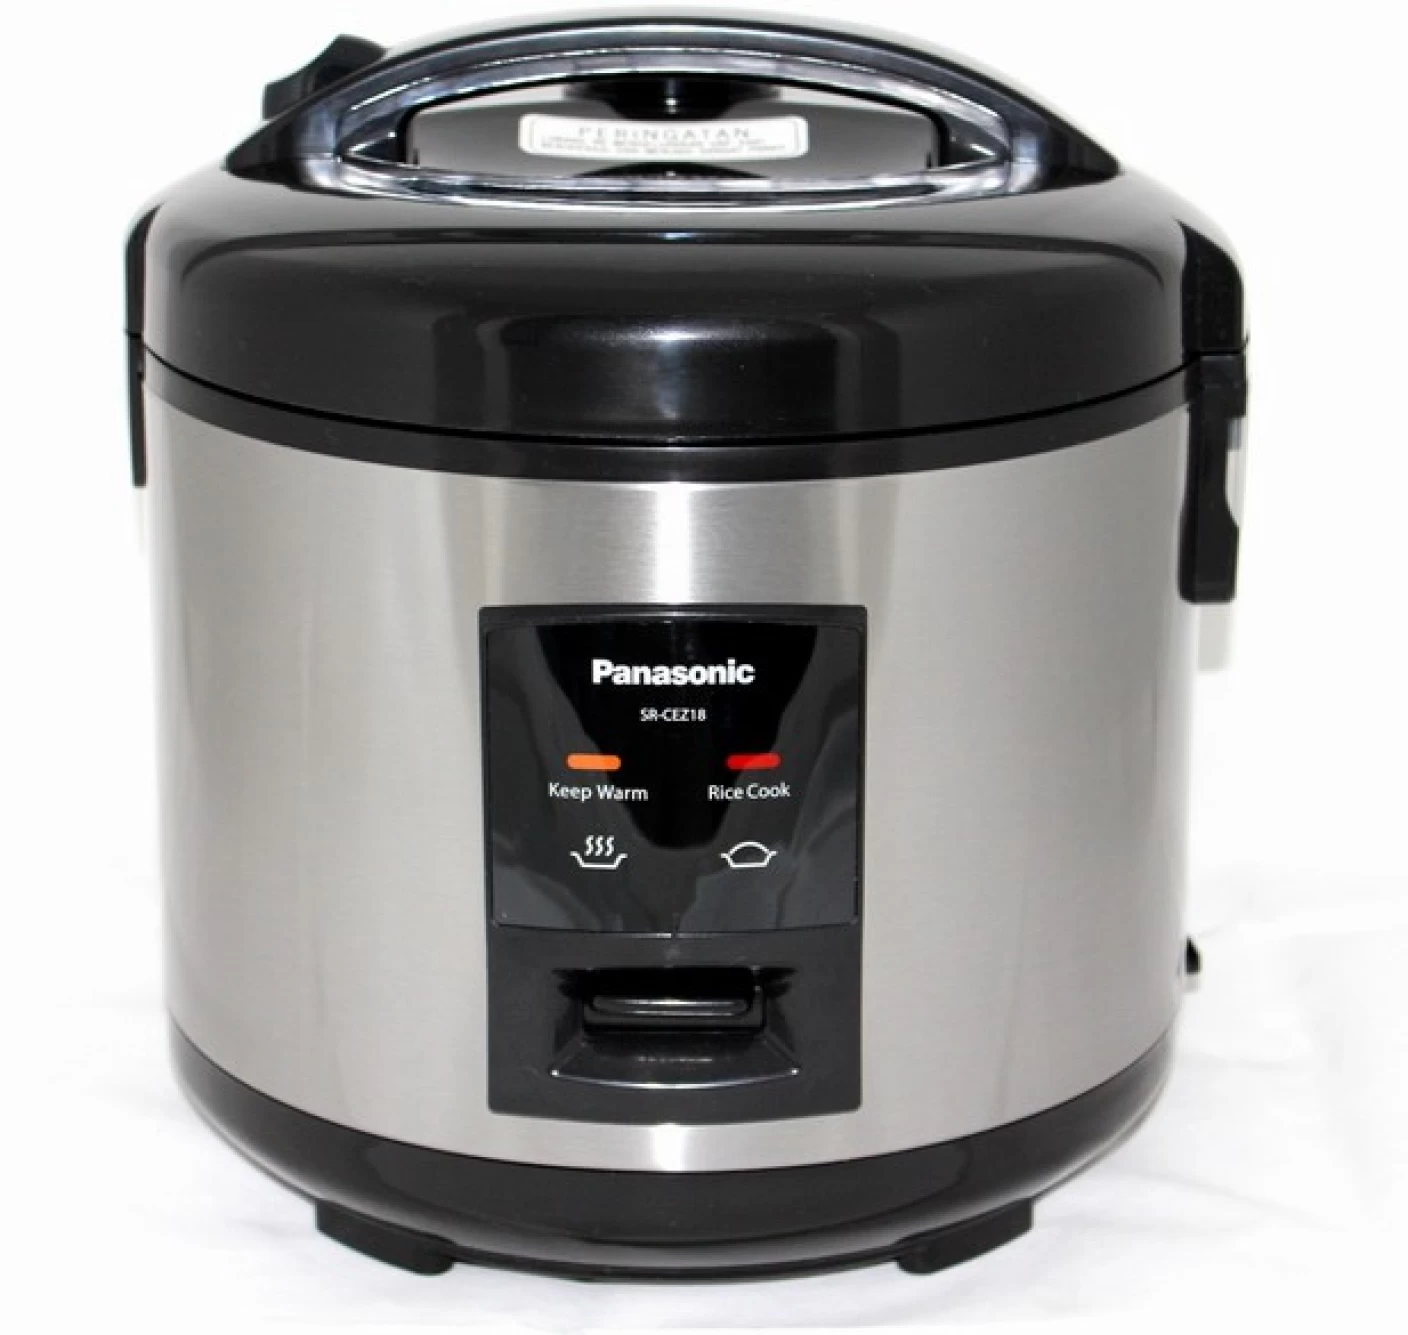
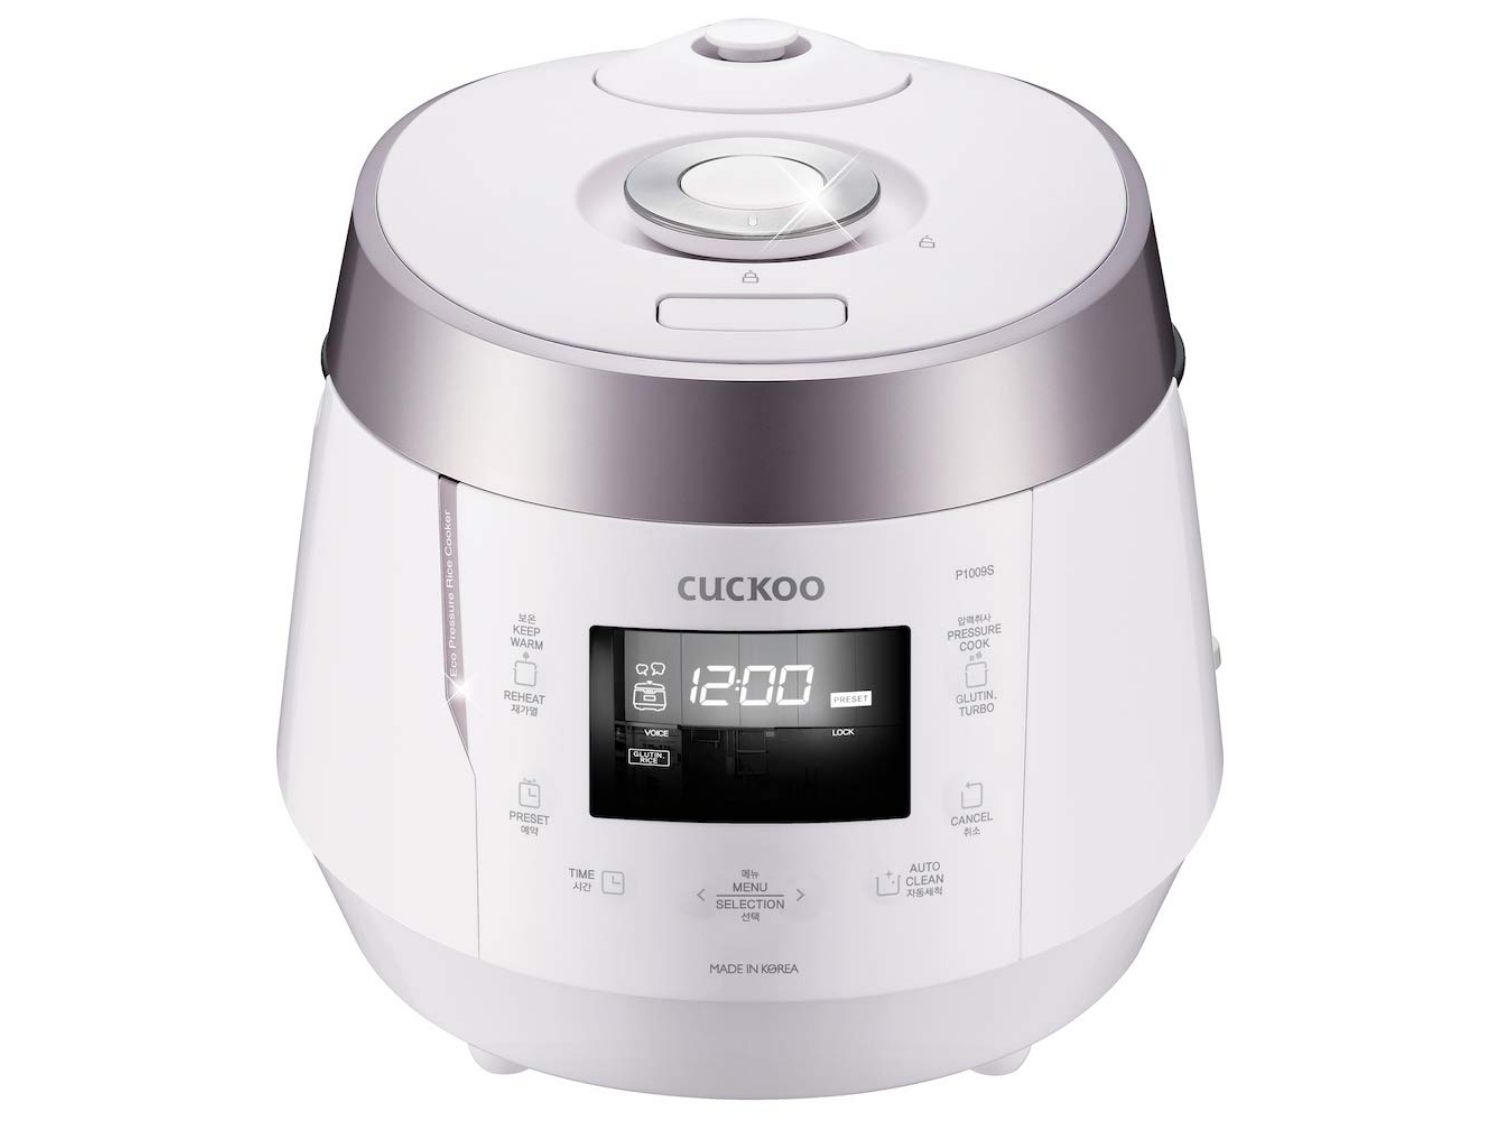
Welcome to the world of effortless rice cooking with the Panasonic Rice Cooker! With its advanced features and user-friendly design, this kitchen appliance takes the hassle out of cooking perfect rice every time. Whether you’re a seasoned chef or a novice in the kitchen, this handy device will quickly become your go-to tool for delicious, fluffy rice.
In this article, we will guide you through the process of using the Panasonic Rice Cooker, from unpacking and preparation to serving the cooked rice. By following these simple steps, you’ll be able to effortlessly cook restaurant-quality rice in the comfort of your own home.
Before we dive into the details of using the Panasonic Rice Cooker, let’s take a moment to appreciate the benefits of having this versatile appliance in your kitchen. First and foremost, it saves you time and effort. No more standing over a bubbling pot and constantly checking if the rice is cooked just right. With the Panasonic Rice Cooker, you can set it and forget it, allowing you to focus on other tasks while your rice cooks to perfection.
Another advantage of using the Panasonic Rice Cooker is its consistent results. With precise temperature control and a variety of cooking modes, you can trust that each batch of rice will turn out fluffy and evenly cooked. Say goodbye to undercooked or burnt rice! Additionally, this rice cooker retains the nutritional value of the grains by utilizing steam to preserve vitamins and minerals.
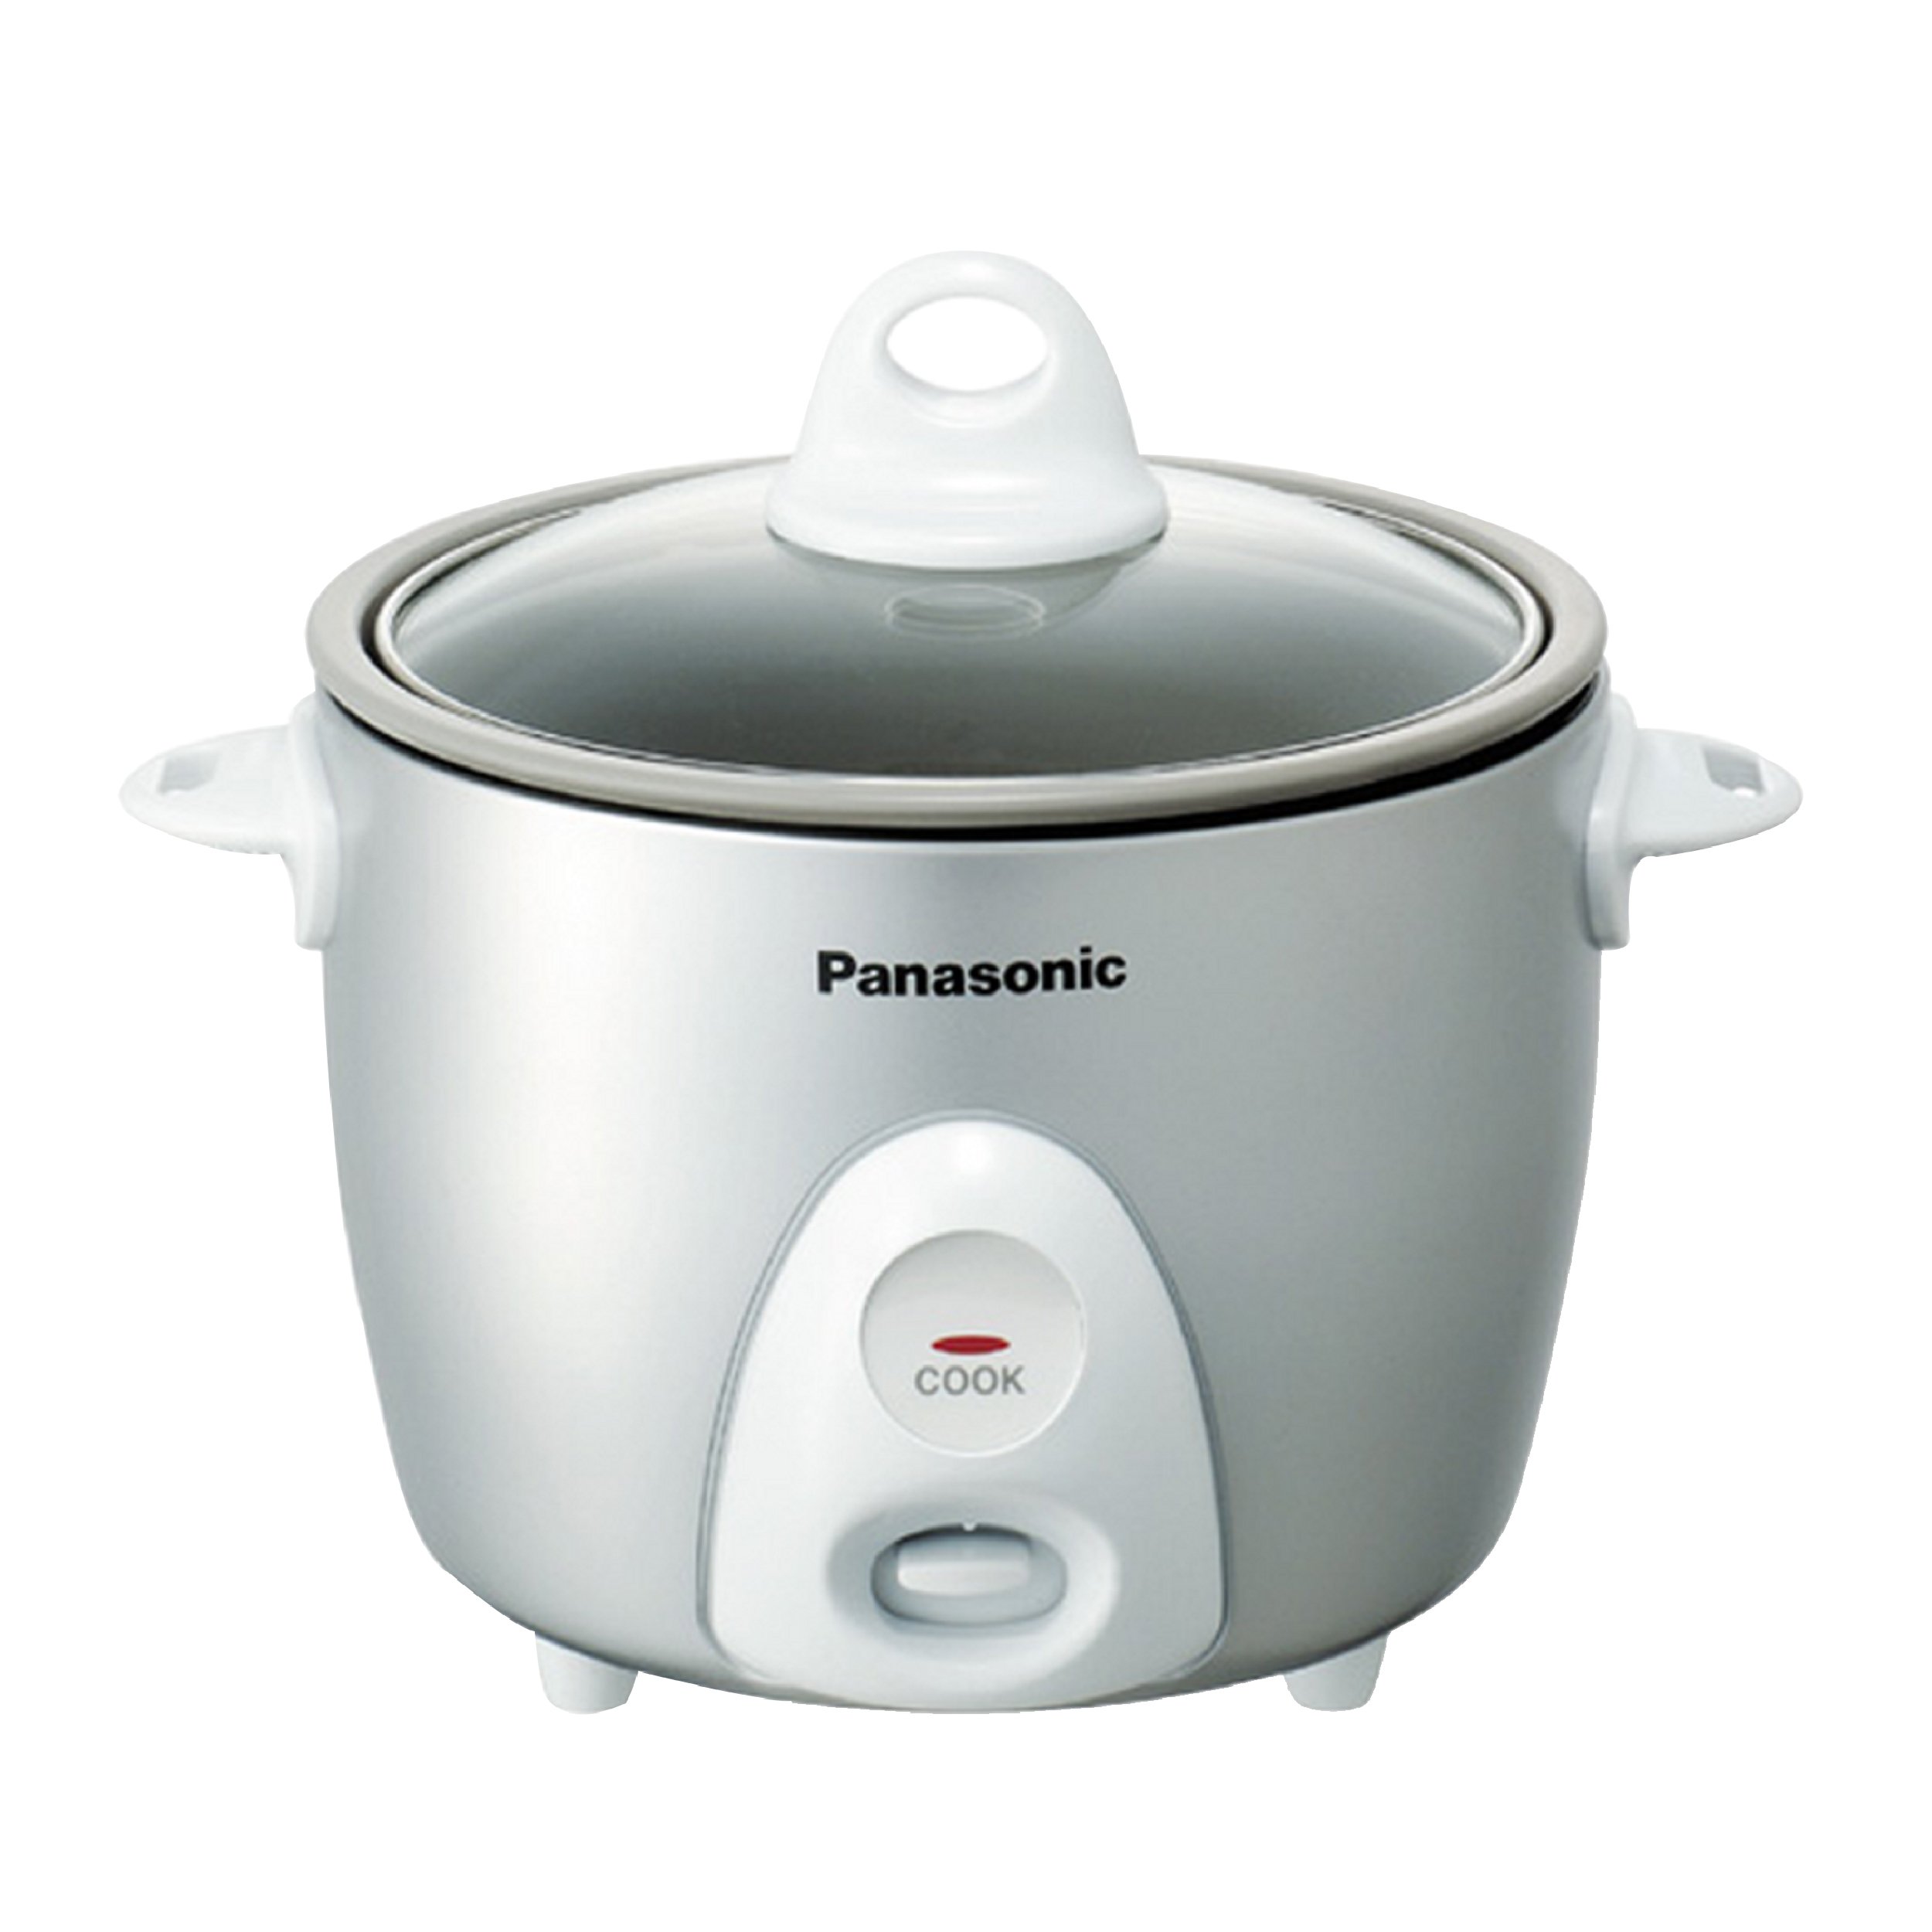
The Panasonic Rice Cooker is also designed with convenience in mind. Its sleek and compact design makes it easy to store in your kitchen, taking up minimal counter space. The user-friendly control panel allows for intuitive operation, and the removable inner pot makes cleaning a breeze.
Whether you’re cooking plain white rice, aromatic jasmine rice, or even experimenting with different types of grains like quinoa or barley, the Panasonic Rice Cooker has got you covered. So, let’s get started on our journey to mastering the art of using the Panasonic Rice Cooker!
Key Takeaways:
- Effortlessly cook perfect rice every time with the Panasonic Rice Cooker. Enjoy time-saving benefits, consistent results, and convenient design for restaurant-quality rice in the comfort of your home.
- Master the art of using the Panasonic Rice Cooker with simple steps from unpacking to serving. Embrace the convenience, versatility, and consistent results for delicious, fluffy rice every time.
Step 1: Unpacking and preparing the rice cooker
Congratulations on your new Panasonic Rice Cooker! Before you can start cooking delicious rice, you’ll need to unpack and prepare the rice cooker. Follow these steps to get started:
- Unpack the rice cooker: Carefully remove the rice cooker from its packaging and ensure that all the necessary components are included. This typically includes the rice cooker unit, inner pot, measuring cup, and rice paddle.
- Wash the inner pot: It’s important to wash the inner pot before using it for the first time. Use warm soapy water and a soft sponge to clean the pot thoroughly. Rinse it well and dry it completely before placing it back into the rice cooker.
- Measure the rice: Using the provided measuring cup, measure the desired amount of rice you wish to cook. The measuring cup usually has marking lines indicating different serving sizes. Keep in mind that one cup of uncooked rice typically yields around two cups of cooked rice.
- Rinse the rice: Rinse the measured rice under running water to remove any excess starch. Gently swish the rice around in the pot using your hand or a spoon. Pour out the cloudy water and repeat the process until the water runs clear. This step helps to improve the texture and remove any impurities.
Now that you’ve unpacked and prepared the rice cooker, you’re ready to move on to the next step: measuring and rinsing the rice.
Step 2: Measuring and rinsing the rice
Now that you have your Panasonic Rice Cooker unpacked and ready to go, it’s time to measure and rinse the rice. This step ensures that you get perfectly cooked rice with optimal texture and flavor. Follow these simple steps:
- Measure the rice: Use the provided measuring cup to measure the desired amount of rice. It’s important to use the cup that comes with your rice cooker as it is designed to provide the correct rice-to-water ratio. The measuring cup is usually 180ml, which is equivalent to one cup of uncooked rice.
- Transfer the rice to the inner pot: Once you have measured the rice, transfer it to the inner pot of the rice cooker. Make sure to level the rice in the pot, ensuring an even distribution for consistent cooking.
- Rinse the rice: Rinse the rice under cold running water to remove any excess starch and impurities. Gently swish the rice around in the pot using your hand or a spoon. As you rinse, the water will become cloudy. Pour out the cloudy water and repeat the process until the water runs clear. This step helps to improve the texture of the cooked rice and remove any unwanted residue.
- Drain the rice: Once the rice is rinsed thoroughly, drain the remaining water from the pot. You can use a colander or a fine-mesh sieve for more efficient draining. Make sure to let the rice drain for a few minutes to remove excess moisture before returning it to the inner pot.
Measuring and rinsing the rice properly is essential for achieving fluffy and delicious cooked rice. By following these steps, you ensure that the rice is clean, and any excess starch is removed, resulting in perfectly cooked grains. Now that you have measured and rinsed the rice, it’s time to move on to the next step: adding water and other ingredients.
Step 3: Adding water and other ingredients
Now that you have measured and rinsed the rice, it’s time to add water and any other ingredients to your Panasonic Rice Cooker. The proper measurement of water is crucial for achieving the desired texture and consistency of your cooked rice. Follow these steps:
- Add water to the pot: The general rule of thumb is to use a 1:1 water-to-rice ratio. For example, if you have measured one cup of rice, add one cup of water. You can adjust the amount of water based on your preference for softer or firmer rice. The water level markings on the inner pot can serve as a guide.
- Add other ingredients (optional): If you wish to enhance the flavor or add variety to your rice, you can add other ingredients such as salt, butter, or spices. Be mindful of the specific recipe requirements or personal taste preferences when adding additional ingredients.
- Mix the ingredients: Using a spoon or spatula, gently mix the rice and water together to ensure even distribution. Avoid exerting too much pressure or stirring vigorously, as this may break the grains and affect the texture of the cooked rice.
By adding the correct amount of water and any desired additional ingredients, you set the stage for perfectly cooked and flavorful rice. Remember that the water-to-rice ratio may vary depending on the type of rice and personal preference, so feel free to experiment and adjust to your liking. Now that you have added water and other ingredients, it’s time to move on to the next step: setting the cooking mode and timer.
Step 4: Setting the cooking mode and timer
Now that you have prepared the rice and added water and other ingredients, it’s time to set the cooking mode and timer on your Panasonic Rice Cooker. This step allows you to choose the appropriate cooking settings and ensure that the rice is perfectly cooked. Follow these steps to set the cooking mode and timer:
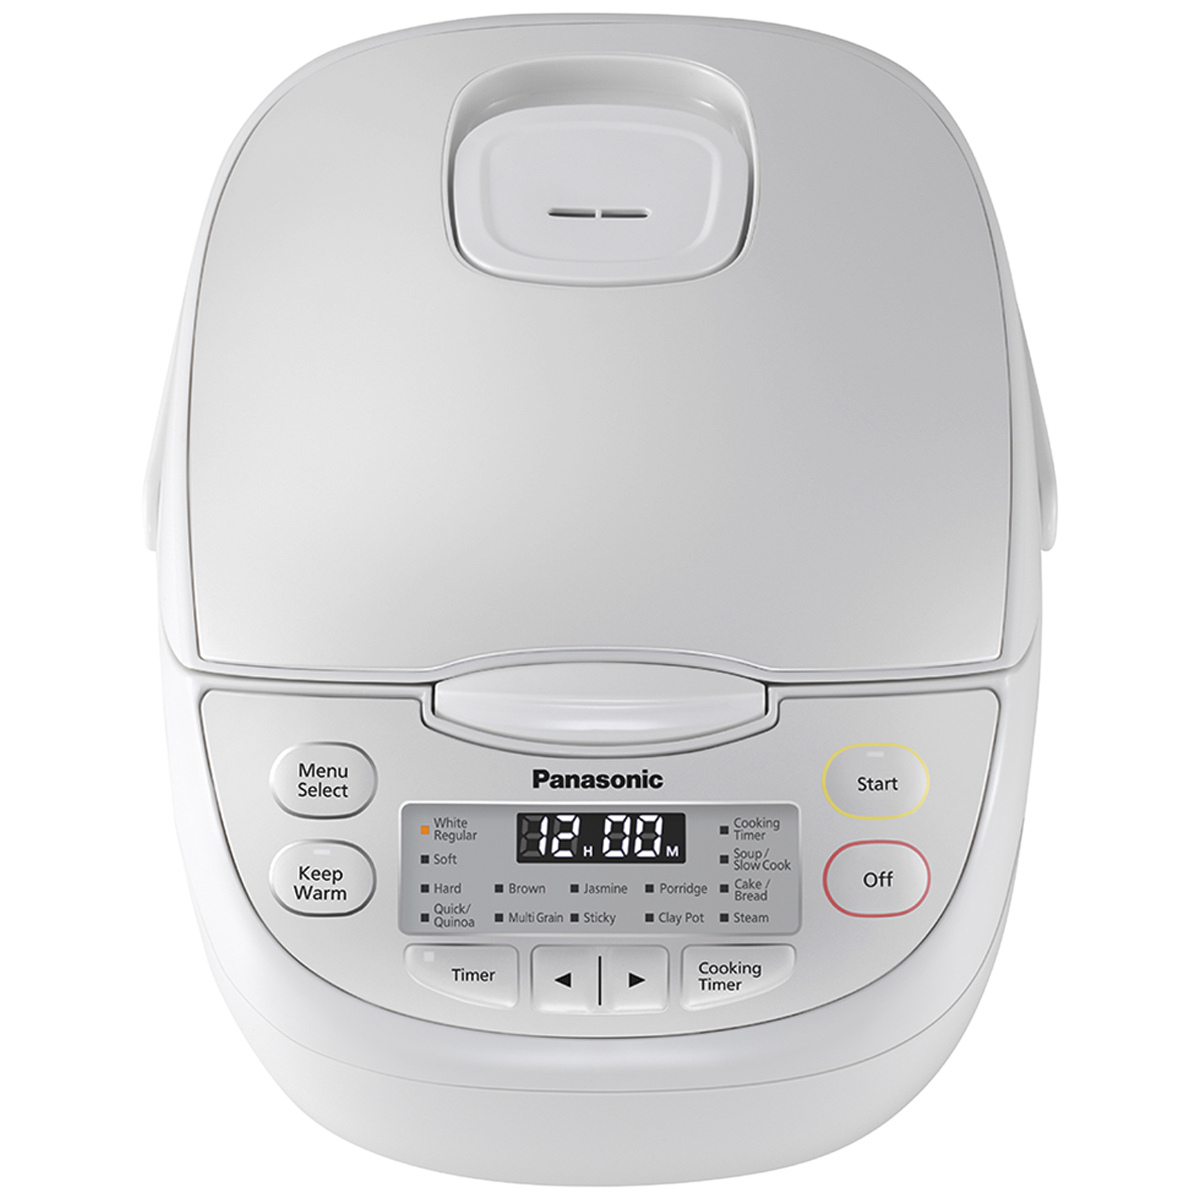
- Refer to the user manual: The user manual that comes with your Panasonic Rice Cooker will provide instructions on the various cooking modes and settings available. Different models may have different options, such as white rice, brown rice, sushi rice, or quick cook mode. Familiarize yourself with the options and select the one that aligns with your desired outcome.
- Select the desired cooking mode: On the control panel of your rice cooker, locate the button or dial that allows you to choose the cooking mode. Press or turn the button to select the appropriate mode for the type of rice you’re cooking. The selected mode will typically be indicated by an LED display or light.
- Set the cooking timer: Once you have selected the cooking mode, you can set the timer for the desired cooking duration. Again, refer to the user manual for guidance on the appropriate cooking time for your chosen rice variety. Use the buttons or dial on the control panel to adjust the timer to the recommended cooking time.
- Start the cooking process: After setting the cooking mode and timer, press the start button or switch on your rice cooker to begin the cooking process. The LED display or indicator light may show that the cooking cycle is in progress, and the rice cooker will automatically adjust the temperature and cooking time according to the selected mode.
By setting the cooking mode and timer correctly, you ensure that your rice is cooked to perfection with the right texture and consistency. The precise settings on the Panasonic Rice Cooker take the guesswork out of cooking rice, making it easy for anyone to achieve outstanding results. Now that you have set the cooking mode and timer, it’s time to move on to the next step: cooking and keeping warm.
When using a Panasonic rice cooker, always make sure to measure the rice and water accurately according to the cooker’s instructions to ensure perfectly cooked rice every time.
Step 5: Cooking and keeping warm
Now that you have set the cooking mode and timer on your Panasonic Rice Cooker, it’s time to let it work its magic and cook the rice to perfection. Once the cooking process is complete, the rice cooker will automatically switch to the “keep warm” mode to ensure that your rice stays warm and ready to serve. Follow these steps to complete the cooking and keeping warm process:
- Wait for the cooking to complete: As the rice cooker is cooking the rice, it’s important to resist the temptation to open the lid. Opening the lid prematurely may disrupt the cooking process and affect the quality of the rice. Trust the rice cooker to do its job and wait for the cooking cycle to complete.
- Allow the rice to rest: Once the cooking cycle is complete, it’s recommended to let the rice rest inside the rice cooker for about 10-15 minutes. This resting period allows the rice to evenly absorb any remaining moisture and helps to enhance the texture and fluffiness of the cooked rice.
- Switch to “keep warm” mode: After the resting period, the Panasonic Rice Cooker will automatically switch to the “keep warm” mode. This mode maintains a mild heat to keep the rice warm and fresh until you’re ready to serve. You can leave the rice in the rice cooker for a few hours without worrying about it becoming cold or overcooked.
The “keep warm” function of the Panasonic Rice Cooker is especially convenient for busy households or when serving large meals. It ensures that the rice is kept at an ideal serving temperature without compromising its quality. Now that your rice is cooked and being kept warm, it’s time to move on to the final step: fluffing and serving the cooked rice.
Step 6: Fluffing and serving the cooked rice
Now that your rice is perfectly cooked and being kept warm in your Panasonic Rice Cooker, it’s time to fluff it up and serve it. Fluffing the rice helps to separate the grains and enhance the texture, making it more appealing and enjoyable to eat. Follow these steps to fluff and serve the cooked rice:
- Open the lid: Carefully open the lid of the rice cooker, being mindful of the steam that may escape. Use oven mitts or a towel to protect your hands from the hot steam.
- Fluff the rice: Gently fluff the rice using a rice paddle or fork. Start from the edges and work your way towards the center, being careful not to mash or break the grains. This step helps to loosen the rice and make it fluffy and light.
- Serve the rice: Once the rice is fluffed, it’s ready to be served. Use a rice paddle or spoon to scoop out the desired amount of rice onto serving plates or bowls. Be sure to serve the rice while it is still warm, as it is most flavorful and enjoyable at this stage.
- Enjoy your meal: Finally, sit back and savor the delicious, perfectly cooked rice that you’ve prepared with your Panasonic Rice Cooker. Whether you’re enjoying it as a side dish, pairing it with your favorite stir-fry, or using it as a base for sushi, the fluffy rice will elevate your meal to the next level.
By following these steps, you ensure that the cooked rice is fluffy, well-distributed, and ready to be enjoyed. The Panasonic Rice Cooker takes the guesswork out of achieving the perfect texture and consistency, allowing you to serve restaurant-quality rice in the comfort of your own home. So, fluff up that rice and savor every bite!
Tips and precautions for using the Panasonic rice cooker
While using the Panasonic Rice Cooker is a straightforward process, there are a few tips and precautions to keep in mind to ensure the best results and maintain the longevity of your appliance:
- Use the correct rice-to-water ratio: Follow the recommended water-to-rice ratio provided in your user manual or recipe instructions. Adjust the amount of water based on personal preference or the type of rice being cooked.
- Avoid overfilling the rice cooker: It’s important not to overfill the rice cooker with rice and water, as the grains need space to expand during the cooking process. Follow the maximum fill line indicated on the inner pot to prevent any spillage or uneven cooking.
- Do not open the lid during cooking: Avoid opening the lid while the rice is cooking, as this can disrupt the cooking process and lead to undercooked or unevenly cooked rice. Only open the lid when the cooking cycle is complete and it’s time to fluff and serve the rice.
- Clean the rice cooker regularly: After each use, clean the rice cooker by removing the inner pot and washing it with warm soapy water. Wipe down the exterior of the rice cooker with a damp cloth. Ensure that all parts are completely dry before reassembling and storing.
- Do not use metal utensils: When stirring or serving the rice, use plastic or wooden utensils to avoid scratching the nonstick surface of the inner pot. Metal utensils can damage the coating and affect the performance of the rice cooker.
- Store the rice cooker properly: When not in use, store the rice cooker in a cool and dry place. It’s important to protect the rice cooker from excessive heat, moisture, or direct sunlight to prevent any damage or malfunction.
- Experiment with different rice varieties: The Panasonic Rice Cooker is not limited to just white rice. Explore different rice varieties, such as brown rice, basmati rice, or wild rice, and adjust the cooking settings accordingly. This allows you to enjoy a variety of flavors and textures in your rice dishes.
- Refer to the user manual for troubleshooting: If you encounter any issues or have questions about your Panasonic Rice Cooker, consult the user manual for troubleshooting tips or reach out to the customer support provided by the manufacturer.
By following these tips and precautions, you’ll ensure a smooth and satisfying rice cooking experience with your Panasonic Rice Cooker. Remember to handle the appliance with care, clean it regularly, and embrace the versatility that it offers. With a little practice, you’ll become a rice cooking pro in no time!
Conclusion
Using the Panasonic Rice Cooker is a game-changer when it comes to preparing perfect rice effortlessly. From the moment you unpack and prepare the rice cooker to the final step of serving fluffy, delicious rice, this kitchen appliance streamlines the cooking process and delivers consistent results.
We began by introducing the benefits of the Panasonic Rice Cooker, highlighting its time-saving capabilities, consistent results, and convenient design. We then walked through each step of the rice cooking process, from measuring and rinsing the rice to setting the cooking mode and timer. We emphasized the importance of proper measurements, rinsing the rice, and setting the appropriate cooking settings to achieve the best results.
We also discussed the additional steps of cooking and keeping warm the rice, as well as fluffing and serving it. These steps ensure that the rice is cooked to perfection, remains warm for an extended period, and is presented in an appetizing and fluffy manner.
Throughout the article, we provided helpful tips and precautions to enhance your experience with the Panasonic Rice Cooker. Following these tips, such as using the correct rice-to-water ratio, avoiding overfilling the cooker, and cleaning the appliance regularly, will help you achieve optimal results and prolong the lifespan of your rice cooker.
Now armed with the knowledge of using the Panasonic Rice Cooker, you can confidently serve up flavorful and perfectly cooked rice for yourself, your family, or your guests. Whether you’re enjoying a simple bowl of white rice or experimenting with different rice varieties and recipes, the Panasonic Rice Cooker will continue to be your trusty companion in the kitchen.
So, embrace the convenience, versatility, and consistent results that the Panasonic Rice Cooker offers. Elevate your meals with fluffy, delicious rice and enjoy the time and effort you save in the kitchen. Happy cooking!
Frequently Asked Questions about How To Use A Panasonic Rice Cooker
Was this page helpful?
At Storables.com, we guarantee accurate and reliable information. Our content, validated by Expert Board Contributors, is crafted following stringent Editorial Policies. We're committed to providing you with well-researched, expert-backed insights for all your informational needs.


0 thoughts on “How To Use A Panasonic Rice Cooker”