Home>Furniture>Living Room Furniture>How To Reupholster Seat Cushions
Living Room Furniture
How To Reupholster Seat Cushions
Modified: March 16, 2024
Learn how to reupholster seat cushions for your living room furniture and transform your space with this easy DIY tutorial. Get step-by-step instructions and tips for a professional-looking result.
(Many of the links in this article redirect to a specific reviewed product. Your purchase of these products through affiliate links helps to generate commission for Storables.com, at no extra cost. Learn more)
Introduction
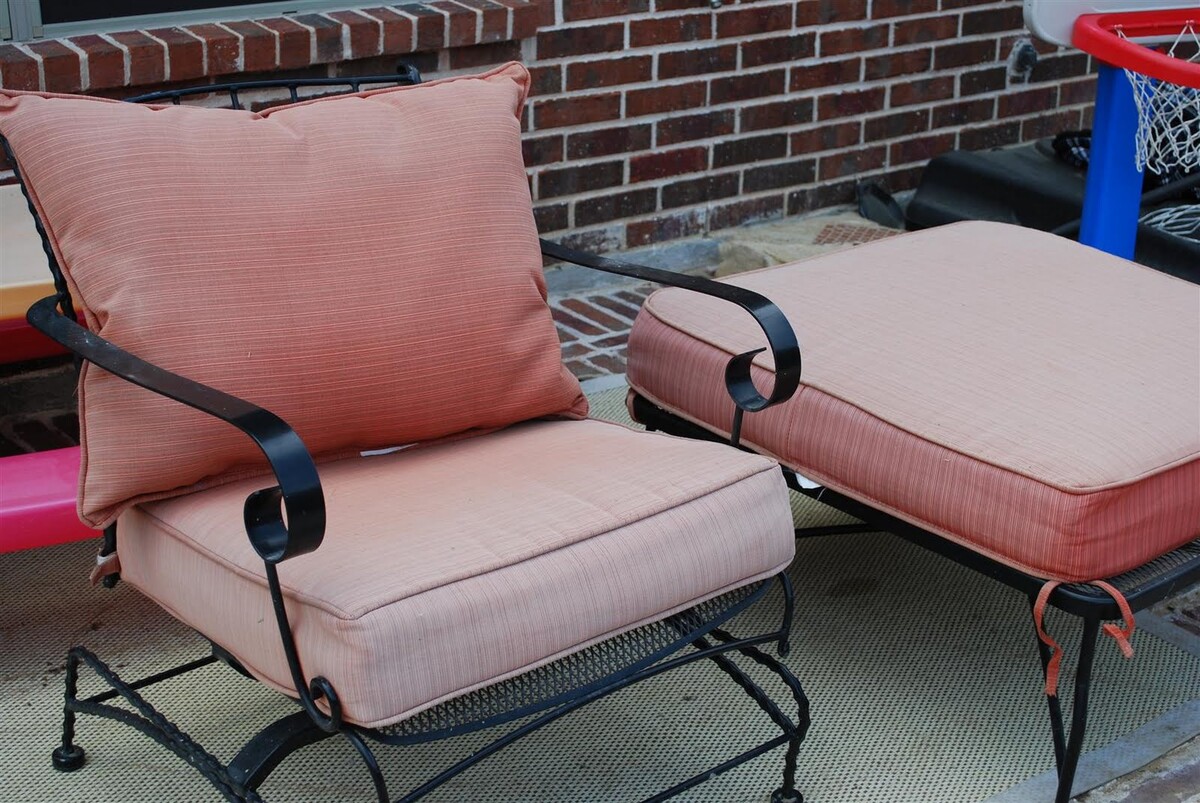
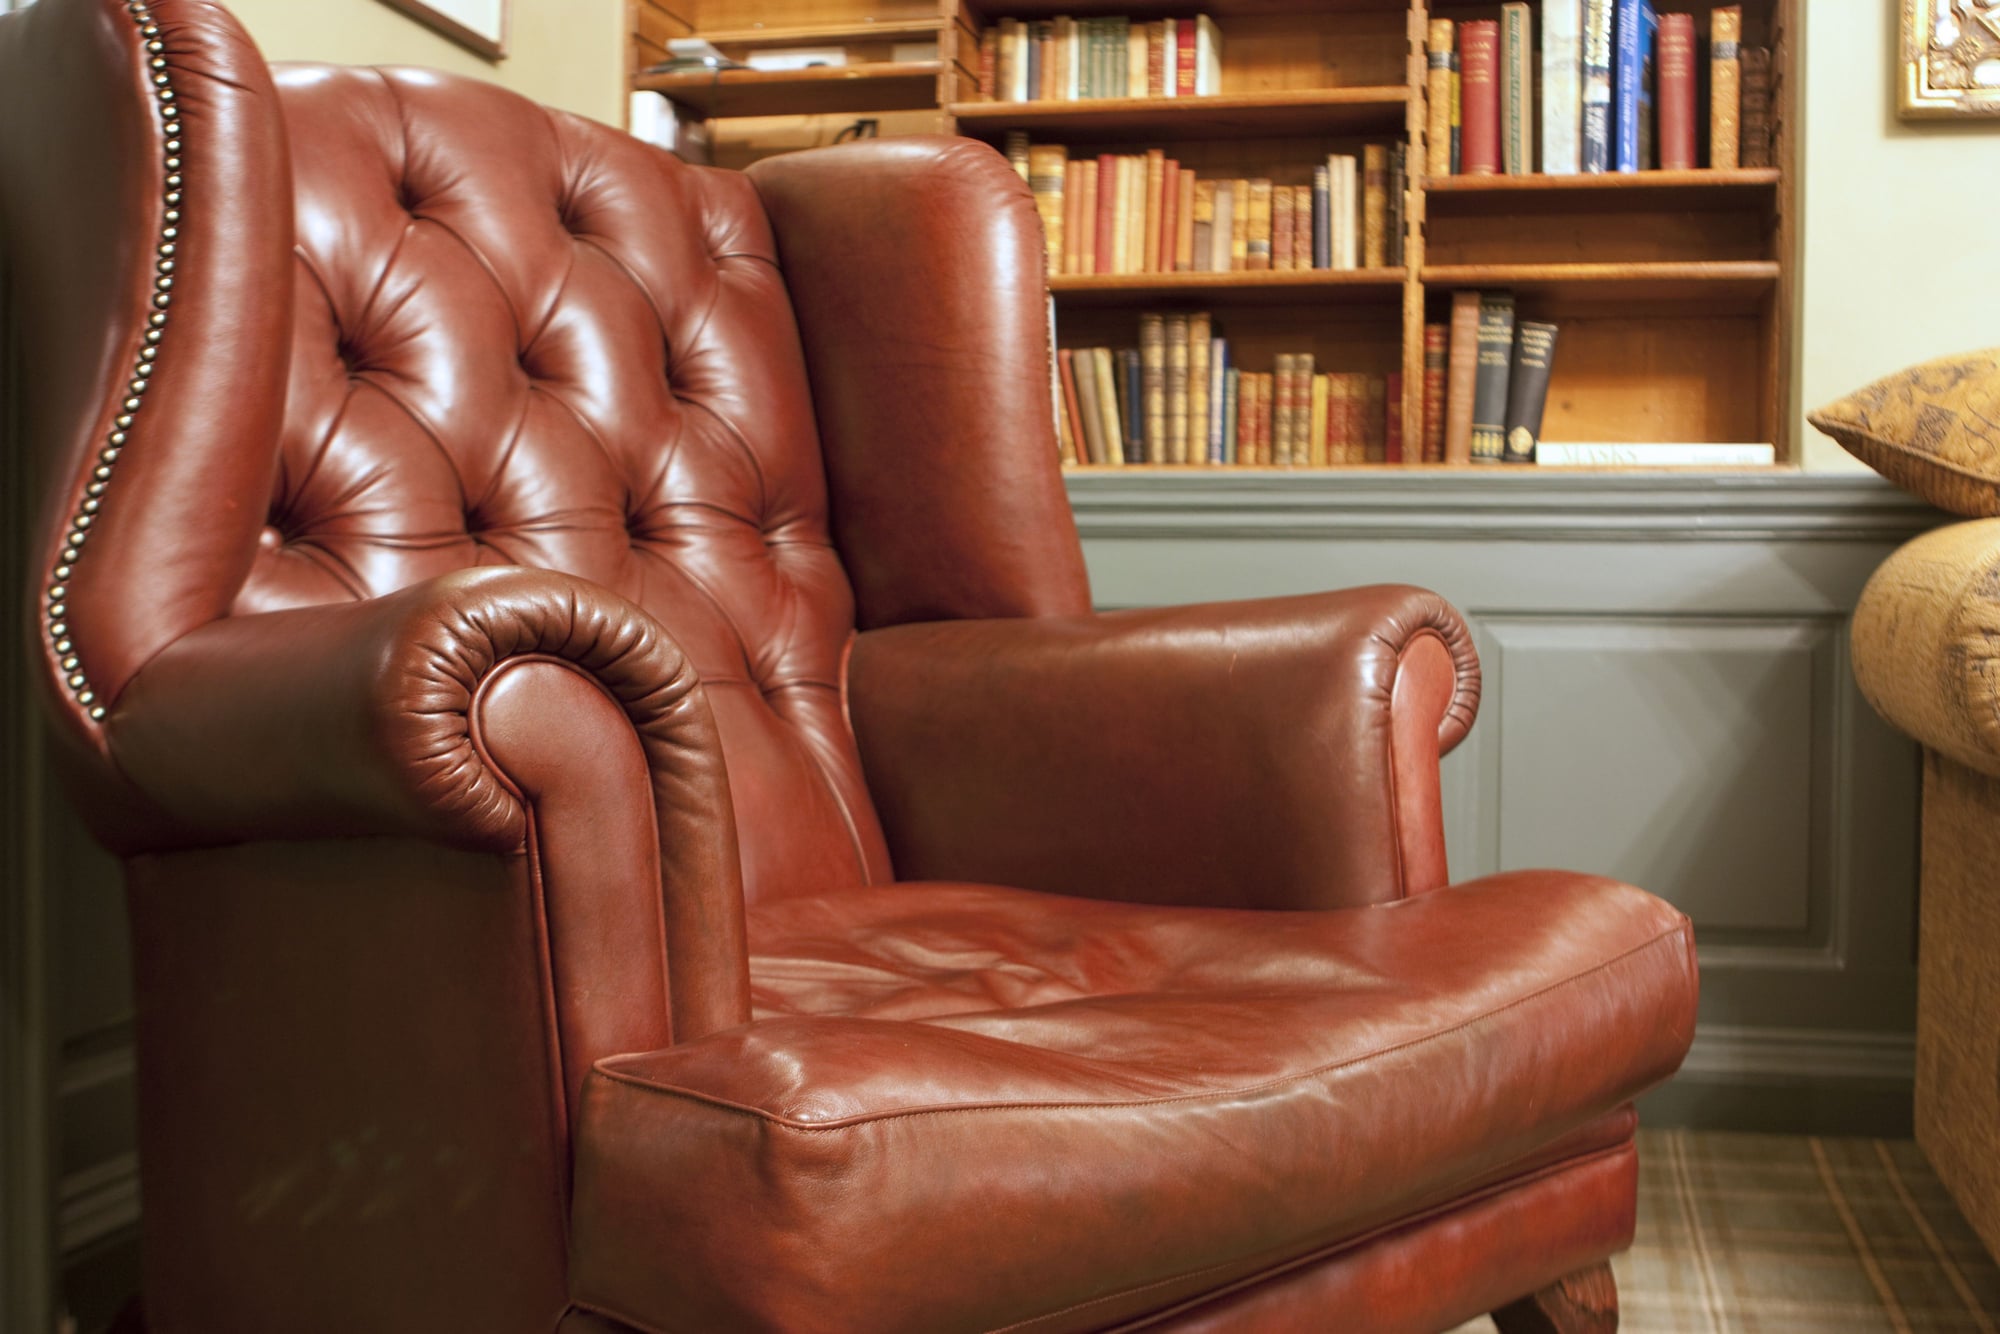
Welcome to our guide on how to reupholster seat cushions! If you have worn-out or outdated seat cushions that are in need of a refresh, reupholstering them can be a cost-effective and rewarding DIY project. Whether you’re looking to update the look of your living room furniture or simply want to breathe new life into cherished chairs, reupholstering seat cushions allows you to customize the fabric to match your style and preferences.
Reupholstering seat cushions may seem like a daunting task to tackle, but with a little patience and some basic supplies, you can achieve professional-looking results. In this article, we’ll take you through the step-by-step process of reupholstering seat cushions, from gathering the necessary supplies to attaching the new fabric and reattaching the cushions to the chairs.
Before we dive into the steps, let’s quickly go over the supplies you’ll need for this project. You’ll want to gather:
- Fabric of your choice
- Scissors
- Measuring tape
- Staple gun
- Staples
- Screwdriver (if applicable)
Now that you have your supplies ready, let’s get started on revamping your seat cushions!
Key Takeaways:
- Give your worn-out seat cushions a fresh look by reupholstering them with your favorite fabric. It’s a fun and cost-effective DIY project that lets you showcase your creativity and personalize your living room furniture!
- Gather supplies like fabric, scissors, and a staple gun to start the reupholstering process. Follow the step-by-step guide to remove old upholstery, measure and cut new fabric, and attach it to the cushion for a professional finish.
Read more: How To Reupholster Attached Couch Cushions
Step 1: Gather Supplies
Before you begin reupholstering your seat cushions, it’s essential to gather all the necessary supplies. Having everything prepared and within reach will make the process smoother and more efficient.
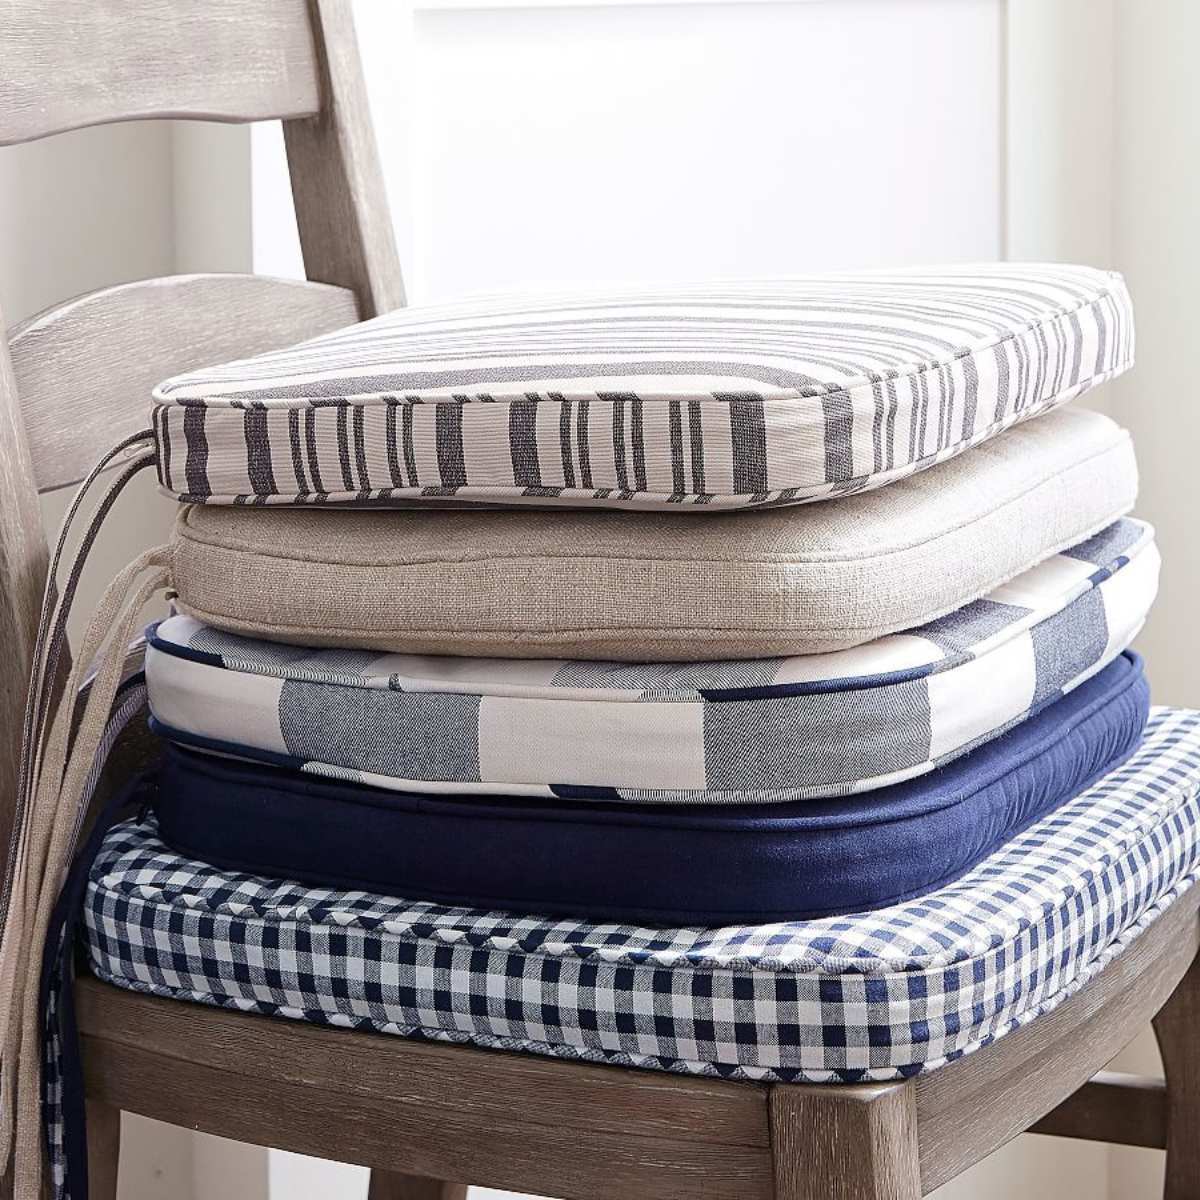
The first item you’ll need is the fabric of your choice. Consider the style and color scheme of your room when selecting the fabric. You can opt for a vibrant pattern to make a statement or choose a neutral tone for a more subtle look. Make sure to purchase enough fabric to cover all your seat cushions.
Next, grab a good pair of sharp scissors. These will be used to cut the fabric, so it’s crucial to have a pair that can easily handle the task. Make sure they’re comfortable to hold and have a smooth cutting motion.
A measuring tape is an essential tool for this project. You’ll need to accurately measure the dimensions of your seat cushions to ensure the fabric is cut to the correct size. Measure both the length and width, and don’t forget to account for any depth or thickness when calculating the fabric needed.
One of the most important tools for reupholstering seat cushions is a staple gun. This will be used to secure the new fabric to the cushion base. Look for a sturdy staple gun that is easy to handle and provides enough power to drive the staples into the cushion without difficulty.
Of course, alongside the staple gun, you’ll also need a supply of staples. Make sure to choose staples that are compatible with your staple gun and have the appropriate length to securely hold the fabric in place.
Lastly, if your seat cushions are attached to a chair frame, you may need a screwdriver to remove them. Check the attachment mechanism of your cushions and have the appropriate screwdriver on hand.
With all these supplies gathered, you’re now ready to move on to the next step of the reupholstering process: removing the old upholstery. Stay tuned for step two!
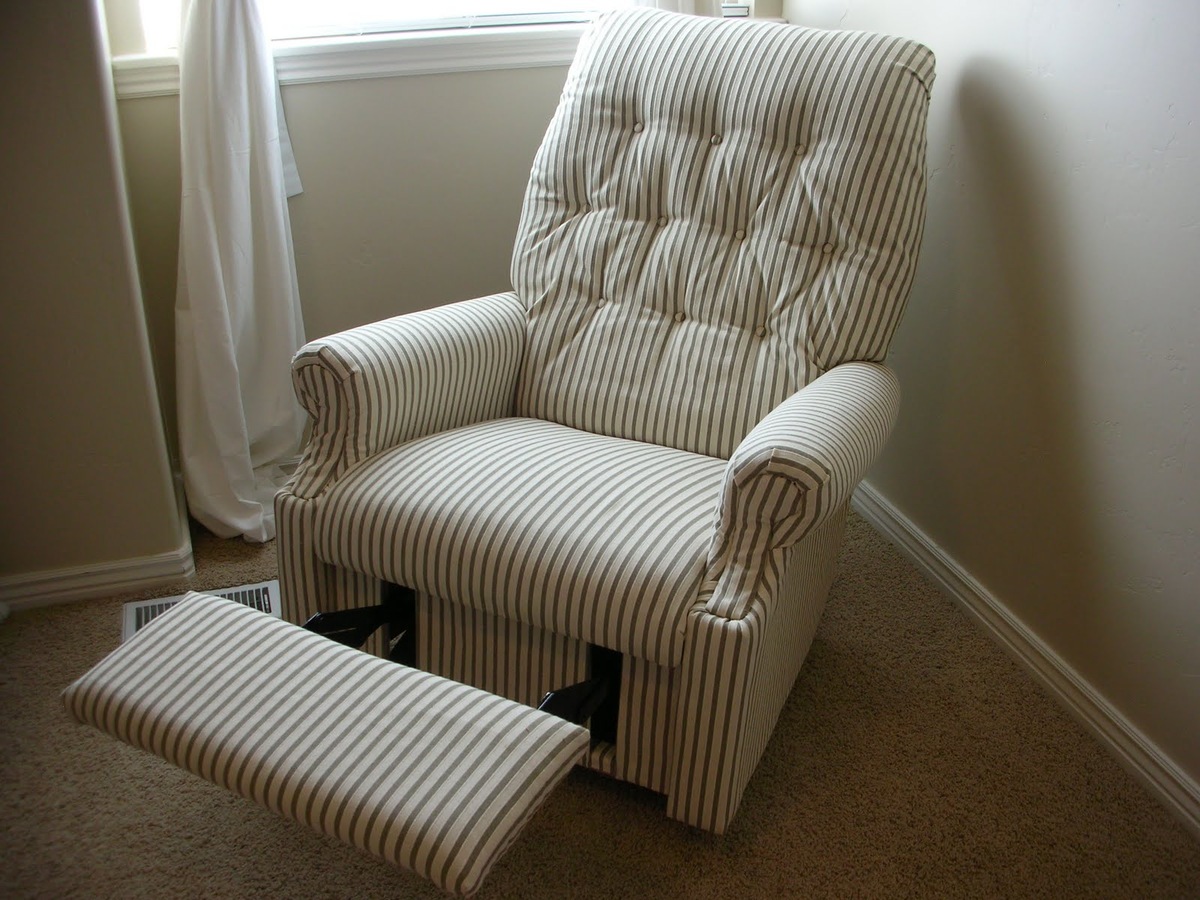
Step 2: Remove Old Upholstery
Now that you have all your supplies ready, it’s time to start the reupholstering process by removing the old upholstery from your seat cushions. This step is crucial as it will allow you to work with a clean canvas and ensure a smooth and professional finish.
Before you begin, take a moment to examine how the existing fabric is attached to the cushion. You may find that it’s secured by staples or even upholstery tacks. Use a screwdriver or pliers to carefully remove any fasteners, taking care not to damage the cushion itself.
Once the fasteners are removed, gently pull the old fabric away from the cushion. Take note of any batting or foam that is present and assess its condition. If it’s worn or damaged, you may need to replace it to ensure the optimal comfort and appearance of your reupholstered cushion.
During this process, keep an eye out for any stains, tears, or other damage that may have been hidden by the old upholstery. If you encounter any of these issues, now is the time to address them before moving on to the next steps.
With the old upholstery completely removed and any necessary repairs made, you’re now ready to move on to measuring and cutting your new fabric. Stay tuned for step three!
Step 3: Measure and Cut New Fabric
With the old upholstery removed, it’s time to move on to the exciting part of reupholstering your seat cushions – measuring and cutting the new fabric. This step is essential to ensure that the fabric fits snugly and looks seamless on your cushions.
Begin by laying your seat cushion on top of your chosen fabric. Make sure the fabric is spread out on a flat surface and free from any wrinkles or creases. Position the cushion so that it aligns with the desired pattern or orientation of the fabric, if applicable.
Take your measuring tape and carefully measure the length and width of the cushion. Add a few extra inches to each measurement to account for the thickness of the cushion and any allowances you might need for wrapping the fabric around the edges.
Using your measurements as a guide, take your sharp scissors and cut the fabric accordingly. Make sure to cut straight and even lines, following the measurements you’ve taken. It’s always better to start with a larger piece of fabric than you think you’ll need, as you can always trim it down later.
As you cut the fabric, keep in mind any patterns or motifs on the fabric. Be mindful of how they align with the cushion’s shape or any adjacent cushions, if you’re upholstering multiple pieces. Ensure that the pattern is centered and symmetrical, if desired.
Once you’ve cut the fabric, double-check that it fits properly around the cushion. It should be slightly larger than the cushion’s dimensions to accommodate for wrapping and stapling. If necessary, make any additional cuts or adjustments.
Congratulations! You’ve successfully measured and cut the new fabric for your seat cushions. In the next step, we’ll guide you through attaching the new fabric to the cushion base. Stay tuned!
When reupholstering seat cushions, make sure to measure and cut the new fabric carefully to ensure a smooth and tight fit. Use a staple gun to secure the fabric in place, starting from the center and working your way out to the edges.
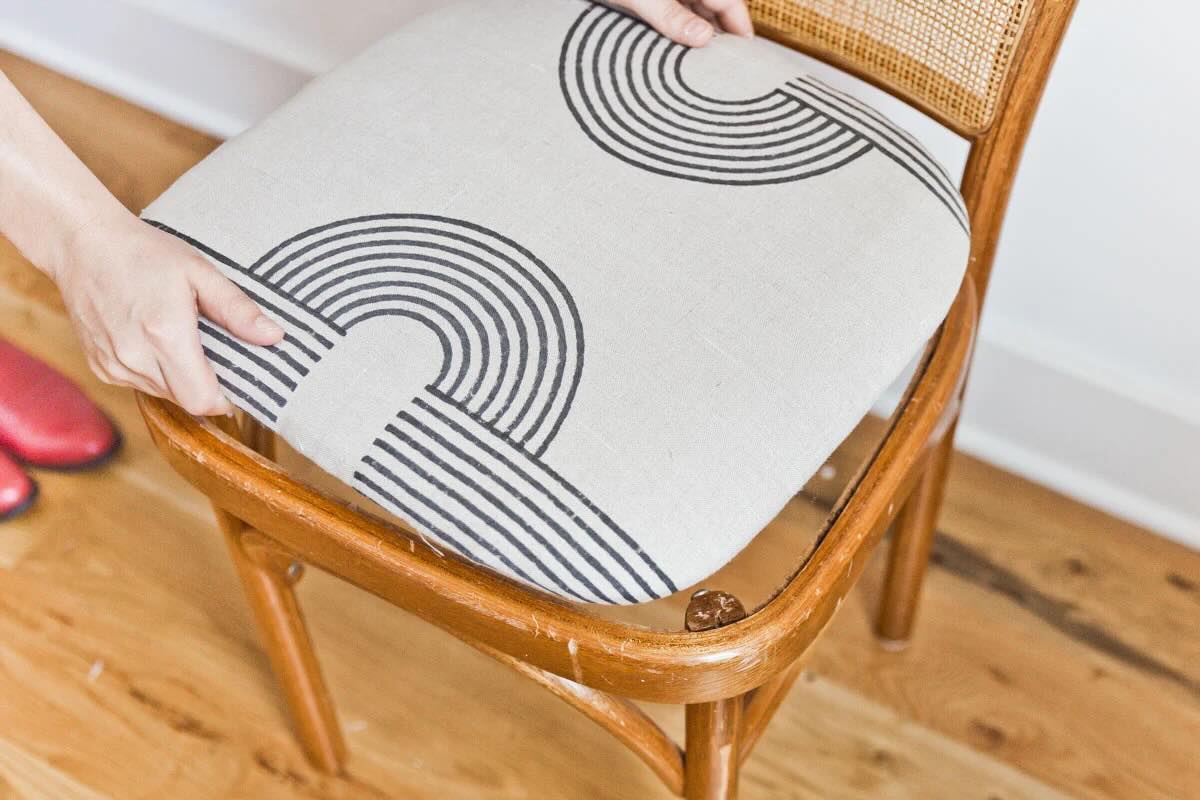
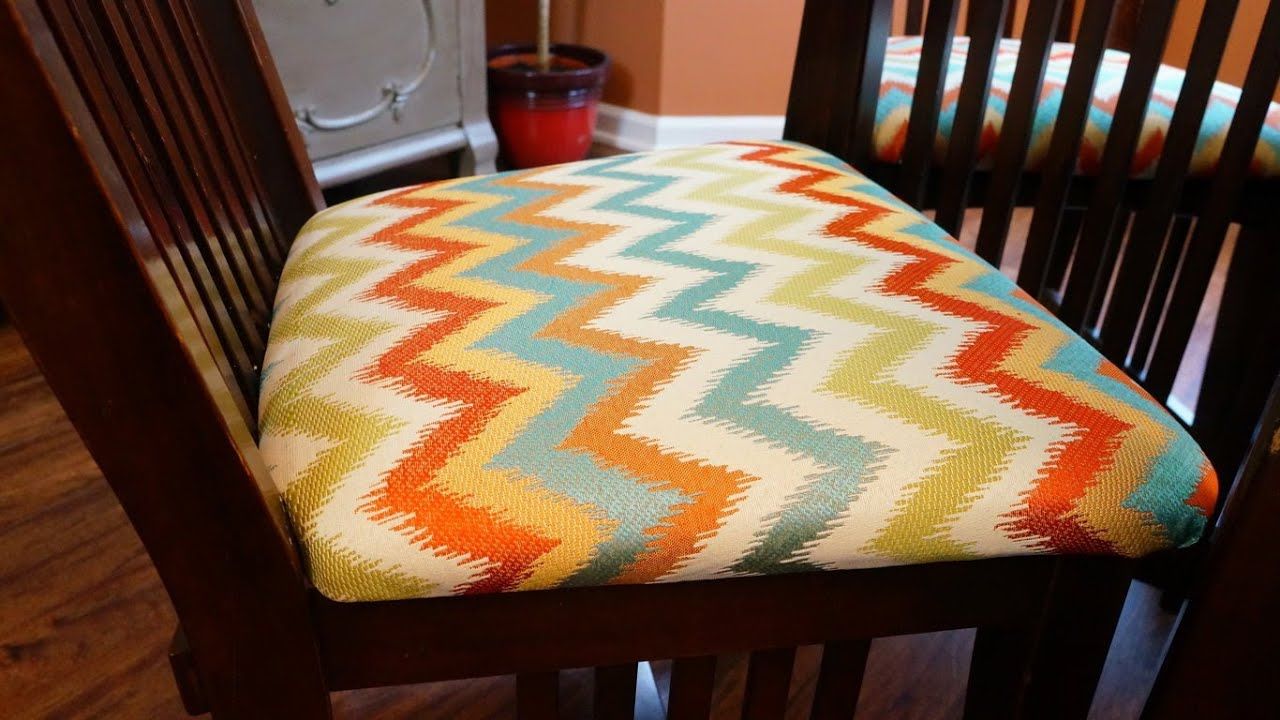
Step 4: Attach New Fabric to Cushion
Now that you have your perfectly cut fabric, it’s time to move on to the next step: attaching it to the cushion base. This part of the reupholstering process will bring your seat cushions back to life and make them look brand new.
Start by placing the fabric on a clean and flat surface, pattern side down. Take your seat cushion and position it on top of the fabric, making sure it is centered. Smooth out any wrinkles or creases in the fabric, ensuring a clean and even surface.
Next, take one side of the fabric and pull it up and over the edge of the cushion. Use your other hand to hold it in place. Starting in the center, use your staple gun to secure the fabric to the cushion. Place a staple approximately every two inches, ensuring the fabric is taut but not overly stretched.
Move to the opposite side and repeat the process, pulling the fabric tightly and stapling it down. Then, move to the remaining sides, alternating between them to keep the fabric evenly tensioned. As you go, smooth out any wrinkles or folds in the fabric to maintain a clean and professional finish.
When you reach the corners, take extra care to create neat and tidy folds. Depending on the shape of the cushion, you may need to experiment with different folding techniques to achieve a clean and seamless look. Play around with the fabric until you’re satisfied with how the corners appear.
Throughout this step, it’s crucial to check the fabric’s alignment and pattern, ensuring it remains centered and symmetrical. Take a step back every now and then to assess the overall look and make any necessary adjustments.
Once you’ve stapled down all sides and corners, trim any excess fabric using scissors. Be careful not to cut too close to the staples, as you want to maintain a secure hold on the fabric.
Congratulations! You’ve successfully attached the new fabric to your seat cushion. In the next step, we’ll guide you through trimming any excess fabric and adding the finishing touches. Keep reading to complete your reupholstering project!
Read more: How To Dye Seat Cushions
Step 5: Trim Excess Fabric
With the new fabric securely attached to your seat cushion, it’s time to move on to the final step: trimming any excess fabric. This step will give your reupholstered cushion a polished and professional look.
Begin by inspecting the edges of the cushion to identify any areas where the fabric extends beyond the stapled edges. Use a pair of sharp scissors to carefully trim away the excess fabric, making sure to cut close to the staples but not too close that the fabric becomes loose.
As you trim, be careful not to accidentally snip the fabric that is securely stapled to the cushion. Take your time and make small, precise cuts to maintain a clean and seamless finish.
If you encounter any stubborn or frayed edges, consider using fabric glue or a hot glue gun to secure them. Apply a small amount of glue and press the fabric firmly against the cushion to hold it in place.
Once you’ve trimmed away all excess fabric and addressed any frayed edges, take a final look at your reupholstered cushion. Ensure that the fabric is smooth, free from wrinkles or bulges, and that the pattern, if applicable, is centered and aligned properly.
You can also run your hand along the edges to check for any loose or protruding staples. If you come across any, use your staple gun to secure them into the cushion base.
Congratulations on completing the reupholstering process! Your seat cushion now has a fresh and updated look. All that’s left is to reattach it to your chair, which we’ll explain in the final step. Keep reading!
Step 6: Reattach Cushion to Chair
You’re in the final stretch of reupholstering your seat cushions! In this last step, we’ll guide you through reattaching the freshly reupholstered cushion to your chair frame.
If your seat cushions were originally attached using screws, grab your screwdriver and position the cushion back onto the chair frame. Align it with the screw holes and carefully insert and tighten the screws, ensuring a secure fit. Take care not to overtighten and damage the cushion or frame.
If your seat cushions do not require screws to attach them, simply place them back into their designated spots on the chair frame.
With the cushion securely reattached, take a moment to step back and admire your handiwork. Revel in the transformation – your chair now sports a fresh and updated seat cushion that matches your personal style and preferences.
Consider repeating this process for any additional seat cushions you have, ensuring a cohesive look throughout your furniture.
Reupholstering seat cushions is a fantastic way to breathe new life into your living room furniture without breaking the bank. It allows you to showcase your creativity and inject your personal touch into your home’s decor.
Now that you’ve completed all the steps, take a seat in your newly reupholstered chair and enjoy the comfort and aesthetic delight it brings. You can be proud of your DIY accomplishment!
Thank you for joining us on this reupholstering journey. We hope this guide has been helpful and inspiring. Happy decorating!
Conclusion
Reupholstering seat cushions is a satisfying and rewarding DIY project that allows you to breathe new life into your living room furniture. By following the steps outlined in this guide, you can transform worn-out or outdated cushions into fresh and stylish pieces that match your personal taste.
Throughout this article, we guided you through each step of the reupholstering process, from gathering the necessary supplies to reattaching the newly upholstered cushions to your chairs. We emphasized the importance of taking measurements, selecting the right fabric, and paying attention to detail to achieve professional-looking results.
Remember, the key to successful reupholstering is to strike a balance between functionality and aesthetic appeal. Ensure that the fabric you choose is both visually pleasing and durable enough to withstand everyday use.
As you embark on your reupholstering journey, don’t be afraid to get creative and experiment with different patterns, colors, and textures. Let your personal style shine through, and enjoy the process of transforming your furniture into customized pieces that reflect your unique taste.
Lastly, be proud of your DIY accomplishment! Reupholstering seat cushions not only saves you money compared to purchasing new ones, but it also allows you to contribute to sustainability by giving your furniture a second life.
We hope that this guide has been informative and helpful in your reupholstering endeavor. It’s time to roll up your sleeves, gather your supplies, and get started on reupholstering those seat cushions. Happy upholstering!
Frequently Asked Questions about How To Reupholster Seat Cushions
Was this page helpful?
At Storables.com, we guarantee accurate and reliable information. Our content, validated by Expert Board Contributors, is crafted following stringent Editorial Policies. We're committed to providing you with well-researched, expert-backed insights for all your informational needs.

0 thoughts on “How To Reupholster Seat Cushions”