Home>Furniture>Outdoor Furniture>How To Install French Patio Doors

Outdoor Furniture
How To Install French Patio Doors
Modified: September 1, 2024
Learn how to properly install French patio doors to enhance your outdoor space. Find step-by-step instructions and helpful tips for a seamless installation. Upgrade your outdoor furniture today!
(Many of the links in this article redirect to a specific reviewed product. Your purchase of these products through affiliate links helps to generate commission for Storables.com, at no extra cost. Learn more)
Introduction
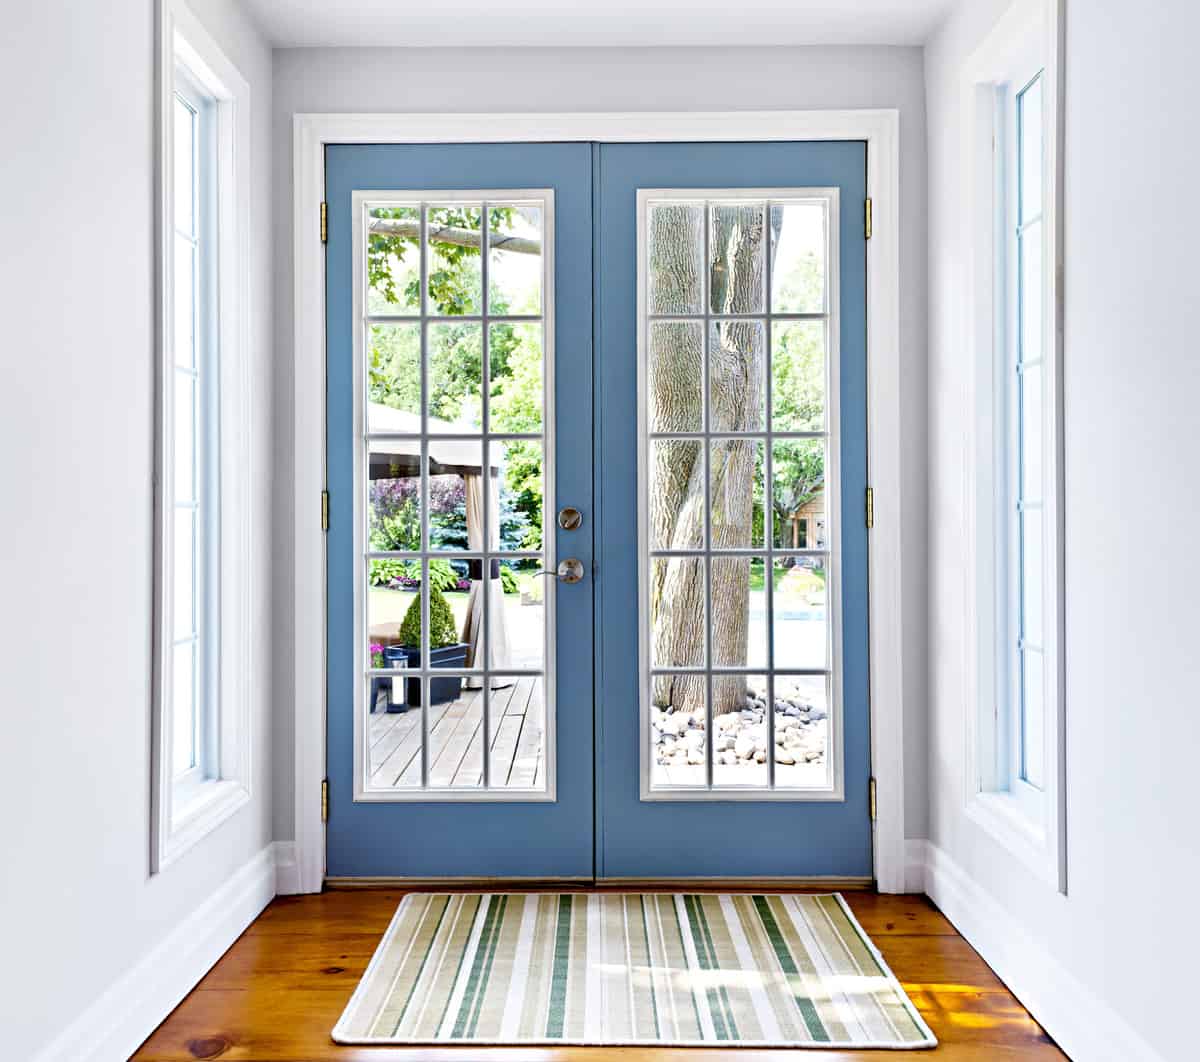
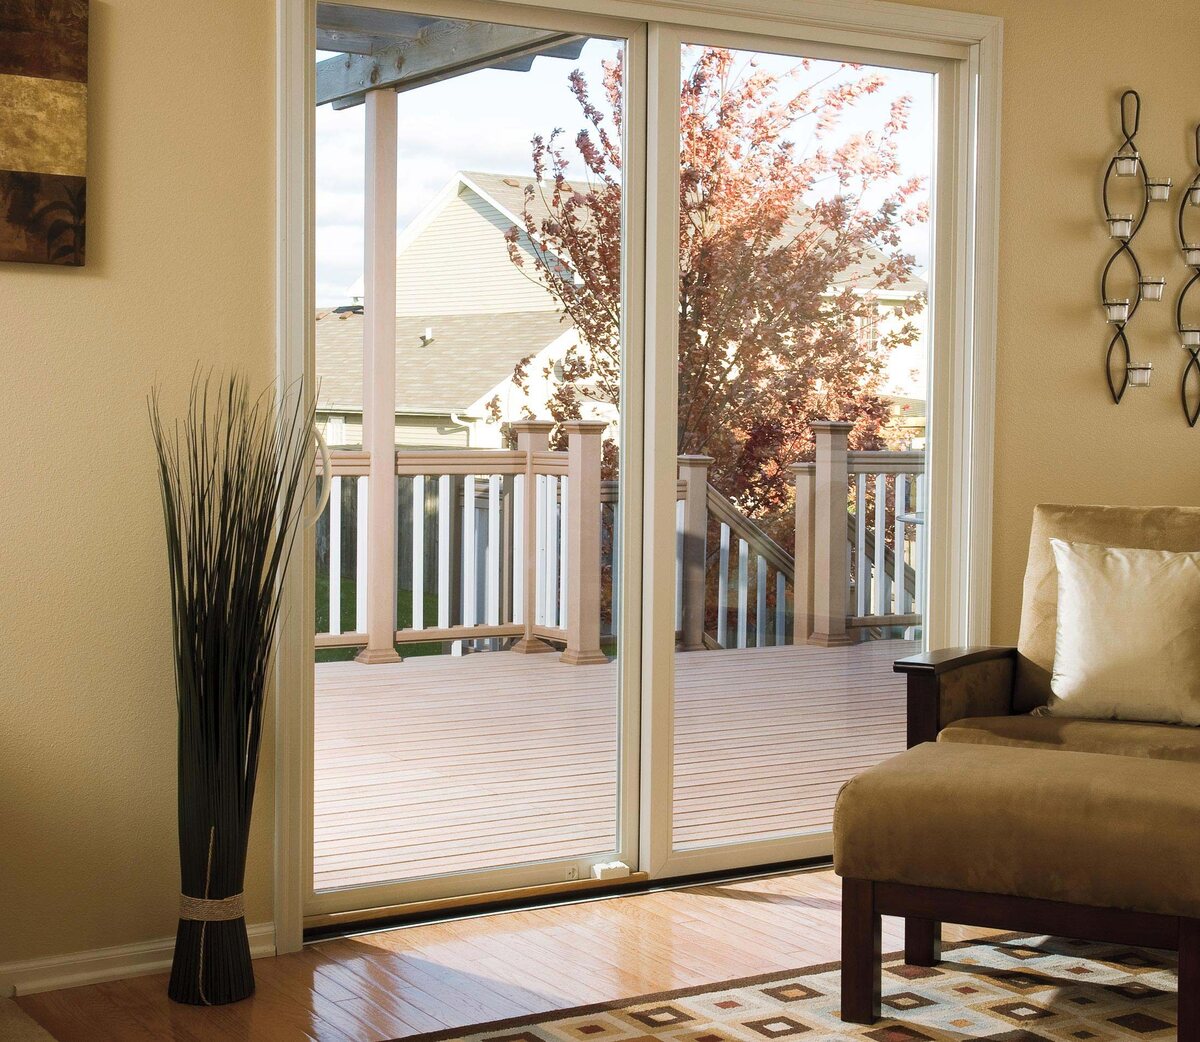
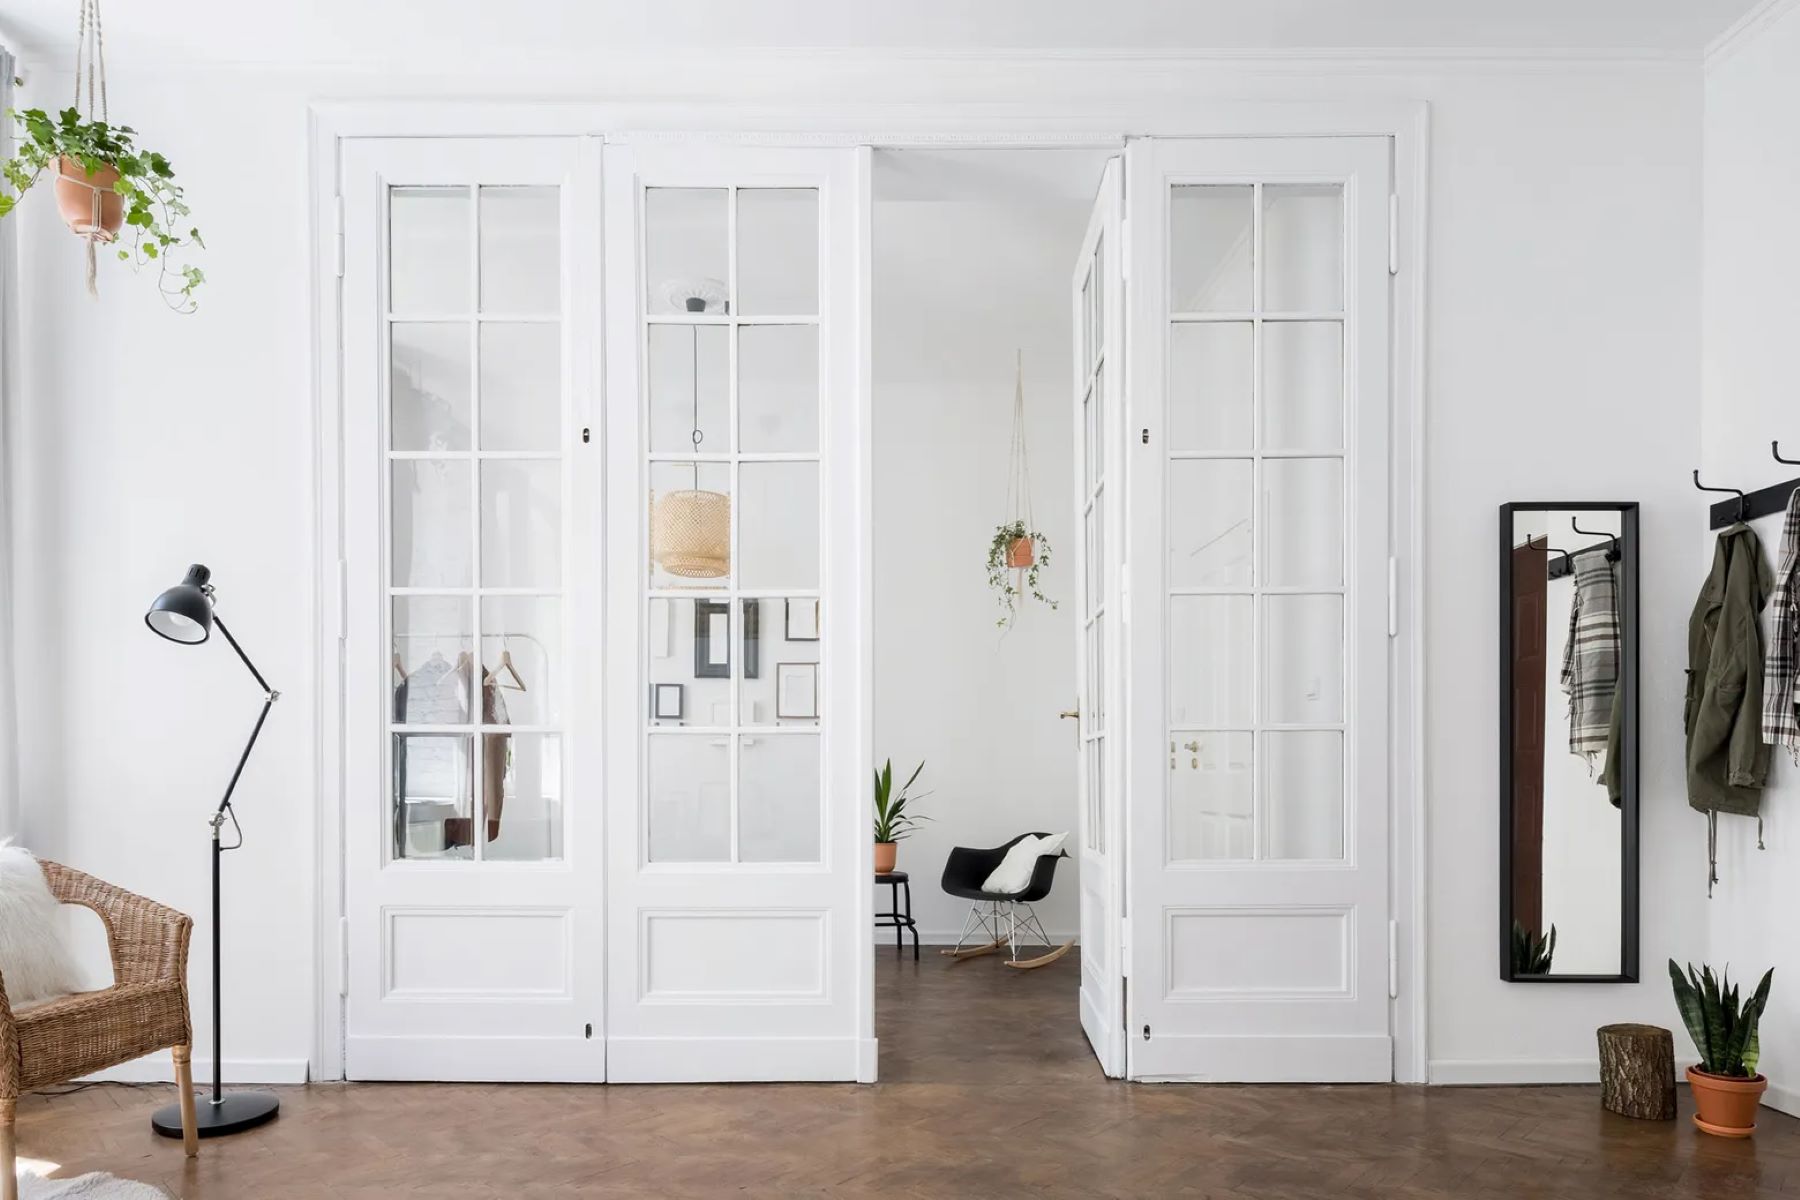
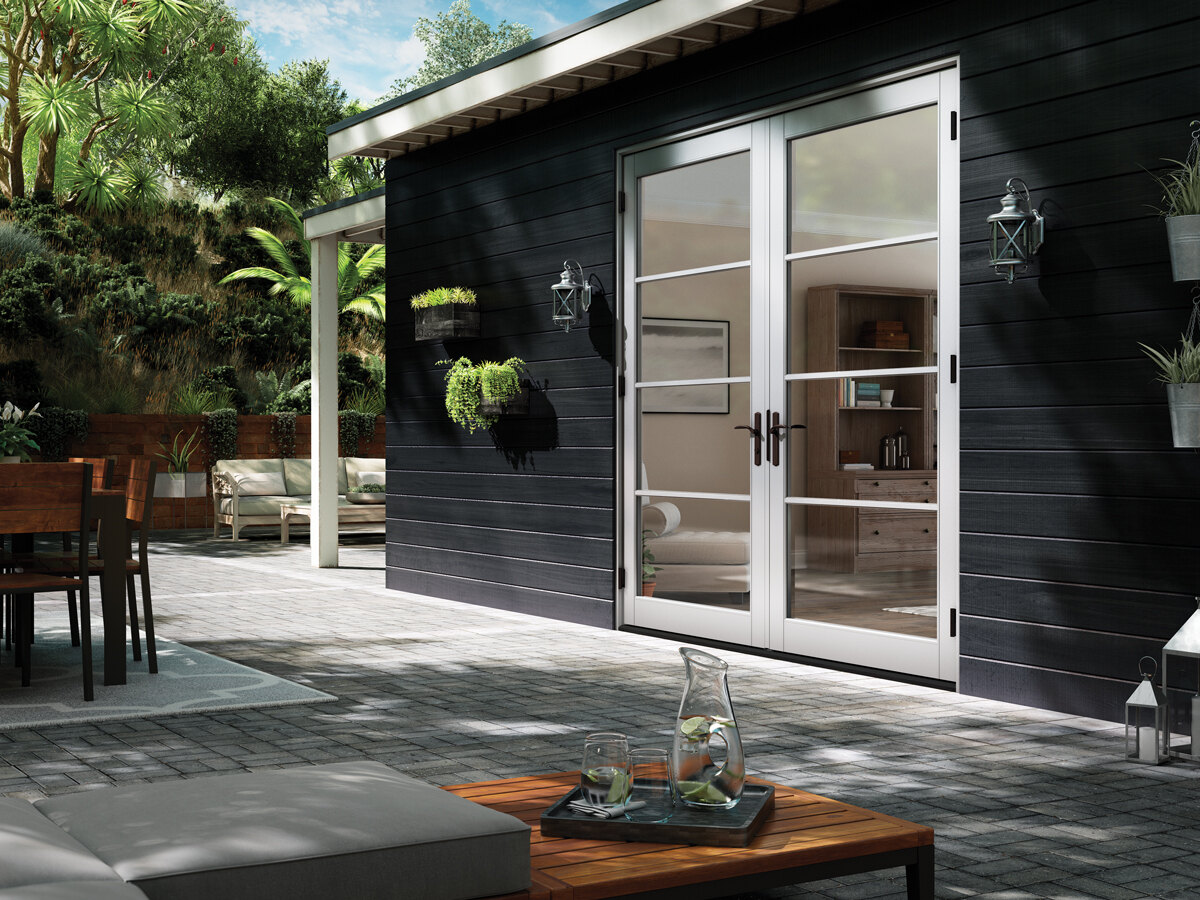
Welcome to our guide on how to install French patio doors! French patio doors are a stunning addition to any home, providing an elegant and functional way to connect your indoor and outdoor spaces. Whether you’re looking to upgrade your existing patio doors or installing them for the first time, this step-by-step guide will walk you through the installation process.
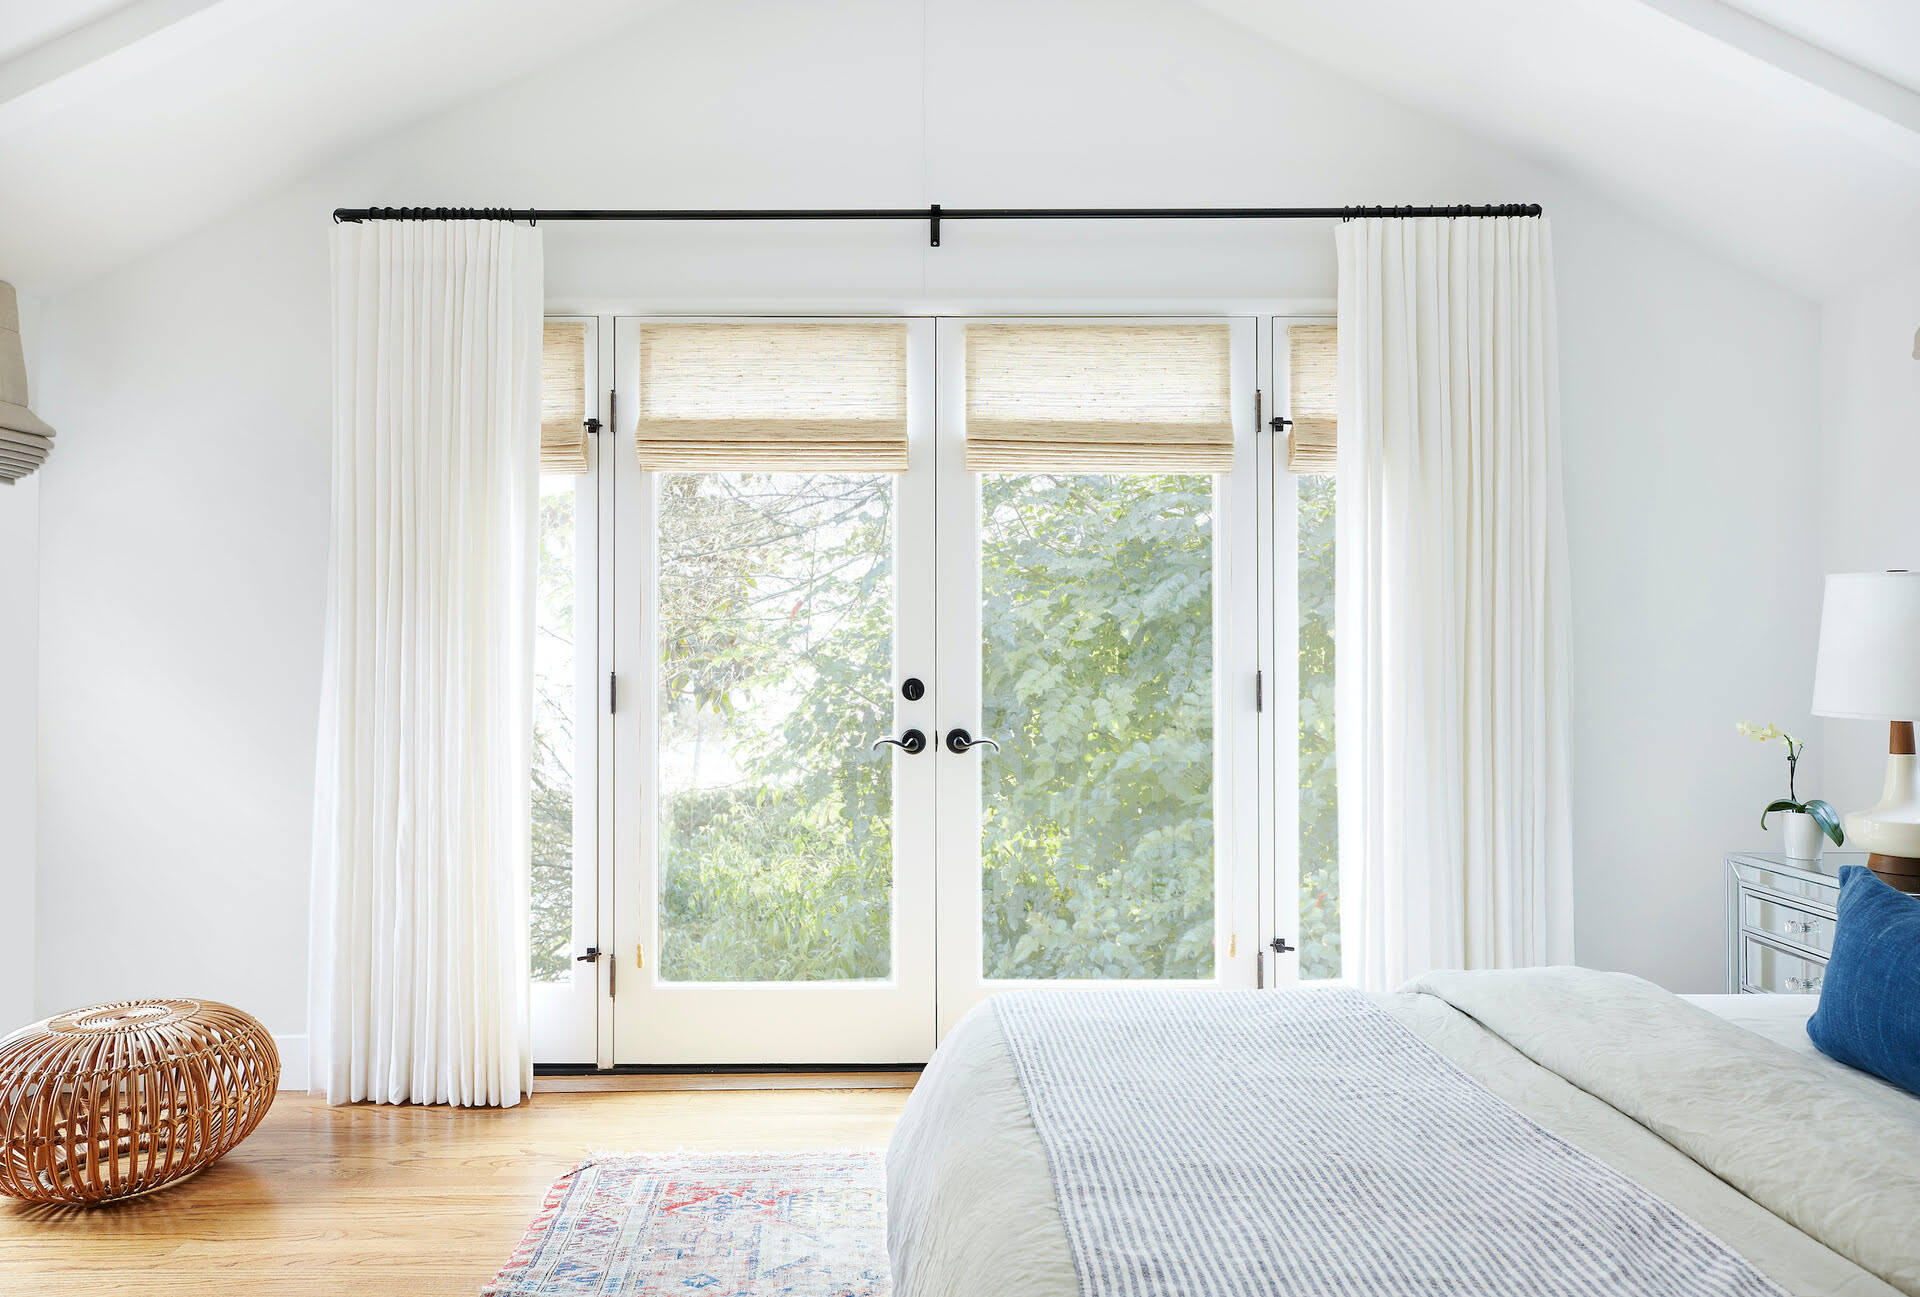
French patio doors are known for their beautiful glass panels that allow natural light to flood into your home. They also offer a wide opening that makes it easy to move large furniture or entertain guests on your patio. By learning how to install French patio doors yourself, you can save money on professional installation while enjoying the satisfaction of completing a DIY project.
Before we dive into the installation process, let’s briefly go over the basic tools you’ll need:
- Tape measure
- Level
- Hammer
- Screwdriver
- Drill
- Chisel
- Caulk
- Weatherproofing materials
Now that you have your tools ready, let’s get started on measuring the opening for your French patio doors.
Key Takeaways:
- Installing French patio doors is a DIY project that enhances your home’s beauty and functionality. Follow the step-by-step guide for a smooth installation and enjoy the seamless indoor-outdoor connection.
- Proper measurements, frame preparation, and component installation are crucial for smooth door operation and energy efficiency. Enjoy abundant natural light and a seamless transition between indoor and outdoor spaces.
Read more: What Is A French Patio Door
Step 1: Measure the Opening
The first step in installing French patio doors is to accurately measure the opening where the doors will be installed. This ensures that the doors will fit properly and operate smoothly.
Start by measuring the width of the opening. Use a tape measure and measure from one side of the opening to the other, taking note of the measurement. Repeat this process at the top and bottom of the opening to ensure consistency. It’s common for openings to have slight variations in size, so take the smallest measurement for the width.
Next, measure the height of the opening. Place the tape measure at the top of the opening and measure down to the floor. Again, take note of the measurement and repeat the process at the middle and bottom of the opening. Once again, take the smallest measurement for the height.
It’s important to remember that French patio doors typically come in standard sizes, so it’s best to choose doors that closely match your measurements. If your opening doesn’t match standard sizes, you may need to consider customizing the doors or adjusting the opening.
Once you have your measurements, it’s a good idea to double-check them to ensure accuracy. You can do this by measuring diagonally from the top left corner of the opening to the bottom right corner, and then from the top right corner to the bottom left corner. The measurements should be equal, indicating that the opening is square.
With your accurate measurements in hand, you’re now ready to move on to the next step: preparing the door frame.
Step 2: Prepare the Door Frame
Now that you have measured the opening for your French patio doors, it’s time to prepare the door frame to ensure a proper and secure installation.
Start by removing any existing doors, trim, or molding from the opening. This will provide a clean surface to work with. Use a pry bar or hammer to carefully remove any nails or screws holding the trim in place. Be sure to set aside any reusable trim for later installation.
Next, inspect the door frame for any damage or rot. It’s crucial to address any issues before proceeding with the installation. If you notice any decayed or compromised areas, it’s best to replace them with new wood or repair them using an appropriate filler or epoxy. This will ensure the stability and longevity of the door frame.
Once the frame is in good condition, it’s time to check if the opening is ready for the installation. Ensure that the frame is square and plumb by using a level. This will ensure that the doors will hang properly and operate smoothly.
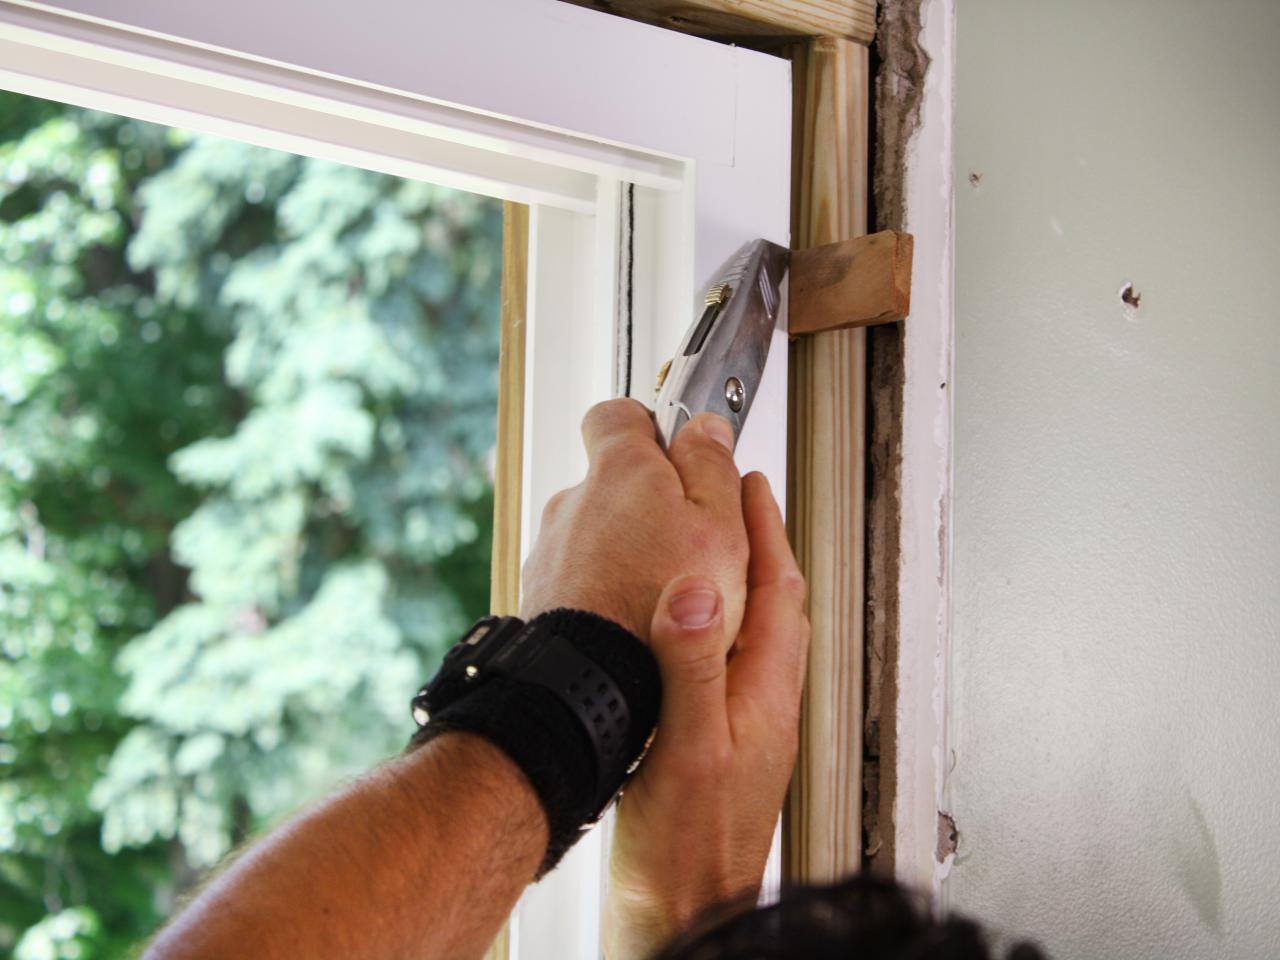
If the frame is not square, you may need to make adjustments. This can be done by adding shims to the top, bottom, or sides of the frame as needed. Shims are small, tapered pieces of wood or plastic that can help align the frame and create a level and plumb installation. Use a level to check the frame after making adjustments to ensure it is perfectly square.
Additionally, it’s essential to verify that the threshold of the door is level. This will prevent any water or drafts from seeping into your home. If necessary, use a level and shims to adjust the threshold until it is leveled.
With the door frame properly prepared and squared, you are now ready to move on to the next step: installing the track for your French patio doors.
Step 3: Install the Track
With the door frame prepared, it’s time to install the track for your French patio doors. The track provides the smooth sliding mechanism that allows the doors to open and close effortlessly.
Start by positioning the track at the bottom of the door frame. Make sure it is centered and aligned with the opening. Use a pencil to mark the screw hole locations on the frame.
Next, pre-drill screw holes on the marked spots. This will prevent the wood from splitting when you attach the track. Use a drill bit that is slightly smaller than the diameter of the screws to ensure a secure fit.
Once the holes are drilled, align the track with the screw holes and secure it in place using the provided screws or fasteners. Make sure the track is level and flush with the door frame. Use a level to check for accuracy.
Next, move to the top of the door frame and repeat the process. Position the track at the top and mark the screw hole locations. Pre-drill the holes and attach the track using screws or fasteners.
After both the top and bottom tracks are installed, check the alignment to ensure the doors will slide smoothly. Gently slide the doors back and forth to test the movement. If they feel stiff, make any necessary adjustments to the track alignment.
It’s important to note that some French patio door systems may have specific instructions for track installation. Always refer to the manufacturer’s guidelines to ensure a proper and secure installation.
With the track securely in place, you’re now ready to move on to the next step: attaching the door panels to the track.
When installing French patio doors, make sure to carefully measure the opening to ensure a proper fit. It’s also important to properly seal and insulate around the door frame to prevent drafts and water leaks.
Step 4: Attach the Door Panels
Now that the tracks are installed, it’s time to attach the door panels to complete the installation of your French patio doors.
Start by carefully lifting one of the door panels and aligning it with the corresponding track. Tilt the top of the door toward you and engage the rollers with the upper track. Once the top rollers are engaged, lower the bottom of the door into the bottom track. The door should slide smoothly along the track.
Repeat this process for the second door panel, ensuring that both panels are properly aligned and slide without any resistance. Take your time to adjust the door panels as needed to ensure they are level and plumb.
Once the doors are in place, check the clearance between the doors and the frame. There should be a slight gap for proper operation and to accommodate any necessary adjustments. If the clearance is too tight or too loose, adjust the position of the doors by loosening the screws on the track brackets and gently repositioning the doors.
Once the doors are properly aligned, secure them to the frame using the provided screws or fasteners. Be sure to follow the manufacturer’s guidelines for proper attachment. This will ensure that the doors are secure and will not come off the tracks during use.
After the doors are attached to the frame, test their operation by sliding them back and forth. They should move smoothly and without any difficulty. If there are any issues, make any necessary adjustments to the alignment or track positioning.
With the door panels securely attached and operating smoothly, you’re ready to move on to the next step: installing the handles and locks for your French patio doors.
Read more: How To Secure French Patio Doors
Step 5: Install the Handles and Locks
Now that the French patio doors are in place, it’s time to install the handles and locks, adding both functionality and security to your doors.
Start by choosing the appropriate handles and locks for your doors. There are a variety of styles and finishes available, so select the ones that match your personal taste and complement the overall aesthetic of your home.
Begin by installing the handles. Most handles will come with a template that indicates where to drill the holes. Use this template to mark the screw hole locations on both sides of the door panel. Pre-drill the holes with a drill bit that matches the size of the screws provided with the handles.
Once the holes are pre-drilled, align the handle components with the holes and secure them in place using the provided screws. Make sure the handles are securely attached and operate smoothly.
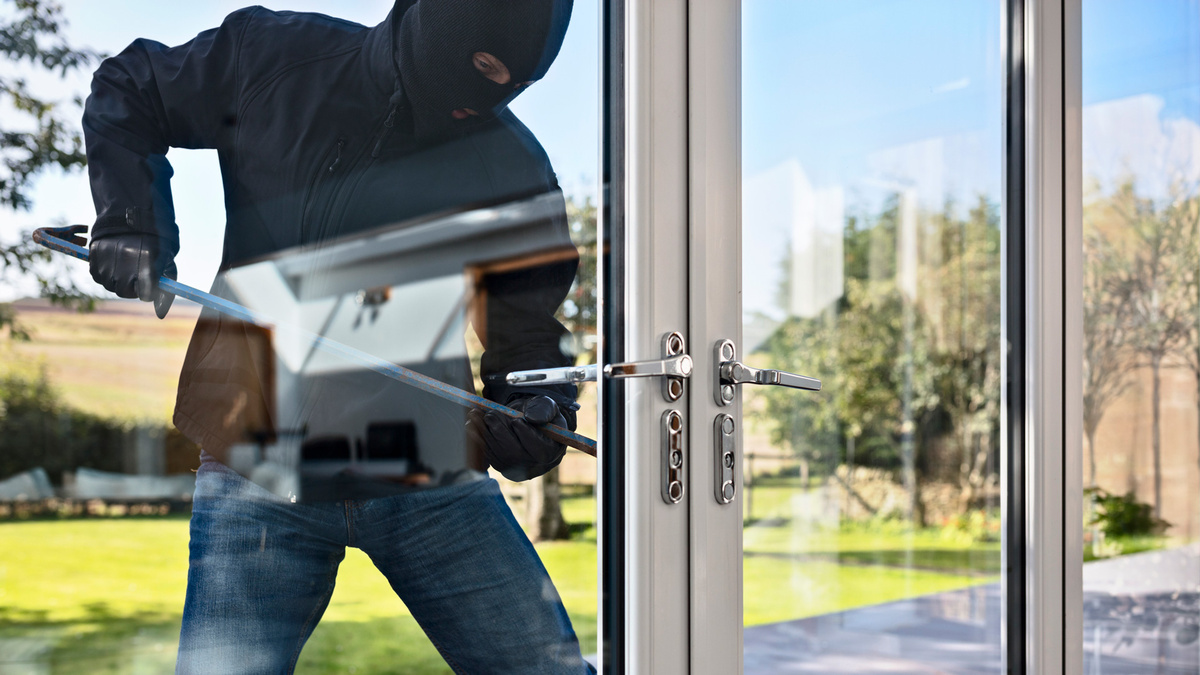
Next, it’s time to install the locks. The type of lock you choose may vary depending on your preferences and the specific design of your French patio doors. Common options include deadbolts, mortise locks, or multipoint locking systems.
Follow the manufacturer’s instructions for installing the chosen lock type. Mark the appropriate locations on the door panel and pre-drill the holes as needed. As with the handles, attach the lock components securely using the provided screws or fasteners.
Once both the handles and locks are installed, test their functionality to ensure they operate smoothly and securely. Check that the handles turn easily and that the locks engage properly. Adjustments may be needed to ensure proper alignment and operation.
With the handles and locks successfully installed, your French patio doors are now equipped with both style and security. Take a moment to admire your work before moving on to the final step: adjusting and insulating the doors for optimal performance.
Step 6: Adjust and Insulate
With the French patio doors installed and the handles and locks in place, it’s time to make final adjustments and ensure proper insulation for enhanced energy efficiency and comfort.
Start by checking the alignment of the doors. Close the doors and look for any gaps or unevenness along the edges. If you notice any gaps, you may need to adjust the position of the doors by tightening or loosening the screws on the track brackets.
Next, check the weatherstripping around the doors. Weatherstripping helps to create a seal and prevent air and water infiltration. Inspect the weatherstripping for any signs of damage or wear. If needed, replace worn-out weatherstripping with new pieces, ensuring a snug and effective seal.
In addition to weatherstripping, consider adding door sweeps to the bottom of the doors. Door sweeps help to block drafts and prevent dust and pests from entering your home. Measure the width of the door panel and trim the door sweep to fit. Attach the door sweep to the bottom of the door using screws or adhesive, following the manufacturer’s instructions.
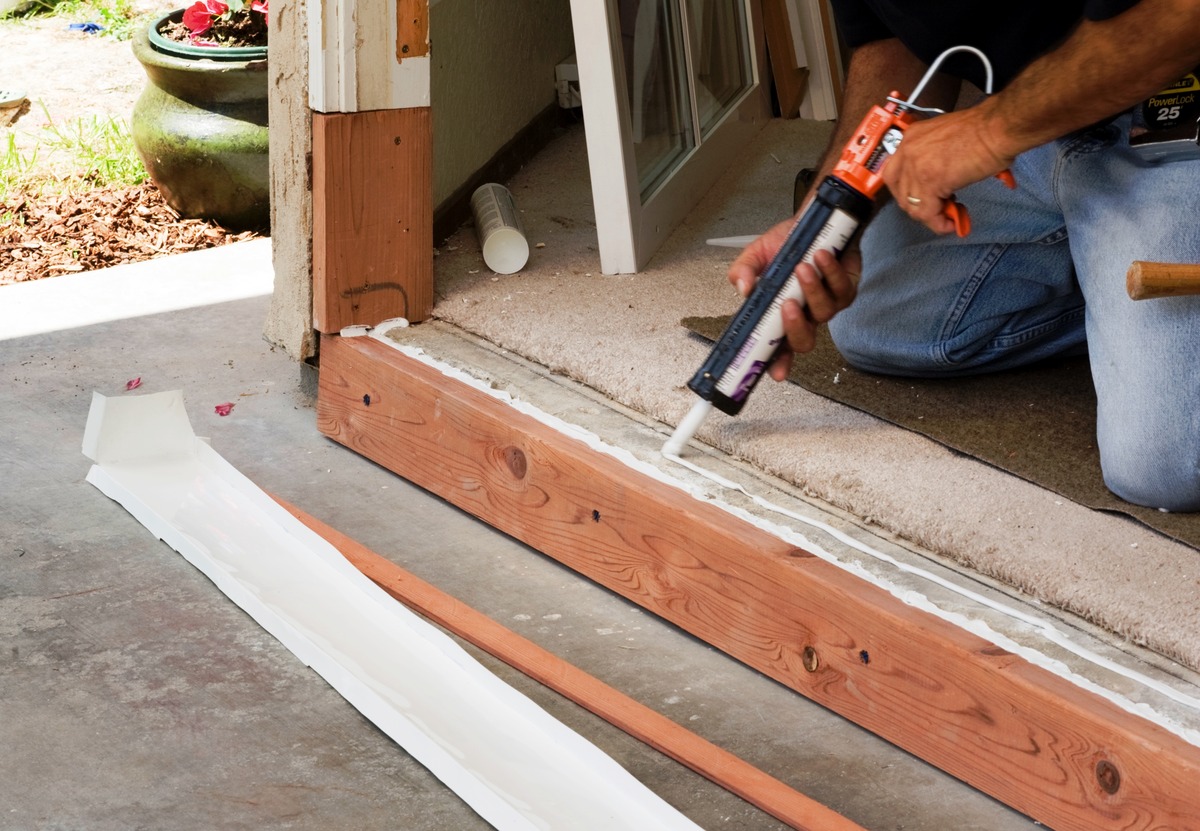
Once the doors are properly adjusted and insulated, it’s time to apply caulk to seal any gaps between the frame and the wall. Use a high-quality exterior caulk that is designed for outdoor use. Apply the caulk along the edges of the door frame, filling in any gaps or cracks. Smooth the caulk with a caulk tool or your finger for a clean and professional finish.
Finally, test the doors for their operation and insulation. Open and close the doors to ensure they slide smoothly along the tracks and latch securely. Check for any drafts or air leaks by standing near the doors and feeling for any noticeable temperature changes. Make any necessary adjustments or additional insulation measures if needed.
Congratulations! You have successfully completed the installation of your French patio doors. Enjoy the beauty, functionality, and energy efficiency they bring to your home.
Remember, proper maintenance and periodic inspections will help keep your French patio doors in optimal condition for years to come. Regularly clean the glass panels, lubricate the tracks, and check the weatherstripping for any signs of wear.
Thank you for following our guide on how to install French patio doors. We hope this has been helpful and that your new doors bring you many years of enjoyment.
Conclusion
Installing French patio doors is a rewarding project that can enhance the beauty and functionality of your home. With the right tools and following the step-by-step guide provided, you can confidently install these elegant doors yourself, saving money on professional installation.
Throughout this guide, we covered the essential steps for a successful installation. We began by measuring the opening to ensure a proper fit, then prepared the door frame for the installation. Next, we installed the track, attached the door panels, and added handles and locks for added security. Finally, we made necessary adjustments and added insulation for optimal performance.
By taking the time to measure accurately, prepare the frame thoroughly, and install the components correctly, you can enjoy smooth operation and an effective seal against drafts and elements.
French patio doors not only enhance the aesthetic appeal of your home but also allow abundant natural light to flood your living spaces. Additionally, they offer a seamless transition between your indoor and outdoor areas, creating a connection and expanding your living space.
Remember to follow the manufacturer’s instructions specific to your French patio door system for the best results. Regular maintenance and inspections will help ensure the longevity and smooth operation of your doors.
We hope this guide has provided you with the knowledge and confidence to successfully install French patio doors. Enjoy the beauty, functionality, and energy efficiency they bring to your home.
Thank you for reading, and best of luck with your French patio door installation!
Frequently Asked Questions about How To Install French Patio Doors
Was this page helpful?
At Storables.com, we guarantee accurate and reliable information. Our content, validated by Expert Board Contributors, is crafted following stringent Editorial Policies. We're committed to providing you with well-researched, expert-backed insights for all your informational needs.




0 thoughts on “How To Install French Patio Doors”