Home>Furniture>Outdoor Furniture>How To Install A Pella Sliding Patio Door
Outdoor Furniture
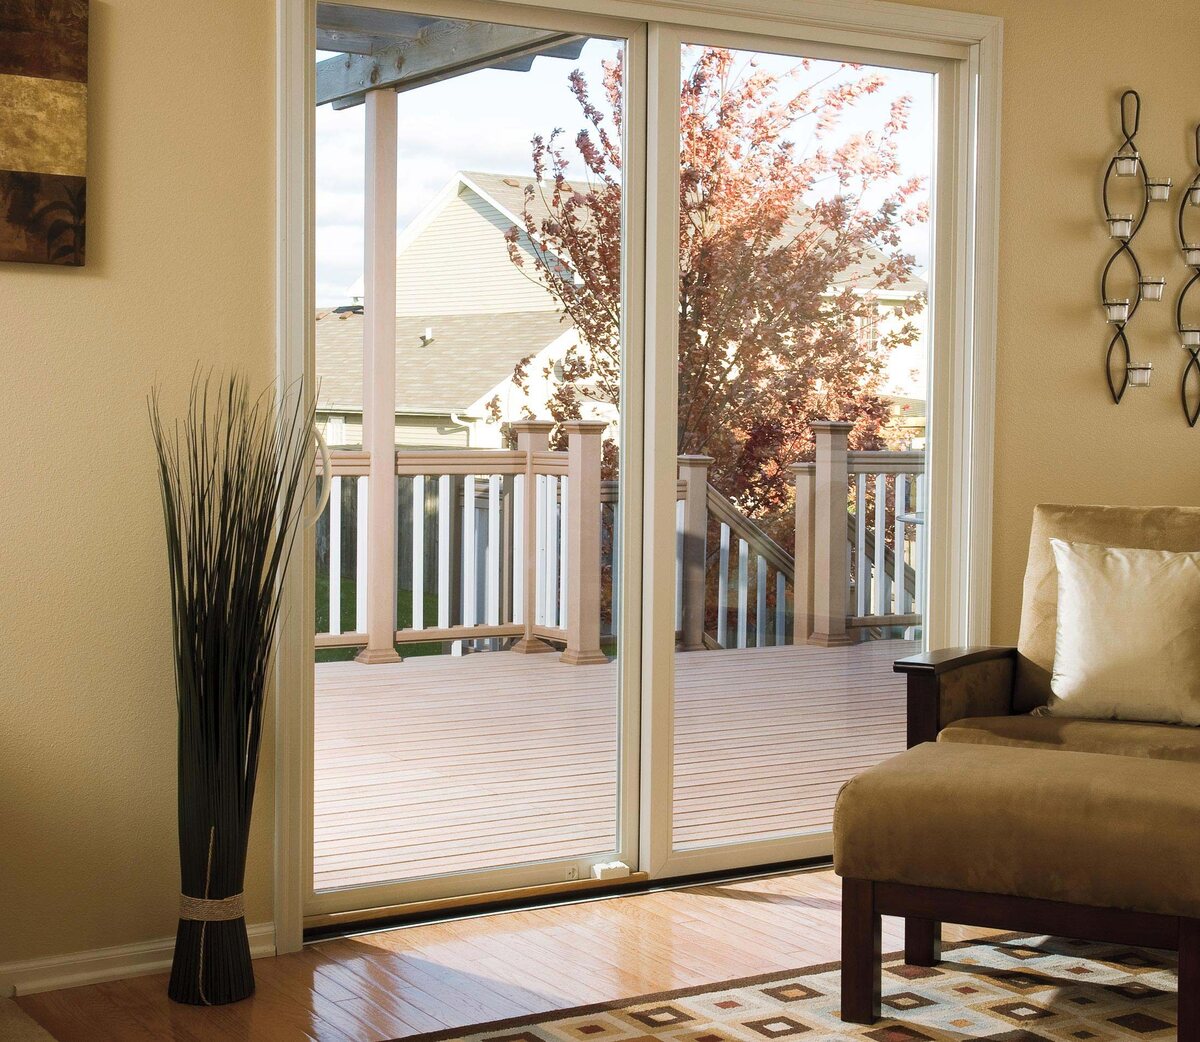
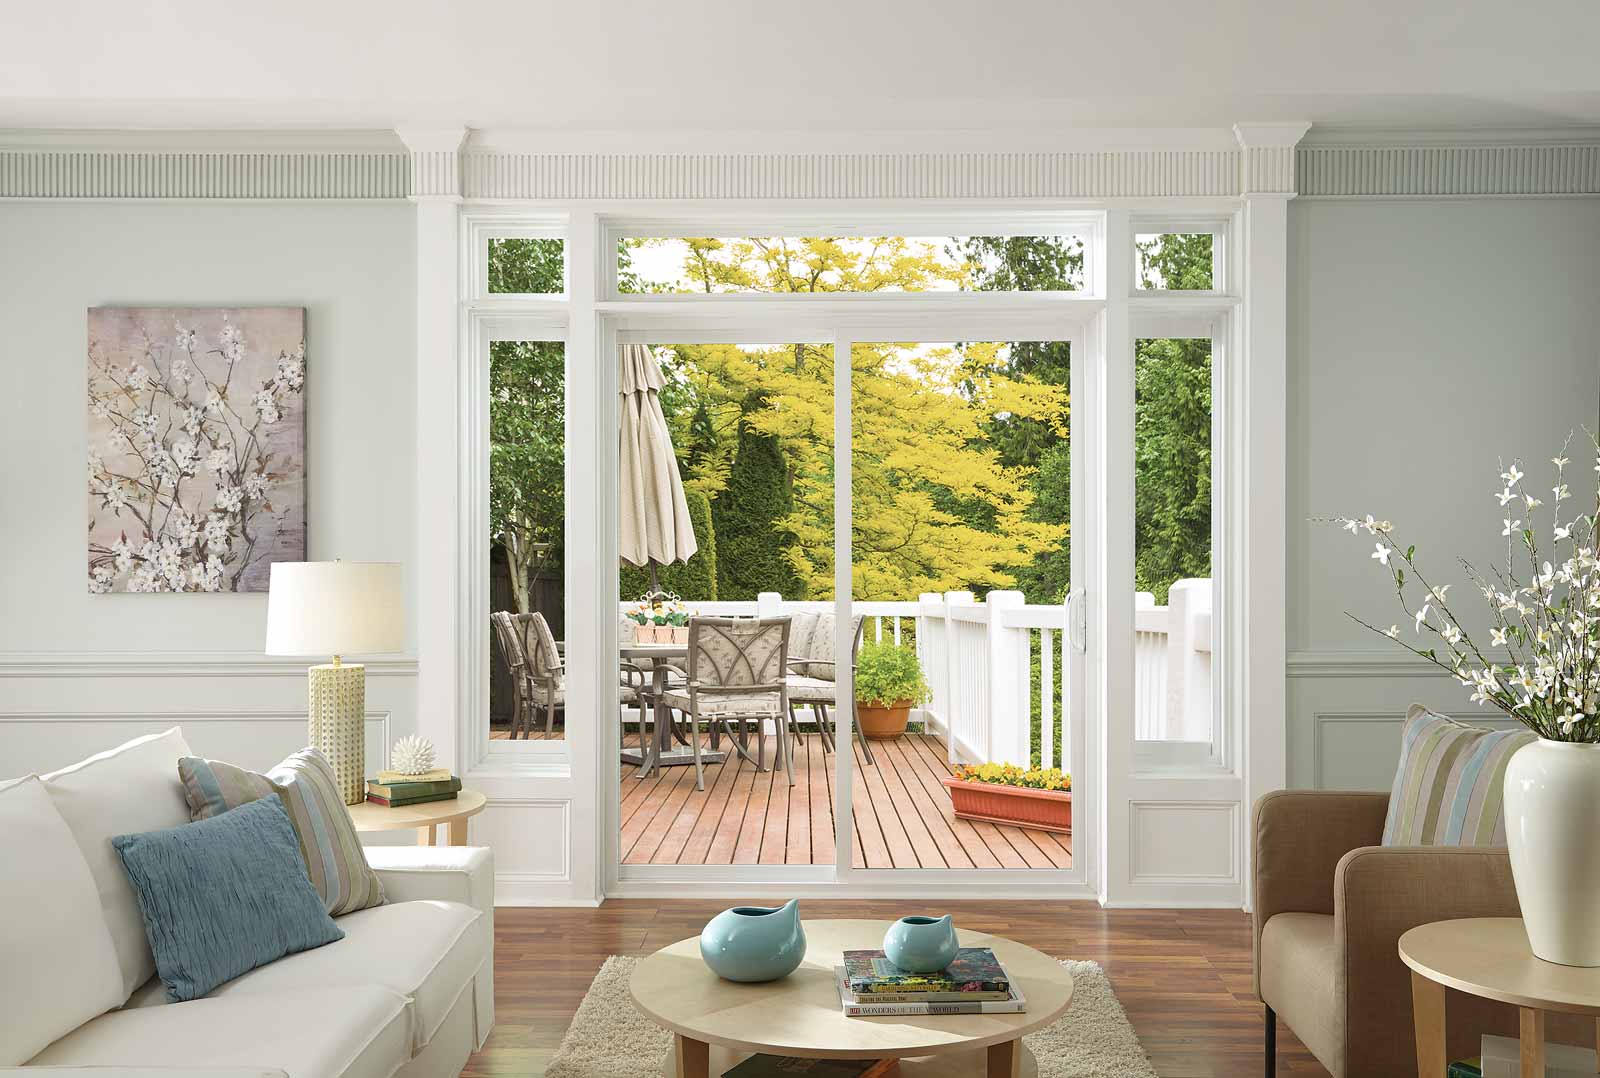
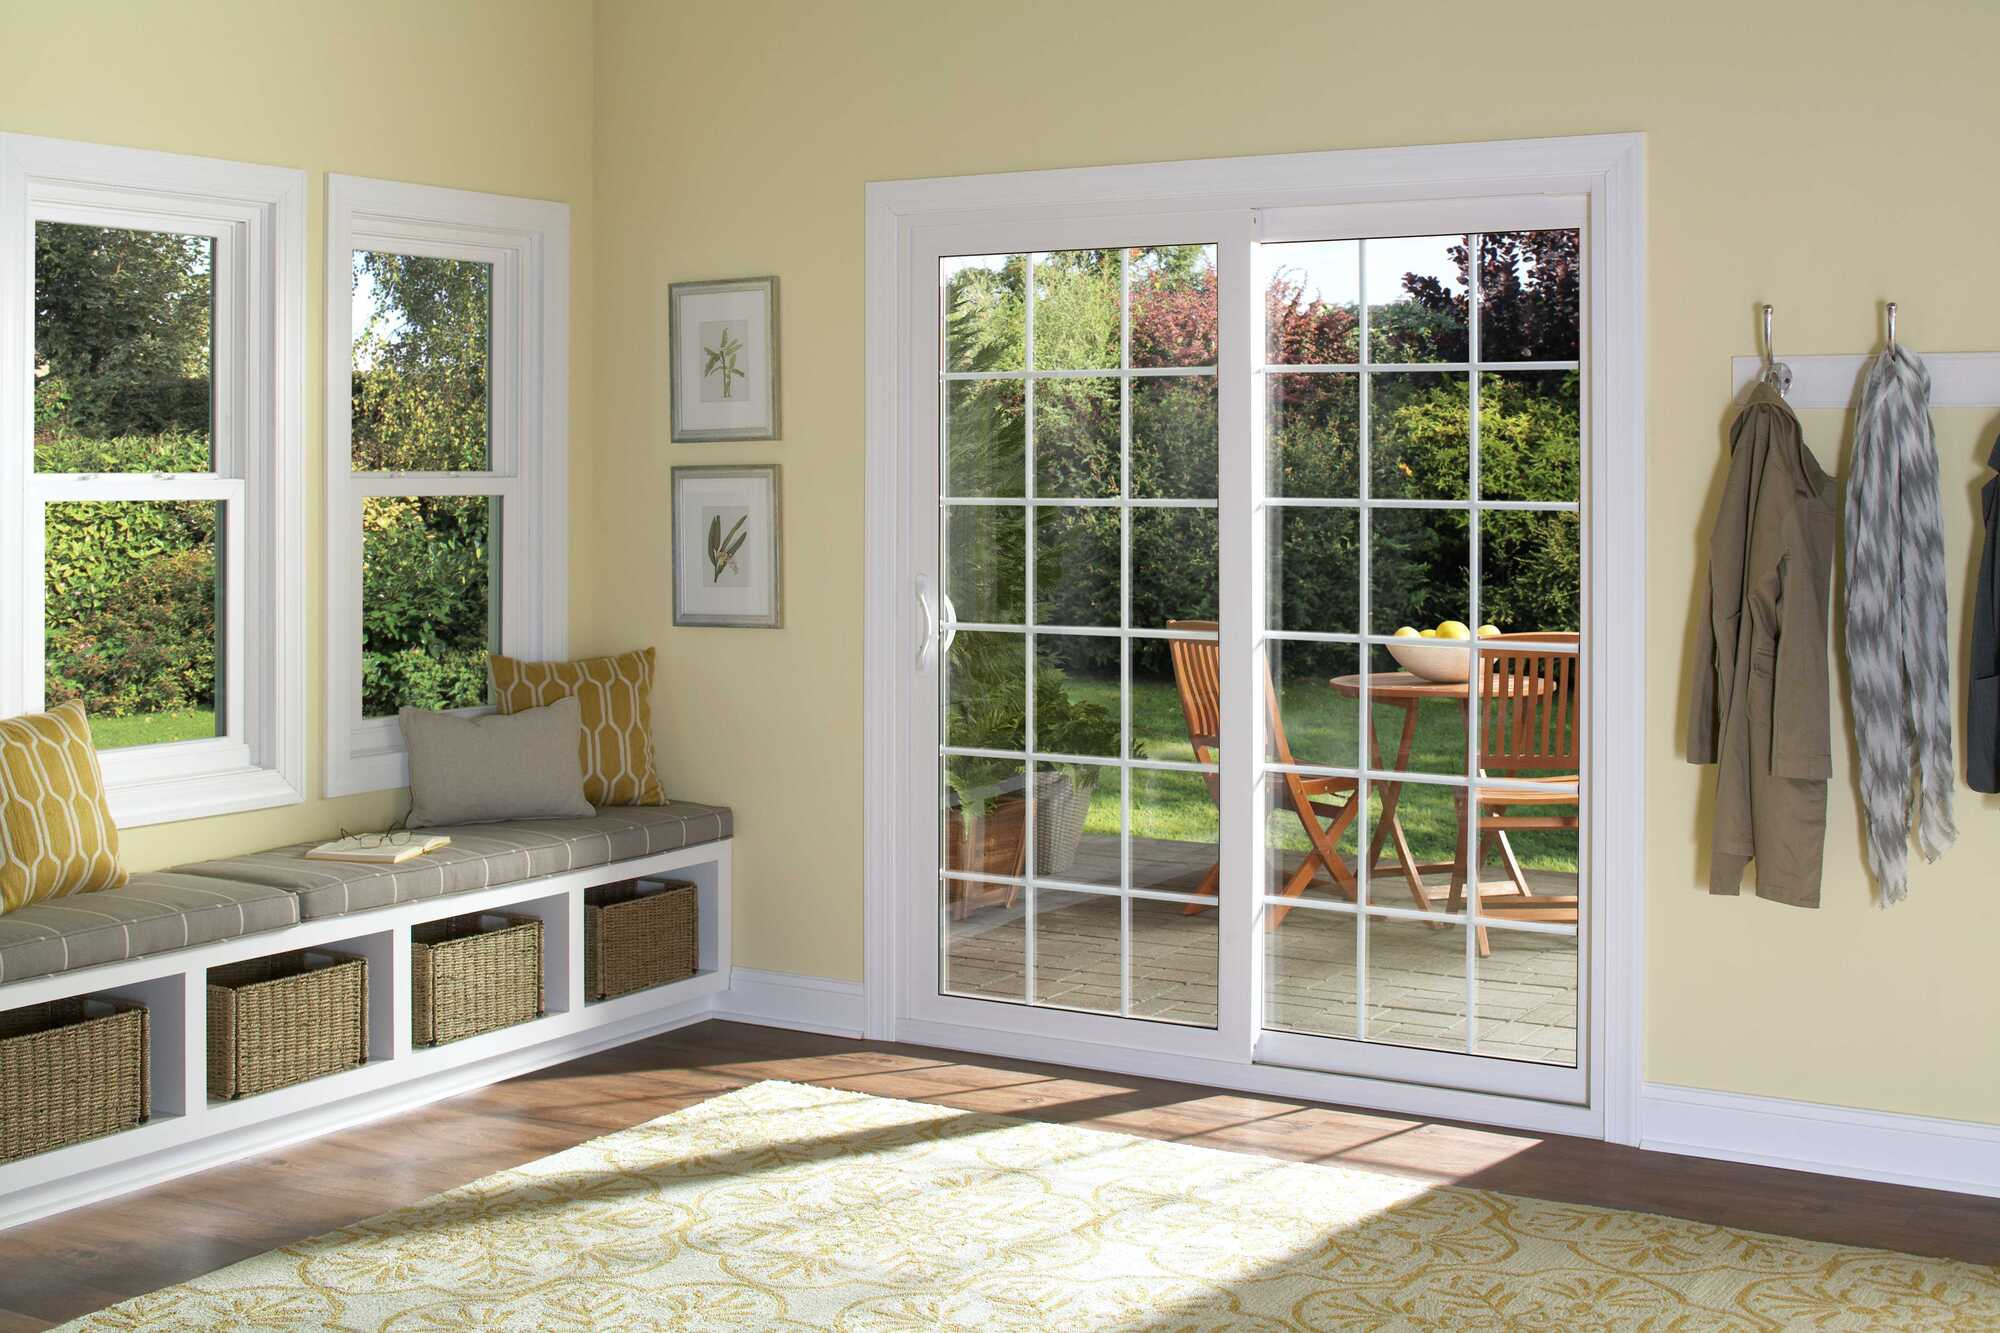
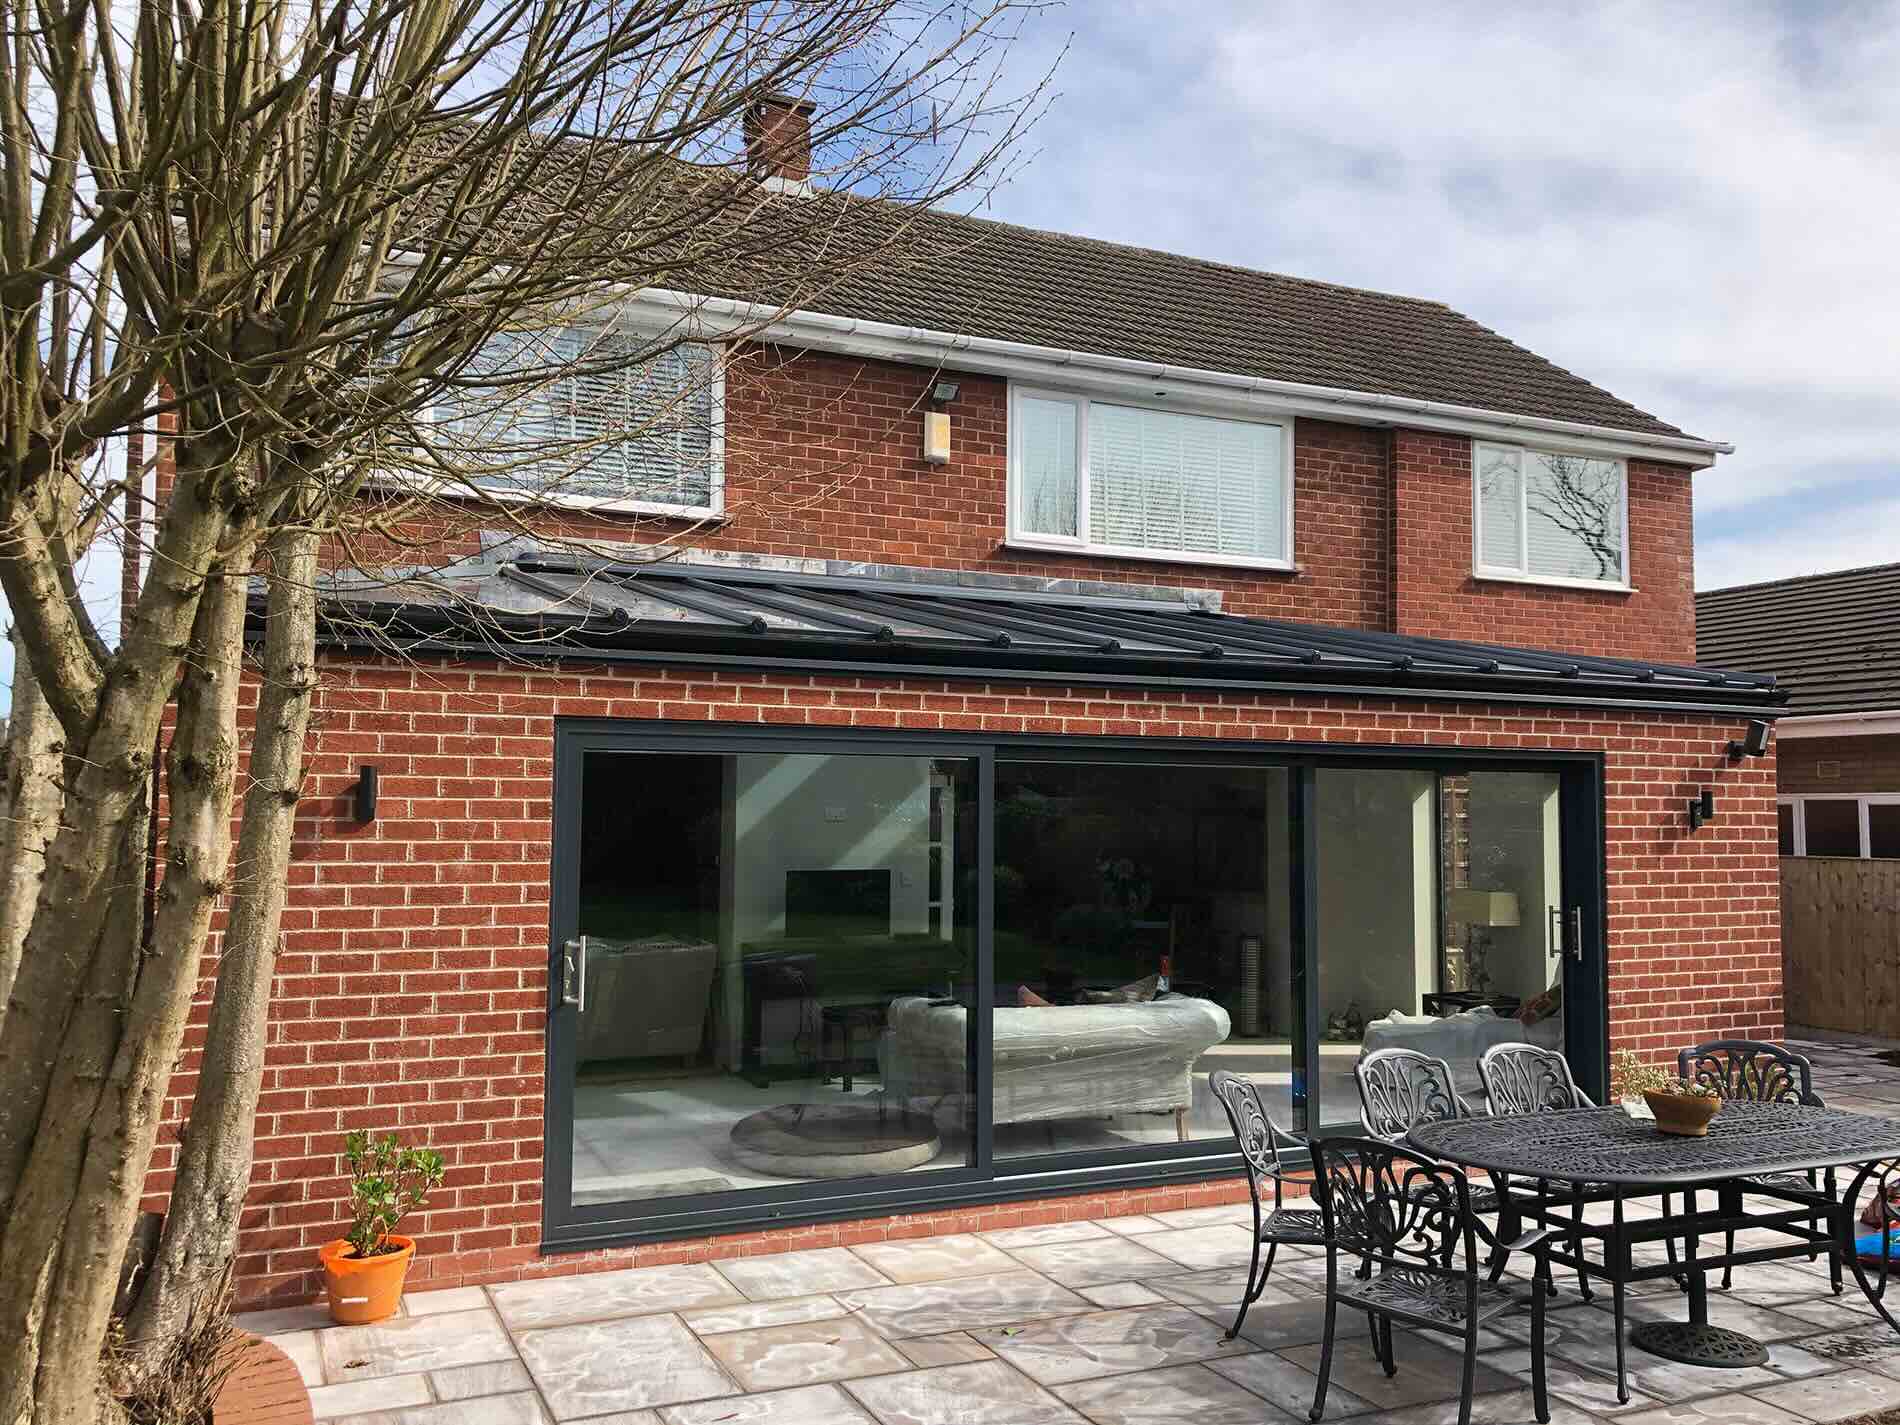
How To Install A Pella Sliding Patio Door
Modified: October 18, 2024
Looking for a step-by-step guide on how to install a Pella sliding patio door? Our experts have you covered. Upgrade your outdoor furniture with ease.
(Many of the links in this article redirect to a specific reviewed product. Your purchase of these products through affiliate links helps to generate commission for Storables.com, at no extra cost. Learn more)
Introduction
Welcome to the world of outdoor furniture! Whether you have a spacious backyard, a cozy patio, or a tiny balcony, having the right outdoor furniture can transform any outdoor space into a comfortable and inviting oasis. From lounging and dining sets to hammocks and fire pits, there is a wide range of options to suit every style and preference.
When it comes to choosing outdoor furniture, durability and quality are key factors to consider. Outdoor furniture needs to withstand various weather conditions, including sunlight, rain, and even snow. Additionally, it should be able to withstand regular use and remain comfortable and appealing for years to come.
In this comprehensive guide, we will explore everything you need to know about outdoor furniture. From the different materials available to the maintenance tips for keeping your furniture looking its best, we will cover it all. Whether you are a seasoned outdoor furniture enthusiast or just starting to explore the world of outdoor living, this guide will provide you with valuable insights and information to enhance your outdoor space.
We will delve into the various types of outdoor furniture, including patio sets, sofas, chairs, tables, and more. We will explore popular materials like aluminum, wood, wicker, and wrought iron, discussing their pros and cons, as well as their suitability for different climates and environments.
As we discuss each type of outdoor furniture and material, we will also provide tips on how to choose the right pieces for your specific needs and style preferences. We will dive into factors such as budget, space constraints, and intended use, helping you make informed decisions that align with your vision for your outdoor space.
Additionally, we will cover the essential accessories and features that can enhance your outdoor furniture experience. From cushions and covers to umbrellas and outdoor lighting, these add-ons can provide comfort, protection, and ambiance to make your outdoor space truly remarkable.
No outdoor furniture guide would be complete without addressing maintenance and care. We will share expert tips on how to clean and protect various types of outdoor furniture, ensuring that they remain in pristine condition for years to come. We will discuss techniques for addressing common issues such as rust, fading, and mold, allowing you to enjoy your outdoor furniture worry-free.
So, whether you are planning to revamp your outdoor space or looking to invest in your first set of outdoor furniture, let this comprehensive guide be your companion. With the right knowledge and a bit of creativity, you can turn any ordinary outdoor area into a stylish and inviting sanctuary.
Key Takeaways:
- Transform your outdoor space with a Pella sliding patio door for seamless access, increased natural light, and improved ventilation. Follow the step-by-step guide for a beautiful and functional installation.
- Properly installed Pella sliding patio doors enhance outdoor living. Enjoy gatherings, relaxation, and the view with elegance and functionality. Regular maintenance ensures years of enjoyment.
Read more: How To Install Sliding Patio Doors
Tools and Materials Needed
Before you embark on the installation process, it is important to gather all the necessary tools and materials. This will ensure that you have everything you need to complete the job smoothly. Here are the tools and materials you’ll need to install a Pella sliding patio door:
- Screwdriver
- Hammer
- Tape measure
- Level
- Utility knife
- Pry bar
- Caulking gun
- Drill
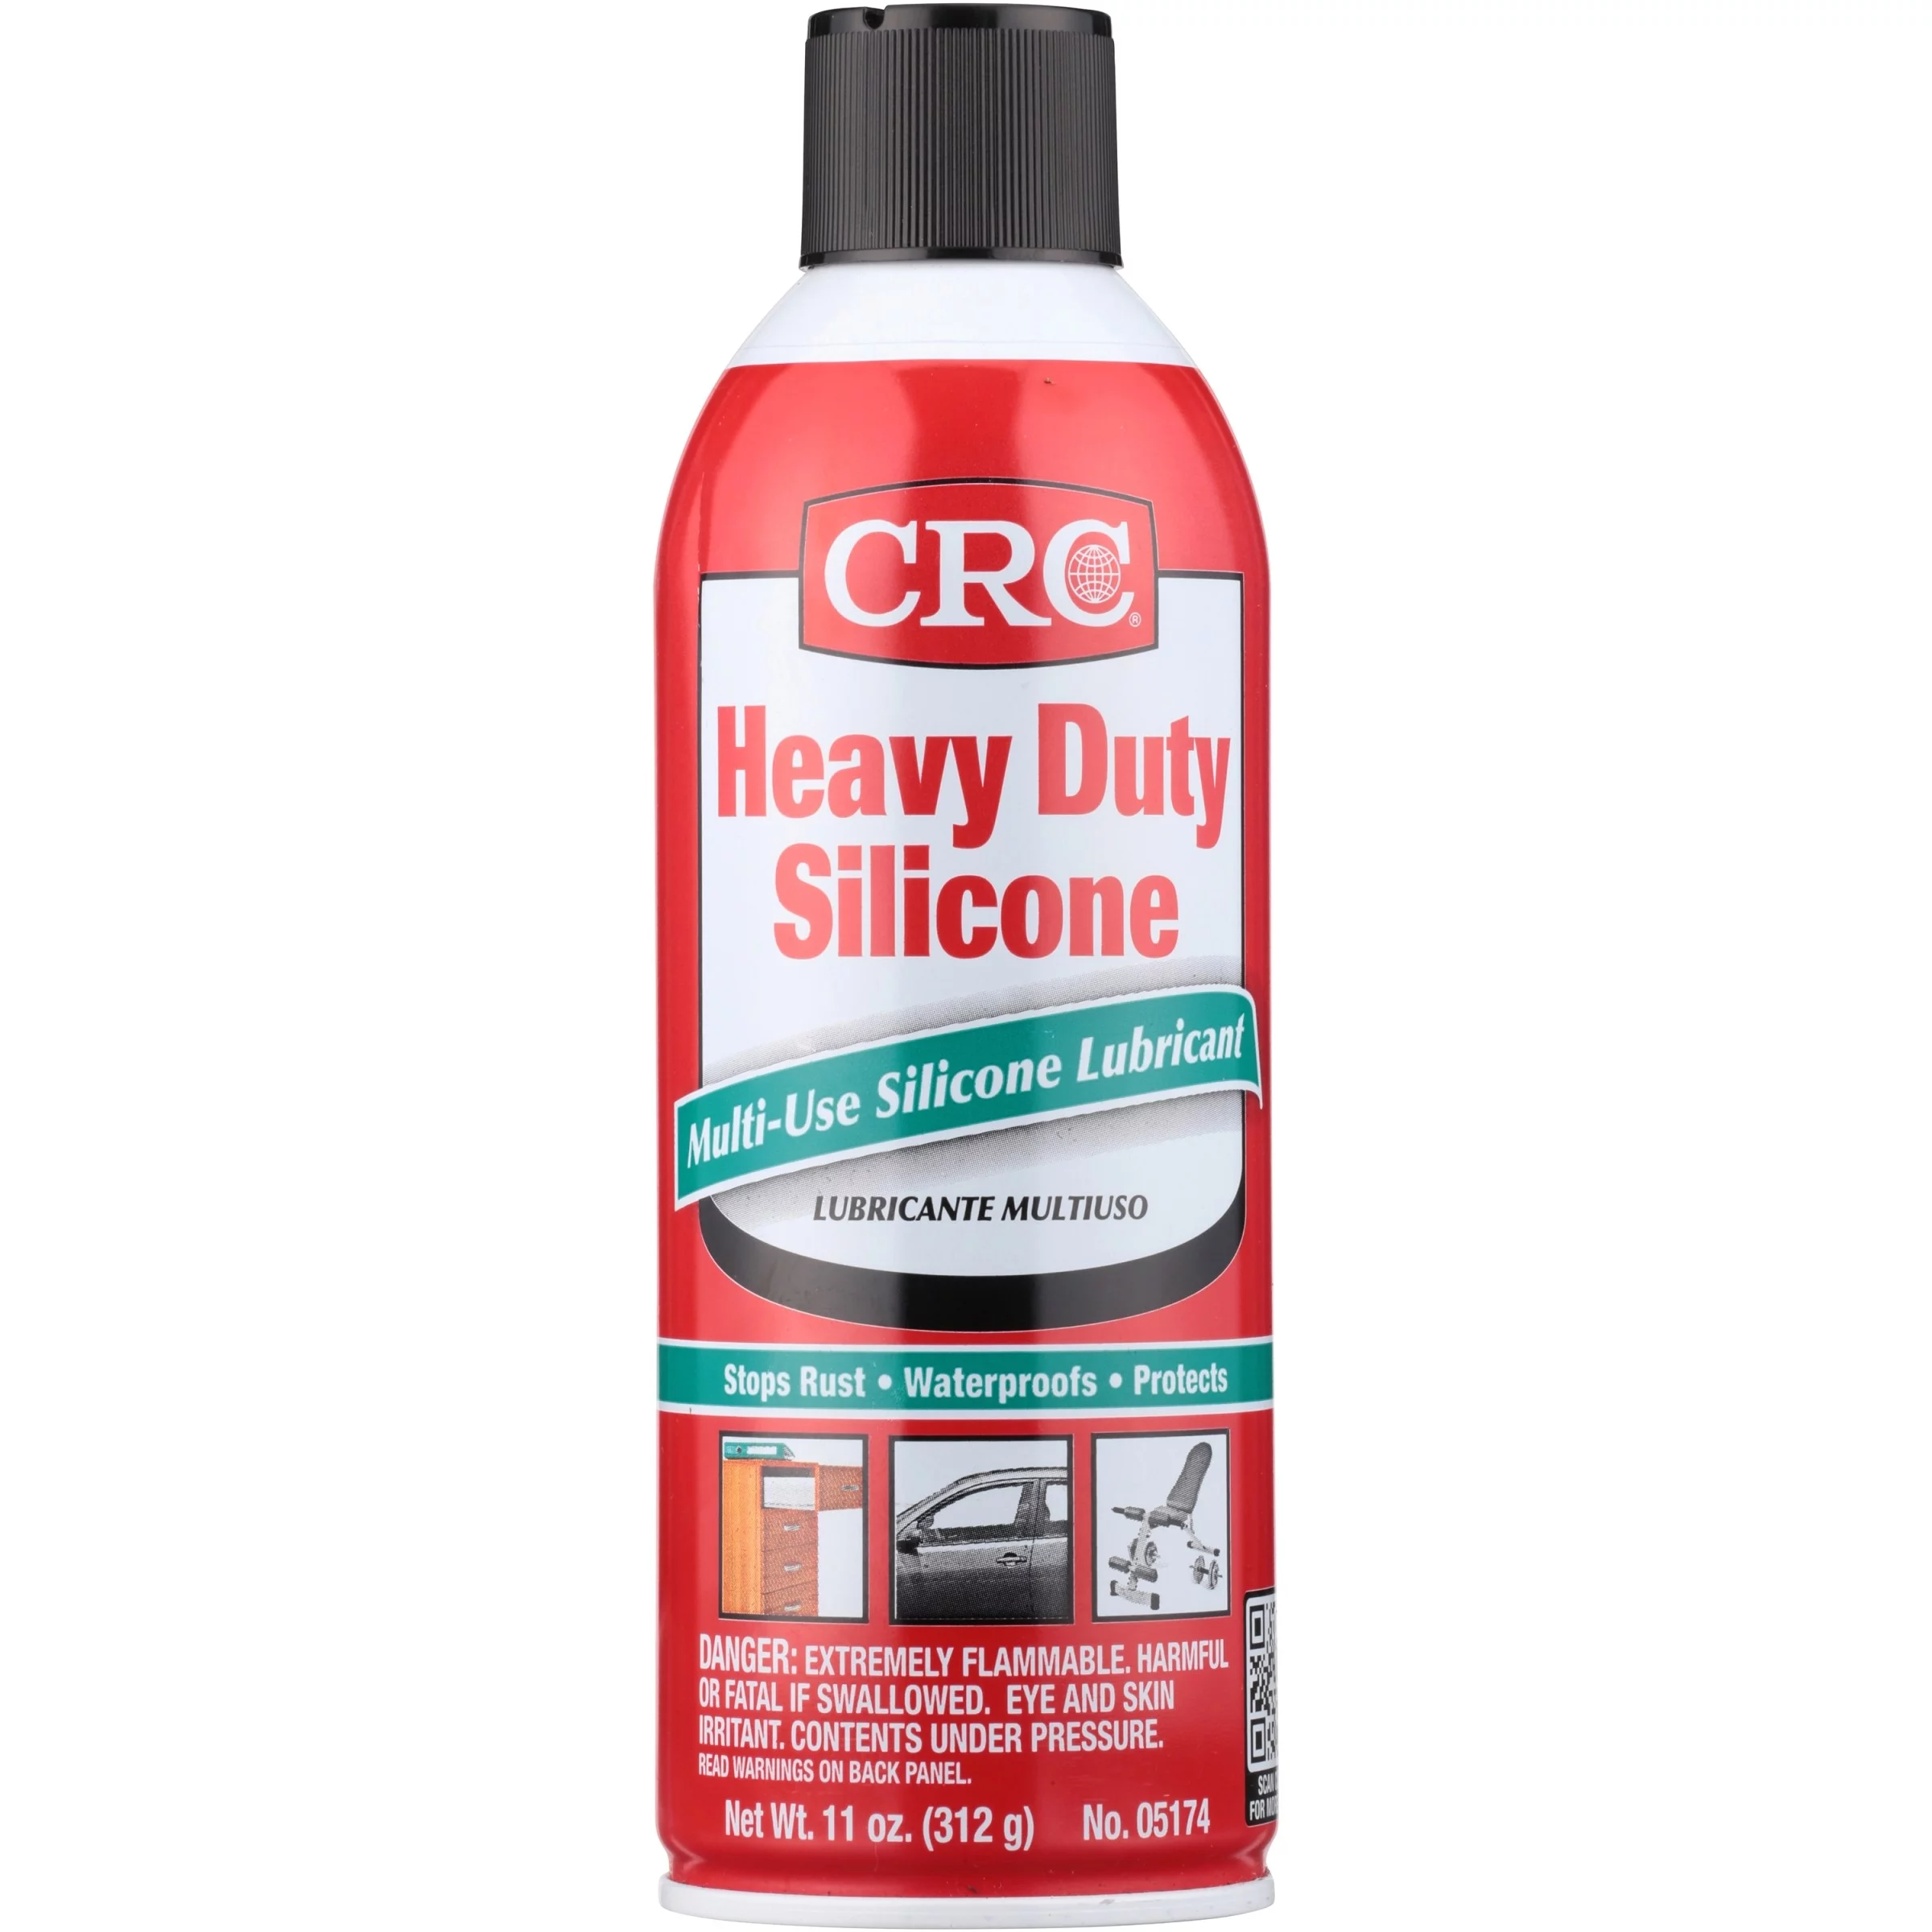
- Silicone sealant
- Flashing tape
- Sill pan
- Shims
- Screws
In addition to these tools, you will also need the following materials:
- Pella sliding patio door kit
- Weatherstripping
- Insulation
- Caulk
- Screws
Make sure to have all these tools and materials readily available before starting the installation process. This will save you time and prevent delays during the installation.
Keep in mind that the specific tools and materials required may vary depending on the specific model and design of the Pella sliding patio door you are installing. Always refer to the manufacturer’s instructions for the recommended tools and materials.
Once you have gathered all the necessary tools and materials, you are ready to proceed with the installation process. Follow the steps outlined in the manufacturer’s instructions carefully to ensure a successful installation and a properly functioning sliding patio door.
Next, we will discuss the step-by-step process of installing a Pella sliding patio door.
Step 1: Measure and Prepare the Opening
Before installing your Pella sliding patio door, it’s essential to accurately measure and prepare the opening to ensure a proper fit. Follow these steps to measure and prepare the opening:
- Begin by removing any existing trim or molding around the opening of the doorway. Use a pry bar and a hammer to gently remove the trim without causing any damage. Set the trim aside for reinstallation later.
- Next, measure the width and height of the opening using a tape measure. Take three measurements for both the width and height – at the top, middle, and bottom of the opening. Record the smallest measurement for both the width and height. This will ensure that your sliding door fits properly.
- Once you have your measurements, subtract about 1/2 inch from the width and 1/4 inch from the height to allow for proper installation and adjustment.
- Examine the opening for any signs of water damage or uneven surfaces. If you notice any issues, make the necessary repairs before proceeding with the installation. This may involve replacing damaged wood or adding shims to level the surface.
Preparing the opening is a crucial step to ensure a smooth and precise installation of your Pella sliding patio door. Taking accurate measurements and addressing any underlying issues will help guarantee a proper fit and prevent future complications.
Once you have completed these preparations, you are ready to move on to the next step: removing the existing door and frame.
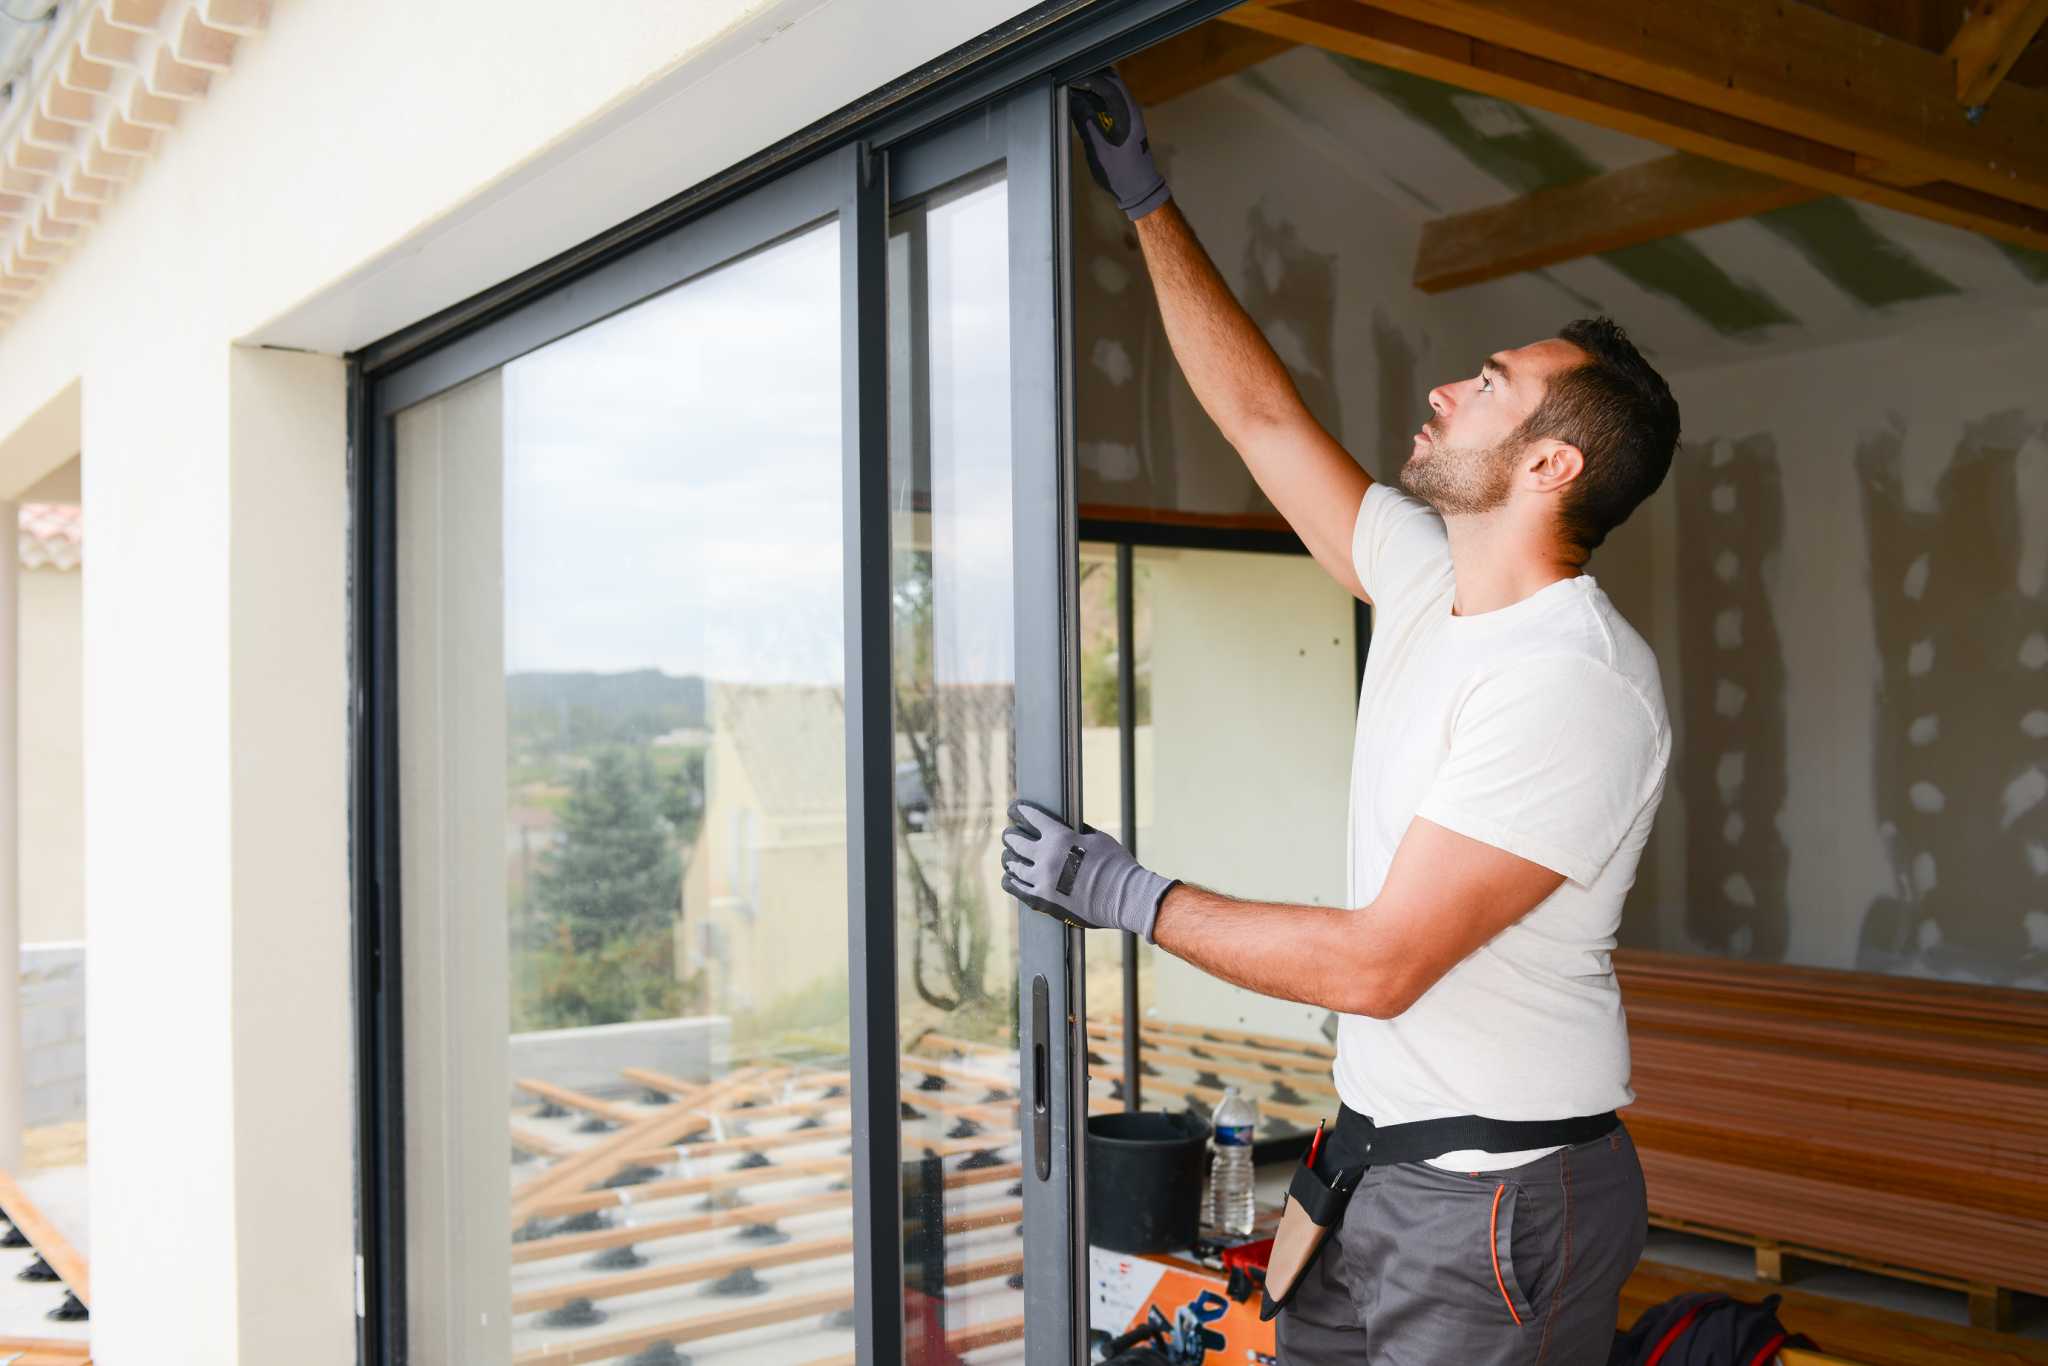
Step 2: Remove the Existing Door and Frame
Now that you have measured and prepared the opening, it’s time to remove the existing door and frame. Follow these steps to remove the old door and frame:
- Start by removing any screws or nails that are securing the door frame to the opening. Use a screwdriver or a pry bar to carefully remove them.
- Next, locate the screws or nails that are securing the door frame to the wall studs. These are typically located around the perimeter of the frame. Remove them using a screwdriver or a pry bar.
- Once the screws or nails are removed, you can begin to loosen the frame from the opening. Use a pry bar or a hammer to gently pry the frame away from the wall, starting at the top. Be careful not to damage the surrounding wall or trim.
- Continue prying the frame away from the wall, working your way down the sides and then the bottom. Take your time and use caution to avoid any accidents or damage.
- Once the frame is fully loosened, carefully remove it from the opening. You may need an extra set of hands to help with this step, as the frame can be heavy.
With the old door and frame successfully removed, take a moment to inspect the opening for any debris or obstructions. Clean out any dirt, dust, or leftover pieces from the old frame to ensure a clean and smooth installation.
Removing the existing door and frame is an important step in the installation process. It clears the way for the new Pella sliding patio door and ensures a proper fit. With this step complete, you can now move on to installing the flashing tape and sill pan in the next step.
Step 3: Install the Flashing Tape and Sill Pan
With the old door and frame removed, it’s time to proceed with the installation of the flashing tape and sill pan. These components are essential for preventing water infiltration and protecting the integrity of your Pella sliding patio door. Follow these steps to properly install the flashing tape and sill pan:
- Start by applying the flashing tape along the bottom of the opening. The flashing tape is designed to create a weatherproof barrier between the sill pan and the wall. Measure and cut the tape to fit the length of the opening, allowing for a slight overlap at each end.
- Peel off the backing of the flashing tape and carefully place it along the bottom of the opening, ensuring it adheres securely. Smooth out any air bubbles or wrinkles as you go, using a roller or your hands.
- Next, install the sill pan. The sill pan is a protective tray that sits beneath the door and helps collect and redirect any water that may seep through. Place the sill pan on top of the flashing tape, aligning it with the bottom of the opening.
- Ensure that the sill pan is level by using a level tool. Adjust as needed, adding shims underneath if necessary, to achieve a level surface.
- Secure the sill pan in place by fastening screws through the pre-drilled holes along the edges. Be sure to follow the manufacturer’s instructions regarding the recommended screw type and placement.
- Inspect the flashing tape and sill pan to ensure they are properly installed and securely in place. Check for any gaps or areas of potential water leakage, and make any necessary adjustments or repairs.
Installing the flashing tape and sill pan is a crucial step in preventing water damage and ensuring the longevity of your Pella sliding patio door. Taking the time to properly install these components will provide added protection and peace of mind. Once the flashing tape and sill pan are securely in place, you are ready to move on to the next step: inserting the door frame into the opening.
Read also: 8 Best Pella Sliding Door Lock For 2025
Step 4: Insert the Door Frame into the Opening
Now that the flashing tape and sill pan are in place, it’s time to insert the Pella sliding patio door frame into the opening. Follow these steps to properly insert the door frame:
- Position the door frame at the opening, ensuring that it is centered and aligned.
- Starting at the top, carefully tilt the door frame into the opening, making sure to keep it level throughout the process.
- Slowly lower the door frame into the opening, allowing the top of the frame to rest against the header of the opening.
- Ensure that the frame is sitting flush against the flashing tape and sill pan, creating a secure and watertight seal.
- Check the vertical and horizontal alignment of the frame using a level. Adjust as necessary by adding shims behind the frame to achieve a straight and level position.
- Once the frame is properly aligned, temporarily secure it in place by inserting screws through the pre-drilled holes in the frame. These screws will hold the frame in position while you continue with the installation process.
As you insert the door frame, be cautious not to damage the flashing tape or sill pan. Take your time and ensure that the frame is properly seated and secured before proceeding.
With the door frame inserted and temporarily secured, you are ready to move on to the next step: squaring and leveling the door frame.
Step 5: Square and Level the Door Frame
After inserting the Pella sliding patio door frame into the opening, the next step is to square and level it. This ensures that the frame is properly aligned and prevents any issues with the door’s operation. Follow these steps to square and level the door frame:
- Using a tape measure, measure the diagonals of the door frame. The measurements should be equal if the frame is square. If they are not equal, adjust the frame until the measurements match.
- Check the vertical alignment of the frame using a level. Place the level on the sides of the frame to ensure that it is plumb (perfectly vertical). Adjust as necessary by adding or removing shims behind the frame.
- Check the horizontal alignment of the frame using a level. Place the level on the top and bottom of the frame to ensure that it is level. Adjust as necessary by adding or removing shims beneath the frame.
- Continue to recheck the squareness and levelness of the frame until it is perfectly aligned. This may require multiple adjustments and measurements.
Properly squaring and leveling the door frame is crucial for the smooth operation of the sliding patio door. It ensures that the door functions properly and avoids any issues with its opening and closing mechanisms.
Once the frame is square and level, you can move on to the next step: securing the door frame to the opening.
When installing a Pella sliding patio door, make sure to carefully follow the manufacturer’s instructions and use the recommended tools for a proper and secure installation.
Step 6: Secure the Door Frame to the Opening
With the Pella sliding patio door frame squared and leveled, the next step is to secure it to the opening. This step ensures the stability and proper functioning of the door. Follow these steps to securely fasten the door frame:
- Starting at the top, drive screws through the pre-drilled holes in the frame into the wall studs. Ensure that the screws are long enough to penetrate the studs and securely anchor the frame.
- Continue driving screws down the sides and bottom of the frame, spacing them evenly. Make sure to follow any guidelines provided by the manufacturer regarding the number and placement of screws.
- Check the alignment of the frame again after securing it. Ensure that it is still plumb and level. Make any necessary adjustments by adding or removing shims.
- As you secure the screws, be careful not to overtighten them, as this could cause damage to the frame or the wall. Tighten them just enough to provide a secure fit.
Securing the door frame to the opening is an essential step to ensure the stability and longevity of the Pella sliding patio door. Properly anchored, the frame will withstand the daily use and maintain its structural integrity.
Once the frame is securely fastened, you can move on to the next step: installing the weatherstripping and insulation.
Step 7: Install the Weatherstripping and Insulation
Installing weatherstripping and insulation is an important step in making your Pella sliding patio door energy-efficient and weather-resistant. Follow these steps to install the weatherstripping and insulation:
- Begin by applying adhesive-backed weatherstripping along the top and sides of the door frame. This will create a seal between the frame and the door, preventing drafts and moisture infiltration.
- Measure and cut the weatherstripping to fit the length of the frame, ensuring a snug and secure fit. Press the weatherstripping firmly into place, using a roller or your hands to ensure proper adherence.
- Next, apply insulation around the perimeter of the door frame. This helps to insulate against temperature transfer and provides additional soundproofing.
- Cut the insulation to the appropriate length and width, and press it into the gaps between the door frame and the wall. Make sure to fill any voids completely for maximum insulation effectiveness.
- Inspect the weatherstripping and insulation to ensure they are properly installed and provide a tight seal. Make any adjustments or additions as needed to eliminate any gaps or areas of potential air or moisture penetration.
Installing weatherstripping and insulation not only enhances the energy efficiency of your Pella sliding patio door, but also improves its overall performance and comfort. It helps to keep out drafts, prevent heat loss/gain, and reduce outdoor noise infiltration.
Once the weatherstripping and insulation are installed, you can move on to the next step: installing the operating panel and glass.
Read more: How To Buy A Sliding Patio Door
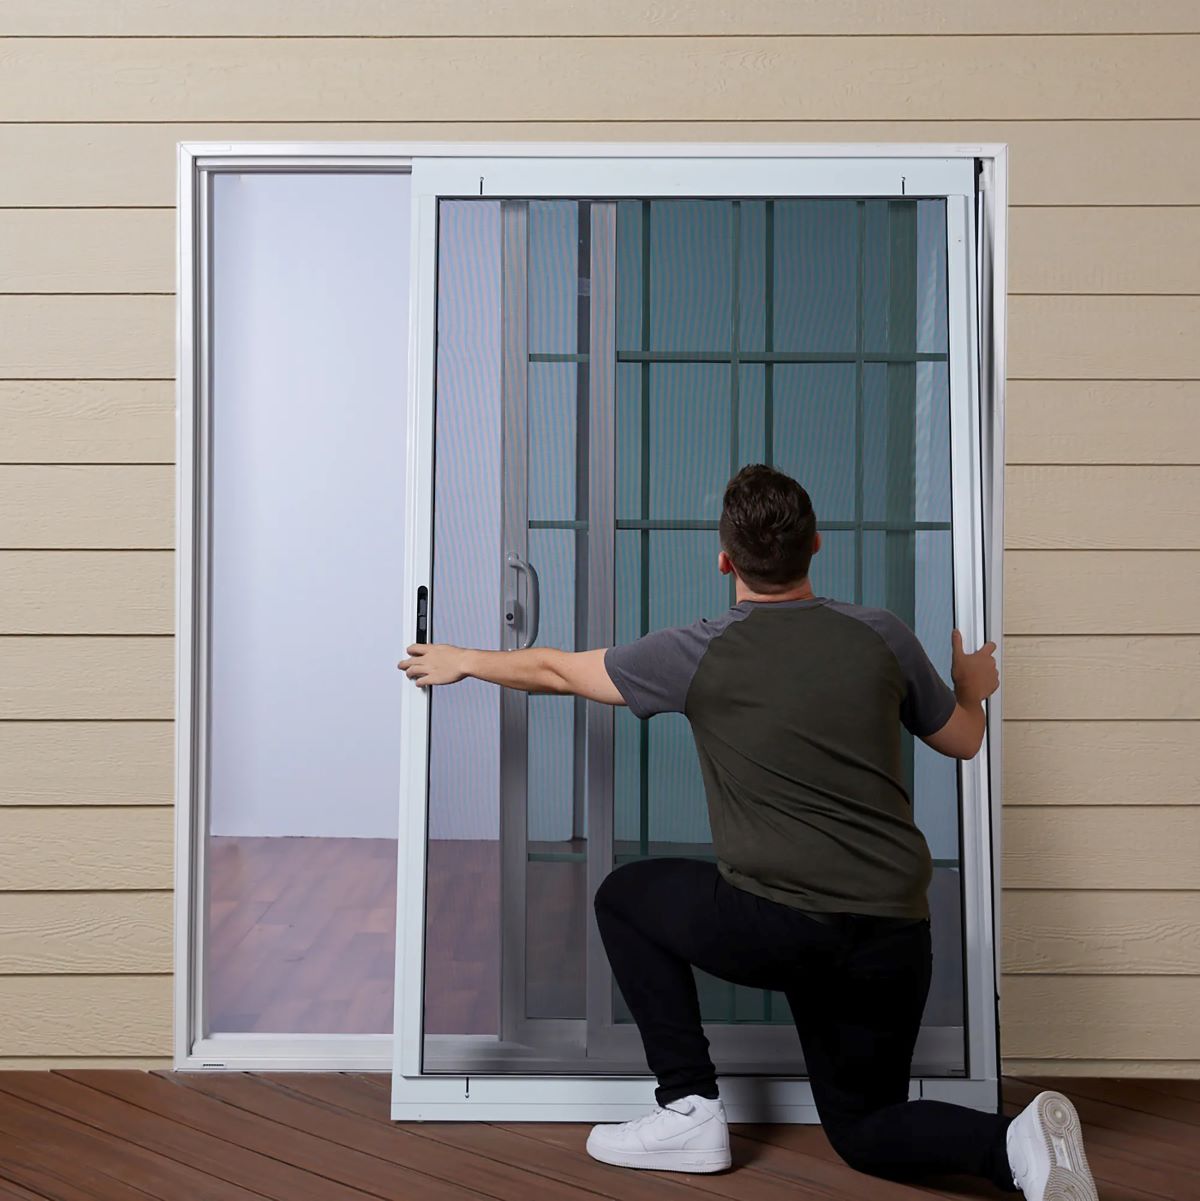
Step 8: Install the Operating Panel and Glass
Now that the weatherstripping and insulation are in place, it’s time to install the operating panel and glass of your Pella sliding patio door. Follow these steps to properly install the operating panel and glass:
- Begin by placing the operating panel into the door frame. Make sure it is oriented correctly and aligns with the designated tracks.
- Gently slide the operating panel into the frame, ensuring that it glides smoothly and securely fits into place. Refer to the manufacturer’s instructions for any specific guidelines on how to properly insert the panel.
- Next, insert the glass into the panel. This may require lifting the glass and placing it onto the designated ledge or track within the panel. Again, consult the manufacturer’s instructions for any specific guidelines on glass installation.
- Ensure that the glass is seated properly and snug within the panel. It should fit securely without any gaps or wobbling.
- If the operating panel has any locking mechanisms or handles, follow the manufacturer’s instructions to properly install and secure them.
- Test the functionality of the operating panel by sliding it open and closed. Ensure that it moves smoothly and locks securely.
Installing the operating panel and glass completes the functional aspect of your Pella sliding patio door. It allows for easy access, ventilation, and natural light while providing security and protection.
With the operating panel and glass properly installed and functioning, you can move on to the next step: testing and adjusting the door.
Step 9: Test and Adjust the Door
After installing the operating panel and glass of your Pella sliding patio door, it’s important to thoroughly test its functionality and make any necessary adjustments. Follow these steps to test and adjust the door:
- Begin by testing the sliding motion of the door. Open and close it several times to ensure smooth and effortless operation. Pay attention to any resistance, sticking, or uneven movement.
- If you encounter any issues, such as the door not sliding smoothly or binding, it may require adjustment. Start by checking the alignment of the door within the frame.
- Inspect the tracks and rollers for any debris or obstructions. Clean them out if necessary to allow for smooth movement.
- Adjust the height of the door by using the provided adjustment screws or mechanisms in the lower track. This will help ensure proper alignment and smooth sliding motion.
- Check the weatherstripping for any gaps or loose areas that may interfere with the door’s seal. Replace or tighten the weatherstripping if needed.
- Test the locking mechanism to ensure it engages properly and securely. Adjust the strike plate and latch if necessary to ensure a tight fit.
Testing and adjusting the door is an essential step to ensure its proper functionality and performance. By addressing any issues or misalignments, you can ensure smooth operation and optimal security.
Once you have thoroughly tested and adjusted the door, you can proceed to the final step: caulking and sealing the door frame.
Step 10: Caulk and Seal the Door Frame
The final step in the installation process of your Pella sliding patio door is to caulk and seal the door frame. This step helps to prevent air and water infiltration, creating a secure and energy-efficient seal. Follow these steps to properly caulk and seal the door frame:
- Begin by inspecting the door frame for any gaps or spaces between the frame and the wall. These areas may allow for air or water penetration and need to be sealed.
- Using a caulking gun, apply a continuous bead of silicone sealant along the exterior edge of the frame where it meets the wall. Ensure that the sealant fully fills the gaps and covers any exposed areas.
- Smooth out the sealant with a caulking tool or your finger to create a clean and even seal. This prevents any potential water pooling or air leakage.
- Repeat the same caulking process along the interior edge of the frame for added protection and insulation.
- Allow the sealant to fully cure according to the manufacturer’s instructions. This typically takes a few hours, but the exact timeframe may vary.
- After the sealant has cured, inspect the caulking for any missed spots or areas that require touch-ups. Apply additional sealant as necessary.
- Wipe away any excess sealant or smudges using a damp cloth or sponge.
Caulking and sealing the door frame is an important step in completing the installation of your Pella sliding patio door. It ensures a watertight and airtight seal, reducing energy loss and enhancing the overall performance of the door.
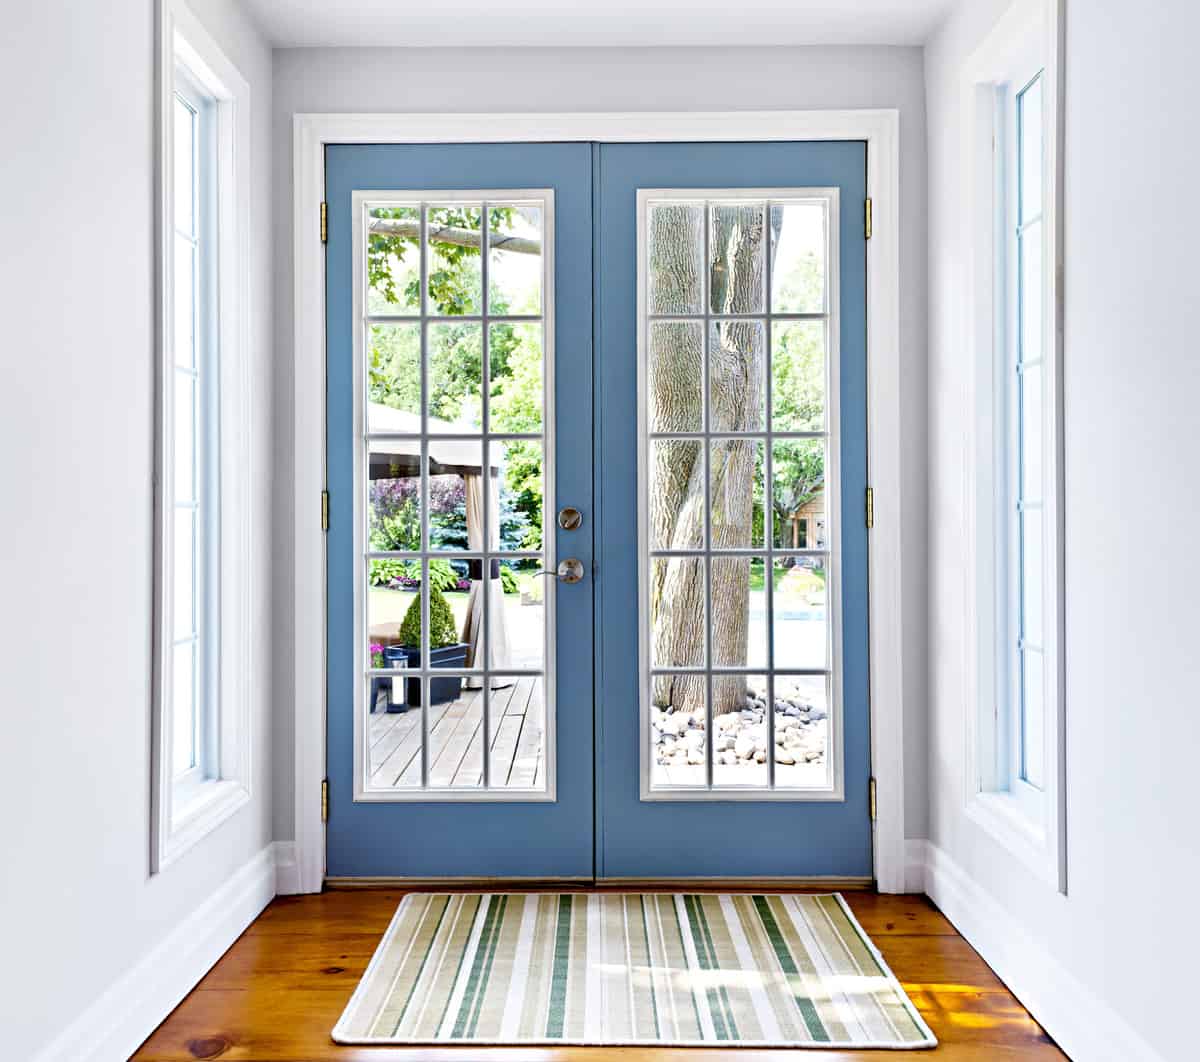
With the door frame properly caulked and sealed, your Pella sliding patio door installation is now complete. Take a step back and admire your newly installed door, ready to provide functionality, style, and comfort to your outdoor space.
Conclusion
Congratulations! You have successfully completed the installation of your Pella sliding patio door. By following the step-by-step guide and using the right tools and materials, you have transformed your outdoor space with a beautiful and functional door.
Installing a Pella sliding patio door not only enhances the aesthetic appeal of your outdoor area but also improves its functionality and energy efficiency. With a properly installed door, you can enjoy seamless access to your patio, increased natural light, and improved ventilation.
Throughout the installation process, you have learned about measuring and preparing the opening, removing the existing door and frame, installing the flashing tape and sill pan, inserting the door frame, and securing it to the opening. You have also discovered how to install weatherstripping, insulation, the operating panel, and glass. Testing and adjusting the door’s functionality and properly caulking and sealing the door frame were the final steps to ensure optimal performance and protection.
As you enjoy your new Pella sliding patio door, don’t forget to maintain it properly. Regular cleaning and inspection will help preserve its appearance and functionality for years to come. Follow the manufacturer’s guidelines for maintenance, and address any issues promptly to extend the lifespan of your door.
Now, it’s time to sit back, relax, and fully enjoy your transformed outdoor space. Whether you’re hosting gatherings, having a quiet moment of relaxation, or simply enjoying the view, your Pella sliding patio door adds a touch of elegance and functionality to your outdoor living experience.
Thank you for choosing Pella and for investing in quality outdoor furniture. We hope this installation guide has provided valuable insights and made the process enjoyable and rewarding. Here’s to creating countless memories in your outdoor oasis!
Frequently Asked Questions about How To Install A Pella Sliding Patio Door
Was this page helpful?
At Storables.com, we guarantee accurate and reliable information. Our content, validated by Expert Board Contributors, is crafted following stringent Editorial Policies. We're committed to providing you with well-researched, expert-backed insights for all your informational needs.


0 thoughts on “How To Install A Pella Sliding Patio Door”