Home>Furniture>Outdoor Furniture>How To Adjust An Andersen Sliding Patio Door
Outdoor Furniture
How To Adjust An Andersen Sliding Patio Door
Modified: September 1, 2024
Learn how to easily adjust an Andersen sliding patio door for smooth operation. Improve the functionality of your outdoor furniture with these simple steps.
(Many of the links in this article redirect to a specific reviewed product. Your purchase of these products through affiliate links helps to generate commission for Storables.com, at no extra cost. Learn more)
Introduction
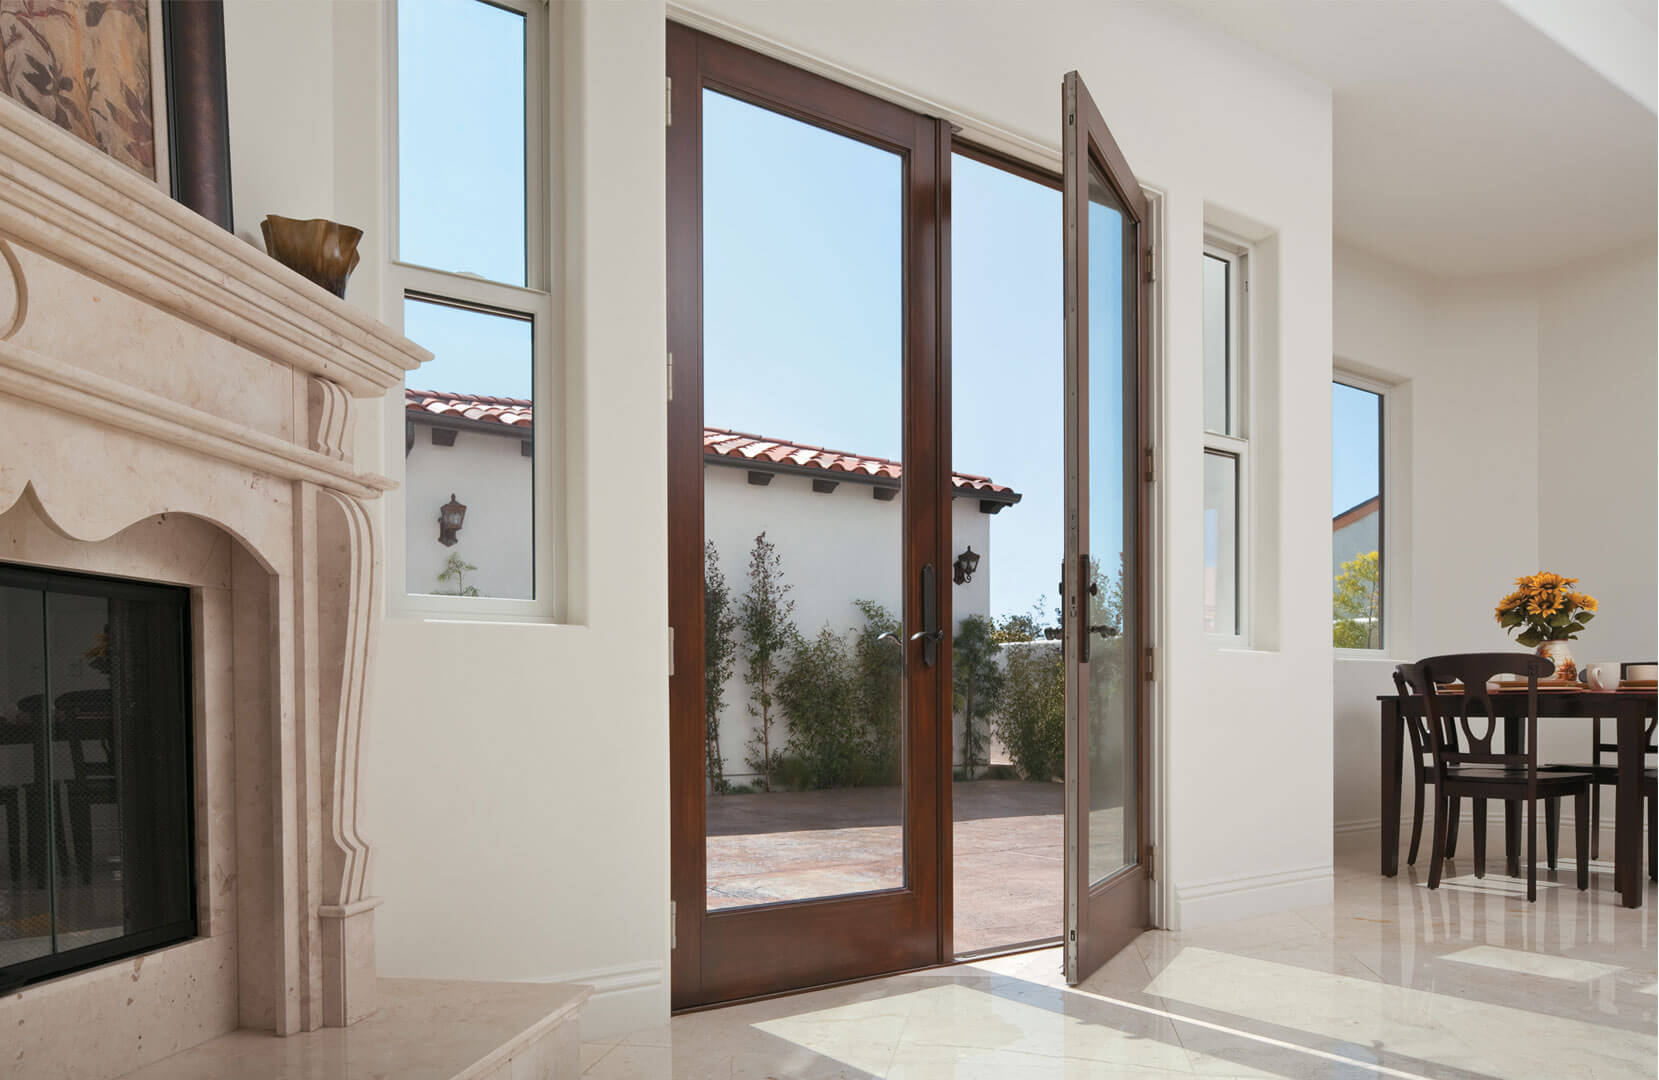
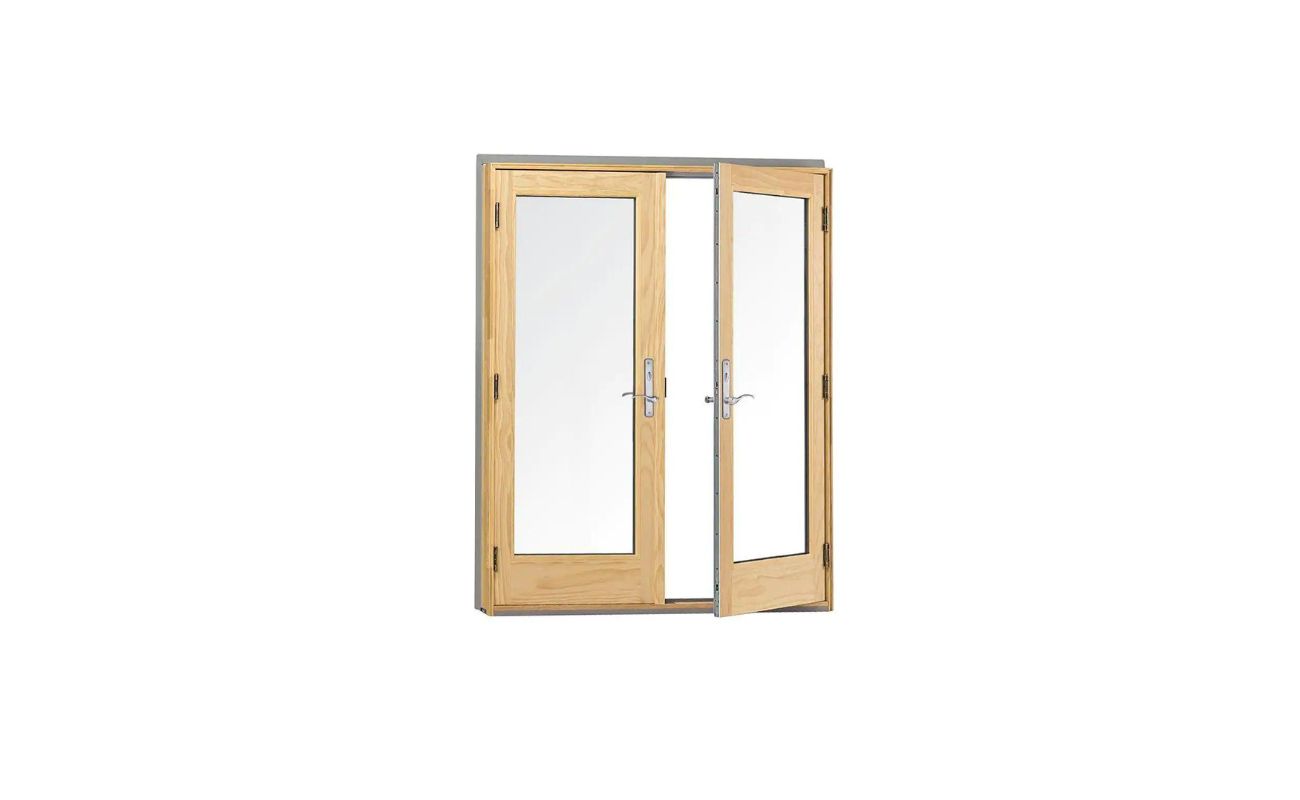
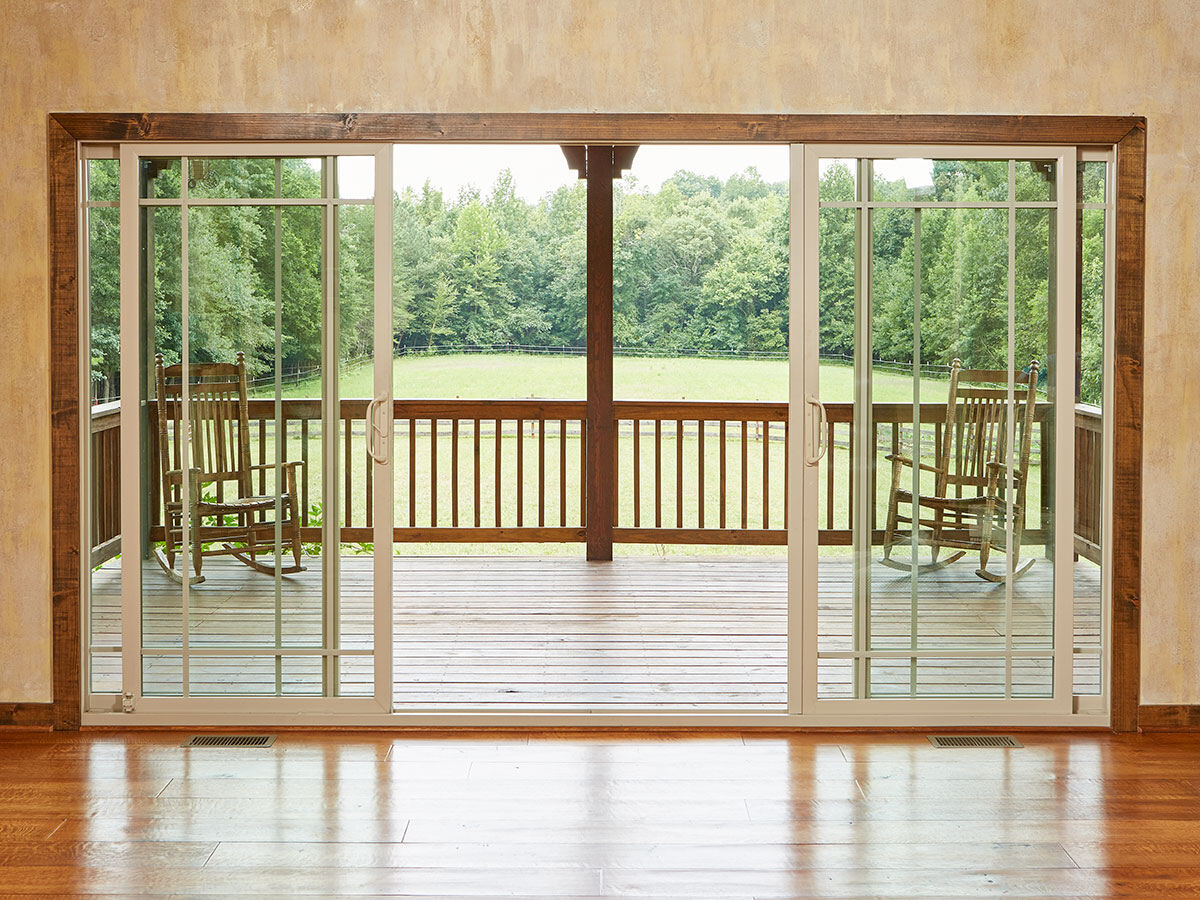
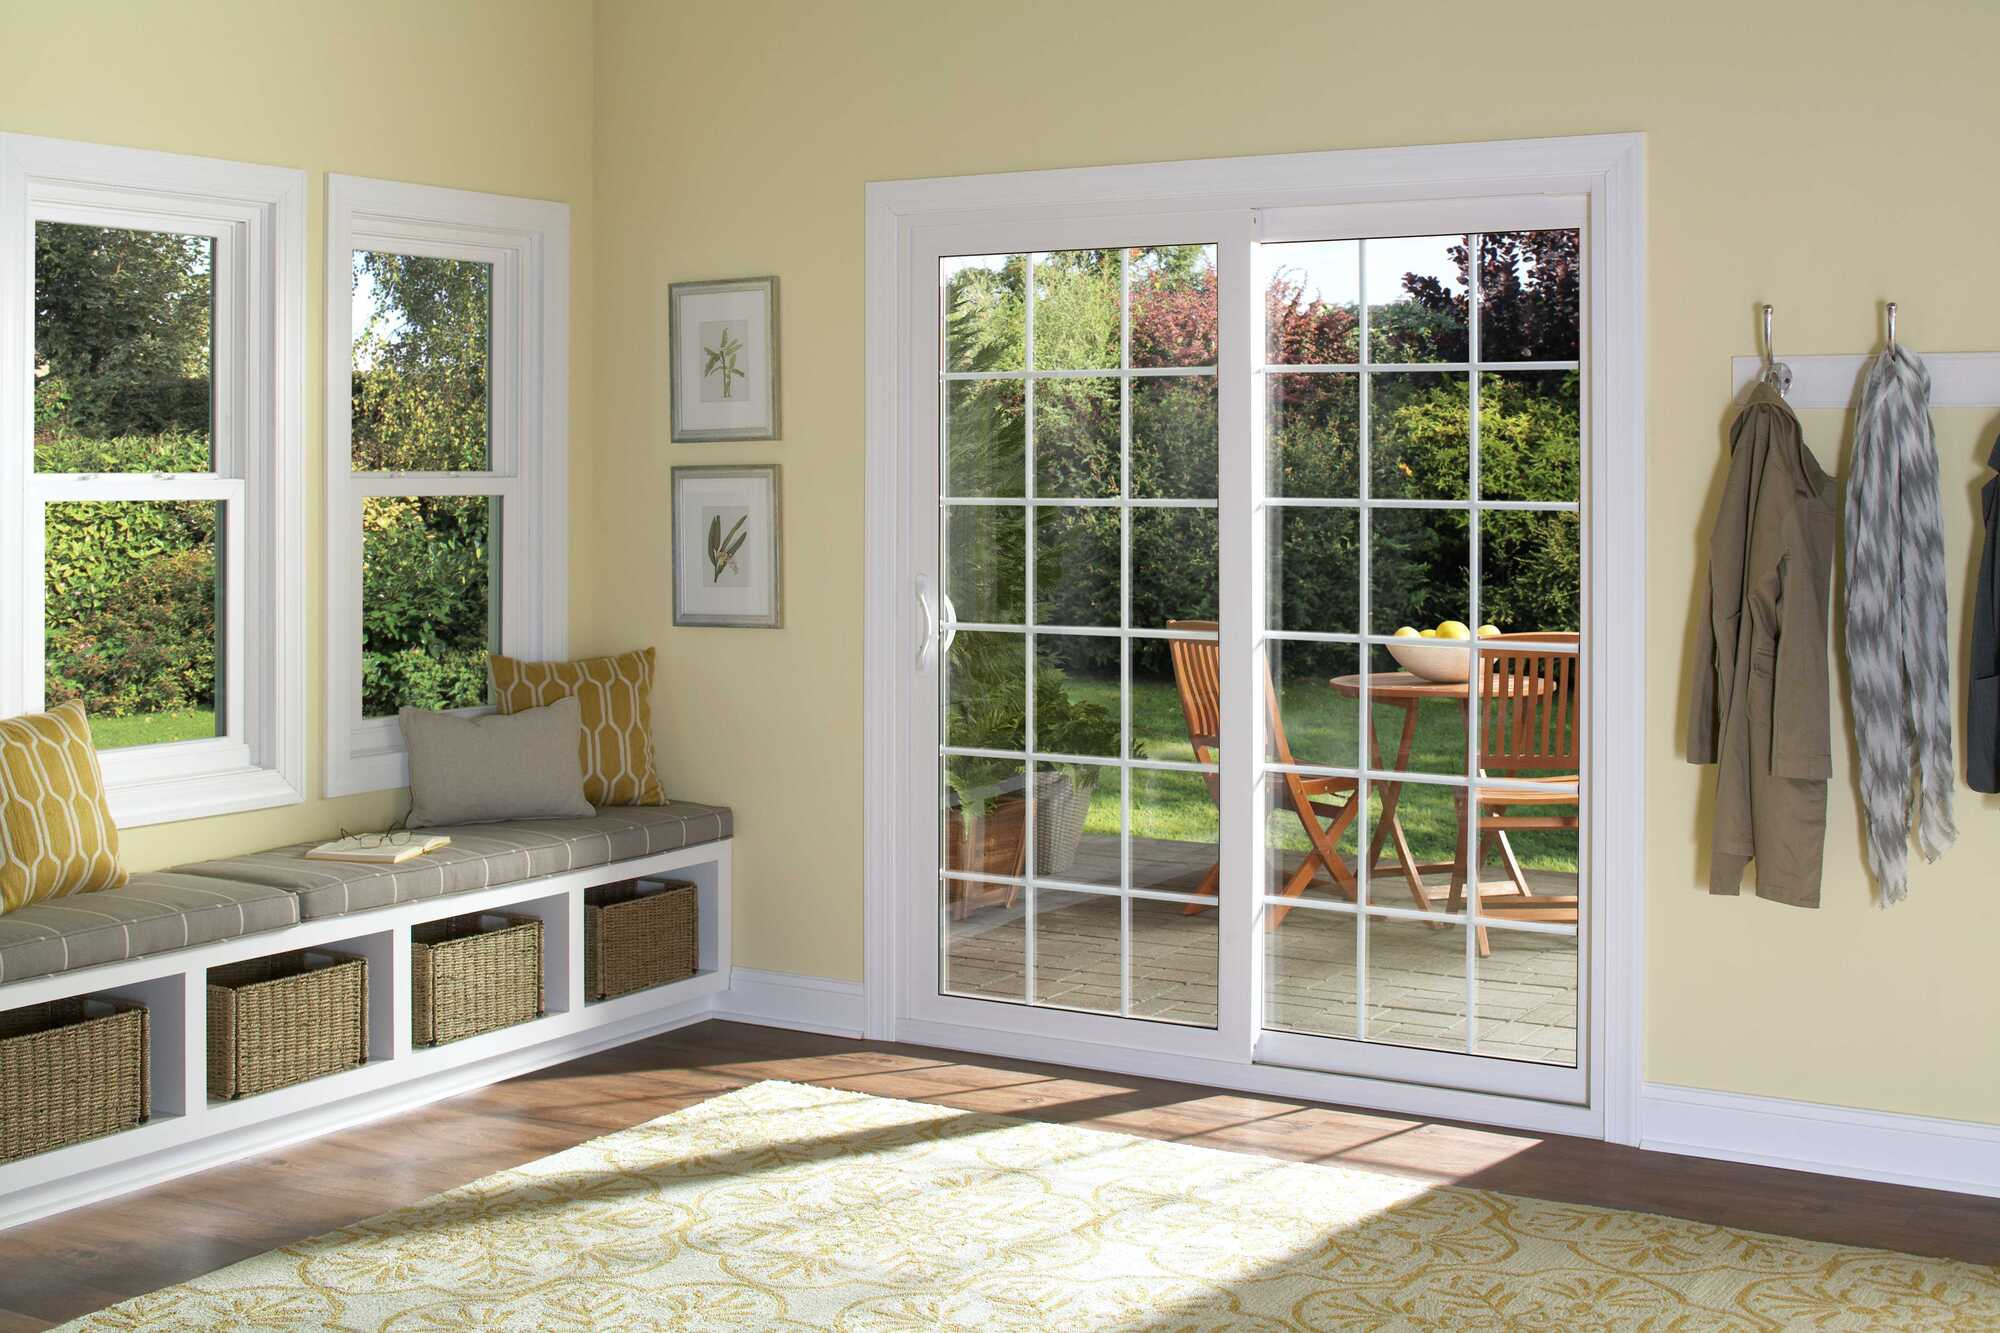
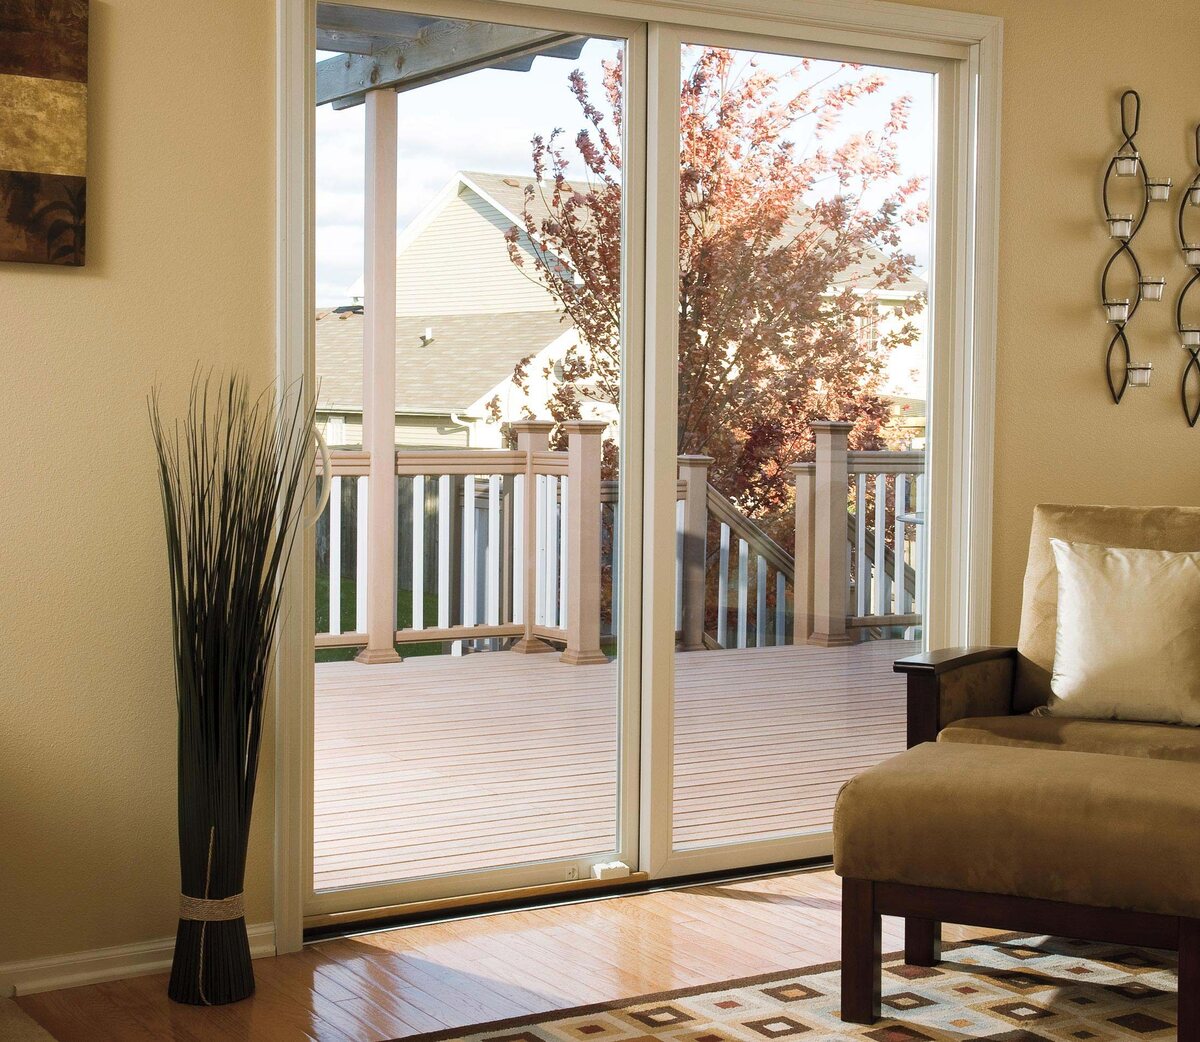
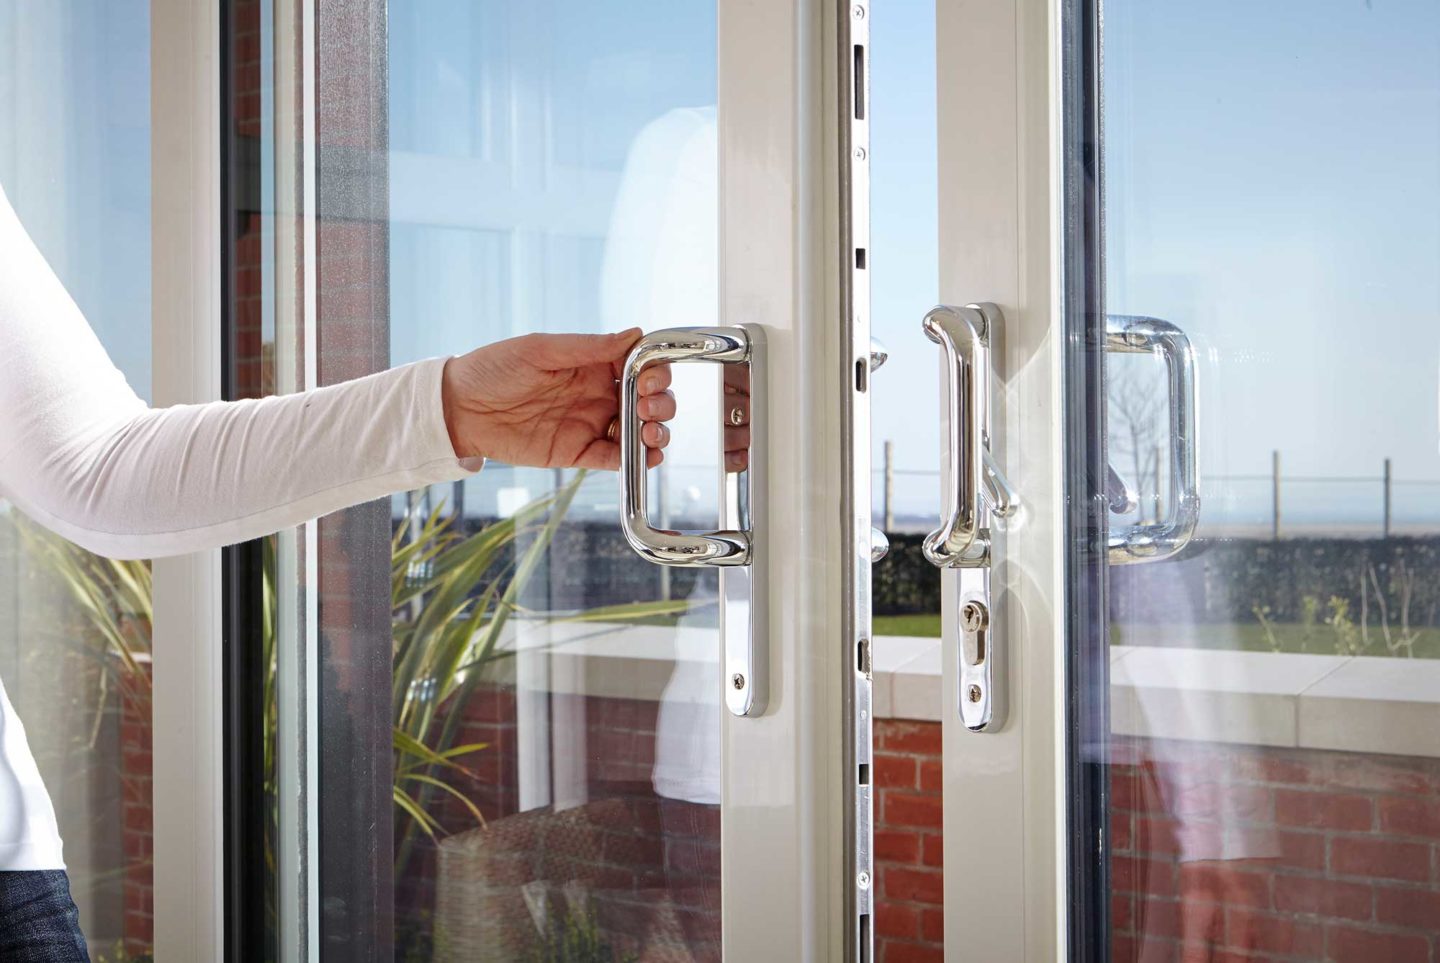
When it comes to outdoor living spaces, a patio is one of the most valuable additions to any home. It provides the perfect spot for gathering with friends and family, relaxing in the fresh air, and enjoying the beauty of nature. To enhance the functionality and aesthetics of your patio, investing in a high-quality sliding patio door is essential. Andersen sliding patio doors are known for their durability, ease of use, and sleek design.
However, over time, even the best doors may require adjustments to ensure smooth operation and a proper seal. Whether your Andersen sliding patio door is sticking, not closing properly, or allowing drafts to enter your home, it may be time to adjust it. In this article, we will guide you through the process of adjusting an Andersen sliding patio door to restore its functionality and efficiency.
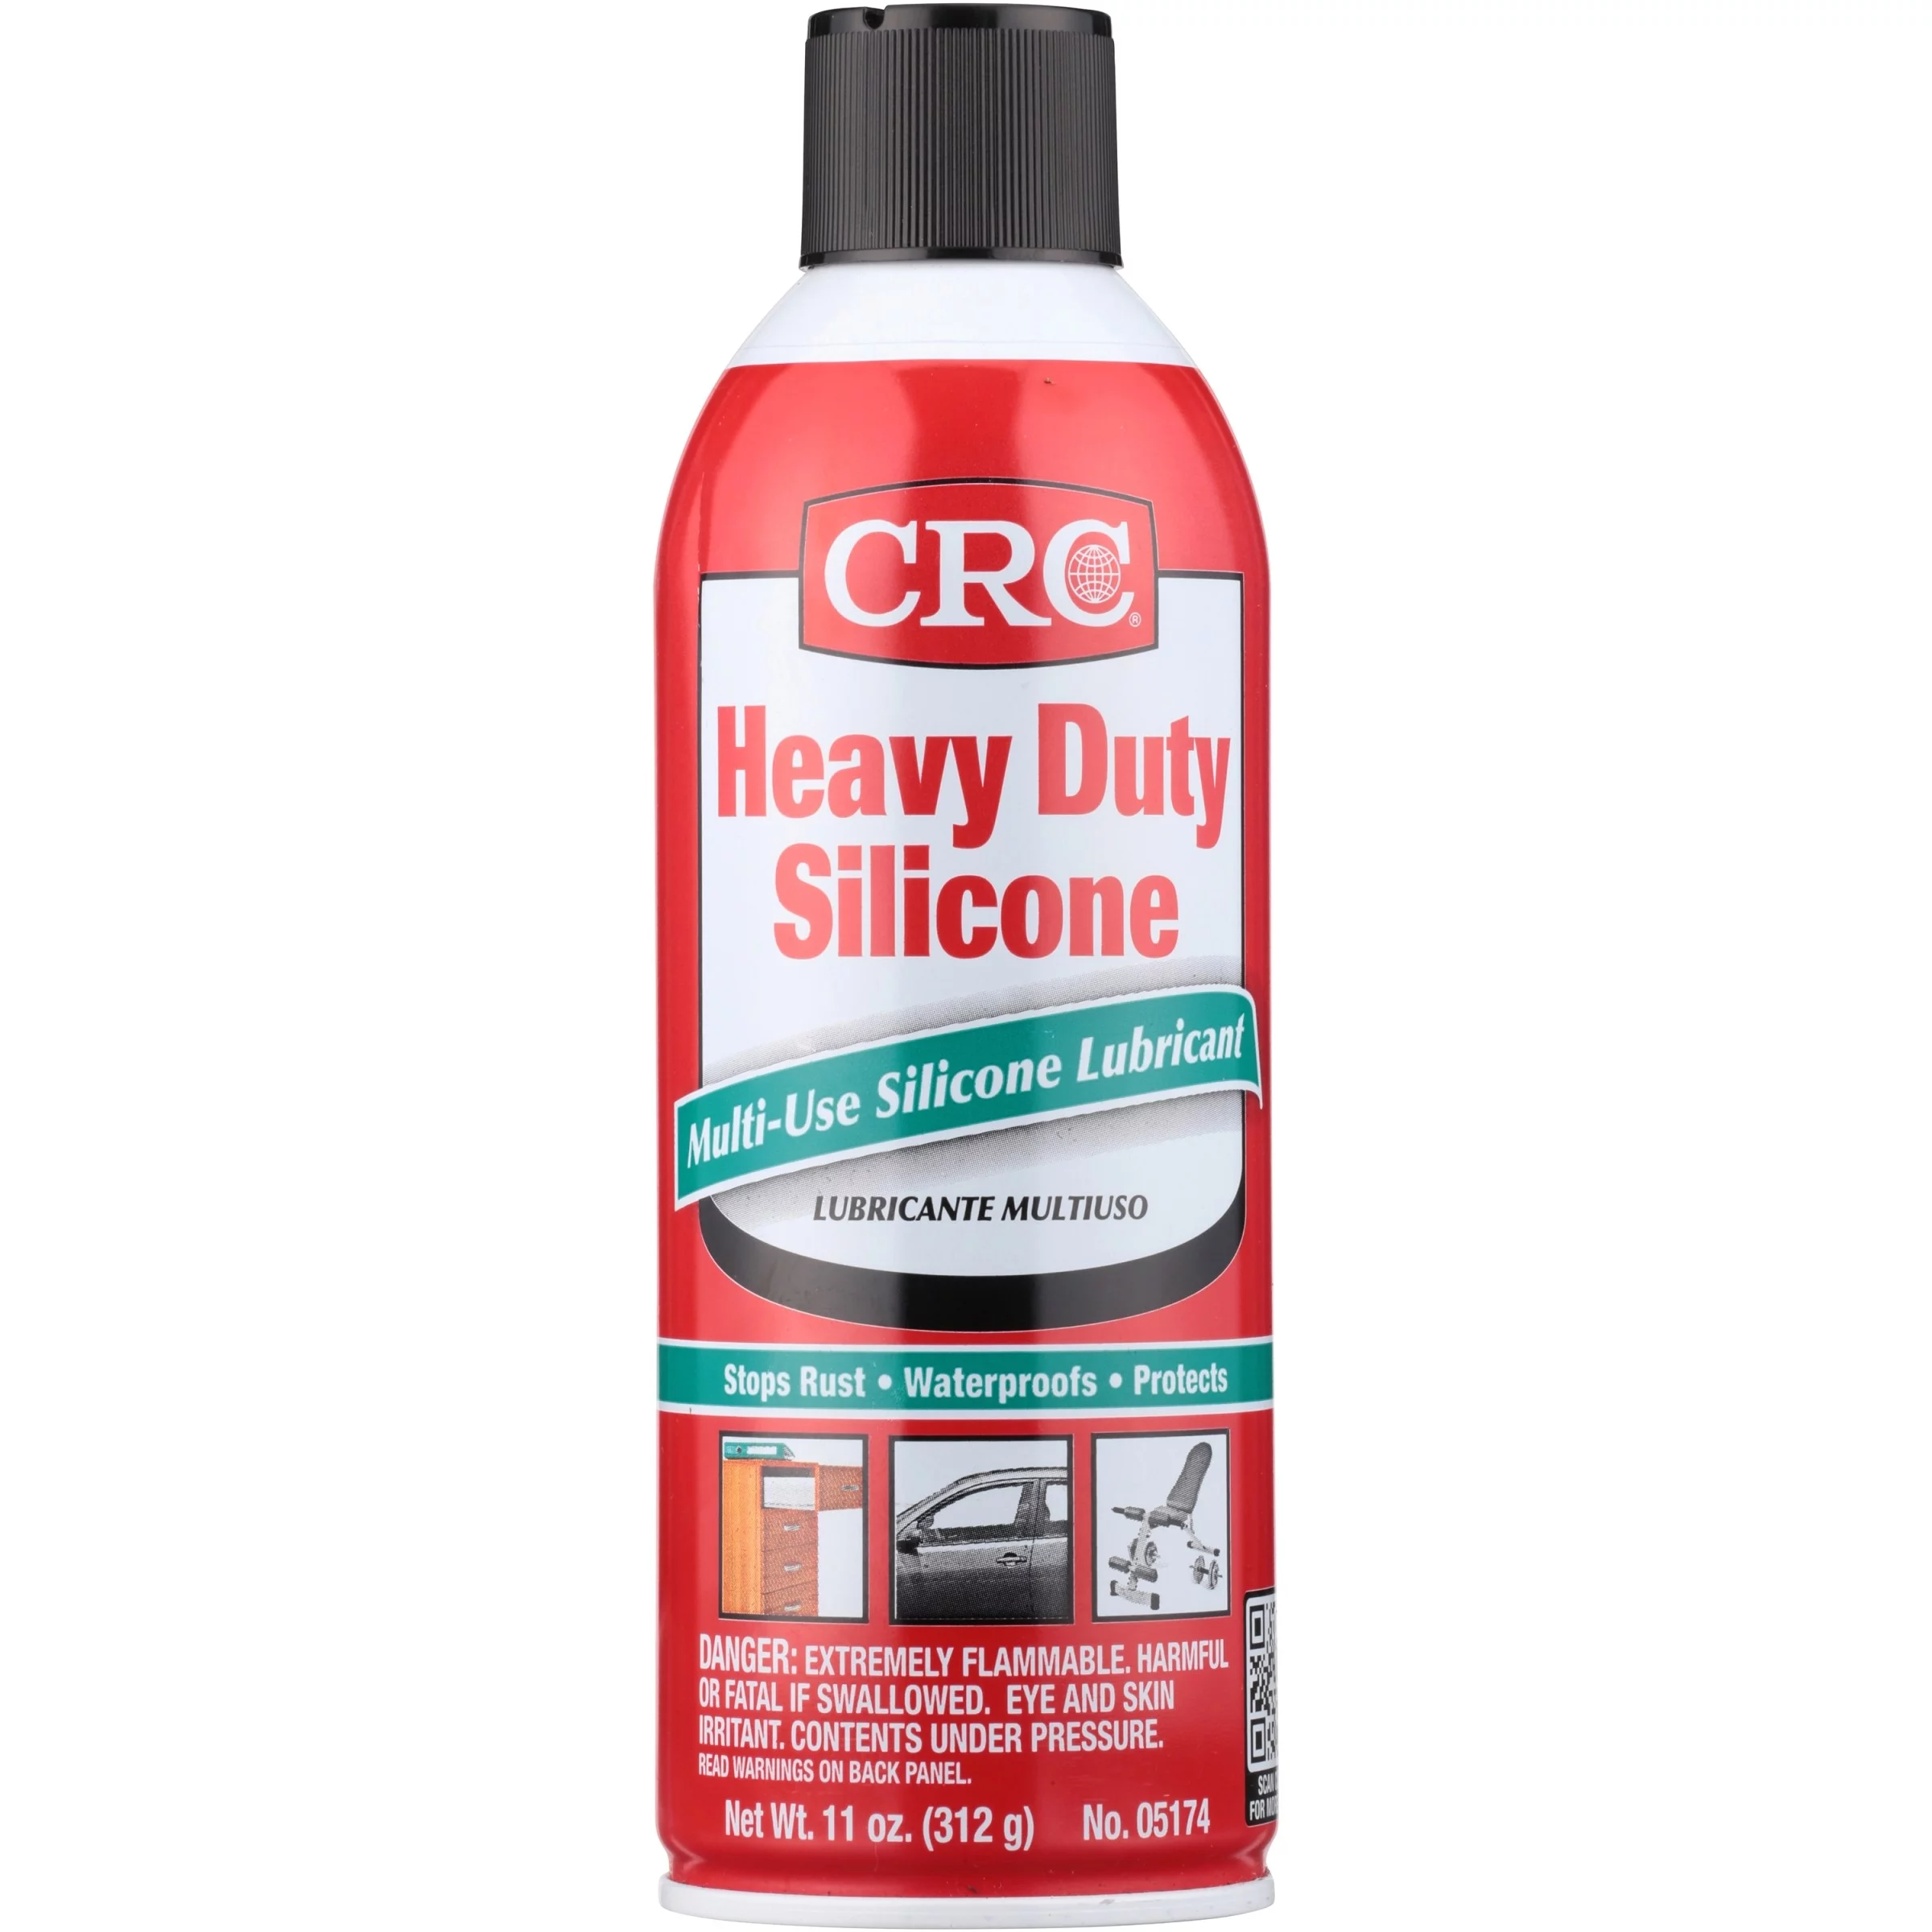
To successfully adjust your Andersen sliding patio door, you will need a few tools and materials. These include a screwdriver, pliers, a tape measure, a level, and a lubricant. Make sure to gather these items before starting the adjustment process to avoid any delays or interruptions.
Before you begin adjusting the door, it’s essential to prepare it properly. Begin by thoroughly cleaning the tracks and removing any dirt or debris that may be hindering the door’s movement. This step will ensure that you can make accurate adjustments without any obstructions.
Once the door is clean and ready, start by adjusting the height of the door. This can be done by adjusting the screws on the door’s bottom bracket. By turning the screws clockwise, you can raise the door, and by turning them counterclockwise, you can lower it. Use a level to ensure that the door is perfectly vertical and adjust as needed.
Key Takeaways:
- Keep your Andersen sliding patio door in top condition by gathering the right tools and preparing the door for adjustments. Regular maintenance ensures smooth operation and a secure seal, enhancing your outdoor space.
- Adjusting the height, roller tension, and weatherstripping of your Andersen sliding patio door can restore its functionality and efficiency. Test the door and make final adjustments for optimal performance and enjoyment.
Read more: How To Adjust Sliding Door Lock
Step 1: Gather the necessary tools and materials
Before you can begin adjusting your Andersen sliding patio door, it is important to gather all the necessary tools and materials. Having these items on hand will ensure a smooth and efficient adjustment process. Here are the tools and materials you will need:
- Screwdriver: You will need a screwdriver to loosen or tighten screws during the adjustment process. Make sure to have both a Phillips-head and a flat-head screwdriver to accommodate different types of screws.
- Pliers: Pliers will come in handy for gripping and turning certain components on the door that may require adjustment.
- Tape measure: A tape measure will help you take precise measurements to ensure accurate adjustments.
- Level: A level is essential for checking the vertical alignment of the door. This will ensure that the door is properly adjusted and functions smoothly.
- Lubricant: Having a lubricant, such as silicone spray or a dry lubricant, will help reduce friction and ensure that the door slides easily along the tracks.
By having these tools and materials ready, you will be well-equipped to tackle any adjustments needed for your Andersen sliding patio door. It is important to note that the specific tools required may vary depending on your door model and the adjustments needed.
Once you have gathered all the necessary tools and materials, make sure to have them easily accessible throughout the adjustment process. This will prevent any delays or interruptions and allow you to work efficiently.
Now that you have all the tools and materials ready, you can move on to preparing the door for adjustment. Clean the tracks, remove any debris, and ensure that the door is in a stable and secure position. This will provide a solid foundation for the adjustments that will follow.
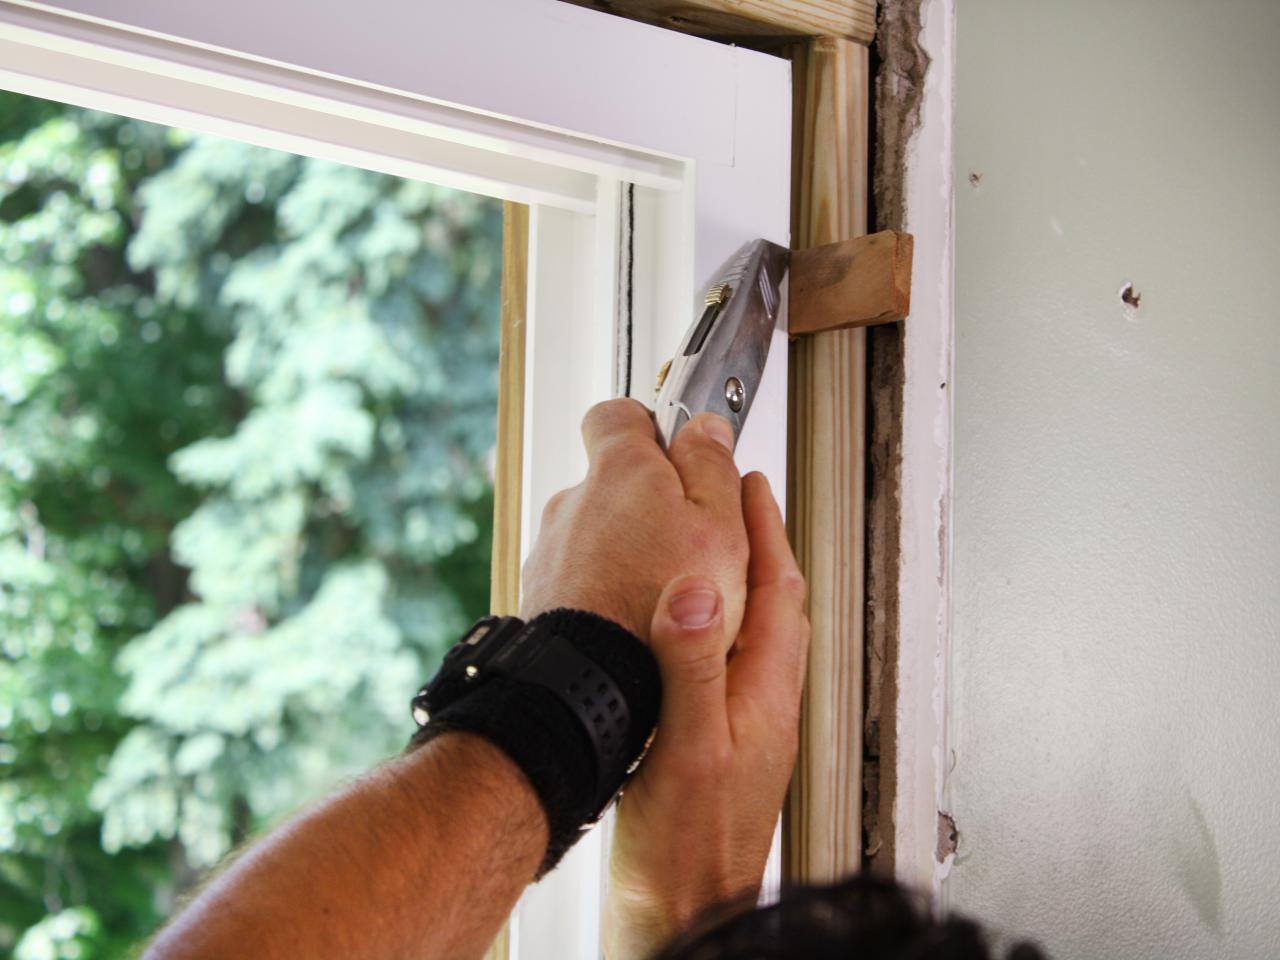
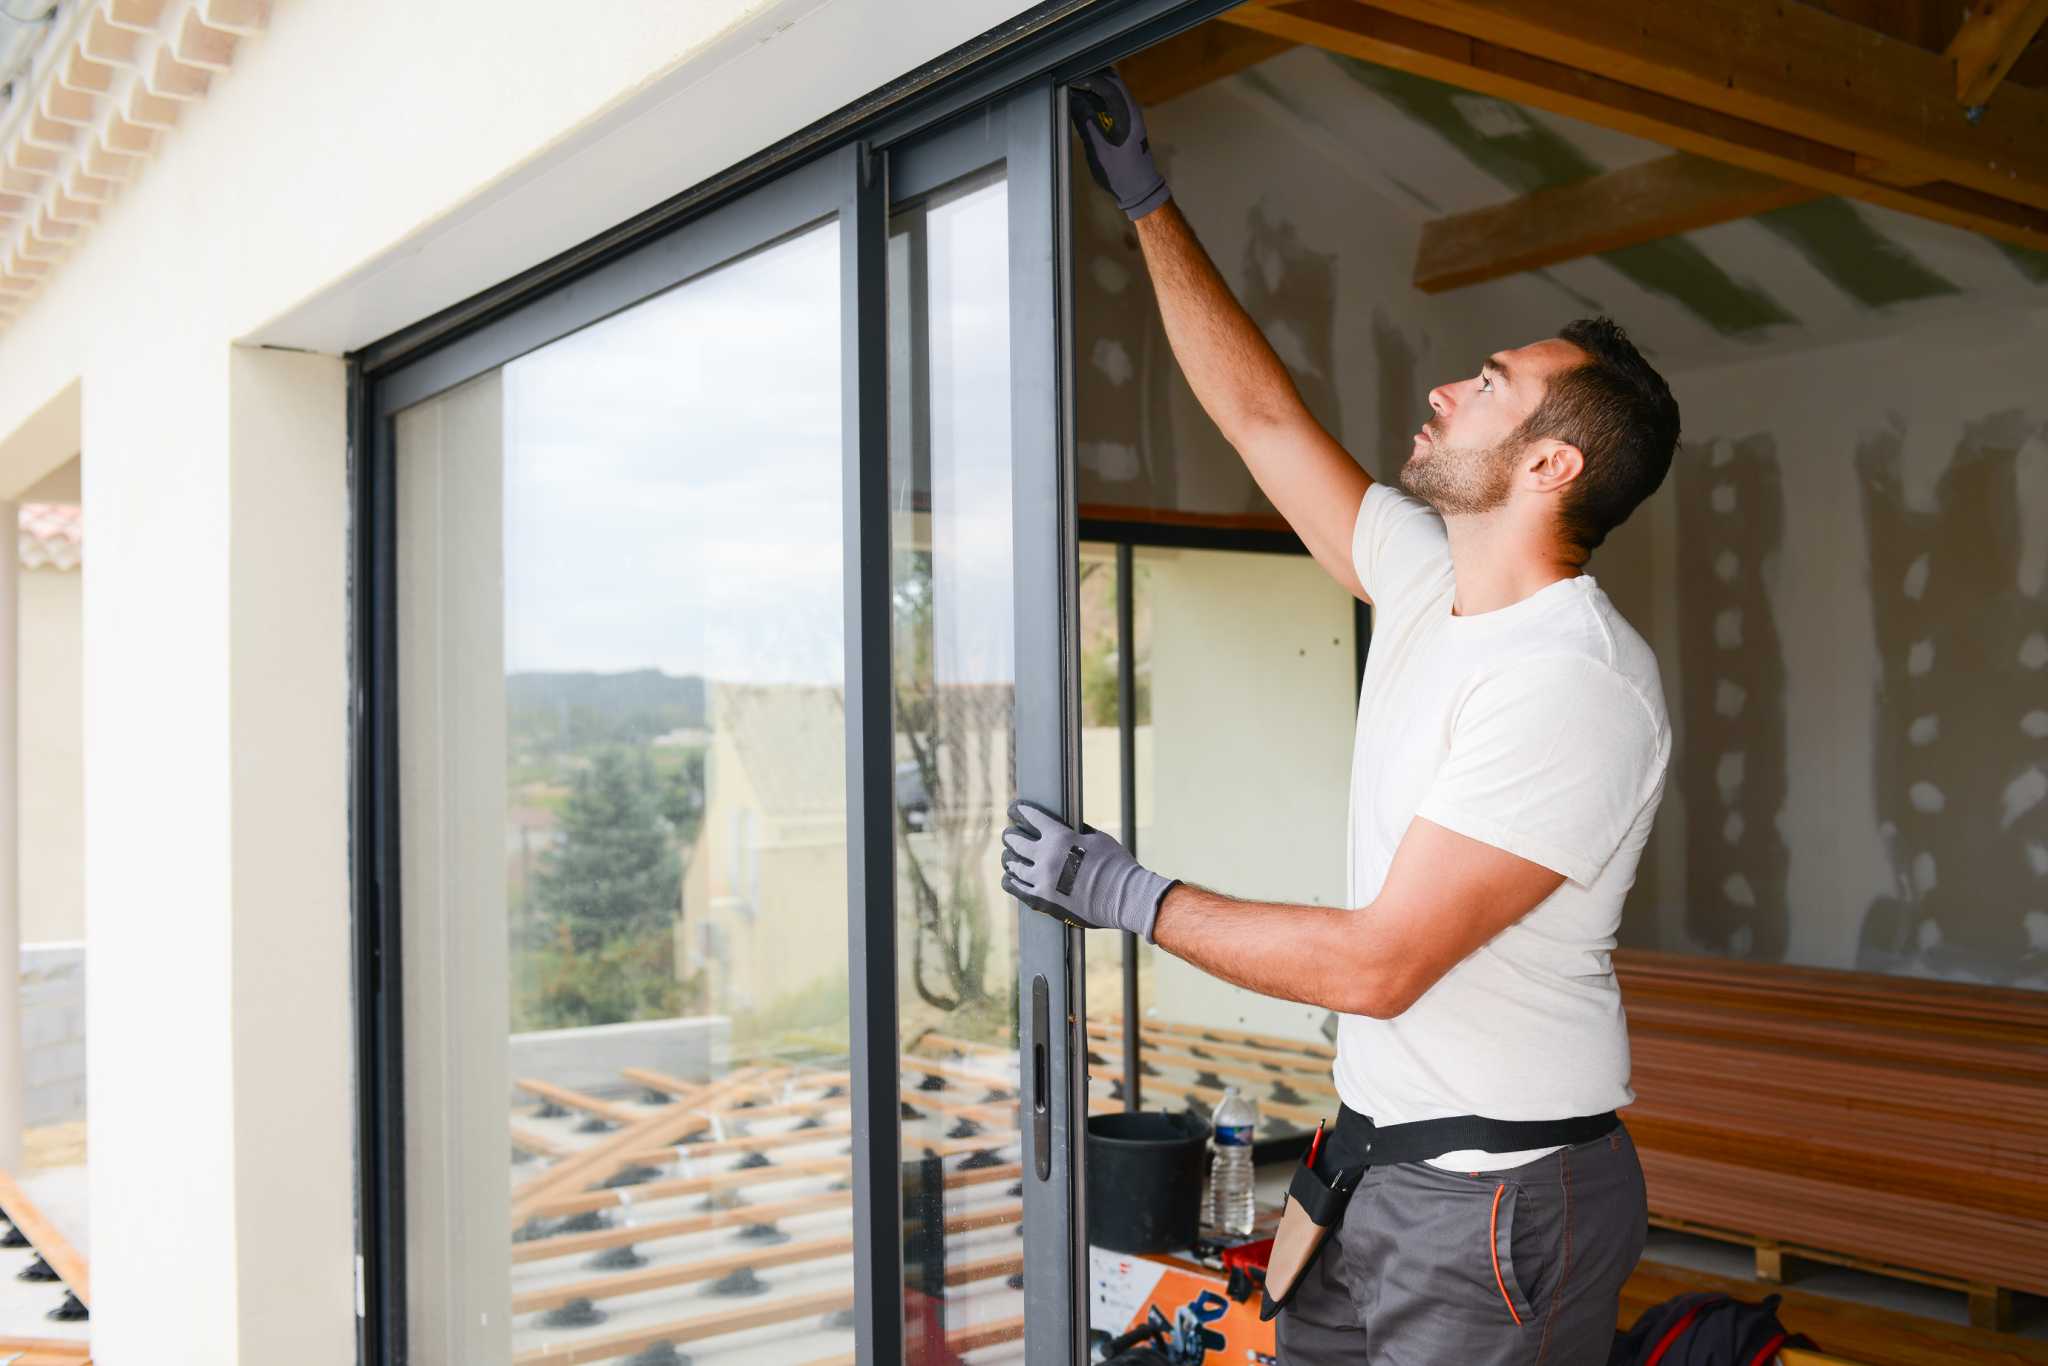
Step 2: Prepare the door for adjustment
Before you can begin adjusting your Andersen sliding patio door, it is important to prepare the door for the adjustment process. Taking the time to properly prepare the door will ensure that you can make accurate adjustments and achieve the desired results. Here are the steps to prepare your door for adjustment:
- Clean the tracks: Use a soft brush or cloth to remove any dirt, debris, or build-up from the tracks. This will help the door slide smoothly and prevent any obstructions during the adjustment process.
- Inspect the rollers: Take a close look at the rollers located on the bottom of the door. Ensure that they are in good condition, free from damage, and properly aligned. If any rollers are damaged or misaligned, they may need to be replaced before proceeding with adjustments.
- Check the track alignment: Examine the tracks on both the door frame and the floor to ensure they are aligned properly. Misaligned tracks can cause the door to stick or not close properly. If you notice any misalignment, use a screwdriver or pliers to adjust the track position and ensure a smooth sliding motion.
- Secure the door: Ensure that the door is securely closed and in a stable position to prevent any accidents or injuries during the adjustment process. You may want to use a doorstop or have someone hold the door steady while you make adjustments.
Taking the time to properly prepare your Andersen sliding patio door for adjustment will set the stage for a successful adjustment process. By cleaning the tracks, inspecting rollers, checking track alignment, and securing the door, you will create an optimal environment for making accurate adjustments and achieving the desired results.
Once you have prepared the door for adjustment, you can move on to the specific adjustments needed based on the issues you are experiencing. Whether it is adjusting the height of the door, adjusting the roller tension, or fine-tuning the weatherstripping, the next steps will guide you through the process to restore your Andersen sliding patio door’s functionality and efficiency.
Step 3: Adjust the height of the door
One of the common adjustments needed for an Andersen sliding patio door is fine-tuning the height. Over time, the door may become misaligned or start sticking, which can affect its smooth operation. Adjusting the height of the door can help resolve these issues. Here’s how you can adjust the height of your Andersen sliding patio door:
- Locate the adjustment screws: The height adjustment screws are usually located on the bottom bracket of the door. Look for two screws on either side of the door.
- Loosen the adjustment screws: Use a screwdriver to loosen the screws on both sides of the door. This will allow you to make changes to the door’s height.
- Adjust the door height: With the screws loosened, you can now raise or lower the door to the desired height. Turn the screws clockwise to raise the door or counterclockwise to lower it. Use a level to ensure that the door is perfectly vertical.
- Tighten the adjustment screws: Once you have adjusted the door to the desired height, use the screwdriver to tighten the adjustment screws on both sides of the door. This will secure the door in its new position.
It is important to make small adjustments when changing the door’s height to ensure proper alignment and avoid over-tightening. Test the door’s operation after each adjustment to ensure it slides smoothly and closes securely.
If you find that adjusting the height of the door does not resolve the issue, you may need to inspect and adjust other components such as the rollers or weatherstripping, which we will cover in the following steps.
By adjusting the height of your Andersen sliding patio door, you can restore its proper alignment and functionality. This adjustment will help the door slide smoothly along the tracks and ensure a secure and energy-efficient seal.
To adjust an Andersen sliding patio door, first, remove the trim and adjust the roller screws at the bottom of the door. Then, adjust the top screws for proper alignment. Test the door to ensure smooth operation.
Step 4: Adjust the roller tension
If your Andersen sliding patio door is not sliding smoothly or feels uneven, the roller tension may need adjustment. The roller tension determines how tightly the rollers grip the track, allowing for a balanced and effortless sliding motion. Here’s a step-by-step guide on how to adjust the roller tension of your Andersen sliding patio door:
- Identify the roller adjustment screws: The roller adjustment screws are typically located on the sides of the door, near the bottom. These screws control the tension and height of the rollers.
- Loosen the roller adjustment screws: Use a screwdriver to loosen the roller adjustment screws on both sides of the door. This will allow you to make changes to the roller tension.
- Adjust the roller tension: With the screws loosened, you can now adjust the roller tension. To increase the tension, turn the screws clockwise. To decrease the tension, turn the screws counterclockwise. Make small increments of adjustment and test the door’s sliding motion after each change.
- Test the door’s movement: Once you have made adjustments to the roller tension, test the door’s movement. It should slide smoothly and evenly along the track. If the door still feels stiff or uneven, continue making minor adjustments until the desired result is achieved.
- Tighten the roller adjustment screws: Once you are satisfied with the roller tension and the door’s sliding motion, use the screwdriver to tighten the roller adjustment screws on both sides of the door. This will secure the tension in place.
Remember, it is important to make small and incremental adjustments to the roller tension to avoid over-tightening or causing damage to the rollers or track. Take your time and test the door’s movement after each adjustment to ensure optimal functionality.
If adjusting the roller tension does not resolve the issue or if you encounter other difficulties during the process, it may be advisable to consult a professional for further assistance or inspection.
By correctly adjusting the roller tension of your Andersen sliding patio door, you can ensure a smooth, balanced, and effortless sliding motion, enhancing the overall functionality and enjoyment of your outdoor living space.
Read more: How To Adjust Sliding Glass Doors
Step 5: Check and adjust the weatherstripping
Weatherstripping plays a crucial role in sealing your Andersen sliding patio door against drafts, moisture, and unwanted outdoor elements. Over time, the weatherstripping may become worn, damaged, or misaligned, compromising its effectiveness. Checking and adjusting the weatherstripping is an important step in maintaining the energy efficiency and weather resistance of your patio door. Here’s how you can check and adjust the weatherstripping:
- Inspect the weatherstripping: Start by visually examining the weatherstripping around the perimeter of your patio door. Look for any signs of damage, such as cracks, gaps, or fraying. Pay close attention to areas where the weatherstripping may have become misaligned or detached.
- Replace damaged weatherstripping: If you notice any damaged weatherstripping, it is important to replace it. Remove the old weatherstripping by carefully peeling it off from the door frame. Clean the surface to ensure proper adhesion and then apply the new weatherstripping, following the manufacturer’s instructions.
- Adjust the alignment: If the weatherstripping is misaligned or not providing a tight seal, it may need adjustment. Use a screwdriver or pliers to loosen the screws holding the weatherstripping in place. Carefully adjust the position of the weatherstripping to ensure a proper seal when the door is closed. Once adjusted, tighten the screws to secure the weatherstripping in place.
- Check the seal: To ensure that the weatherstripping is effectively sealing the door, close the door and inspect the entire perimeter. Look for any gaps or spaces where light or air may be entering. If necessary, make additional adjustments to the weatherstripping to achieve a tight and secure seal.
Properly functioning weatherstripping will help maintain a comfortable indoor temperature, prevent drafts, and reduce energy costs. Regularly checking and adjusting the weatherstripping will ensure that your Andersen sliding patio door continues to provide optimum insulation and protection.
If you encounter any challenges during the weatherstripping inspection or adjustment process, consult the manufacturer’s instructions or seek assistance from a professional to ensure the proper installation and alignment of the weatherstripping.
By checking and adjusting the weatherstripping on your Andersen sliding patio door, you can maintain a secure and energy-efficient seal, enhancing the overall comfort and performance of your outdoor living space.
Step 6: Test the door and make final adjustments
After completing the previous steps of adjusting the height, roller tension, and weatherstripping of your Andersen sliding patio door, it is crucial to thoroughly test the door and make any final adjustments. This step ensures that the door operates smoothly, closes securely, and provides optimal functionality. Here’s how you can test the door and make final adjustments:
- Open and close the door: Begin by opening and closing the door multiple times to check its sliding motion. Pay attention to any resistance, sticking, or uneven movement. If you encounter any issues, take note of the specific area or component that may require further adjustment.
- Observe the door’s alignment: While opening and closing the door, observe its alignment with the frame. The door should fit snugly into the frame without any gaps or misalignment. If you notice any gaps, it may indicate that further adjustments are needed.
- Check the door’s seal: Close the door completely and inspect the perimeter to ensure a tight and secure seal. Look for any gaps or areas where light or air may be entering. This can be an indication that the weatherstripping or adjustment needs further attention.
- Make necessary adjustments: Based on the observations from testing the door, make any final adjustments as needed. This may involve fine-tuning the height, roller tension, or weatherstripping. Continue to make small and incremental adjustments until the door operates smoothly, closes securely, and provides an adequate seal.
- Repeat the testing: After making adjustments, repeat the testing process by opening and closing the door, observing the alignment, and checking the seal. This will help ensure that the final adjustments have resolved any earlier issues and that the door is functioning optimally.
By testing the door and making final adjustments, you can fine-tune the functionality and performance of your Andersen sliding patio door. It is essential to be patient and make small incremental adjustments, taking the time to test and observe the door’s operation at each stage.
Remember, if you encounter any difficulties or if the adjustments do not yield the desired results, it may be beneficial to seek professional assistance. A trained technician can provide further guidance and expertise to address any complex issues with your patio door.
After completing the testing and final adjustments, you can enjoy the benefits of your properly adjusted Andersen sliding patio door – a smooth sliding motion, a secure seal, and a beautiful entrance to your outdoor living space.
Conclusion
Adjusting an Andersen sliding patio door is an essential task to maintain its functionality, efficiency, and aesthetic appeal. By following the steps outlined in this article, you can effectively adjust your patio door and restore its smooth sliding motion, proper alignment, and secure seal.
Starting with gathering the necessary tools and materials, you can ensure a seamless adjustment process. From there, preparing the door by cleaning the tracks and inspecting the rollers sets a solid foundation for the adjustments. Adjusting the height of the door and roller tension allows for precise customization, while checking and adjusting the weatherstripping ensures proper insulation and weather resistance.
Finally, testing the door and making any final adjustments ensures that your Andersen sliding patio door operates optimally and provides the best experience for you and your family. Regular maintenance and adjustments will prolong the lifespan of your patio door and enhance the overall enjoyment of your outdoor living space.
Remember, if you encounter any challenges during the adjustment process or if the issues with your door persist, it is always recommended to consult a professional. They can provide expert guidance and assistance to resolve any complex issues and ensure the proper functionality of your patio door.
Don’t let a malfunctioning or poorly adjusted door hinder your outdoor living experience. Take the time to adjust your Andersen sliding patio door using the steps outlined in this article, and enjoy the beauty of your patio space with a smoothly functioning and aesthetically pleasing entryway.
Frequently Asked Questions about How To Adjust An Andersen Sliding Patio Door
Was this page helpful?
At Storables.com, we guarantee accurate and reliable information. Our content, validated by Expert Board Contributors, is crafted following stringent Editorial Policies. We're committed to providing you with well-researched, expert-backed insights for all your informational needs.


0 thoughts on “How To Adjust An Andersen Sliding Patio Door”