Home>Furniture>Outdoor Furniture>How To Seal Patio Door
Outdoor Furniture
How To Seal Patio Door
Modified: September 1, 2024
Learn how to properly seal your outdoor furniture with our step-by-step guide. Protect your patio door from the elements and extend its lifespan.
(Many of the links in this article redirect to a specific reviewed product. Your purchase of these products through affiliate links helps to generate commission for Storables.com, at no extra cost. Learn more)
Introduction
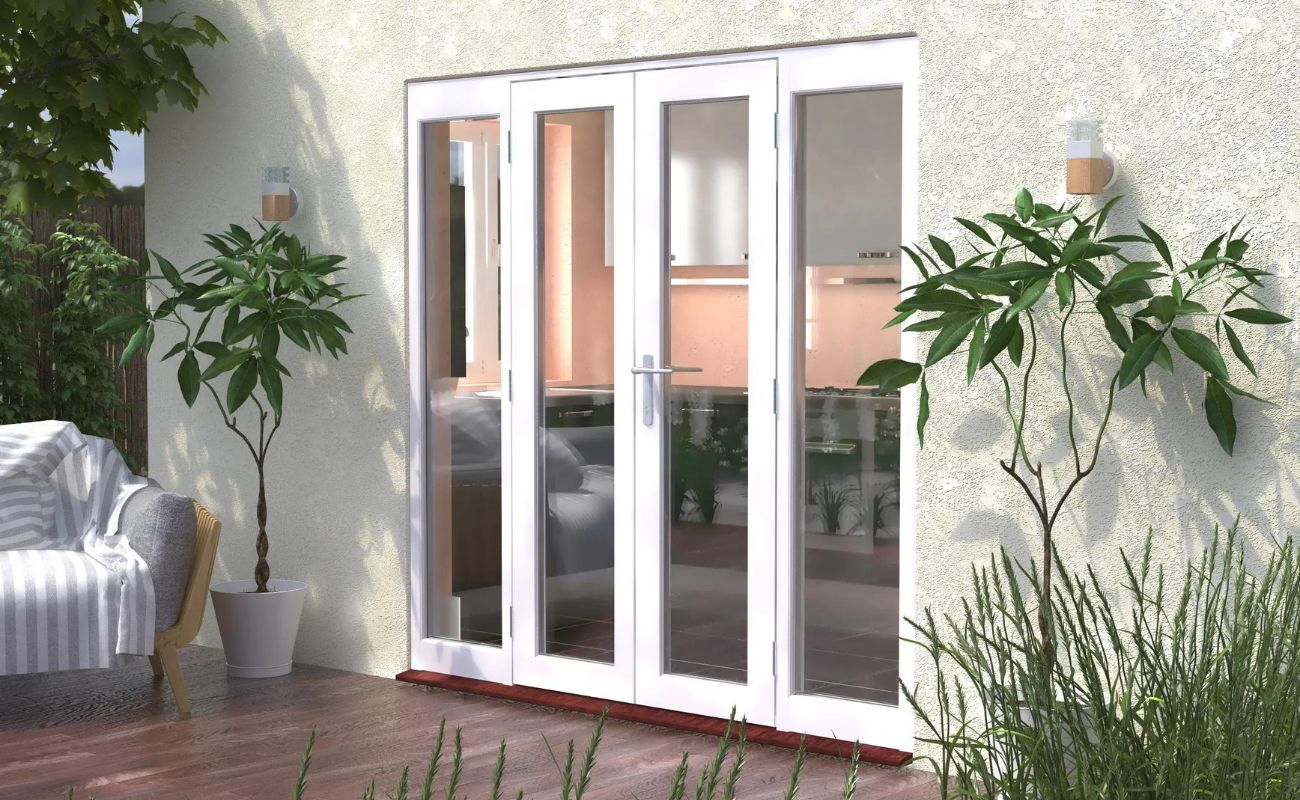
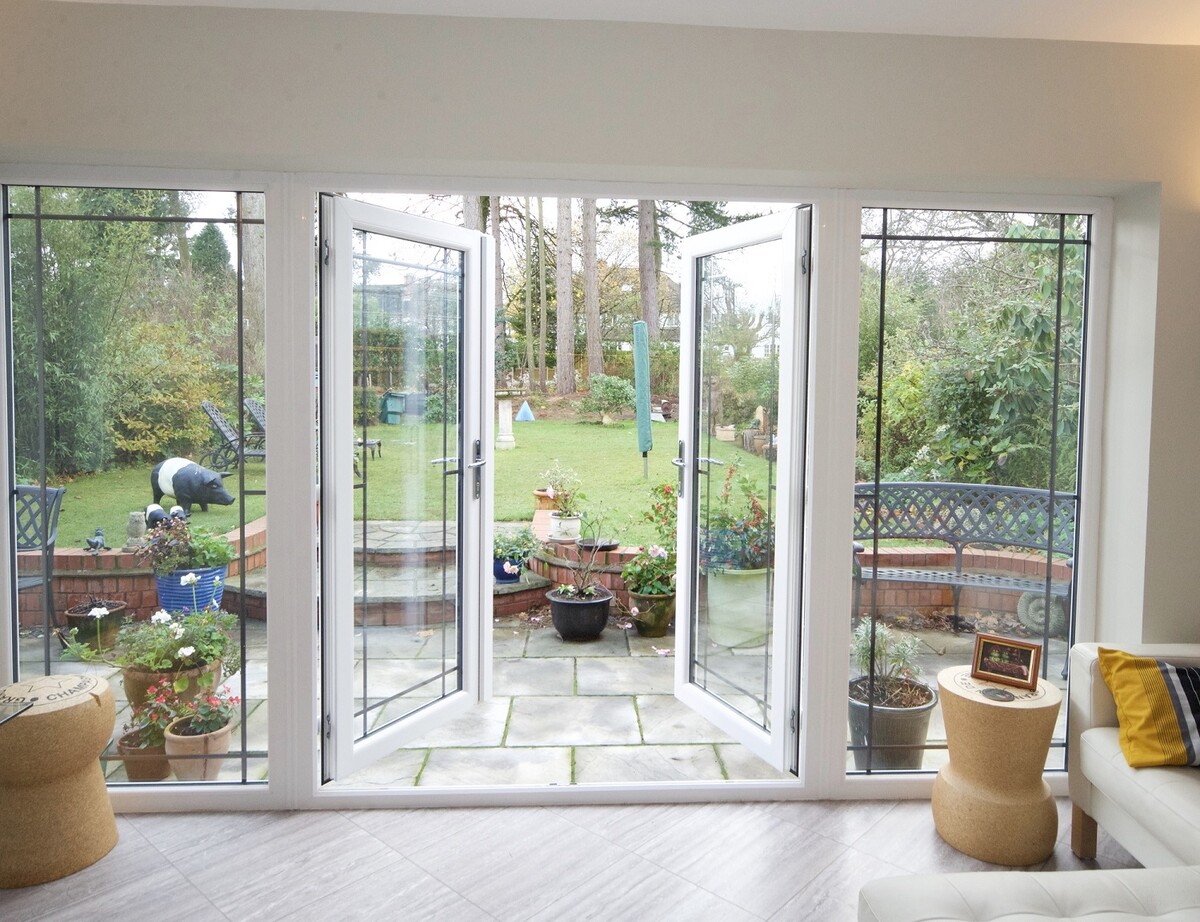
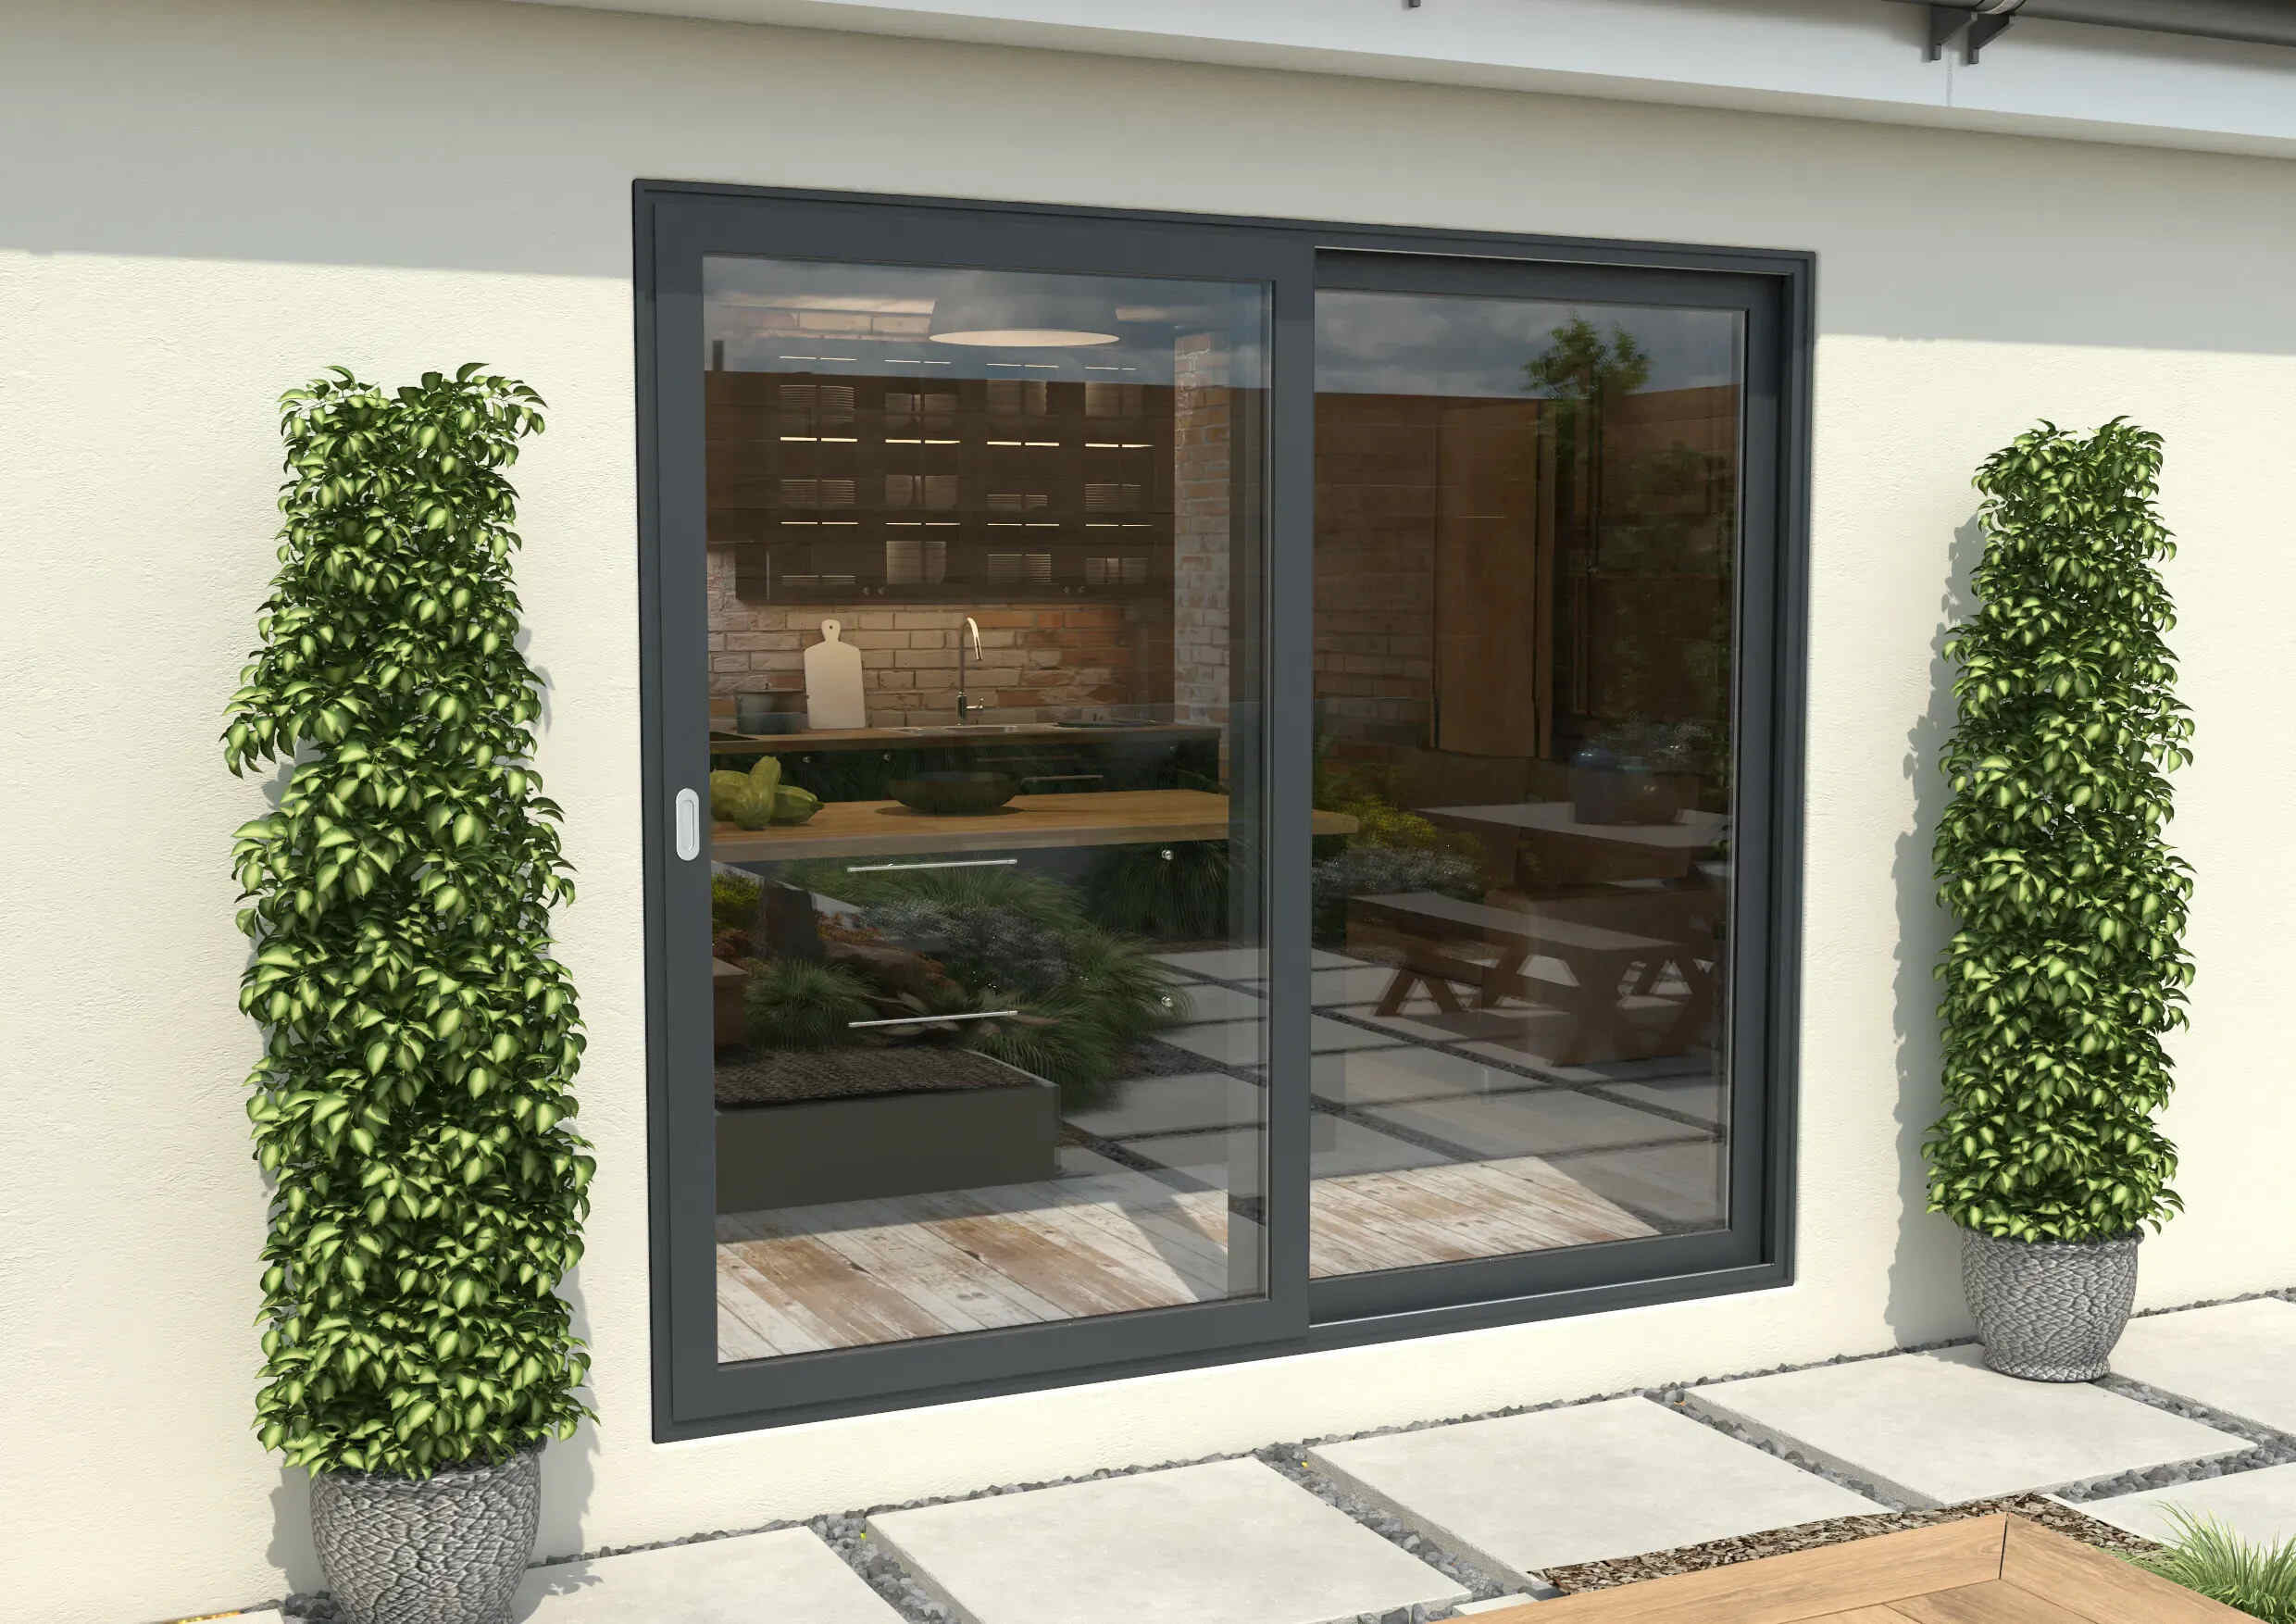
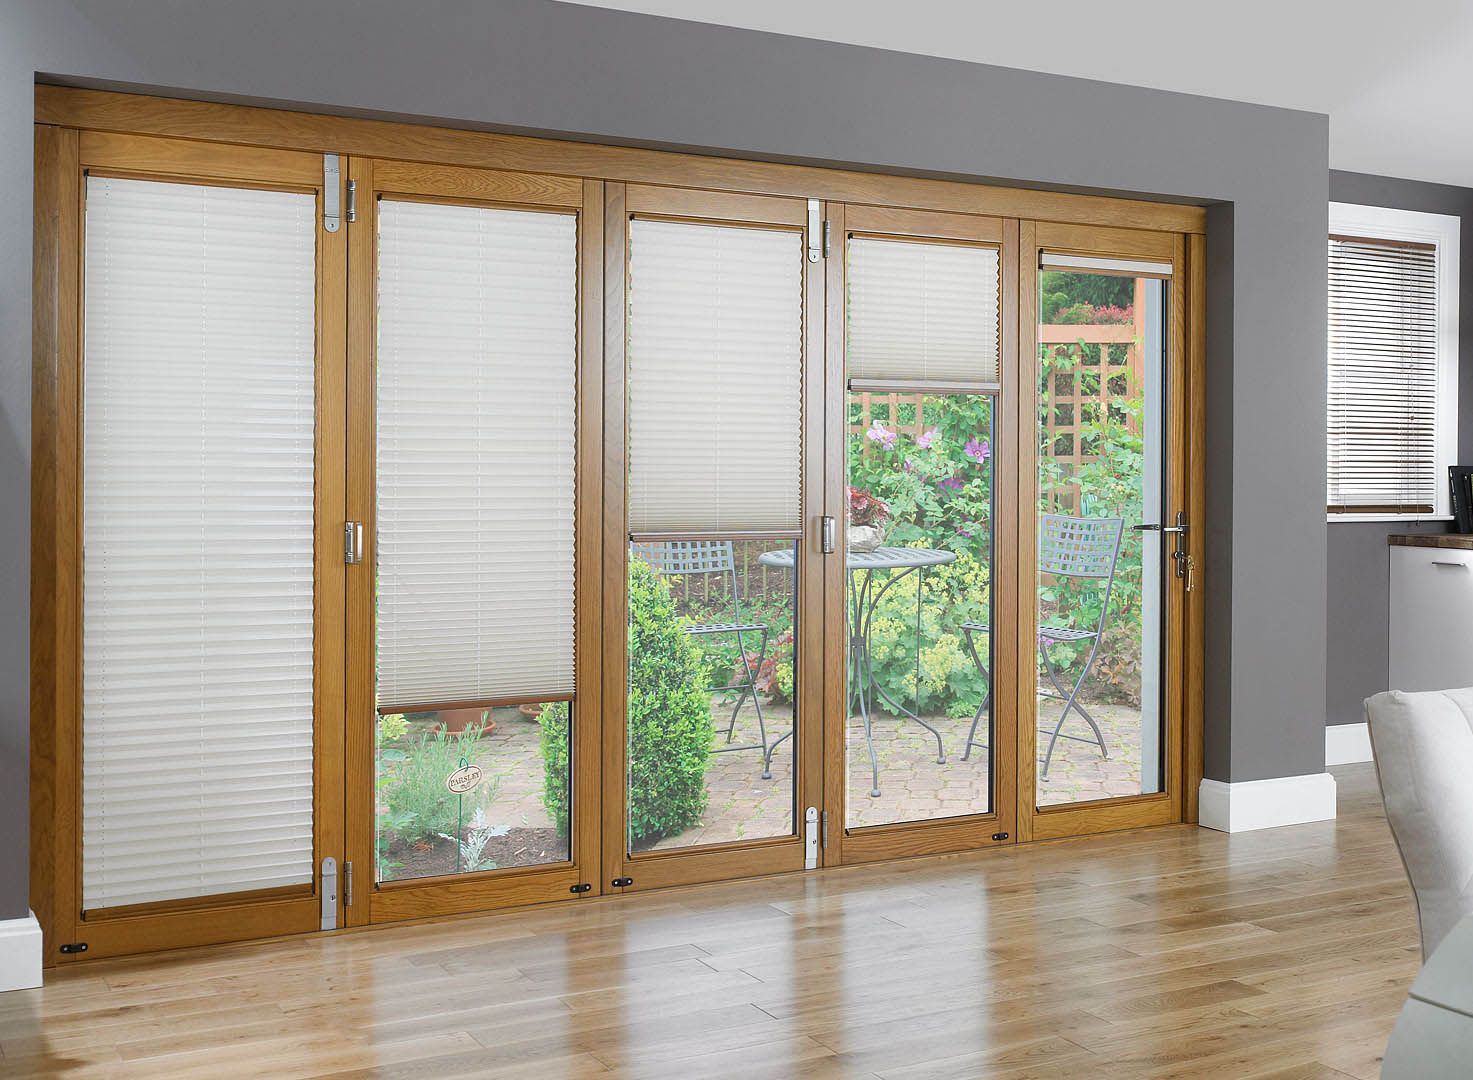
Welcome to our complete guide on how to seal patio doors! Patio doors not only provide a stylish and convenient way to access your outdoor living spaces, but they also play a crucial role in energy efficiency and weatherproofing your home. However, over time, the seals around these doors can deteriorate, causing drafts, air leaks, and a decrease in energy efficiency. Fortunately, sealing your patio doors is a relatively simple project that can significantly improve the comfort and energy efficiency of your home.
In this guide, we will walk you through the step-by-step process of sealing your patio doors to prevent drafts, improve insulation, and keep your home comfortable all year round. This project can easily be completed by homeowners of all skill levels, and the tools and materials required are readily available at your local hardware store.
By properly sealing your patio doors, you can not only enhance the energy efficiency of your home but also reduce noise transmission and keep out insects and pests. Additionally, sealing your patio doors can help prolong the lifespan of the door itself by preventing water damage and the accumulation of moisture.
So, let’s get started with the tools and materials you will need for this project. Take note of what you already have and make a shopping list for any additional items you may need to purchase.
Key Takeaways:
- Sealing your patio door with weatherstripping and sealant can improve energy efficiency, reduce drafts, and keep out pests, creating a more comfortable and cost-effective home environment.
- Regular maintenance and inspections are crucial for preserving the effectiveness of the seals, ensuring long-term benefits and a well-sealed patio door for years to come.
Read more: How To Seal A Brick Patio
Tools and Materials Needed
Before you begin sealing your patio doors, gather the following tools and materials:
Tools:
- Measuring tape
- Caulking gun
- Utility knife
- Screwdriver
- Paintbrush
- Scissors
- Hammer
- Putty knife
Materials:
- Weatherstripping (choose the appropriate type for your door)
- Caulk
- Silicone sealant
- Screwdriver
- Screws
- Wood filler
- Sandpaper
- Paint (if necessary)
Having these tools and materials ready before you start will make the process smoother and more efficient. Ensure that you have the correct weatherstripping for your patio door, as there are different types available depending on the style and material of your door frame.
If you are unsure about the type of weatherstripping or sealant to use, consult with a professional or the manufacturer of your patio door for recommendations. It’s essential to choose high-quality materials to ensure long-lasting and effective sealing results.
Now that you have all the necessary tools and materials, let’s move on to the step-by-step process of sealing your patio doors.
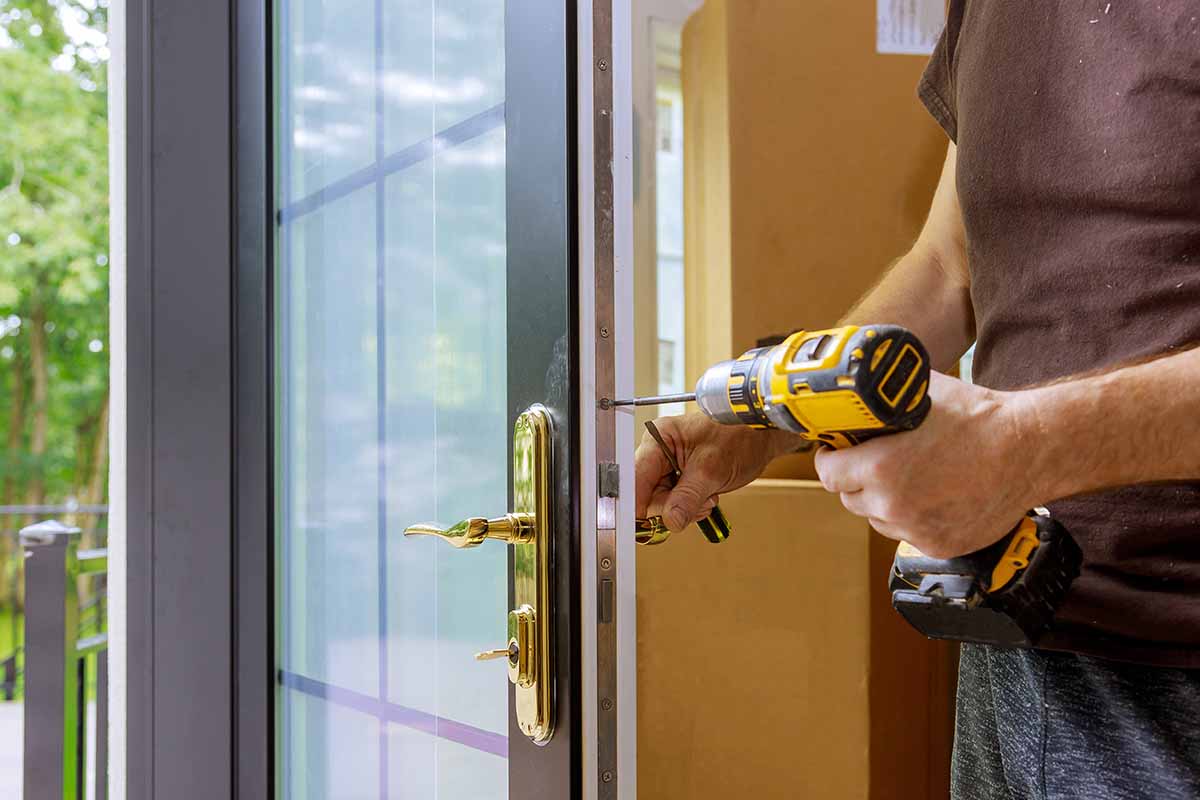
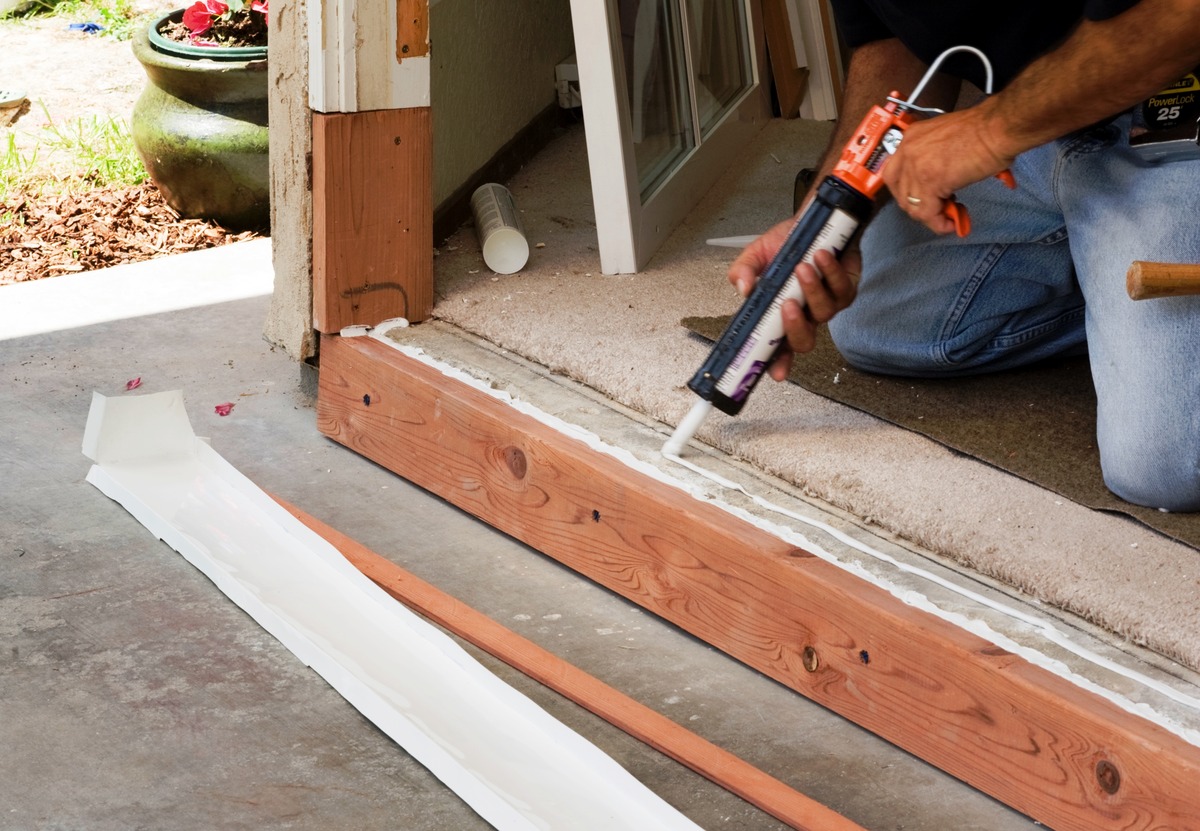
Step 1: Cleaning and Preparing the Door
Before you begin the process of sealing your patio door, it’s important to clean and prepare the door surface. This will ensure proper adhesion of the weatherstripping and sealant, allowing for a more effective seal.
Follow these steps to clean and prepare your patio door:
- Start by removing any dirt, dust, or debris from the door frame, bottom track, and surrounding areas. Use a damp cloth or a mild household cleaning solution to wipe down the surfaces.
- Inspect the door frame for any existing weatherstripping or seals that may need to be replaced. Look for signs of wear, damage, or deterioration. If you notice any issues, remove the old weatherstripping using a putty knife or screwdriver.
- Check for any gaps, cracks, or areas of unevenness in the door frame. Use a putty knife and wood filler to fill in any gaps or cracks, ensuring a smooth and even surface.
- If the door frame is painted, check for any chipped or peeling paint. Use sandpaper to lightly sand the areas and remove any loose or flaking paint. Then, apply a fresh coat of paint to protect the wood and improve the overall appearance.
- Once the door frame is clean, dry, and prepared, it’s time to move on to the next step: measuring and cutting the weatherstripping.
By thoroughly cleaning and preparing the door surface, you create an optimal environment for the weatherstripping and sealant to bond effectively. This step is crucial in ensuring a proper seal and maximizing the energy efficiency benefits of sealing your patio door.
Read more: How To Seal A Stone Patio
Step 2: Measuring and Cutting the Weatherstripping
Properly measuring and cutting the weatherstripping is essential for achieving a tight and effective seal around your patio door. Follow these steps to measure and cut the weatherstripping:
- Using a measuring tape, measure the length of each side of the door frame where you will be installing the weatherstripping. Make sure to measure from the inside of the frame.
- Add approximately 10% to the measured length to allow for any stretching or shrinkage of the weatherstripping material. This ensures a proper fit and seal.
- Based on the measurements, cut the weatherstripping to the appropriate length using a pair of scissors or a utility knife. Be careful to make clean and straight cuts.
- For vertical weatherstripping on the sides of the door frame, ensure that the weatherstripping is long enough to extend from the top to the bottom of the frame.
- For horizontal weatherstripping for the top and bottom of the door frame, measure the width of the frame and cut the weatherstripping to fit.
- If necessary, apply adhesive to the back of the weatherstripping to improve adhesion. Follow the manufacturer’s instructions for applying the adhesive, if required.
By accurately measuring and cutting the weatherstripping, you ensure a proper and snug fit, minimizing the potential for drafts, air leaks, and energy loss. Take your time during this step to ensure precise measurements and clean cuts.
Once you have the weatherstripping cut and ready, you can move on to the next step: applying the weatherstripping to the door frame.
Step 3: Applying the Weatherstripping to the Door Frame
Now that you have measured and cut the weatherstripping, it’s time to apply it to the door frame. Follow these steps to properly apply the weatherstripping:
- Starting with one side of the door frame, remove any backing from the adhesive side of the weatherstripping, if applicable.
- Press the weatherstripping firmly against the edge of the door frame, starting at the top and working your way down. Ensure that the weatherstripping is properly aligned and centered on the edge.
- Continue applying the weatherstripping along the side of the door frame, pressing it firmly in place as you go. Avoid stretching the weatherstripping, as this can compromise its effectiveness.
- If the weatherstripping comes in the form of strips or rolls, cut it to fit around any hinges, latches, or other obstructions on the door frame. Make clean and precise cuts to ensure a proper fit.
- Repeat the process for the remaining sides of the door frame, applying the weatherstripping in the same manner. Ensure that each piece of weatherstripping is properly aligned and securely attached to the door frame.
- For the vertical weatherstripping on the sides of the door frame, make sure the weatherstripping extends beyond the top and bottom to fully seal the gaps.
As you apply the weatherstripping, ensure that it creates a tight seal when the door is closed. The weatherstripping should compress slightly, providing resistance against drafts and air leaks. Verify that the weatherstripping does not interfere with the proper operation of the door, allowing it to open and close smoothly.
Once you have applied the weatherstripping to all sides of the door frame, you are ready to move on to the next step: checking for proper seal.
Step 4: Checking for Proper Seal
After applying the weatherstripping to the door frame, it’s important to check for a proper seal. This step ensures that the weatherstripping is effectively preventing drafts, air leaks, and energy loss. Follow these steps to check for a proper seal:
- Carefully close the patio door and observe the gaps between the door and the weatherstripping. Look for any significant spaces or areas where the weatherstripping may not be making full contact with the door.
- Run your hand along the edges of the closed door, feeling for any air drafts or leaks. Pay close attention to the corners, where gaps may be more common.
- Use a flashlight to examine the door frame from the outside. Look for any light gaps that may indicate areas where the weatherstripping is not sealing properly.
- If you notice any gaps or areas without a proper seal, adjust the weatherstripping accordingly. You may need to reposition or add additional weatherstripping to ensure a tight fit.
- Open and close the door several times to test the effectiveness of the weatherstripping. Listen for any unusual sounds or movements that may indicate a poor seal.
- If necessary, make any necessary adjustments or replacements to achieve a proper seal. It’s important to address any issues promptly to maximize the energy efficiency benefits of sealing your patio door.
By checking for a proper seal, you can identify and address any gaps or issues with the weatherstripping. This step ensures that your patio door is effectively sealed, preventing drafts, air leaks, and energy loss.
Continue to the next step if you need to replace old or damaged seals on your patio door.
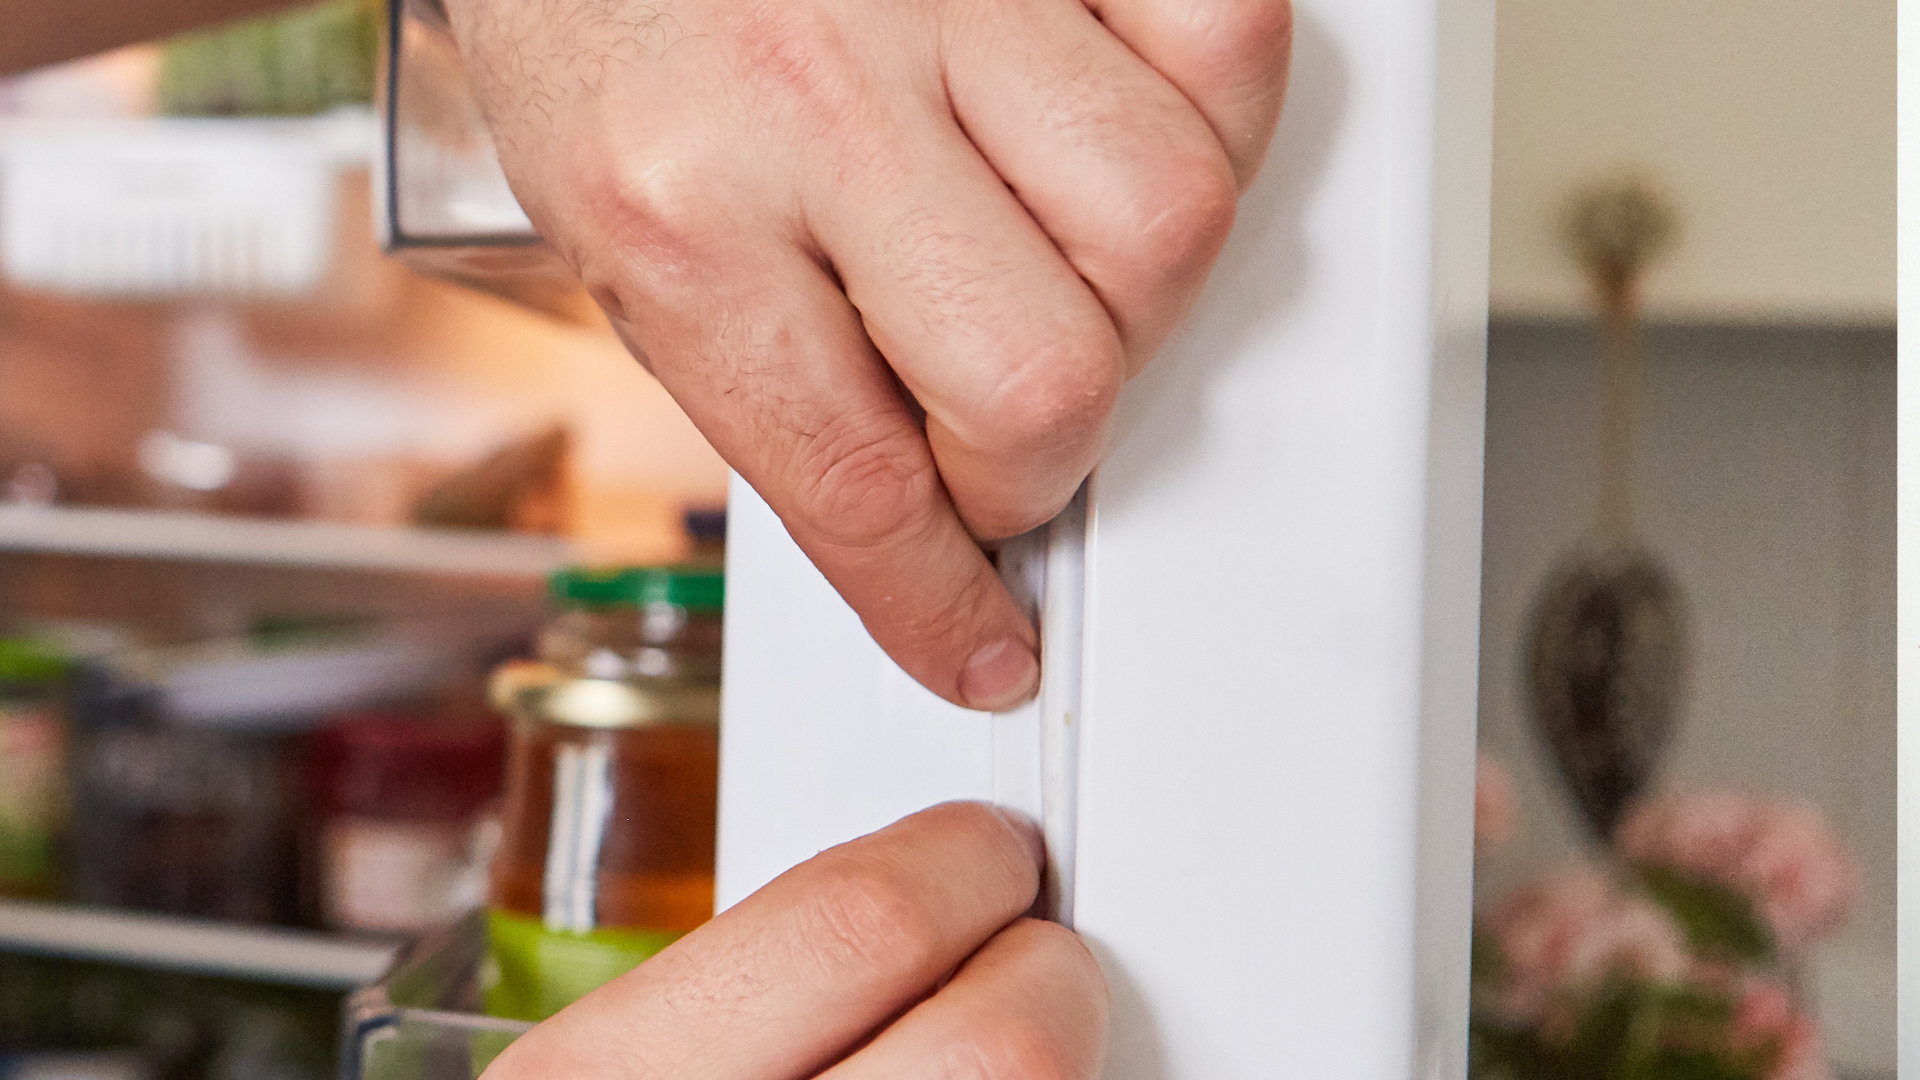
Apply a silicone-based weatherstripping sealant around the edges of the patio door to prevent drafts and water leaks. Make sure to clean and dry the surface before applying the sealant for best results.
Step 5: Replacing Old or Damaged Seals
If you have noticed that the existing seals on your patio door are worn out or damaged, it is important to replace them to maintain an effective seal. Here are the steps to replacing old or damaged seals:
- Inspect the existing seals around your patio door. Look for signs of wear, cracking, or deterioration. If the seals are damaged, you will need to remove them before installing new ones.
- Using a putty knife or a screwdriver, carefully remove the old seals from the door frame. Take your time to avoid damaging the door or surrounding areas.
- Measure the dimensions of the removed seals to ensure that you purchase the right size replacements. You can take these measurements to a hardware store or consult with a professional to find the appropriate replacement seals.
- Once you have the new seals, cut them to the proper length using scissors or a utility knife. Ensure that the new seals match the measurements of the old ones.
- Apply the new seals to the door frame, following the same process outlined in Step 3: Applying the Weatherstripping to the Door Frame. Make sure the seals are properly aligned and securely attached.
- Check for a proper seal by closing the door and inspecting for any gaps or areas without a tight fit. Make any necessary adjustments to ensure an effective seal.
By replacing old or damaged seals, you can restore the functionality and energy efficiency of your patio door. Be diligent in inspecting and replacing worn-out seals to maintain the integrity of the seal and prevent drafts, air leaks, and energy loss.
Proceed to the next step if you need to seal gaps or cracks in the door frame.
Read more: How To Seal A Shed Door
Step 6: Sealing Gaps or Cracks in the Door Frame
If you have noticed any gaps or cracks in the door frame, it is important to seal them to prevent drafts, air leaks, and moisture intrusion. Here are the steps to sealing gaps or cracks in the door frame:
- Inspect the door frame for any visible gaps or cracks. These can often be found around the edges or corners of the frame.
- Using a putty knife, apply a suitable wood filler to fill in the gaps or cracks in the door frame. Ensure that the wood filler is compatible with your door frame material.
- Smooth out the wood filler with the putty knife, making sure to create an even surface. Remove any excess filler, as it may interfere with the proper operation of the door.
- Allow the wood filler to dry according to the manufacturer’s instructions. This may take several hours or overnight, depending on the product.
- Once the wood filler is completely dry, use sandpaper to smooth the filled areas. This will create a seamless finish and prepare the surface for painting or staining, if desired.
- If necessary, apply a fresh coat of paint or stain to match the color of the door frame. This will not only improve the appearance but also provide additional protection against moisture and the elements.
Sealing the gaps or cracks in the door frame is crucial for maintaining a tight seal and preventing energy loss. It also helps to keep out insects, dust, and other external elements.
Continue to the next step to learn how to test the door for drafts or air leaks.
Step 7: Testing the Door for Drafts or Air Leaks
After sealing your patio door, it’s important to test for any remaining drafts or air leaks. This will ensure that your efforts to improve energy efficiency and seal the door have been successful. Here’s how to test the door for drafts or air leaks:
- On a windy day, close the patio door and stand near it, paying close attention to any areas where drafts may be felt.
- Run your hand along the edges of the door, feeling for any cold air or noticeable drafts. Focus on the bottom edge, sides, and top of the door.
- If you detect any drafts or air leaks, visually inspect the area to identify the source of the problem. This could be gaps in the weatherstripping, gaps in the door frame, or other potential openings.
- If the weatherstripping is the culprit, make any necessary adjustments or replacements to ensure a proper seal.
- If there are gaps or cracks in the door frame, apply additional weatherstripping or use caulk or silicone sealant to seal the openings.
- Repeat the test by closing the door and standing near it, checking for any improvements in draft or air leak reduction.
- For a more thorough assessment, you can also consider conducting a blower door test performed by a professional, which uses specialized equipment to identify any hidden air leaks or drafts.
Testing for drafts or air leaks is an important step to verify the effectiveness of your sealing efforts. By addressing any remaining issues, you can ensure that your patio door provides optimal energy efficiency and comfort.
Congratulations! You have successfully sealed your patio door and made a significant improvement in the energy efficiency and comfort of your home. With regular inspections and maintenance, your patio door will continue to provide a tight seal and enjoyable living experience for years to come.
Implementing these steps will help you achieve a well-sealed patio door, reducing energy costs, enhancing comfort, and keeping your home protected from the elements. Remember to periodically inspect and maintain your patio door to ensure the seals remain in good condition and provide optimal thermal efficiency.
Thank you for following this comprehensive guide on how to seal your patio door. Enjoy the benefits of a properly sealed and energy-efficient outdoor living space!
Conclusion
Sealing your patio door is a simple yet essential task that can greatly improve the energy efficiency, comfort, and protection of your home. By following the step-by-step guide outlined in this article, you have learned how to properly clean, measure, cut, and apply weatherstripping to the door frame. Additionally, you have gained insights into checking for a proper seal, replacing old or damaged seals, sealing gaps or cracks in the door frame, and testing for drafts or air leaks.
By taking the time to seal your patio door, you are providing numerous benefits to your home and lifestyle. A properly sealed door ensures a more comfortable living space by minimizing drafts, air leaks, and temperature fluctuations. It also helps to improve energy efficiency, reducing heating and cooling costs in the long run. Furthermore, sealing your patio door assists in keeping out noise, dust, insects, and other external elements, promoting a more peaceful and enjoyable environment.
Remember that regular maintenance and inspections are essential in preserving the effectiveness of the seals. Over time, weatherstripping may wear out and require replacement, and gaps or cracks may develop in the door frame. Stay vigilant and address any issues promptly to maintain a well-sealed patio door.
Take pride in your efforts to seal your patio door and enjoy the benefits it brings. Not only will you enhance the functionality and energy efficiency of your home, but you will also create a more inviting and comfortable outdoor living space. So, grab your tools and materials, and start sealing your patio door today!
Frequently Asked Questions about How To Seal Patio Door
Was this page helpful?
At Storables.com, we guarantee accurate and reliable information. Our content, validated by Expert Board Contributors, is crafted following stringent Editorial Policies. We're committed to providing you with well-researched, expert-backed insights for all your informational needs.

0 thoughts on “How To Seal Patio Door”