Home>Garden Essentials>How Long Does It Take Clover Seed To Germinate
Garden Essentials
How Long Does It Take Clover Seed To Germinate
Modified: August 20, 2024
Learn how long it takes for clover seeds to germinate in your garden. Discover the ideal conditions for successful growth and get your garden flourishing in no time.
(Many of the links in this article redirect to a specific reviewed product. Your purchase of these products through affiliate links helps to generate commission for Storables.com, at no extra cost. Learn more)
Introduction
Welcome to the fascinating world of gardening! Whether you’re an experienced gardener or just starting out, understanding the germination process is crucial for successful plant cultivation. In this article, we will focus specifically on clover seeds and explore how long it takes for them to germinate.
Germination is the magical process by which a seed sprouts and develops into a new plant. It’s a delicate dance between the seed and its environment, relying on a combination of moisture, warmth, and oxygen. As the seed absorbs water and swells, it triggers biochemical reactions that awaken the dormant embryo inside.
Before we dive into the specifics of clover seed germination, let’s briefly discuss the factors that affect this process. By understanding these factors, you’ll be better equipped to create optimal conditions for your clover seedlings to flourish.
While some factors are beyond our control, such as the genetics of the seed and the specific species of clover, there are several key elements that we can manipulate to enhance germination. These include moisture, temperature, oxygen availability, and soil quality.
To ensure that your clover seeds germinate effectively and efficiently, it’s important to provide them with the optimal conditions. Different clover species may have slightly different requirements, so it’s always best to consult the specific instructions provided by the seed supplier. However, there are some general guidelines that can help set you on the right track.
In the following sections, we’ll explore the optimal conditions for clover seed germination, the typical germination times for different clover species, and some tips for speeding up the germination process. We’ll also touch on common issues that can arise during germination and how to troubleshoot them.
By the end of this article, you’ll have a solid understanding of how long it takes for clover seeds to germinate and how to maximize their chances of successful sprouting. Let’s embark on this green journey together and discover the wonders of clover seed germination!
Key Takeaways:
- Clover seeds typically take 7-14 days to germinate. Factors like moisture, temperature, and seed quality influence the process. Techniques like scarification and presoaking can speed up germination.
- Understanding the phases of clover seed germination and providing optimal conditions are crucial for successful sprouting. Monitoring and troubleshooting common issues are essential for a flourishing clover garden.
Read more: How Long Does It Take Clover To Germinate
Understanding Germination
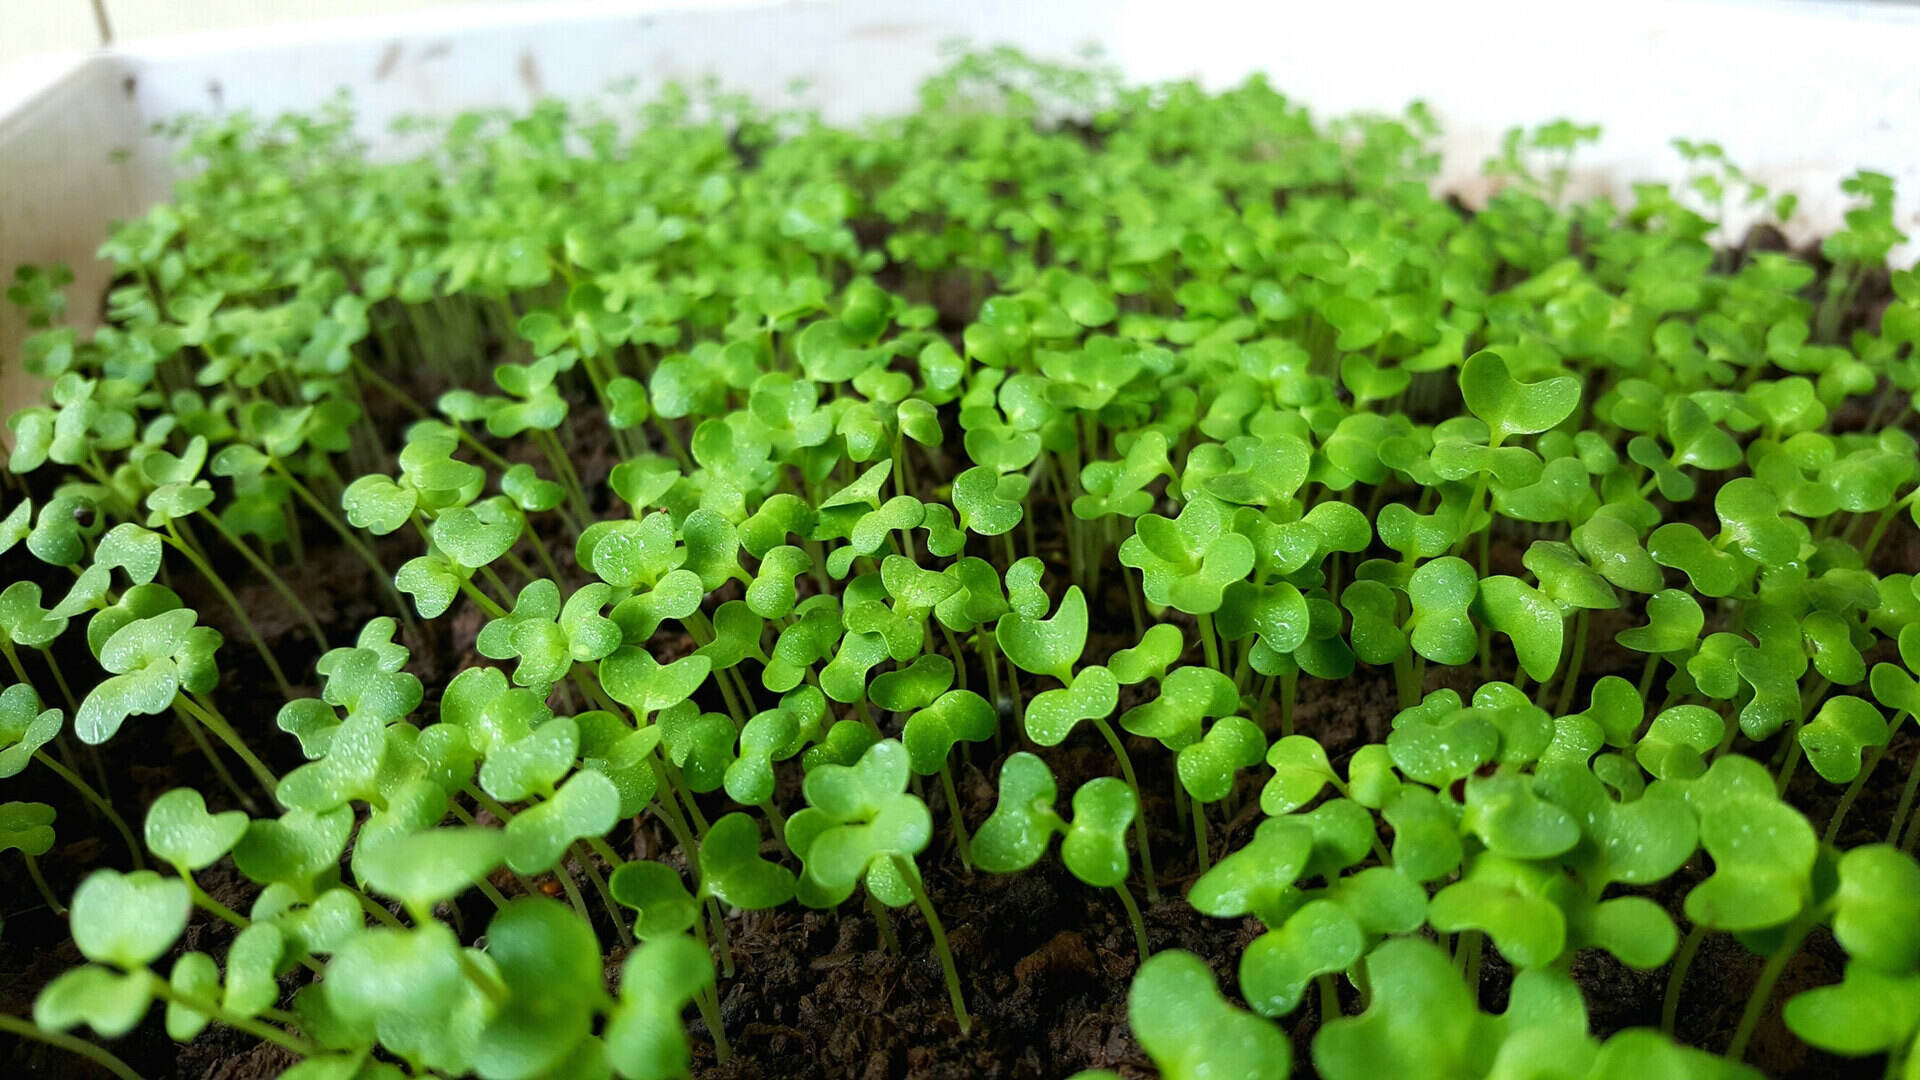
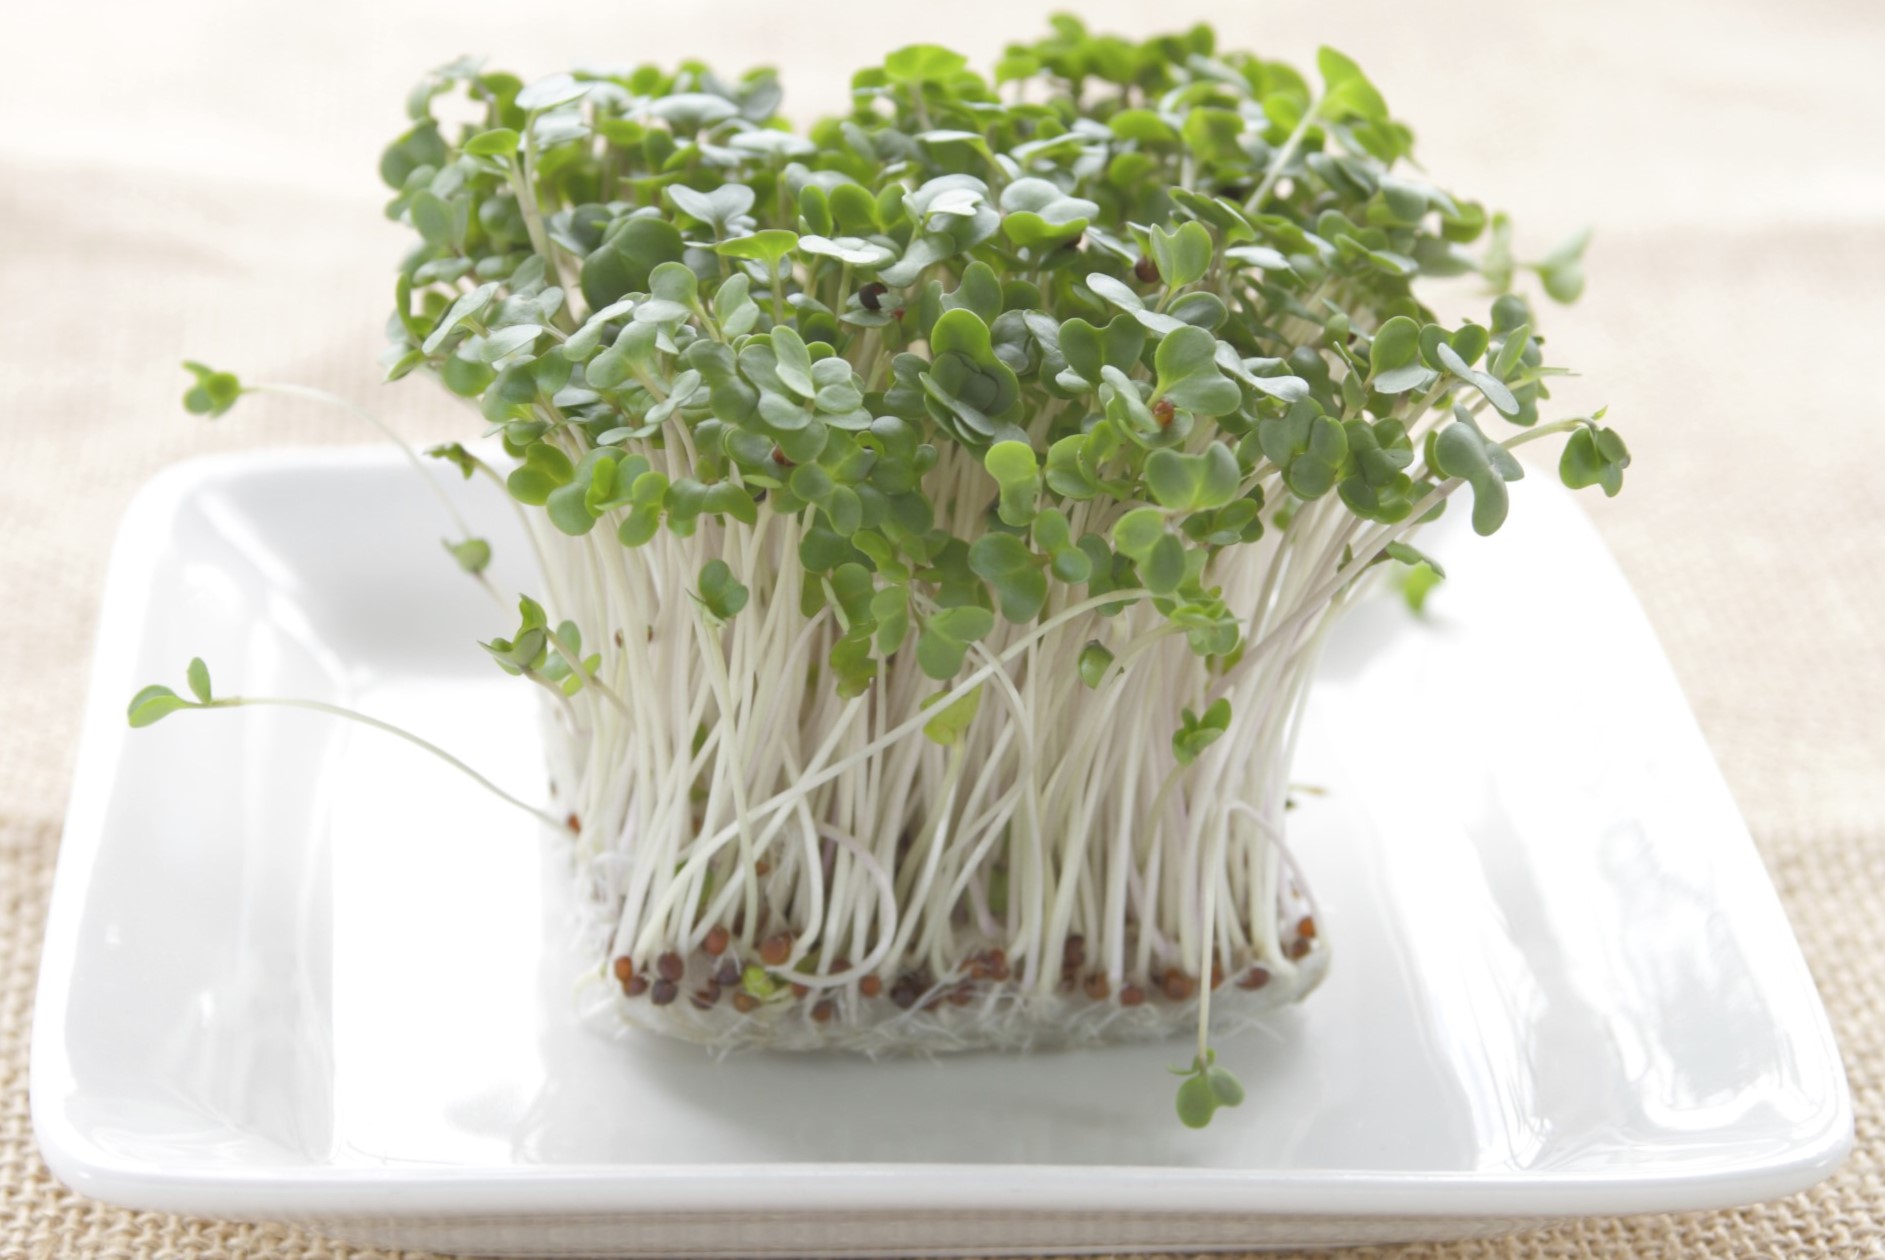
Germination is a vital stage in the life cycle of plants, including clover. It is the process by which a dormant seed becomes an actively growing seedling. Understanding the different phases of germination can provide valuable insights into how to optimize the conditions for successful sprouting.
The germination process can be divided into several distinct phases: imbibition, activation, and growth.
Imbibition is the initial stage, where the dry clover seeds absorb water. As water penetrates the seed coat, it rehydrates the seed’s cells, causing them to expand. This swelling triggers enzymes within the seed to become active, preparing for the activation phase.
During the activation phase, the dormant embryo within the seed becomes active. Enzymes trigger metabolic processes, including the conversion of stored nutrients into energy. This energy is vital for the emerging growth of the seedling.
Once the seedling has absorbed enough water and activated its metabolic processes, the growth phase begins. The radicle, or primary root, pushes through the seed coat and into the soil. It anchors the seedling and absorbs water and nutrients from the surrounding environment.
As the radicle grows, the embryonic shoot, known as the hypocotyl, emerges from the seed. It carries the seed leaves, or cotyledons, which provide nutrition to the developing seedling until true leaves develop and photosynthesis can occur.
Understanding these different phases of germination is crucial for creating the optimal conditions needed for successful sprouting of clover seeds. Each phase has specific requirements, and by providing the right environment, we can support the seed’s journey from dormancy to vibrant growth.
In the next section, we will delve deeper into the factors that can influence clover seed germination and how to create the ideal conditions for this process.
Factors Affecting Clover Seed Germination
Clover seed germination is influenced by a variety of factors, both internal and external. Understanding these factors is essential for maximizing the chances of successful sprouting. Let’s take a closer look at some of the key factors that can affect clover seed germination:
- Seed Quality: The quality of the clover seeds plays a crucial role in germination. It’s important to obtain seeds from reputable sources to ensure that they are viable and free from diseases or pests. High-quality seeds have a better chance of germinating successfully.
- Seed Dormancy: Some clover seeds may exhibit dormancy, a natural state of inactivity. Dormancy can be caused by factors such as a hard seed coat or internal chemical inhibitors. Scarification, which involves nicking or filing the seed coat, can help overcome dormancy and promote germination.
- Moisture: Adequate moisture is essential for clover seed germination. The seeds need to absorb water to initiate the swelling process and activate metabolic activities. However, excessive moisture can lead to rot or fungal diseases. Strike a balance by providing consistent, but not excessive, moisture levels.
- Temperature: Clover seeds have specific temperature requirements for optimal germination. Generally, a temperature range of 60-70°F (15-21°C) is suitable for most clover species. Cooler temperatures may slow down germination, while excessively high temperatures can inhibit or even kill the seeds.
- Oxygen: Like all living organisms, clover seeds require oxygen for metabolic activities. Adequate oxygen levels in the soil are essential for successful germination. Poorly drained or compacted soil can limit oxygen availability, hindering germination. Proper soil aeration and well-draining soil can help ensure sufficient oxygen supply.
- Light: Clover seeds generally do not require light for germination. In fact, some species prefer darkness. However, it’s worth noting that once the seedlings emerge, they need light for photosynthesis and healthy growth.
- Soil pH and Nutrients: Clover seeds prefer slightly acidic to neutral soil pH (around 6-7). Soil pH outside this range can affect seed germination and development. Additionally, adequate nutrient availability, especially phosphorus, is crucial for early seedling growth.
By understanding these factors, you can manipulate the conditions to create an ideal environment for germination. In the next section, we’ll explore the optimal conditions required for clover seed germination, helping you maximize the chances of successful sprouting.
Optimal Conditions for Clover Seed Germination
Creating the optimal conditions for clover seed germination sets the stage for successful sprouting. By providing the right environment, you can encourage faster and more robust growth of your clover seedlings. Here are some key elements to consider:
- Moisture: Adequate moisture is essential for clover seed germination. Before sowing the seeds, ensure that the soil is evenly moist but not waterlogged. This will provide the necessary moisture for seed imbibition and activation. Maintain consistent soil moisture during the germination period, taking care not to let the soil dry out.
- Temperature: Most clover species germinate best between temperatures of 60-70°F (15-21°C). Use a soil thermometer to monitor the soil temperature at the planting depth. If the temperature is too low, consider using a germination mat or placing the seeds in a warmer area until germination occurs. Avoid exposing the seeds to excessively high temperatures, as this can inhibit germination.
- Soil Preparation: Well-prepared soil provides a favorable environment for clover seed germination. Remove any weeds or debris that may compete with the seeds for resources. Loosen the soil to ensure proper aeration and drainage. If the soil is compacted, consider tilling or adding organic matter to improve its structure.
- Sowing Depth: The optimal sowing depth for clover seeds can vary depending on the species. As a general rule, sow the seeds at a depth of ¼ to ½ inch (6-12 mm). This allows for proper seed-to-soil contact while providing protection and moisture accessibility for germination.
- Light: Clover seeds do not require light for germination and can even germinate in darkness. Therefore, sowing them at the recommended depth will ensure they receive the right balance of moisture and darkness. Once the seedlings emerge, provide them with ample light to support their growth and photosynthesis.
- Soil pH: Most clover species prefer a slightly acidic to neutral soil pH, ranging from 6 to 7. Test your soil pH and amend it if necessary using organic matter or appropriate soil amendments to achieve the desired pH range. This will promote optimal nutrient availability for germinating seeds.
- Protection: Providing adequate protection for the newly sown seeds is essential to prevent damage from birds, rodents, or extreme weather conditions. Consider using protective netting or row covers until the seedlings emerge.
By creating these optimal conditions for clover seed germination, you pave the way for successful sprouting. Remember to pay attention to the specific requirements of the clover species you are planting, as they may have slightly different needs. In the next section, we’ll explore the typical germination times for different clover species, giving you an idea of what to expect during the process.
Clover seed typically takes 7-14 days to germinate. Keep the soil consistently moist and provide plenty of sunlight for best results.
Germination Time of Different Clover Species
The germination time for clover seeds can vary depending on the specific species. While some clover species germinate relatively quickly, others may take a bit longer to sprout. Understanding the typical germination times can help you plan and monitor the progress of your clover seedlings. Here are some common clover species and their approximate germination times:
- Red Clover (Trifolium pratense): Red clover seeds typically germinate within 7 to 14 days after sowing. It’s important to note that red clover can exhibit variable germination rates, so don’t be discouraged if some seeds take longer to sprout.
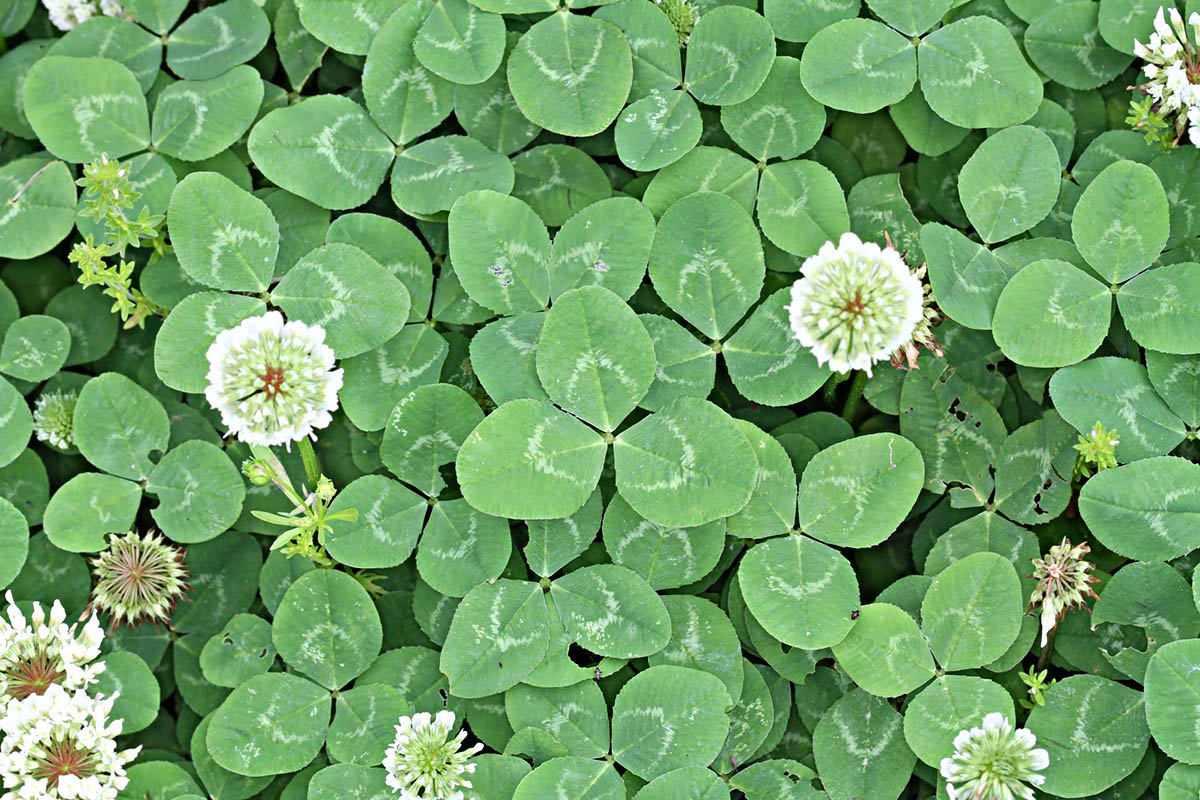
- White Clover (Trifolium repens): White clover seeds have a similar germination time as red clover, usually between 7 to 14 days. However, some varieties of white clover may have faster germination rates, with seedlings emerging within 5 to 7 days.
- Dutch White Clover (Trifolium repens var. ‘Ladino’): This variety of white clover typically germinates within 7 to 10 days. It is known for its rapid establishment and vigorous growth.
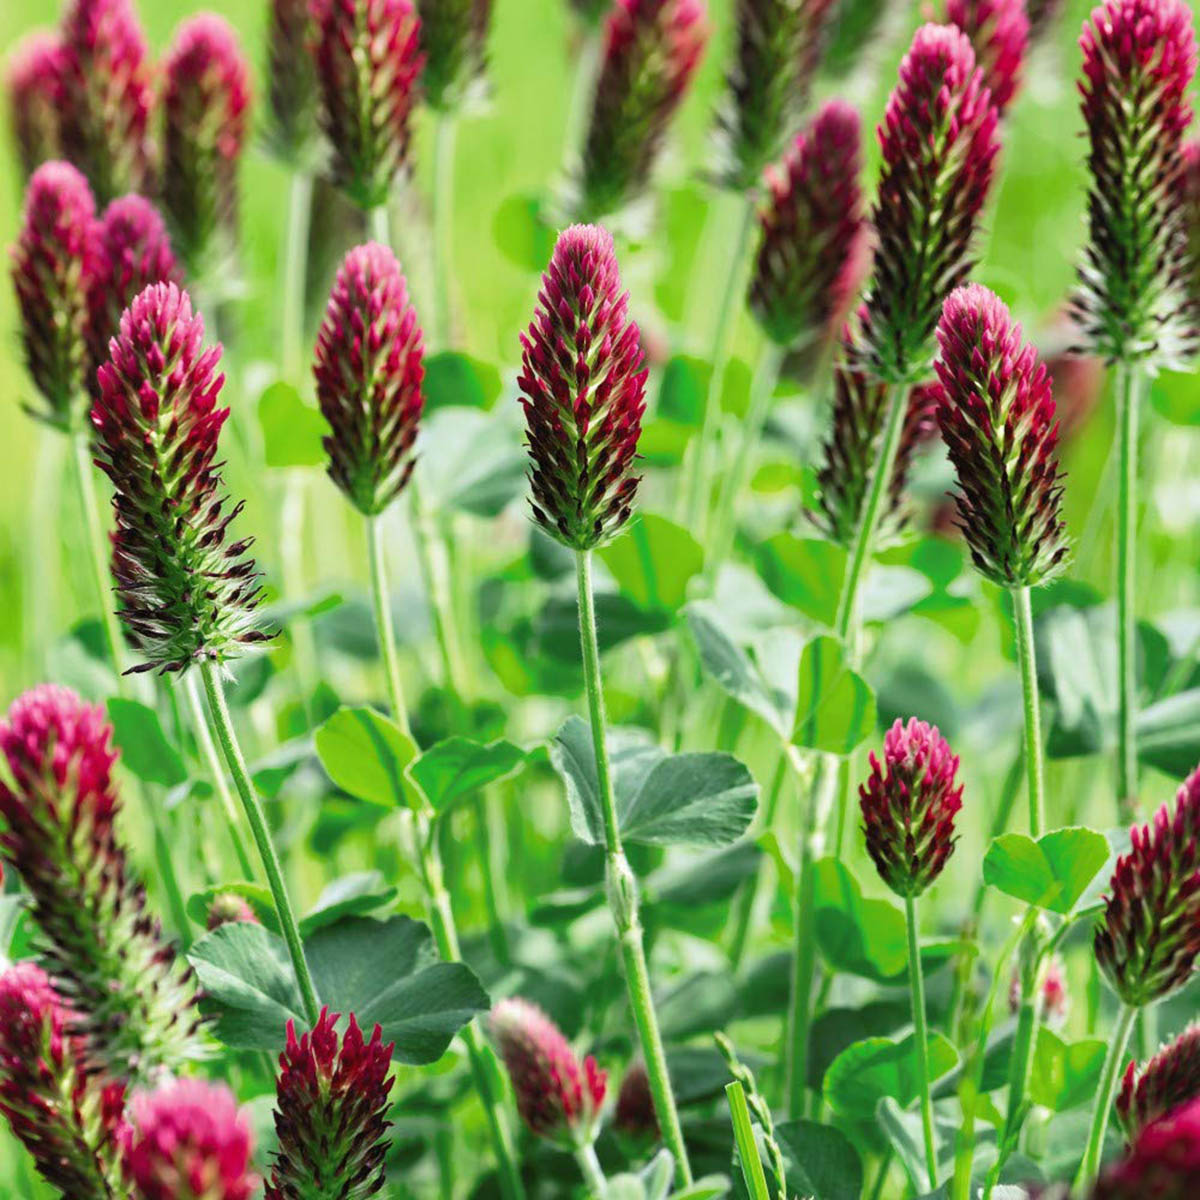
- Crimson Clover (Trifolium incarnatum): Crimson clover seeds have a slightly shorter germination time compared to red and white clover, often sprouting within 5 to 10 days. This fast germination makes it an ideal choice for quick cover cropping or pasture rejuvenation.
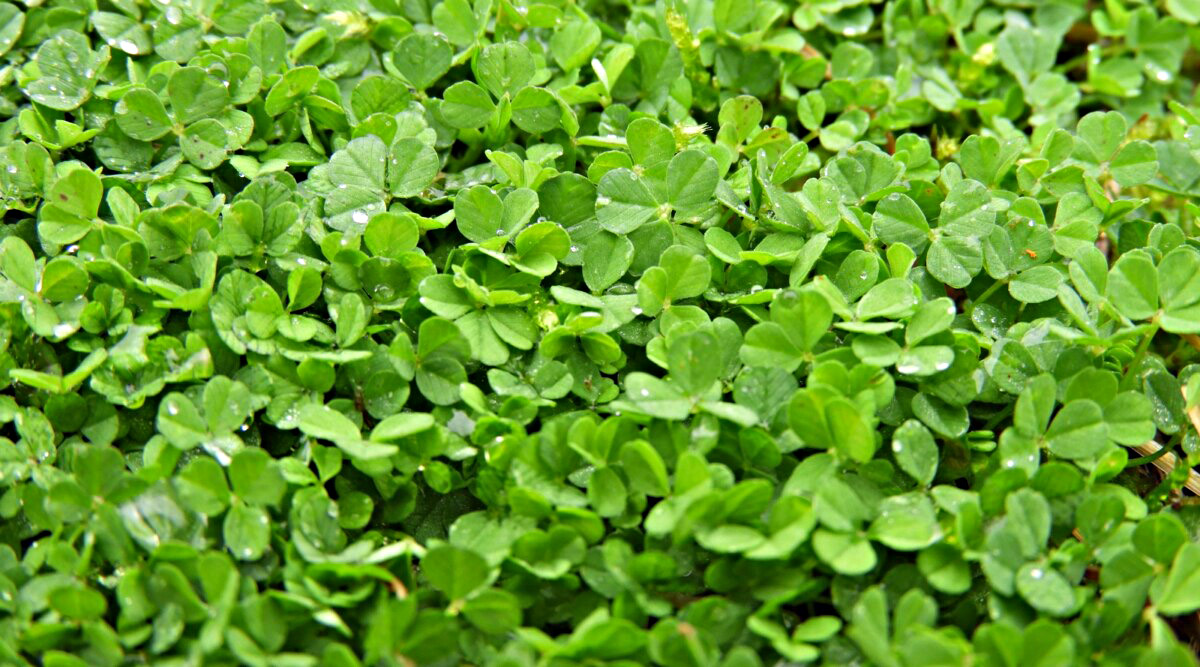
- Berseem Clover (Trifolium alexandrinum): Berseem clover seeds usually germinate within 7 to 10 days. This annual clover species is commonly used as a forage crop and cover crop.
It’s important to keep in mind that these are general guidelines, and actual germination times can vary depending on environmental conditions, seed quality, and other factors. It’s normal to have some variation in the germination time within a species.
As you observe the germination process, monitor the moisture level of the soil, the temperature, and the overall health of the seedlings. This will give you valuable information about the progress and ensure that any issues are addressed promptly.
Next, we’ll share some tips and techniques you can use to help speed up the germination process for clover seeds.
Tips for Speeding Up the Germination Process
If you’re eager to see your clover seeds germinate more quickly, there are several techniques you can employ to help speed up the process. By providing optimal conditions and a little extra care, you can encourage faster germination of your clover seeds. Here are some useful tips:
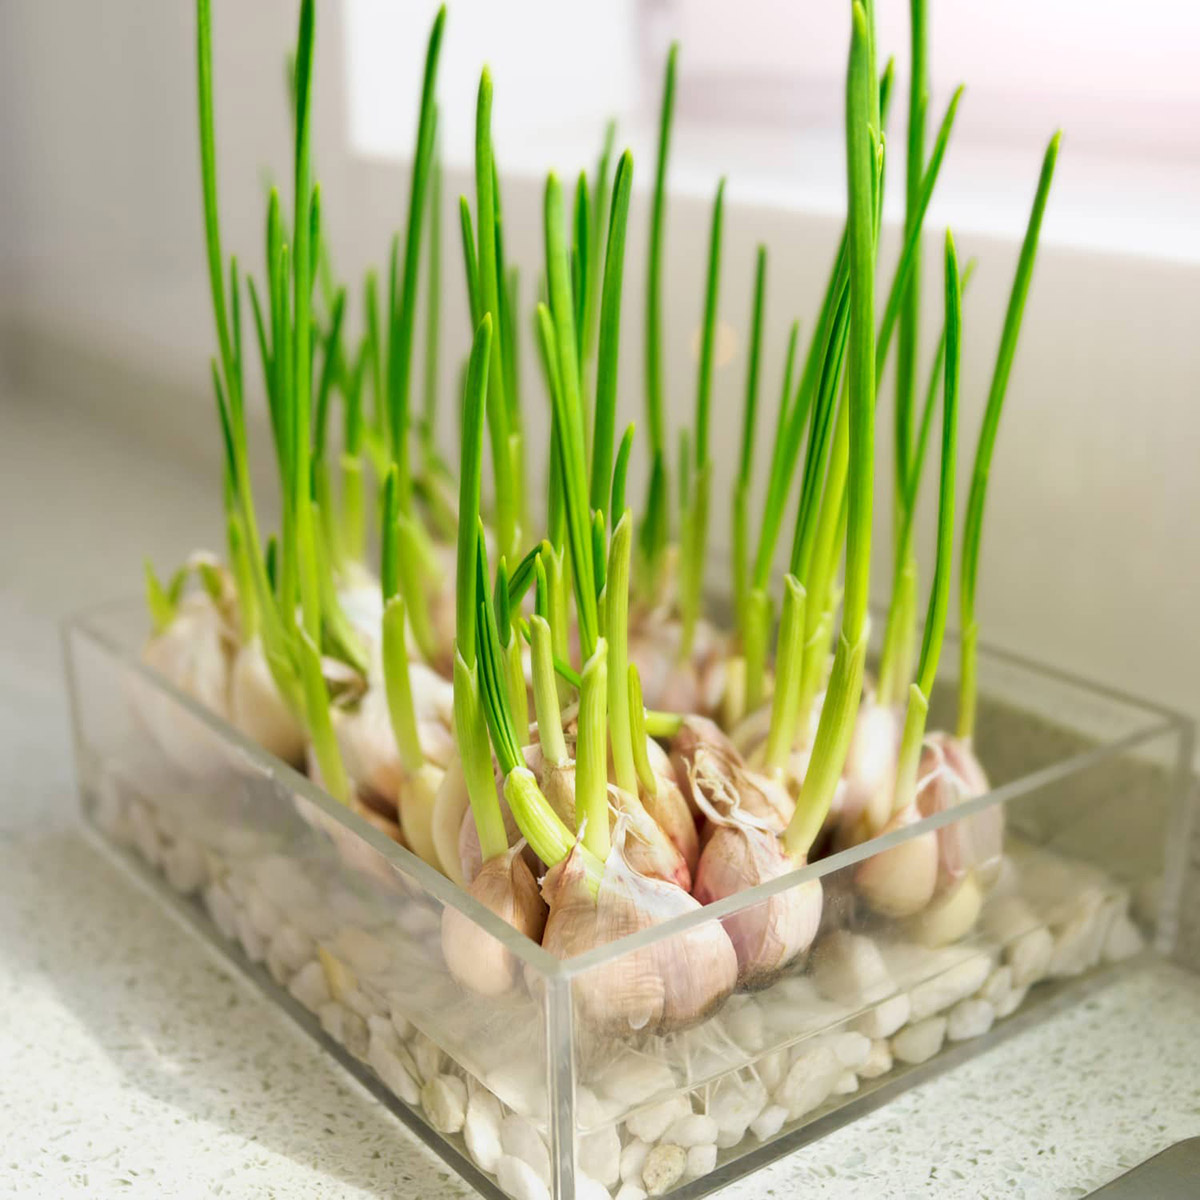
- Presoaking: Before sowing your clover seeds, you can presoak them in water for several hours or even overnight. This can help expedite the imbibition process and kickstart germination. Remember to drain off excess water before sowing the seeds to avoid waterlogging.
- Scarification: Some clover seeds have hard seed coats that can delay germination. Scarification involves scratching or nicking the seed coat to promote water absorption and hasten germination. Gently rub the seeds with sandpaper or file them lightly before sowing.
- Stratification: Certain clover species, such as crimson clover, can benefit from a period of cold stratification. Place the seeds in a moist paper towel or a sealed container and put them in the refrigerator for a few weeks before sowing. This mimics the natural process of winter dormancy and can enhance germination rates.
- Temperature Control: Maintaining a consistent temperature within the optimal range can help speed up germination. Using a germination mat or placing the seeds in a warm area can provide the necessary warmth to stimulate seedling growth. Avoid exposing the seeds to extreme temperature fluctuations.
- Water Management: Proper watering techniques are crucial for speeding up germination. Keep the soil consistently moist but not waterlogged to ensure adequate water availability for seed imbibition and activation. Using a fine mist or a spray bottle can help prevent disturbing the seeds during watering.
- Provide Adequate Light: While clover seeds do not require light for germination, providing sufficient light once the seedlings emerge can promote quicker growth. Place the germinated seedlings in a well-lit area or provide artificial grow lights to support their photosynthesis and development.
- Fertilization: While it’s important not to over-fertilize young seedlings, providing a gentle boost of nutrients can help speed up their growth. Use a diluted, balanced liquid fertilizer to provide essential nutrients without overwhelming the delicate seedlings.
Remember to monitor the progress of your clover seeds closely and make adjustments as needed. Some variation in germination time is normal, but by implementing these tips, you can encourage quicker and more uniform sprouting.
Despite your best efforts, it’s possible to encounter challenges during the germination process. In the next section, we’ll discuss common issues that may arise and provide troubleshooting tips.
Common Issues and Troubleshooting
Germinating clover seeds can sometimes come with challenges. Understanding common issues that may arise and how to troubleshoot them can help you overcome any obstacles and ensure successful sprouting. Here are some common issues and their corresponding troubleshooting tips:
- Poor Germination: If you notice low germination rates or seeds taking longer than expected to sprout, several factors could be at play. Check the quality of the seeds to ensure they are viable and not damaged. Review the environmental conditions, such as moisture and temperature, to ensure they are within the optimal range. Adjust as necessary to create more favorable conditions.
- Seed Dormancy: Some clover seeds may exhibit dormancy, requiring special treatments to overcome it. If scarification or stratification was not done prior to sowing, try these techniques to break seed dormancy and stimulate germination.
- Seedling Weakness or Wilting: Weak or wilted seedlings can indicate insufficient moisture or root damage. Ensure the soil is consistently moist, but not overly saturated, to provide adequate hydration. Be cautious when watering to prevent damaging delicate seedlings. If necessary, provide temporary shade or shelter from strong sunlight until the seedlings strengthen.
- Pest or Disease Damage: Clovers can be susceptible to pests like aphids, caterpillars, or fungal diseases. Regularly inspect your seedlings for signs of pest damage, such as chewed leaves or discoloration. If detected, treat the issue promptly using organic pest control methods or appropriate fungicides while minimizing harm to beneficial insects.
- Soil Quality Issues: Poor soil quality can hinder germination and affect seedling development. Compacted soil can limit oxygen availability, resulting in weak or stunted growth. Add organic matter, such as compost or well-rotted manure, to improve soil structure, water retention, and nutrient availability.
- Weed Competition: Weeds can compete with clover seedlings for resources, impeding their growth. Remove weeds regularly to prevent them from overtaking your clover plants. Use mulch or organic weed barriers to suppress weed growth and protect the seedlings until they are established.
Regular monitoring of your clover seeds and seedlings is essential to identify and address any issues promptly. Pay attention to their growth, color, and overall health, making adjustments as needed. Remember, patience and perseverance are key in the gardening journey.
In the final section, we’ll conclude our exploration of clover seed germination and recap the key points discussed throughout the article.
Conclusion
Understanding the germination process of clover seeds is fundamental to successful gardening. By grasping the factors that affect germination and creating optimal conditions, you can foster faster and healthier sprouting. Throughout this article, we have explored various aspects of clover seed germination, from the stages of germination to factors influencing the process.
We discussed the importance of seed quality and highlighted the potential impact of seed dormancy. We also emphasized the significance of moisture, temperature, oxygen, light, soil pH, and nutrients in ensuring favorable germination conditions. By carefully managing these factors, you can significantly increase the chances of successful sprouting.
Furthermore, we delved into the typical germination times for different clover species, providing you with a general idea of what to expect during the process. We also shared actionable tips for speeding up germination, such as presoaking, scarification, and stratification. These techniques can give your clover seeds a helpful boost, resulting in quicker germination.
We also addressed common issues that may arise during the germination process, including poor germination rates, seedling weakness, pests or diseases, soil quality problems, and weed competition. By being aware of these challenges and employing appropriate troubleshooting techniques, you can proactively manage and overcome them.
Remember, gardening is an art and a science, and successful germination requires patience, attention to detail, and adaptability. Each clover species may have specific requirements, so it’s crucial to refer to the instructions provided by your seed supplier for specific guidance. By applying the knowledge gained in this article and tailoring it to your unique circumstances, you’ll be on the path to a flourishing clover garden.
Now armed with a deeper understanding of clover seed germination, you can confidently embark on your gardening journey. Enjoy the process, experiment with different techniques, and witness the beauty and benefits of having vibrant clover plants in your garden!
Frequently Asked Questions about How Long Does It Take Clover Seed To Germinate
Was this page helpful?
At Storables.com, we guarantee accurate and reliable information. Our content, validated by Expert Board Contributors, is crafted following stringent Editorial Policies. We're committed to providing you with well-researched, expert-backed insights for all your informational needs.

0 thoughts on “How Long Does It Take Clover Seed To Germinate”