Home>Garden Essentials>How To Plant Clover Seeds
Garden Essentials
How To Plant Clover Seeds
Modified: March 15, 2024
Learn the best techniques to plant clover seeds in your garden. Enhance your garden's beauty and promote soil health with our step-by-step guide.
(Many of the links in this article redirect to a specific reviewed product. Your purchase of these products through affiliate links helps to generate commission for Storables.com, at no extra cost. Learn more)
Introduction
Welcome to the world of gardening, where the beauty and tranquility of nature can be brought into your very own backyard. One popular and versatile plant that can add charm to your garden is clover. Whether you’re looking to attract pollinators, improve soil health, or simply enjoy the vibrant green foliage, planting clover seeds is a fantastic choice.
In this article, we will guide you through the process of planting clover seeds and provide you with valuable tips on selecting the right seeds, choosing the ideal planting site, preparing the soil, sowing the seeds, and caring for your clover plants.
But why choose clover? Clover is known for its nitrogen-fixing properties, which means it can take nitrogen from the air and convert it into a form that plants can utilize. This makes it an excellent companion plant for vegetables and other plants, as it enriches the soil and promotes healthy growth.
Furthermore, clover is a favorite food source for bees and other beneficial pollinators. By planting clover in your garden, you can create a haven for these essential creatures that play a vital role in the pollination of flowers and food crops.
Now that you understand the benefits of planting clover, let’s delve into the details of selecting the right seeds for your garden.
Key Takeaways:
- Clover seeds offer benefits like nitrogen fixation and attracting pollinators. Choose the right species, prepare the soil, and provide proper care for a vibrant garden addition.
- Select the ideal planting site, sow the seeds evenly, and maintain soil moisture for successful clover growth. Enjoy the beauty and benefits of this versatile plant in your garden.
Read more: How To Plant Clover Seed
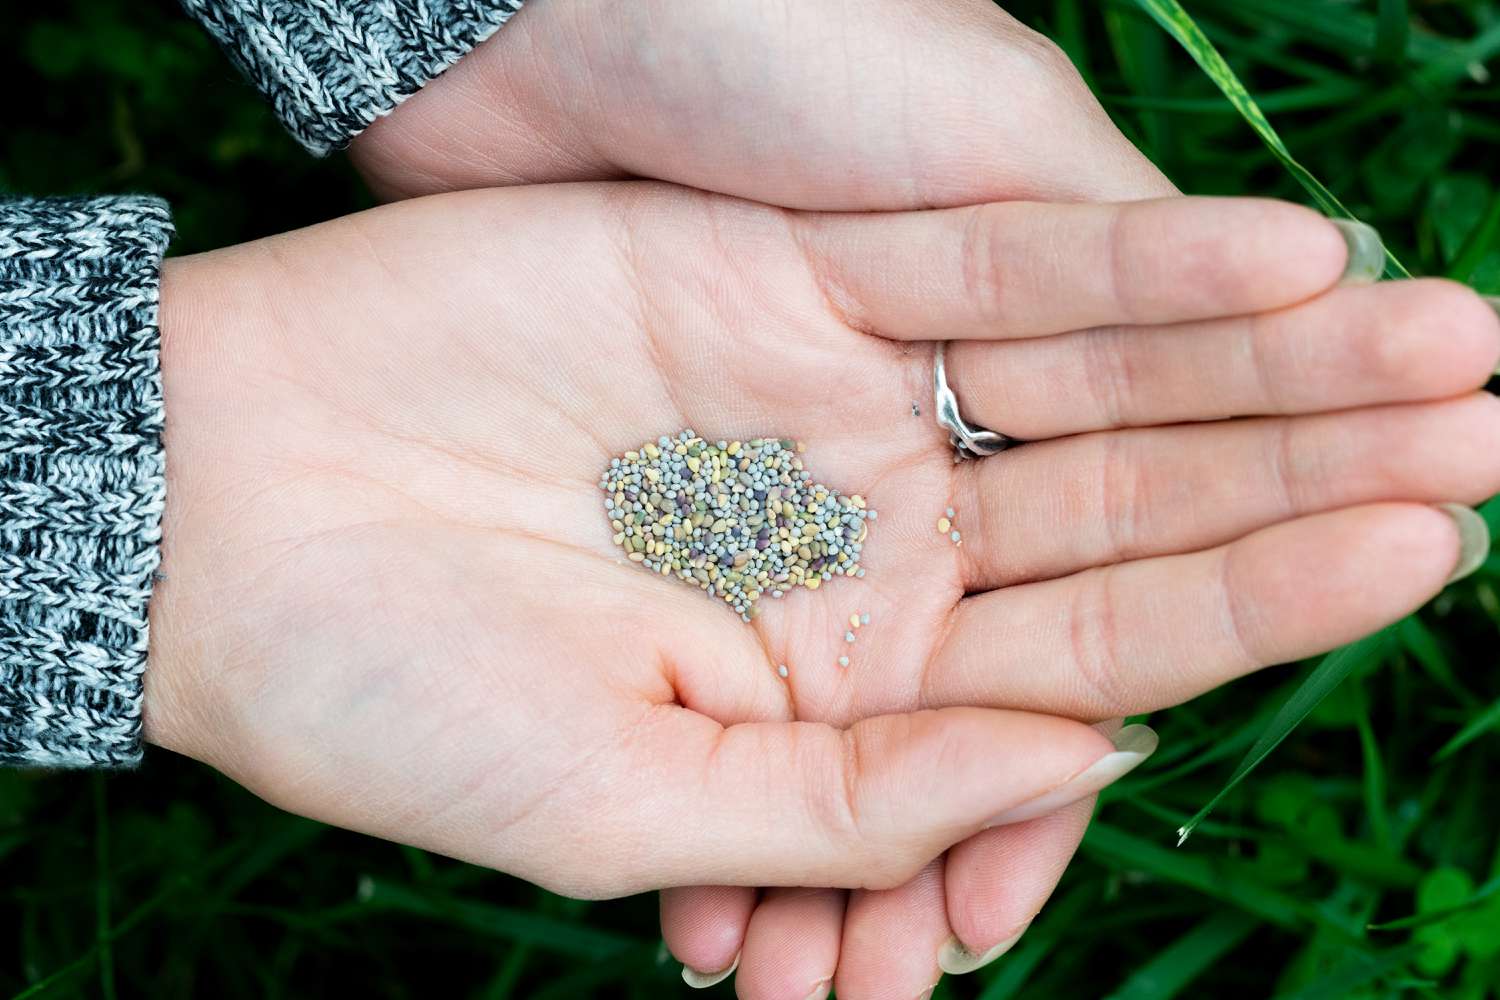
Choosing the Right Clover Seeds
When it comes to selecting clover seeds, there are a few factors to consider to ensure success in your garden. Here are some key points to keep in mind:
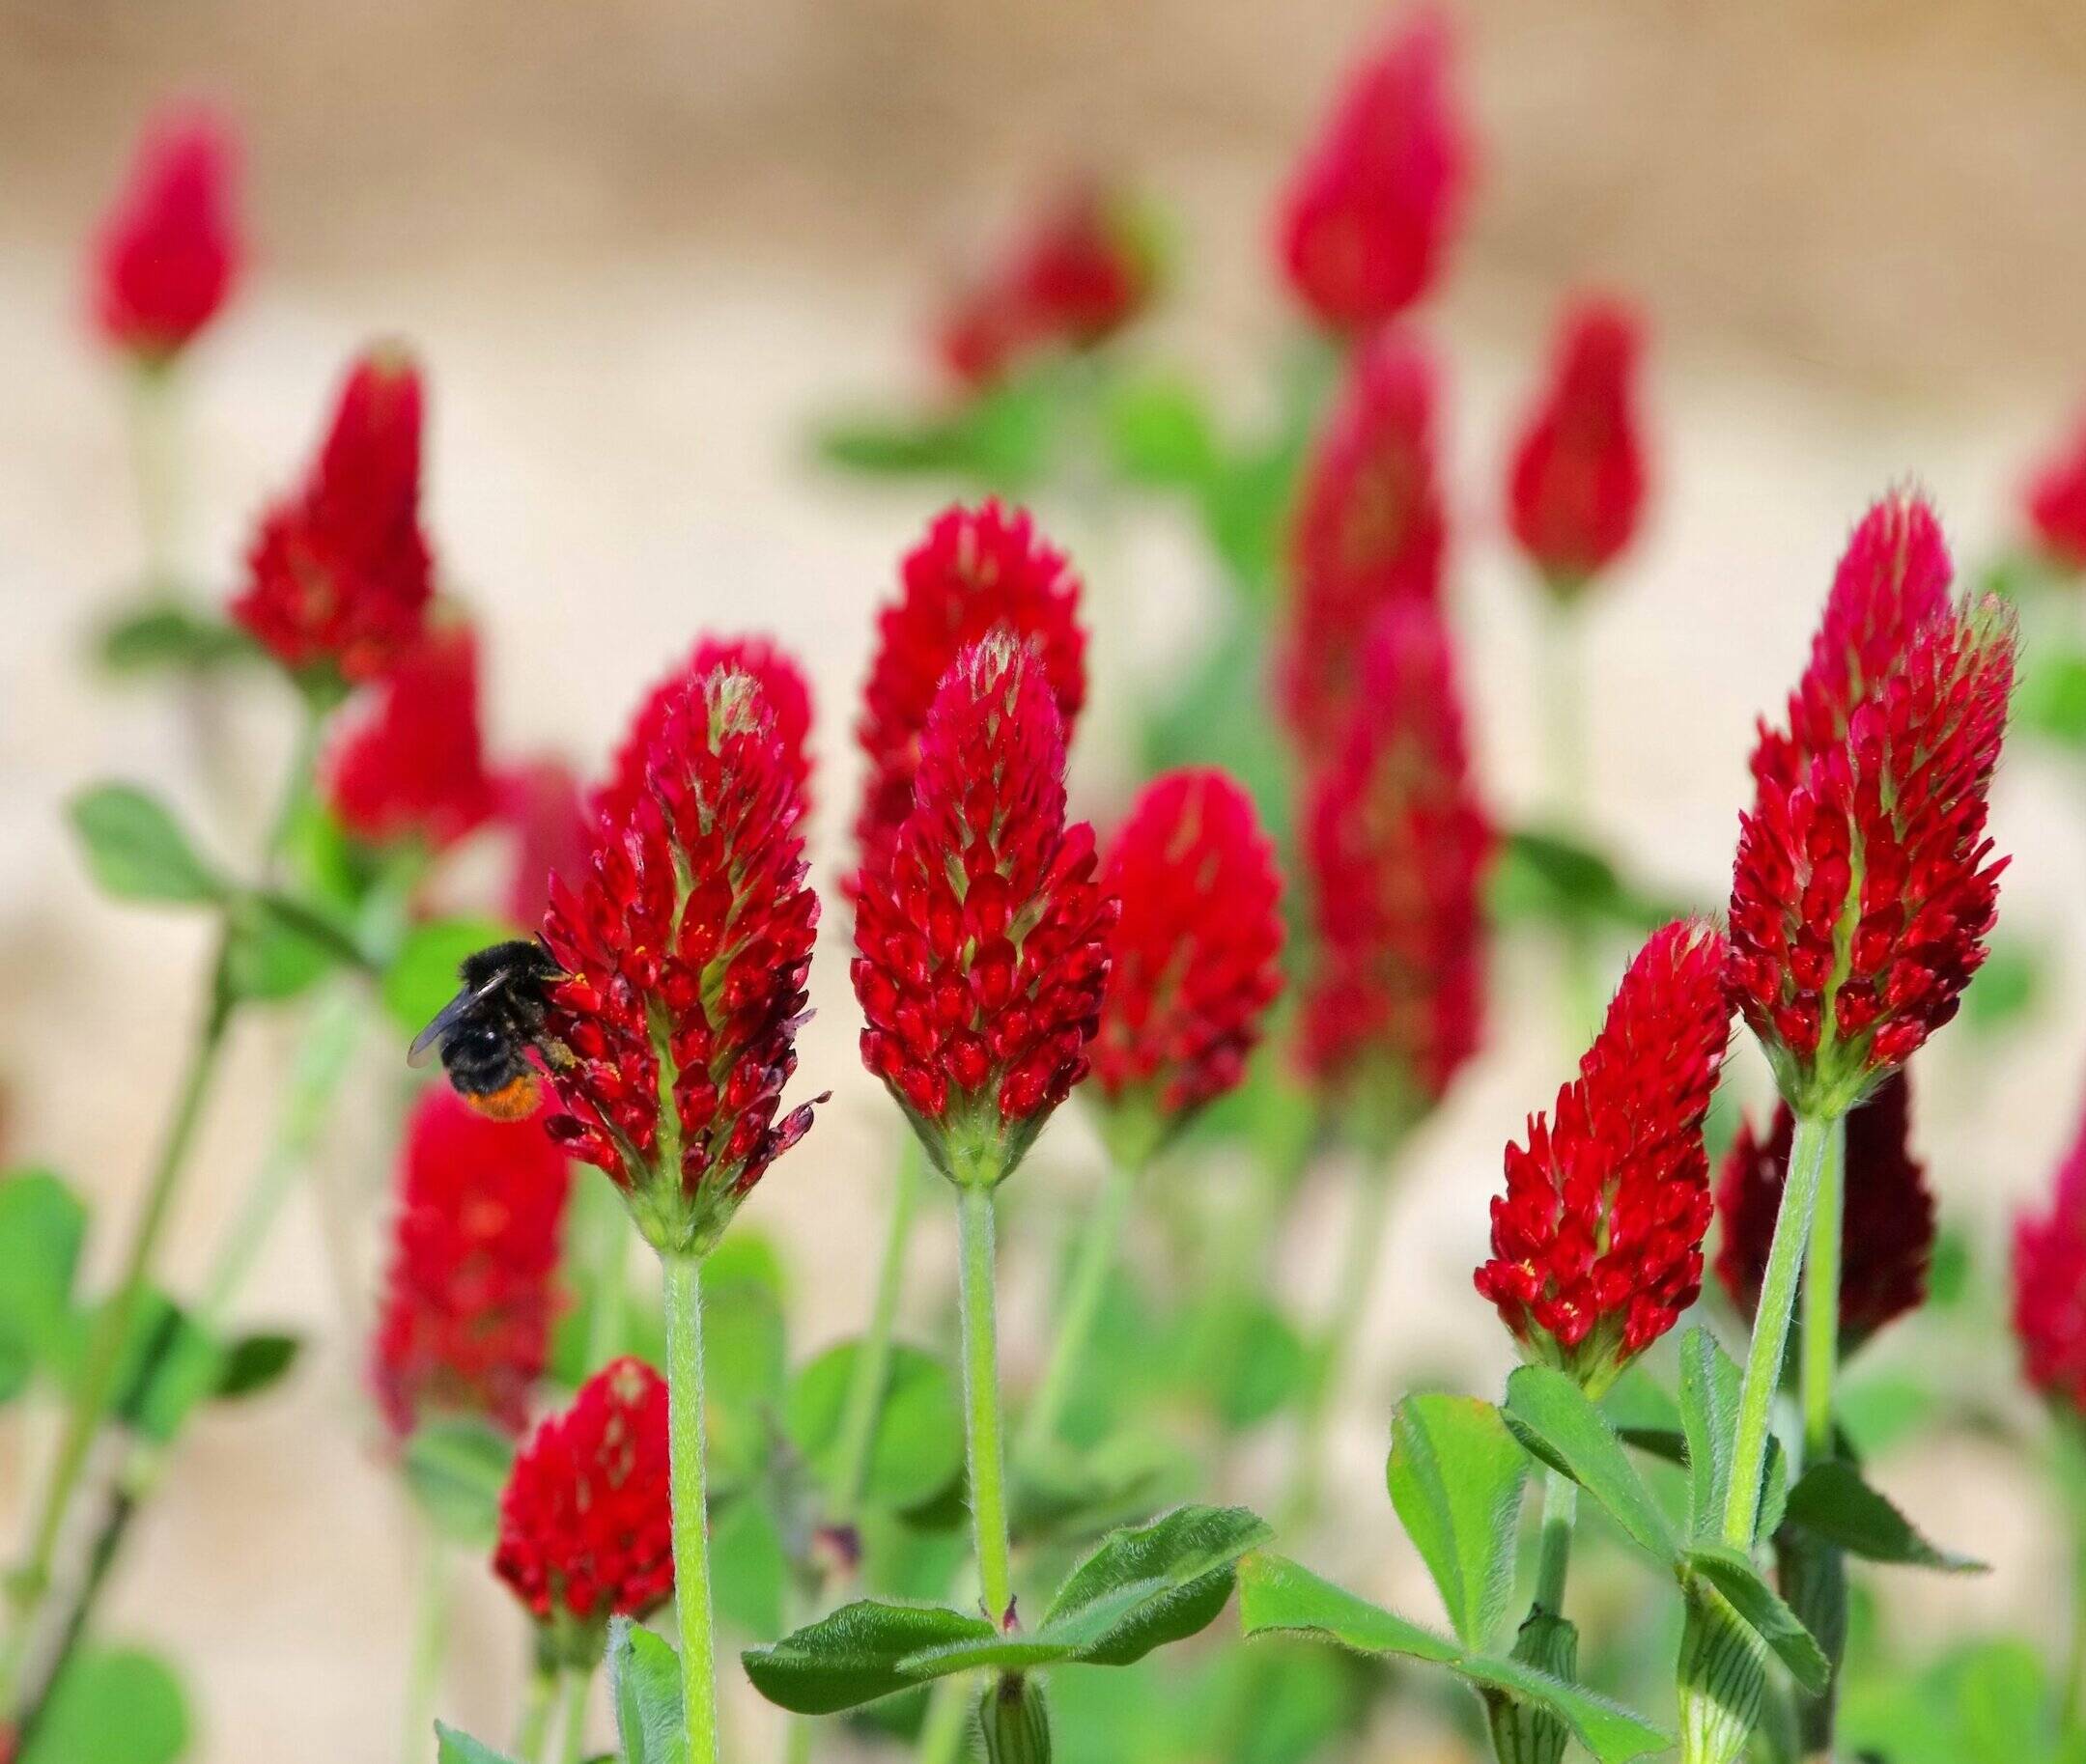
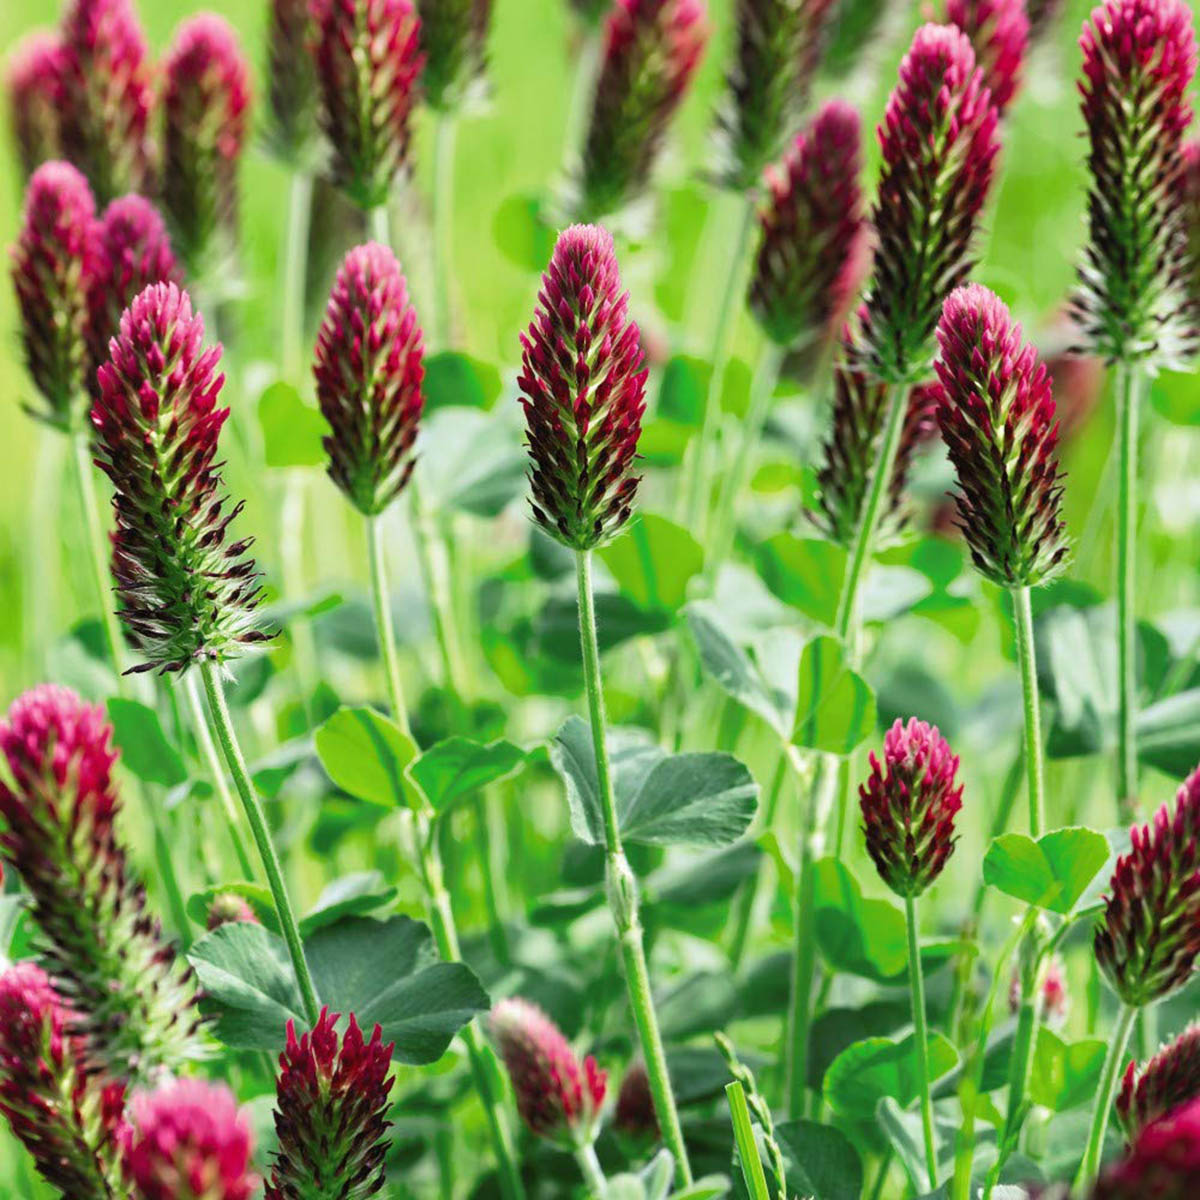
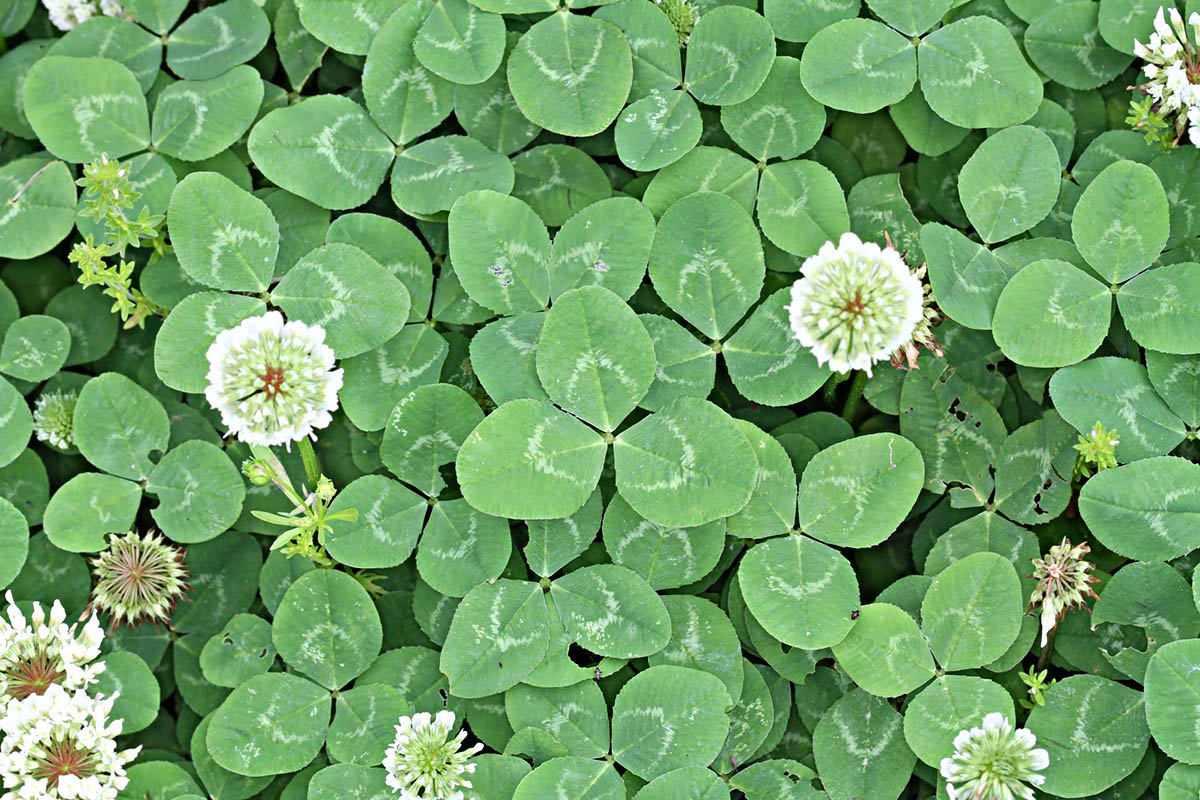
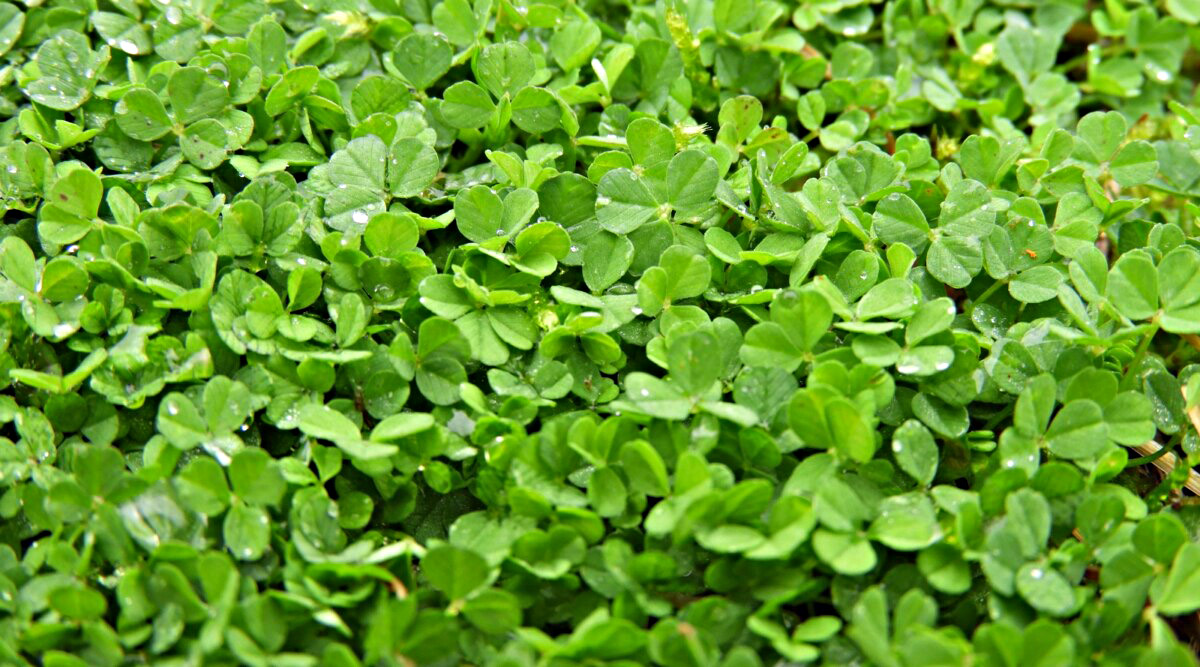
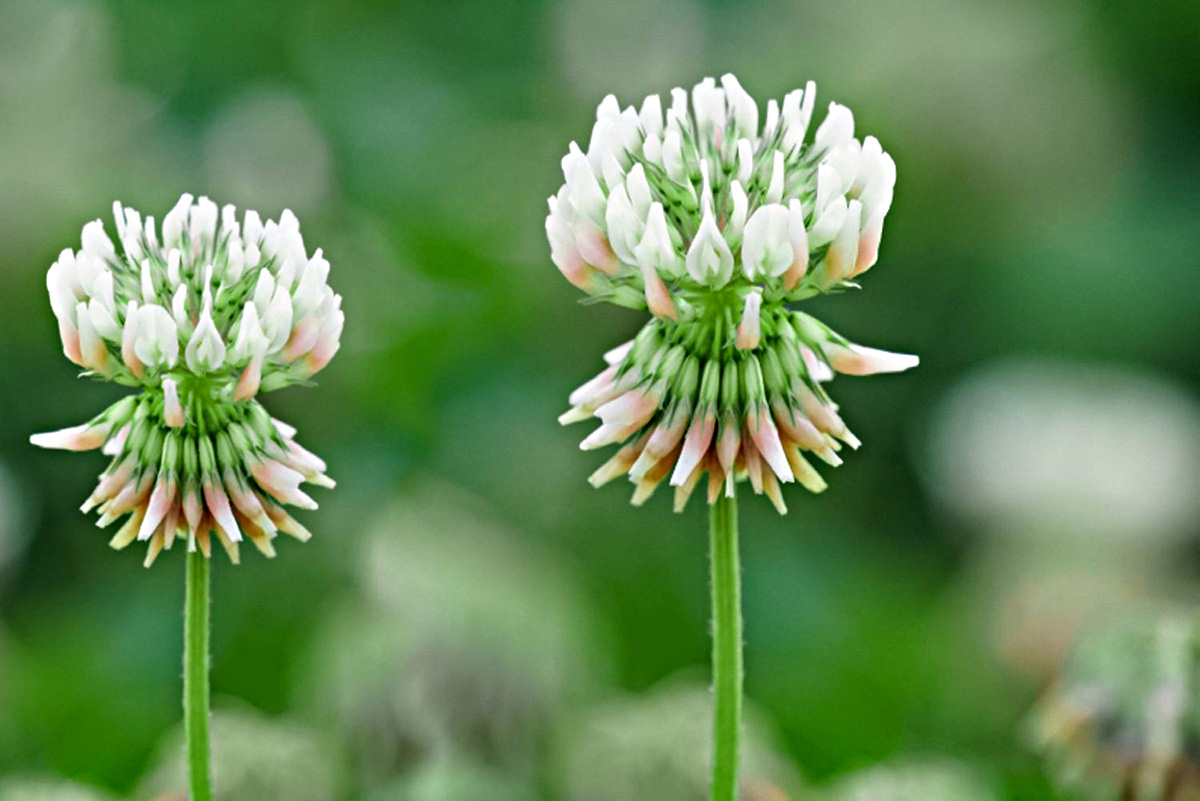
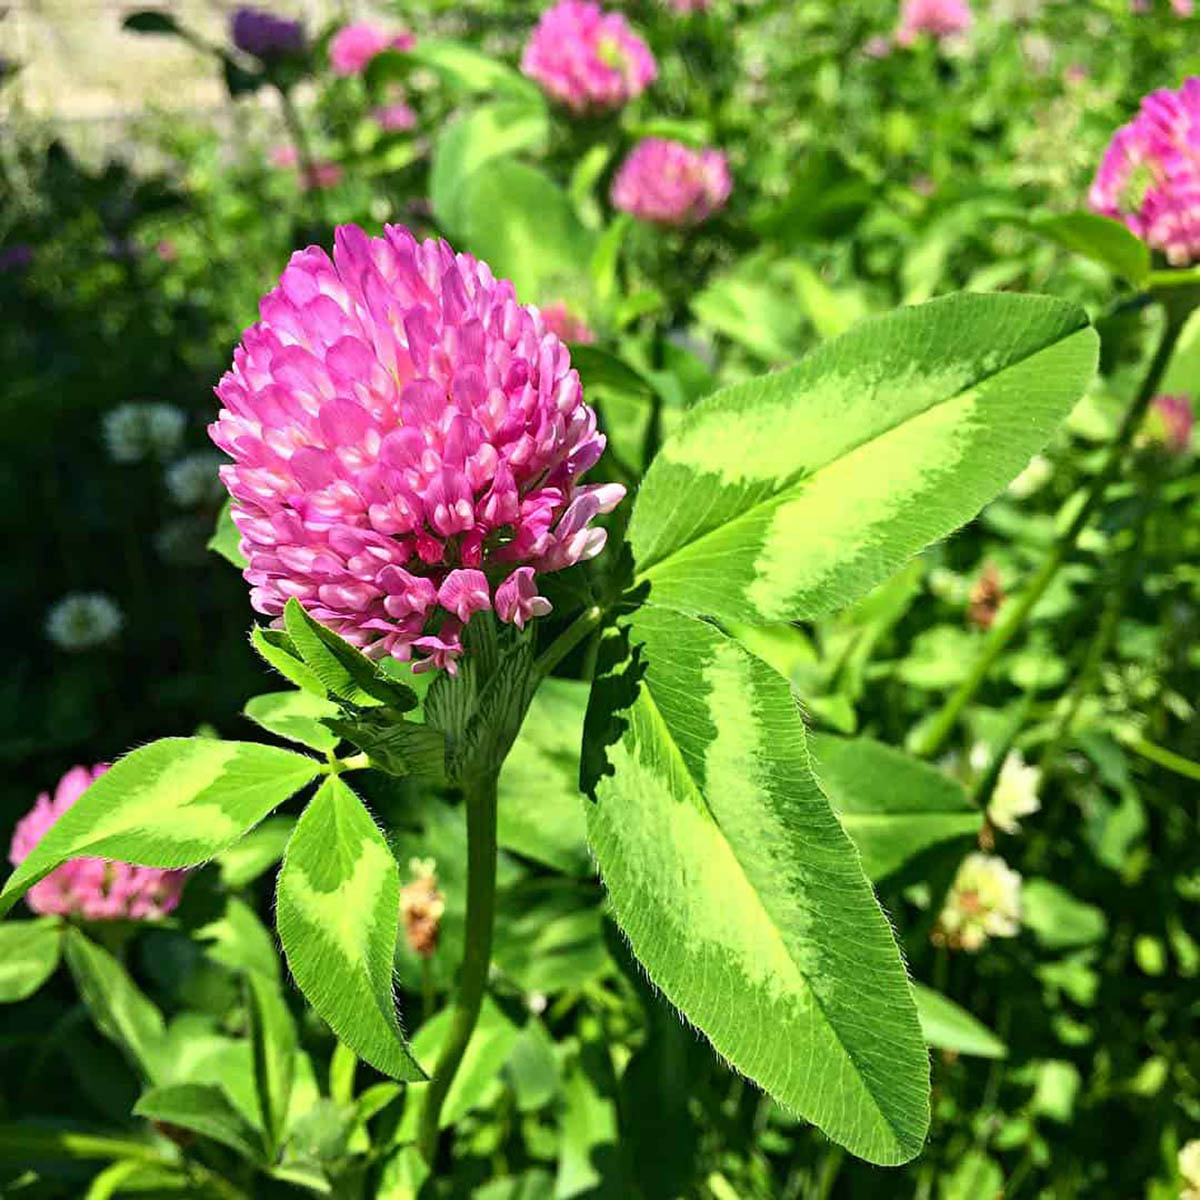
- Species: Clover comes in various species, including white clover (Trifolium repens) and red clover (Trifolium pratense). Each species has its unique characteristics, so choose the one that best suits your needs. White clover is low-growing and excellent for ground cover, while red clover grows taller and has beautiful pinkish-purple flowers.
- Seed Quality: Look for high-quality, certified clover seeds from reputable sources. Quality seeds will have a high germination rate, ensuring a greater chance of successful establishment in your garden.
- Climate Suitability: Consider your local climate when selecting clover seeds. Some species are more adapted to certain climates than others. Research the specific requirements of the species you’re interested in and make sure it aligns with your climate zone.
- Desired Purpose: Determine the purpose of planting clover in your garden. If you’re primarily interested in attracting pollinators, choose a clover species that is known for its nectar production and attractiveness to bees and butterflies. If you want to improve soil health, look for nitrogen-fixing clover varieties.
Before making a purchase, it’s a good idea to consult with local gardening experts or nursery professionals who can provide personalized advice based on your specific geographical region and gardening goals. They can help you choose the best clover seeds for your unique garden environment.
Now that you have selected the right clover seeds, let’s move on to the next step – selecting the ideal planting site.
Selecting the Planting Site
Choosing the right planting site for your clover seeds is crucial for their growth and success. Here are some factors to consider when selecting the ideal location:
- Sunlight: Clover generally thrives in full sun to partial shade. Ensure that the planting site receives at least 4-6 hours of direct sunlight daily for optimal growth.
- Soil Drainage: Clover prefers well-draining soil to avoid waterlogging, which can lead to root rot. Avoid areas with heavy clay or compacted soil. If the soil tends to retain water, consider amending it with organic matter to improve drainage.
- Soil pH: Check the pH level of the soil in your chosen site. Most clover species prefer slightly acidic to neutral soil with a pH range of 6.0-7.0. Conduct a soil test, and if needed, adjust the pH using organic amendments or lime.
- Competition: Take note of existing vegetation in the area. Avoid planting clover seeds in areas with aggressive, invasive plants that can outcompete the clover. Clear the site of weeds and remove any debris before planting.
- Accessibility: Consider the accessibility of the planting site. Ensure you can easily reach the area for watering, weeding, and general care. Planting clover near paths or walkways can add a delightful touch to your garden.
Remember to also check if any local regulations or restrictions are in place regarding planting clover or other vegetation in specific areas of your region.
Now that you’ve chosen the perfect planting site for your clover seeds, it’s time to prepare the soil to provide the ideal growing conditions for your plants.
Preparing the Soil
Proper soil preparation is essential for the successful growth and establishment of your clover plants. Follow these steps to prepare the soil before sowing your clover seeds:
- Remove Weeds: Clear the planting area of any weeds or vegetation. Weeds can compete with the clover for nutrients and space, so it’s crucial to start with a weed-free site.
- Loosen the Soil: Use a garden fork or tiller to loosen the top layer of soil. This will improve drainage and allow the clover roots to penetrate the soil more easily.
- Amend the Soil: If your soil is lacking in organic matter, incorporate compost or well-rotted manure into the soil. This will enhance its fertility, moisture-retaining capacity, and overall soil structure.
- Test the Soil: Perform a soil test to determine its nutrient content and pH level. This will help you identify any deficiencies or imbalances that need to be addressed. Follow the recommendations from the soil test results to add the necessary nutrients or adjust the pH if needed.
- Rake and Level: Use a rake to even out the soil surface and remove any large clumps or debris. A smooth and level soil surface will make it easier to sow the clover seeds evenly.
By taking the time to adequately prepare the soil, you provide your clover plants with a healthy foundation for growth. Once the soil is prepared, it’s time to move on to the exciting part – sowing the clover seeds!
Before planting clover seeds, make sure to prepare the soil by removing any debris and loosening the top layer. Then, scatter the seeds evenly and lightly cover with soil. Water the area regularly to keep the soil moist for germination.
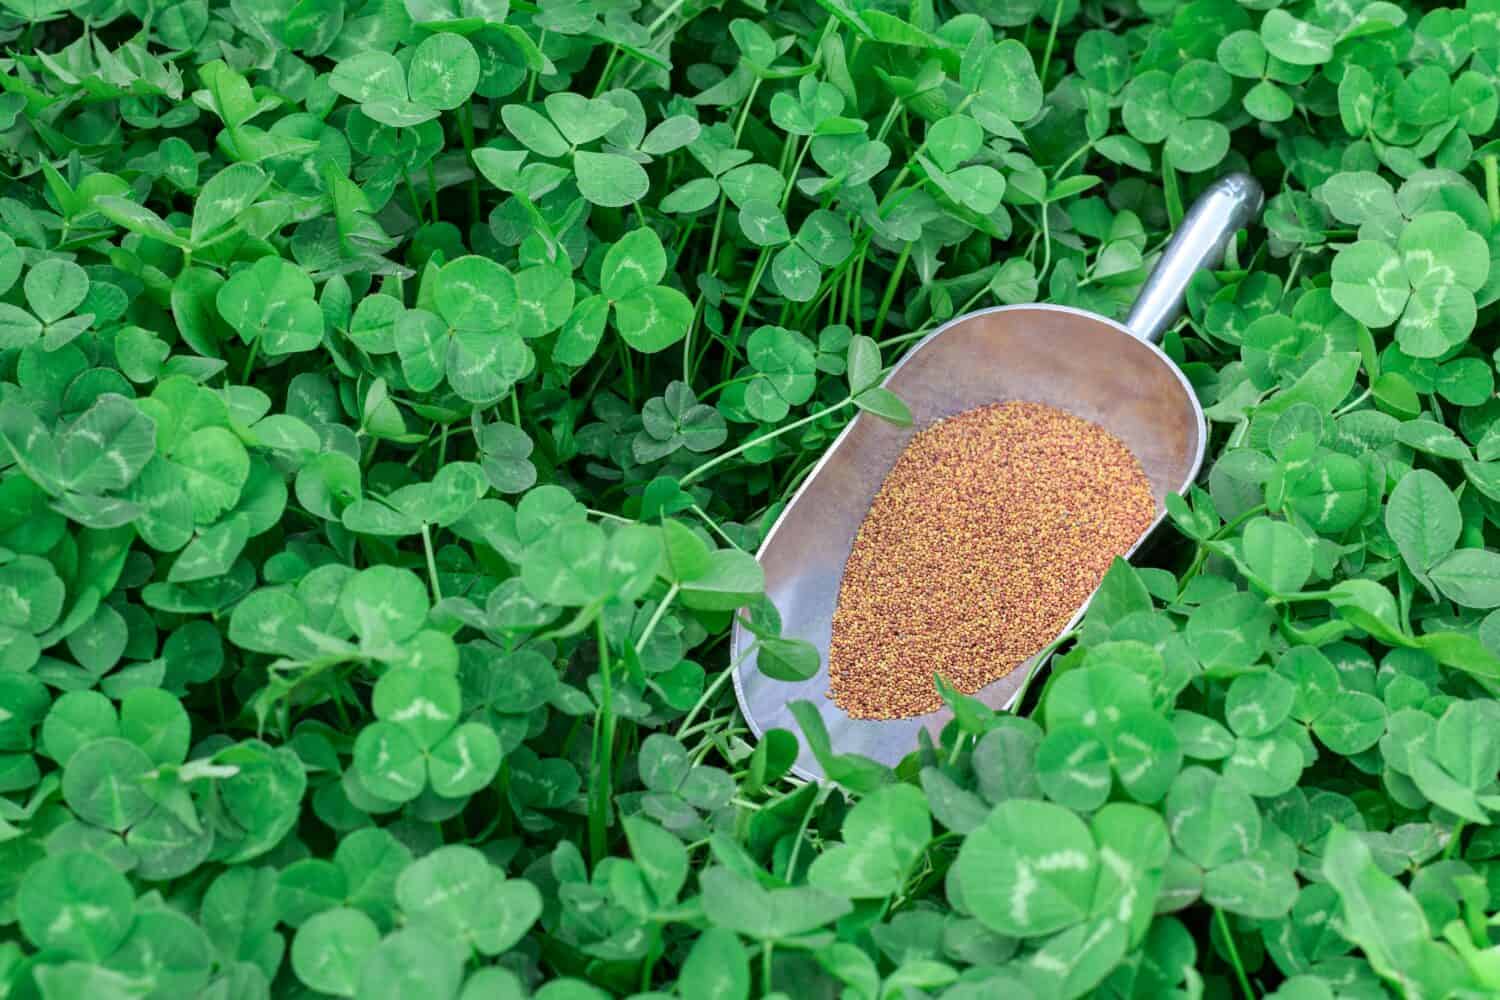
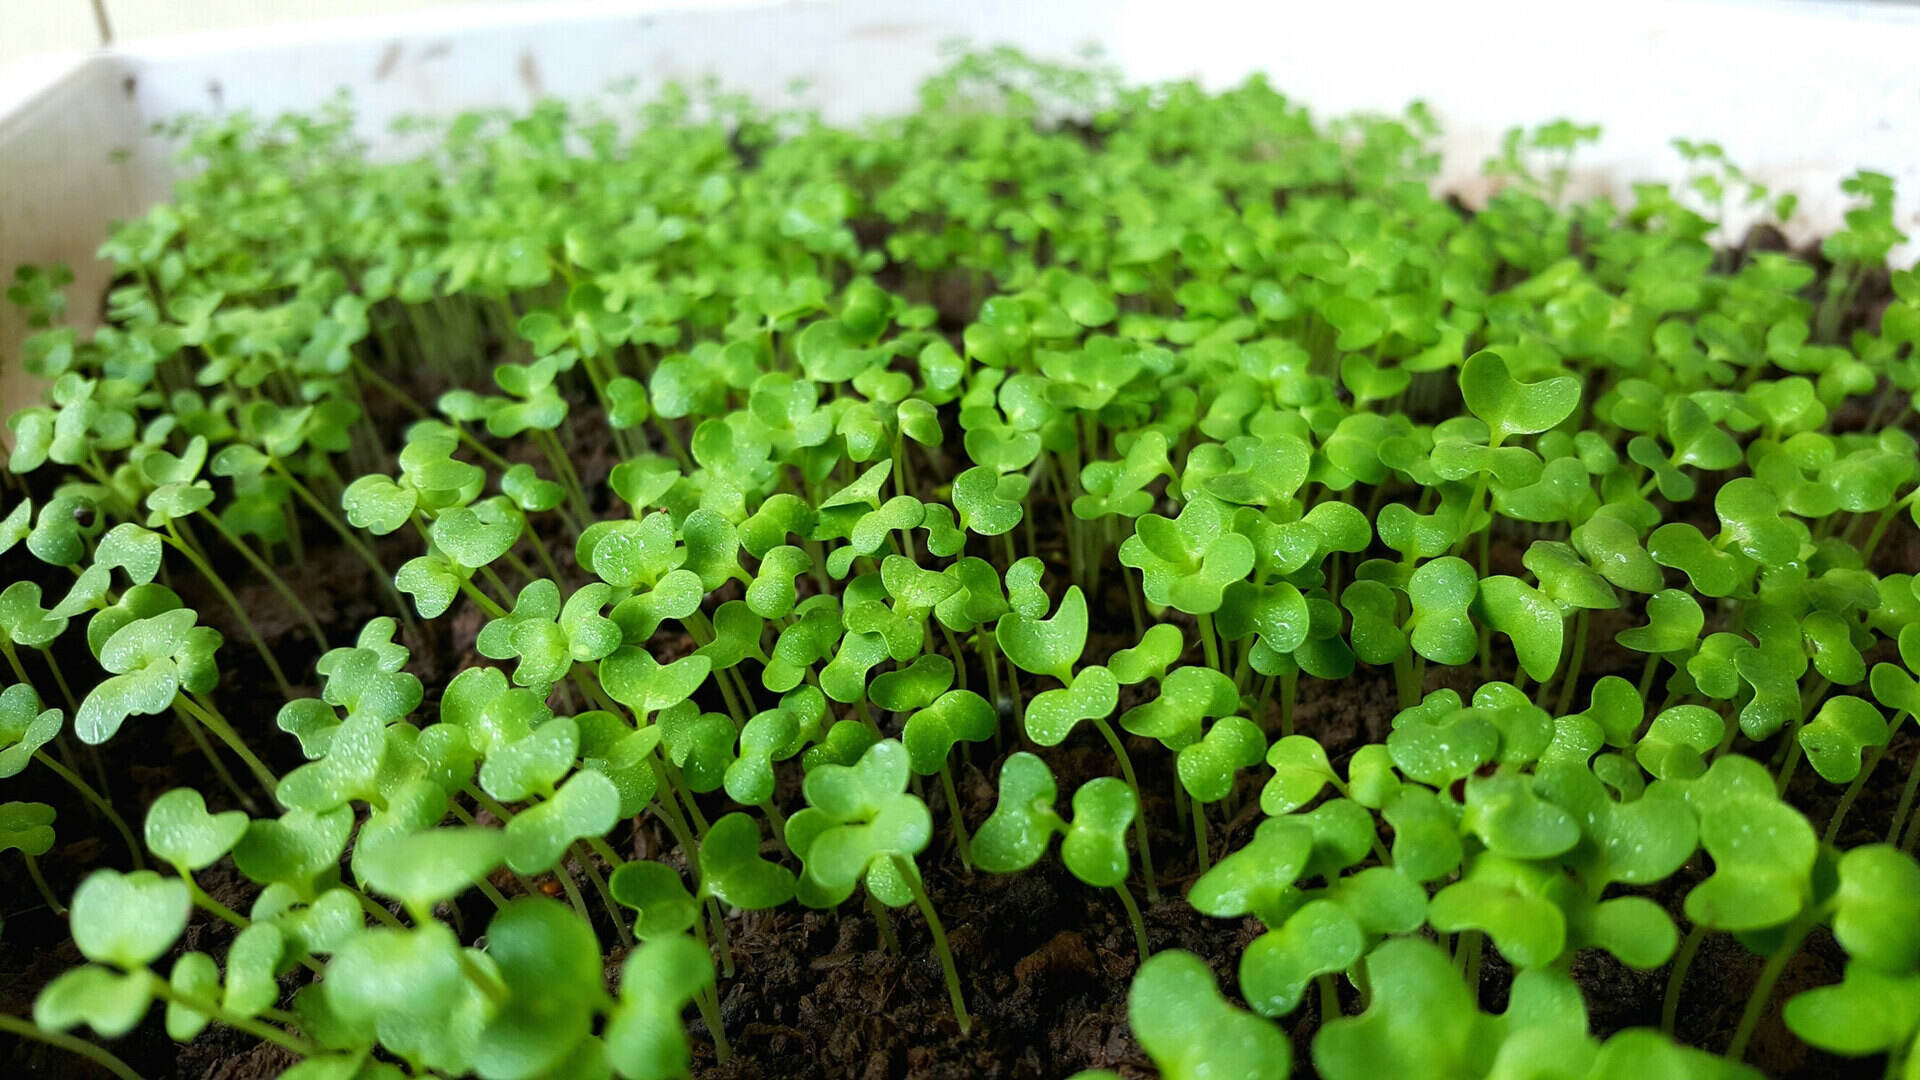
Sowing the Clover Seeds
Now that your soil is prepared, it’s time to sow the clover seeds and bring your garden to life. Follow these steps to ensure successful seed sowing:
- Timing: Choose the right time to sow your clover seeds. The best time is typically in early spring or early fall, when the soil is moist and temperatures are moderate. However, check the specific recommendations for the species you’re planting, as timing can vary.
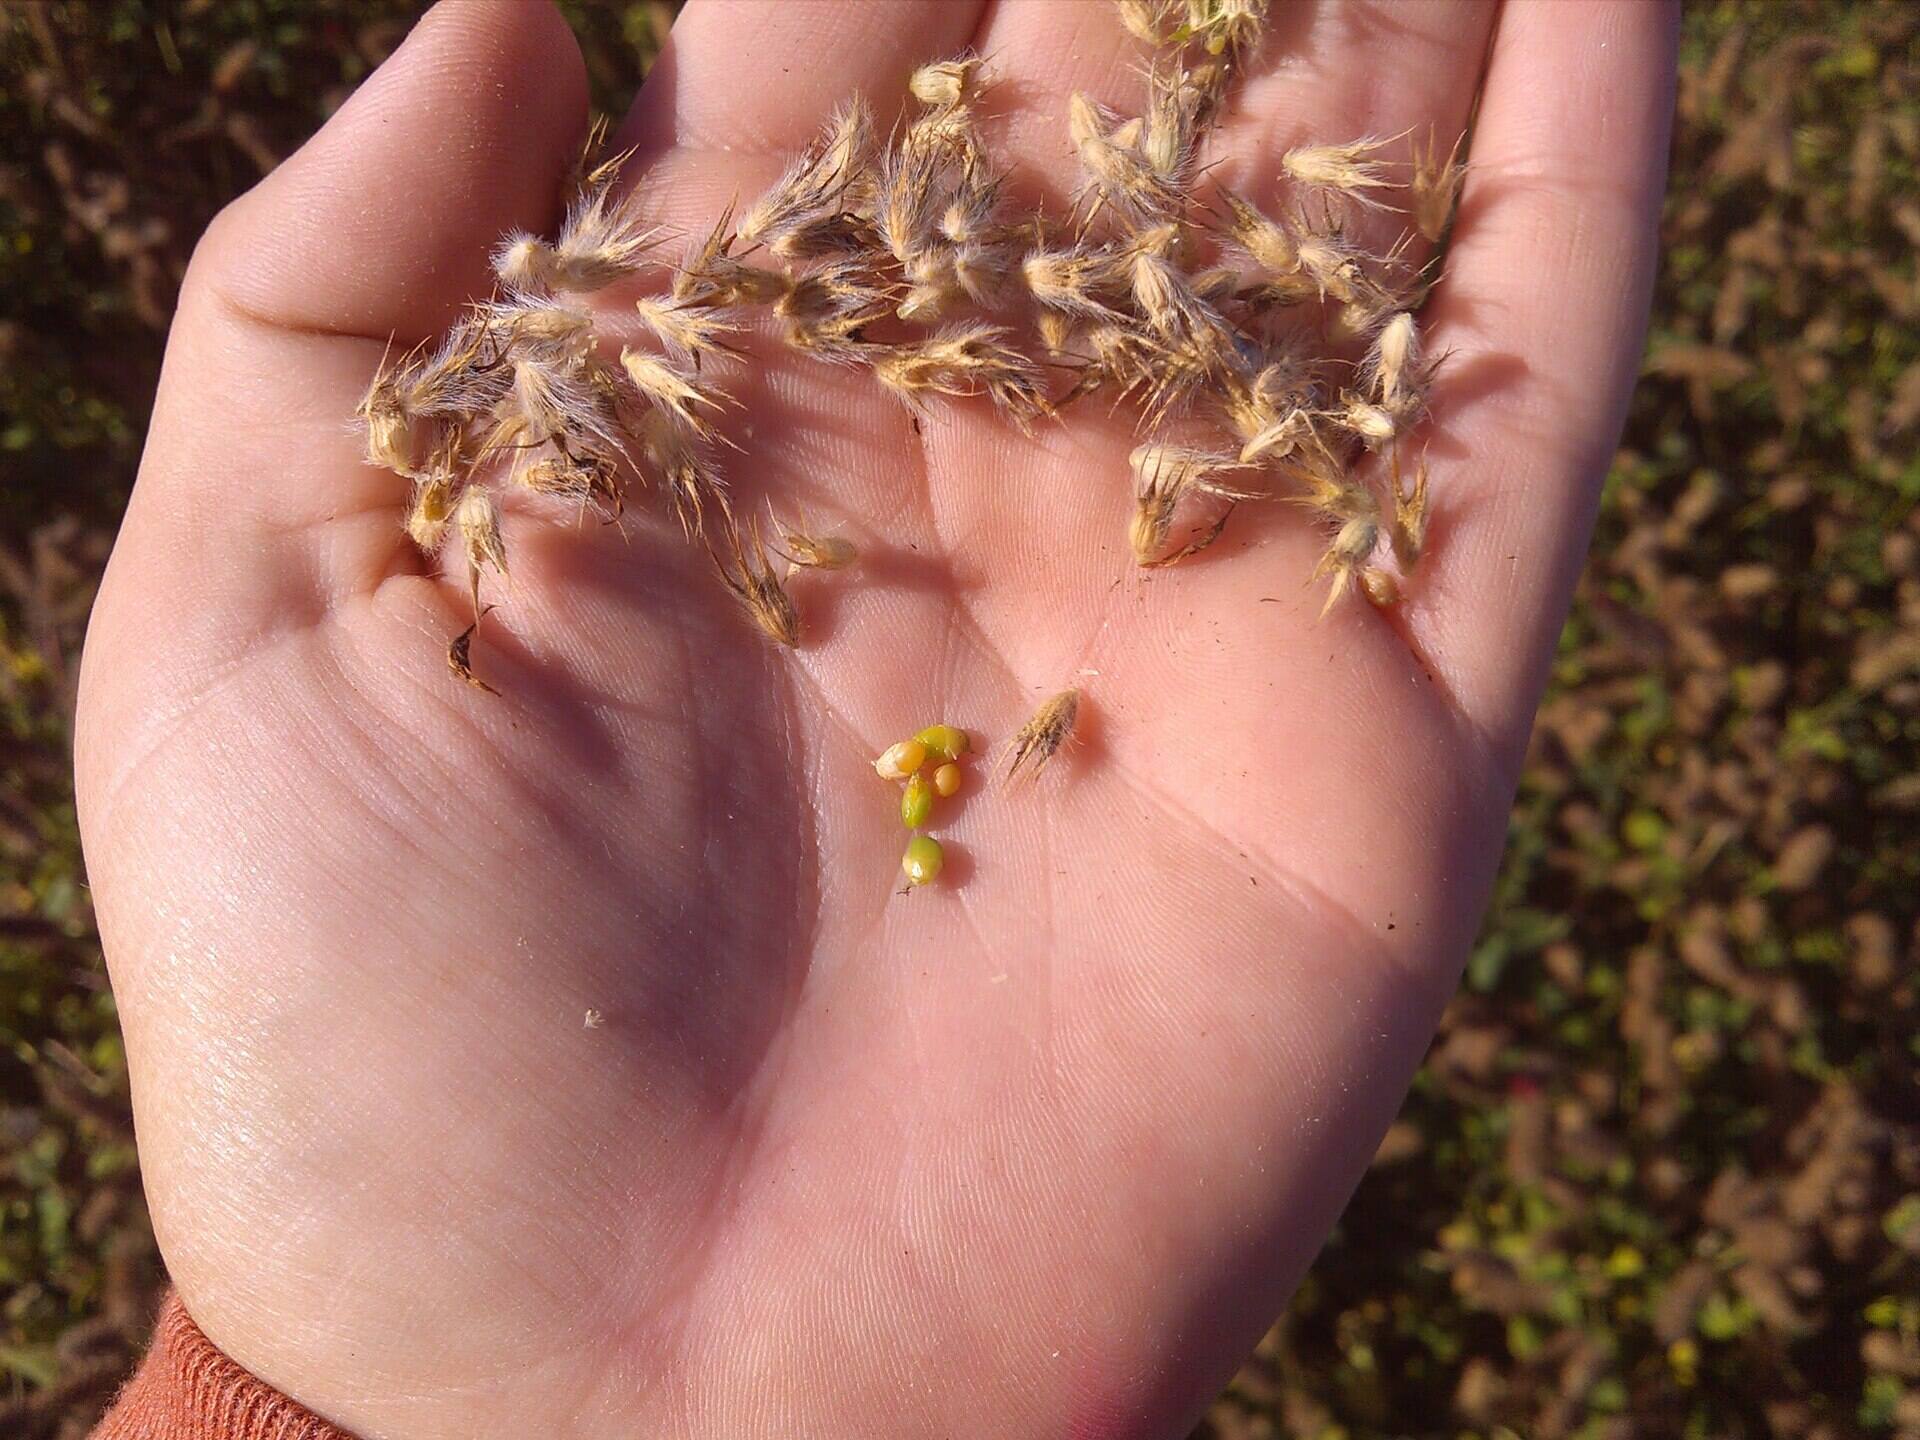
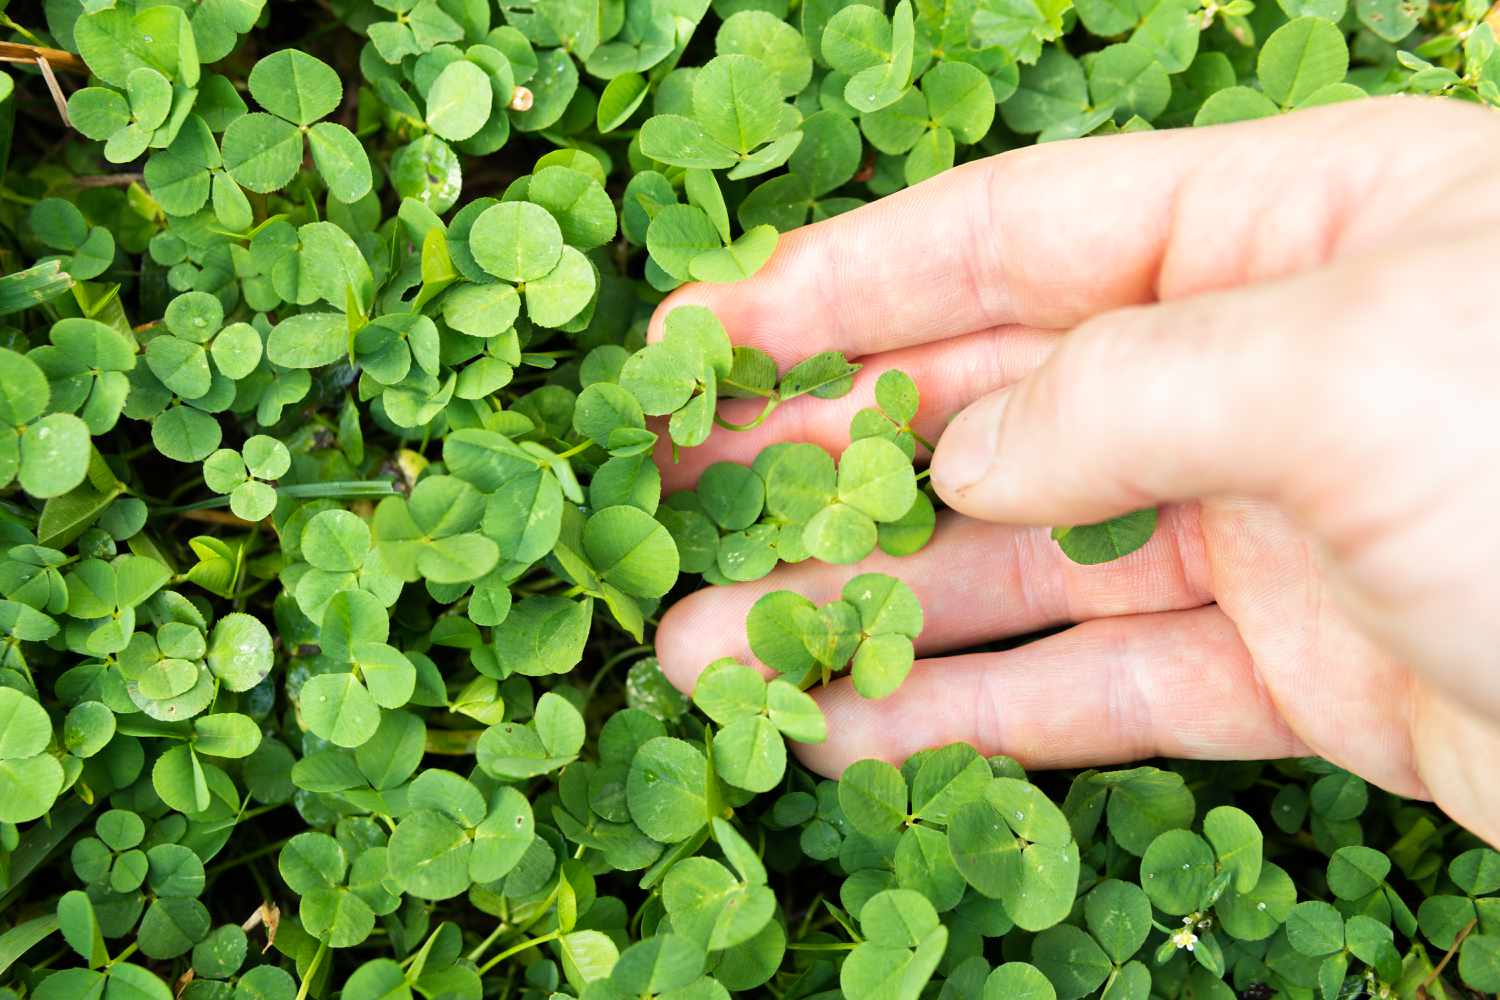
- Seed Distribution: Scatter the clover seeds evenly across the prepared soil. You can do this by hand or use a seed spreader for larger areas. Aim for a seeding rate of 1-2 pounds per 1,000 square feet, but adjust according to the specific recommendations for your chosen clover species.
- Seed Depth: Lightly rake the seeds into the top layer of soil, ensuring they are covered with a thin layer of soil. Clover seeds are small and do not require deep burial. A depth of approximately 1/4 to 1/2 inch is sufficient.
- Watering: After sowing the seeds, gently water the area using a fine mist or gentle shower setting on your watering can or hose. This will help settle the seeds into the soil and provide the necessary moisture for germination.
- Keep Moist: Maintain consistent soil moisture during the germination process. Water the seeded area regularly or as needed to keep the soil moist but not waterlogged. Avoid allowing the soil to dry out completely, as this can hinder seed germination.
It’s important to note that different clover species may have slightly different seed sowing requirements. Always refer to the seed packet or specific instructions for your chosen clover variety for the most accurate guidelines.
Now that you’ve sown the clover seeds, it’s time to provide proper care and maintenance to help your clover plants thrive.
Read more: When To Plant Clover Seed For Lawn
Caring for the Clover Plants
Once your clover seeds have germinated and the plants have begun to grow, it’s important to provide proper care to ensure their health and vitality. Here are some essential tips for caring for your clover plants:
- Watering: While clover is relatively drought-tolerant, it’s important to water the plants during dry spells or when the soil becomes dry. Aim to keep the soil evenly moist, but be careful not to overwater, as clover can be susceptible to root rot in waterlogged conditions.
- Weeding: Regularly inspect the clover patch for weeds and remove them promptly. Weeds can compete with clover for nutrients and space, reducing its overall growth and vigor.
- Mowing: Depending on the clover species and desired height, you may need to mow the plants occasionally to keep them at the desired height. Mowing also helps to encourage thicker growth and prevent legginess.
- Fertilization: Clover is generally a low-maintenance plant and doesn’t require heavy fertilization. However, if your soil is lacking in nutrients, you can provide a light application of balanced organic fertilizer in early spring to support healthy growth.
- Deadheading: If you’re growing clover for its blooms, consider deadheading or removing faded flowers. This not only keeps the plants looking neat but can also encourage additional bloom production.
- Pest and Disease Control: Clover is relatively resistant to pests and diseases. However, keep an eye out for common garden pests such as aphids, slugs, or snails. If necessary, use organic pest control methods to manage any infestations.
Clover plants generally require minimal attention and benefit from their ability to fix nitrogen and improve soil health. Their low-maintenance nature makes them a fantastic addition to any garden.
Now that you’ve learned how to care for your clover plants, let’s talk about harvesting and maintenance.
Harvesting and Maintenance
Harvesting and maintaining your clover plants ensures their longevity and continued health. Here are some guidelines to follow:
- Harvesting: If you’re growing clover for its foliage or flowers, you can harvest them as needed. Simply trim the stems with sharp garden shears or scissors, being careful not to remove too much foliage at once. This allows the plant to continue growing and producing more leaves and blooms.
- Rejuvenation: To rejuvenate clover plants and encourage new growth, you can mow them down to a height of about 2-4 inches. This helps to remove older, woody growth and promotes fresh green foliage.
- Overseeding: Depending on the specific clover species and your climate, overseeding may be necessary to maintain a consistent and healthy clover stand. Consider overseeding every few years to replenish any gaps or thin areas.
- Monitoring: Regularly monitor your clover plants for any signs of pests, diseases, or nutrient deficiencies. Catching any issues early allows for prompt treatment and prevention of further damage.
- Soil Health: Clover plays a significant role in maintaining soil health through nitrogen fixation. However, you can further support the soil by periodically adding organic matter, such as compost or well-rotted manure, to enhance fertility and promote a thriving ecosystem.
- Seasonal Adjustments: Depending on your region, you may need to adjust your clover maintenance routine based on seasonal changes. For example, in colder climates, you may need to protect clover plants from frost or provide extra mulch during winter.
By staying proactive and attentive to your clover plants’ needs, you can enjoy their beauty and benefits for many years to come.
Now that you have a good understanding of how to care for and maintain your clover plants, it’s time to reap the rewards of your efforts.
Conclusion
Congratulations on embarking on your journey to plant and care for clover in your garden! By following the steps outlined in this article, you are well-equipped to choose the right clover seeds, select an ideal planting site, prepare the soil, sow the seeds, and provide proper care and maintenance for your clover plants.
Clover is an incredible addition to any garden, offering numerous benefits such as nitrogen fixation, soil improvement, and attracting beneficial pollinators. Its vibrant foliage and beautiful blooms can add charm and color to your outdoor space.
Remember to select the right clover species based on your garden’s needs and climate suitability. Ensure that the planting site receives adequate sunlight, proper soil drainage, and an accessible location for maintenance.
Take the time to prepare the soil by removing weeds, loosening it, and adding organic amendments if necessary. When sowing the clover seeds, ensure even distribution and an appropriate seed depth. Consistent watering, periodic mowing, and regular maintenance will keep your clover plants healthy and thriving.
Harvesting the foliage or blooms as desired and monitoring for pests, diseases, and nutrient deficiencies will help maintain the longevity and vitality of your clover plants. Don’t forget to oversee your clover stand periodically to keep it lush and vigorous.
By caring for your clover plants and maintaining their health, you’ll create a beautiful garden space, support pollinators, and improve the overall soil quality in your yard.
So, grab your gardening tools and get ready to watch your clover garden flourish. Enjoy the benefits of this versatile plant, and may your garden be filled with the beauty and joy that clover brings.
Frequently Asked Questions about How To Plant Clover Seeds
Was this page helpful?
At Storables.com, we guarantee accurate and reliable information. Our content, validated by Expert Board Contributors, is crafted following stringent Editorial Policies. We're committed to providing you with well-researched, expert-backed insights for all your informational needs.


0 thoughts on “How To Plant Clover Seeds”