Home>Garden Essentials>How Long Does It Take To Grow Marigolds From Seed

Garden Essentials
How Long Does It Take To Grow Marigolds From Seed
Modified: May 6, 2024
Learn how long it takes to grow marigolds from seed in your garden. Discover the essential steps and timeline for a blooming success.
(Many of the links in this article redirect to a specific reviewed product. Your purchase of these products through affiliate links helps to generate commission for Storables.com, at no extra cost. Learn more)
Introduction
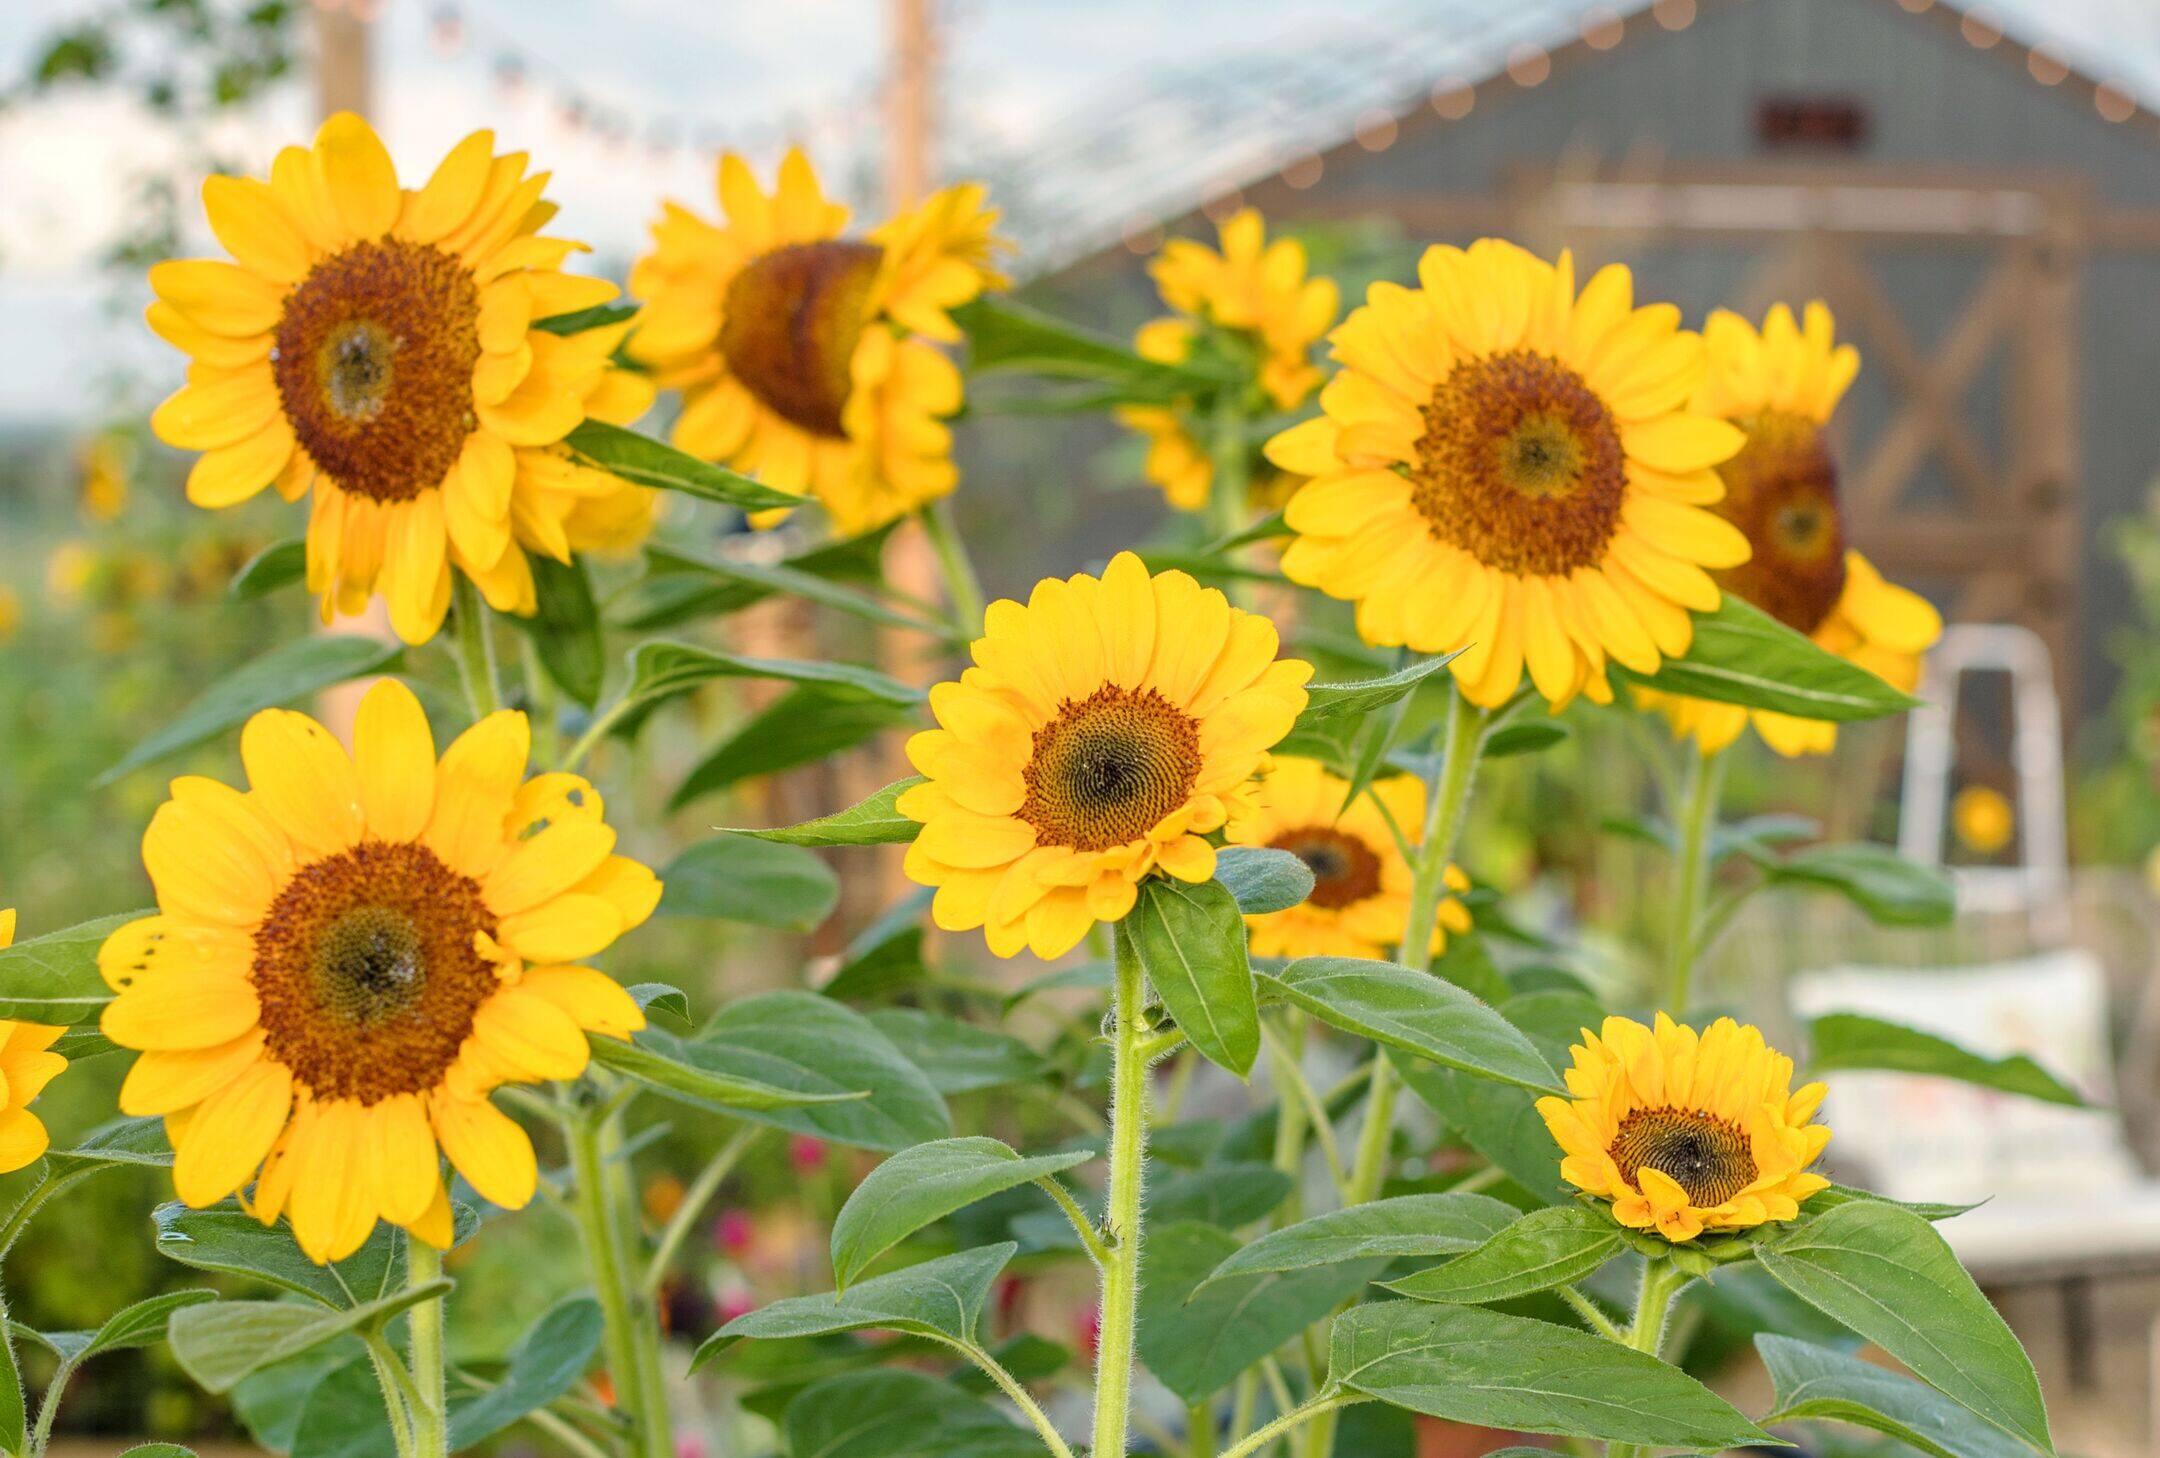
Growing marigolds from seed is a rewarding and enjoyable process. These vibrant and versatile flowers are known for their ability to add a pop of color to any garden or landscape. Whether you are a seasoned gardener or a beginner, this step-by-step guide will walk you through the process of growing marigolds from seed.
Marigolds, scientifically known as Tagetes, are native to North and South America and have been cultivated for centuries. They are well-loved for their bright yellow, orange, and maroon blooms, as well as their ability to repel pests and attract beneficial insects. Marigolds are also known for their long blooming season, making them a popular choice for gardeners looking to add continuous color to their outdoor spaces.
Before getting started, it’s important to note that marigolds can be grown both indoors and outdoors. Indoor gardening allows for more control over the growing conditions, while outdoor gardening allows the plants to benefit from natural sunlight and ventilation. Regardless of your choice, the process of growing marigolds from seed remains the same.
In this guide, we will cover the necessary steps to successfully grow marigolds from seed, including gathering materials, preparing the soil, sowing the seeds, providing proper watering, maintaining temperature and light conditions, transplanting (if desired), protecting from pests and diseases, and ongoing care and maintenance.
By following these steps, you will be well on your way to cultivating beautiful marigolds that will brighten up your garden and bring joy to your gardening experience.
Key Takeaways:
- It takes about a week for marigold seeds to germinate. Proper watering, temperature, and light are crucial for their growth. Enjoy the vibrant blooms and fragrance they bring to your garden!
- Transplanting marigold seedlings is optional but can promote healthy growth. Protect your plants from pests and diseases, and continue caring for them to ensure a successful and colorful garden.
Step 1: Gather Materials
Before you begin the process of growing marigolds from seed, it’s important to gather all the necessary materials. Having everything prepared in advance will make the process smoother and more efficient. Here’s a list of materials you’ll need:
- Marigold seeds: You can purchase marigold seeds from your local gardening store or online. Choose a variety that suits your preferences and growing conditions.
- Pots or seed trays: You’ll need containers to plant the marigold seeds. Opt for pots or seed trays with drainage holes to allow excess water to escape.
- Seed starting mix: Use a high-quality seed starting mix that provides good drainage and nutrients for the seeds to germinate.
- Watering can or spray bottle: You’ll need a watering can or spray bottle to provide moisture to the seeds and seedlings.
- Labels or markers: It’s important to label your pots or seed trays to keep track of the different marigold varieties and planting dates.
- Plastic wrap or dome: To create a mini greenhouse effect and promote humidity, you can use plastic wrap or a transparent dome to cover the pots or trays.
- Grow lights (optional): If you’re growing marigolds indoors, consider using grow lights to provide the necessary light for optimal growth.
- Dibble or small tool: A dibble or small tool can be used to make holes in the soil for planting the marigold seeds.
- Fertilizer (optional): Depending on the quality of your soil, you may choose to incorporate a slow-release fertilizer to provide additional nutrients to the growing plants.
Once you have gathered all the necessary materials, you’re ready to move on to the next step: preparing the soil for planting the marigold seeds.
Step 2: Prepare the Soil
Proper soil preparation is crucial for the successful growth of marigold seeds. Marigolds thrive best in well-draining soil that is rich in organic matter. Follow these steps to prepare the soil for planting:
- Choose the planting location: Select a sunny area in your garden or a spot with sufficient sunlight if you’re growing marigolds indoors. Marigolds prefer bright light and require at least 6 hours of direct sunlight each day.
- Clear the area: Remove any weeds, rocks, or debris from the planting area. Clearing the area ensures that the marigold plants won’t have to compete with other vegetation for nutrients and water.
- Loosen the soil: Use a garden fork or a tiller to loosen the soil to a depth of around 6-8 inches. This will help improve drainage and allow the marigold roots to spread easily.
- Amend the soil: If your soil is heavy clay or lacks organic matter, you can improve its texture and fertility by adding compost or well-rotted manure. Spread a layer of organic matter over the soil and mix it in thoroughly.
- Level the soil: Rake the soil to level the surface, removing any large clumps or debris. A smooth and even surface will make it easier to plant the marigold seeds at the proper depth.
After following these steps, your soil should be adequately prepared for planting the marigold seeds. The loose and fertile soil will provide a favorable environment for the seeds to germinate and the plants to establish strong root systems.
Now that the soil is ready, you can move on to the next step: sowing the marigold seeds.
Step 3: Sow the Marigold Seeds
Now that you have prepared the soil, it’s time to sow the marigold seeds. Follow these steps to ensure proper planting:
- Moisten the soil: Before sowing the seeds, dampen the soil lightly with water. This will provide a conducive environment for the seeds to germinate.
- Plant the seeds: Depending on the size of your container or garden bed, make small holes or furrows in the soil using a dibble or your finger. Space the holes about 1-2 inches apart to allow room for growth. Drop one or two marigold seeds into each hole or furrow, and cover them with a thin layer of soil.
- Label the containers: If you’re planting different marigold varieties or colors, use labels or markers to identify them. This will help you keep track of their progress and characteristics.
- Mist the soil: After planting the seeds, mist the soil lightly with water to settle them in place. Avoid using a strong stream of water, as it can displace the seeds or create uneven planting depths.
- Cover the containers: If you’re growing marigolds indoors or in a controlled environment, cover the containers with plastic wrap or a transparent dome. This will create a mini greenhouse effect and help retain moisture.
It’s important to note that marigold seeds are relatively large and easy to handle, making them suitable for direct sowing. However, if you prefer to start the seeds indoors, you can use seed trays or small pots filled with seed starting mix. Follow the same process of making holes, planting the seeds, and covering them lightly with soil.
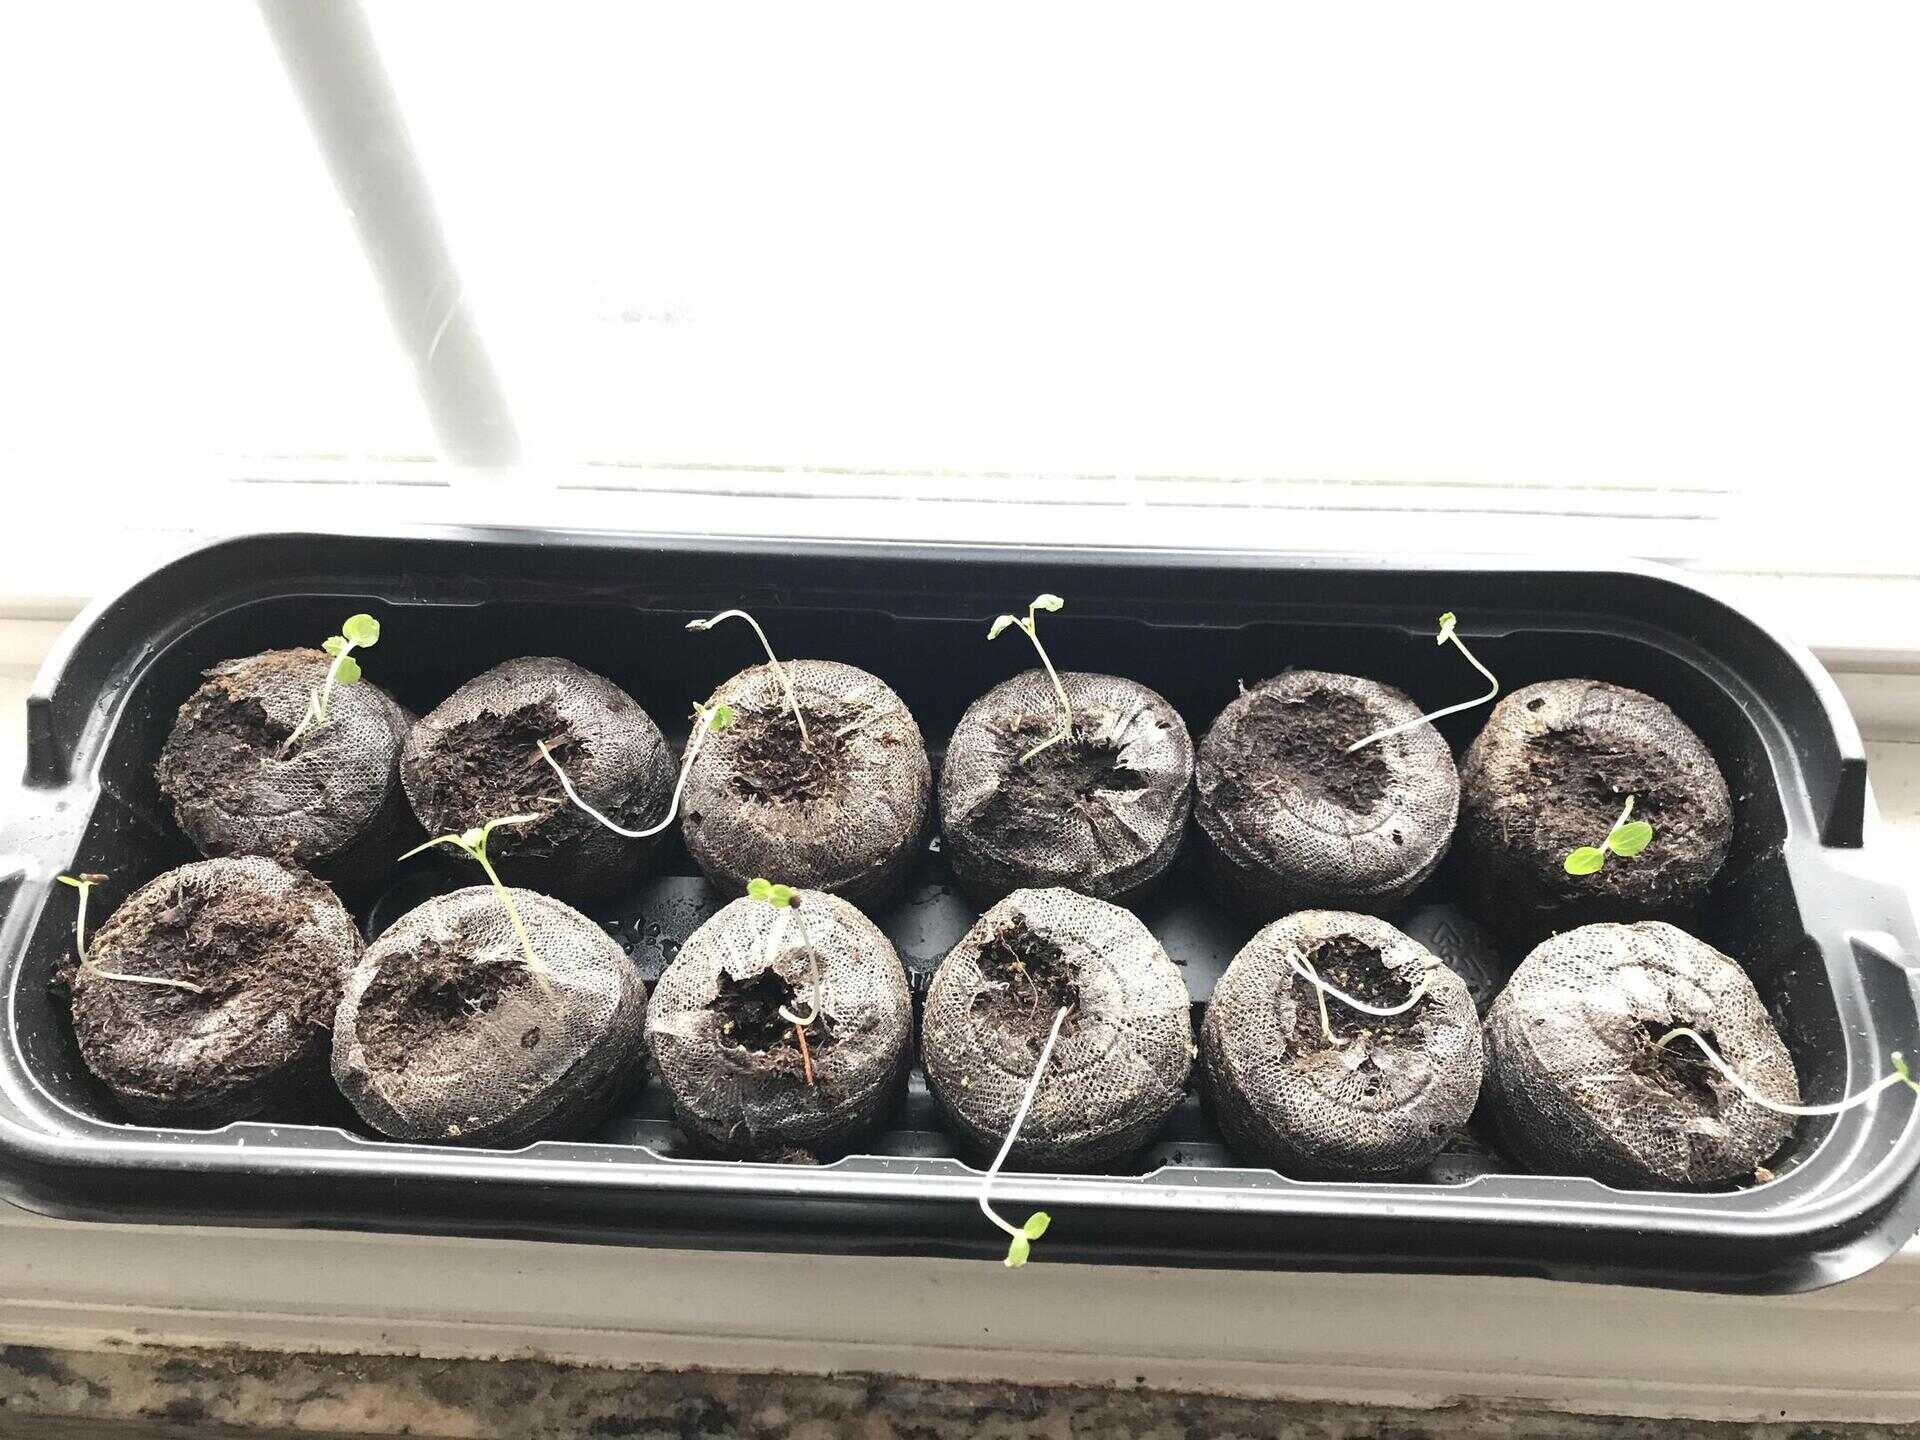
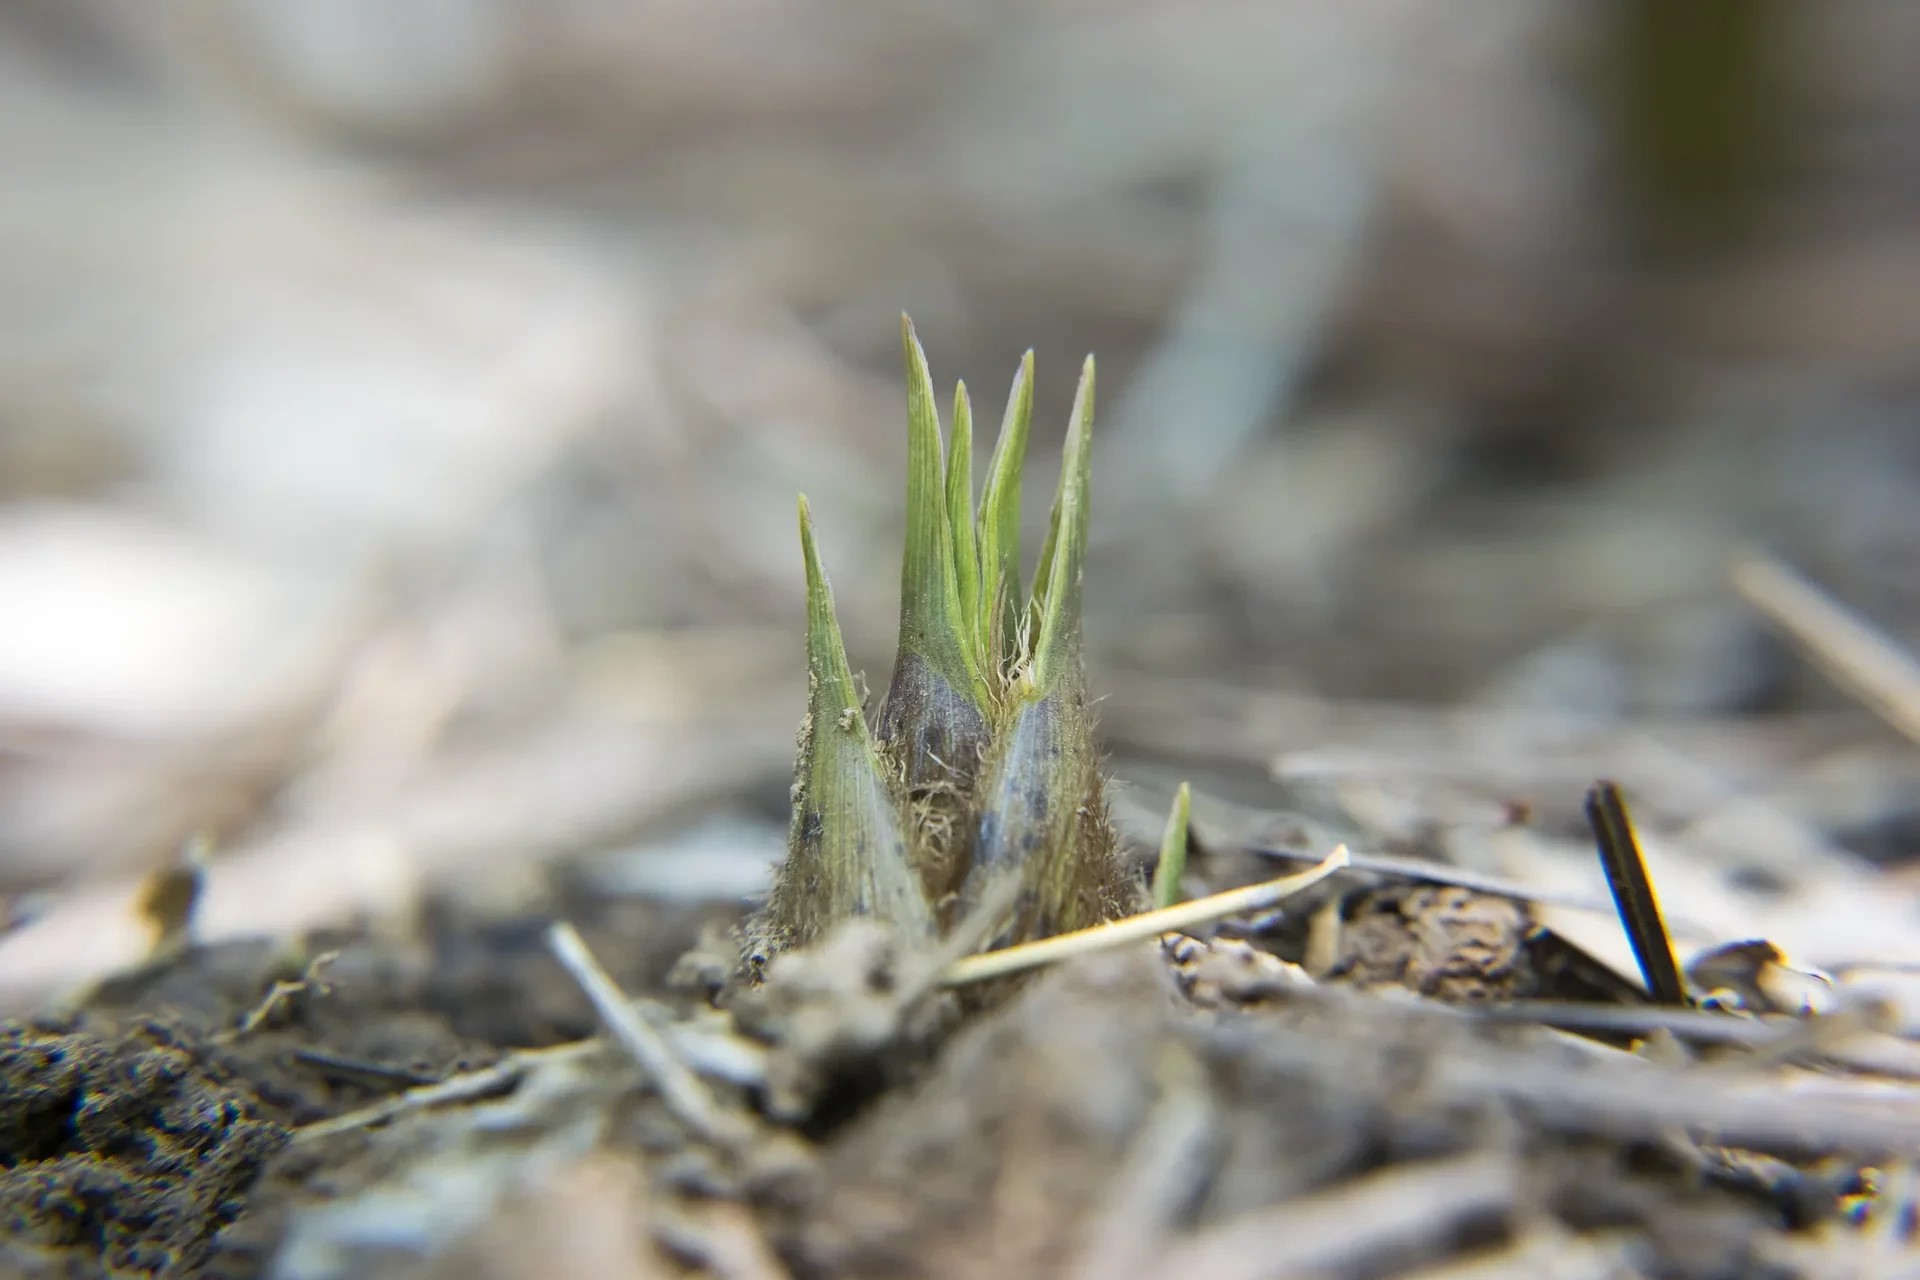
After sowing the marigold seeds, place the containers in a warm and well-lit area. Keep the soil consistently moist but not waterlogged, as too much moisture can lead to rotting. Within a week or so, you should start to see the first signs of germination.
Now that the marigold seeds are planted, let’s move on to the next step: providing adequate watering to support their growth.
Step 4: Provide Adequate Watering
Watering is a critical aspect of growing marigolds from seed. Proper watering ensures that the seeds germinate, the seedlings establish healthy roots, and the plants thrive throughout their growth cycle. Follow these guidelines for adequate watering:
- Keep the soil consistently moist: After sowing the marigold seeds, it’s important to keep the soil moist. Check the moisture level daily by gently touching the top layer of soil with your finger. If it feels dry, water the containers or garden bed. Avoid overwatering to prevent waterlogged conditions.
- Water from below: To avoid disturbing the seeds or seedlings, water gently from below. Place the containers in a tray or saucer and fill it with water. Let the soil absorb the water from the bottom up. This method helps prevent overwatering and minimizes the risk of damping off disease.
- Avoid water splashing: When watering, try to avoid splashing water onto the leaves of the seedlings, as wet foliage can lead to fungal diseases. Directing the water toward the base of the plants will keep them healthier.
- Adjust watering as the plants grow: As the marigold seedlings grow and develop, their water needs will increase. Pay attention to the soil moisture and adjust your watering routine accordingly. Aim to keep the soil consistently moist, but not waterlogged.
- Monitor weather conditions: During hot and dry periods, the soil may dry out more quickly. It’s vital to monitor the weather and adjust your watering frequency accordingly. Supplying adequate moisture during these times will help prevent stress and encourage healthy growth.
Remember, maintaining proper moisture is key to the success of your marigold plants. By watering them appropriately, you’ll provide the necessary hydration for the seeds to germinate and the seedlings to thrive.
Next, we’ll move on to discussing the importance of maintaining proper temperature and light conditions for your marigold plants.
Marigolds take about 5-7 days to germinate and 45-50 days to bloom from seed. Keep the soil moist and provide plenty of sunlight for best results.
Step 5: Maintain Proper Temperature and Light
Temperature and light are crucial factors that influence the growth and development of marigold plants. Providing the right conditions will ensure healthy and vibrant blooms. Follow these guidelines to maintain proper temperature and light:
- Temperature: Marigolds thrive in warm temperatures ranging between 70-85°F (21-29°C). It’s important to maintain a consistent temperature throughout the growing period. Avoid exposing the plants to extreme cold or heat, as it can stunt their growth or cause damage.
- Indoor temperature control: If you’re growing marigolds indoors, make sure to keep the room temperature within the optimal range. Avoid placing the plants near cold drafts or heat sources, such as heaters or air conditioning vents.
- Outdoor location: If you’re growing marigolds outdoors, select a planting location that receives full sun for at least 6 hours a day. Marigolds are sun-loving plants and require direct sunlight for optimal growth and blooming.
- Supplemental lighting: If you’re growing marigolds indoors or in a location with limited sunlight, consider using supplemental lighting, such as fluorescent or LED grow lights. Position the lights 6-12 inches above the plants and provide them with 12-14 hours of light per day.
- Monitor temperature fluctuations: During the germination stage, maintaining a consistent temperature is crucial. Fluctuations in temperature can affect the germination rate. Use a thermometer to monitor the temperature, especially if you’re growing marigolds in a greenhouse or controlled environment.
Proper temperature and light conditions will promote healthy growth, sturdy stems, and vibrant blooms. By ensuring your marigold plants receive adequate warmth and light, you’ll set the stage for a successful growing season.
After discussing temperature and light, let’s move on to the optional step of transplanting seedlings, which can be done if desired.
Step 6: Transplanting Seedlings (Optional)
Transplanting marigold seedlings is an optional step that allows you to move them from their initial containers into larger pots or directly into the garden. Transplanting can provide more room for root growth and allow the plants to thrive. Here’s how to transplant marigold seedlings:
- Wait for the right time: Transplanting should be done when the seedlings have developed a few sets of true leaves and are sturdy enough to handle the process. Typically, this occurs when the seedlings reach a height of 3-4 inches.
- Select a new location: Choose a sunny area in your garden with well-draining, amended soil. Prepare the planting hole beforehand, ensuring it is deep and wide enough to accommodate the root ball of the seedling.
- Water the seedlings: Before removing the seedlings from their original containers, water the plants thoroughly. This helps keep the soil moist and makes it easier to remove the seedlings without damaging the roots.
- Carefully remove the seedlings: Gently squeeze the sides of the container or use a small tool to loosen the soil around the seedling. Firmly hold the plant near the stem or leaves and carefully lift it out, being mindful not to tug on the fragile stem.
- Plant the seedlings: Place the seedling in the prepared hole, making sure the top of the root ball is level with the soil surface. Backfill the hole with soil, gently pressing it around the roots to eliminate any air pockets. Water the newly transplanted seedlings to ensure they settle in well.
- Space the seedlings: If transplanting multiple seedlings, ensure proper spacing between them to allow room for growth and air circulation. Refer to the specific variety’s spacing recommendations for the best results.
- Maintain regular watering and care: After transplanting, continue to water the seedlings regularly to help them establish in their new location. Monitor for any signs of transplant shock, such as wilting or yellowing leaves, and provide extra care if necessary.
Transplanting seedlings gives your marigold plants more space to grow and ensures they have ample room for their root systems to develop. However, if you prefer, you can also choose to keep the seedlings in their original containers and grow them to maturity.
Now that we’ve covered the optional step of transplanting, let’s move on to discussing how to protect your marigold plants from pests and diseases.
Step 7: Protecting from Pests and Diseases
Protecting your marigold plants from pests and diseases is essential for their overall health and longevity. By being proactive and taking preventative measures, you can ensure that your marigolds thrive and remain free from any potential problems. Follow these guidelines for pest and disease management:
- Monitor regularly: Regularly inspect your marigold plants for any signs of pests or diseases. Look for chewed leaves, discoloration, wilting, or any unusual growth patterns. Early detection can help prevent the spread of pests and minimize damage.
- Encourage beneficial insects: Many beneficial insects, such as ladybugs and lacewings, feed on pests that can harm marigold plants. Attract these helpful insects to your garden by planting nectar-rich flowers, such as daisies or alyssum, or by using companion planting techniques.
- Handpick pests: If you observe any pests, such as aphids or caterpillars, manually remove them by handpicking or use a strong stream of water to dislodge them from the plants. Make sure to check the undersides of leaves where pests often hide.
- Use organic pest control methods: Consider using organic pest control methods, such as neem oil or insecticidal soaps, to manage pests effectively. These options are safe for the environment and can help deter and eliminate common garden pests.
- Practice good sanitation: Clean up fallen debris, dead leaves, and plant detritus around your marigold plants. Pests and diseases can thrive in decaying organic matter. By maintaining a clean garden environment, you can minimize the risk of infestations.
- Rotate crops: If you’re growing marigolds in the same spot each year, consider rotating them to a different location in your garden. Crop rotation helps reduce the buildup of pests and diseases in the soil, promoting healthier plants.
- Keep an eye on water management: Overwatering and water-stressed plants can weaken their defenses against pests and diseases. Water your marigolds appropriately and avoid excess moisture, which can create favorable conditions for fungal infections.
By implementing these strategies, you can protect your marigold plants from common garden pests and diseases. Remember to stay vigilant and take action at the first sign of trouble to minimize any potential damage.
After discussing pest and disease management, we’ll move on to the final step: continued care and maintenance of your marigold plants.
Step 8: Continued Care and Maintenance
Continued care and maintenance are essential for the ongoing health and beauty of your marigold plants. By providing the necessary care, you can enjoy vibrant blooms and robust growth throughout the growing season. Follow these guidelines for the continued care of your marigolds:
- Watering: Continue to water your marigold plants regularly, especially during dry periods. Aim for consistent moisture in the soil, but avoid overwatering, as it can lead to root rot. Water at the base of the plants to keep the foliage dry, which can help prevent fungal diseases.
- Fertilization: If your soil lacks nutrients, you can apply a slow-release fertilizer or organic compost around the base of the plants. Follow the manufacturer’s instructions or use organic amendments according to label recommendations. Avoid overfertilizing, as it can lead to excessive foliage growth with fewer flowers.
- Deadheading: Regularly remove faded or spent flowers by gently pinching or cutting them off. This process, known as deadheading, encourages continuous blooming and prevents the formation of seed heads. It can also help divert the plant’s energy towards new flower production.
- Pruning: If your marigold plants become leggy or overcrowded, consider pruning them. Use clean gardening shears to trim back any excessive growth or remove dead or diseased stems. Pruning promotes better air circulation and keeps the plants looking tidy.
- Supporting taller varieties: Some marigold varieties can grow tall and may benefit from support. Use stakes or plant supports to prevent bending or flopping of the stems. Secure the plants gently to the support structure as needed.
- Weed control: Regularly remove weeds from around your marigold plants. Weeds can compete for nutrients and water, potentially affecting the growth and health of your marigolds. Mulching can also help suppress weed growth and retain moisture in the soil.
- Monitor for pests and diseases: Continue to monitor your marigold plants for any signs of pests or diseases. Early detection allows for prompt action and prevents the issues from spreading. Use the same pest control methods mentioned earlier if necessary.
- Enjoy and appreciate: Lastly, take the time to enjoy the beauty and fragrance of your marigold plants. Watch as the vibrant blooms attract pollinators and bring life to your garden. Appreciate the hard work and effort you’ve put into growing these stunning flowers.
By providing ongoing care and maintenance, your marigolds will continue to thrive and bloom throughout the season. Stay attentive to their needs, and you’ll be rewarded with a spectacular display of color and the satisfaction of a successful garden.
With the completion of these care and maintenance tips, you now have a comprehensive understanding of how to grow marigolds from seed. Happy gardening!
Conclusion
Growing marigolds from seed is a rewarding and fulfilling experience for gardeners of all levels. These vibrant flowers bring beauty, color, and joy to any garden or landscape. By following the steps outlined in this guide, you can successfully grow marigolds from seed and enjoy the process from the beginning to the end.
From gathering materials to providing adequate watering, maintaining proper temperature and light, and even optional steps like transplanting seedlings, you have learned the essential aspects of cultivating marigolds. Additionally, protecting your marigold plants from pests and diseases and providing continued care and maintenance are crucial for their longevity and overall health.
Remember to choose quality marigold seeds and prepare your soil properly. Pay attention to watering, temperature, and light conditions, and take preventative measures against pests and diseases. With regular care and maintenance, your marigolds will flourish and reward you with season-long blooms.
Take pride in your gardening accomplishments and enjoy the beauty and fragrance that marigolds bring to your outdoor space. Whether you choose to grow these flowers in containers or directly in the garden, they will add a delightful charm to your surroundings.
Now that you have the knowledge and steps to grow marigolds from seed, it’s time to put your green thumb to work. Get started on your marigold-growing journey and embrace the joy of watching these stunning flowers bloom and thrive. Happy gardening!
Excited about sprucing up your garden? Dive into our article on the best garden fence ideas and discover creative ways to enhance your outdoor space's security and aesthetic. For those eager to cultivate a stunning display of blooms, our comprehensive guide on flower planting provides essential tips for starting and maintaining a beautiful flower garden. Transform your green spaces into areas of beauty and tranquility today.
Frequently Asked Questions about How Long Does It Take To Grow Marigolds From Seed
Was this page helpful?
At Storables.com, we guarantee accurate and reliable information. Our content, validated by Expert Board Contributors, is crafted following stringent Editorial Policies. We're committed to providing you with well-researched, expert-backed insights for all your informational needs.


0 thoughts on “How Long Does It Take To Grow Marigolds From Seed”