Home>Garden Essentials>How Many Beets Grow From One Seed

Garden Essentials
How Many Beets Grow From One Seed
Modified: August 20, 2024
Learn how many beets can be grown from just one seed in your garden. Discover tips and techniques for maximizing your beet harvest and enjoying fresh produce all season long.
(Many of the links in this article redirect to a specific reviewed product. Your purchase of these products through affiliate links helps to generate commission for Storables.com, at no extra cost. Learn more)
Introduction
Gardening can be a rewarding and fulfilling hobby, especially when it comes to growing your own vegetables. One vegetable that deserves a spot in every garden is the beet. Beets are not only delicious and versatile in the kitchen, but they also offer numerous health benefits. Whether you’re a seasoned gardener or just starting out, growing beets from seeds can be a fun and exciting project.
In this article, we will delve into the fascinating world of beet seeds and discover how many beets can grow from just one seed. Understanding the process of growing beets from seeds will enable you to maximize your yield and enjoy a bountiful harvest.
Beet seeds, also known as beetroot seeds, are small but mighty. They may appear insignificant, but under the right conditions, each seed has the potential to produce a beautiful beet plant. With proper care and attention, you can grow multiple beets from a single beet seed.
Before we dive into the specifics, it’s essential to understand the factors that can affect beet seed germination. This knowledge will help you set the stage for successful beet growing.
Key Takeaways:
- Beet seeds have the potential to yield multiple beets from a single seed, with each seed containing clusters of individual seeds. Providing ideal conditions for germination is crucial for a successful harvest.
- Proper care, including watering, mulching, and thinning, is essential for nurturing healthy beet plants. Harvesting at the right time ensures the best flavor and texture for your homegrown beets.
Read more: How Many Pumpkins Can Grow From One Seed
Understanding Beet Seeds
Beet seeds, like many other vegetable seeds, are the result of the plant’s flowering and reproductive process. The seeds are typically small, round, and reddish-brown in color. Each seed contains all the genetic material necessary to grow a fully mature beet plant.
One interesting characteristic of beet seeds is their longevity. With proper storage, beet seeds can remain viable for several years, allowing you to preserve and use them for future plantings. However, the fresher the seed, the higher the germination rate will be.
Beet seeds require specific conditions to germinate successfully. These conditions include moisture, optimal temperature, and light. While some people choose to start their beet seeds indoors under controlled conditions, they can also be sown directly into the garden soil.
When sowing beet seeds, it’s essential to keep in mind that they can often produce multiple seedlings from a single seed. This is because each beet seed is a cluster of several seeds enclosed within a tough seed coat. As the seed germinates, each seed within the cluster has the potential to develop into an individual beet plant.
Understanding the anatomy and germination process of beet seeds will help you make informed decisions when sowing and caring for your beet plants.
Factors Affecting Beet Seed Germination
Several factors can influence the germination of beet seeds. By understanding and managing these factors, you can improve the germination rate and overall success of your beet plants.
1. Soil Temperature: Beet seeds prefer a soil temperature between 50°F and 85°F (10°C and 29°C) for optimal germination. Warmer temperatures generally result in faster germination, while cooler temperatures can slow down the process. Using a soil thermometer can help you monitor and maintain the proper temperature for your beet seeds.
2. Soil Moisture: Adequate moisture is crucial for beet seed germination. Ensure that the soil is consistently moist throughout the germination period. However, be cautious not to overwater, as waterlogged soil can lead to rotting. A good rule of thumb is to keep the soil evenly moist but not soaking wet.
3. Soil Quality: The quality of the soil plays a significant role in beet seed germination. Beets thrive in loose, well-draining soil with a pH level between 6.0 and 7.5. Prepare the soil by removing any rocks, weeds, or other debris, and incorporate organic matter like compost or aged manure to improve soil fertility and structure.
4. Light Exposure: Beet seeds require some exposure to light in order to germinate properly. When sowing beet seeds, it’s important to lightly cover them with a thin layer of soil, about 1/4 inch deep, to ensure they are not completely deprived of light. Too much soil covering can hinder germination.
5. Seed Depth: While beet seeds should not be buried too deep, they do require adequate soil contact for successful germination. Plant beet seeds at a depth of about 1/2 inch (1.2 cm). This depth allows the seeds to absorb moisture from the soil while still receiving the necessary light for germination.
By paying attention to these factors and providing the ideal conditions for your beet seeds, you can significantly improve their germination rate and increase the chances of a successful harvest.
Sowing Beet Seeds
Sowing beet seeds is an important step in the journey of growing beets from scratch. Whether you choose to start them indoors or sow them directly into the garden soil, proper sowing techniques can make a significant difference in the germination and growth of your beet plants.
Here’s a step-by-step guide on how to sow beet seeds:
1. Choose the Right Time: Beets are a cool-season crop, so it’s best to sow the seeds when the soil temperature is around 50°F (10°C). In most regions, this is during early spring or fall. Avoid sowing beet seeds in the heat of summer, as high temperatures can inhibit germination.
2. Prepare the Soil: Before sowing, prepare the garden bed by loosening the soil to a depth of approximately 8-10 inches (20-25 cm). Remove any rocks, weeds, or debris that may impede seed growth. Amend the soil with organic matter like compost to improve fertility and drainage.
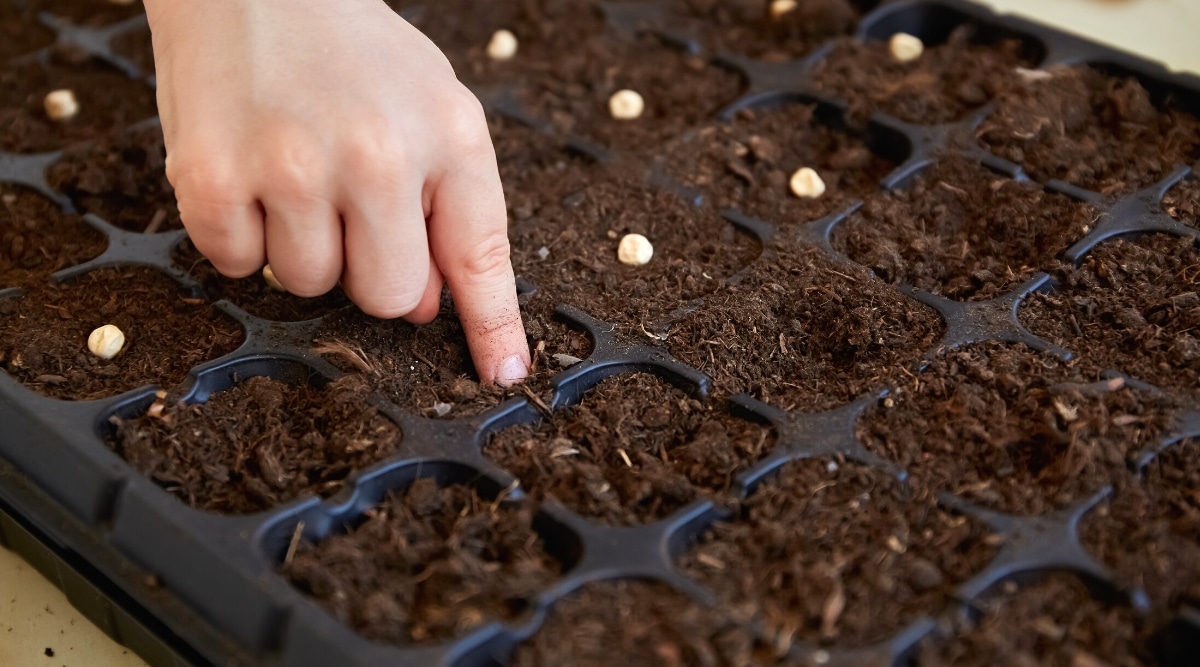
3. Sow the Seeds: If sowing directly into the garden soil, create shallow furrows about 1/2 inch (1.2 cm) deep. Space the furrows about 12-18 inches (30-45 cm) apart to allow for proper growth and airflow between the plants. Scatter the beet seeds along the furrows, aiming for a spacing of 2-3 inches (5-7.5 cm) between seeds.
4. Cover and Water: After scattering the seeds, gently cover them with a thin layer of soil. Aim for a coverage of about 1/4 inch (0.6 cm) to provide enough soil contact while still ensuring some exposure to light. Lightly water the area to settle the soil and ensure good seed-to-soil contact.
5. Maintain Moisture: To support germination, it’s essential to keep the soil consistently moist. Water the seeded area regularly, taking care not to let the soil dry out completely. Avoid overwatering, as this can lead to rotting or fungal diseases.
6. Thin Out Seedlings: As the beet seeds germinate and seedlings emerge, they will need space to grow and develop properly. Once the seedlings are about 2-3 inches (5-7.5 cm) tall, thin them out to a spacing of 4-6 inches (10-15 cm) between plants. This allows each beet plant to have enough room to develop a robust root system and leafy growth.
Sowing beet seeds is an exciting process that marks the beginning of your beet-growing adventure. With the right timing, soil preparation, and proper sowing techniques, you can set the stage for healthy and productive beet plants.
Germination Time for Beet Seeds
Patience is key when it comes to germinating beet seeds. The germination time for beet seeds can vary depending on various factors such as temperature, moisture, and seed quality. On average, beet seeds take around 7 to 14 days to germinate under optimal conditions.
Here are some key factors influencing the germination time for beet seeds:
1. Temperature: The temperature plays a crucial role in the germination of beet seeds. Ideally, the soil temperature should be around 50°F to 85°F (10°C to 29°C). Warmer temperatures generally promote faster germination, while cooler temperatures can delay the process. Maintaining a consistent and moderate temperature will help ensure successful germination.
2. Moisture: Adequate moisture is essential for seed germination. During the germination period, it’s important to keep the soil moist but not waterlogged. Dry and compacted soil can prevent proper water absorption by the seeds, hindering germination. Regular watering and monitoring the moisture level will support the germination process.
3. Seed Quality: Seed quality can greatly impact germination time. Fresh, high-quality beet seeds tend to have higher germination rates and faster germination times compared to older or lower-quality seeds. It’s recommended to purchase seeds from reputable suppliers and check the expiration date on the seed packet to ensure optimal germination results.
4. Light Exposure: Beet seeds require some exposure to light for germination. While they do not require direct sunlight, they need a sufficient amount of light to trigger the germination process. When sowing beet seeds, ensure they are lightly covered with a thin layer of soil, as excessive soil covering can hinder germination.
It’s important to note that germination time may vary slightly depending on these factors. Some seeds may germinate earlier, while others may take a bit longer. Be patient and continue to provide optimal growing conditions for your beet seeds.
As your beet seeds start to germinate and seedlings emerge, it’s crucial to maintain consistent care and provide appropriate growing conditions. Adequate sunlight, regular watering, and proper spacing will support the healthy growth and development of your beet plants.
By understanding and managing these factors, you can help ensure a successful germination process and increase your chances of a bountiful beet harvest.
Plant 2-3 beet seeds per hole, then thin to the strongest seedling. Each beet seed can produce multiple beets, so proper spacing is important for good growth.
Read more: How Many Potatoes Grow From One Seed Potato
Thin Out Beet Seedlings
As your beet seedlings start to emerge and grow, it’s important to thin them out to provide adequate space for each plant to thrive. Thinning out beet seedlings is a critical step in ensuring the healthy growth and development of your beet plants.
Here’s a step-by-step guide on how to thin out beet seedlings:
1. Wait for the Right Time: Allow your beet seedlings to grow 2-3 inches (5-7.5 cm) tall before thinning them out. Thinning too early can result in disturbing the growth of nearby seedlings, and thinning too late can lead to overcrowding and competition for resources.
2. Choose the Strongest Seedlings: Select the healthiest and most vigorous seedlings to keep. Look for seedlings with well-developed leaves and a strong central stem. These are the ones that have the best chance of growing into robust beet plants.
3. Determine the Desired Spacing: Decide on the spacing you want to maintain between the beet plants. A spacing of 4-6 inches (10-15 cm) between each plant is generally recommended. This spacing allows the plants to have enough room to grow and develop their roots without competing for nutrients and sunlight.
4. Gently Remove Excess Seedlings: Carefully grasp the base of the unwanted seedlings near the soil surface and gently pull them out. Be cautious not to disturb the roots of the remaining seedlings. If necessary, use scissors or pruners to cut them at ground level, ensuring a clean removal.
5. Dispose of Thinned Seedlings: Once the excess seedlings are removed, dispose of them properly. You can add them to your compost pile if they are disease-free. If any of the thinned seedlings show signs of disease or pests, it is best to discard them in the trash to prevent the spread of any potential issues.
By thinning out the beet seedlings, you are providing each plant with enough space, nutrients, and light to grow into healthy and productive beet plants. Thinning reduces competition among the plants and allows for better air circulation, reducing the risk of disease.
It’s important to note that thinning is not just a one-time task. As the remaining beet plants continue to grow, you may need to thin them again if they become overcrowded. Regularly assess the spacing and remove any excess seedlings to maintain optimal growth conditions for your beets.
Thinning out beet seedlings is a simple yet crucial step in successful beet cultivation. By giving each plant room to flourish, you are setting the stage for a bountiful harvest of fresh and delicious beets.
Transplanting Beet Seedlings
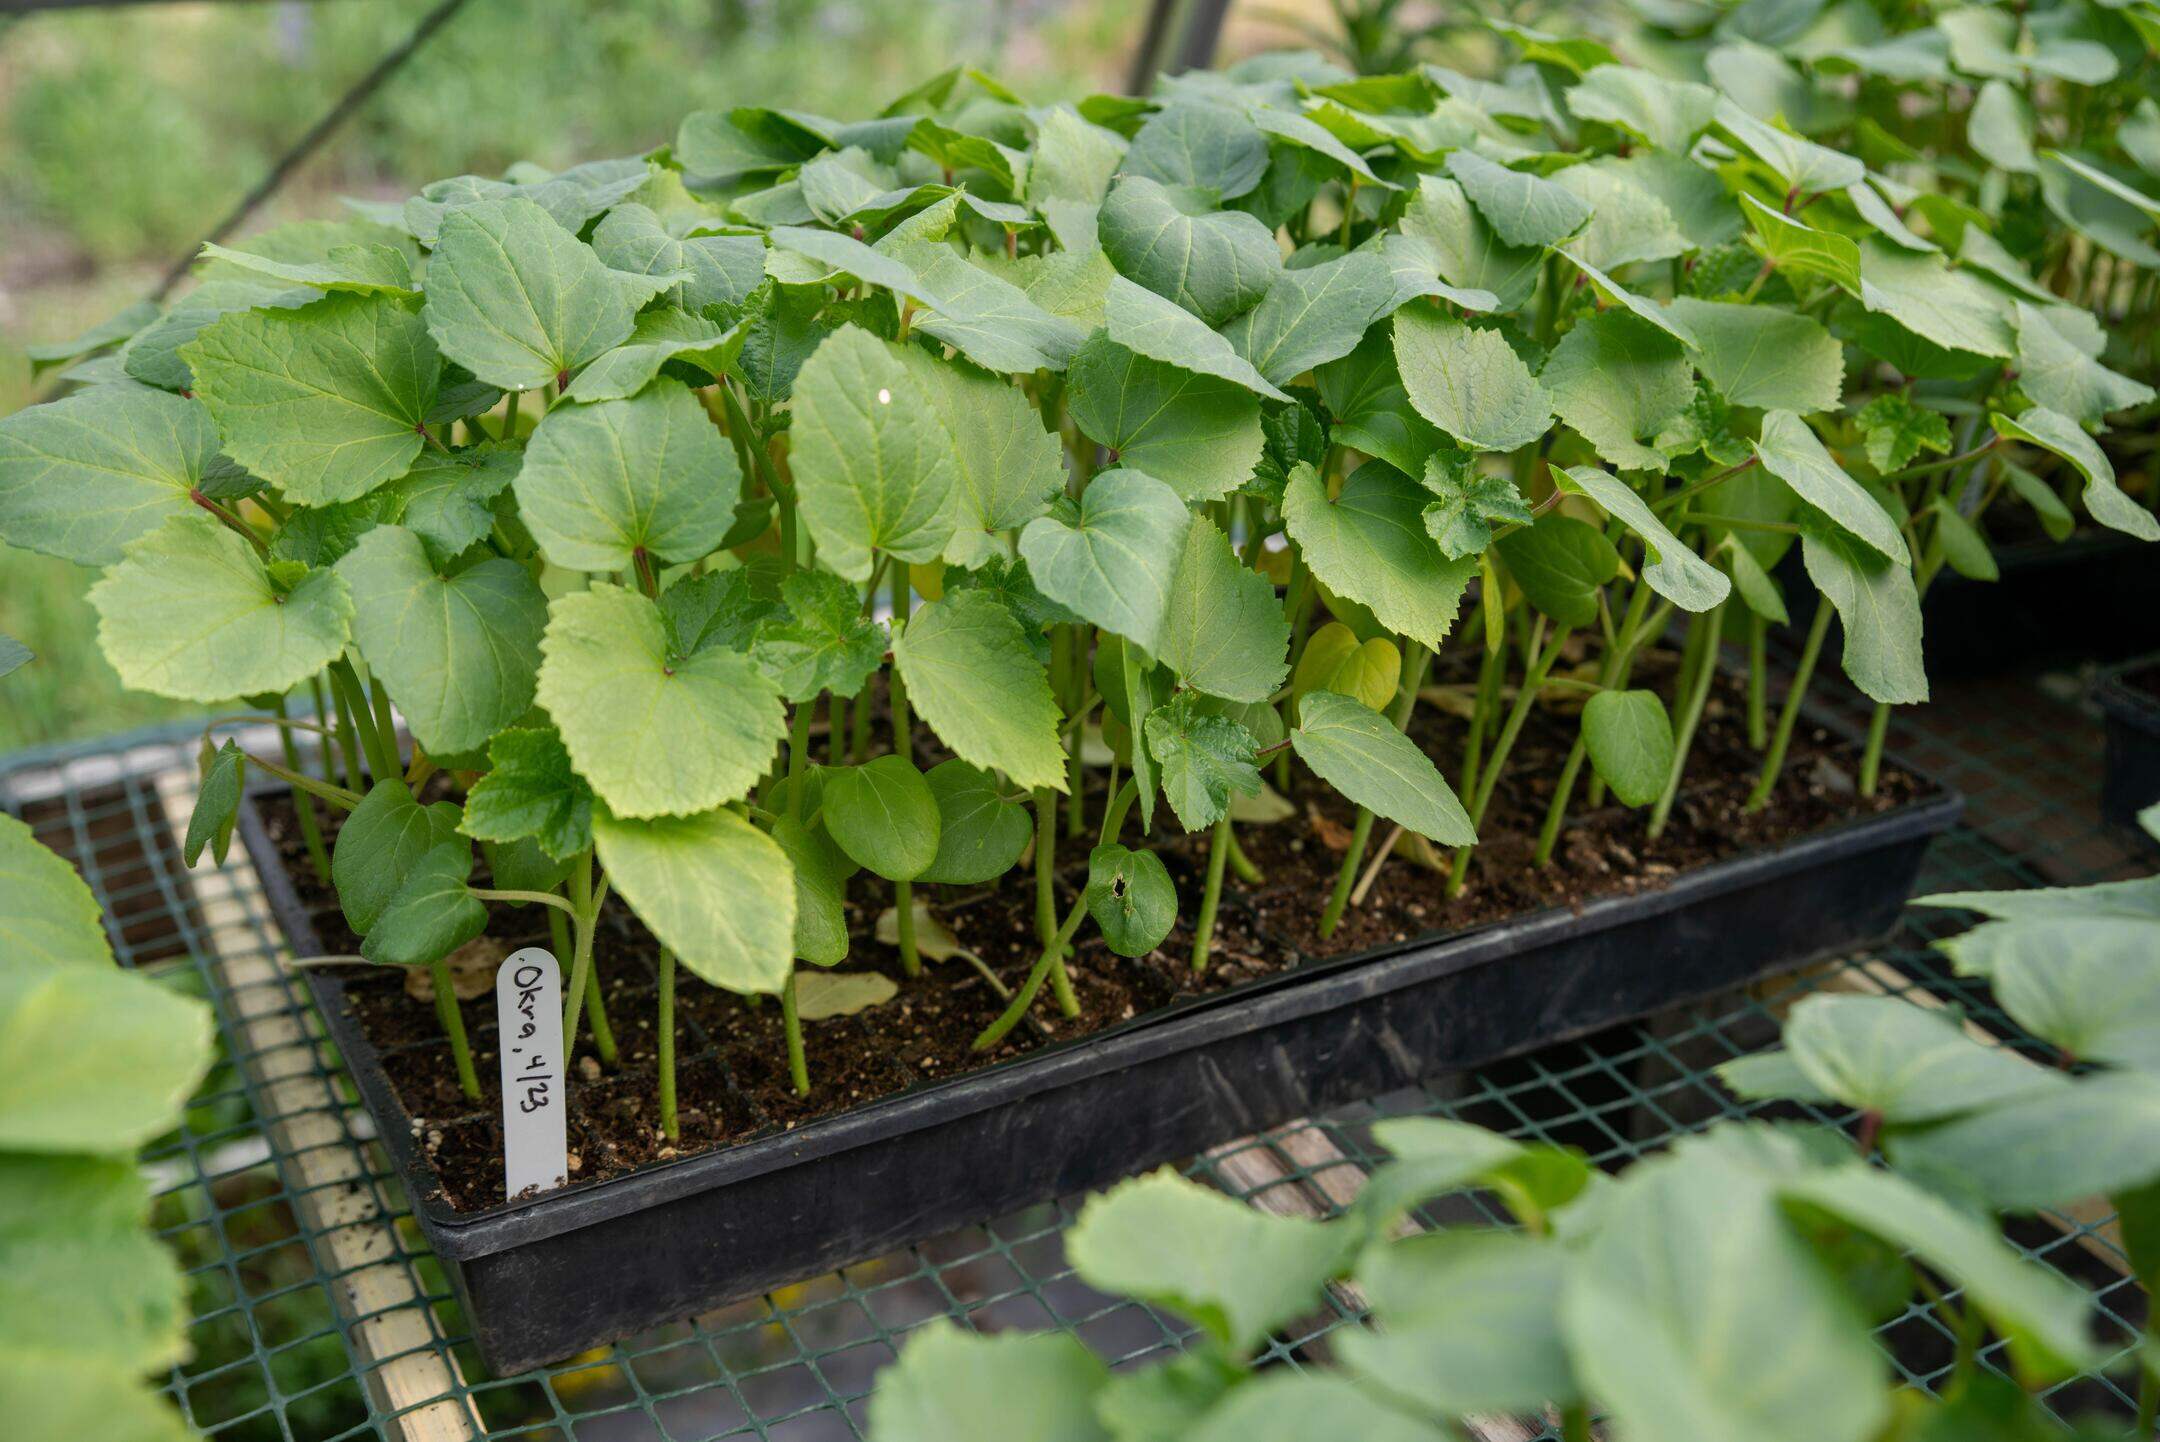
Transplanting beet seedlings is a common practice for gardeners who prefer to start their seeds indoors or in a controlled environment. This process allows for earlier planting and gives the beet plants a head start before being moved into the garden. Transplanting beet seedlings requires careful handling to ensure their successful adjustment to their new environment.
Here are the steps to transplant beet seedlings:
1. Timing: Wait until the beet seedlings have developed 2-4 true leaves before transplanting them. This usually takes about 4-6 weeks after germination. The seedlings should be sturdy enough to handle and have a well-established root system.
2. Preparing the Garden: Choose a sunny spot in your garden with well-draining soil. Prepare the soil by removing any weeds, rocks, or debris. Amend the soil with organic matter, such as compost or aged manure, to improve fertility and structure.
3. Digging Holes: Dig holes in the garden bed that are wide and deep enough to accommodate the root system of the beet seedlings. Space the holes about 4-6 inches (10-15 cm) apart, allowing enough room for the mature beets to grow without overcrowding.
4. Gently Removing Seedlings: Carefully loosen the soil around the beet seedlings, taking care not to damage the delicate roots. Use a small trowel or your hands to lift the seedlings from their containers or seedling trays. Be sure to hold them by their leaves rather than their fragile stems to avoid any harm.
5. Placing Seedlings in Holes: Place each beet seedling into a prepared hole, ensuring that the roots are spread out and not crowded. The seedlings should be planted at the same depth they were growing in their original containers. Firmly press the soil around the roots to eliminate air pockets.
6. Watering and Mulching: After transplanting, water the seedlings thoroughly to settle the soil and provide moisture to the roots. Apply a layer of organic mulch around the seedlings to help retain moisture and suppress weed growth.
7. Care and Maintenance: Keep an eye on the transplanted beet seedlings and monitor their growth and health. Water regularly, ensuring the soil remains consistently moist but not waterlogged. Thin out any additional seedlings that may have emerged during the transplanting process to maintain the desired spacing.
Transplanting beet seedlings can give your beets a head start and increase their chances of success in the garden. By following these steps and providing proper care, you’ll be on your way to a thriving beet crop.
Remember that transplanting can cause temporary stress to the seedlings. To minimize this, aim to transplant during cooler hours of the day or on an overcast day. With some patience and attention to detail, your transplanted beet seedlings will adapt and flourish in their new garden home.
Caring for Beet Plants
Proper care is essential for the successful growth and development of beet plants. By providing the necessary attention and maintenance, you can ensure healthy, vibrant plants and a bountiful harvest of delicious beets. Here are some key care tips for beet plants:
1. Watering: Beets require regular watering to keep the soil evenly moist. Aim for about 1 inch (2.5 cm) of water per week, either from rainfall or supplemental irrigation. Avoid overwatering, as excessively wet soil can lead to rotting and other fungal diseases. Consistent moisture is especially crucial during the root development stage.
2. Mulching: Apply a layer of organic mulch, such as straw or shredded leaves, around the base of the beet plants. Mulching helps conserve soil moisture, suppress weed growth, and regulate soil temperature. Keep the mulch a few inches away from the plant stems to prevent excess moisture and potential rotting.
3. Fertilizing: Beets are moderate feeders and benefit from regular fertilization. Before planting, incorporate compost or well-rotted manure into the soil to improve its nutrient content. As the plants grow, you can apply a balanced fertilizer, following the manufacturer’s instructions, to provide additional nutrients throughout the growing season.
4. Weed Control: Keep the area around your beet plants free from weeds, as they can compete for nutrients, water, and sunlight. Regularly check for and remove any weeds by hand or with shallow cultivation to avoid damaging the shallow root system of the beets. Mulching can also help suppress weed growth.
5. Thinning: If you haven’t already thinned out your beet seedlings during the early stages, it’s important to continue thinning as the plants grow. As the beets mature, thin them to a spacing of 3-4 inches (7.5-10 cm) between plants. This gives each beet enough space to develop fully and ensures good air circulation around the plants to prevent diseases.
6. Pest and Disease Management: Keep an eye out for pests such as aphids, leaf miners, and beetroot flies. If you notice any signs of pest damage, consider using organic pest control methods like insecticidal soap or neem oil. Additionally, practice proper crop rotation and good garden hygiene to minimize the risk of diseases like leaf spot or root rot.
7. Harvesting: Beets are usually ready for harvest around 8-10 weeks after planting, depending on the variety. Gently loosen the soil around the base of the beet plant and pull the beets out by gripping the greens and wiggling them loose from the ground. For baby beets, harvest them when they reach the desired size. For larger beets, harvest them before they become woody or oversized.
By following these care tips, you can nurture your beet plants and help them thrive throughout the growing season. With proper watering, fertilization, weed control, and pest management, you’ll be rewarded with a harvest of nutritious, flavorful beets to enjoy in your culinary creations.
Harvesting Beets
Harvesting beets is an exciting milestone in your gardening journey, as it marks the culmination of your efforts and the opportunity to enjoy the fruits (or in this case, the roots) of your labor. Beets can be harvested at various stages, depending on your preference and the intended use of the crop.
1. Timing: Beets are typically ready for harvest around 8-10 weeks after planting, although this can vary depending on the variety and growing conditions. Pay attention to the size and appearance of the beets to determine if they are ready for harvesting.
2. Size: Beets can be harvested at different sizes, depending on your preference. For baby beets, which are small and tender, harvest them when they reach about 1-2 inches (2.5-5 cm) in diameter. If you prefer larger beets, wait until they are around 3-4 inches (7.5-10 cm) in diameter. However, be sure to harvest before they become overly large and woody.
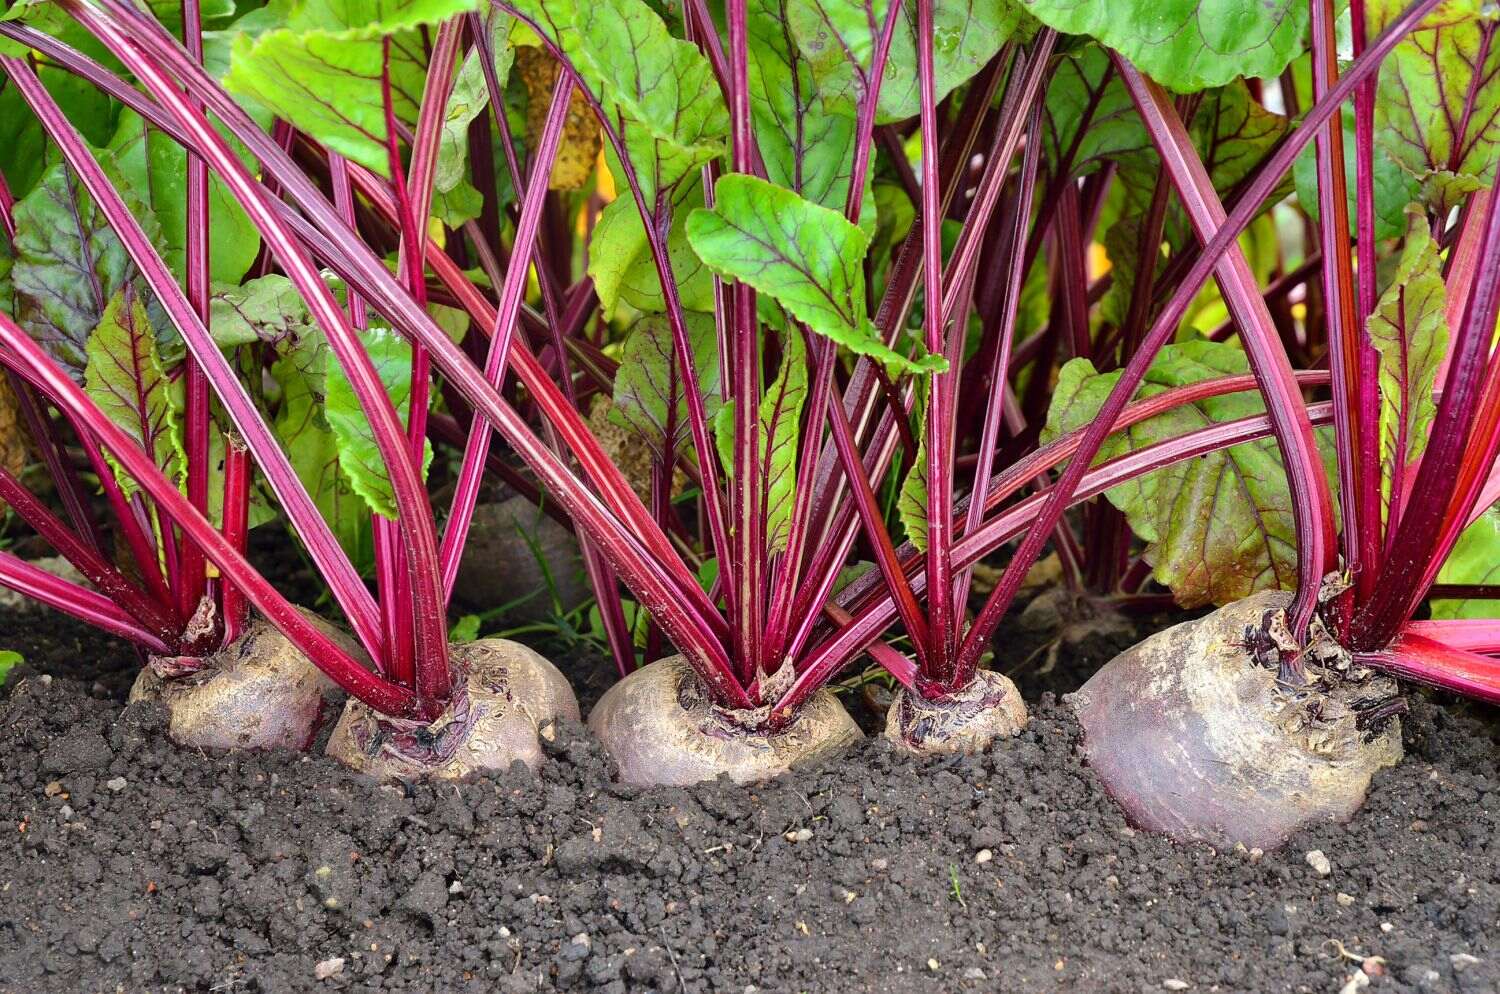
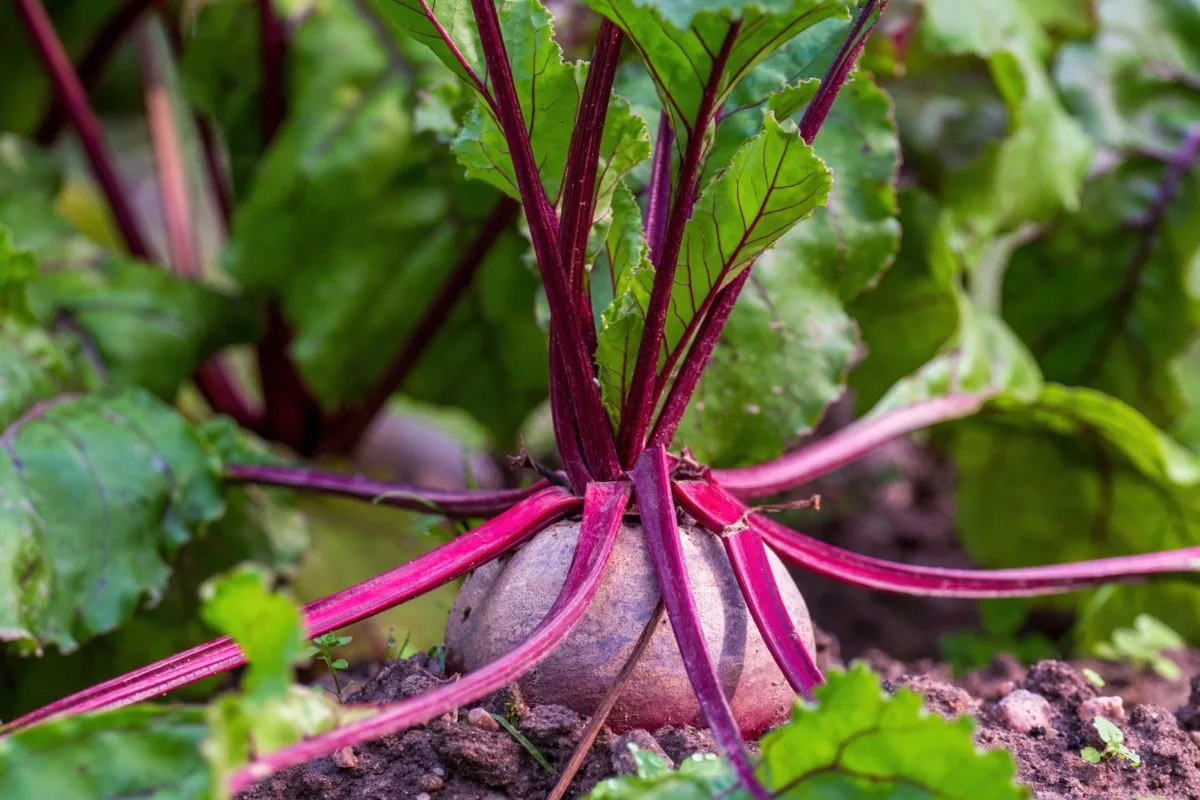
3. Appearance: Look for signs that the beets are mature and ready for harvest. The foliage above the ground will be lush and healthy. The shoulders of the beets may start to protrude from the surrounding soil, indicating their size and readiness. You can gently brush away some soil around the base of a beet to assess its size without fully harvesting it.
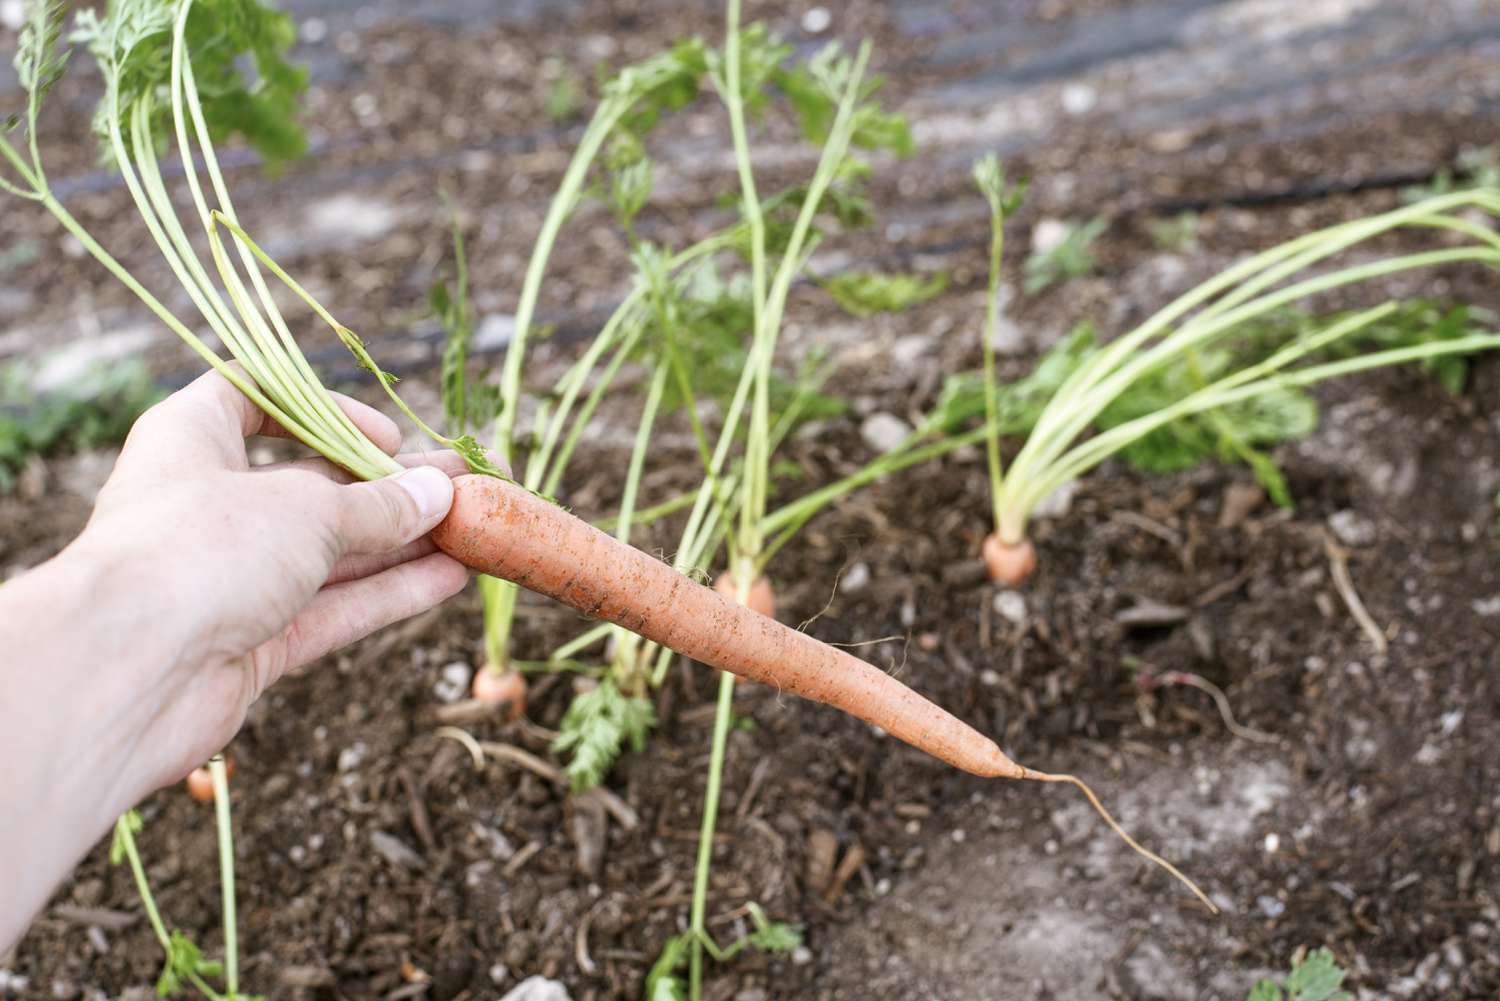
4. Harvesting Technique: To harvest beets, gently loosen the soil around the base of the plant with a garden fork or trowel. Grasp the beet greens near the top and gently wiggle the beets to loosen them from the soil. Avoid pulling them forcefully or yanking them, as this can damage the roots.
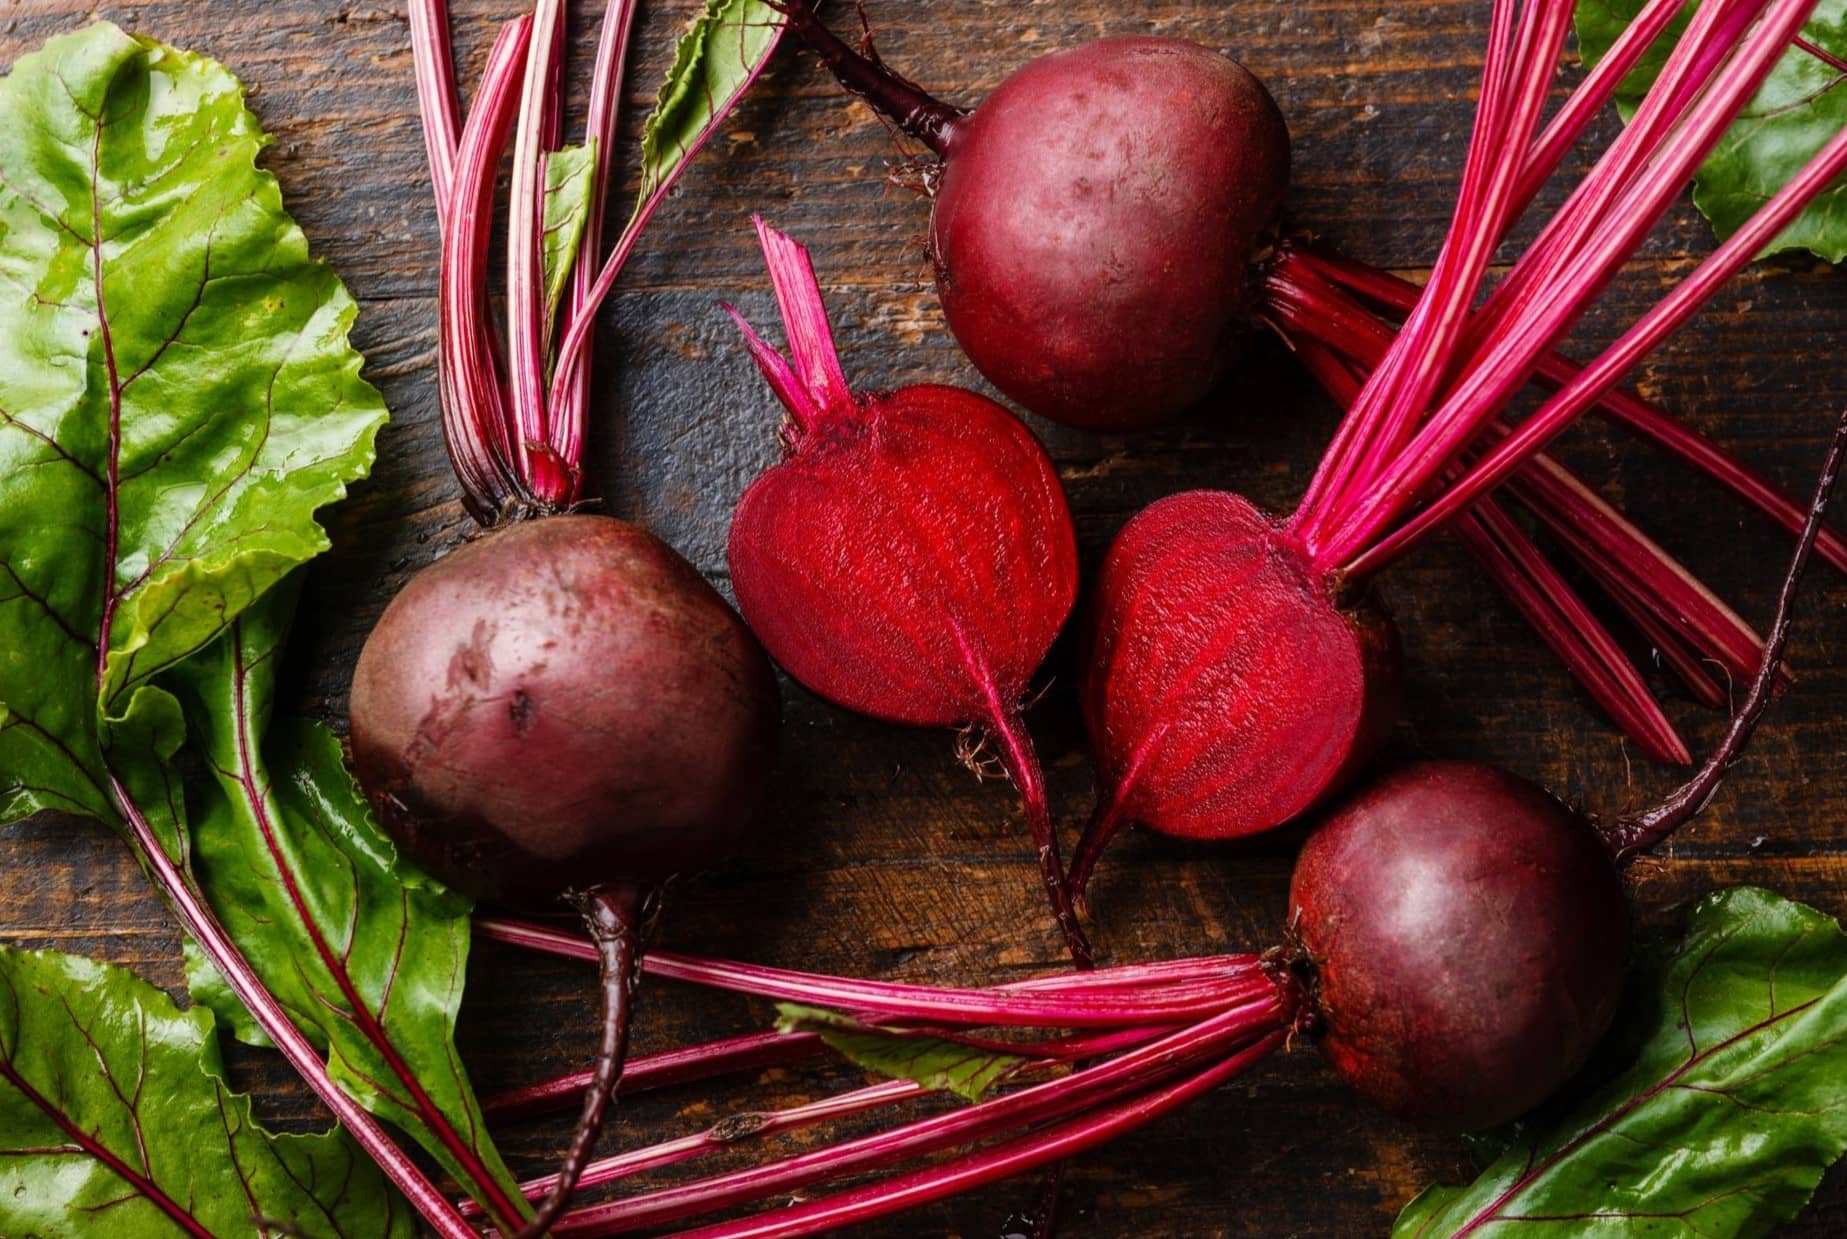
5. Removing the Greens: Once the beets are harvested, carefully cut off the leafy greens from the beet roots, leaving about an inch (2.5 cm) of the stem intact. Leaving some stem helps preserve the quality and freshness of the beets during storage.
6. Storing Beets: After harvesting, gently brush off excess soil from the beets. You can store them by placing them in a cool location with high humidity, such as a root cellar or the refrigerator. Alternatively, you can store them in a breathable container with damp sand or sawdust to keep them moist and prevent dehydration.
Remember, freshly harvested beets can be enjoyed in a variety of culinary preparations, from salads to roasted dishes. Their earthy flavor and vibrant color make them a versatile and nutritious addition to your meals.
Harvesting beets at the right time ensures the best quality and flavor. By paying attention to the size, appearance, and harvesting techniques, you can enjoy a plentiful harvest of delicious, homegrown beets.
Conclusion
Growing beets from seeds can be a delightful and rewarding experience for any gardening enthusiast. From the small and humble beet seeds, you can cultivate a vibrant and nutritious crop in your own backyard. By understanding the intricacies of beet seeds, the factors influencing their germination, and the necessary care throughout their growth, you can maximize your beet harvest and savor the satisfaction of eating your own homegrown beets.
Starting with the basics, it’s important to recognize that beet seeds have the potential to yield multiple beets from a single seed. Within each seed, there are clusters of individual seeds enclosed within a protective coat. Under favorable conditions, each seed has the ability to develop into an independent beet plant.
To ensure successful germination, pay attention to factors like soil temperature, moisture, and quality, as they can significantly impact the germination process. By providing the ideal conditions for the beet seeds, you can encourage faster and healthier germination, setting the stage for robust growth.
Once the beet seedlings emerge, it’s important to thin them out to allow proper air circulation and space for each plant to reach its full potential. Regular care in the form of watering, mulching, and fertilizing ensures that the beet plants receive the necessary nutrients and moisture to flourish. Proper weed and pest control measures safeguard the health and vitality of the plants.
Finally, the moment arrives when it’s time to harvest your beets. Whether you prefer baby beets or larger ones, harvesting at the right size and appearance ensures the best flavor and texture. With a gentle technique, the beets can be easily separated from their greens, ready to be enjoyed in a variety of culinary creations.
Growing beets from seeds allows you to fully appreciate the journey of these vibrant root vegetables. From tiny seeds to tender beets, you have the satisfaction of nurturing and tending to their growth every step of the way.
So, roll up your sleeves, gather your gardening tools, and embark on the wonderful adventure of growing beets from seeds. With a little patience, care, and attention, you’ll be rewarded with delicious, homegrown beets that will elevate your meals and fill your gardening experience with joy and fulfillment.
Frequently Asked Questions about How Many Beets Grow From One Seed
Was this page helpful?
At Storables.com, we guarantee accurate and reliable information. Our content, validated by Expert Board Contributors, is crafted following stringent Editorial Policies. We're committed to providing you with well-researched, expert-backed insights for all your informational needs.


0 thoughts on “How Many Beets Grow From One Seed”