Home>Garden Essentials>How To Plant Beet Seeds
Garden Essentials
How To Plant Beet Seeds
Modified: August 27, 2024
Learn how to plant beet seeds in your garden and enjoy a bountiful harvest. Follow our step-by-step guide for successful beet cultivation.
(Many of the links in this article redirect to a specific reviewed product. Your purchase of these products through affiliate links helps to generate commission for Storables.com, at no extra cost. Learn more)
Introduction
Welcome to the world of gardening! Growing your own vegetables can be a rewarding and fulfilling experience, and one vegetable that deserves a spot in your garden is the beet. Beets are not only delicious but are also packed with essential nutrients. They can be easily grown from seeds and require minimal care.
In this article, we will guide you through the step-by-step process of planting beet seeds and taking care of the plants until harvest. Whether you are a beginner or an experienced gardener, this guide will provide you with all the information you need to successfully grow beets in your garden.
Before we dive into the planting process, it is essential to understand the needs of beets. Beets prefer cool climates and well-drained soil. They thrive in full sun but can also tolerate partial shade. Additionally, beets are a cool-season crop, meaning they are best suited for planting in spring or fall when the temperatures are mild.
Now that we have covered the basics, let’s move on to the first step: preparing the soil.
Key Takeaways:
- Growing beets is a rewarding experience that requires preparing the soil, choosing the right seeds, and providing proper care. With patience and attention, you can enjoy a bountiful beet harvest in your garden!
- After harvesting your beets, store them properly to maintain freshness. Enjoy them in various dishes or preserve them for long-term use through canning, pickling, or freezing. Happy gardening and cooking!
Read more: How Many Days For Beet To Germinate
Step 1: Preparing the Soil
The first and crucial step in successfully growing beets is to prepare the soil. Beets thrive in loose, well-drained soil that is rich in organic matter. Here’s how you can prepare your soil:
- Choose the right location: Select a sunny spot in your garden that receives at least six hours of direct sunlight daily. Beets can tolerate partial shade, but full sun is optimal for their growth.
- Clear the area: Remove any weeds, rocks, or debris from the planting area. Beets can be sensitive to competition from weeds, so it is essential to clear the ground before planting.
- Loosen the soil: Use a garden fork or a tiller to loosen the soil to a depth of 8-10 inches. This will help improve drainage and allow the beet roots to grow deep.
- Add organic matter: Incorporate organic matter, such as compost or well-rotted manure, into the soil. This will enrich the soil with nutrients and improve its fertility.
- Level the soil: Smooth out the soil surface using a rake, ensuring it is even and free of clumps. This will provide a uniform growing environment for your beet plants.
By following these steps, you will create an ideal growing environment for your beets. The well-prepared soil will provide the nutrients and drainage necessary for healthy beet development.
Now that your soil is prepared, it’s time to move on to step two: choosing the beet seeds.
Step 2: Choosing the Beet Seeds
When it comes to choosing beet seeds, there are various options available. Here are some factors to consider when selecting your beet seeds:
- Variety: Beets come in different varieties, each with its own color, size, and flavor profile. Some popular varieties include Detroit Dark Red, Golden Beet, and Chioggia Beet. Choose a variety that suits your taste preferences and garden conditions.
- Planting season: Check the seed packet or consult the supplier to ensure that the seeds are appropriate for the season in which you plan to plant. Beets are typically planted in the spring or fall, depending on your climate.
- Hybrid or heirloom: Decide whether you want to grow hybrid or heirloom beet seeds. Hybrid seeds are bred for specific traits, such as disease resistance or uniformity, while heirloom seeds are open-pollinated and offer a wider range of flavors and characteristics.
- Seed quality: Look for high-quality seeds from reputable sellers or seed companies. Check the packaging for information on germination rates, seed viability, and any certifications or organic labels.
Additionally, consider the space available in your garden and the desired quantity of beets you wish to harvest. Beet seeds can be sown directly in the ground or started indoors and then transplanted. Choose a method that works best for your gardening style and available resources.
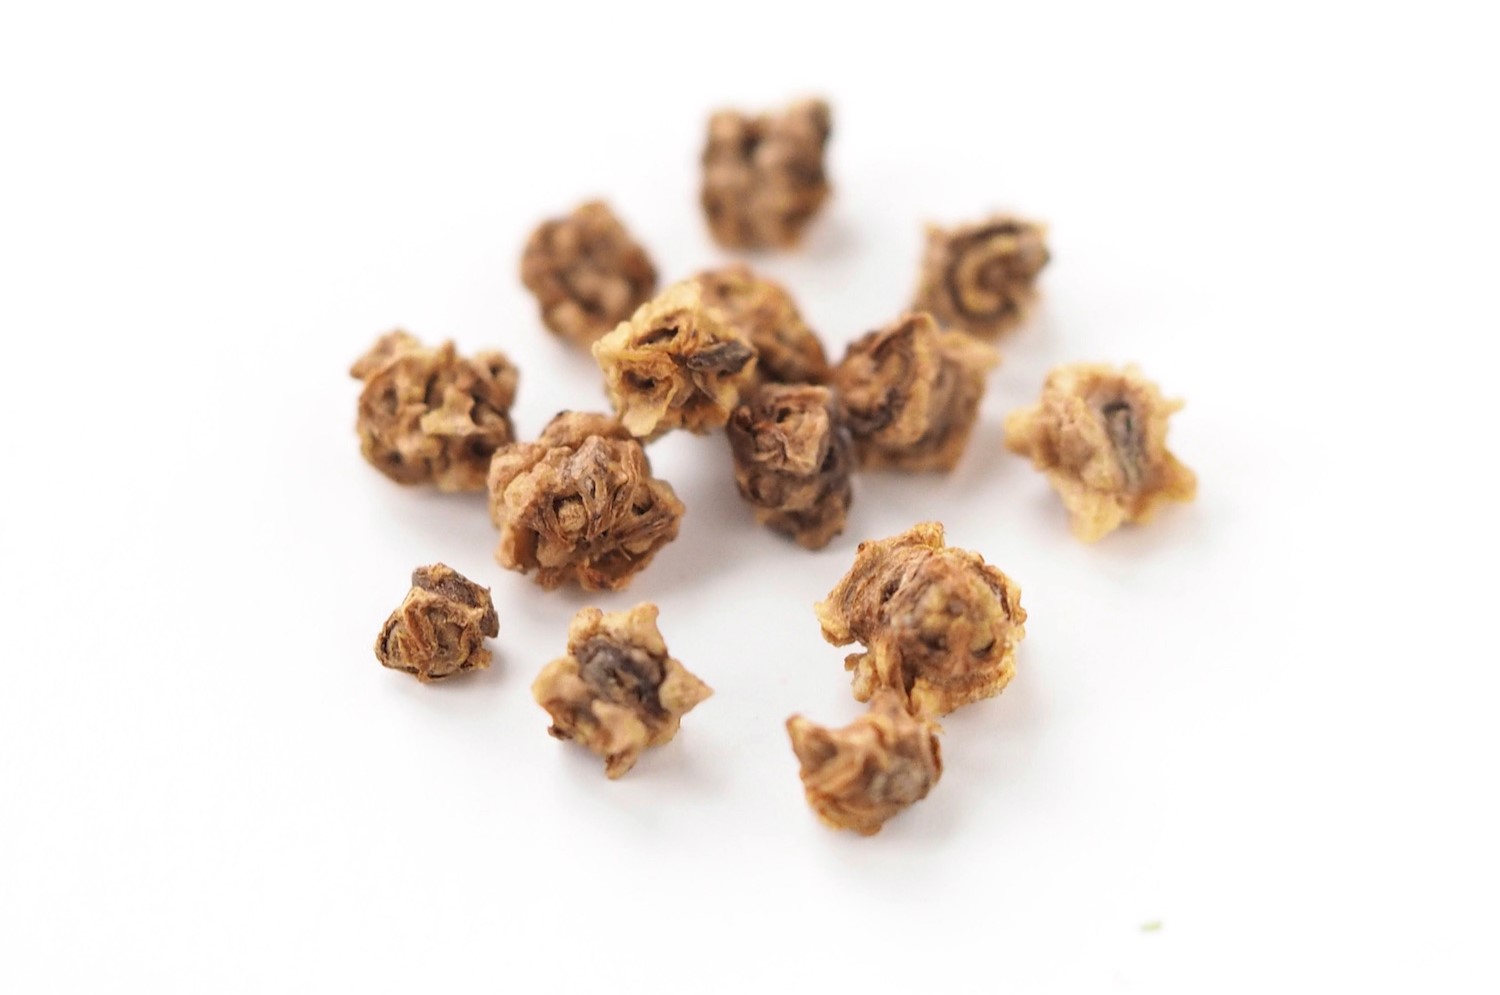
It’s also worth noting that beet seeds are actually clusters of seeds, often referred to as “seed balls.” The clusters can contain multiple seeds, and thinning may be necessary once the plants start growing to ensure proper spacing and optimal growth.
Once you have chosen the beet seeds, it’s time to move on to step three: planting the beet seeds.
Step 3: Planting the Beet Seeds
Now that you have your beet seeds ready, it’s time to plant them. Follow these steps for successful beet seed planting:
- Sowing seeds directly: Beets are best sown directly in the garden bed as they do not transplant well. Choose a day when the soil temperature is above 50°F (10°C) for optimal germination.
- Spacing: Sow the beet seeds 1 inch (2.5 cm) apart and about ½ inch (1.25 cm) deep. Leave a space of 12-18 inches (30-45 cm) between rows to allow the beet plants to spread as they grow.
- Thinning: Once the seedlings emerge, thin them to ensure proper spacing. Thin the plants to 3-4 inches (7.5-10 cm) apart to give the remaining beets enough room to develop and grow.
- Watering: After planting, water the bed gently but thoroughly to ensure that the soil is evenly moist. Beets require consistent moisture for germination and growth.
- Mulching: Consider applying a layer of organic mulch around the seedlings. Mulching will help conserve soil moisture, maintain a more stable soil temperature, and suppress weed growth.
It’s important to note that beets are known to have a slow germination period, often taking up to two weeks. Therefore, it’s crucial to be patient and provide the necessary care during this time.
Now that your beet seeds are planted, it’s time to move on to step four: watering and fertilizing the beet plants.
Step 4: Watering and Fertilizing the Beet Plants
Proper watering and fertilizing are essential for the healthy growth and development of beet plants. Here are some guidelines to follow:
- Watering: Beets require consistent moisture to thrive. Water the plants regularly, aiming to keep the soil evenly moist. Avoid overwatering, as it can lead to rotting or fungal diseases. Mulching around the plants can help retain moisture and reduce the frequency of watering.
- Fertilizing: Before planting the beet seeds, incorporate compost or well-rotted manure into the soil to provide initial nutrients. Beets generally do not require heavy fertilization. However, if your soil is poor in nutrients, you can supplement with a balanced organic fertilizer or a slow-release granular fertilizer once the plants have established.
- Side-dressing: As the beet plants grow, you can give them a boost of nutrients by side-dressing with compost or a nitrogen-rich fertilizer. Apply the fertilizer according to the package instructions and gently work it into the soil around the base of the plants.
It’s important to monitor the moisture levels of the soil and adjust your watering schedule accordingly. Feel the soil with your finger, and if it feels dry or if the plants show signs of wilting, it’s time to water.
Additionally, beets do not typically require frequent fertilization. However, if you notice any signs of nutrient deficiency, such as yellowing leaves or stunted growth, consider applying a small amount of organic fertilizer to provide them with the necessary nutrients.
Now that you know how to water and fertilize your beets, let’s move on to step five: managing weed growth.
Plant beet seeds in well-draining soil, 1 inch apart and 1/2 inch deep. Water regularly and thin seedlings to 3 inches apart once they have 2-3 leaves.
Read more: How Long Does It Take Beets To Germinate
Step 5: Managing Weed Growth
Weeds can compete with beets for nutrients, water, and sunlight, hindering their growth. To ensure the best possible conditions for your beet plants, it’s important to manage weed growth. Here’s how you can effectively control weeds in your beet garden:
- Mulching: Apply a layer of organic mulch around the base of the beet plants. This will help smother weeds, prevent their growth, and maintain moisture in the soil. Use materials like straw, shredded leaves, or grass clippings as mulch.
- Hand weeding: Regularly inspect your beet garden and remove any weeds that emerge. Use your hands or a small handheld weeding tool to carefully pull up the weeds, ensuring that you remove the entire root system.
- Cultivating: Use a hoe or cultivator to gently loosen the top layer of soil between the rows of beet plants. This will disrupt weed growth and make it easier to remove any emerging weeds.
- Timing: Stay vigilant and address weeds as soon as you notice them. Early intervention is key to preventing weeds from establishing deep roots and overtaking your beet plants.
- Preventive measures: Consider implementing preventive measures, such as laying down a weed barrier or landscape fabric before planting your beets. These barriers can help suppress weed growth and make weed management easier.
Remember that regular maintenance and consistent weed management efforts are essential to keeping weeds at bay and ensuring the healthy growth of your beet plants.
Now that you’re equipped with weed management techniques, it’s time to move on to step six: harvesting the beets!
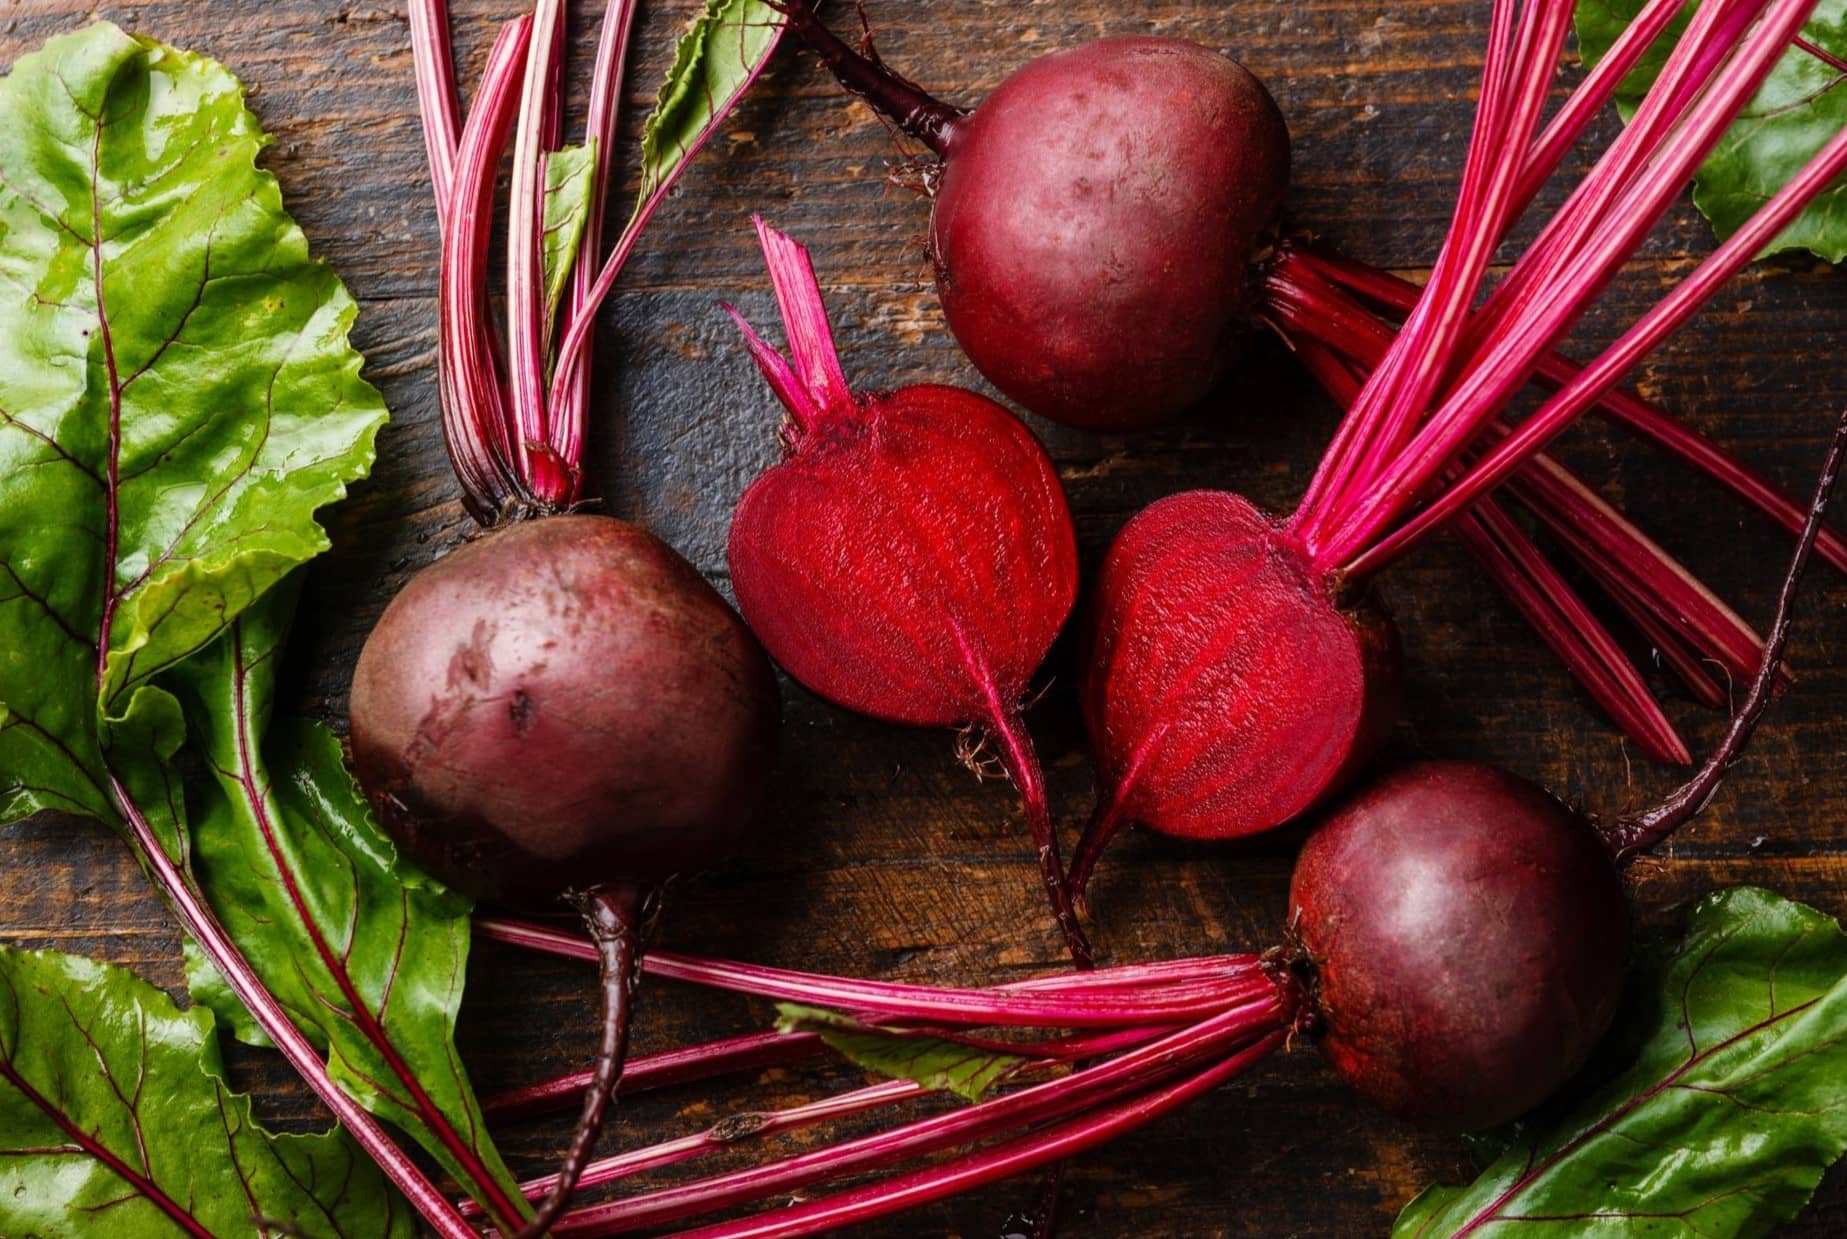
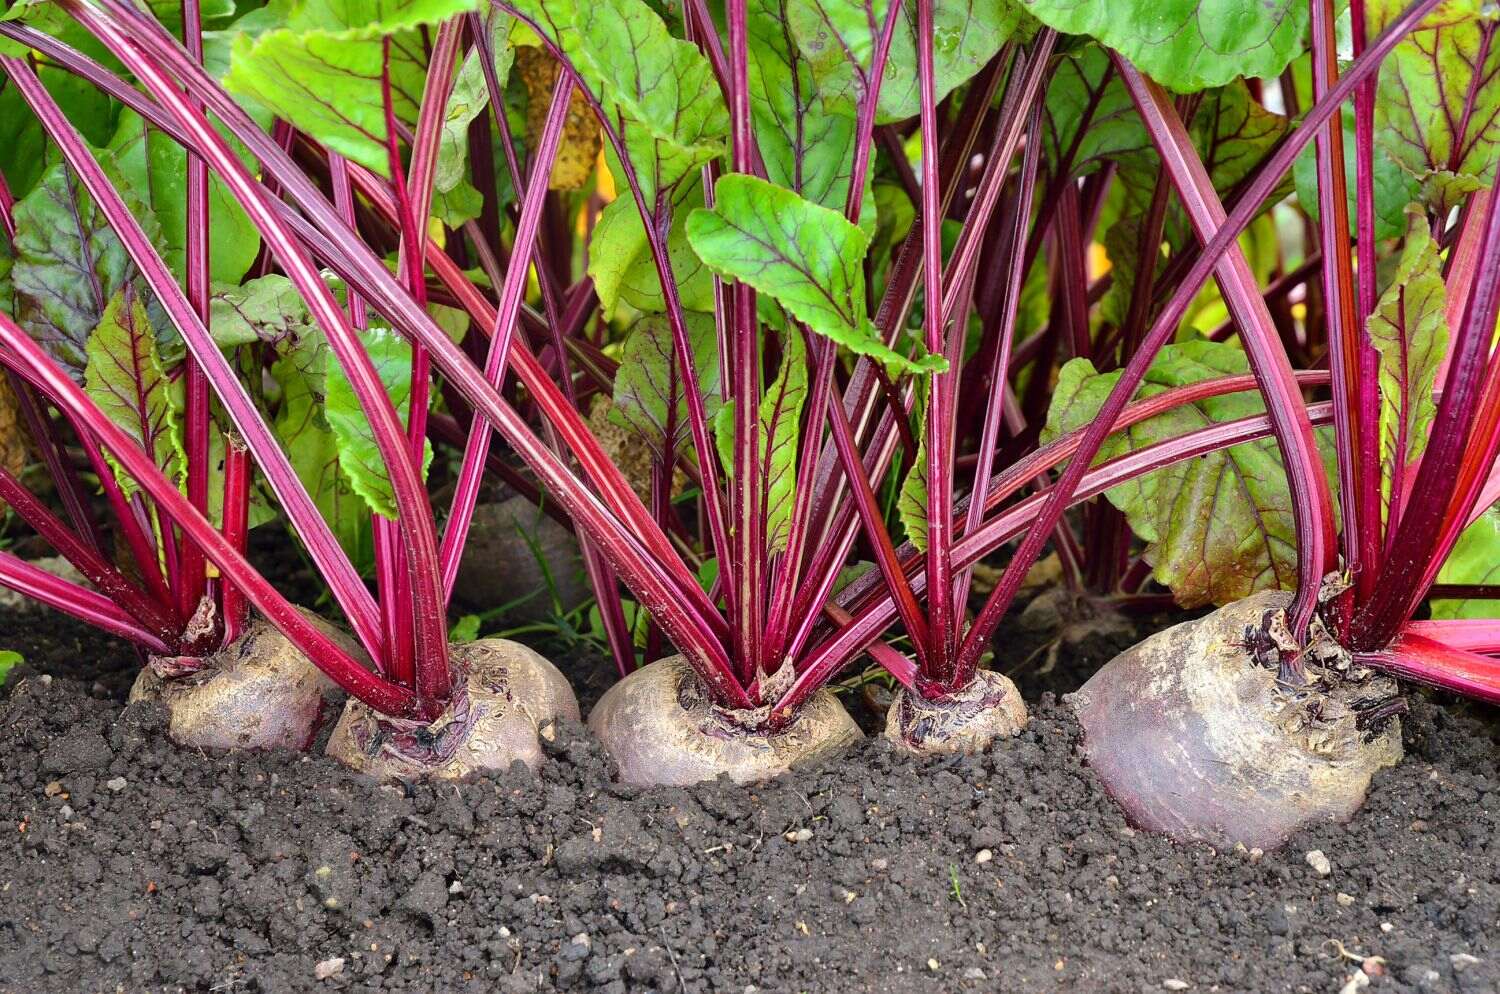
Step 6: Harvesting the Beets
The time has finally come to harvest your beets and enjoy the fruits of your labor! Here’s how to know when your beets are ready for harvest and how to safely harvest them:
- Maturity: The average time for beets to reach maturity is between 8 to 10 weeks, but this can vary depending on the variety. Check the seed packet or the estimated maturity period provided by the supplier to have a rough idea of when to expect harvest.
- Size: Beets are typically harvested when they reach a diameter of 1 to 3 inches (2.5 to 7.6 cm). Smaller beets are generally sweeter and more tender, while larger beets may have a stronger flavor and slightly tougher texture.
- Leaf growth: Pay attention to the growth of the beet leaves. They should be lush and vibrant, indicating that the plant is healthy and mature enough for harvest.
- Loosen the soil: Gently loosen the soil around the base of the beets using a garden fork or a trowel. This will make it easier to lift the beets without damaging them.
- Harvesting: Grasp the beet tops, close to where they emerge from the ground, and gently pull them upward. The entire beet, including the root and leaves, should come out of the ground. Avoid yanking or pulling forcefully, as this can damage the beets.
Once you have harvested your beets, remove any excess soil clinging to them, but do not wash them immediately. Washing can remove the natural protective coating and reduce their shelf life. Store beets in a cool, dry place, such as a root cellar or the refrigerator, where they can last for several weeks.
Now that you have successfully harvested your beets, it’s time to move on to step seven: storing and using the beet harvest!
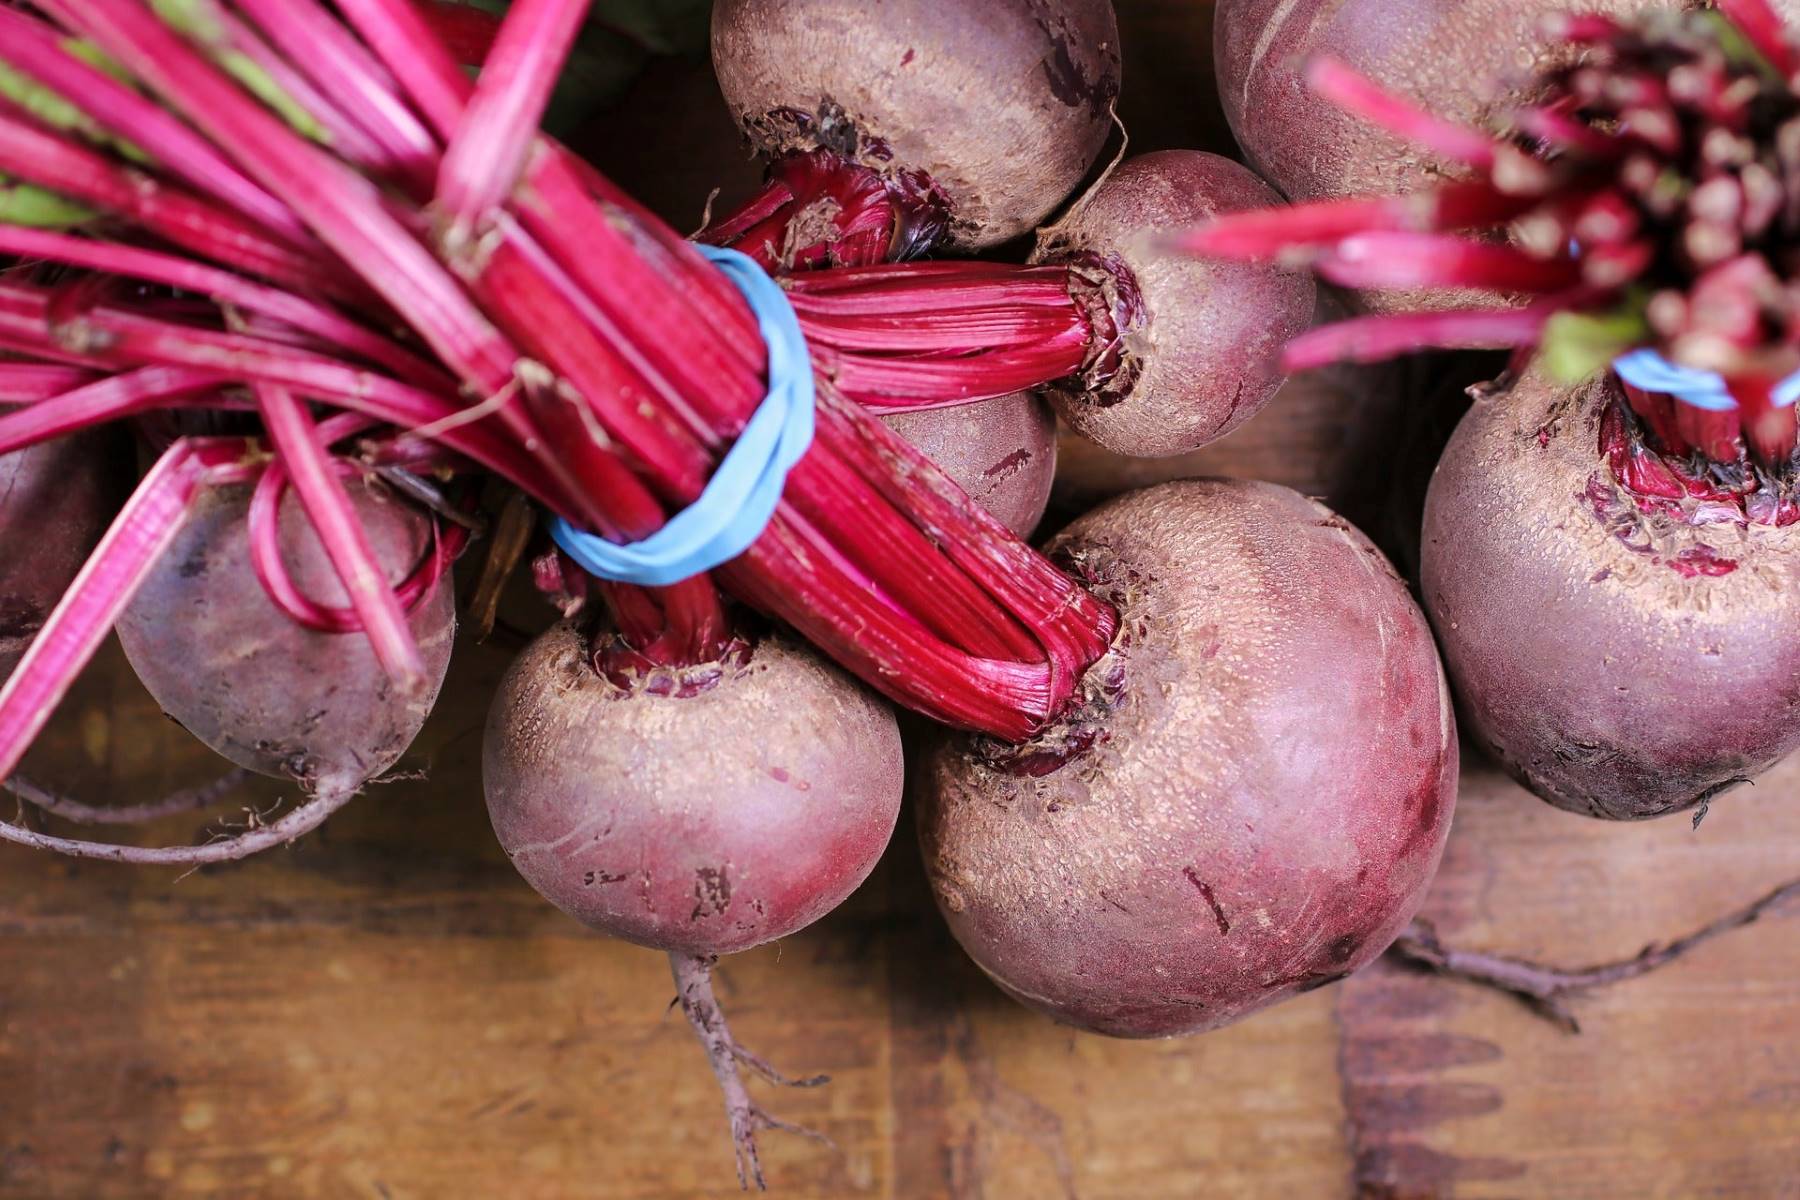
Step 7: Storing and Using the Beet Harvest
After all the hard work of growing and harvesting your beets, it’s important to store them properly to maintain their freshness and quality. Here’s how you can store and make the most of your beet harvest:
- Trimming: Remove the beet greens, leaving about an inch (2.5 cm) of stem attached to the beet root. This helps prevent moisture loss and prolongs their shelf life.
- Storage options: Beets can be stored in two main ways: in the refrigerator or in a root cellar. If storing in the refrigerator, place the beets in a perforated plastic bag or a loosely sealed container to maintain humidity. They can last for up to 2-3 months. Alternatively, if you have a root cellar or a cool, dark, and well-ventilated area, you can store beets in damp sand or sawdust. This method can keep beets fresh for several months.
- Using fresh: Fresh beets can be enjoyed in a variety of ways. They can be boiled, steamed, roasted, or grated raw into salads. Beets are versatile and can be used in soups, stews, pickles, smoothies, and even desserts like beet cake or brownies.
- Canning or pickling: If you have a large harvest, consider canning or pickling the beets to preserve them for longer. This allows you to enjoy the taste of homegrown beets throughout the year.
- Freezing: Another option for long-term storage is to blanch and freeze the beets. Peel and slice or cube the beets, blanch them in boiling water for a few minutes, then cool and store in airtight containers or freezer bags. Frozen beets can last up to 10-12 months.
Remember to always wash your beets thoroughly before using them. You can scrub them gently under running water to remove any dirt or debris.
Now that you know how to store and make use of your beet harvest, you can enjoy the delicious and nutritious flavors of beets throughout the year.
Congratulations on successfully growing and harvesting your own beets!
By following these steps, you will be able to plant, care for, and enjoy a bountiful beet harvest. Remember to adapt these steps based on your local climate, soil conditions, and specific beet varieties. With a little patience and attention, you can savor the sweet and earthy flavors of homegrown beets in your favorite recipes. Happy gardening!
Need help with any other gardening tips or advice? Feel free to ask!
Conclusion
Congratulations on completing the journey of growing your own beets! From preparing the soil to harvesting the beets, you now have the knowledge and skills to successfully cultivate this nutritious and vibrant vegetable in your garden.
Throughout this guide, we covered the essential steps involved in planting beets, including preparing the soil, choosing the right seeds, sowing and caring for the plants, managing weeds, harvesting your yield, and storing the beets for future use. By following these steps, you have set yourself up for a successful beet-growing experience.
Remember to pay attention to the needs of the beets, such as providing adequate sunlight, moisture, and nutrients. Regular weeding and monitoring for any signs of pests or diseases are also key to maintaining healthy beet plants. By doing so, you can ensure optimal growth and a bountiful harvest.
As you enjoy your homegrown beets, experiment with various cooking methods and recipes to truly appreciate the versatility and unique flavors they offer. Whether cooked, pickled, or enjoyed raw in salads, beets can add a vibrant touch to your culinary creations.
Growing your own beets not only provides you with a fresh and nutritious addition to your meals but also offers the joy and satisfaction of cultivating your own food. Plus, tending to your garden and witnessing the growth of these vibrant root vegetables can be a fulfilling and therapeutic experience.
Remember, gardening is a continuous learning process, and each season presents new challenges and opportunities. As you continue your gardening journey, don’t hesitate to explore other vegetable varieties, experiment with different techniques, and seek advice from fellow gardeners or local resources.
Thank you for joining us on this beet-growing adventure. With these newfound skills, we hope you continue to nurture your green thumb and enjoy the wonderful world of gardening. Here’s to many more fruitful harvests!
Frequently Asked Questions about How To Plant Beet Seeds
Was this page helpful?
At Storables.com, we guarantee accurate and reliable information. Our content, validated by Expert Board Contributors, is crafted following stringent Editorial Policies. We're committed to providing you with well-researched, expert-backed insights for all your informational needs.


0 thoughts on “How To Plant Beet Seeds”