Home>Garden Essentials>How To Grow Blueberries From Seeds


Garden Essentials
How To Grow Blueberries From Seeds
Modified: April 22, 2024
Learn how to grow blueberries from seeds in your garden with our step-by-step guide. Start growing your own delicious and nutritious berries today!
(Many of the links in this article redirect to a specific reviewed product. Your purchase of these products through affiliate links helps to generate commission for Storables.com, at no extra cost. Learn more)
Introduction
Welcome to the world of blueberries! If you’ve ever savored the taste of these sweet and juicy berries, you may have wondered how to grow them yourself. Well, you’re in luck! In this article, we will guide you through the process of growing blueberries from seeds, so you can enjoy the satisfaction of cultivating your own delicious fruit.
Blueberries are not only a tasty treat but also a highly nutritious fruit packed with antioxidants and vitamins. While you can easily purchase blueberry plants from nurseries, starting from seeds allows you to experience the entire life cycle of the plant, from germination to harvest.
Before we dive into the step-by-step process of growing blueberries, it’s important to note that the process can be slightly challenging. Blueberries require specific growing conditions and patience, as they take a few years to reach their full fruit-bearing potential. However, with the right knowledge and care, you can successfully grow blueberries from seeds and enjoy a bountiful harvest.
Now, let’s get started on this exciting gardening adventure!
Key Takeaways:
- Growing blueberries from seeds is a patient and rewarding process, from germination to harvest. With proper care and attention, you can enjoy the satisfaction of cultivating your own delicious berries.
- Providing the right environment, germinating seeds, and caring for the plants are essential steps in growing blueberries. Enjoy the journey and the flavorful rewards of homegrown blueberries!
Read more: How To Grow Blueberries From Seed
Step 1: Obtain Blueberry Seeds
The first step in growing blueberries from seeds is to obtain the seeds themselves. There are a few options for acquiring blueberry seeds:
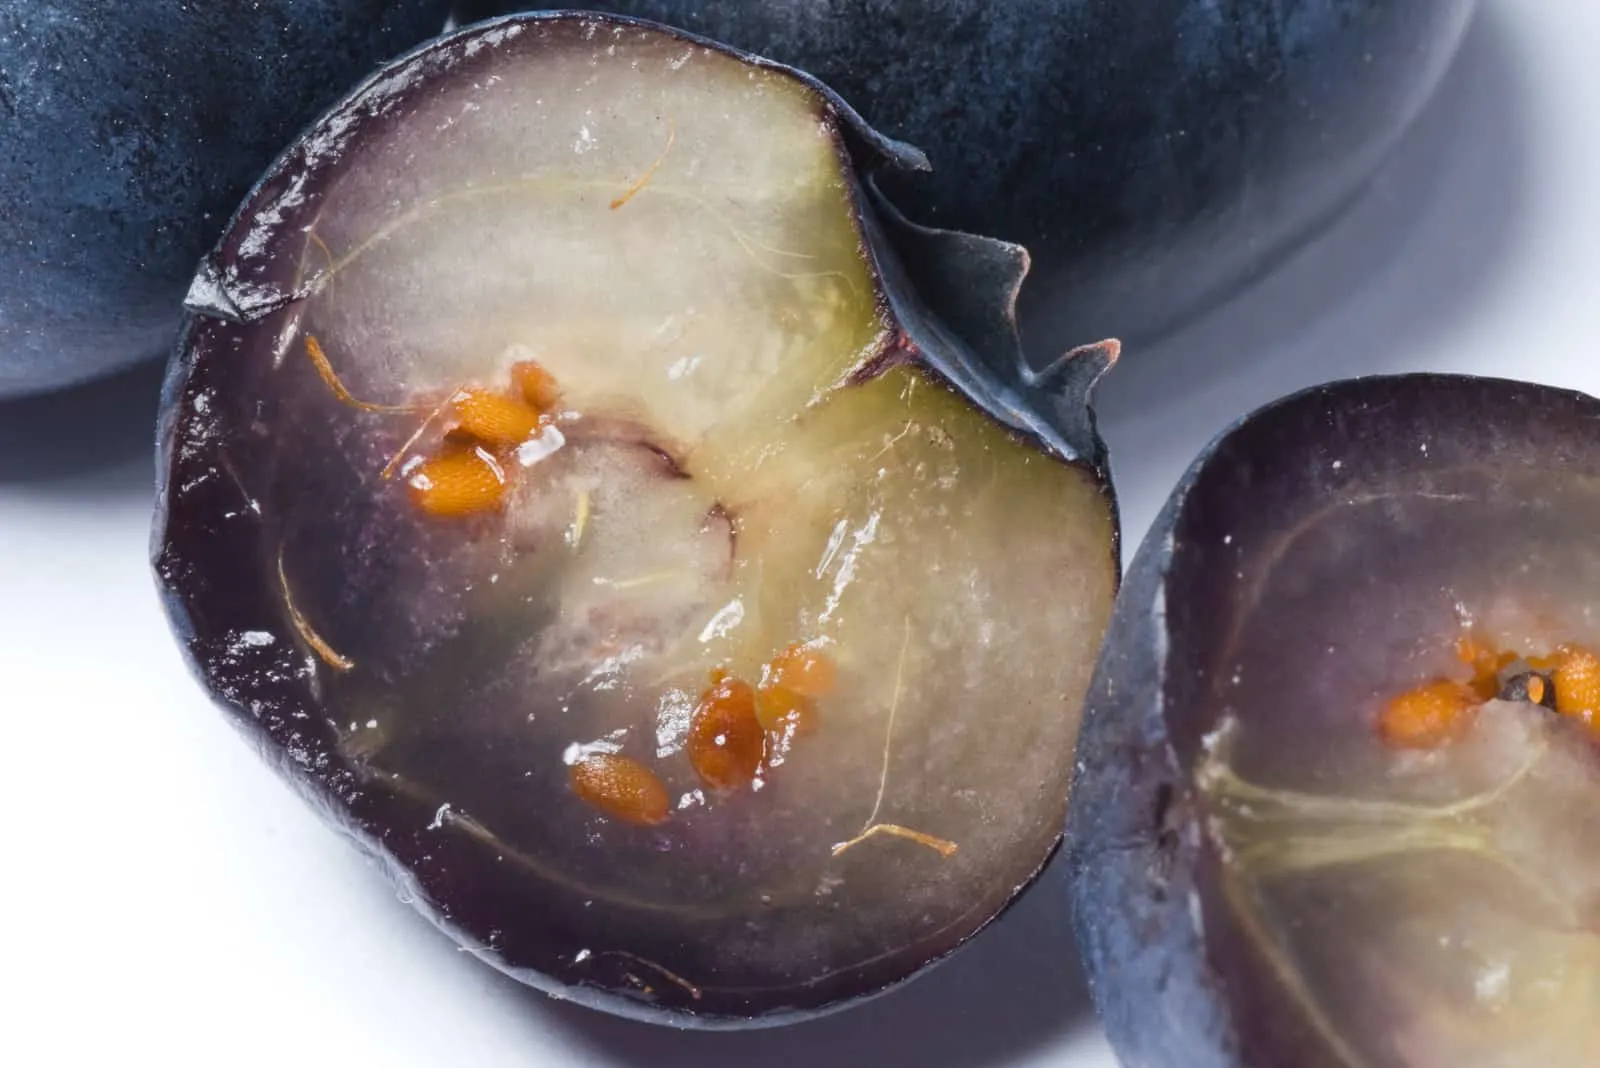
- Harvesting from fresh berries: If you have access to fresh blueberries, you can harvest the seeds from the berries themselves. Simply take a ripe blueberry and gently squeeze it, releasing the seeds onto a paper towel. Allow the seeds to dry for a few days before proceeding to the next step.
- Purchasing from a reputable source: Another option is to purchase blueberry seeds from a reliable vendor or nursery. This ensures that you are getting quality seeds that are well-suited for growing blueberry plants.
- Collecting from established plants: If you have blueberry plants in your garden or know someone who does, you can ask for permission to collect seeds from their mature berries. This can be a cost-effective and rewarding way to obtain blueberry seeds.
Once you have the blueberry seeds, it’s important to note that they have a relatively short shelf life. Therefore, it’s best to plant the seeds as soon as possible after obtaining them. If you can’t plant them right away, store the seeds in a cool, dry place to maintain their viability.
Now that you have the blueberry seeds in hand, it’s time to move on to the next step: preparing the planting environment.
Step 2: Prepare the Planting Environment
Creating the right planting environment is essential for the successful growth of blueberry seeds. Blueberries thrive in acidic soil with a pH level between 4.0 and 5.0. Here are the steps to prepare the ideal planting environment:
- Select a suitable location: Choose a spot in your garden that receives full sun for at least six to eight hours a day. Blueberries also prefer well-draining soil to prevent waterlogged roots.
- Test and amend the soil: Conduct a soil test to determine the pH level. If the pH is too high, you will need to lower it to the desired range by adding organic matter such as peat moss or elemental sulfur. Follow the instructions on the soil test kit or consult with a local gardening expert for guidance.
- Prepare the soil bed: Clear the area of any weeds, rocks, or debris. Dig a hole that is wide and deep enough to accommodate the roots of the blueberry plants. Mix the soil with compost or well-rotted manure to improve its fertility and texture.
- Consider raised beds or containers: If your soil is not suitable for blueberries, you can create raised beds or use containers filled with acidic potting soil. This allows you to have better control over the soil conditions and drainage.
- Space the plants appropriately: Blueberries need room to spread their roots. Space the plants at least 3 to 4 feet apart to ensure optimal growth and air circulation.
Once you have prepared the planting environment, you are ready to move on to the next step: germinating the blueberry seeds.
Step 3: Germinate the Seeds
Germinating blueberry seeds is an exciting process that brings your garden one step closer to enjoying delicious blueberries. Follow these steps to successfully germinate your blueberry seeds:
- Soak the seeds: Start by soaking the blueberry seeds in a cup of warm water for 24 hours. This helps to soften the seed coat and promote germination.
- Prepare the germination tray: Fill a seed tray or small containers with a well-draining seed starting mix. Moisten the soil, making sure it is damp but not waterlogged.
- Sow the seeds: Gently press the soaked seeds into the soil, spacing them apart to allow room for growth. Cover the seeds with a thin layer of soil, about 1/4 inch deep.
- Create a mini greenhouse: To create a humid environment for germination, cover the seed tray with a clear plastic dome or a plastic bag. This helps to retain moisture and warmth.
- Provide the right temperature: Place the germination tray in a warm spot with a temperature between 70 to 75°F (21 to 24°C). You can use a heating mat if needed to maintain a consistent temperature.
- Be patient and maintain moisture: Germination can take anywhere from 2 to 6 weeks, so be patient. Check the soil regularly and mist it with water whenever it starts to dry out, maintaining a consistently moist environment.
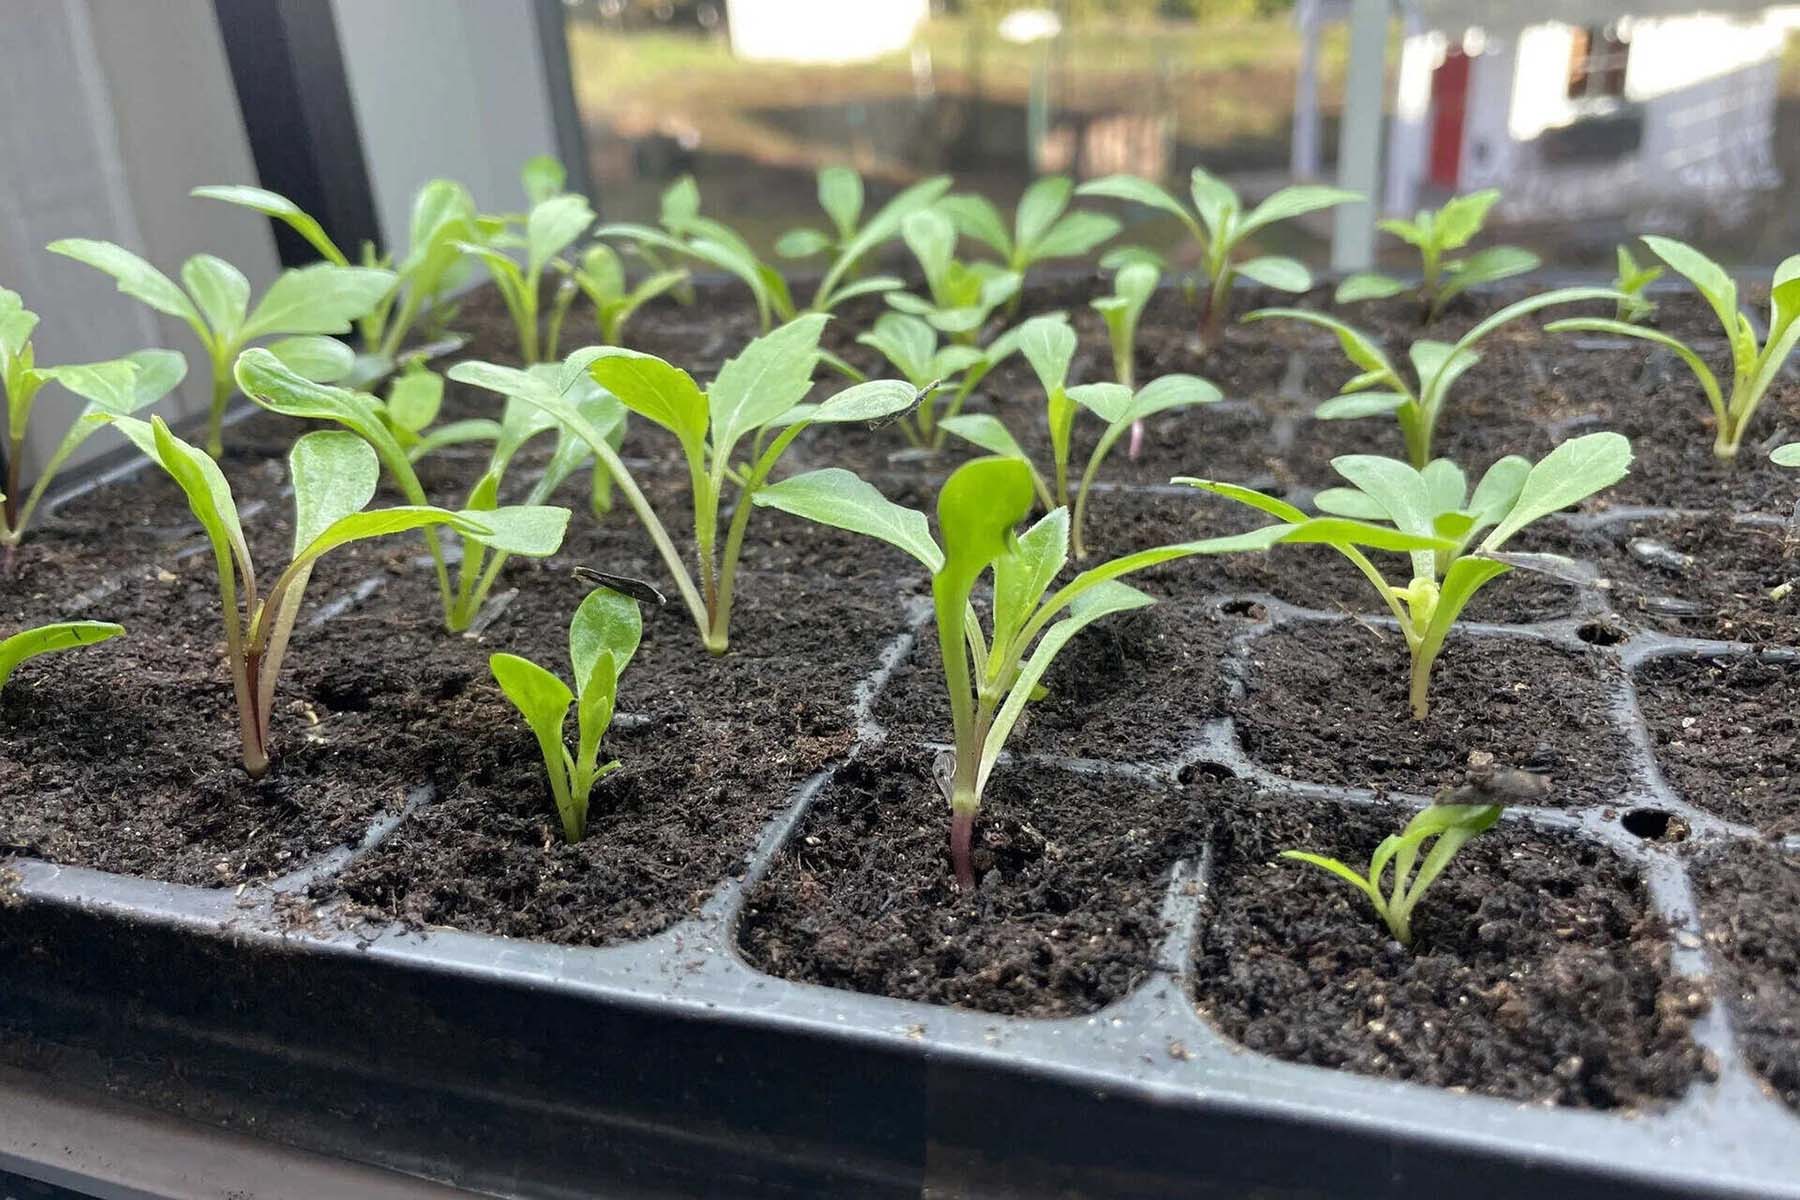
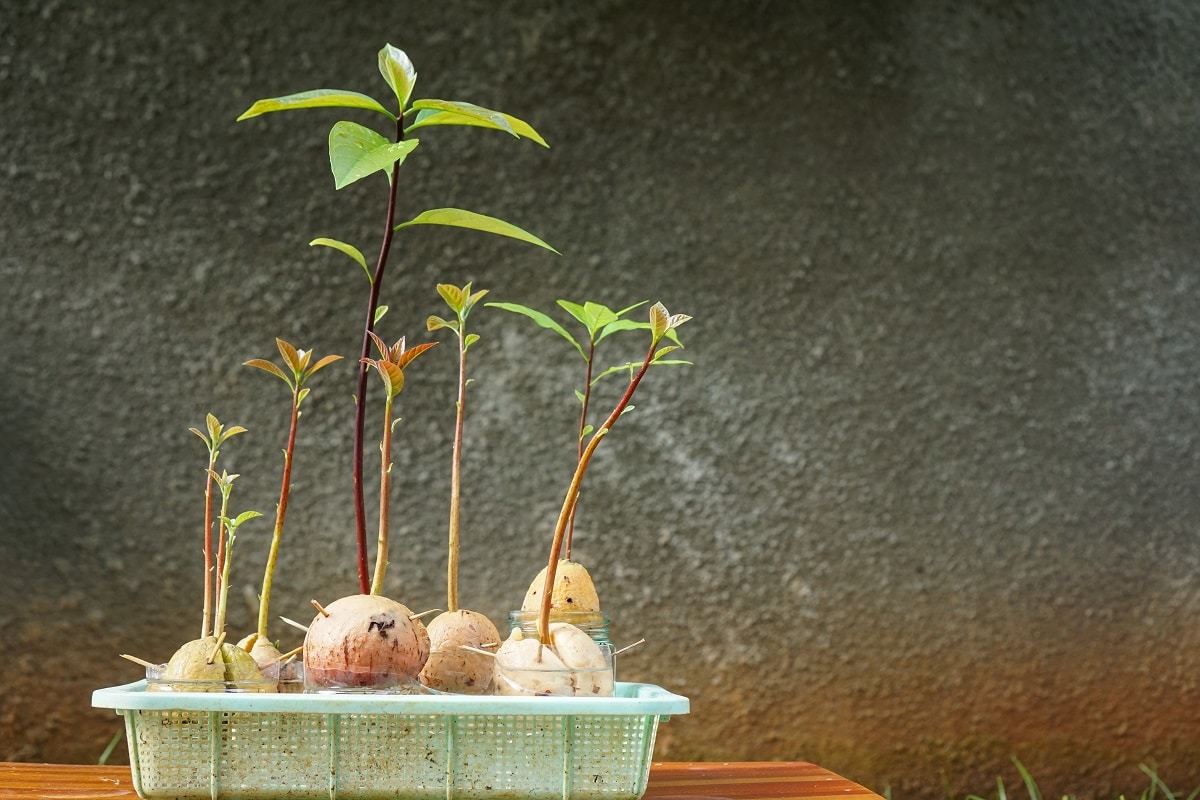
As the blueberry seeds germinate, you will start to see tiny seedlings emerging from the soil. Once the seedlings have grown a few inches tall and developed their first set of true leaves, they are ready to be transplanted into individual pots or the garden.
Now that your blueberry seeds have germinated successfully, it’s time to move on to the next step: transplanting the seedlings.
To grow blueberries from seeds, start by collecting ripe berries, removing the seeds, and planting them in a mix of peat moss and sand. Keep the soil moist and the seeds warm to encourage germination.
Step 4: Transplant the Seedlings
Transplanting the seedlings is a crucial step in the process of growing blueberries from seeds. Here’s how to transplant your blueberry seedlings into their new homes:
- Select the right container or planting location: Choose a container or find a suitable spot in your garden that provides full sun and has well-draining acidic soil with a pH level between 4.0 and 5.0.
- Prepare the planting hole: Dig a hole in the soil or the container that is slightly larger than the size of the seedling’s root ball. Make sure to space the plants at least 3 to 4 feet apart for ample room to grow.
- Carefully remove the seedling: Gently loosen the soil around the seedling’s roots by using a small trowel or your fingers. Be cautious not to damage the delicate roots.
- Place the seedling in the hole: Set the seedling in the hole, making sure that the soil level is the same as it was in the seed tray. Adjust the depth if necessary, ensuring that the seedling is planted at the same level as before.
- Backfill and gently firm the soil: Fill the hole with soil, gently pressing it down around the base of the seedling to eliminate any air pockets. Avoid compacting the soil too much, as blueberry roots require oxygen.
- Water thoroughly: After transplanting, give each seedling a thorough watering to help settle the soil and provide moisture to the roots.
- Apply mulch: Apply a layer of organic mulch, such as pine needles or wood chips, around the base of the seedling to help retain moisture, suppress weeds, and maintain a cool root zone.
It’s important to note that blueberry plants take time to establish their root systems and may not produce fruit in the first year. Be patient, as the seedlings need time to grow and develop before they can bear a bountiful harvest.
Now that your blueberry seedlings are safely transplanted, it’s time to move on to the next step: providing proper care and maintenance.
Read more: How Long To Grow Blueberries From Seed
Step 5: Provide Proper Care and Maintenance
Proper care and maintenance are essential for the healthy growth and development of your blueberry plants. Follow these guidelines to ensure your blueberries thrive:
- Keep the soil moist: Blueberries require consistently moist soil, especially during the growing season. Water the plants deeply once or twice a week, ensuring that the soil is evenly moist but not waterlogged.
- Mulch to conserve moisture: Apply a layer of organic mulch around the base of the plants to help retain moisture, suppress weed growth, and regulate soil temperature. Pine needles, wood chips, or straw make excellent mulching materials for blueberries.
- Prune for shape and airflow: Prune your blueberry plants during the dormant season to remove dead or damaged branches and promote airflow. This helps prevent disease and ensures the plants receive adequate sunlight and air circulation.
- Fertilize appropriately: Blueberries are acid-loving plants and benefit from regular fertilization with acidic fertilizers. Apply a slow-release, balanced fertilizer specially formulated for acid-loving plants according to the package instructions.
- Protect from pests and diseases: Monitor your blueberry plants for common pests like aphids, spider mites, and fruit flies. Use organic pest control methods or consult with a local gardening expert for safe and effective solutions. Also, watch out for diseases such as powdery mildew or fungal infections and take necessary measures to prevent or treat them.
- Net the plants: If you have birds in your area that like to feast on ripe blueberries, protect your crop by covering the plants with bird netting as the berries begin to ripen.
- Monitor pH levels: Regularly monitor the pH levels of the soil surrounding your blueberry plants. If necessary, apply amendments, such as elemental sulfur, to maintain the acidic soil conditions blueberries prefer.
Remember, growing blueberries is a long-term commitment. It may take several years for the plants to reach their full fruit-bearing potential. But with proper care and maintenance, you can enjoy the rewards of delicious homegrown blueberries.
Now that you know how to provide proper care for your blueberry plants, let’s move on to the final step: harvesting those juicy blueberries!
Step 6: Harvesting Blueberries
After months of care and patience, it’s time to reap the rewards of your hard work by harvesting your delicious blueberries. Here’s how to know when your blueberries are ready for picking and how to harvest them:
- Observe the color: Blueberries ripen from green to a deep blue or purple shade. Wait until the berries have fully turned color before harvesting. They should appear plump and juicy.
- Gently tug the berries: Give the berry a gentle tug. If it comes off easily without much resistance, it is ripe and ready to be picked. Berries that are still firm or require a lot of force are not yet ripe, so leave them on the plant to mature.
- Harvest in the morning: It’s best to harvest blueberries in the morning when the temperatures are cooler, as this helps to preserve the flavor and quality of the fruit. The berries are also less likely to be as soft from the heat of the day.
- Use a picking container: Place a clean picking container, such as a bucket or basket, under the branches as you harvest. This will prevent the blueberries from getting bruised or crushed.
- Pick the berries carefully: Grasp the stem of the ripe berry between your thumb and forefinger and gently pull it towards you. Be careful not to damage the surrounding berries or the plant itself.
- Inspect and discard any damaged berries: As you go through the picking process, discard any berries that are bruised, overripe, or show signs of disease or pest damage.
- Handle with care: Blueberries are delicate fruits, so handle them with care to avoid crushing or bruising. Place harvested berries in a shallow container to prevent them from being crushed under the weight of the others.
Once you have harvested your blueberries, they can be enjoyed fresh, or you can use them in various culinary creations such as pies, jams, smoothies, or salads. Blueberries can also be frozen for later use, allowing you to enjoy the taste of summer all year round.
Congratulations! You have successfully gone through the process of growing blueberries from seeds and harvested your own flavorful and nutritious berries.
Remember to continue providing proper care and maintenance to your blueberry plants so they can thrive year after year, providing you with many more delicious harvests.
Happy blueberry gardening!
Conclusion
Growing blueberries from seeds is a rewarding and fulfilling experience. From selecting the seeds to harvesting the juicy berries, each step of the process contributes to the journey of cultivating your own blueberry plants.
While growing blueberries from seeds may require some patience and attention to detail, the end result is well worth it. By following the steps outlined in this guide, you can enjoy the satisfaction of watching your blueberry seeds germinate, grow into healthy seedlings, and eventually produce a bountiful harvest of delicious berries.
Remember to provide the proper planting environment, including well-draining acidic soil and full sun. Take the time to germinate the seeds and carefully transplant the seedlings to their permanent locations. Once the plants are established, provide them with consistent care and maintenance, including regular watering, appropriate fertilization, and protection from pests and diseases.
When the time comes for harvest, enjoy the thrill of picking plump, ripe blueberries from your plants. Whether you choose to savor them fresh off the bush or incorporate them into various culinary creations, the flavor and nutritional benefits of homegrown blueberries are unparalleled.
As you embark on your blueberry-growing journey, stay committed and patient. Blueberries require time to establish themselves and reach their full potential. With each passing year, your blueberry plants will become stronger and more productive, providing you with an abundance of sweet and tangy berries to enjoy.
So, embrace the joys of gardening and enjoy the satisfaction of growing your own blueberries from seeds. The process may be challenging at times, but the rewards are endless. Treat yourself and your loved ones to the taste of freshly harvested blueberries, straight from your own garden.
Happy blueberry growing!
Frequently Asked Questions about How To Grow Blueberries From Seeds
Was this page helpful?
At Storables.com, we guarantee accurate and reliable information. Our content, validated by Expert Board Contributors, is crafted following stringent Editorial Policies. We're committed to providing you with well-researched, expert-backed insights for all your informational needs.

0 thoughts on “How To Grow Blueberries From Seeds”