Home>Garden Essentials>How To Clean A Cat Water Fountain Pump

Garden Essentials
How To Clean A Cat Water Fountain Pump
Modified: August 20, 2024
Learn how to properly clean and maintain your cat water fountain pump in your garden for a healthy and hygienic water source.
(Many of the links in this article redirect to a specific reviewed product. Your purchase of these products through affiliate links helps to generate commission for Storables.com, at no extra cost. Learn more)
Introduction
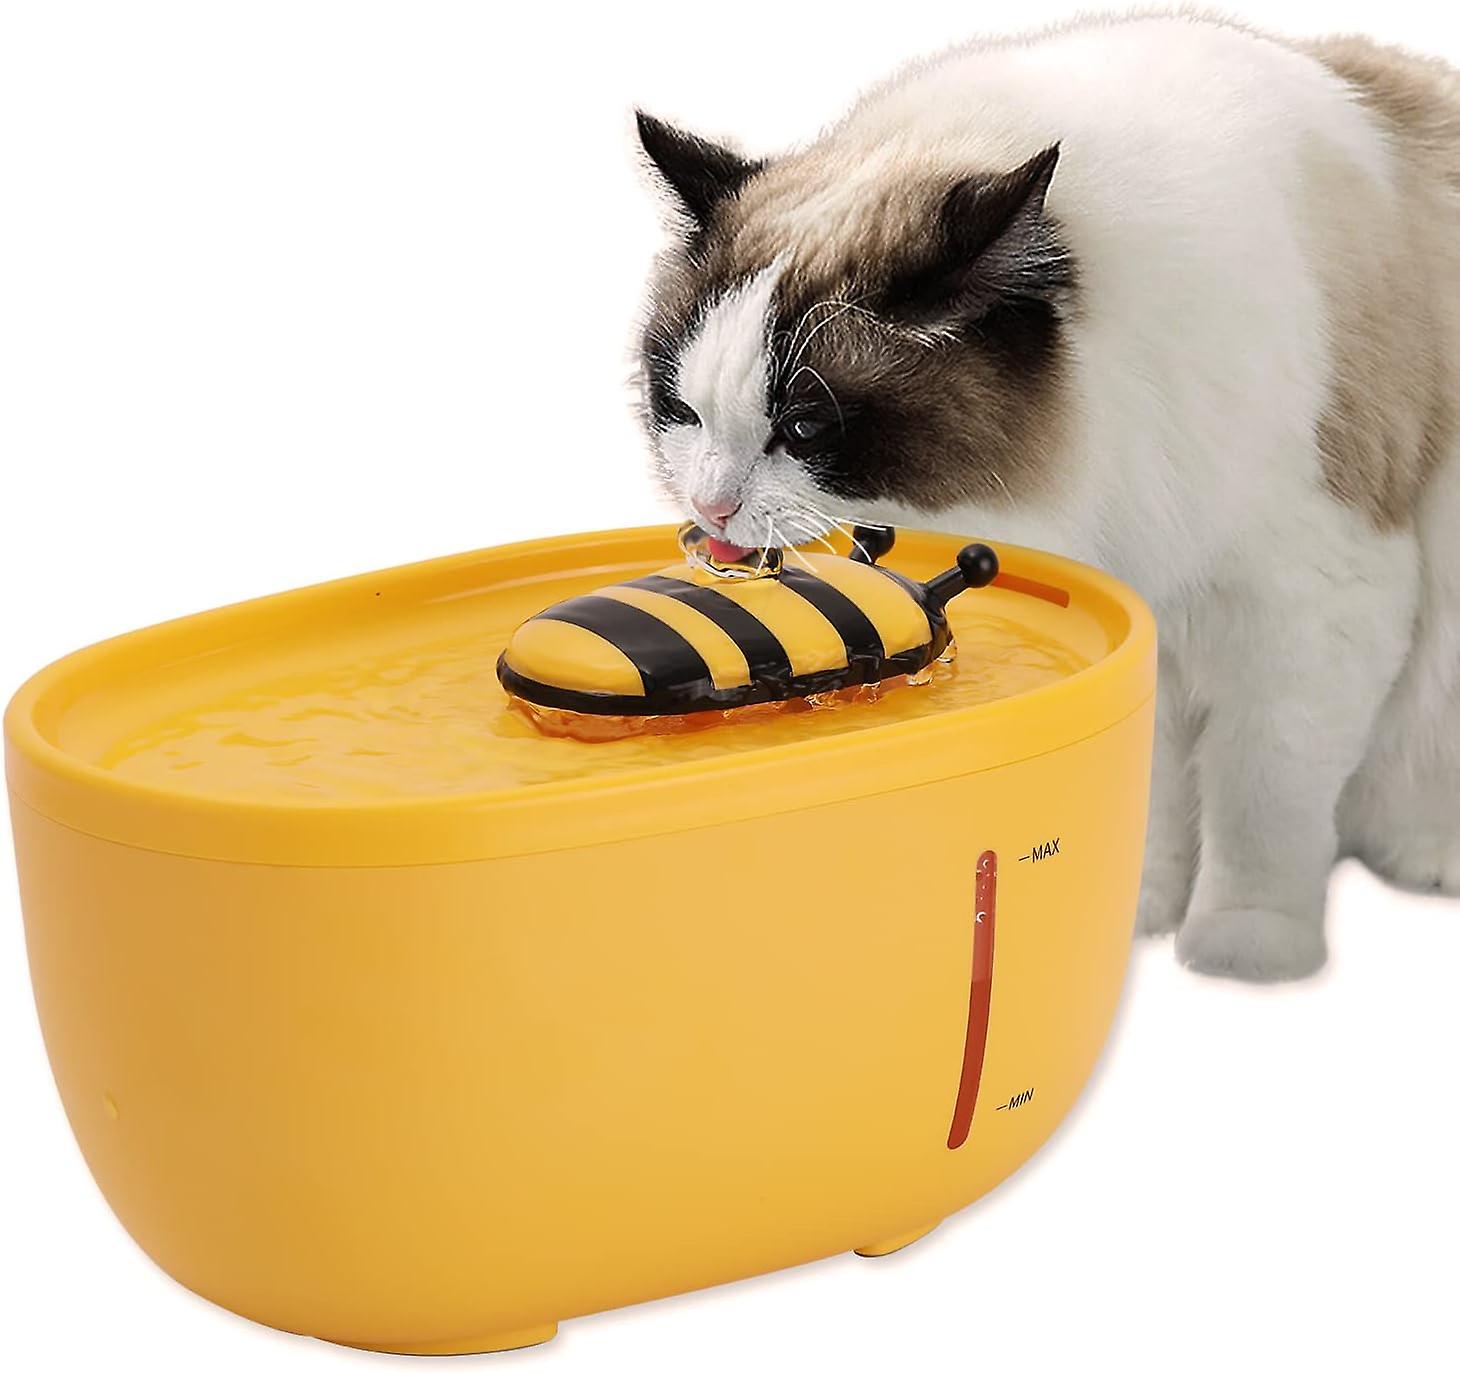
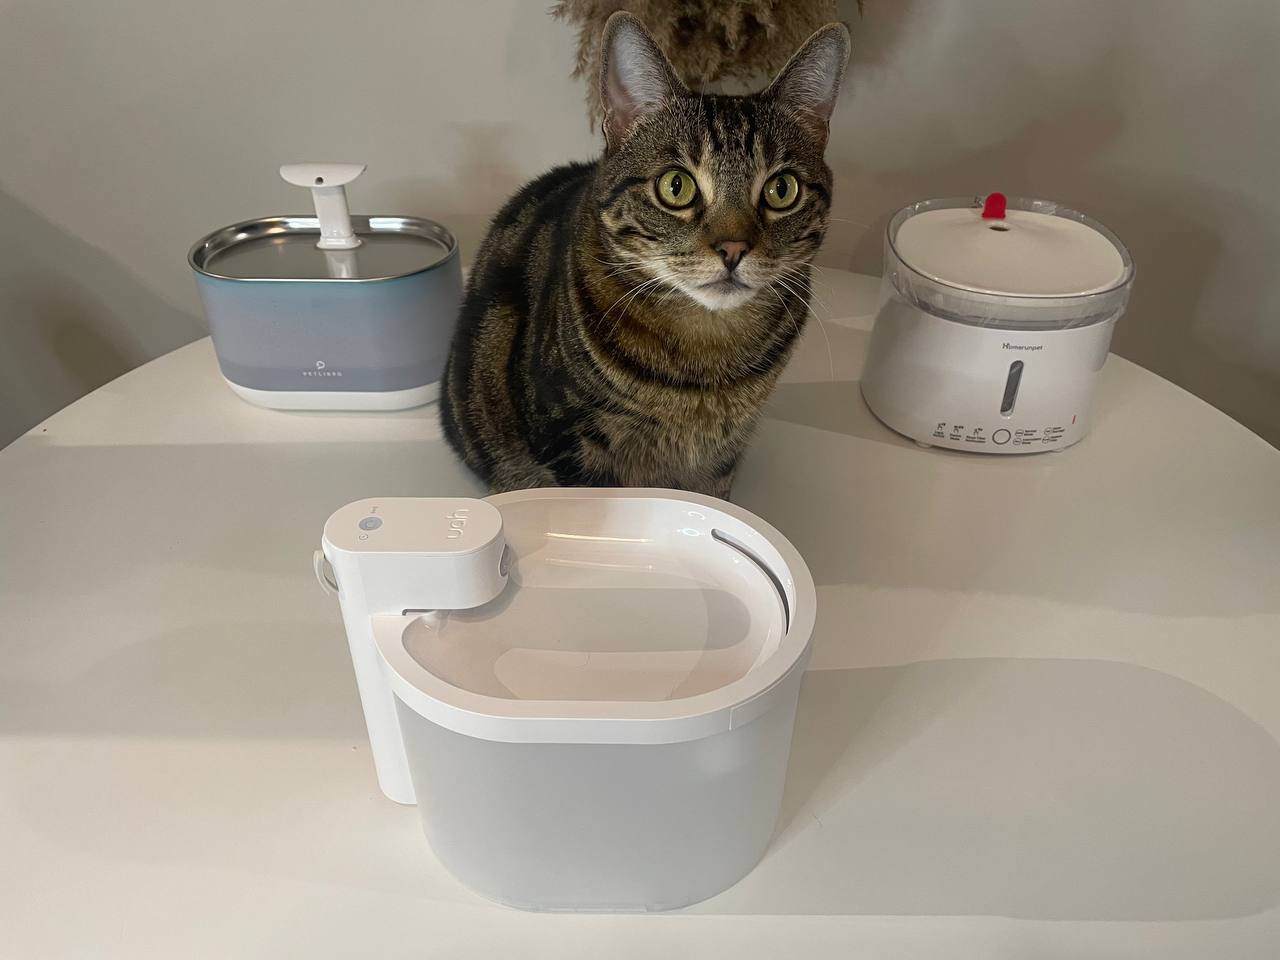
Welcome to our guide on how to clean a cat water fountain pump! Cat water fountains are a fantastic way to provide fresh and flowing water for your furry friend. However, over time, the pump can become clogged with hair, debris, and mineral deposits, which can affect its performance and efficiency. Regular maintenance and cleaning are crucial to keep your cat’s water fountain pump running smoothly and ensuring your cat has access to clean water at all times.
In this article, we will walk you through a step-by-step process on how to clean a cat water fountain pump effectively. By following these instructions, you will be able to maintain your cat’s water fountain in optimal condition, prolonging its lifespan and keeping your cat hydrated and happy.
Before we dive into the cleaning process, let’s briefly discuss the importance of keeping your cat’s water fountain clean. Cats are notorious for being meticulous groomers, and they are equally discerning when it comes to their drinking water. Stagnant or dirty water can deter cats from drinking, leading to dehydration, urinary tract issues, and other health problems.
A properly functioning water fountain ensures that your cat’s water is constantly aerated, helping to filter out impurities and maintaining a fresh taste. The pump is the heart of the water fountain, and keeping it clean and free from debris is essential to maintain its efficiency. Without regular cleaning, the pump can become clogged, causing reduced water flow or even pump failure.
Now that we understand why keeping the cat water fountain pump clean is crucial, let’s get started with the step-by-step process!
Key Takeaways:
- Regularly cleaning your cat’s water fountain pump is crucial to ensure your furry friend has access to clean and fresh water, promoting their health and hydration.
- Gather the necessary supplies and follow the step-by-step process to effectively clean and maintain your cat’s water fountain pump, ensuring optimal functionality and your cat’s well-being.
Read more: What Is The Best Water Fountain For Cats
Step 1: Gather Necessary Supplies
Before diving into the process of cleaning a cat water fountain pump, it’s important to gather all the necessary supplies. Having everything at hand will make the cleaning process more efficient and less time-consuming. Here are the supplies you will need:
- A clean container or bucket
- Warm water
- Mild dish soap or vinegar
- A small brush or toothbrush
- Paper towels or a clean cloth
The clean container or bucket will be used to hold the pump parts and clean them. It’s important to choose a container that is large enough to comfortably hold all the components.
Warm water is essential for effectively removing dirt, debris, and built-up deposits on the pump. Make sure the water is warm but not boiling, as extreme temperatures can damage the pump.
Mild dish soap or vinegar can be used as cleaning agents. Both options are safe for the pump and help break down grease and grime. If you prefer a natural cleaning solution, vinegar is a great alternative.
A small brush or toothbrush will come in handy for scrubbing and removing any stubborn dirt or residue from the pump parts. Choose a brush with soft bristles to avoid scratching the surfaces.
Lastly, have some paper towels or a clean cloth ready to dry off the pump parts after cleaning. This will help prevent any moisture from accumulating and potentially causing mold or bacteria growth.
Once you have gathered all these supplies, you are ready to move on to the next step: disconnecting and disassembling the water fountain pump.
Step 2: Disconnect and Disassemble the Water Fountain Pump
Before cleaning the water fountain pump, it’s essential to disconnect it from the power source and disassemble the various parts. Follow these steps:
- Unplug the water fountain pump from the electrical outlet. This ensures your safety and prevents any damage to the pump during the cleaning process.
- If your water fountain has a removable top, carefully remove it and set it aside.
- Next, locate the pump compartment. This is typically located at the bottom of the water fountain and is covered by a plate or housing.
- Remove the housing or plate covering the pump compartment. This may require using a screwdriver or simply lifting it off, depending on the design of your water fountain.
- Gently lift the pump out of the compartment. Be cautious not to damage any wiring or tubes connected to the pump.
- Inspect the pump for any visible debris or clogs. Take note of any parts that may require extra attention during the cleaning process.
By disconnecting and disassembling the water fountain pump, you have full access to all its components, making it easier to clean and remove any stubborn dirt or clogs. Now that the pump is ready, let’s move on to the next step: cleaning the impeller and housing.
Step 3: Clean the Impeller and Housing
Now that you have successfully disconnected and disassembled the water fountain pump, it’s time to focus on cleaning the impeller and housing. The impeller is responsible for circulating the water and maintaining proper flow, while the housing houses the impeller and protects it from debris. Follow these steps to clean them:
- Fill a clean container or bucket with warm water and add a few drops of mild dish soap or vinegar. Mix well to create a cleaning solution.
- Place the impeller and the housing into the cleaning solution. Ensure that they are fully submerged.
- Allow the impeller and housing to soak in the cleaning solution for about 15-20 minutes. This will help loosen any dirt or debris stuck on the surfaces.
- After soaking, gently scrub the impeller and housing with a small brush or toothbrush to remove any remaining dirt or residue. Pay close attention to all the nooks and crannies to ensure a thorough clean.
- Rinse the impeller and housing under running water to remove any soap or vinegar residue.
- Inspect the impeller and housing for any stubborn debris or clogs. If necessary, use a toothpick or tweezers to carefully remove any trapped material.
- Once clean, pat the impeller and housing dry with paper towels or a clean cloth. Ensure they are completely dry before moving onto the next step to prevent mold or bacteria growth.
Cleaning the impeller and housing is essential for maintaining a smooth water flow and preventing any blockages that could hinder the performance of the water fountain pump. With the impeller and housing cleaned and dry, it’s time to move onto the next step: removing any debris from the pump body.
Step 4: Remove any Debris from the Pump Body
With the impeller and housing cleaned, it’s important to also clean the pump body itself to ensure optimal performance. The pump body is the main component that draws in water and pushes it through the fountain. Follow these steps to remove any debris from the pump body:
- Inspect the pump body for any visible debris, such as hair, dirt, or small particles. Use a toothpick or tweezers to gently remove any obstructions.
- Once you have removed larger debris, rinse the pump body under running water to flush out any remaining residue or particles.
- If you notice any stubborn debris that is difficult to remove, you may need to use a small brush or toothbrush to scrub the pump body. Take care not to damage any delicate parts of the pump during this process.
- Rinse the pump body again under running water to ensure it is free from any cleaning agents or loosened debris.
- Pat the pump body dry with paper towels or a clean cloth.
By removing any debris from the pump body, you ensure that water can flow freely and smoothly through the fountain. This helps maintain the overall functionality and efficiency of the water fountain pump. With the pump body clean and dry, it’s time to move on to the next step: cleaning the tubing and connectors.
To clean a cat water fountain pump, unplug the fountain and disassemble the pump. Soak the parts in a mixture of water and white vinegar for 30 minutes, then scrub with a small brush. Rinse thoroughly before reassembling.
Step 5: Clean the Tubing and Connectors
Now that you have cleaned the impeller, housing, and pump body, it’s important to also clean the tubing and connectors of the water fountain. Over time, these components can accumulate residue and mineral deposits, affecting the water flow. Follow these steps to clean the tubing and connectors:
- Disconnect the tubing and connectors from the water fountain. This may require loosening or unscrewing them, depending on the design of your fountain.
- Fill a clean container or bucket with warm water. If there are mineral deposits in the tubing, you can also add a mixture of water and vinegar to help dissolve them.
- Submerge the tubing and connectors in the cleaning solution.
- Allow them to soak for approximately 15-20 minutes to break down any residue or deposits.
- After soaking, use a small brush or toothbrush to gently scrub the inside and outside of the tubing and connectors. This will help remove any remaining debris or build-up.
- Rinse the tubing and connectors thoroughly under running water to remove any cleaning solution residue.
- Inspect the tubing and connectors to ensure they are free from any stubborn debris or blockages. If needed, use a toothpick or small brush to remove any trapped material.
- Pat the tubing and connectors dry with paper towels or a clean cloth.
By cleaning the tubing and connectors, you ensure that water can flow smoothly throughout the water fountain system without any restrictions. This helps maintain optimal water circulation, keeping the water fountain functioning effectively. With the tubing and connectors clean and dry, it’s time to move on to the next step: reassembling and reconnecting the water fountain pump.
Step 6: Reassemble and Reconnect the Water Fountain Pump
Now that you have thoroughly cleaned the various components of the water fountain pump, it’s time to reassemble and reconnect everything. Follow these steps to ensure proper reassembly and connection:
- Take the dried impeller, housing, and pump body and carefully place the impeller back into the housing.
- Ensure that the impeller is properly aligned and seated within the housing. This is crucial for the pump to function correctly.
- Once the impeller is in place, place the housing back into the pump compartment and secure the cover or plate.
- Double-check that all the connections are secure and properly aligned before proceeding.
- Next, reattach the tubing and connectors to the water fountain. Make sure they are properly fitted and tightened to prevent any leaks.
- Once all the components are reassembled, plug the water fountain pump back into the power source. Verify that the pump is functioning properly and the water is flowing smoothly through the fountain.
- If necessary, make any adjustments to ensure optimal water flow and sound operation of the pump.
Reassembling and reconnecting the water fountain pump is a crucial step in the cleaning process. It ensures that all the components are securely in place and the pump is correctly integrated into the fountain system. With the pump reassembled and connected, it’s time to move on to the final step: testing the pump and ensuring proper functioning.
Step 7: Test the Pump and Ensure Proper Functioning
After cleaning and reassembling the water fountain pump, it’s important to test its functionality to ensure that everything is in proper working order. Follow these steps to test the pump:
- Ensure that the water fountain is filled with clean and fresh water to an appropriate level.
- Plug the pump back into the electrical outlet.
- Observe the water flow and listen for any unusual noises.
- Check that the water flow is consistent and that the pump is providing enough water circulation throughout the fountain.
- Verify that there are no leaks around the connections or any other areas of the water fountain.
- Let the pump run for a few minutes to ensure that it continues to function properly without any issues or disruptions.
- If you notice any problems during the test, such as reduced water flow or unusual noises, troubleshoot the issue accordingly.
- If the pump is functioning as expected and there are no signs of leaks or other problems, then congratulations! You have successfully cleaned and maintained your cat water fountain pump.
Regularly testing the pump and ensuring its proper functioning is essential to provide your cat with a continuous and clean source of water. By completing this step, you can have peace of mind knowing that your cat’s water fountain is working optimally and promoting their good health and hydration.
Remember, it’s important to clean the cat water fountain pump regularly to maintain its efficiency. Aim to clean the pump at least once every two to three weeks or as needed, depending on the level of debris or mineral deposits.
With this comprehensive guide, you now have the knowledge and steps to clean your cat water fountain pump effectively. By following these instructions and taking regular maintenance measures, you can ensure your feline companion always has access to clean and flowing water.
Happy cleaning, and may your cat enjoy a refreshing and healthy drinking experience!
Conclusion
Cleaning your cat water fountain pump is an essential maintenance task that ensures your feline companion has access to clean and fresh water at all times. By following the step-by-step process outlined in this guide, you can effectively clean and maintain your cat’s water fountain pump, prolonging its lifespan and promoting your cat’s health and hydration.
Regularly cleaning the impeller, housing, pump body, tubing, and connectors helps remove debris, built-up residue, and mineral deposits that can hinder the water flow and affect the pump’s performance. By incorporating this cleaning routine into your regular maintenance schedule, you can prevent clogs, reduce the risk of pump failure, and ensure that your cat always has access to a continuous supply of clean and aerated water.
Remember to gather all the necessary supplies before starting the cleaning process, including a clean container, warm water, mild dish soap or vinegar, a small brush or toothbrush, and paper towels or a clean cloth. Take your time during each step, ensuring that each component is thoroughly cleaned and dried before reassembling and reconnecting the water fountain pump.
Testing the pump and monitoring its performance is the final step in the cleaning process. This ensures that the pump is functioning properly, providing adequate water flow, and operating without any leaks or unusual noises. Regular testing and maintenance will allow you to promptly address any issues and keep your cat’s water fountain pump in optimal condition.
By following these cleaning instructions and maintaining a regular cleaning schedule, you can provide your cat with a clean and hygienic drinking experience. A clean water fountain promotes your cat’s hydration, helps prevent urinary tract issues, and contributes to their overall well-being. Plus, it provides you with peace of mind, knowing that you are providing your four-legged friend with the best care possible.
So, grab your supplies and get started on cleaning your cat water fountain pump. Your furry friend will appreciate the fresh and flowing water, and you can take pride in being a responsible pet owner.
Happy cleaning!
Frequently Asked Questions about How To Clean A Cat Water Fountain Pump
Was this page helpful?
At Storables.com, we guarantee accurate and reliable information. Our content, validated by Expert Board Contributors, is crafted following stringent Editorial Policies. We're committed to providing you with well-researched, expert-backed insights for all your informational needs.


0 thoughts on “How To Clean A Cat Water Fountain Pump”