Home>Garden Essentials>How To Clean A Drinking Water Fountain
Garden Essentials
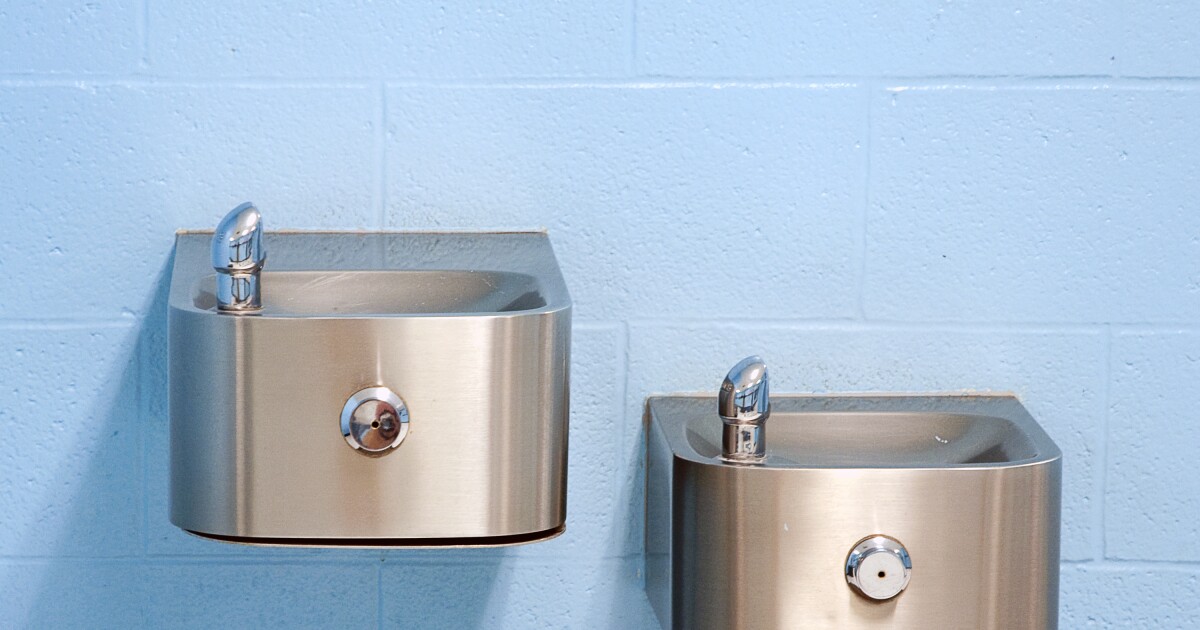
How To Clean A Drinking Water Fountain
Modified: October 19, 2024
Learn the best techniques for cleaning your garden drinking water fountain with our step-by-step guide. Keep your outdoor oasis clean and pristine!
(Many of the links in this article redirect to a specific reviewed product. Your purchase of these products through affiliate links helps to generate commission for Storables.com, at no extra cost. Learn more)
Introduction
Welcome to our comprehensive guide on how to clean a drinking water fountain. Keeping your water fountain clean is crucial for maintaining a healthy and hygienic environment. Over time, dirt, algae, mineral deposits, and bacteria can accumulate in the fountain, affecting both the appearance and quality of the water. Regular cleaning not only ensures that your water fountain looks its best but also helps to prevent potential health risks.
In this article, we will walk you through a step-by-step process to effectively clean your drinking water fountain. From gathering the necessary supplies to reassembling the fountain after cleaning, we’ll cover all the essential steps to ensure a thorough and successful cleaning.
Before we begin, it’s important to note that the specific cleaning instructions may vary depending on the type and model of your water fountain. Always refer to the manufacturer’s guidelines and recommendations for cleaning and maintenance. Follow these instructions along with our general cleaning guidelines for the best results.
Without further ado, let’s dive into the cleaning process and learn how to keep your drinking water fountain in top condition!
Key Takeaways:
- Keep your drinking water fountain clean by following these 10 steps, from gathering supplies to reassembling the fountain. Regular maintenance ensures clean, safe, and refreshing drinking water for you and your family.
- Thoroughly cleaning and maintaining your drinking water fountain is essential for ensuring a continuous supply of clean, fresh water. Follow the step-by-step guide to keep your fountain in optimal condition for years to come.
Read more: How To Drink From A Water Fountain
Step 1: Gather necessary supplies
Before you start cleaning your drinking water fountain, it’s important to gather all the necessary supplies. Having everything you need on hand will make the cleaning process more efficient and ensure that you’re properly equipped to tackle the task. Here’s a list of supplies you’ll need:
- Soft-bristle brush or sponge
- Vinegar or mild soap
- Warm water
- Old toothbrush or pipe cleaners
- Clean cloth or towel
- Bucket or basin
- Rubber gloves
- Mask or face covering (optional but recommended)
The soft-bristle brush or sponge will come in handy for scrubbing away any dirt or residues. Vinegar or mild soap, along with warm water, will be used as a cleaning solution to remove stains and disinfect the fountain. The old toothbrush or pipe cleaners are ideal for reaching into small crevices and tight spots. A clean cloth or towel will be used to dry the components after cleaning.
It’s recommended to wear rubber gloves during the cleaning process to protect your hands from any chemicals or bacteria. Additionally, you may choose to wear a mask or face covering, especially if you’re sensitive to cleaning substances or if the fountain has been left uncleaned for an extended period.
Once you have gathered all the necessary supplies, you’re ready to move on to the next step: turning off and unplugging the water fountain.
Step 2: Turn off and unplug the water fountain
Before you begin cleaning your drinking water fountain, it’s crucial to ensure that it is turned off and unplugged. This step is essential for your safety and to prevent any water leakage or electrical hazards during the cleaning process. Here’s how to do it:
- Locate the power switch or button on your water fountain. It is usually located on the base or near the pump.
- Turn off the power switch or press the power button to shut down the fountain. Make sure it is completely turned off.
- Once the fountain is turned off, unplug it from the power outlet. This step is important to prevent any accidental electrical shocks.
By turning off the water fountain and unplugging it, you eliminate the risk of water flow and electrical accidents while cleaning. It also allows you to work on the fountain without any interference or potential damage to the electrical components.
Once you have ensured that the water fountain is completely turned off and unplugged, you can move on to the next step: emptying and draining the water.
Step 3: Empty and drain the water
Now that you have turned off and unplugged your water fountain, it’s time to empty and drain the water from the fountain. This step is essential for preparing the fountain for a thorough cleaning. Here’s how to do it:
- Locate the drain plug or valve on your water fountain. It is usually located at the bottom of the fountain.
- Place a bucket or basin underneath the drain plug or valve to catch the water.
- Remove the drain plug or open the valve to allow the water to flow out. Make sure to hold onto the plug or valve to avoid losing it.
- Allow the water to completely drain out of the fountain. This might take a few minutes depending on the size of your fountain.
- Once the water has drained, carefully inspect the basin and fountain housing for any remaining water. If there is any water left, use a cloth or sponge to soak it up.
Emptying and draining the water from your fountain is important because it allows you to work on a dry surface and prevents any excess water from splashing or causing a mess during the cleaning process.
After you have emptied and drained the water, you are ready to move on to the next step: disassembling the components of the fountain.
Step 4: Disassemble the components
With the water drained from your drinking water fountain, it’s time to disassemble the components for a thorough cleaning. By taking apart the different parts of the fountain, you can access hard-to-reach areas and ensure that every part is cleaned properly. Here’s how to disassemble the fountain:
- Refer to the manufacturer’s instructions or your knowledge of the fountain to identify the removable parts. These often include the fountain housing, filtration system, water basin, and any other accessories.
- Carefully remove these components one by one, paying attention to any screws, latches, or clips that may be holding them in place.
- Place the removed components in a safe and organized manner to avoid misplacing or damaging them.
As you disassemble the water fountain components, it’s important to inspect each part for any signs of damage or wear. This allows you to identify any potential issues that may need to be addressed separately, such as replacing cracked parts or repairing broken pieces.
Once you have successfully disassembled all the necessary components, you are ready to move on to the next step: cleaning the fountain housing.
Read more: How To Clean A Water Fountain Pump
Step 5: Clean the fountain housing
Now that you’ve disassembled the components of your drinking water fountain, it’s time to focus on cleaning the fountain housing itself. The fountain housing is the exterior part of the fountain that holds the water and houses the pump and other mechanisms. Here’s how to clean the fountain housing:
- Prepare a cleaning solution by mixing equal parts of warm water and either vinegar or a mild soap. This solution will effectively remove dirt, stains, and bacteria from the fountain housing.
- Dip a soft-bristle brush or sponge into the cleaning solution and gently scrub the interior and exterior walls of the fountain housing. Pay special attention to any visible stains, algae, or residue build-up.
- If there are any stubborn stains or hard-to-reach areas, use an old toothbrush or pipe cleaners to scrub and remove them.
- Rinse the fountain housing thoroughly with clean water to remove any cleaning solution or residue.
- Inspect the fountain housing for any remaining dirt or stains. If necessary, repeat the cleaning process until the fountain housing is clean and free of any debris.
- Once the fountain housing is clean, use a clean cloth or towel to dry it thoroughly. Make sure there is no moisture left before proceeding to the next steps.
Cleaning the fountain housing is important not only for aesthetic purposes but also for maintaining the overall cleanliness and functionality of the water fountain. By removing dirt, stains, and bacteria, you ensure a fresh and inviting environment for drinking water.
With the fountain housing cleaned and dried, you can now move on to the next step: cleaning the filtration system of your drinking water fountain.
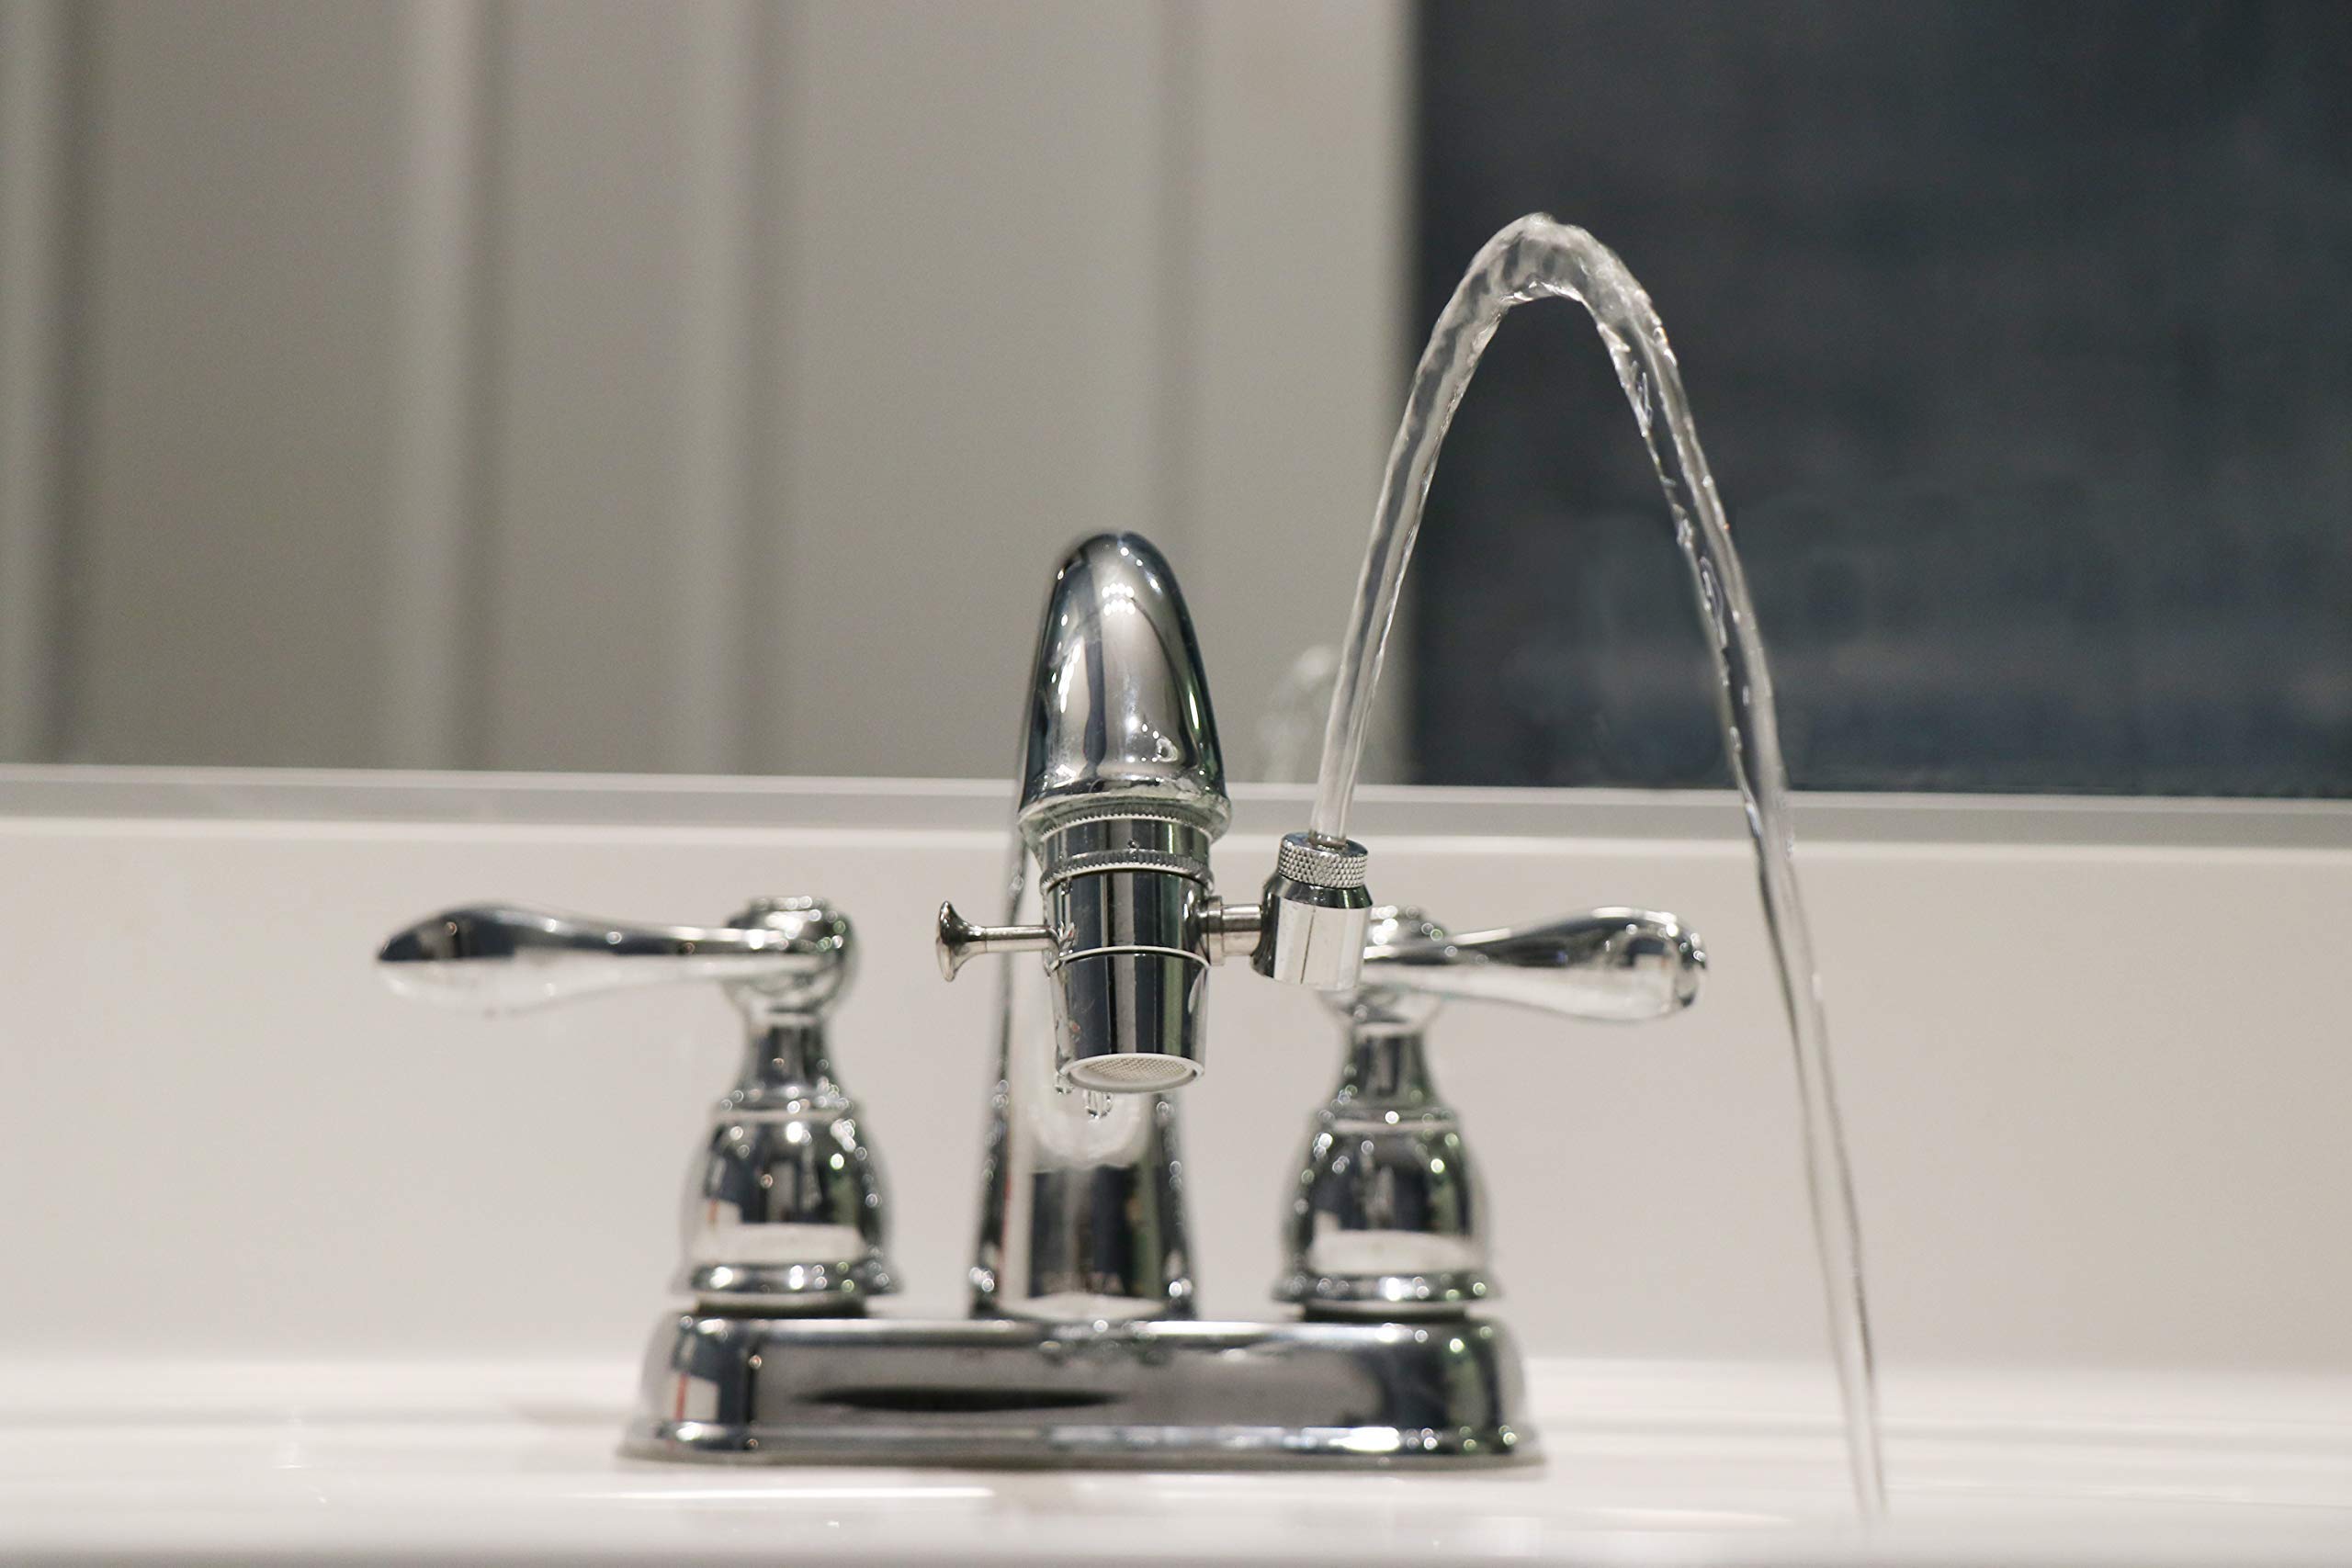
Regularly clean the drinking water fountain by wiping down the exterior with a mild soap and water solution. Use a bottle brush to clean the inside of the spout and regularly change the water filter to maintain clean and safe drinking water.
Step 6: Clean the filtration system
The filtration system is a crucial component of your drinking water fountain as it helps to remove impurities and ensure clean and safe drinking water. Cleaning the filtration system is essential to maintain its efficiency and prevent the growth of bacteria and other contaminants. Here’s how to clean the filtration system:
- If your drinking water fountain has a removable filter, carefully remove it according to the manufacturer’s instructions. Place it aside for cleaning.
- Inspect the filter for any visible debris, buildup, or discoloration. If there are any signs of damage or excessive wear, consider replacing the filter.
- Prepare a cleaning solution by mixing warm water and a mild soap or using a vinegar solution for a natural cleaning option.
- Submerge the filter in the cleaning solution and gently agitate it to remove any accumulated dirt, particles, or contaminants.
- Use a soft brush or sponge to gently clean the surface of the filter. Pay attention to any crevices or hard-to-reach areas where debris may be trapped.
- Rinse the filter thoroughly with clean water to remove any soap or vinegar residue.
- Allow the filter to air dry completely before reassembling it back into the drinking water fountain.
It’s important to follow the manufacturer’s instructions regarding the maintenance and replacement of the filter. Some filters may need to be replaced periodically, so make sure to check the recommended replacement schedule for optimal performance.
By regularly cleaning the filtration system, you will ensure that it continues to effectively remove impurities and provide clean water for drinking.
With the filtration system cleaned and dried, you are now ready to move on to the next step: cleaning the water basin.
Step 7: Clean the water basin
The water basin is where the water is collected and circulated in your drinking water fountain. Over time, the water basin can accumulate debris, mineral deposits, and bacteria, which can affect the cleanliness and taste of the water. Cleaning the water basin is crucial for maintaining a hygienic and refreshing drinking water experience. Here’s how to clean the water basin:
- Start by emptying any remaining water from the water basin.
- Mix a cleaning solution using warm water and either vinegar or mild soap. This solution will effectively remove stains, bacteria, and other residues from the water basin.
- Dip a soft-bristle brush or sponge into the cleaning solution and scrub the interior of the water basin thoroughly. Pay special attention to any areas with visible stains or buildup.
- If there are any hard-to-reach or stubborn stains, use an old toothbrush or pipe cleaners to scrub them away.
- Rinse the water basin with clean water to remove any cleaning solution or residue.
- Inspect the water basin for any remaining debris or stains. If necessary, repeat the cleaning process until the water basin is clean and free of any contaminants.
- Once the water basin is clean, use a clean cloth or towel to dry it thoroughly.
Cleaning the water basin ensures that the water in your drinking water fountain remains fresh, clean, and free from any unpleasant tastes or odors. Regular maintenance of the water basin will also help to prolong the lifespan of your fountain.
With the water basin cleaned and dried, you can now move on to the next step: rinsing and drying all the components of your drinking water fountain.
Step 8: Rinse and dry all components
After cleaning the individual parts of your drinking water fountain, it’s important to thoroughly rinse and dry each component before reassembling the fountain. This step helps to remove any remaining cleaning solution, residue, or moisture, ensuring a clean and hygienic drinking water fountain. Here’s how to rinse and dry all the components:
- Take each cleaned component, such as the fountain housing, filtration system, and water basin, and rinse them with clean water. Ensure that all surfaces are thoroughly rinsed to remove any traces of the cleaning solution.
- Once rinsed, use a clean cloth or towel to dry each component. Pay attention to any crevices or areas where moisture may be trapped.
- Allow the components to air dry completely before moving on to the next step. This will help to prevent the growth of bacteria or mold due to residual moisture.
Properly rinsing and drying the components of your drinking water fountain is essential to maintain the cleanliness and functionality of the fountain. It ensures that no harmful chemicals or residue are left behind, which could affect the quality of the water or disrupt the operation of the fountain.
Take your time to ensure that each component is thoroughly dried before proceeding to the reassembly step. This extra step will help to guarantee a clean and well-maintained drinking water fountain.
With all the components rinsed and dried, it’s time to move on to the next step: reassembling your drinking water fountain.
Read more: How To Clean An Indoor Water Fountain
Step 9: Reassemble the fountain
Now that you have thoroughly cleaned, rinsed, and dried all the components of your drinking water fountain, it’s time to reassemble the fountain. Proper reassembly ensures that all parts fit together correctly and that the fountain functions properly. Here’s how to reassemble your drinking water fountain:
- Refer to the manufacturer’s instructions or your knowledge of the fountain to identify the correct placement of each component.
- Start by placing the fountain housing back onto the base or designated area. Ensure that it fits properly and securely.
- If your fountain has a filtration system, reinsert the cleaned filter back into its designated location.
- Place the water basin back into position, ensuring that it aligns with any connectors or mechanisms in the fountain housing.
- Double-check all connections and attachments to ensure they are secure and properly aligned.
By following the manufacturer’s instructions or your understanding of the fountain’s design, you can ensure that all components are correctly reassembled. This step is crucial for the proper functioning of the fountain and the prevention of any leaks or malfunctions.
Once you have reassembled the fountain, it’s time to move on to the final step: refilling and testing the water fountain.
Step 10: Refill and test the water fountain
After successfully reassembling your drinking water fountain, it’s time to refill it with fresh, clean water and test its functionality. This final step ensures that your fountain is ready to provide refreshing and hygienic drinking water. Here’s how to refill and test your water fountain:
- Ensure that the power switch or button is still off and that the fountain is still unplugged to prevent any accidents during the refilling process.
- Fill a clean container with fresh, filtered water. Avoid using tap water, as it may contain impurities that can affect the quality of the water and the performance of the fountain.
- Carefully pour the water into the water basin, filling it to the recommended level indicated by the manufacturer.
- Plug the fountain back into the power outlet and turn on the power switch or press the power button to activate the fountain.
- Observe the water fountain to ensure that the water is flowing evenly and smoothly. Listen for any unusual sounds or vibrations that may indicate a problem.
- Monitor the water fountain for a few minutes to verify that it is functioning properly and that there are no leaks or malfunctions.
If everything looks and sounds normal, and the water is flowing as expected without any issues, congratulations! You have successfully cleaned, reassembled, and tested your drinking water fountain. You can now enjoy clean, fresh water from your fountain.
It’s important to periodically check and maintain your drinking water fountain to ensure its continued performance and cleanliness. Regular cleaning and maintenance will help to extend the lifespan of your fountain and provide you with a reliable source of refreshing drinking water.
Now that you have completed the final step, you can sit back, relax, and enjoy the benefits of a clean and well-maintained drinking water fountain!
Remember to refer to the manufacturer’s instructions for any specific cleaning and maintenance recommendations for your particular model of drinking water fountain.
Conclusion
Cleaning and maintaining your drinking water fountain is essential for ensuring clean and safe drinking water. By following the step-by-step guide outlined in this article, you can effectively clean and sanitize your fountain, keeping it in optimal condition for you and your family to enjoy.
From gathering the necessary supplies to reassembling the fountain, each step plays a crucial role in the cleaning process. By turning off and unplugging the fountain, emptying and draining the water, disassembling the components, and cleaning the fountain housing, filtration system, and water basin, you can remove dirt, stains, and bacteria, providing a fresh and hygienic environment for your drinking water.
Rinsing and drying all the components thoroughly is important to ensure that no residue or moisture remains, preventing the growth of bacteria or mold. The final step of refilling and testing the water fountain ensures that it is functioning properly and ready to provide you with clean and refreshing water.
Regular cleaning and maintenance of your drinking water fountain will not only enhance its performance but also contribute to the overall health and well-being of you and your loved ones. By maintaining a clean and hygienic water fountain, you can enjoy the benefits of having continuous access to clean, fresh drinking water.
Remember to consult the manufacturer’s instructions specific to your fountain for any additional cleaning and maintenance recommendations. By taking good care of your drinking water fountain, you can continue to enjoy its benefits for years to come.
So go ahead, follow these steps, and enjoy a well-maintained and clean drinking water fountain!
Frequently Asked Questions about How To Clean A Drinking Water Fountain
Was this page helpful?
At Storables.com, we guarantee accurate and reliable information. Our content, validated by Expert Board Contributors, is crafted following stringent Editorial Policies. We're committed to providing you with well-researched, expert-backed insights for all your informational needs.


0 thoughts on “How To Clean A Drinking Water Fountain”