Articles
How To Clean Water Pump Filter
Modified: August 27, 2024
Learn how to clean a water pump filter with step-by-step instructions in this informative article. Keep your pump running smoothly with our helpful tips and tricks.
(Many of the links in this article redirect to a specific reviewed product. Your purchase of these products through affiliate links helps to generate commission for Storables.com, at no extra cost. Learn more)
Introduction
Welcome to the comprehensive guide on how to clean a water pump filter. If you rely on a water pump for your household water supply or have a water feature like a fishpond or fountain, it’s crucial to keep the pump filter clean to maintain optimal performance.
A water pump filter plays a vital role in keeping your water supply clean and free from debris. Over time, the filter can become clogged with dirt, leaves, algae, and other contaminants, reducing the flow of water and putting strain on the pump. Cleaning the filter regularly will not only extend the life of your water pump but also ensure that you have a steady supply of clean water.
In this guide, we will take you through the step-by-step process of cleaning a water pump filter. You’ll learn how to shut off the water supply, locate and remove the filter housing, clean the filter, and finally, reinstall the housing. With the right tools and a little bit of effort, you can easily maintain your water pump and enjoy uninterrupted water flow.
Before we dive into the cleaning process, let’s take a moment to understand the importance of the water pump filter and why regular maintenance is crucial.
Key Takeaways:
- Regularly cleaning your water pump filter is essential to prevent clogs, maintain water flow, and ensure a clean water supply for your home or water feature.
- Proper maintenance and cleaning of the water pump filter can prolong the life of your pump, enhance performance, and ensure the quality of your water supply.
Read more: How To Clean A Small Water Pump
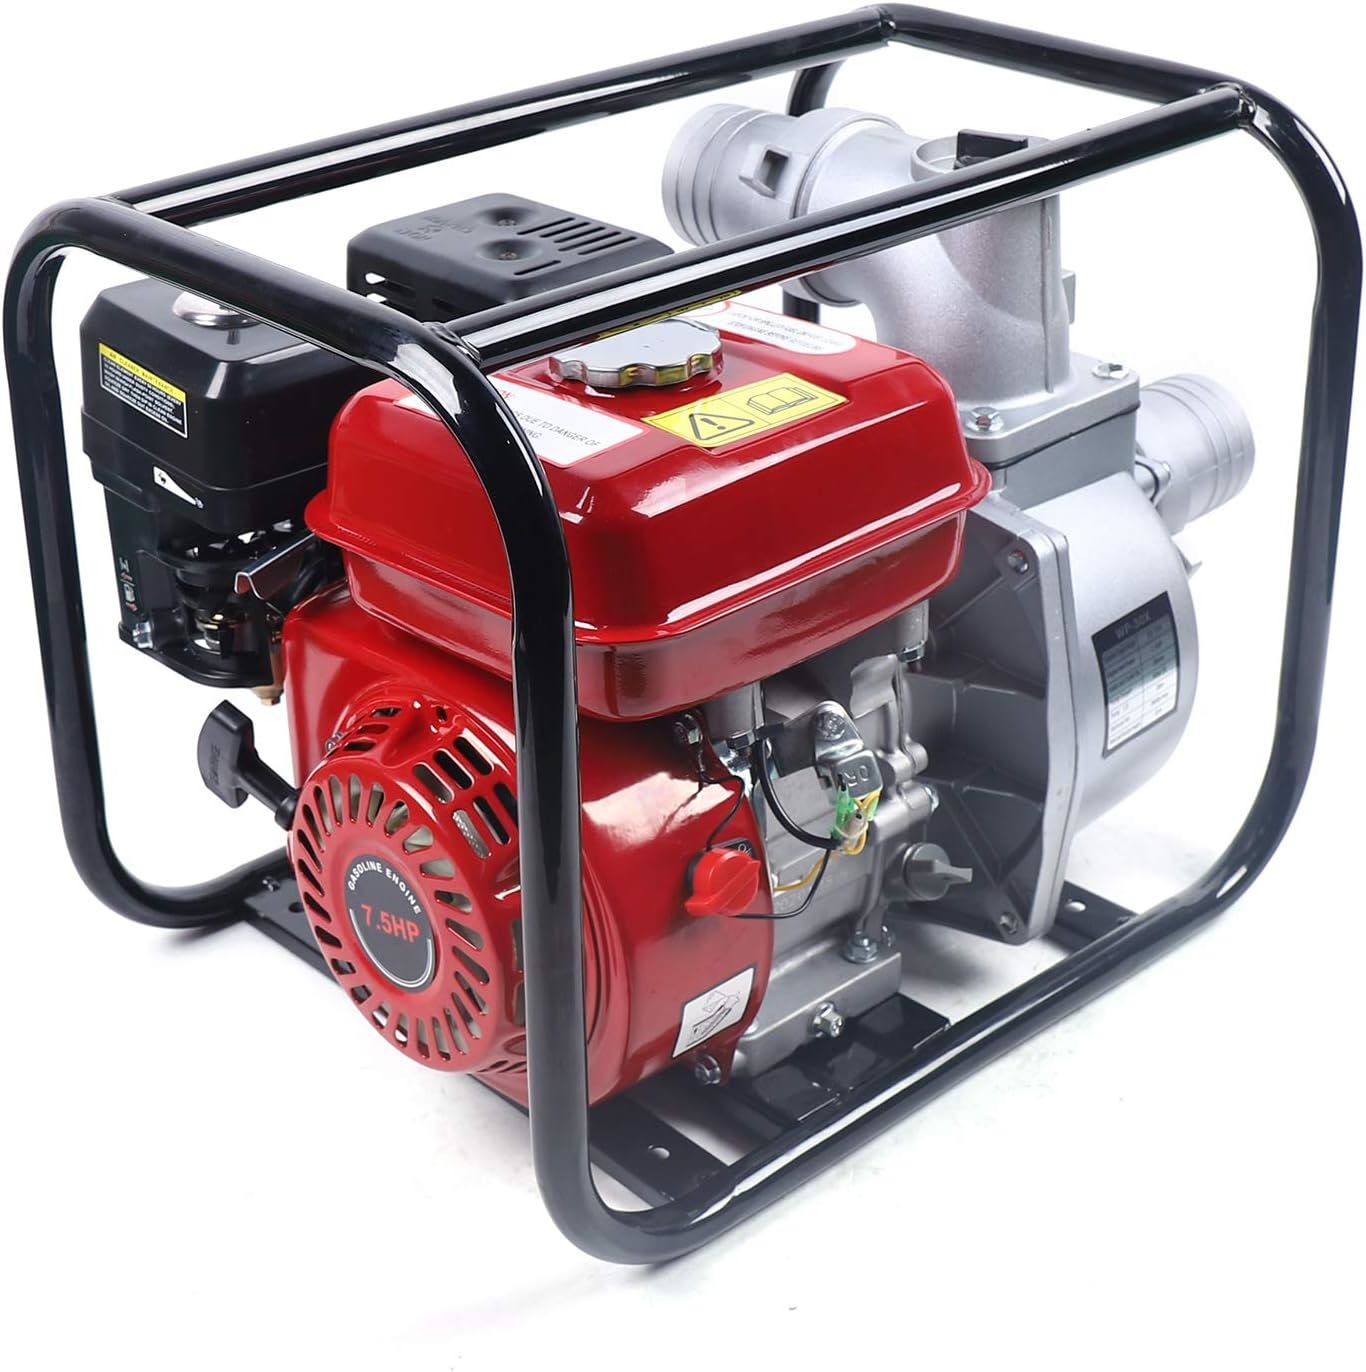
Understanding the Water Pump Filter
The water pump filter is a critical component of any water pump system. Its primary function is to prevent debris, sediment, and other unwanted particles from entering the pump and clogging the internal components. By filtering out these contaminants, the water pump filter helps to maintain the efficiency and performance of the pump.
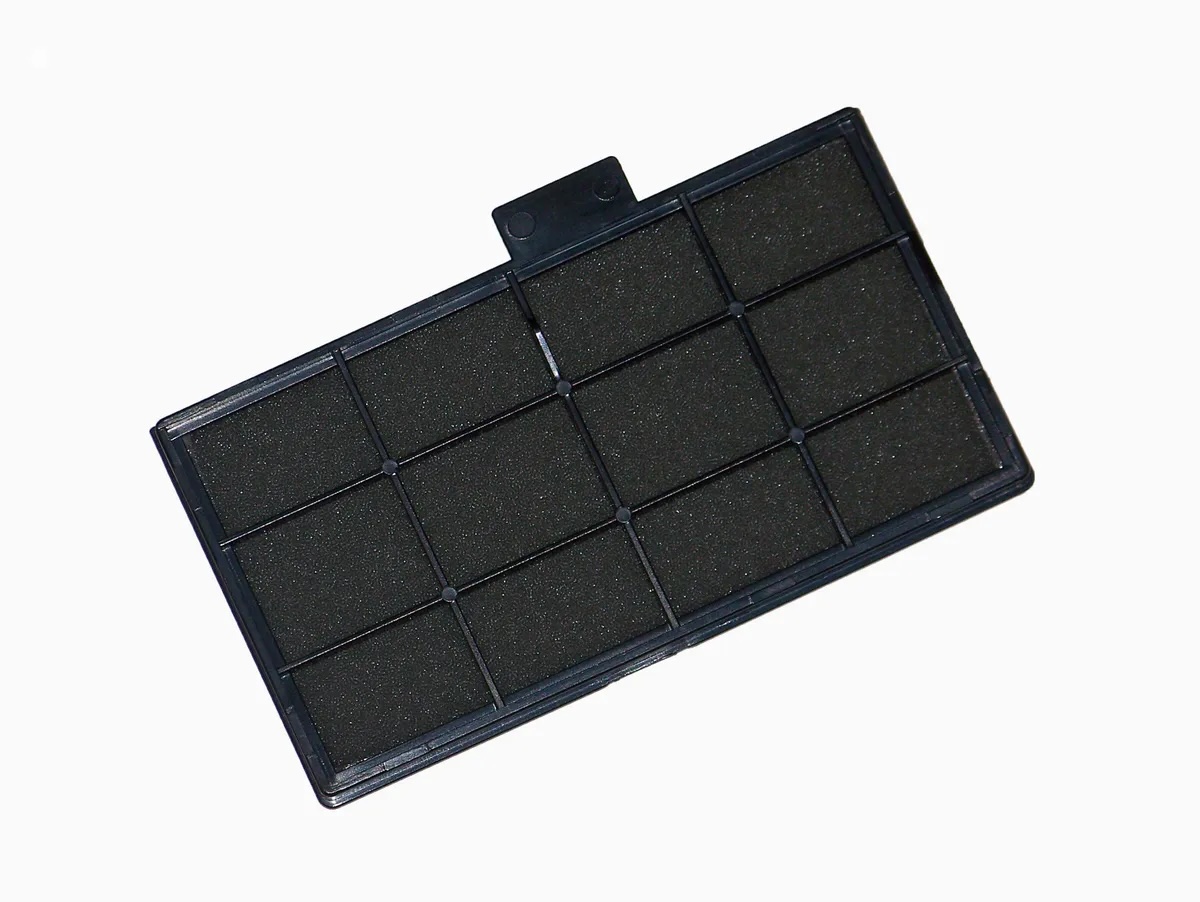
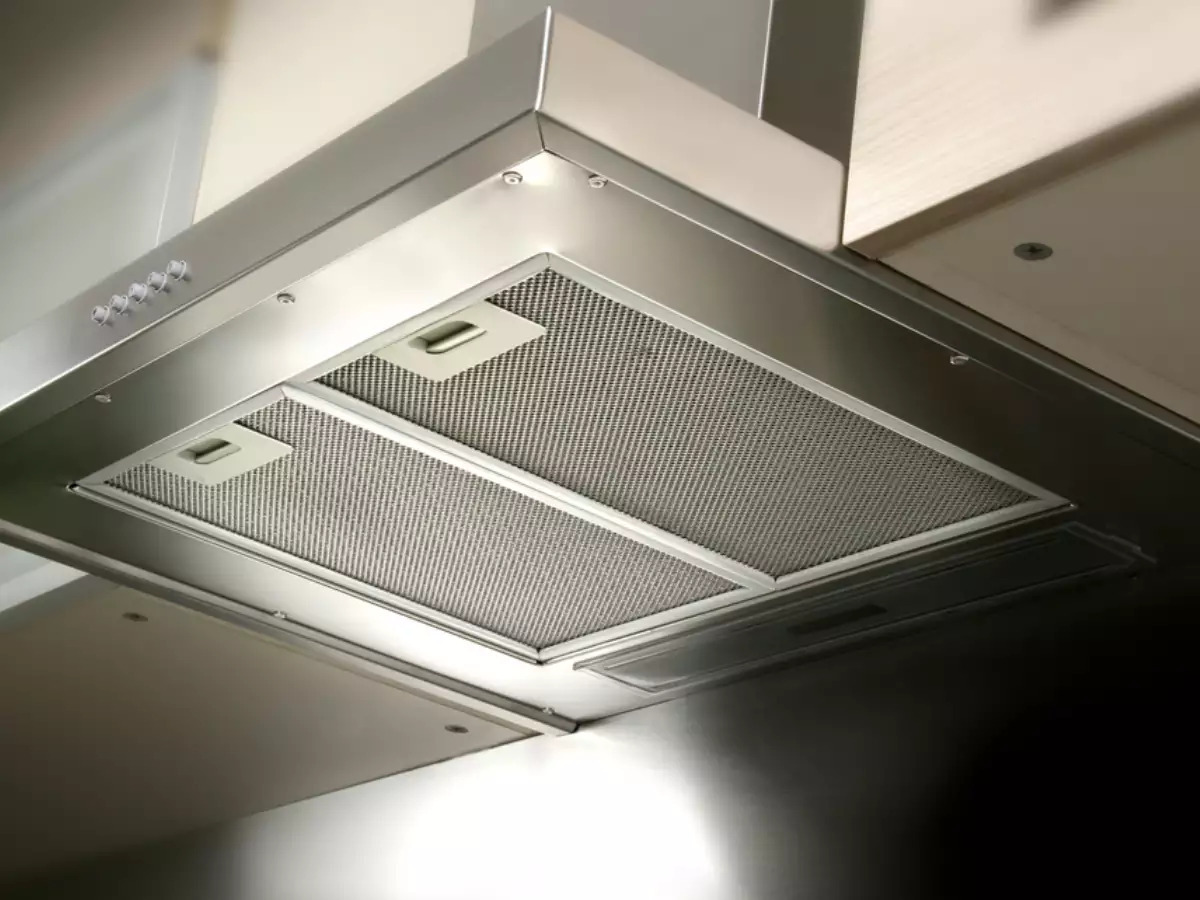
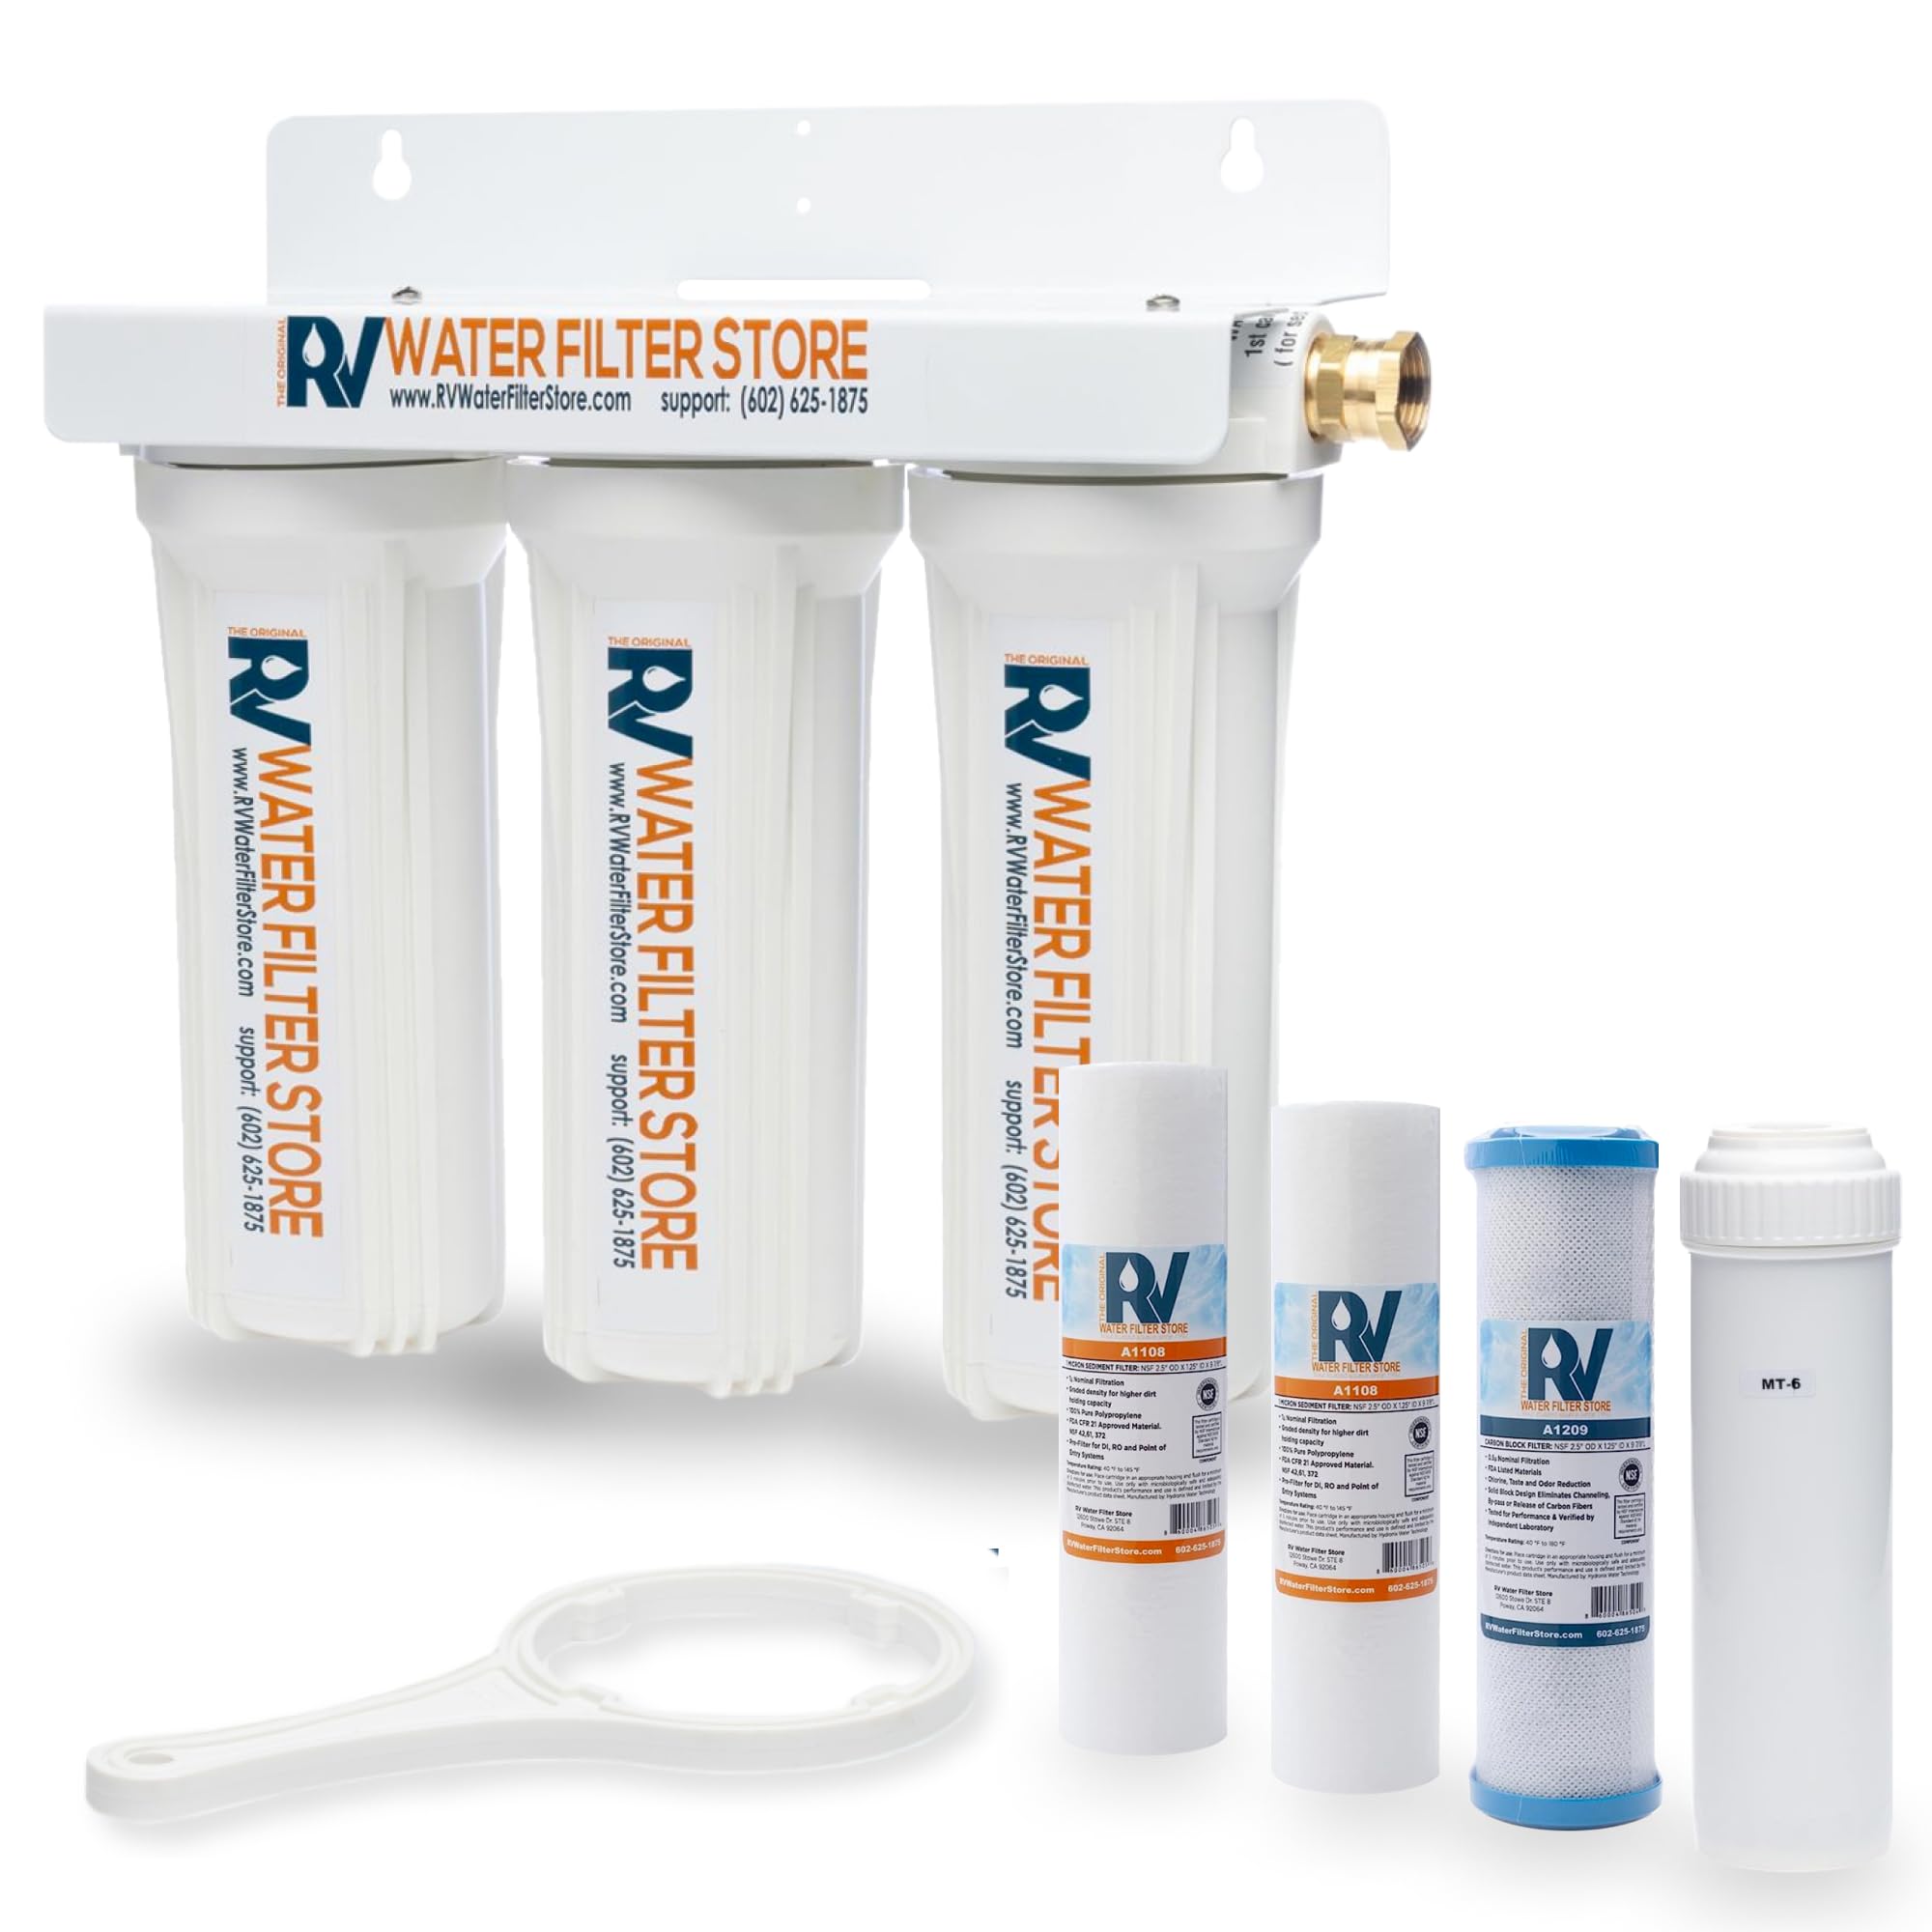
There are various types of filters used in water pump systems, including mesh filters, cartridge filters, and sand filters. Mesh filters are commonly used in small water pump systems and are designed with a fine mesh screen to trap small particles. Cartridge filters consist of a replaceable cartridge that filters the water as it passes through. Sand filters utilize a layer of sand to trap debris and particles.
One of the key indicators that your water pump filter needs cleaning is a decreased water flow or reduced water pressure. When the filter becomes clogged, water cannot pass through as freely, resulting in diminished performance and potentially damaging the pump. Regular maintenance and cleaning of the filter are essential to ensure the longevity of your pump and the quality of your water supply.
Now that we understand the importance of the water pump filter, let’s move on to the tools and materials you will need to clean it effectively.
Tools and Materials Needed
Before you begin cleaning your water pump filter, gather the following tools and materials:
- Adjustable wrench or pliers
- Screwdriver (if required)
- Gloves
- Bucket or basin
- Brush or soft cloth
- Water hose or faucet
- Clean water
The adjustable wrench or pliers will be used to loosen and remove any nuts or connections securing the filter housing. A screwdriver may be necessary if there are screws holding the housing in place.
Wearing gloves is important to protect your hands from any dirt, debris, or chemicals present in or around the filter housing. Additionally, a bucket or basin will come in handy to catch any water or debris that may spill during the cleaning process.
A brush or soft cloth will be used to clean the filter itself. Make sure the brush or cloth is suitable for removing dirt and debris without damaging the filter material.
You will also need access to a water hose or faucet to rinse off the filter. Lastly, ensure that you have clean water available for the rinsing process.
Now that you have all the necessary tools and materials, it’s time to proceed to the step-by-step process of cleaning your water pump filter.
Step 1: Shut Off the Water Supply
Before you begin cleaning the water pump filter, it is crucial to shut off the water supply to prevent any water from flowing through the system. This step will ensure your safety and prevent any potential damage to the pump or surrounding areas.
Locate the main water shut-off valve for your water pump system. In most cases, it can be found near the water pump or on the incoming water line. Turn the valve clockwise until it is fully closed. This will stop the water flow and allow you to safely proceed with the cleaning process.
Make sure to double-check that the water supply is completely shut off by turning on a faucet or a tap connected to the water pump system. If no water comes out, you have successfully shut off the water supply. If water continues to flow, recheck the shut-off valve and ensure it is completely closed.
By shutting off the water supply, you are preventing any potential accidents or water damage during the cleaning process. It is important to always prioritize safety when working with water pump systems.
Once you have confirmed that the water supply is off, you can proceed to the next step, which involves locating the water pump filter.
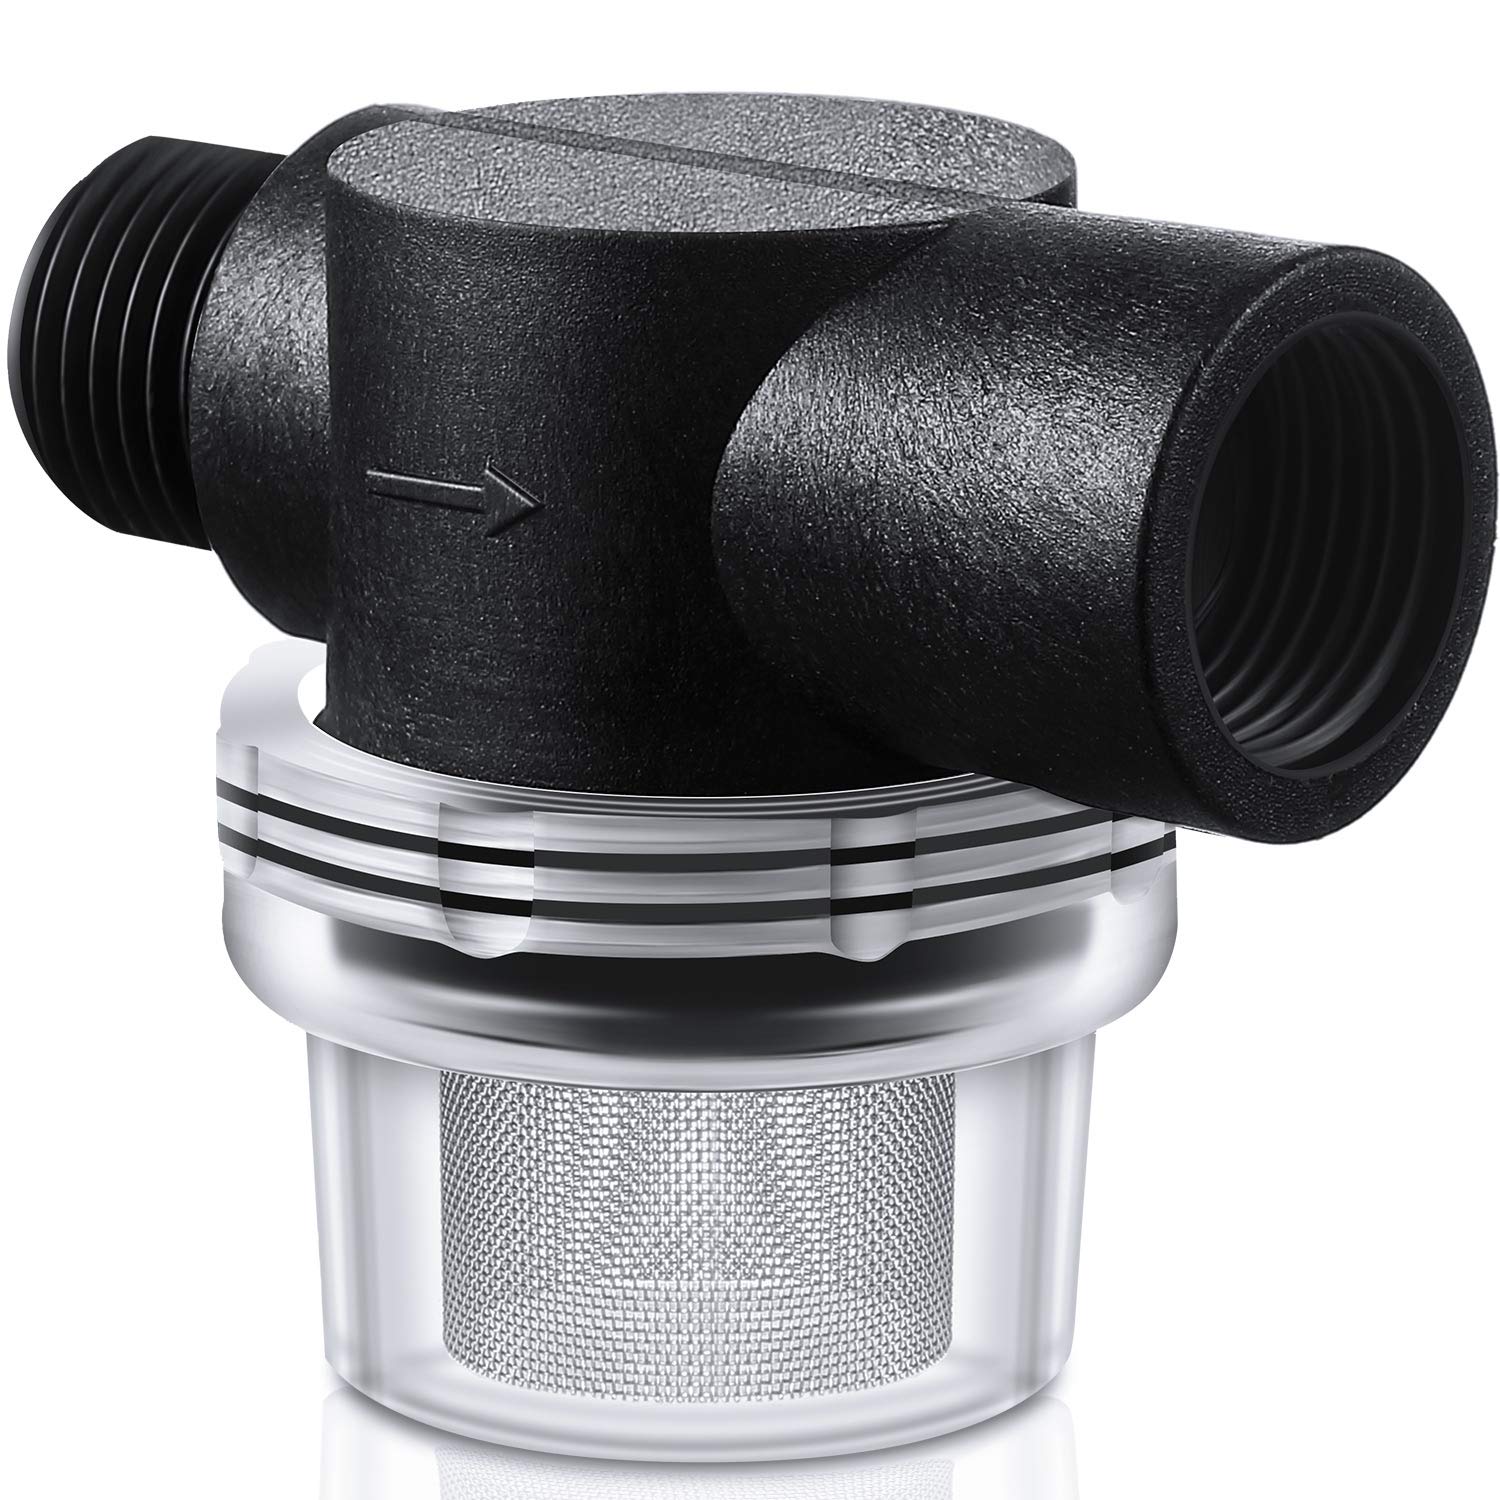
Step 2: Locate the Water Pump Filter
After shutting off the water supply, the next step is to locate the water pump filter. The location of the filter may vary depending on the type of water pump system you have. Here are a few common places where you can find the filter:
- Near the water pump: In some systems, the filter housing is located directly adjacent to the water pump. It may be attached to the pump or connected to the pump outlet.
- In the water supply line: In other cases, the filter housing is positioned along the water supply line leading to the pump. It is typically located before the water enters the pump.
- In a separate filter housing unit: Some water pump systems have a separate unit dedicated solely to the filter housing. This unit is usually placed near the pump or in a convenient location for easy access.
Inspect your water pump system to identify the exact location of the filter. Look for a cylindrical or rectangular housing with inlet and outlet connections. It may also have a clear window or indicator to monitor the condition of the filter.
If you’re having trouble locating the filter, refer to the manufacturer’s manual or contact a professional for assistance. It’s important to know the specific location to ensure you can properly clean the filter and maintain the optimal functioning of your water pump system.
Once you have located the water pump filter, you can proceed to the next step, which involves removing the filter housing to access the filter itself.
Regularly clean the water pump filter by turning off the pump, removing the filter, and rinsing it with clean water to remove any debris or buildup. This will help maintain the pump’s efficiency and prolong its lifespan.
Step 3: Remove the Water Pump Filter Housing
Now that you have located the water pump filter, it’s time to remove the filter housing. The filter housing is the protective cover that encloses the filter and keeps it secure. Removing the housing will allow you to access the filter and clean it effectively.
Here’s how you can remove the water pump filter housing:
- Ensure you have the appropriate tools, such as an adjustable wrench or pliers, to loosen any nuts or connections securing the housing. If there are screws holding the housing in place, you may need to use a screwdriver to remove them.
- Using the wrench or pliers, loosen the nuts or connections holding the housing. Turn them counterclockwise to loosen them, but be careful not to exert too much force to avoid damaging the housing or other components.
- Once the nuts or connections are loosened, gently pull the housing away from the pump or slide it off the water supply line. Be cautious and take note of any water or debris that may spill out from the housing when removing it.
Depending on the design of your water pump system, the filter housing might have a gasket or O-ring. Take care not to lose or damage these components during the removal process.
After removing the housing, set it aside in a safe place. It’s essential to keep it clean and free from any debris or contaminants to ensure easy reinstallation later on.
Now that the filter housing is removed, you can move on to the next step, which involves cleaning the water pump filter itself.
Step 4: Clean the Water Pump Filter
Now that you have removed the water pump filter housing, it’s time to clean the filter itself. Cleaning the filter will help remove any dirt, debris, and contaminants that have accumulated over time, restoring its optimum performance.
Here’s how you can clean the water pump filter:
- Inspect the filter for any visible debris or buildup. Depending on the type of filter, it may be a mesh screen, a cartridge, or a sand layer. Take note of its condition to determine the cleaning method required.
- If the filter is a mesh screen or cartridge, gently rinse it under running water. Use a brush or soft cloth to scrub away any stubborn dirt or debris. Pay attention to the corners and edges of the filter, where debris tends to accumulate.
- If the filter is a sand filter, backwash it to remove trapped debris. Follow the manufacturer’s instructions to perform a proper backwashing process. This typically involves reversing the flow of water through the filter to dislodge and flush out any impurities.
- For stubborn stains or buildup, you may consider soaking the filter in a bucket of clean water mixed with a mild detergent. Let the filter soak for a few minutes, then scrub it gently with a brush to remove any remaining dirt or residue.
- Rinse the filter thoroughly with clean water to remove any soap or detergent residue. Ensure that all traces of dirt, debris, and cleaning agents are completely flushed out.
It’s important to handle the filter with care and avoid using excessive force or harsh cleaning agents that could damage the filter material. Gentle and thorough cleaning will help maintain the integrity and effectiveness of the filter.
Once the water pump filter is clean, you can proceed to the next step, which involves reinstalling the filter housing.
Step 5: Reinstall the Water Pump Filter Housing
After cleaning the water pump filter, it’s time to reinstall the filter housing. The housing serves as a protective cover for the filter, keeping it secure and preventing any debris from entering the pump. By properly reinstalling the housing, you ensure the filter can function effectively.
Here’s how you can reinstall the water pump filter housing:
- Carefully align the filter housing with the pump or the water supply line. Ensure that the housing is properly aligned with the inlet and outlet connections for a proper fit.
- Insert the filter housing back onto the pump or slide it onto the water supply line. Make sure it sits securely and does not wobble or move loosely.
- If there were nuts or connections holding the housing in place, use an adjustable wrench or pliers to tighten them. Turn them clockwise to secure the housing, but be cautious not to overtighten and risk damaging the housing.
- If the housing had screws, reinstall them using a screwdriver. Make sure they are tightened securely but not overly tightened.
Ensure that the gasket or O-ring, if present, is properly positioned and in good condition. These components help create a tight seal and prevent water leakage.
Once the housing is securely reinstalled, give it a gentle tug or wiggle to confirm that it is firmly in place. Check for any signs of looseness or gaps that could indicate improper installation.
With the filter housing securely in place, we can move on to the final step, which involves turning on the water supply.
Step 6: Turn On the Water Supply
After successfully reinstalling the water pump filter housing, it’s time to turn on the water supply and ensure that everything is functioning properly. Turning on the water supply will allow water to flow through the system, and you can check for any leaks or irregularities.
Follow these steps to turn on the water supply:
- Locate the main water shut-off valve for your water pump system. It’s the same valve that you previously shut off in Step 1.
- Using your hand or a wrench, turn the valve counterclockwise to open it fully. This will allow water to flow into the system.
- Observe the water pump system for any signs of leaks, unusual noises, or changes in water flow. Pay close attention to the filter housing and the connections. If you notice any issues, it’s important to address them promptly to prevent further damage.
- Keep an eye on the water pressure and flow rate. If you notice a significant decrease in water pressure, it could indicate a partially clogged filter or another issue. In such cases, you may need to repeat the cleaning process or consult a professional.
It’s recommended to run water through the system for a few minutes to flush out any air pockets and ensure a steady flow. This will also help remove any residual cleaning agents or debris that may have been loosened during the cleaning process.
After confirming that everything is functioning properly and there are no leaks or issues, you have successfully turned on the water supply. Congratulations on cleaning and maintaining your water pump filter!
Now, you can enjoy a steady flow of clean water and the efficient operation of your water pump system. Remember, regular maintenance and cleaning of the water pump filter will help prolong the life of your pump, enhance performance, and ensure the quality of your water supply.
With the completion of Step 6, you have successfully completed the entire process of cleaning your water pump filter. Now, you can appreciate the benefits of a well-maintained water pump system.
Conclusion
Cleaning the water pump filter is a crucial maintenance task that ensures the proper functioning and longevity of your water pump system. By regularly cleaning the filter, you can prevent clogs, maintain a steady water flow, and ensure the supply of clean water.
In this comprehensive guide, we’ve covered the step-by-step process of cleaning a water pump filter. From shutting off the water supply to locating the filter, removing the housing, cleaning the filter, reinstalling the housing, and turning on the water supply, each step is essential in maintaining a well-functioning water pump system.
Remember to gather the necessary tools and materials, such as an adjustable wrench, gloves, a brush or soft cloth, and clean water. Take your time to locate the filter, remove the housing with care, and clean the filter thoroughly. Securely reinstall the housing and ensure there are no leaks before turning on the water supply.
Regular maintenance and cleaning of the water pump filter will help prevent damage to the pump, improve water flow, and ensure the quality of your water. Depending on your water pump system, you may need to clean the filter every few months or more frequently if your environment is prone to debris and contaminants.
Remember to consult the manufacturer’s guidelines specific to your water pump system, as the cleaning process may vary. If you’re unsure or encounter any difficulties, don’t hesitate to seek professional assistance.
With proper maintenance and regular cleaning, you can enjoy the benefits of a reliable and efficient water pump system. So, take the time to clean your water pump filter and ensure a steady supply of clean water for your home or water feature.
Thank you for using this guide, and we hope it has been helpful in your water pump maintenance journey!
Frequently Asked Questions about How To Clean Water Pump Filter
Was this page helpful?
At Storables.com, we guarantee accurate and reliable information. Our content, validated by Expert Board Contributors, is crafted following stringent Editorial Policies. We're committed to providing you with well-researched, expert-backed insights for all your informational needs.


0 thoughts on “How To Clean Water Pump Filter”