Home>Furniture & Design>Outdoor Furniture>How To Clean An Outdoor Water Fountain
Outdoor Furniture
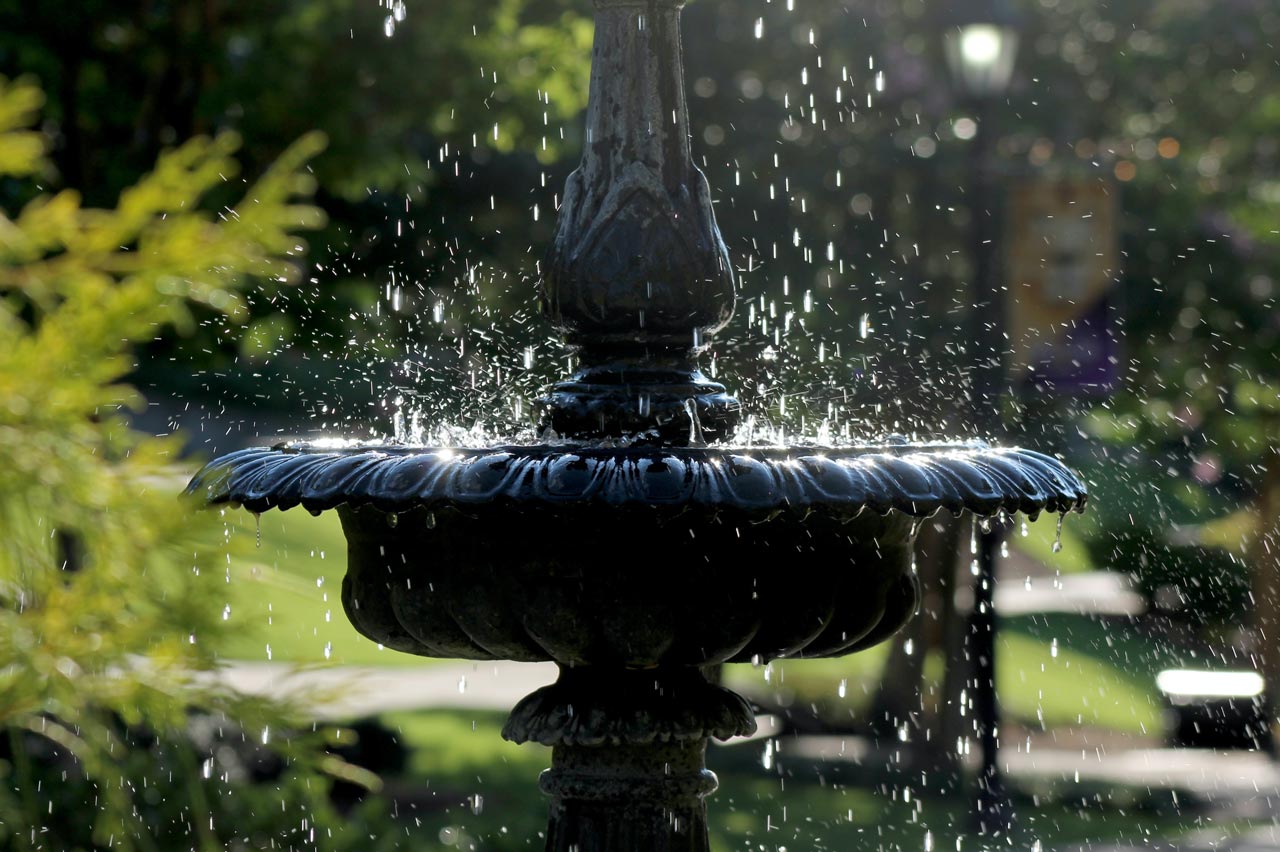
How To Clean An Outdoor Water Fountain
Modified: February 12, 2024
Learn how to properly clean and maintain your outdoor water fountain with our expert tips and techniques. Keep your outdoor furniture looking its best with our comprehensive guide.
(Many of the links in this article redirect to a specific reviewed product. Your purchase of these products through affiliate links helps to generate commission for Storables.com, at no extra cost. Learn more)
Introduction
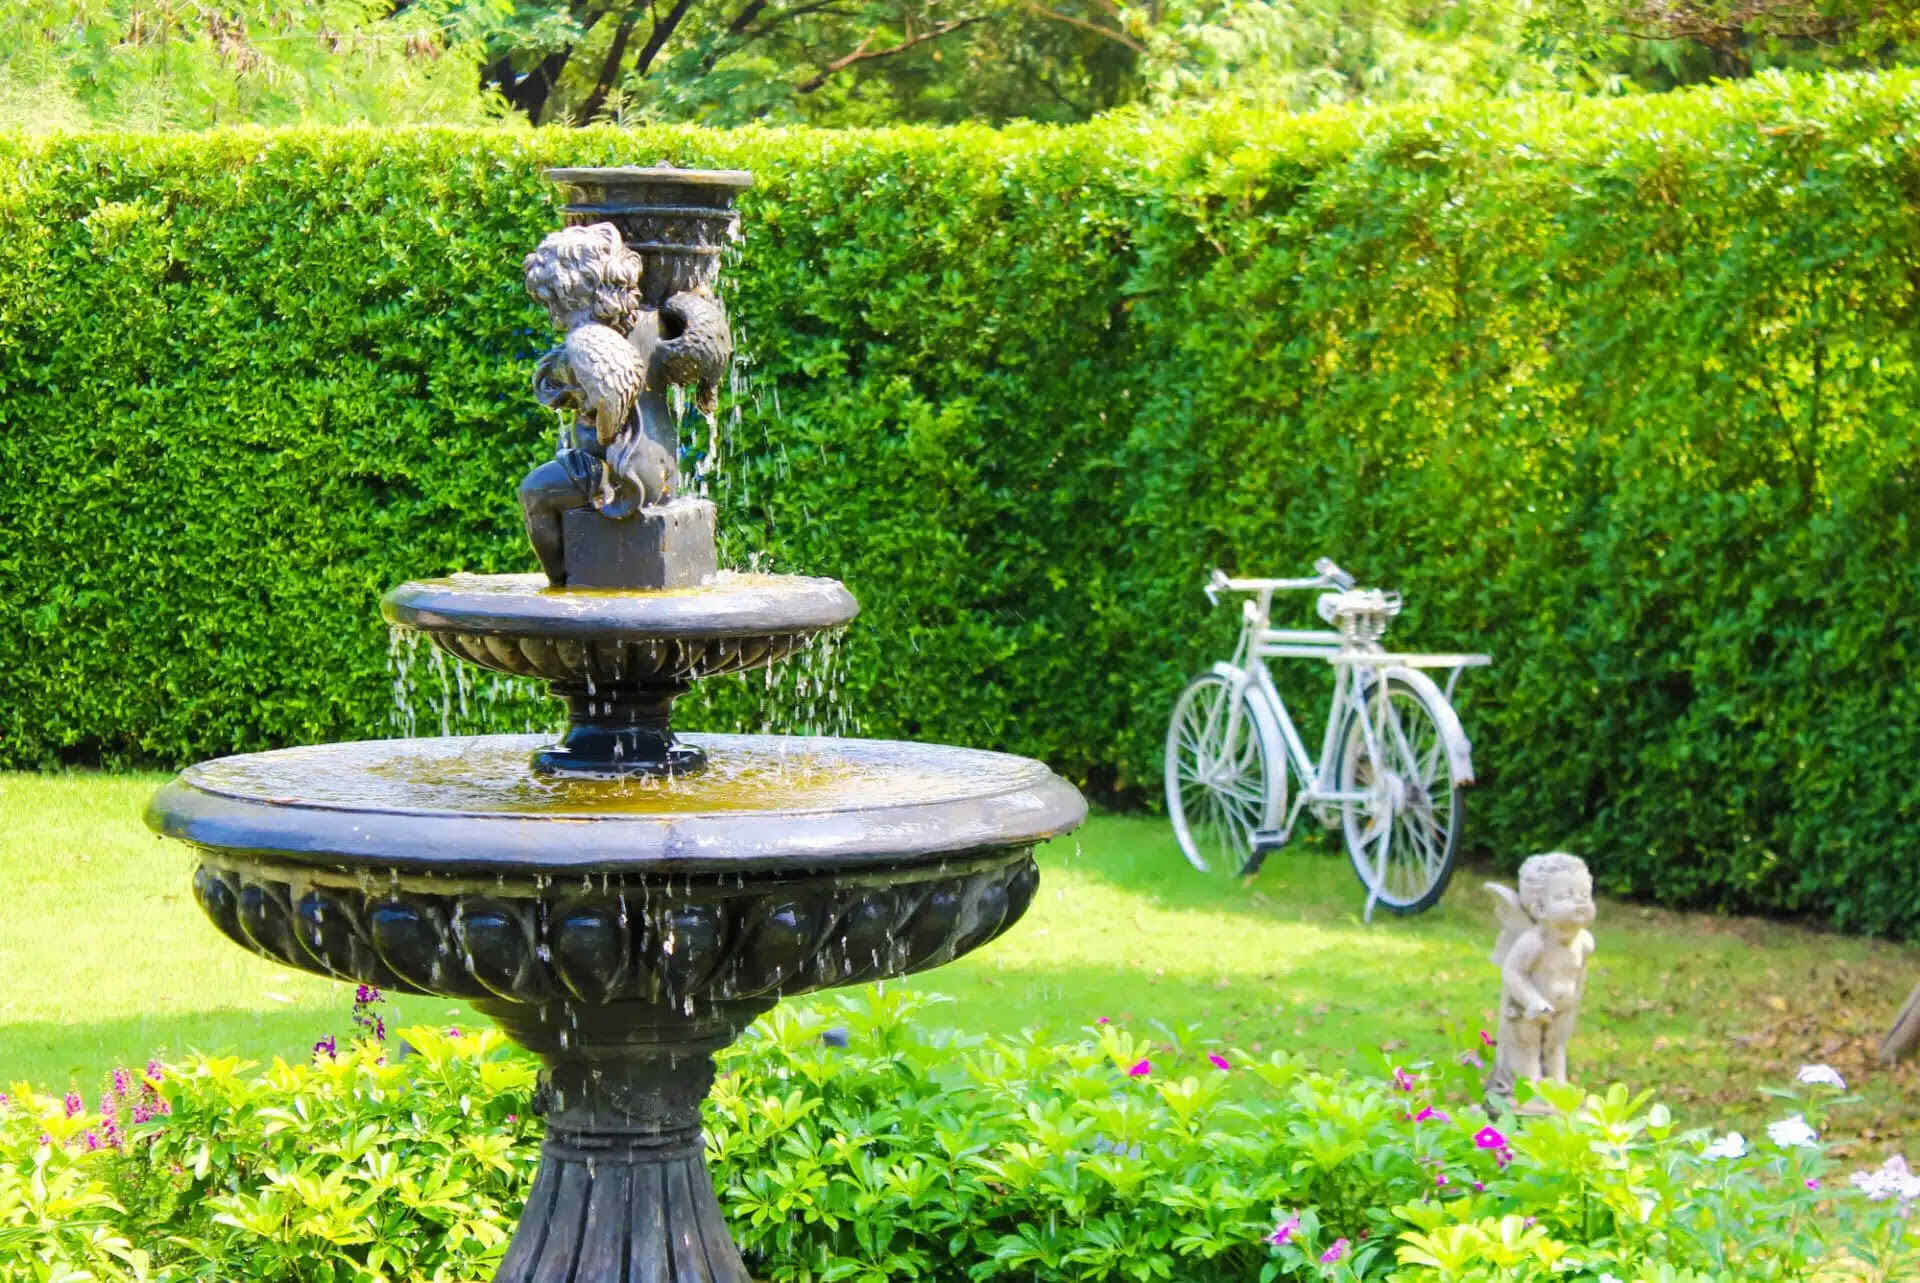
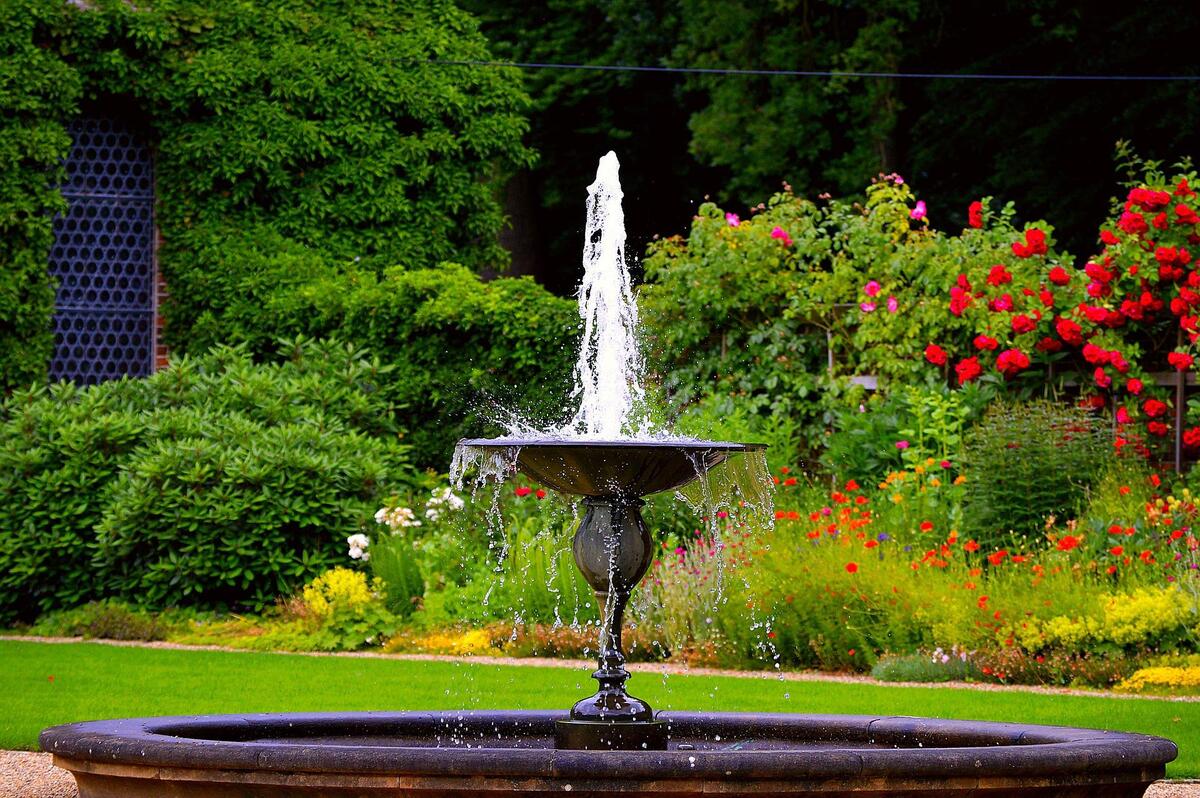
Outdoor water fountains are a delightful addition to any garden or patio, providing a serene and tranquil atmosphere. However, to maintain their beauty and functionality, regular cleaning is essential. Over time, outdoor elements such as leaves, dirt, and algae can accumulate, impacting the appearance and performance of the fountain.
In this guide, we will walk you through the step-by-step process of cleaning your outdoor water fountain, ensuring that it remains a stunning focal point in your outdoor space. By following these simple yet effective cleaning techniques, you can preserve the pristine condition of your fountain and continue to enjoy its soothing presence.
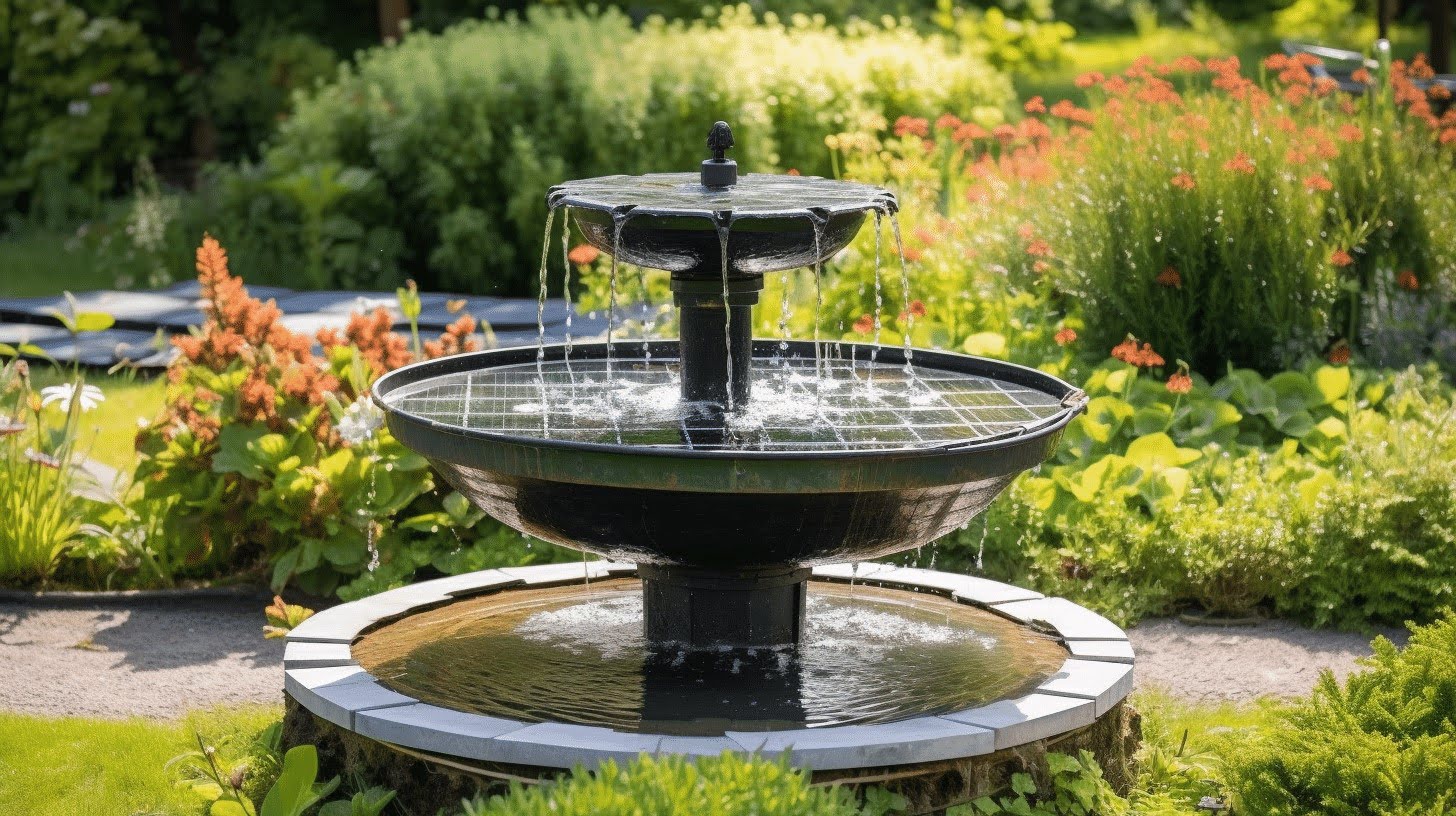
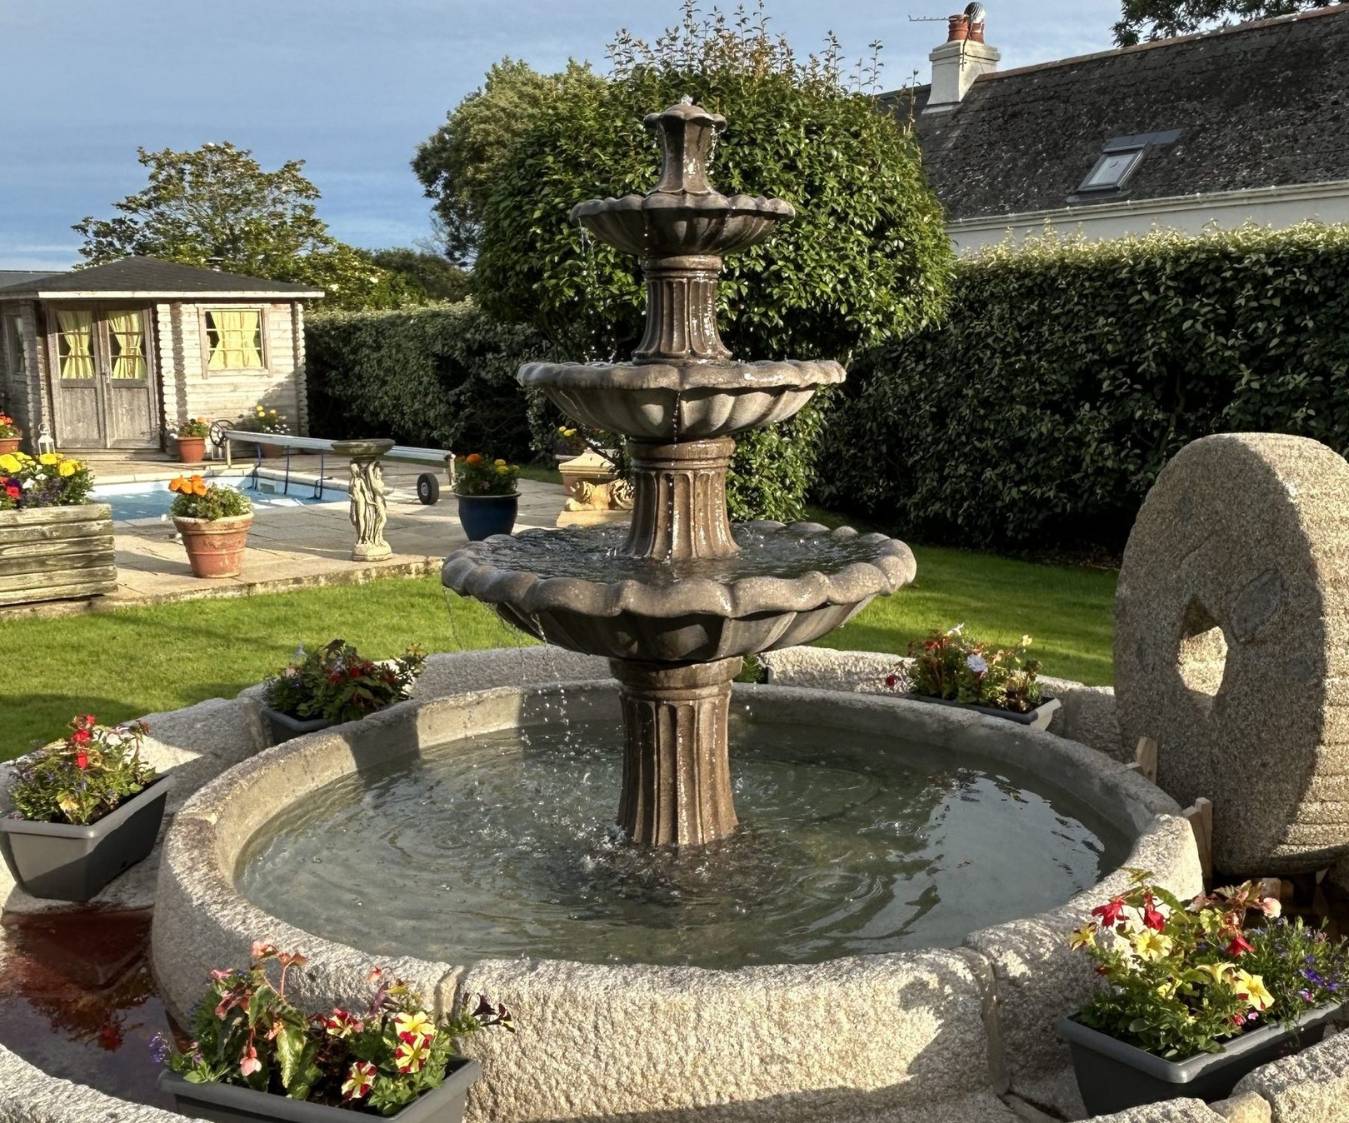
Whether you have a tiered fountain, a wall-mounted fountain, or a freestanding model, proper maintenance is key to prolonging its lifespan and keeping it in optimal condition. With the right tools and a little effort, you can restore your outdoor water fountain to its former glory and create an inviting ambiance in your outdoor sanctuary.
So, gather your cleaning supplies and let's embark on the journey to revitalize your outdoor water fountain, bringing back its sparkle and charm for you and your guests to admire.
Key Takeaways:
- Regular cleaning of outdoor water fountains is essential to maintain their beauty and functionality, ensuring they remain a stunning focal point in your outdoor space.
- By following the step-by-step cleaning process, you can revitalize your outdoor water fountain, bringing back its sparkle and charm for you and your guests to admire.
Read more: How To Clean A Water Fountain
Tools and Materials Needed
Before you begin the cleaning process, it’s important to gather the necessary tools and materials to ensure a thorough and efficient job. Here’s what you’ll need:
- Gloves: Rubber or latex gloves will protect your hands from dirt, debris, and cleaning solutions.
- Bucket: A large bucket will be useful for holding water and cleaning supplies during the process.
- Brushes: Different types of brushes, such as a stiff-bristled brush and a small scrub brush, will help remove stubborn debris and algae from the fountain’s surfaces.
- Vinegar or Mild Cleaner: A natural cleaning solution like white vinegar or a mild soap will effectively break down and remove buildup without harming the fountain’s materials.
- Water Hose: A hose with a spray attachment will be handy for rinsing the fountain and ensuring all cleaning residues are thoroughly removed.
- Algae Treatment (if needed): In case of excessive algae growth, an algae treatment product specifically designed for fountains may be necessary.
- Towels or Rags: Absorbent towels or rags will be needed for drying the fountain after cleaning.
- Protective Eyewear: Safety goggles can shield your eyes from splashing water and cleaning solutions.
- Plastic Tarp or Drop Cloth: To protect the surrounding area from splashes and runoff during the cleaning process.
By having these tools and materials at your disposal, you’ll be well-prepared to tackle the task of cleaning your outdoor water fountain with ease and efficiency. Now that you’re equipped with everything you need, it’s time to dive into the cleaning process and restore your fountain’s allure.
Step 1: Drain the Water
Before you commence the cleaning process, it’s essential to remove the existing water from the fountain. This step ensures that you can thoroughly clean the entire surface and prevents dilution of the cleaning solution.
Start by unplugging the fountain’s pump to halt the water flow. If your fountain doesn’t have a plug, you may need to disconnect it from the power source. Once the pump is disconnected, carefully remove it from the fountain and set it aside for cleaning later.
Next, locate the drain plug or valve at the base of the fountain. If your fountain doesn’t have a drain, you may need to siphon the water out using a pump or a siphoning hose. Allow the water to flow out completely, ensuring that no residual water remains in the fountain.
As the water drains, take this opportunity to inspect the fountain’s basin for any debris or buildup that may have settled at the bottom. Use a small net or your hands to remove any leaves, twigs, or sediment that could impede the cleaning process.
Once the water has been fully drained and the basin is clear of debris, you’re ready to proceed to the next step in the cleaning process. With the fountain emptied and prepared, you’re one step closer to restoring its pristine condition and revitalizing your outdoor space.
Step 2: Remove Debris
With the water drained, it’s time to focus on removing any visible debris that has accumulated in and around the fountain. Leaves, twigs, and other outdoor debris can not only detract from the fountain’s appearance but can also clog the pump and hinder its performance.
Begin by using a net or your hands to carefully remove any large debris from the fountain’s basin. Be thorough in your efforts, ensuring that no remnants are left behind. Pay particular attention to the area around the pump and any crevices where debris may have collected.
Once the visible debris has been cleared from the basin, inspect the fountain’s exterior for any debris or buildup. Use a soft-bristled brush or a cloth to gently brush away dirt, dust, or cobwebs from the surface of the fountain. This step will prepare the fountain for the deeper cleaning process, allowing you to focus on eliminating stubborn grime and algae.
Additionally, take a moment to check the pump for any debris that may have accumulated on or around it. A clean pump is essential for the proper functioning of the fountain, so be sure to remove any obstructions and ensure that the pump is free from debris.
By meticulously removing debris from both the interior and exterior of the fountain, you’re setting the stage for a thorough cleaning that will rejuvenate the fountain’s appearance and performance. With the debris cleared, you’re ready to proceed to the next step and delve into the comprehensive cleaning process.
Step 3: Clean the Fountain
Now that the fountain is free of water and debris, it’s time to initiate the cleaning process to eliminate dirt, algae, and other buildup that may have accumulated over time. Cleaning the fountain thoroughly will not only enhance its visual appeal but also contribute to its overall longevity and functionality.
Start by preparing a cleaning solution using either white vinegar or a mild soap diluted in warm water. These natural cleaning agents are effective at breaking down grime and algae without causing harm to the fountain’s materials. For tough algae or mineral deposits, a specialized fountain cleaner may be necessary.
Using a sponge or cloth, apply the cleaning solution to the interior and exterior surfaces of the fountain. Be thorough in your application, ensuring that all areas are coated with the cleaning solution. Allow the solution to sit for a few minutes to penetrate and loosen the buildup, making it easier to remove.
As the cleaning solution works its magic, take this opportunity to clean the pump and its components. Use a brush or cloth to gently remove any debris or buildup from the pump, ensuring that it remains free from obstructions that could impede its performance.
After allowing the cleaning solution to dwell, use a soft-bristled brush to scrub the fountain’s surfaces, focusing on areas with visible grime or algae. Take care not to use abrasive materials that could scratch or damage the fountain’s finish, opting for gentle yet effective cleaning tools.
Once you’ve thoroughly scrubbed the fountain, rinse the surfaces with clean water to remove the loosened grime and cleaning solution. A hose with a gentle spray attachment works well for this purpose, allowing you to rinse the fountain without creating excessive splashing.
By diligently cleaning the fountain’s interior and exterior, you’re taking proactive steps to restore its beauty and functionality. With the grime and algae eradicated, your fountain is poised to reclaim its status as a captivating focal point in your outdoor oasis.
Regularly clean your outdoor water fountain by removing debris, scrubbing with a mild detergent, and rinsing thoroughly. This will help prevent algae and mineral buildup.
Read more: How To Make Outdoor Water Fountain
Step 4: Scrub and Rinse
With the cleaning solution applied and the grime loosened, it’s time to focus on thorough scrubbing and rinsing to ensure that the fountain is impeccably clean. This step is crucial for eliminating any remaining residue and achieving a sparkling, revitalized appearance.
Using a stiff-bristled brush or a scrub brush, concentrate on areas where stubborn algae or mineral deposits may be present. Gently scrub the surfaces, applying consistent but controlled pressure to dislodge any tenacious buildup. Pay close attention to crevices, grooves, and textured areas where grime can accumulate.
As you scrub, periodically rinse the brush or scrubbing tool to remove dislodged debris, allowing you to continue cleaning effectively. Take your time during this process, ensuring that every inch of the fountain’s surfaces receives attention and thorough scrubbing.
After scrubbing, thoroughly rinse the fountain with clean water to remove the dislodged grime and any remaining cleaning solution. Ensure that all traces of the cleaning solution are eliminated, as residual chemicals can affect the water quality and potentially harm the fountain’s materials over time.
When rinsing the fountain, start from the top and work your way down, allowing the water to carry away the loosened debris and cleaning residues. Pay particular attention to the basin and any decorative elements where grime may accumulate, ensuring that the entire fountain is clean and refreshed.
As the fountain is rinsed, take a moment to inspect the surfaces for any lingering buildup or areas that may require additional attention. If necessary, repeat the scrubbing and rinsing process in targeted areas to achieve a thoroughly clean and gleaming result.
By diligently scrubbing and rinsing the fountain, you’re ensuring that it emerges from the cleaning process in optimal condition, free from grime, algae, and cleaning residues. With this step completed, your fountain is primed for reassembly and the final stages of the cleaning process.
Step 5: Reassemble the Fountain
With the fountain thoroughly cleaned and rinsed, it’s time to reassemble its components, ensuring that everything is in place for the final stage of the cleaning process. Proper reassembly is essential for restoring the fountain to its operational state and ensuring that it functions as intended.
Begin by carefully reattaching the pump to its designated placement within the fountain. Ensure that the pump is securely positioned and that any connecting tubes or components are properly reattached. This step is crucial for the functionality of the fountain, as the pump is responsible for circulating water and maintaining its soothing flow.
Once the pump is in place, take a moment to inspect the fountain’s decorative elements, such as tiers, spouts, or other embellishments. If any components were removed for cleaning, ensure that they are reattached securely and align with their respective positions within the fountain’s design.
As you reassemble the fountain, pay attention to any seals, gaskets, or fittings to ensure that they are intact and properly positioned. These components play a vital role in preventing leaks and maintaining the integrity of the fountain’s water circulation system.
After reassembling the fountain’s components, take a moment to conduct a visual inspection to confirm that everything is in place and that the fountain appears as intended. This step allows you to identify any overlooked details and make any necessary adjustments before proceeding to the final stage of the cleaning process.
With the fountain reassembled and all components in their rightful positions, you’ve set the stage for the final step in the cleaning process. By ensuring that the fountain is properly reassembled, you’re taking proactive measures to restore its functionality and visual appeal, setting the stage for the grand finale of the cleaning process.
Step 6: Refill the Fountain
With the fountain fully reassembled and poised for the final stage of the cleaning process, it’s time to replenish it with fresh, clean water, restoring its captivating presence and tranquil ambiance. Refilling the fountain marks the culmination of the cleaning journey, setting the stage for its resumption as a captivating centerpiece in your outdoor sanctuary.
Before refilling the fountain, take a moment to ensure that the pump is fully submerged in the basin and that all connections are secure. Proper pump placement is essential for optimal water circulation and the creation of soothing water sounds that enhance the ambiance of your outdoor space.
Using a hose, slowly fill the fountain with clean water, taking care not to disturb the reassembled components or create excessive splashing. As the water level rises, monitor the fountain to ensure that it circulates properly and that the water flows smoothly through the decorative elements and tiers, if applicable.
While refilling the fountain, take the opportunity to add a water treatment solution specifically designed for fountains. This can help prevent algae growth and maintain water clarity, prolonging the time between cleanings and preserving the pristine appearance of your fountain.
As the fountain fills, take a moment to appreciate the transformation that has taken place, from a disheveled state to a rejuvenated and inviting feature in your outdoor space. The sound of trickling water and the sight of a sparkling fountain serve as a testament to your dedication to maintaining a beautiful and serene setting.
Once the fountain is filled to the desired level, plug in the pump and observe as the water begins to circulate, breathing life back into the fountain and infusing your outdoor environment with a sense of tranquility and charm.
With the fountain refilled and in operation, you’ve successfully completed the cleaning process, revitalizing your outdoor water fountain and ensuring that it continues to be a captivating centerpiece in your outdoor retreat. By following these steps, you’ve preserved the allure and functionality of your fountain, allowing it to continue enriching your outdoor space for years to come.
Conclusion
Cleaning an outdoor water fountain is a labor of love that yields rewarding results, rejuvenating this captivating feature and enhancing the ambiance of your outdoor sanctuary. By following the comprehensive steps outlined in this guide, you’ve embarked on a journey to restore your fountain to its pristine condition, ensuring that it remains a stunning focal point in your outdoor space.
From draining the water and removing debris to meticulously scrubbing and reassembling the fountain, each step has been instrumental in revitalizing this beloved feature. The care and attention invested in the cleaning process have not only preserved the fountain’s visual appeal but also contributed to its longevity and functionality.
As the water cascades and the fountain comes to life once more, the transformation serves as a testament to your dedication to maintaining a beautiful and tranquil outdoor environment. The soothing sounds of flowing water and the captivating presence of a sparkling fountain create an inviting atmosphere for relaxation and contemplation.
By incorporating regular fountain maintenance into your outdoor care routine, you can continue to enjoy the allure of this captivating feature, fostering a sense of serenity and charm in your outdoor space. Whether it’s a tiered fountain, a wall-mounted design, or a freestanding masterpiece, your commitment to proper maintenance ensures that your fountain remains a cherished element of your outdoor retreat.
As you admire the revitalized fountain, take pride in the effort you’ve invested in preserving its allure and functionality. The clean, glistening surfaces and the gentle flow of water serve as a testament to your dedication to creating an inviting and harmonious outdoor environment.
With the completion of the cleaning process, your outdoor water fountain stands as a symbol of tranquility and beauty, enriching your outdoor space and captivating the senses. As you bask in the serenity it imparts, take a moment to appreciate the transformation that has unfolded, and the enduring charm that your revitalized fountain brings to your outdoor sanctuary.
Frequently Asked Questions about How To Clean An Outdoor Water Fountain
Was this page helpful?
At Storables.com, we guarantee accurate and reliable information. Our content, validated by Expert Board Contributors, is crafted following stringent Editorial Policies. We're committed to providing you with well-researched, expert-backed insights for all your informational needs.


0 thoughts on “How To Clean An Outdoor Water Fountain”