Home>Garden Essentials>How To Cut Open A Persimmon Seed
Garden Essentials
How To Cut Open A Persimmon Seed
Modified: March 16, 2024
Learn how to cut open a persimmon seed in your garden and discover its hidden treasures.
(Many of the links in this article redirect to a specific reviewed product. Your purchase of these products through affiliate links helps to generate commission for Storables.com, at no extra cost. Learn more)
Introduction
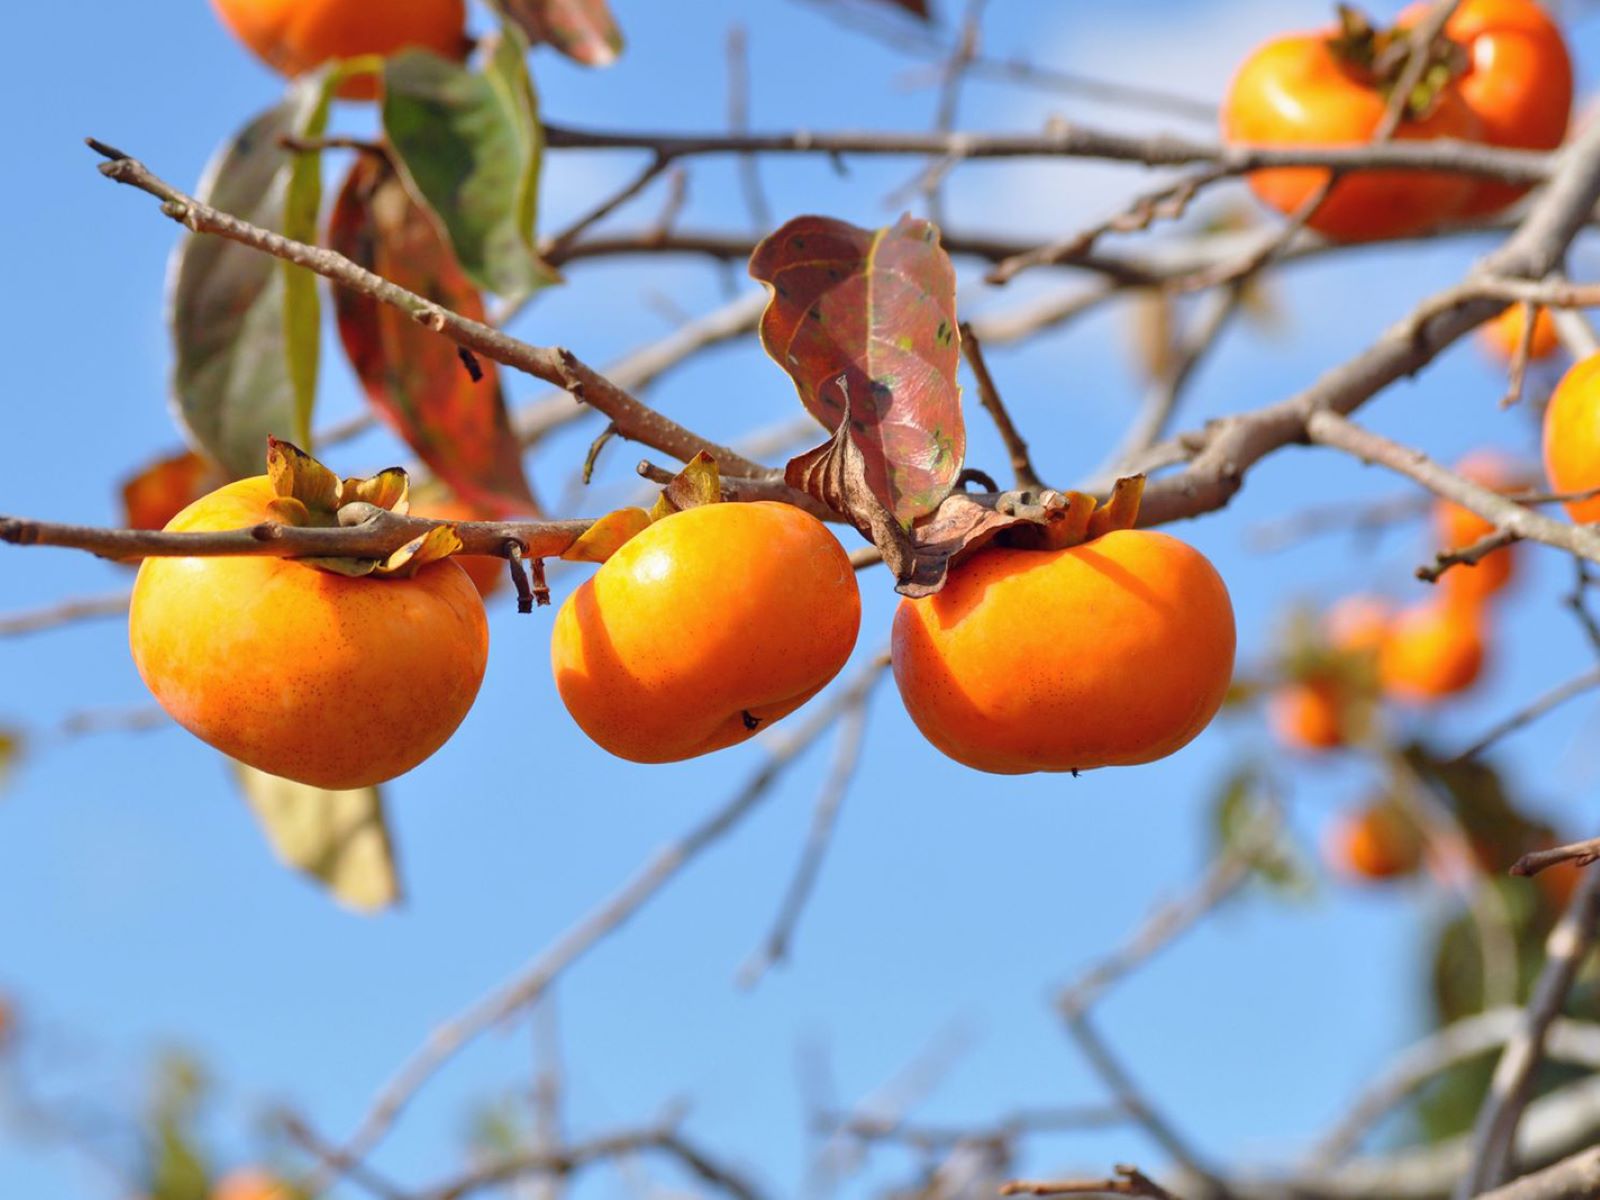
Welcome to this guide on how to cut open a persimmon seed. If you’ve ever wondered what lies inside the hard shell of a persimmon seed and how it can provide insights into the plant’s future growth, you’re in the right place. Cutting open a persimmon seed is not only an intriguing activity but also a useful way to determine the potential for an abundant harvest in the coming year.
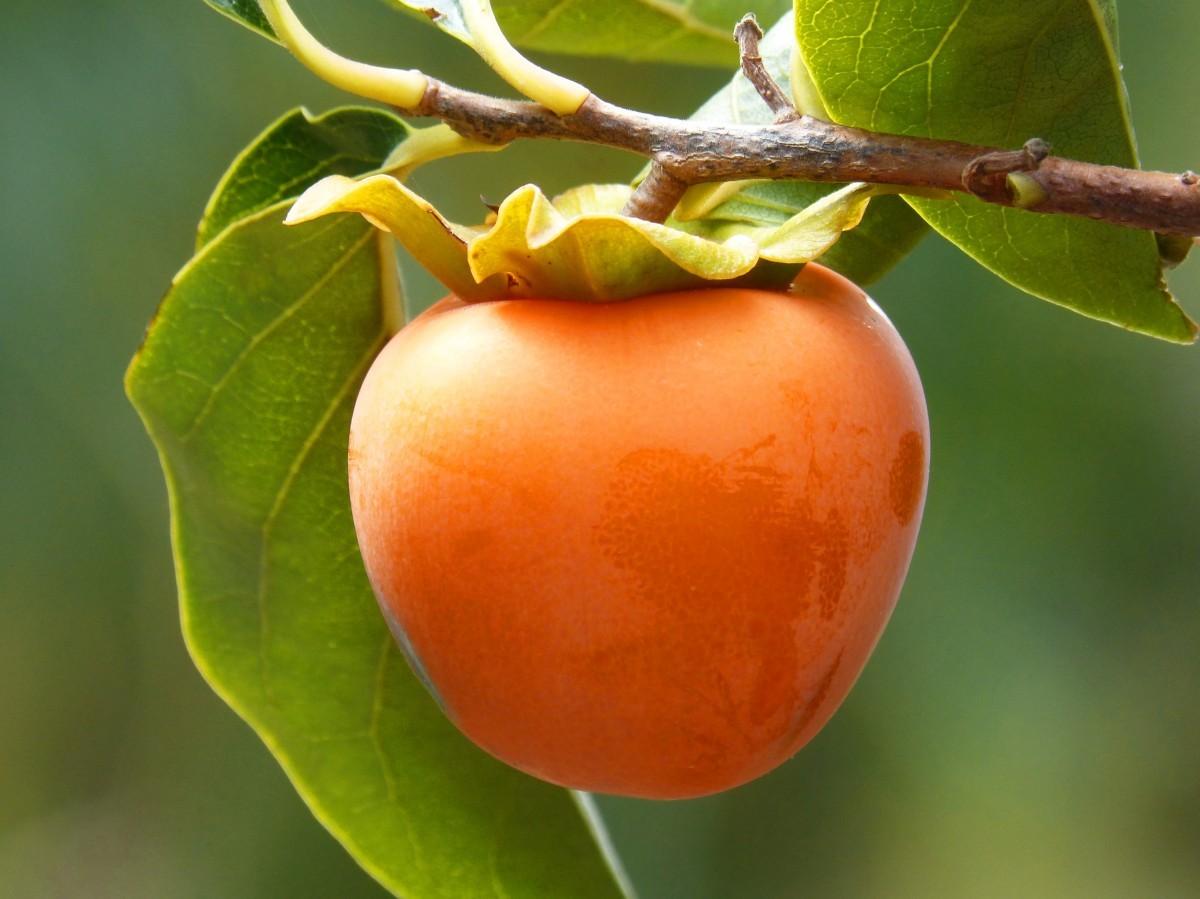
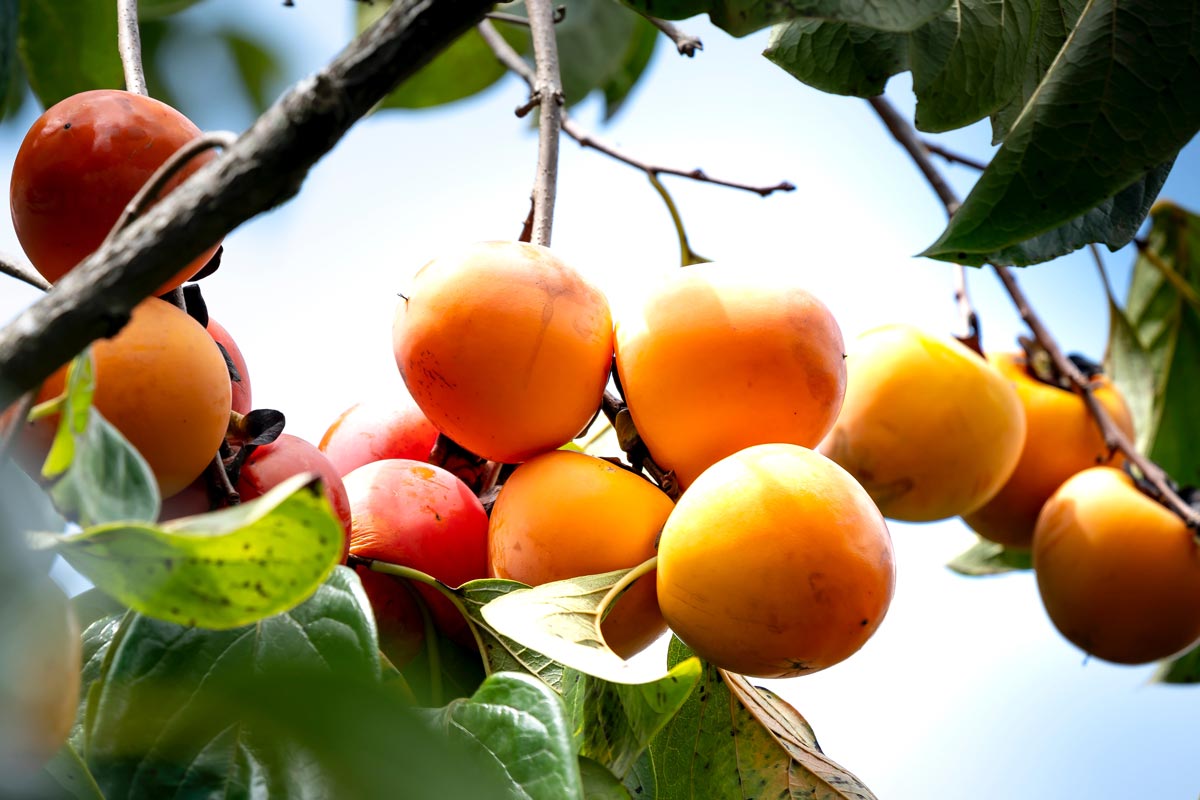
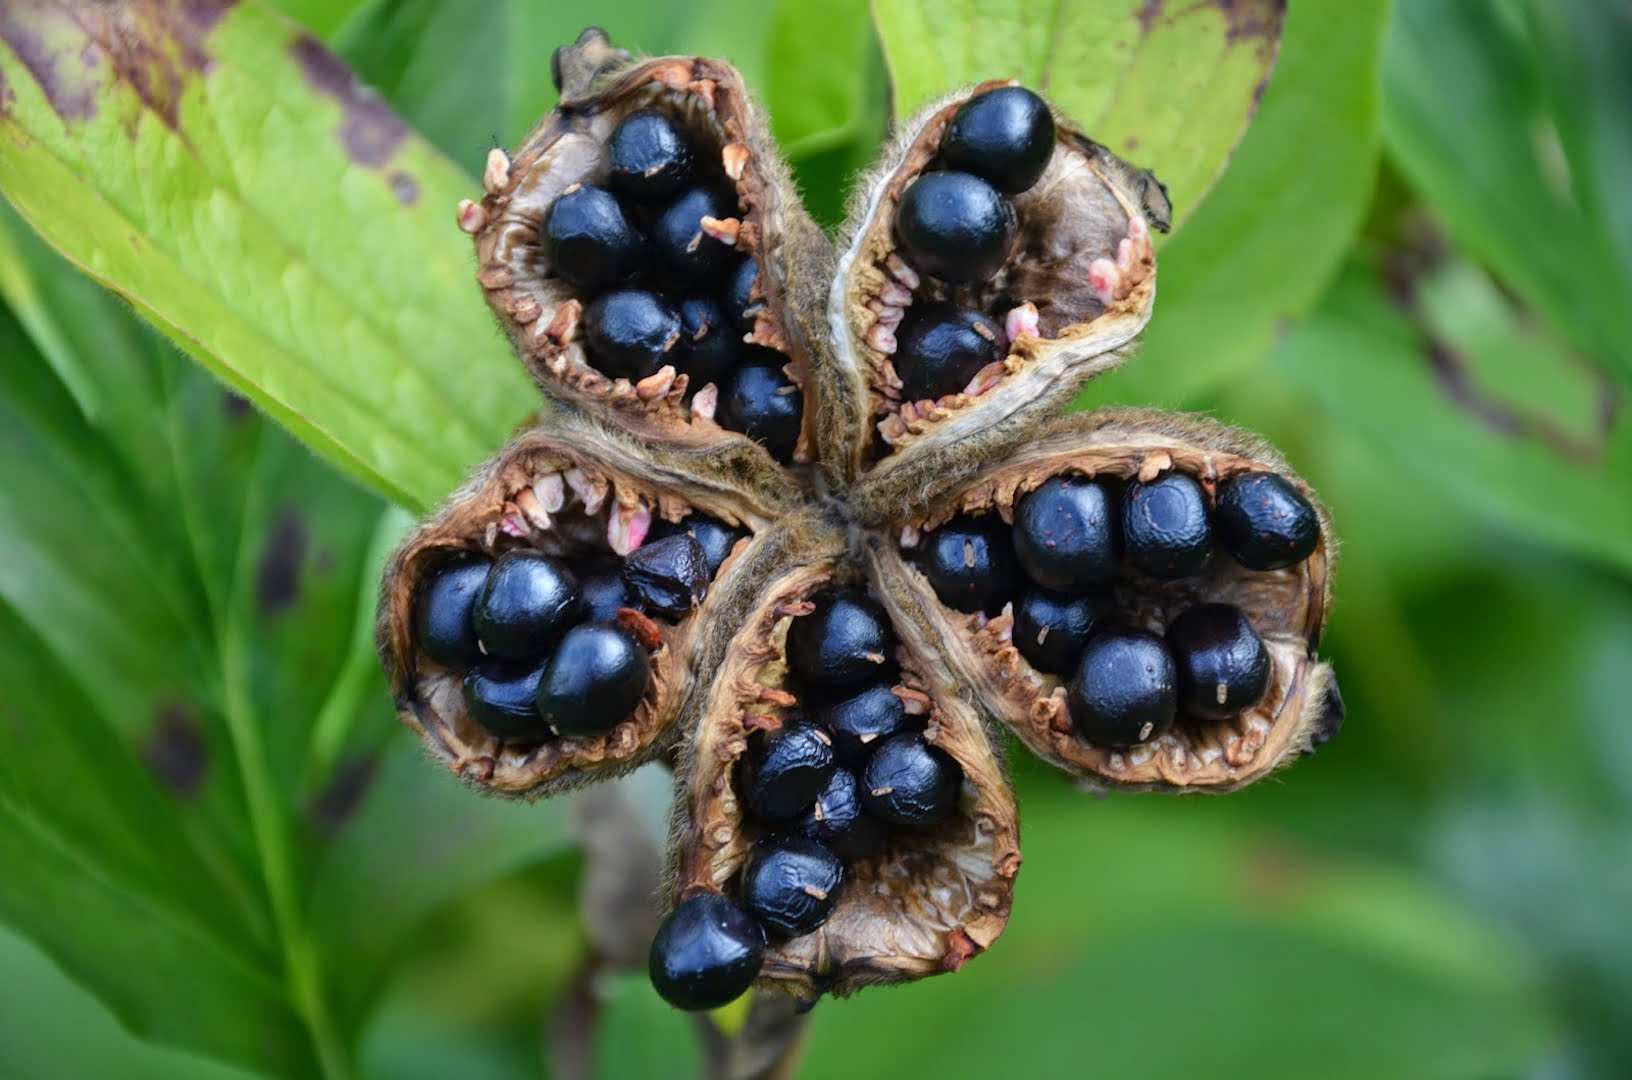
Persimmons are delicious and nutritious fruits that come in various varieties, such as Fuyu, Hachiya, and American persimmons. With their vibrant orange color and sweet, honey-like taste, persimmons have gained popularity as a fall favorite. But did you know that the seeds of this fruit hold valuable information about the tree’s genetic makeup and future growth?
By cutting open a persimmon seed, you can uncover vital information about the likelihood of adequate pollination, seed viability, and even the tree’s overall health. It’s a fascinating process that can provide valuable insights for gardeners, farmers, and anyone interested in the wonders of nature.
In this article, we will guide you through the steps to cut open a persimmon seed. By following these instructions, you will be able to explore the inner workings of this seed and gain a deeper understanding of the persimmon tree’s potential.
So, let’s gather our materials and get ready to unravel the mysteries hidden within the persimmon seed.
Key Takeaways:
- Discover the secrets of nature by cutting open a persimmon seed. Uncover the tiny white sprout of the embryo and learn about the potential for new persimmon trees to grow.
- By observing the contents of a persimmon seed, you can gain insights into its viability and potential for successful germination. Use this knowledge to make informed decisions for your garden or orchard.
Read more: When To Plant Persimmon Seeds
Materials Needed
Before we begin, make sure you have the following materials at hand:
- A ripe persimmon: Choose a persimmon that is fully ripe, as this will ensure that the seed inside has matured enough to provide accurate insights.
- A cutting board: Use a sturdy cutting board to provide a stable surface for working.
- A sharp knife: Opt for a sharp knife with a thin blade, as this will allow for precise cutting of the seed without causing unnecessary damage.
- A paper towel: Keep a paper towel nearby to wipe the knife clean in between cuts.
- A small bowl or plate: Place the cut-open seed on a small bowl or plate for better visibility and observation.
Once you have gathered these materials, you’re ready to proceed with cutting open the persimmon seed and discovering the fascinating secrets within.
Step 1: Removing the Outer Skin
The first step in cutting open a persimmon seed is to remove the tough outer skin. The skin of a persimmon seed is hard and may require a bit of effort to remove, but with the right technique, it can be done easily.
Start by placing the persimmon on a cutting board and holding it steady with one hand. With the other hand, take the sharp knife and make a shallow incision around the circumference of the seed, following the contour of the seed’s shape.
Apply gentle pressure as you cut through the skin, making sure not to cut too deeply into the seed itself. The goal is to create a clean and even incision all the way around the seed, allowing for easy removal of the skin.
Once you have made the incision, use your fingers or the tip of the knife to carefully peel away the outer skin. The skin may come off in small pieces or in one larger sheet, depending on the ripeness of the fruit and the size of the seed.
Be patient and take your time to remove the entire skin, ensuring that no bits of skin remain attached to the seed. It’s important to have a clear view of the seed’s inner contents without any obstructions.
After removing the outer skin, you will be left with a smooth and shiny seed ready for the next step. Take a moment to appreciate the beautiful color and texture of the seed before moving on to the next phase of exploration.
With the outer skin removed, we are now ready to proceed to the next step of cutting the seed in half.
Step 2: Cutting the Seed in Half
Now that the outer skin of the persimmon seed has been removed, it’s time to cut the seed in half to reveal its inner contents. This step will allow you to observe the seed’s shape and structure, as well as any potential abnormalities.
Place the seed on the cutting board, making sure it is stable and will not roll around. Take the sharp knife and carefully position it at the center of the seed, perpendicular to the cutting board.
Apply downward pressure while cutting, aiming to create a clean and even cut that divides the seed into two halves. It may take some practice to achieve a straight cut, so don’t worry if the first attempt is not perfect.
Continue cutting until the knife has passed through the entire seed, resulting in two distinct halves. Take note of any resistance or differences in texture as you cut.
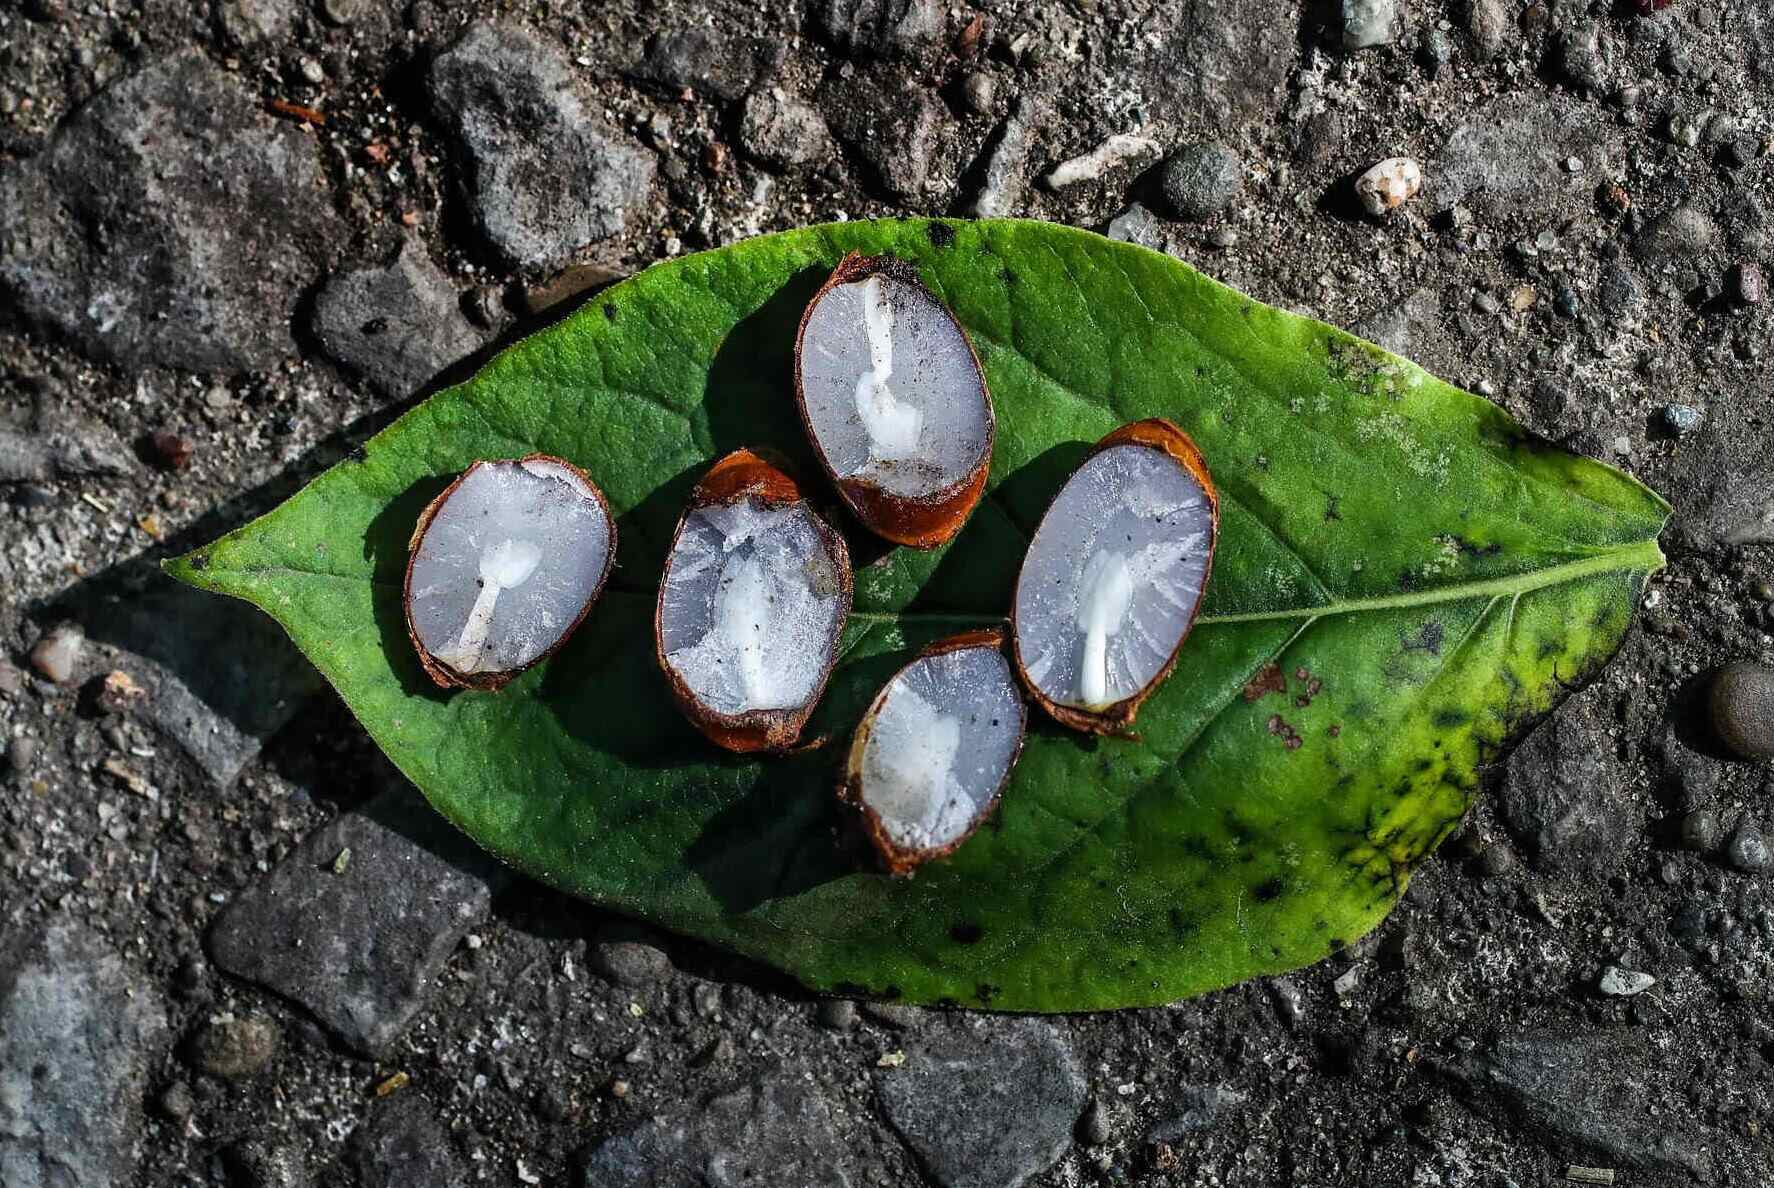
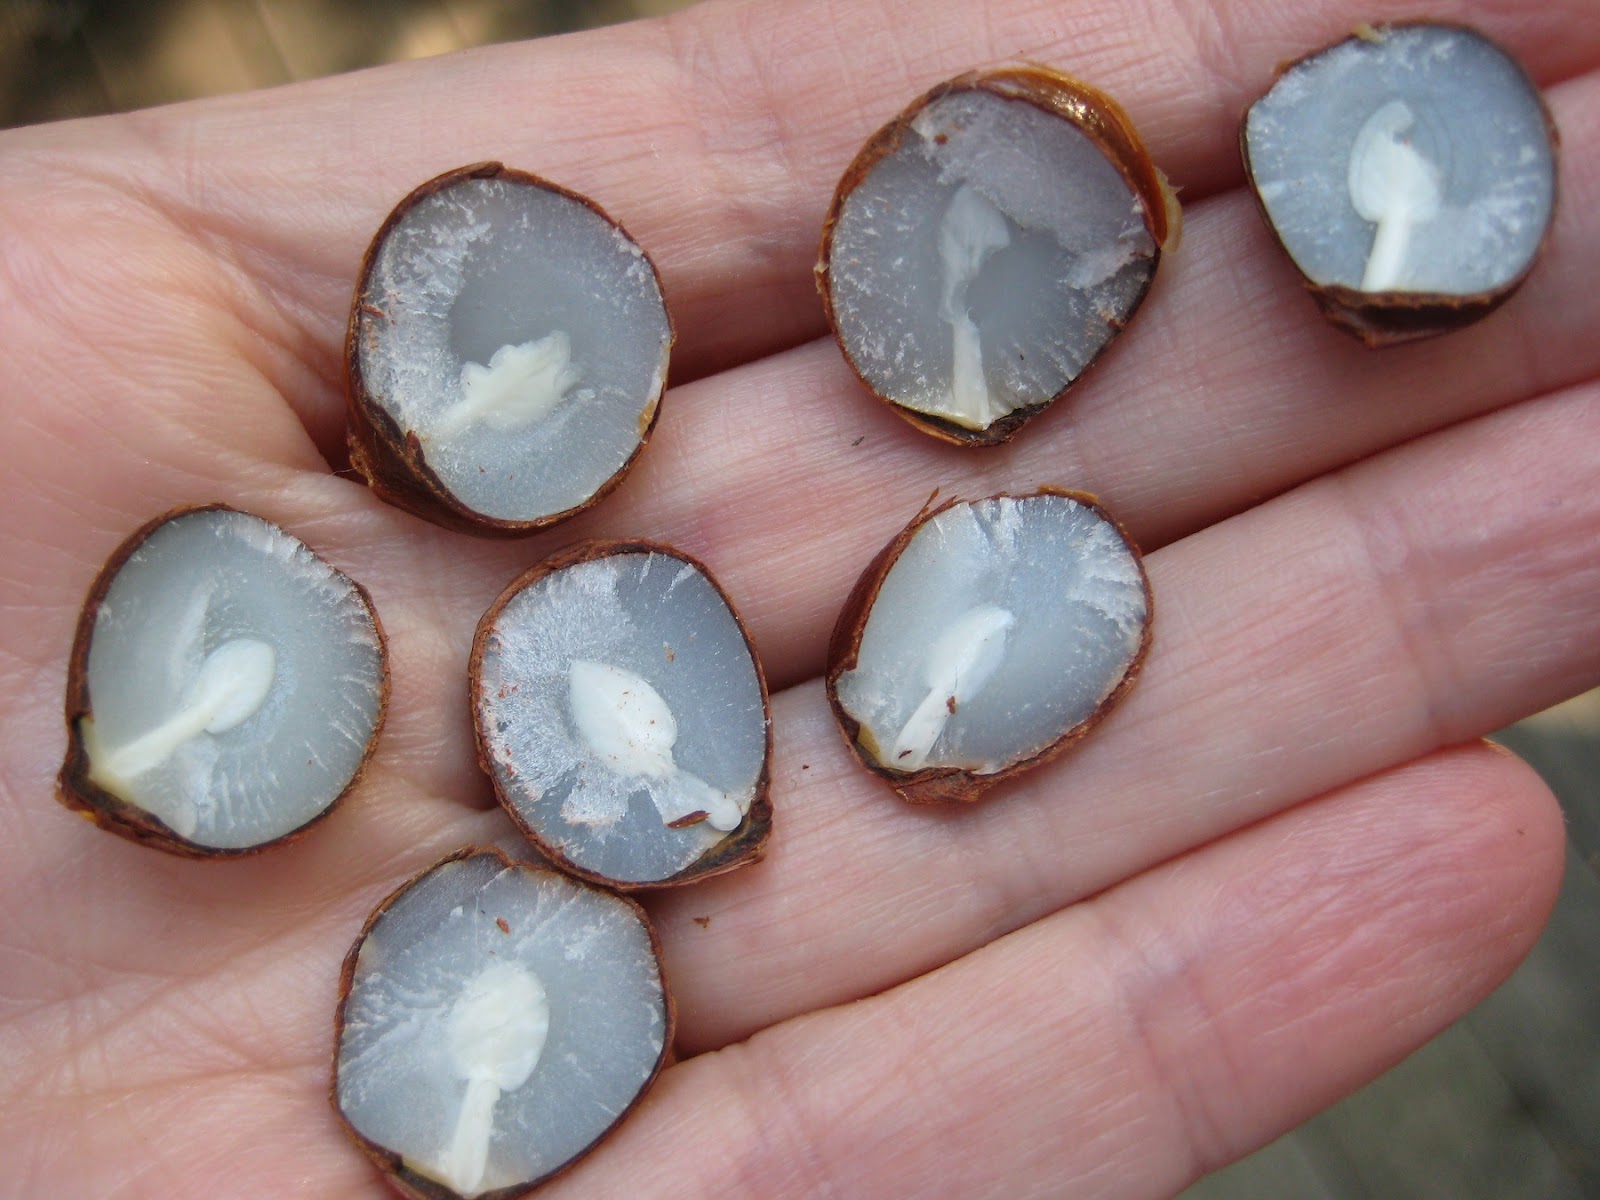
Once you have successfully cut the seed in half, set the knife aside and observe the exposed interior. Notice the color, texture, and any patterns that may be present. You may also discover the presence of a small, white sprout known as the embryo.
Take a moment to appreciate the intricate design and wonder of nature encapsulated in this tiny seed. The cutting process has allowed you to see beyond the surface, unlocking the secrets held within.
Now that the persimmon seed has been opened, it’s time to move on to the next step and explore its contents in greater detail.
(Please note: While cutting the seed, always exercise caution and be mindful of your fingers. It’s always a good idea to work slowly and use a steady hand to ensure safety.)
Use a sharp knife to carefully cut open the persimmon seed. Hold the seed steady and make a gentle, even cut to avoid damaging the seed inside.
Step 3: Observing the Seed
With the persimmon seed cut in half, it’s time to observe and examine its internal structure. This step will provide valuable insights into the seed’s development and the potential for future growth.
Take a moment to examine both halves of the seed. Notice the color, texture, and overall appearance. The interior of the seed may range from pale white to creamy yellow, depending on the variety and maturity of the persimmon.
Observe the shape and size of the seed. Persimmon seeds are typically oval or rounded in shape, with a smooth outer surface. Take note if there are any obvious deformities or irregularities that may indicate potential issues with the seed’s viability.
Next, focus your attention on the central region of the seed. You may notice a small, white sprout known as the embryo. This is the crucial part of the seed that will eventually develop into a new persimmon tree if conditions are favorable.
Inspect the embryo closely. It should be intact and have a firm texture. Any signs of discoloration, mushiness, or damage may indicate that the seed is not viable and may not germinate successfully.
As you continue to observe the seed, you may also notice other structures such as the endosperm. The endosperm is a nutritious tissue that surrounds the embryo and provides it with essential nutrients for germination and early growth.
Take your time to examine the seed, paying attention to any details that stand out to you. Each seed holds a unique story, and its characteristics can provide valuable information about the persimmon tree’s potential health and fruitfulness.
By observing the seed, you can gain insights into its quality and viability, which can be useful for planning and making informed decisions for your garden or orchard.
Now that you have observed the seed, it’s time to delve deeper into understanding the contents and their significance.
Read more: How To Grow Persimmon From Seed
Step 4: Understanding the Seed’s Contents
Now that you have observed the persimmon seed and its internal structures, it’s time to understand the significance of the seed’s contents. This step will provide insights into the potential for germination, pollination, and overall tree health.
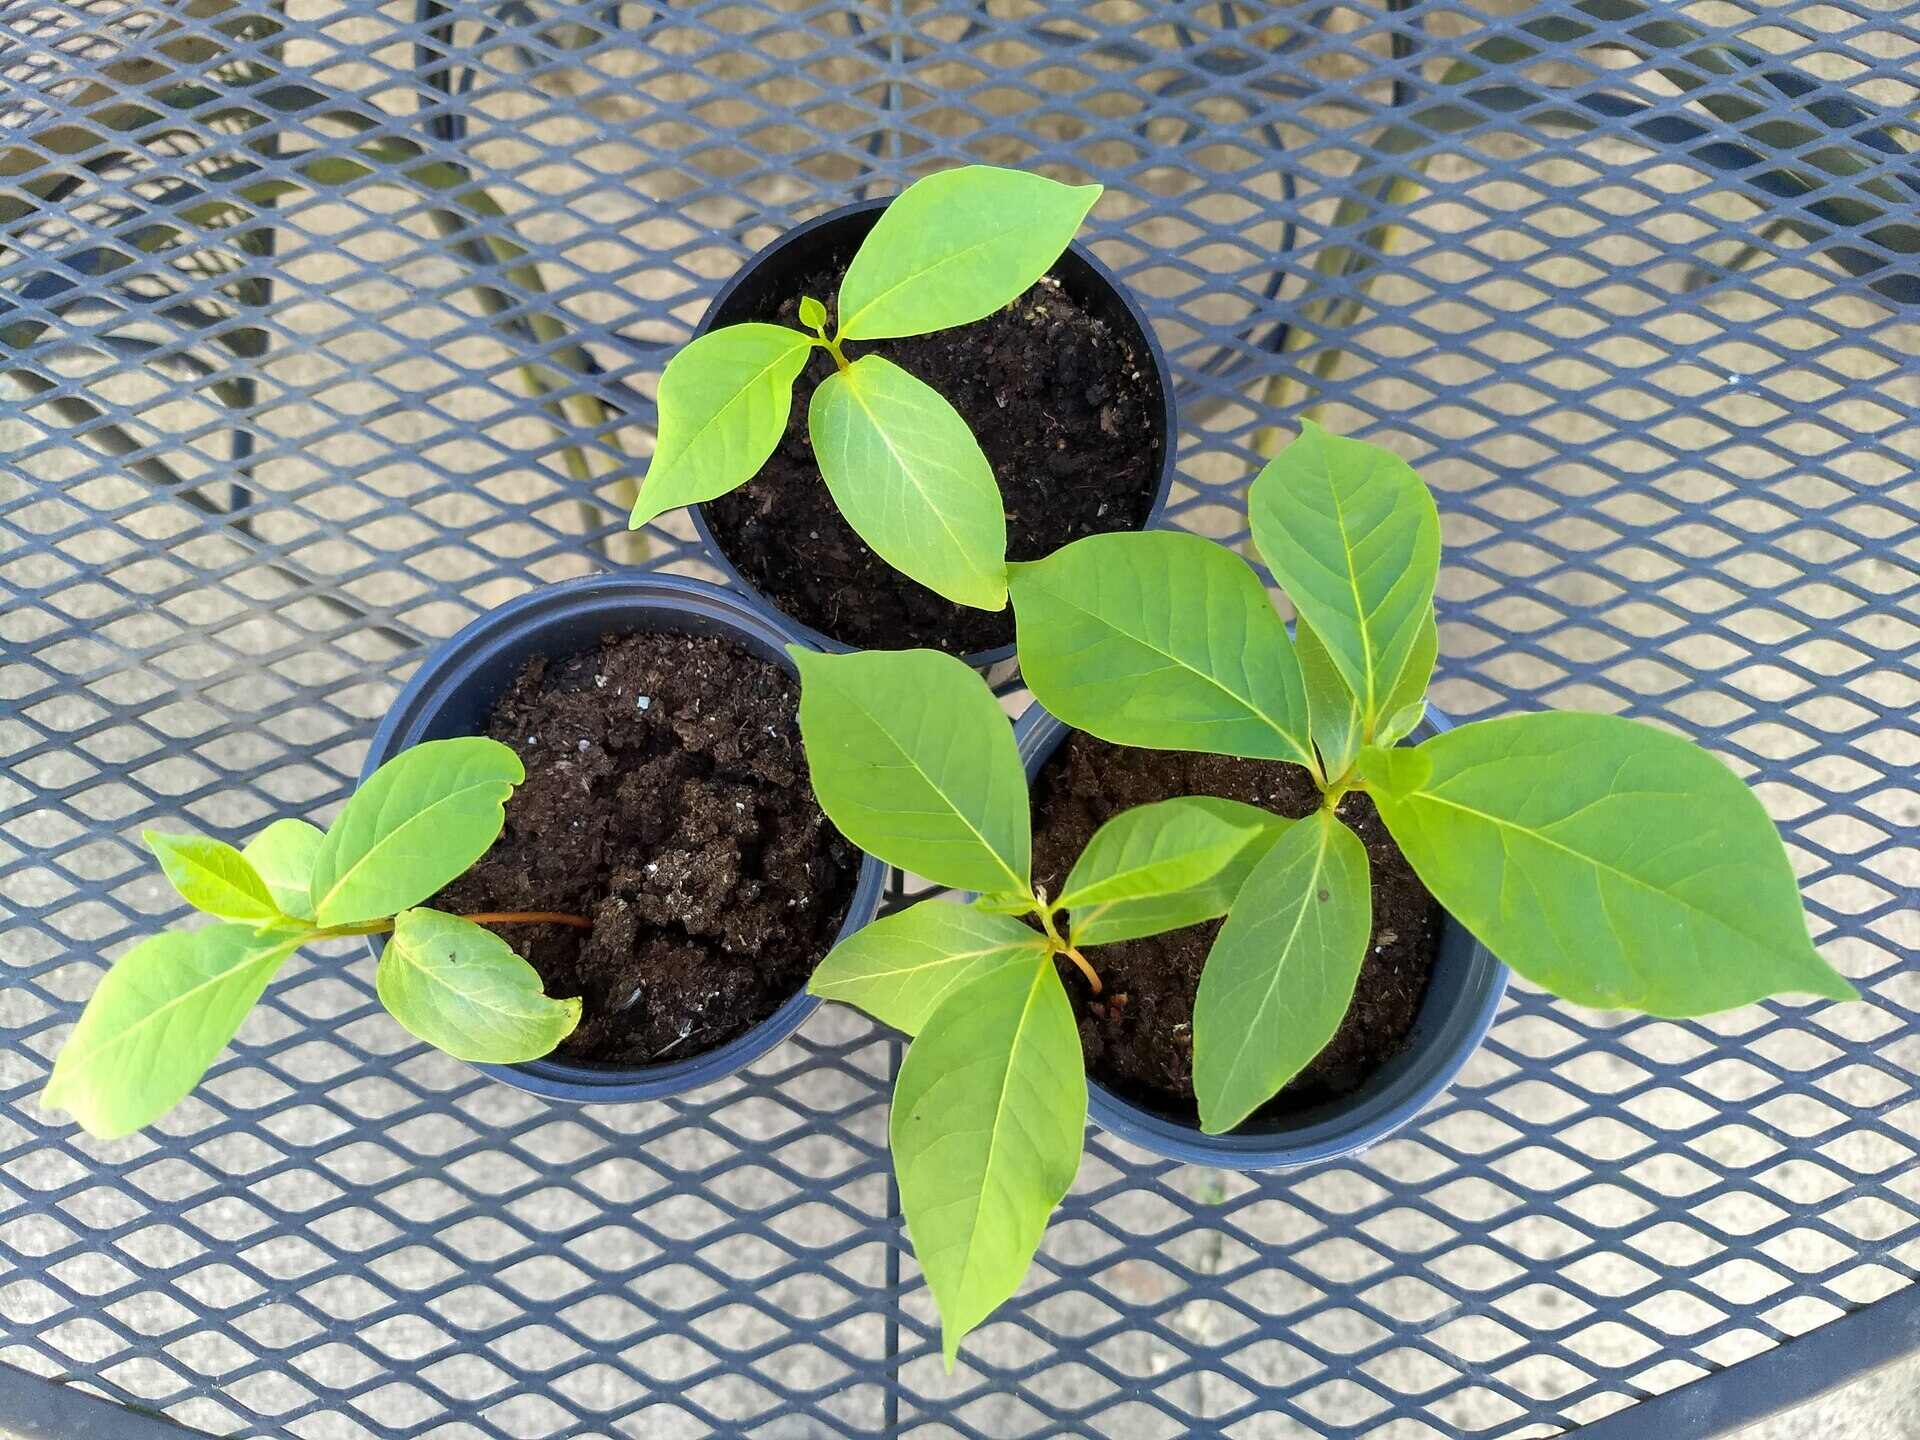
First, let’s focus on the embryo. The embryo is the tiny, white sprout within the seed that has the potential to develop into a new persimmon tree. Its presence indicates that the seed is viable and capable of germination if provided with the right conditions.
Inspect the embryo closely. A healthy embryo should be firm, plump, and free from any signs of damage or discoloration. If the embryo appears healthy, it suggests that the seed has a higher chance of germinating successfully and producing a new tree.
Next, consider the presence of the endosperm. The endosperm is a nutrient-rich tissue that surrounds the embryo and provides it with the nourishment it needs to germinate and establish itself as a young tree. A well-developed and intact endosperm is a positive sign, indicating that the seed has ample resources for early growth.
It’s also worth noting the overall size and shape of the seed. Larger seeds generally indicate a higher chance of successful germination and potential for a stronger and more vigorous tree. However, keep in mind that smaller seeds can still produce healthy trees if other factors such as proper care and optimal growing conditions are provided.
Lastly, consider the presence of abnormalities or deformities within the seed. Unusual shapes, discoloration, or signs of damage may indicate potential issues with the seed’s viability or health. It’s important to note any abnormalities and use this information to make informed decisions regarding tree selection and future propagation efforts.
Understanding the contents of the persimmon seed can help you evaluate the potential for a bountiful harvest in the coming years. By identifying healthy embryos, well-developed endosperms, and robust seed characteristics, you can make informed decisions about saving seeds, selecting the best trees for propagation, and ensuring a healthier and more productive persimmon orchard.
Now that you have gained a deeper understanding of the seed’s contents, you can conclude your exploration and marvel at the wonders of nature hidden within this tiny package.
Conclusion
Cutting open a persimmon seed is a fascinating journey that allows you to delve into the mysteries of nature and gain insights into the potential of this remarkable fruit tree. By following the steps outlined in this guide, you have learned how to remove the outer skin, cut the seed in half, observe its contents, and understand their significance.
Through this process, you have discovered the delicate white sprout of the embryo, the nutrient-rich endosperm, and the overall characteristics of the seed. Each observation provides valuable information about the seed’s viability, potential for germination, and the health and potential of the tree it came from.
Your newfound knowledge can be instrumental in making informed decisions for your garden, orchard, or personal enjoyment. Whether you plan to save seeds, propagate new trees, or simply gain a deeper appreciation for the wonders of nature, cutting open a persimmon seed has provided you with insights and understanding.
Remember, the persimmon seed is a small but mighty package of life. By properly examining its contents, you can unlock the secrets of successful germination and cultivation, ensuring the growth of healthy and productive persimmon trees for years to come.
Now that you have completed the process of cutting open a persimmon seed, take a moment to reflect on the beauty of nature’s design and the incredible potential held within a tiny seed. The world of gardening and agriculture is filled with endless wonders, waiting to be discovered.
So, go forth and continue exploring, learning, and nurturing the remarkable plants that surround us. Happy gardening!
Frequently Asked Questions about How To Cut Open A Persimmon Seed
Was this page helpful?
At Storables.com, we guarantee accurate and reliable information. Our content, validated by Expert Board Contributors, is crafted following stringent Editorial Policies. We're committed to providing you with well-researched, expert-backed insights for all your informational needs.

0 thoughts on “How To Cut Open A Persimmon Seed”