Home>Garden Essentials>How To Open Pumpkin Seeds
Garden Essentials
How To Open Pumpkin Seeds
Modified: March 24, 2024
Looking to open pumpkin seeds in your garden? Learn how to do it easily and effectively with our step-by-step guide. Start growing your own pumpkins today!
(Many of the links in this article redirect to a specific reviewed product. Your purchase of these products through affiliate links helps to generate commission for Storables.com, at no extra cost. Learn more)
Introduction
Welcome to the world of pumpkin seeds! Whether you’ve just carved a Jack-o’-lantern, harvested pumpkins from your garden, or found yourself with a surplus of pumpkin seeds, learning how to open and enjoy these nutritious and delicious seeds is a fantastic skill to have as a gardener and food enthusiast.
Pumpkin seeds, also known as pepitas, are not only tasty but also packed with nutrients. They are an excellent source of protein, healthy fats, fiber, iron, zinc, and magnesium. Incorporating pumpkin seeds into your diet can offer numerous health benefits, including improved heart health, enhanced immune function, and better digestion.
In this article, we’ll guide you through the process of opening and preparing pumpkin seeds. We’ll cover everything from gathering the necessary materials to storing the seeds for long-term enjoyment. So, put on your apron and get ready to uncover the secrets of delicious pumpkin seed preparation!
Key Takeaways:
- Don’t toss those pumpkin seeds! Learn how to open, clean, and roast them for a tasty and nutritious snack. Get creative with flavors and enjoy the crunchy goodness.
- Embrace the pumpkin seed adventure! Gather materials, clean and dry the seeds, add flavorful seasonings, and store them for future snacking. Happy munching!
Read more: How To Plant Pumpkin Seeds
Gathering Materials
Before you begin opening and cleaning pumpkin seeds, it’s essential to gather the necessary materials. Here’s what you’ll need:
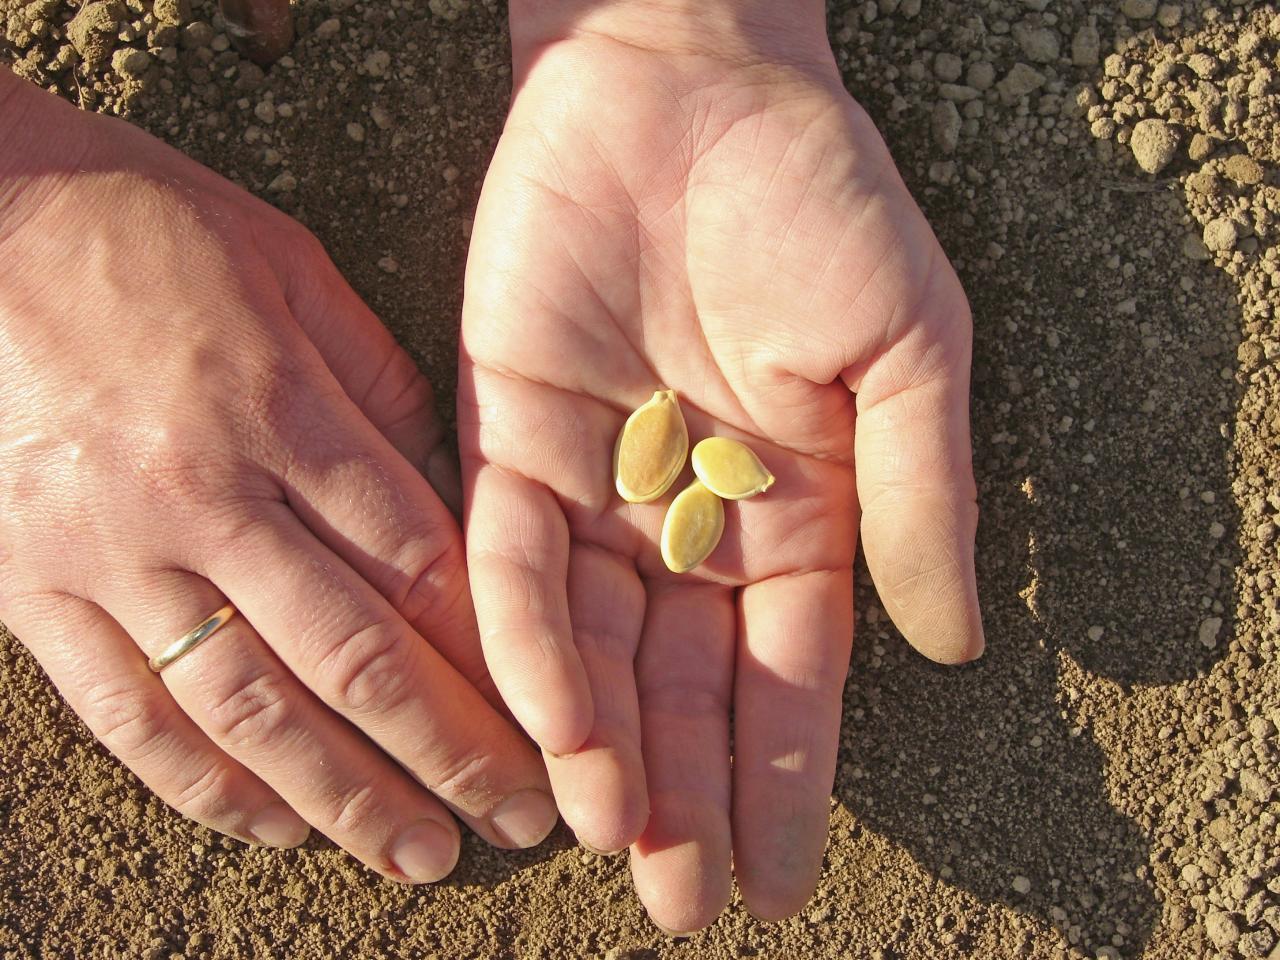
- A fresh pumpkin: Look for a ripe, mature pumpkin that is free from any signs of mold or damage. The size of the pumpkin is up to you, but larger pumpkins tend to yield more seeds.
- A sharp knife: You’ll need a sturdy, sharp knife for cutting the pumpkin open. Make sure it’s suitable for use in the kitchen and that you exercise caution while handling it.
- A large spoon or ice cream scoop: This will come in handy for scooping out the pulp and seeds from the pumpkin.
- A colander or strainer: You’ll need this for rinsing and cleaning the seeds later on.
- A baking sheet: A flat baking sheet or tray will be used for drying and roasting the seeds.
- Parchment paper or aluminum foil: This will help prevent the seeds from sticking to the baking sheet during the drying and roasting process.
- Seasonings and spices (optional): If you plan to flavor your pumpkin seeds, gather your preferred seasonings such as salt, pepper, cinnamon, or even garlic powder.
Once you have all the necessary materials at your disposal, you’re ready to begin the process of opening and preparing the pumpkin seeds. It’s time to dive headfirst into the world of pumpkin seed goodness!
Preparing the Pumpkin
Now that you have your materials ready, it’s time to prepare the pumpkin for seed extraction. Follow these steps:
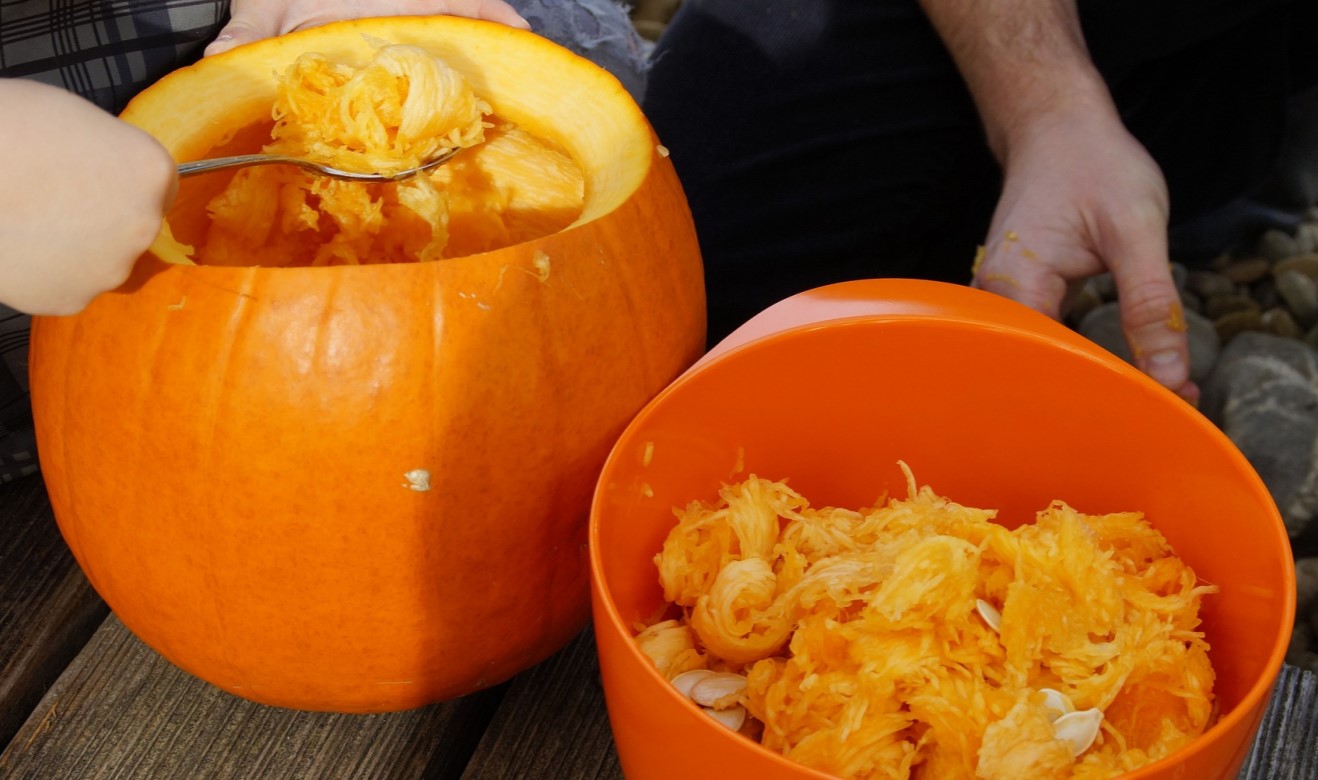
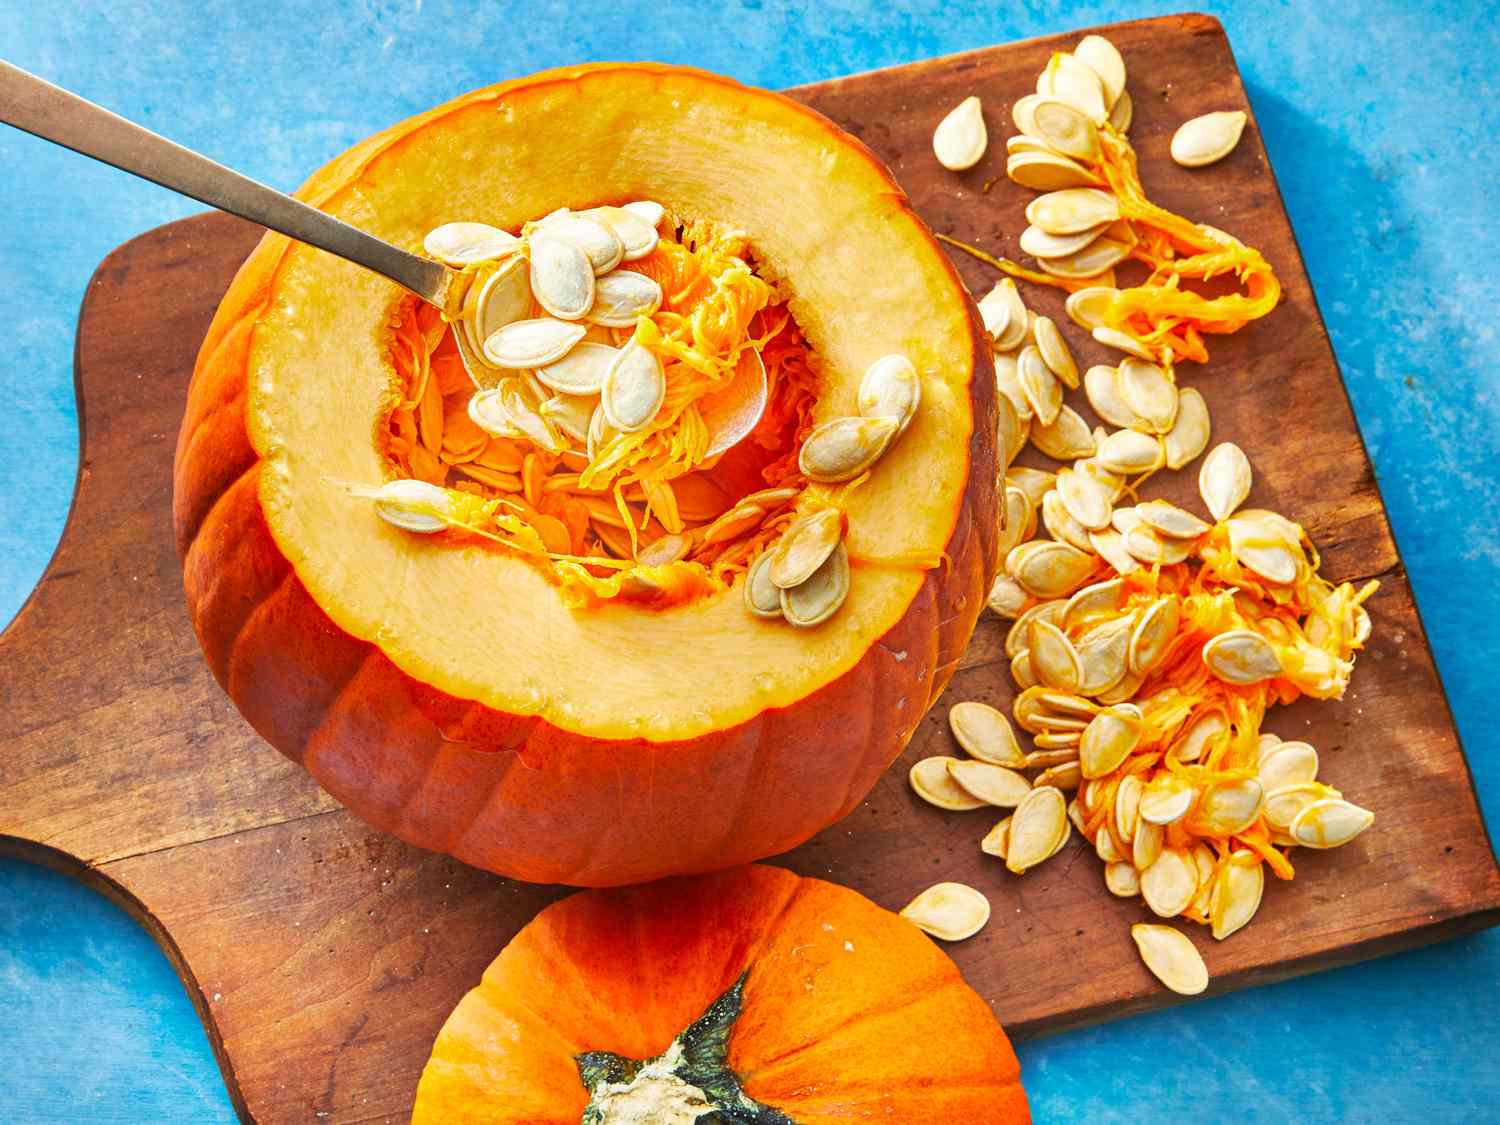
- Start by carefully cutting off the top of the pumpkin using a sharp knife. Cut at an angle, creating a lid that you can easily remove.
- With the lid off, use a large spoon or ice cream scoop to scrape out the pulp and seeds from the pumpkin’s interior. Place them into a separate bowl or container.
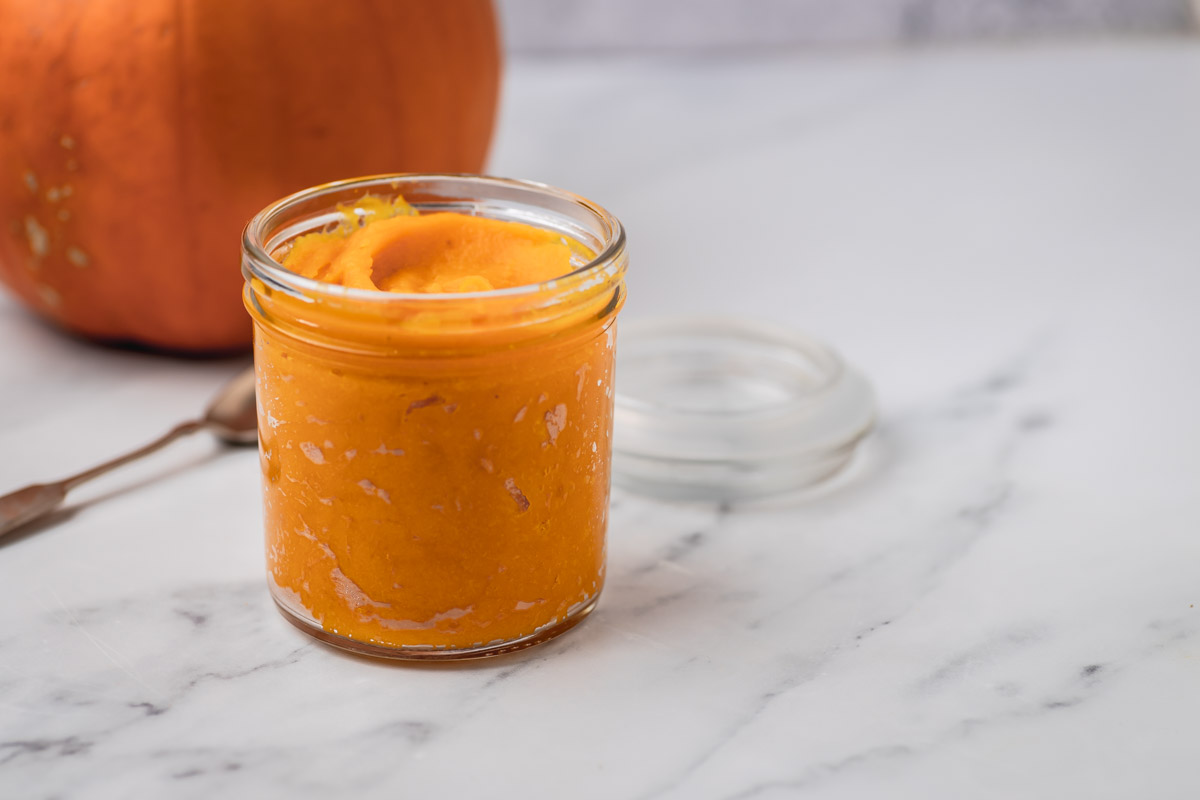
- Continue scooping until you’ve removed all the seeds and the pumpkin’s interior is clean. You can set aside the pulp to use in other recipes or compost it.
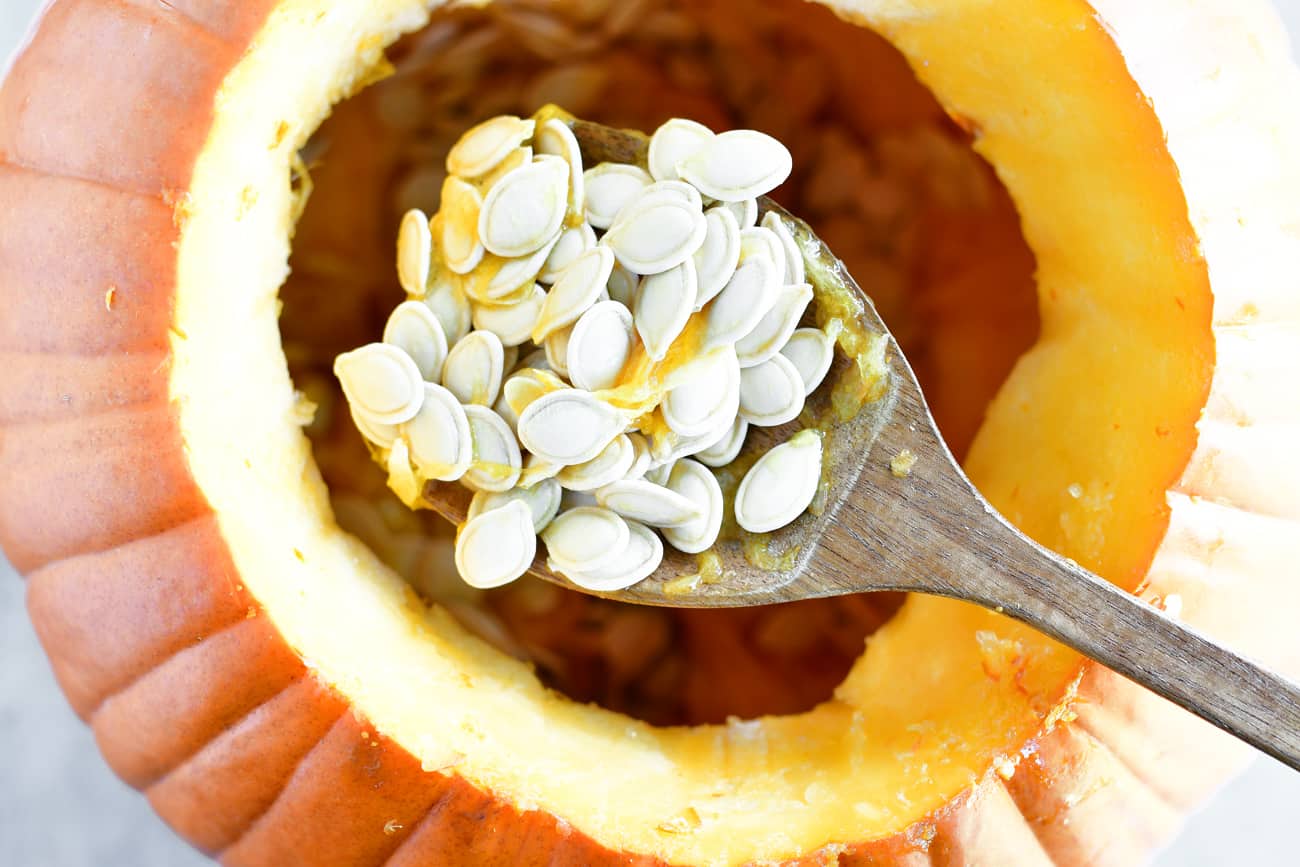
- Next, separate the pumpkin seeds from the pulp. You can do this by gently pulling the seeds away from the pulp using your fingers or by rinsing them under cool water in a colander. The goal is to remove as much pulp as possible.
- Once the seeds are separated, discard any seeds that look damaged or are discolored. Only keep the plump, healthy-looking seeds.
Now that you’ve completed the initial steps of preparing the pumpkin, set aside the seeds and proceed to the next section to learn how to clean and dry them for roasting.
Removing the Seeds
Removing the seeds from the pumpkin can be a messy but rewarding task. Follow these steps to ensure easy and efficient seed removal:
- Take the bowl or container containing the seeds that you separated from the pulp and transfer them to a colander or strainer.
- Rinse the seeds thoroughly under cool water, using your fingers or a gentle scrubbing motion to remove any remaining traces of pulp. The water will help loosen any stubborn bits.
- Inspect the seeds as you rinse them. Sometimes, there may still be small bits of pulp clinging to the seeds. Use your fingers or a small brush to gently scrub away any remaining pulp.
- Continue rinsing and separating the seeds until they are clean and free from any traces of pulp. Shake the colander or strainer gently to remove excess water.
- Transfer the cleaned seeds to a dry, clean towel or paper towels. Pat them dry gently, removing any remaining moisture. You want the seeds to be as dry as possible before proceeding to the next steps.
Once the seeds are cleaned and dried, it’s time to move on to the next section to learn about the process of drying and roasting the seeds for maximum flavor and crunchiness.
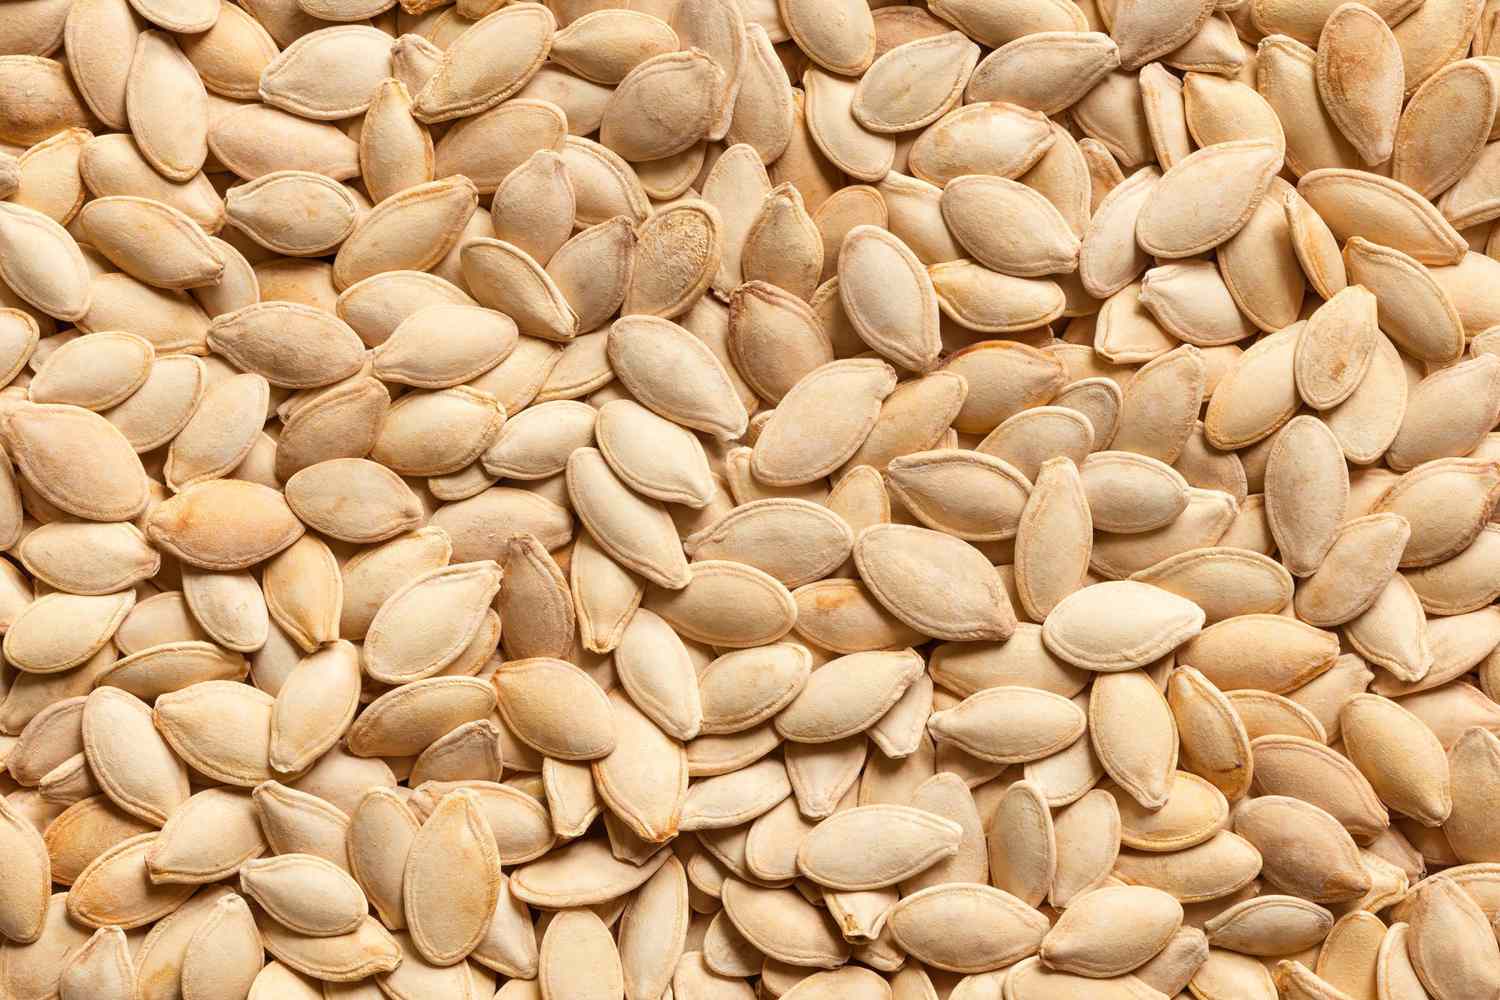
Cleaning the Seeds
Cleaning the pumpkin seeds is an important step to ensure a delicious and enjoyable snacking experience. Follow these instructions to clean the seeds effectively:
- Preheat your oven to 300°F (150°C) while you clean the seeds.
- Place the cleaned and dried seeds in a bowl and add water. The water should be enough to cover the seeds.
- Add a teaspoon of salt to the bowl and stir well. The saltwater solution helps to remove any remaining debris and enhances the flavor of the seeds.
- Allow the seeds to soak in the saltwater solution for about 10-15 minutes.
- After soaking, drain the seeds using a colander or strainer and rinse them under cool water once again to remove any excess salt or debris.
- Spread the washed seeds on a clean kitchen towel or a layer of paper towels and gently pat them dry. Ensure that there is no water left on the seeds as excess moisture can affect the roasting process.
At this point, your pumpkin seeds are clean and ready for the next step: drying and roasting.
After removing the seeds from the pumpkin, rinse them in a colander to remove any pulp. Then spread them on a baking sheet, drizzle with oil and sprinkle with salt. Bake at 300°F for 30 minutes, stirring occasionally, until golden brown. Enjoy as a snack or add to salads and soups!
Read more: How To Separate Pumpkin Seeds
Drying the Seeds
Drying the pumpkin seeds is crucial to achieve that satisfying crunchiness and prevent them from becoming chewy. Follow these steps to dry the seeds:
- Preheat your oven to 350°F (175°C).
- Line a baking sheet with parchment paper or aluminum foil. This will prevent the seeds from sticking to the baking sheet.
- Spread the cleaned and dried pumpkin seeds on the lined baking sheet in a single layer.
- Place the baking sheet in the preheated oven and bake for about 10-15 minutes.
- After 10-15 minutes, remove the baking sheet from the oven and stir the seeds to ensure even drying.
- Place the baking sheet back in the oven and continue baking for another 10-15 minutes or until the seeds are golden brown and crisp.
- Keep a close eye on the seeds to prevent them from burning. Adjust the baking time if needed.
- Once the seeds are properly dried and roasted to your desired level of crunchiness, remove the baking sheet from the oven and allow the seeds to cool completely.
Once the pumpkin seeds have cooled down, they are ready for the final step: adding delicious flavors and storing them for future snacking.
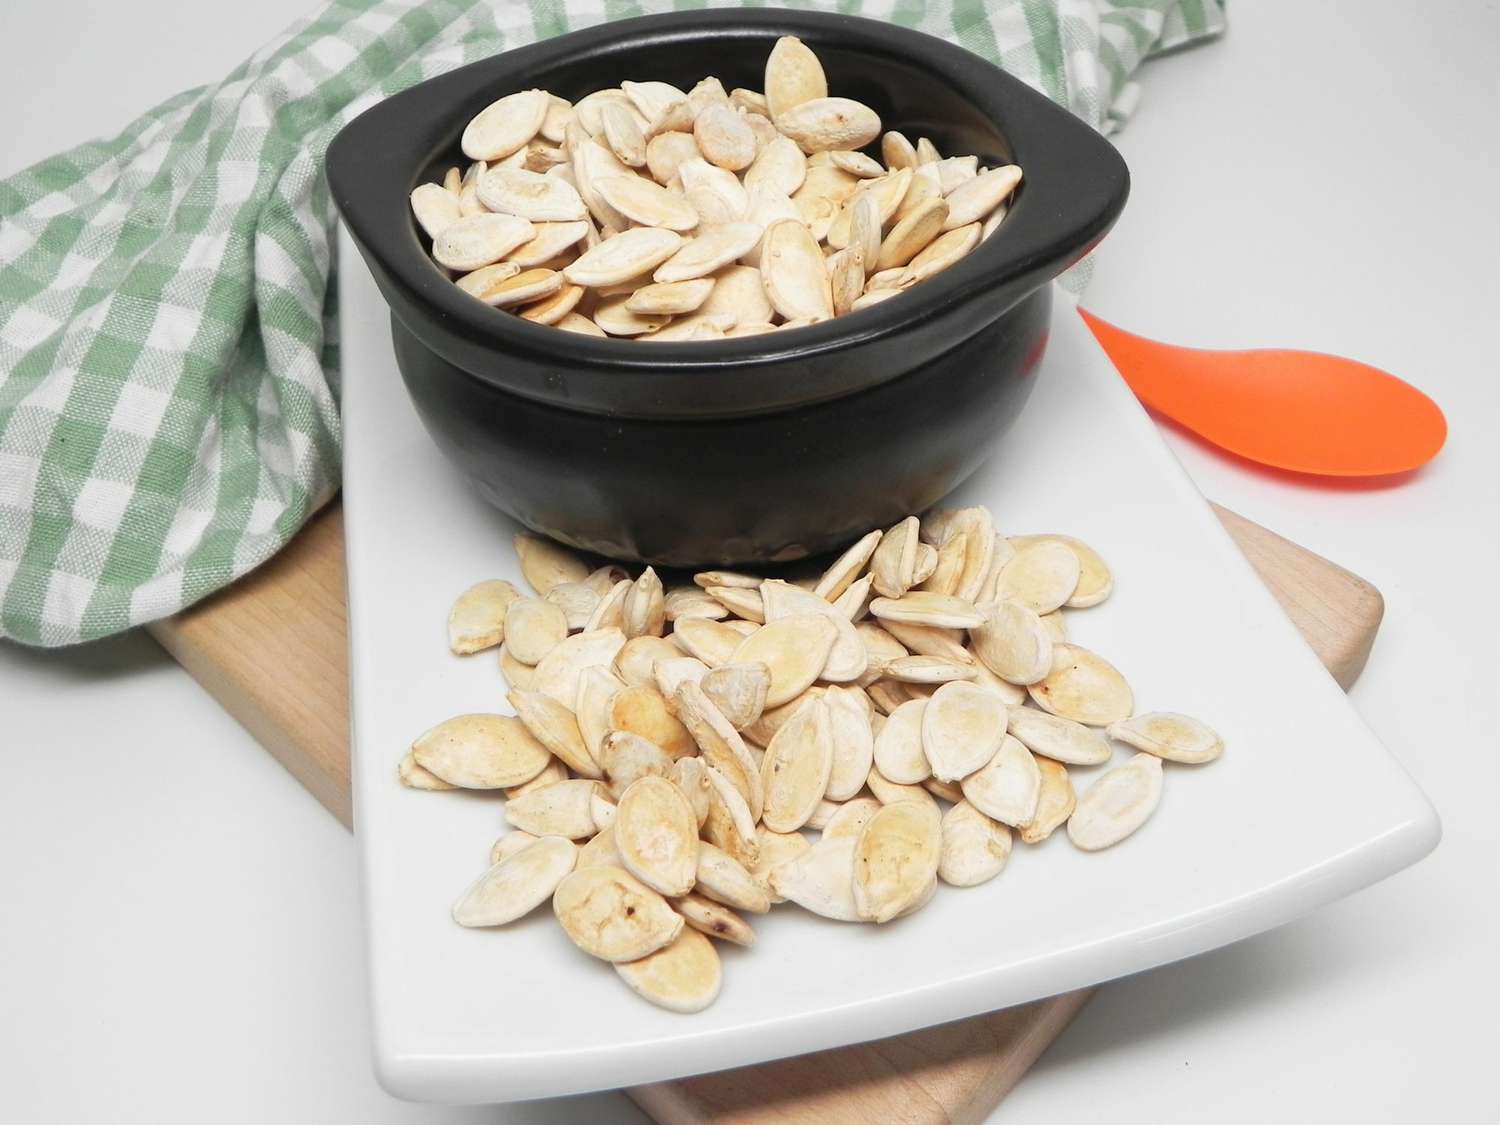
Roasting the Seeds
Roasting pumpkin seeds adds a deliciously crispy texture and enhances their flavor. Follow these steps to roast your dried pumpkin seeds:
- Preheat your oven to 350°F (175°C) if it isn’t already heated.
- In a bowl, toss the dried pumpkin seeds with a little olive oil or melted butter. The oil or butter helps the seasonings stick to the seeds and aids in achieving a golden, crunchy texture.
- Add your preferred seasonings and spices to the seeds. Some popular options include salt, black pepper, paprika, garlic powder, or even cinnamon and sugar for a sweet variation.
- Spread the seasoned pumpkin seeds on a lined baking sheet, ensuring they are in a single layer.
- Place the baking sheet in the preheated oven and roast the seeds for about 15-20 minutes, or until they turn golden brown. Check on the seeds occasionally and give them a stir for even roasting.
- Once the seeds are beautifully roasted, remove them from the oven and let them cool completely.
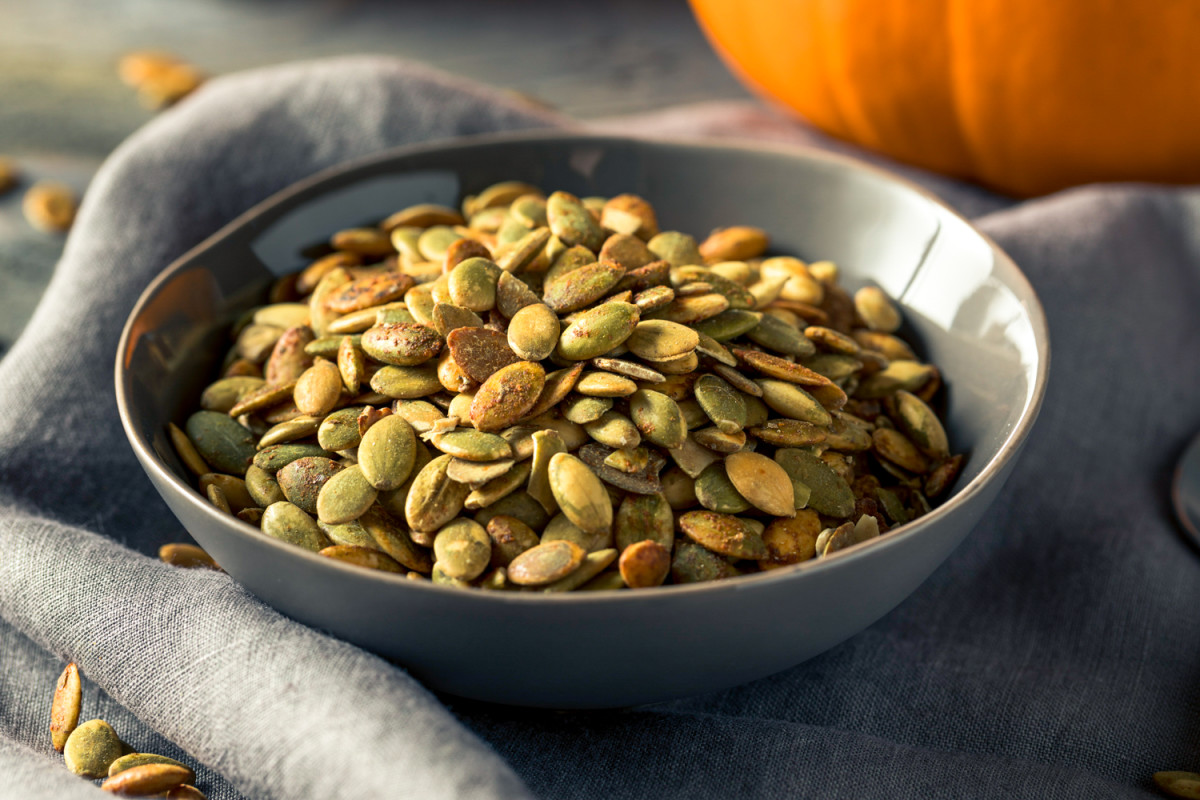
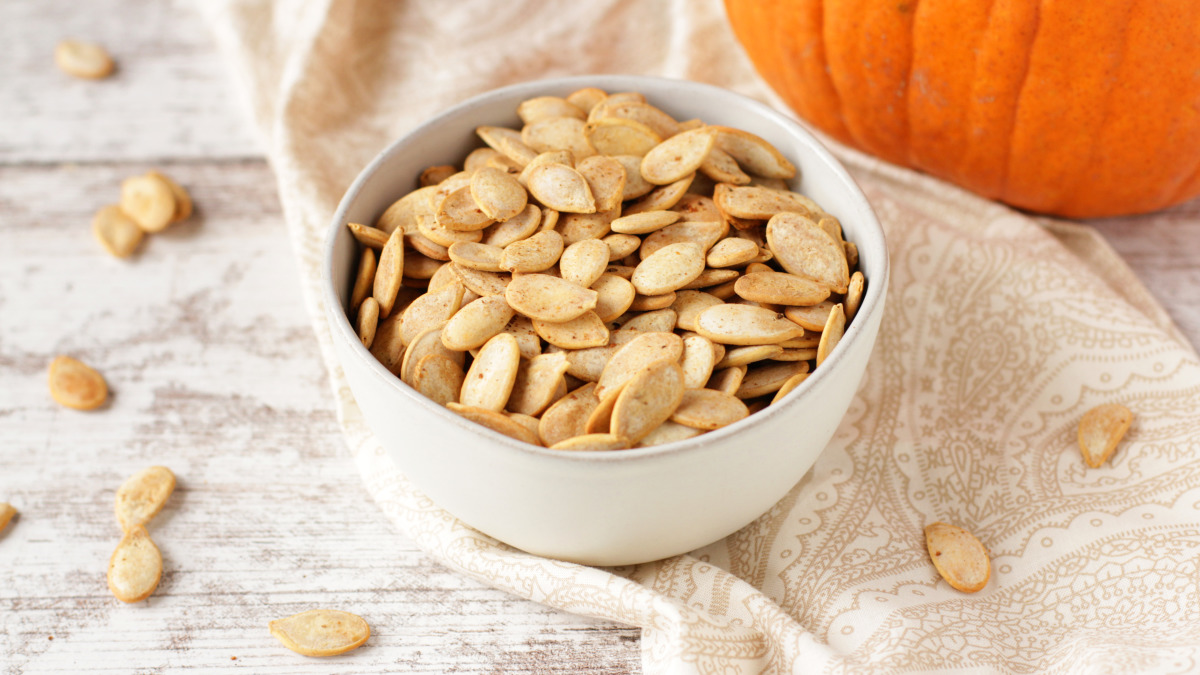
Roasted pumpkin seeds are now ready to be enjoyed as a tasty snack, sprinkled over salads, or used as a crunchy topping for various dishes. Store any leftover seeds in an airtight container to maintain their freshness.
Flavoring Options
One of the wonderful things about pumpkin seeds is their versatility when it comes to flavors. Once you’ve roasted the seeds, you can experiment with various seasonings and spices to create a snack that suits your taste preferences. Here are some flavoring options to consider:
- Salted: The classic choice is to simply sprinkle your roasted pumpkin seeds with a generous amount of salt. This enhances the natural flavors of the seeds and provides a satisfying savory taste.
- Spicy: If you enjoy a bit of heat, add some spice to your pumpkin seeds. You can toss them with cayenne pepper, chili powder, or even a pinch of cumin for a flavorful kick.
- Sweet: For a delightful sweet treat, try coating your roasted pumpkin seeds with a mixture of cinnamon and sugar. If you prefer a healthier option, use a sprinkle of stevia or honey for a touch of sweetness.
- Savory Herbs: Enhance the flavor profile of your pumpkin seeds by adding dried herbs such as rosemary, thyme, or oregano. These aromatic herbs can give your snacks a delightful and earthy taste.
- Cheesy: If you’re a cheese lover, consider dusting your pumpkin seeds with grated Parmesan or cheddar cheese for a savory and indulgent snack.
Feel free to get creative and combine different flavors to find your favorite combination. Remember to adjust the seasonings according to your taste preferences, adding a little at a time until you achieve the desired flavor.
With these flavoring options, you can transform your roasted pumpkin seeds into a customizable and delicious snack that you and your friends or family will love.
Storing Pumpkin Seeds
Once you’ve prepared and flavored your pumpkin seeds to perfection, it’s important to store them properly to maintain their freshness and crunchiness. Here are some tips for storing your pumpkin seeds:
- Allow the roasted seeds to cool completely before storing them. This helps to prevent condensation, which can make the seeds lose their crunchiness.
- Transfer the cooled seeds to an airtight container, such as a glass jar or a resealable plastic bag. Make sure the container is clean, dry, and free from any moisture.
- Store the pumpkin seeds in a cool, dry place away from direct sunlight. Excessive heat and light can cause the seeds to become rancid and lose their quality.
- If you live in a humid area, you can further protect the seeds by adding a small packet of silica gel or a piece of dry bread to absorb any moisture in the storage container.
- Label the container with the date of storage to keep track of their freshness. As a general guideline, roasted pumpkin seeds can last for up to 2-3 months when stored properly.
Since roasted pumpkin seeds are so delicious, it’s unlikely that they’ll last that long before being devoured! However, it’s always good to know how to store them in case you have leftovers or want to make a larger batch for future snacking.
Remember to give the container a gentle shake before enjoying the stored pumpkin seeds to redistribute any seasonings that may have settled at the bottom.
Now that you know how to store your pumpkin seeds properly, you can savor their crunchiness and flavors for weeks to come.
Read more: How Many Seeds Are In A Pumpkin
Conclusion
Congratulations! You’ve successfully learned how to open, clean, dry, roast, and flavor pumpkin seeds. By following these steps, you can unleash the full potential of this delicious and nutritious snack.
Whether you’re carving pumpkins for Halloween, harvesting them from your garden, or simply looking for a tasty and healthy snack, pumpkin seeds are a fantastic choice. They are packed with nutrients, including protein, healthy fats, fiber, and essential minerals, making them a great addition to any diet.
Remember to gather the necessary materials, carefully open the pumpkin, separate and clean the seeds, dry them thoroughly, and roast them to perfection. Don’t be afraid to experiment with different flavors and seasonings to create a personalized snack that suits your taste preferences.
Once your pumpkin seeds are prepared, store them in a cool, dry place to maintain their freshness. However, we doubt they’ll last long before being enjoyed by you, your family, or your friends!
So, the next time you find yourself with pumpkin seeds on hand, embrace the process and let your creativity shine. Open up a world of delicious snacking possibilities with these versatile and nutritious gems.
Happy munching!
Frequently Asked Questions about How To Open Pumpkin Seeds
Was this page helpful?
At Storables.com, we guarantee accurate and reliable information. Our content, validated by Expert Board Contributors, is crafted following stringent Editorial Policies. We're committed to providing you with well-researched, expert-backed insights for all your informational needs.


0 thoughts on “How To Open Pumpkin Seeds”