Home>Garden Essentials>How To Open Persimmon Seed
Garden Essentials
How To Open Persimmon Seed
Modified: March 16, 2024
Learn how to open persimmon seeds in your garden and enjoy the tasty fruit. Get expert tips and techniques for successful seed opening.
(Many of the links in this article redirect to a specific reviewed product. Your purchase of these products through affiliate links helps to generate commission for Storables.com, at no extra cost. Learn more)
Introduction
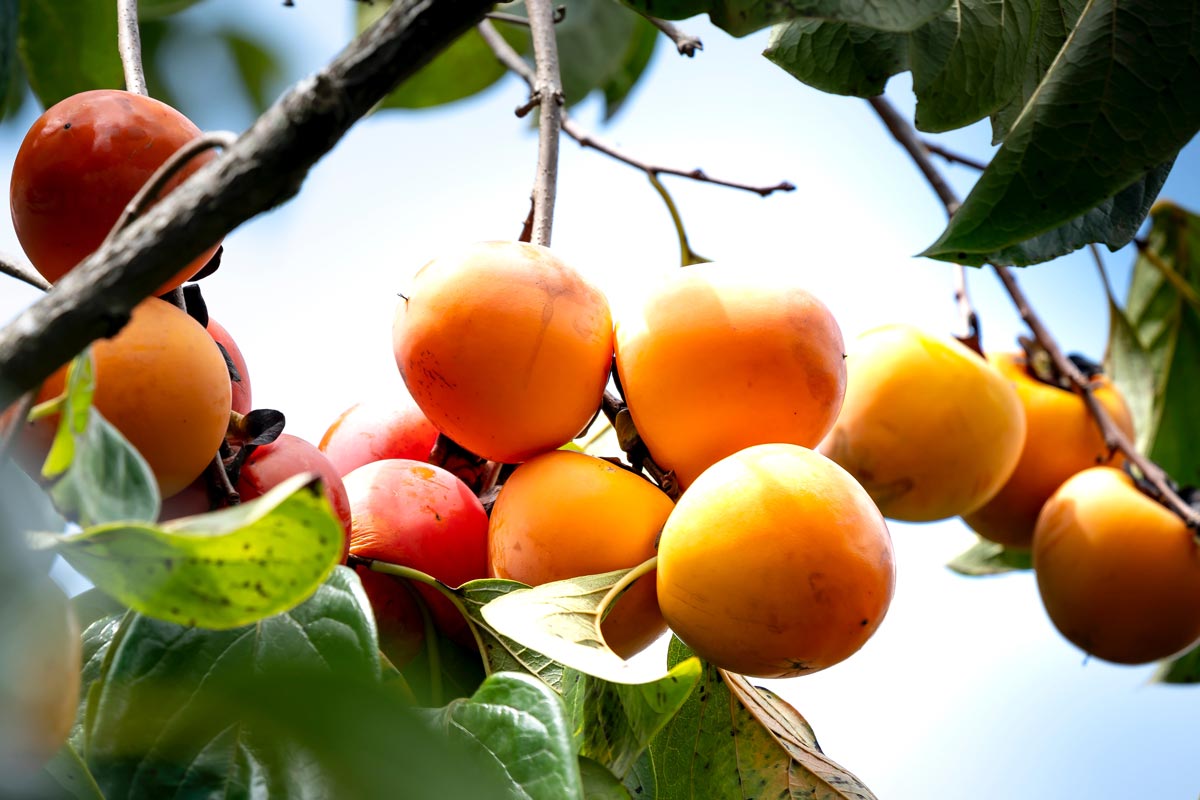
When it comes to gardening, there’s something truly exciting about starting a plant from scratch. And if you’re a fan of persimmons, you might be thrilled to learn that you can grow your own persimmon trees by opening their seeds. Persimmon trees are not only beautiful additions to any garden, but they also produce sweet and delicious fruit. In this article, we’ll guide you through the process of opening a persimmon seed and growing your own persimmon tree.
Before we get started, it’s important to note that persimmon seeds have a dormancy period, which means they may need to go through a cold treatment before they can germinate. This can be achieved by either stratification (exposing the seeds to a period of cold, moist conditions) or scarification (breaking the seed coat to allow moisture to penetrate). Both methods will be discussed in detail later on.
Now, let’s dive into the step-by-step process of opening a persimmon seed and turning it into a thriving persimmon tree.
Key Takeaways:
- Growing your own persimmon tree from a seed is an exciting journey that starts with gathering ripe fruits, preparing the seeds, and choosing a suitable planting location. With patience and care, you can witness the beauty and sweetness of homegrown persimmons.
- Opening a persimmon seed and nurturing it into a flourishing tree requires proper care, ample sunlight, well-draining soil, and regular watering. Embrace the joy of witnessing the growth and harvest that comes from nature’s extraordinary gift.
Read more: How To Cut Open A Persimmon Seed
Step 1: Gathering Materials
Before you begin, make sure you have all the necessary materials gathered. Here’s what you’ll need:
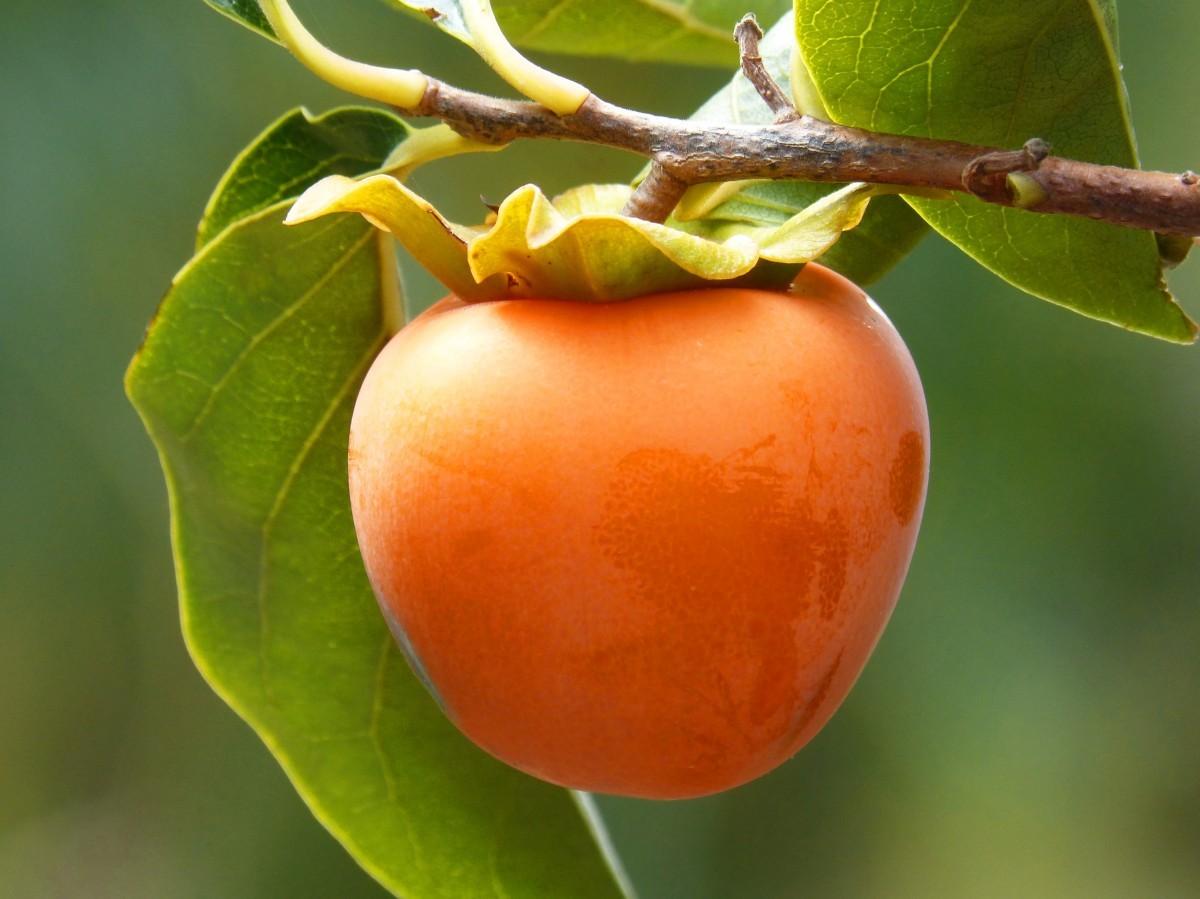
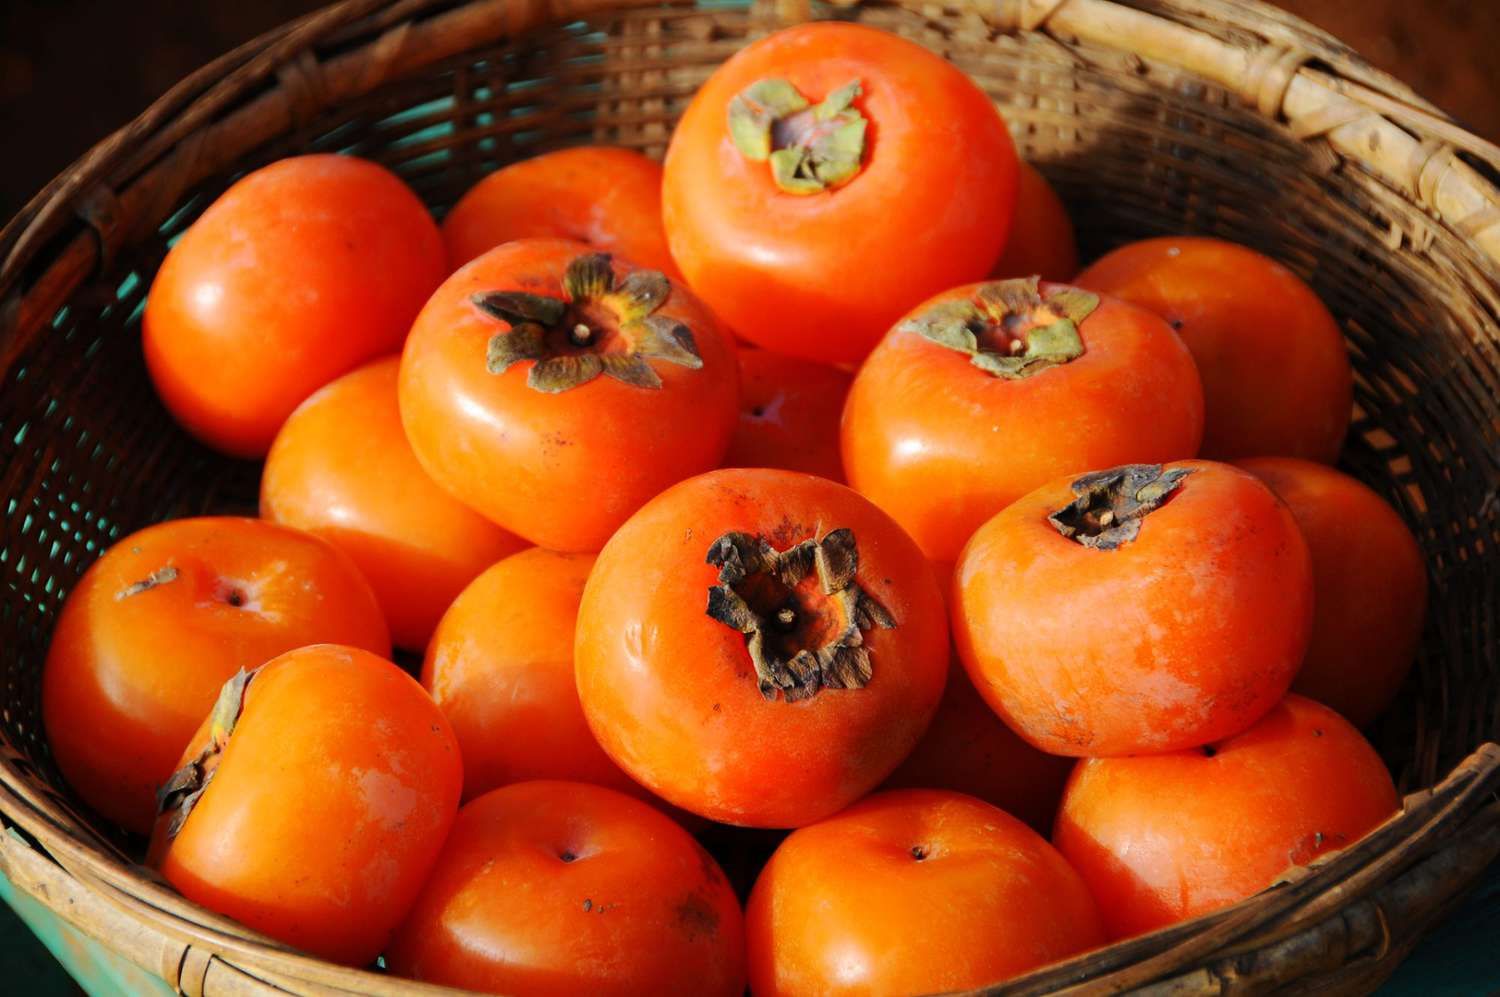
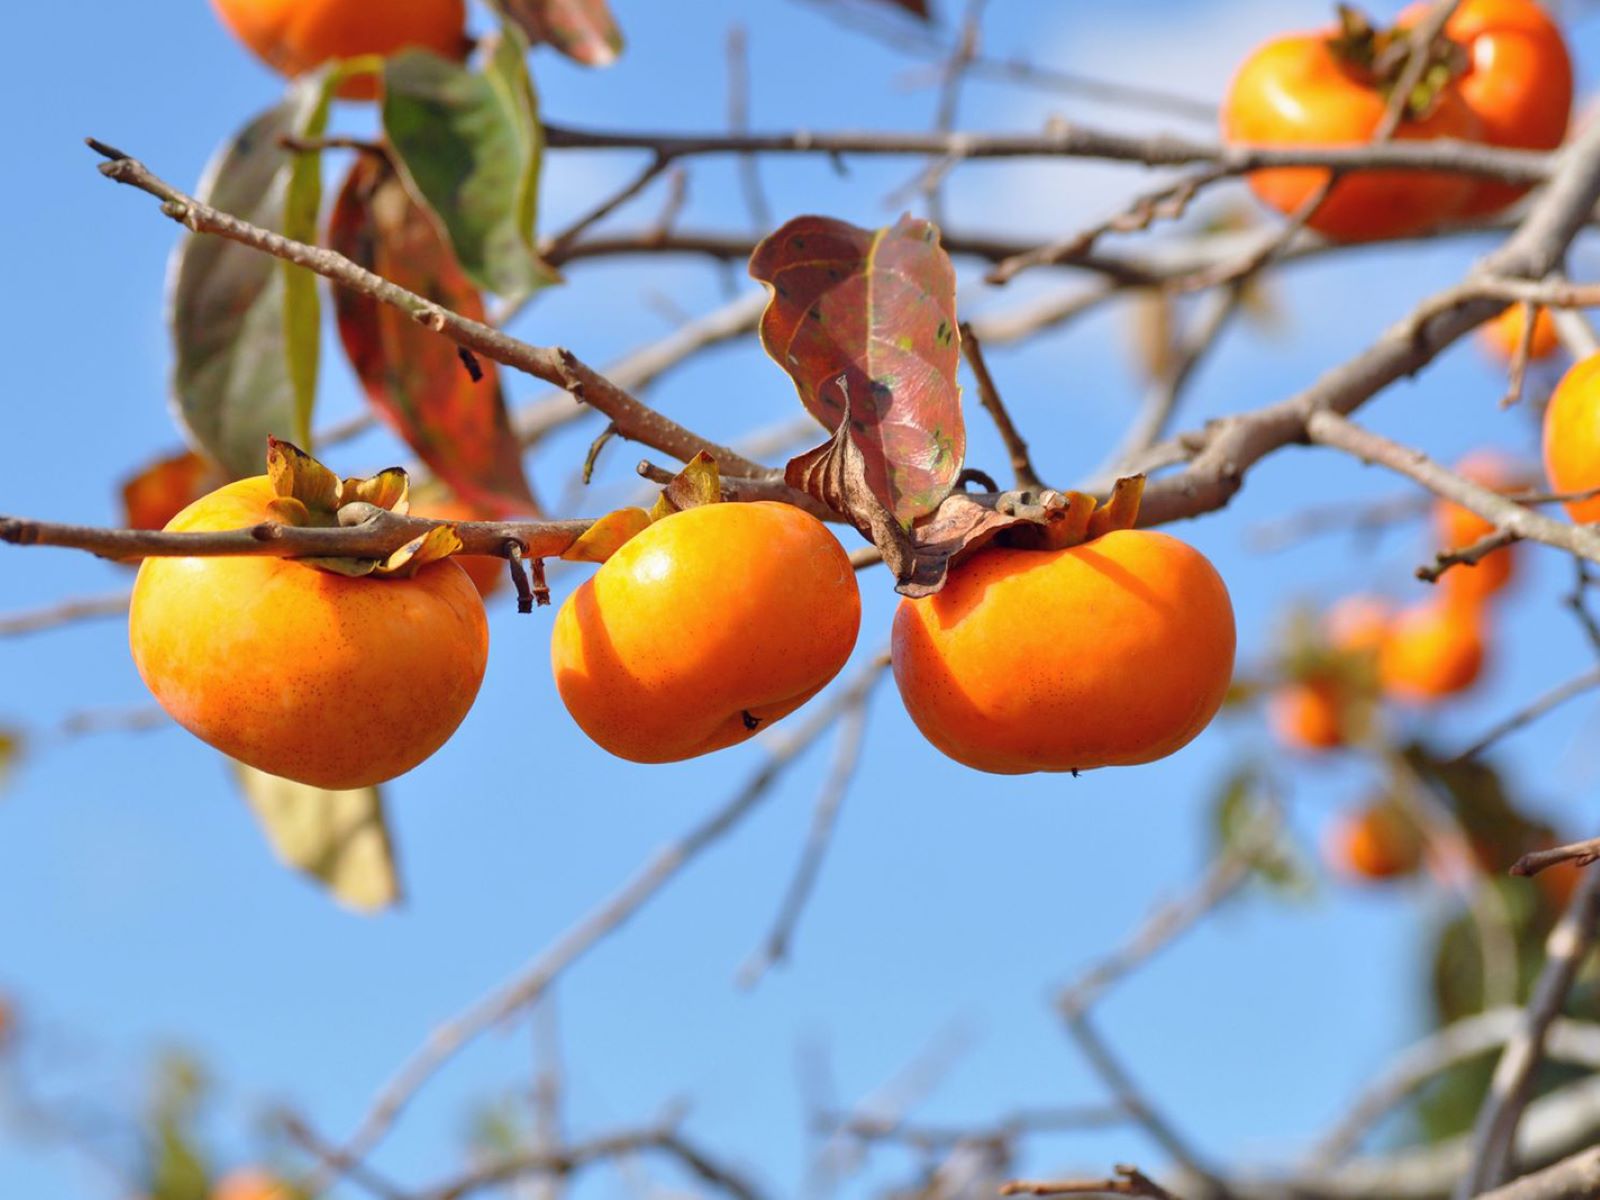
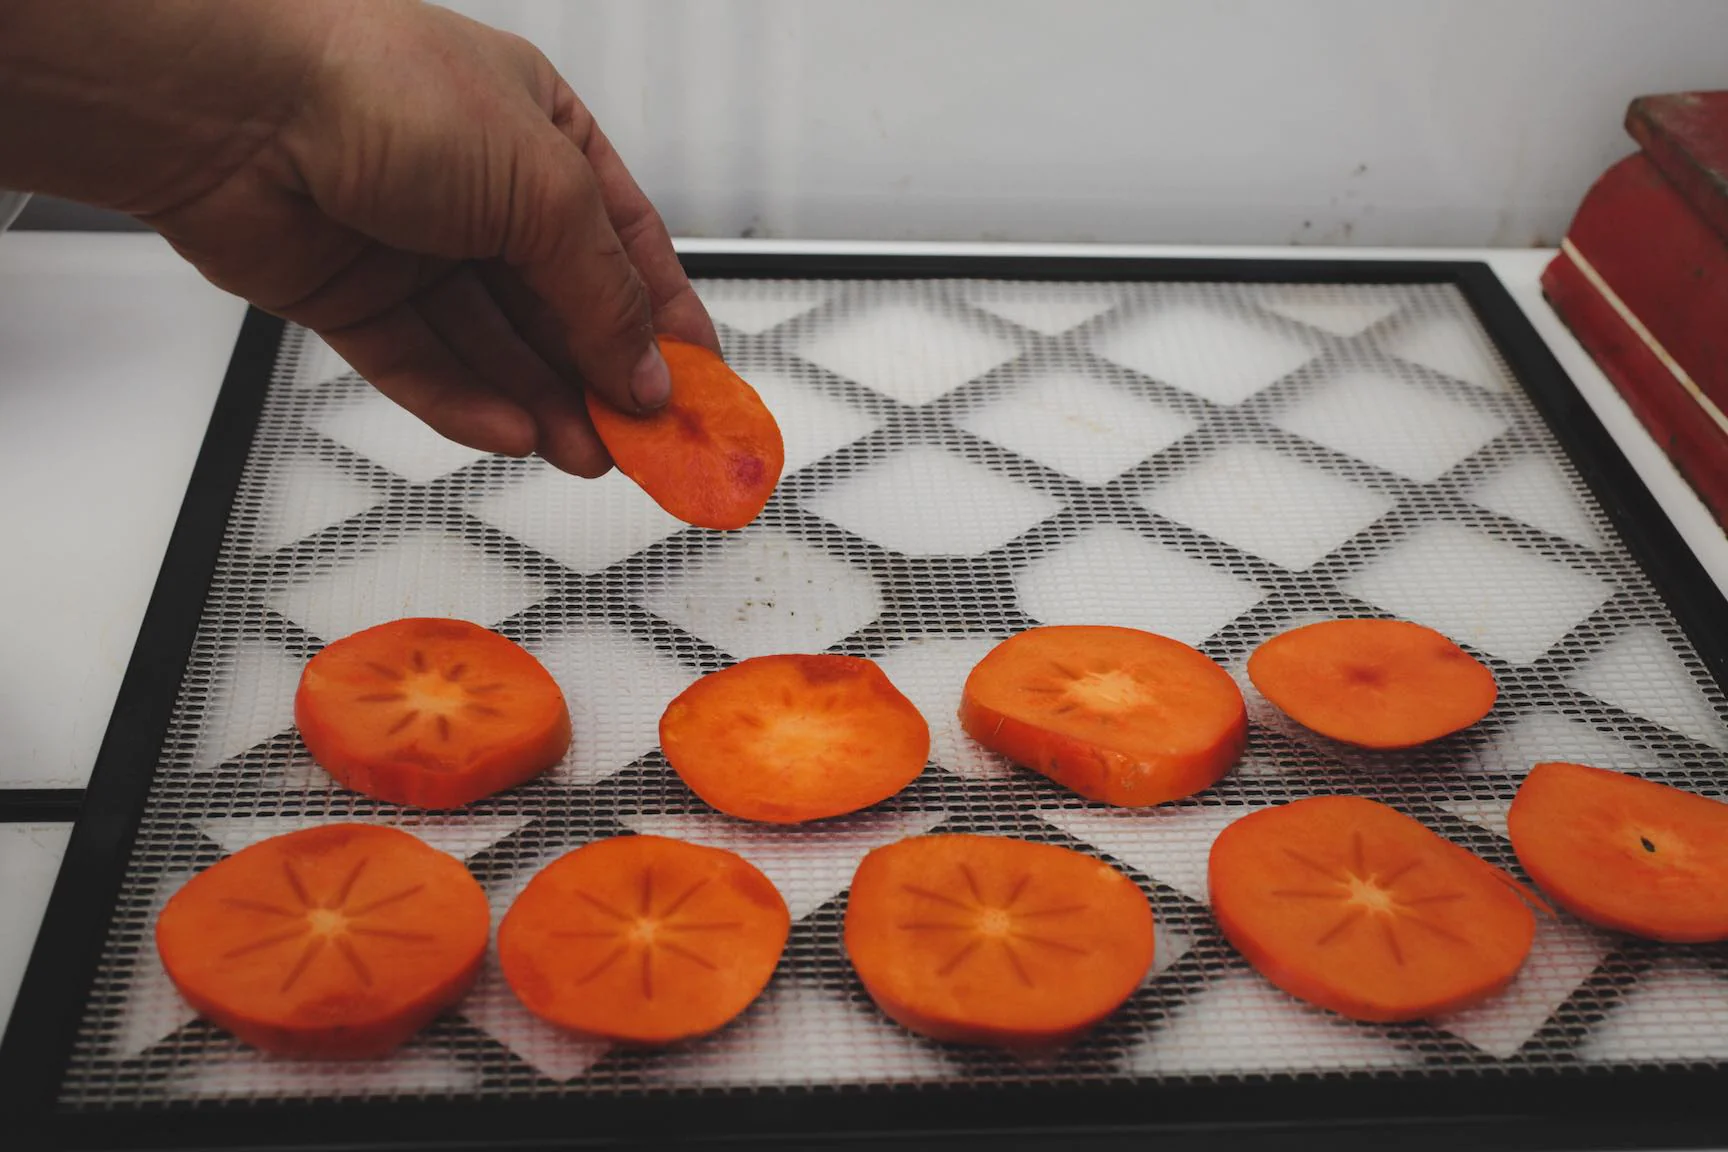
- Persimmon fruit: Start by obtaining ripe persimmon fruit. Look for fruit that is fully ripe, as this indicates that the seeds inside are mature.
- Gloves: Persimmon seeds are covered in a sticky substance that can be difficult to remove from your hands. Wearing gloves will make the process cleaner and more enjoyable.
- Knife or scissors: You’ll need a sharp knife or pair of scissors to open the fruit and extract the seeds.
- Paper towel or clean cloth: Prepare a clean surface or cloth to place the extracted seeds on. This will make it easier to remove the sticky residue.
- Plastic bag or container: After you’ve extracted the seeds, you’ll need a plastic bag or container to store them in until you’re ready to plant.
- Moist vermiculite or peat moss (optional): If you plan on stratifying the seeds, you’ll need a moist medium like vermiculite or peat moss to place the seeds in during the cold treatment.
Once you have gathered all these materials, you’re ready to move on to the next step: preparing the persimmon seed.
Step 2: Preparing the Persimmon Seed
Now that you have the persimmon fruit and necessary materials, it’s time to prepare the persimmon seed for planting. Follow these steps:
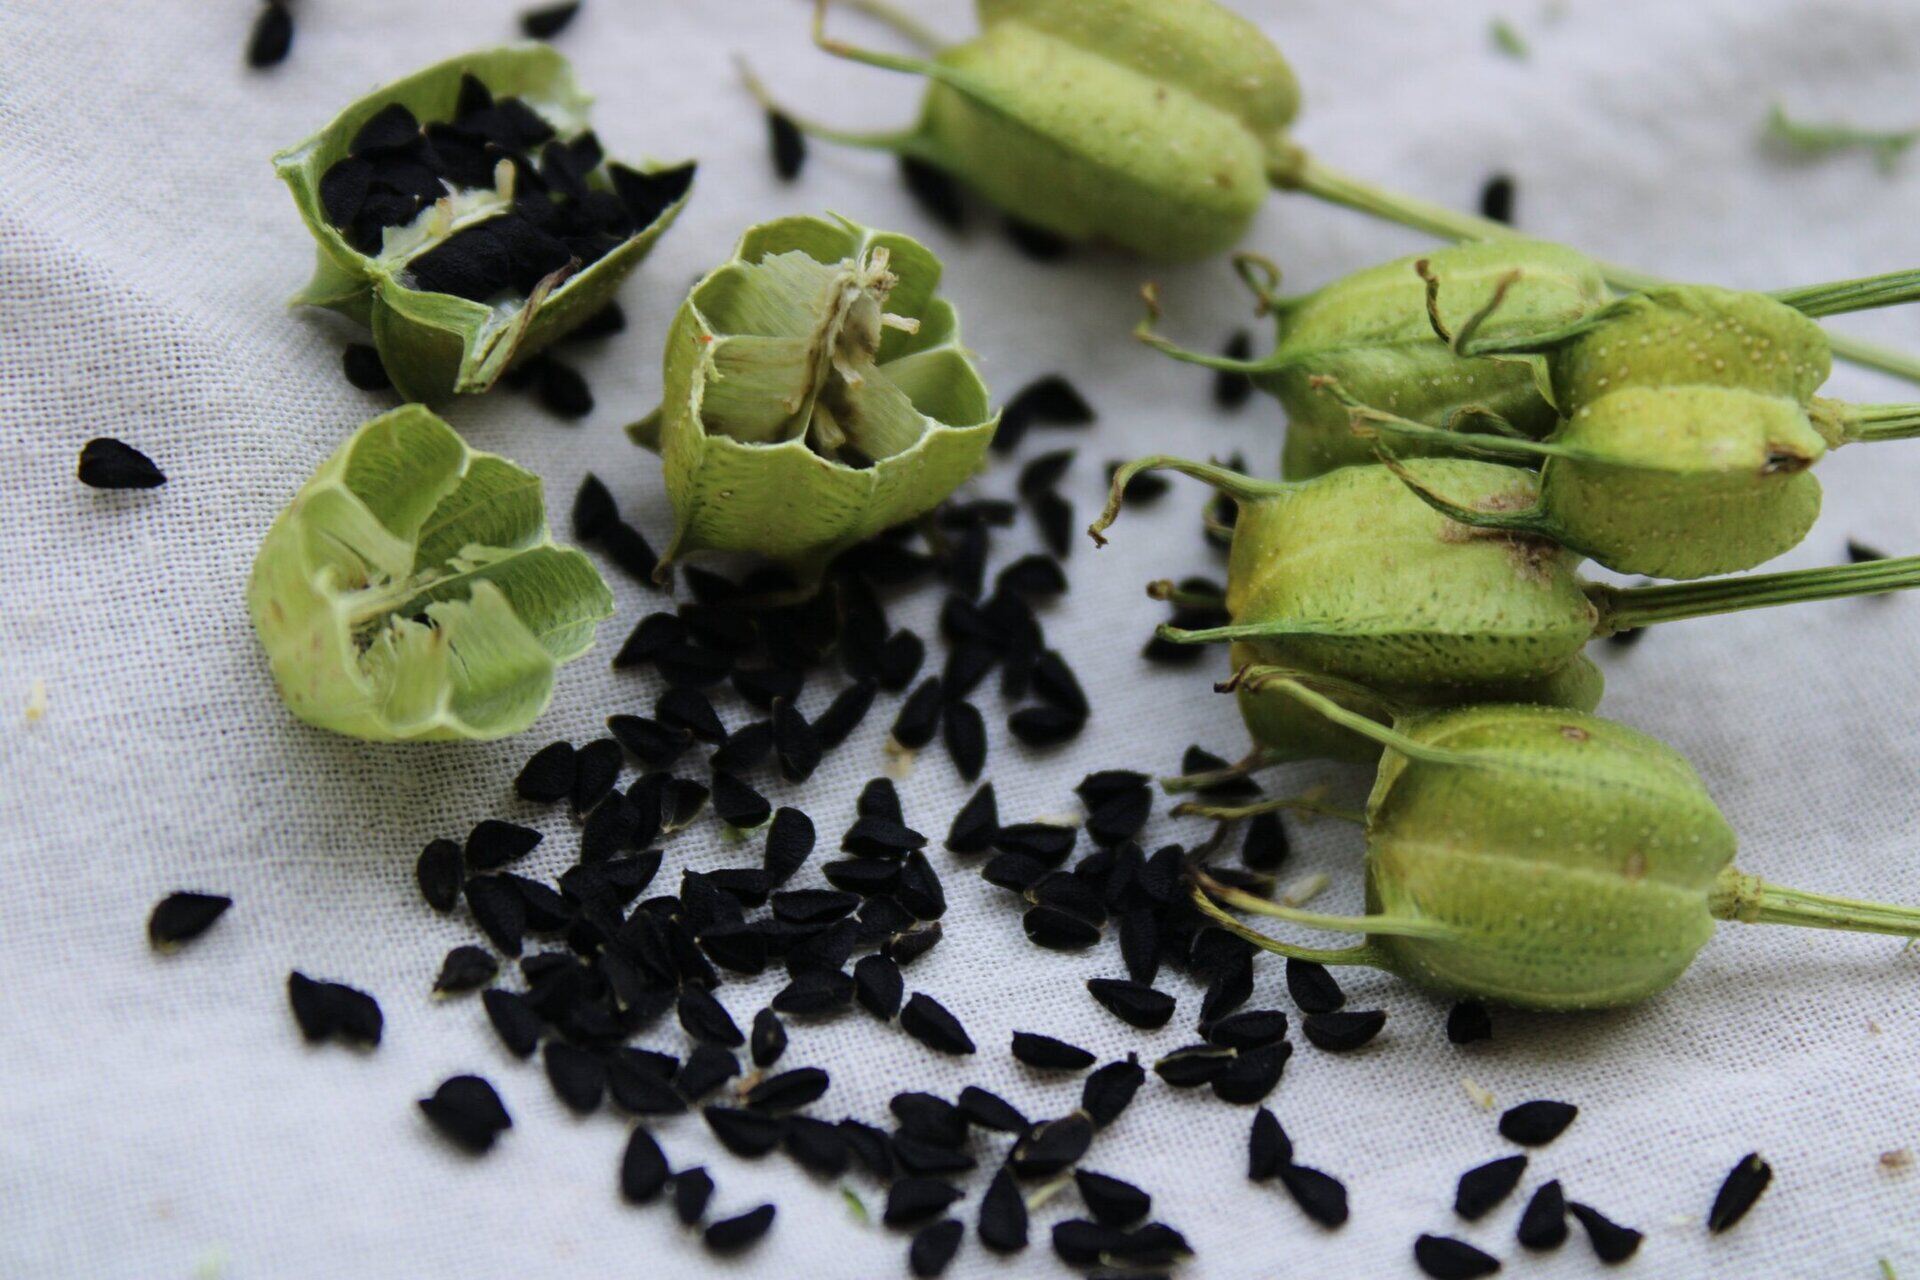
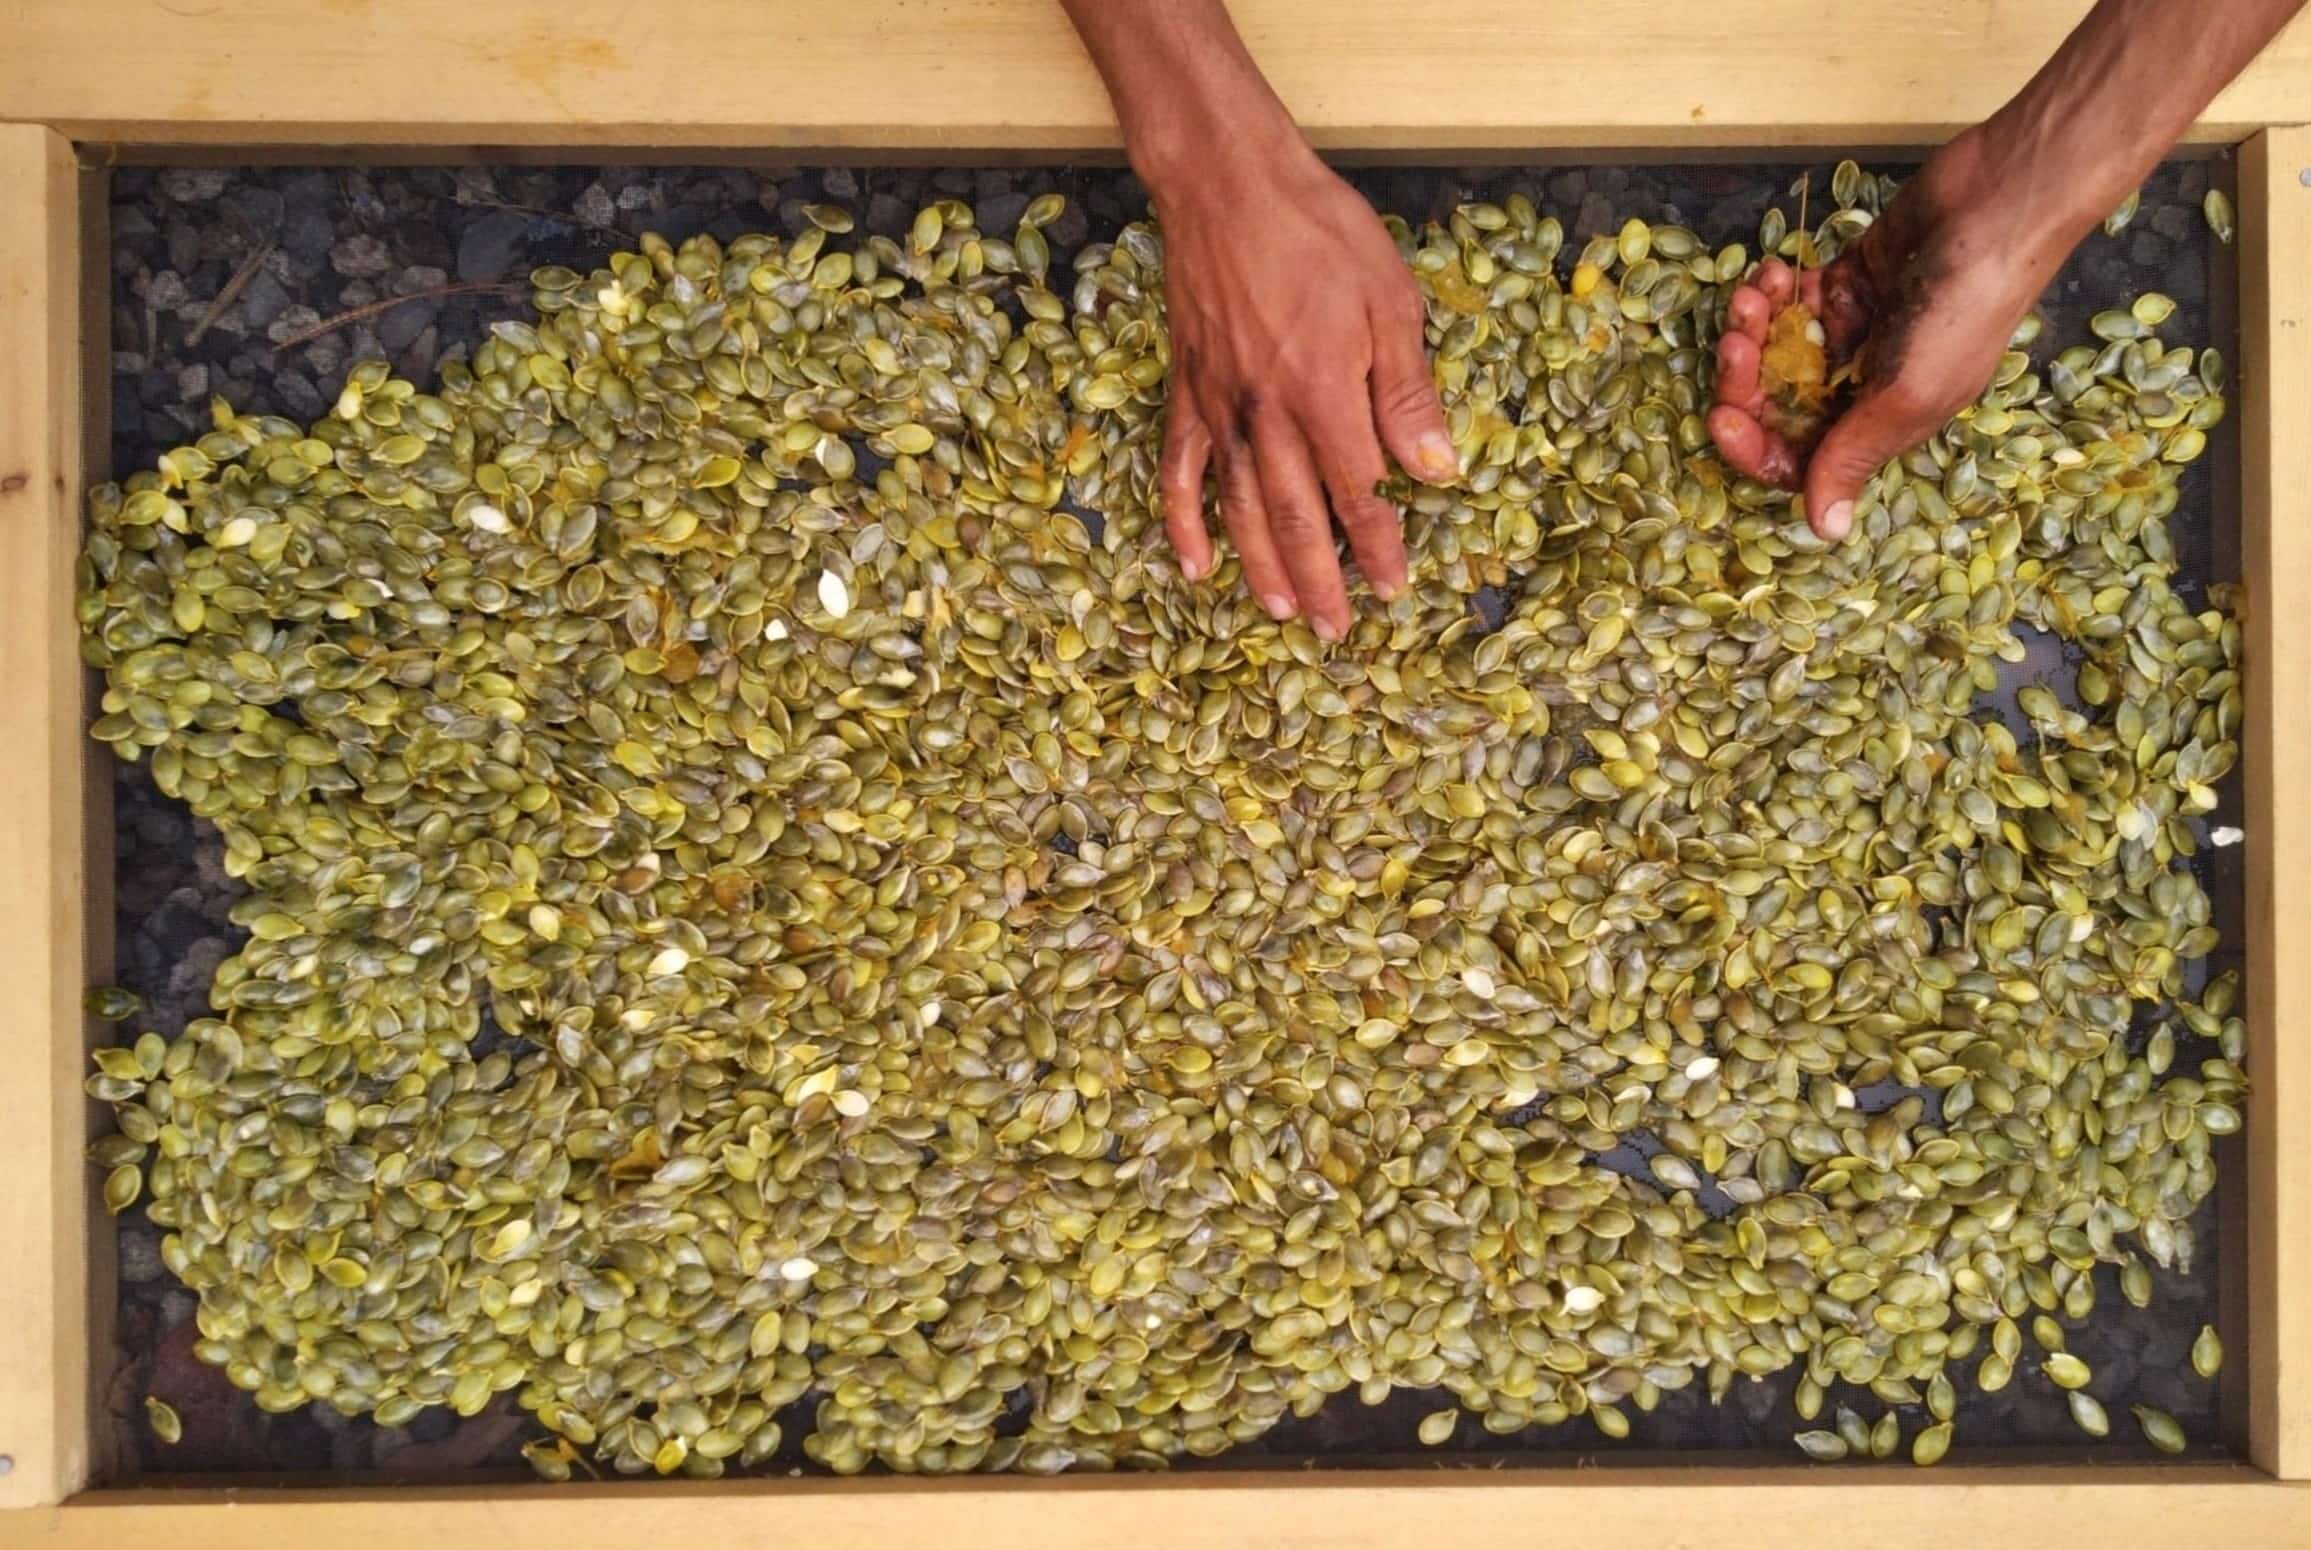
- Extract the seeds: Start by cutting open the persimmon fruit carefully. Remove the seeds using a knife or scissors. Be gentle to avoid damaging the seeds.
- Remove the pulp: Persimmon seeds are surrounded by a sticky pulp. To remove it, gently rub the seeds with a paper towel or clean cloth. You can also try rinsing them under running water.
- Dry the seeds: After removing the pulp, lay the persimmon seeds on a paper towel or clean cloth. Allow them to air dry for a couple of days in a warm, well-ventilated area. Make sure they are completely dry before moving on to the next step.
- Stratify the seeds (optional): If you choose to stratify the persimmon seeds (exposing them to a period of cold, moist conditions), you will need to prepare a moist medium such as vermiculite or peat moss. Place the seeds in the moist medium and seal them in a plastic bag or container. Store them in the refrigerator for about 60 to 90 days. Check the seeds regularly for any signs of sprouting or molding.
After preparing the persimmon seeds, it’s time to move on to the next step: opening the persimmon seed.
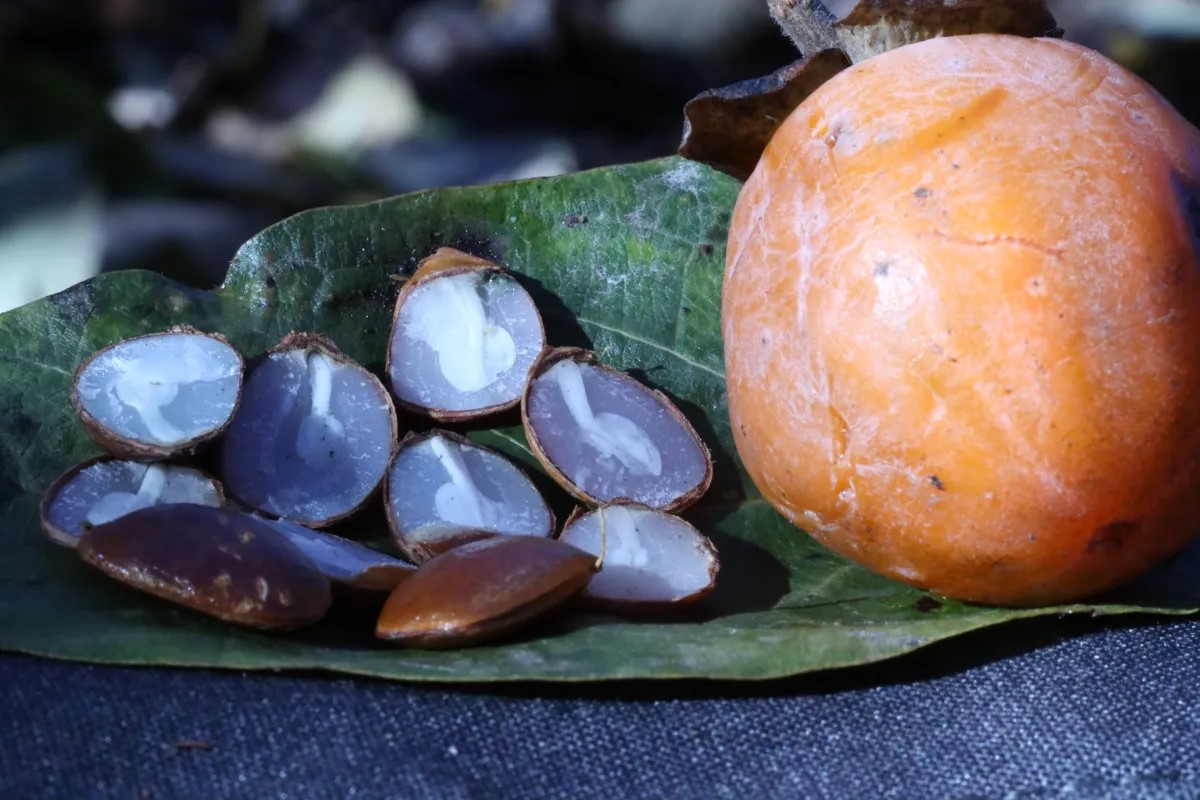
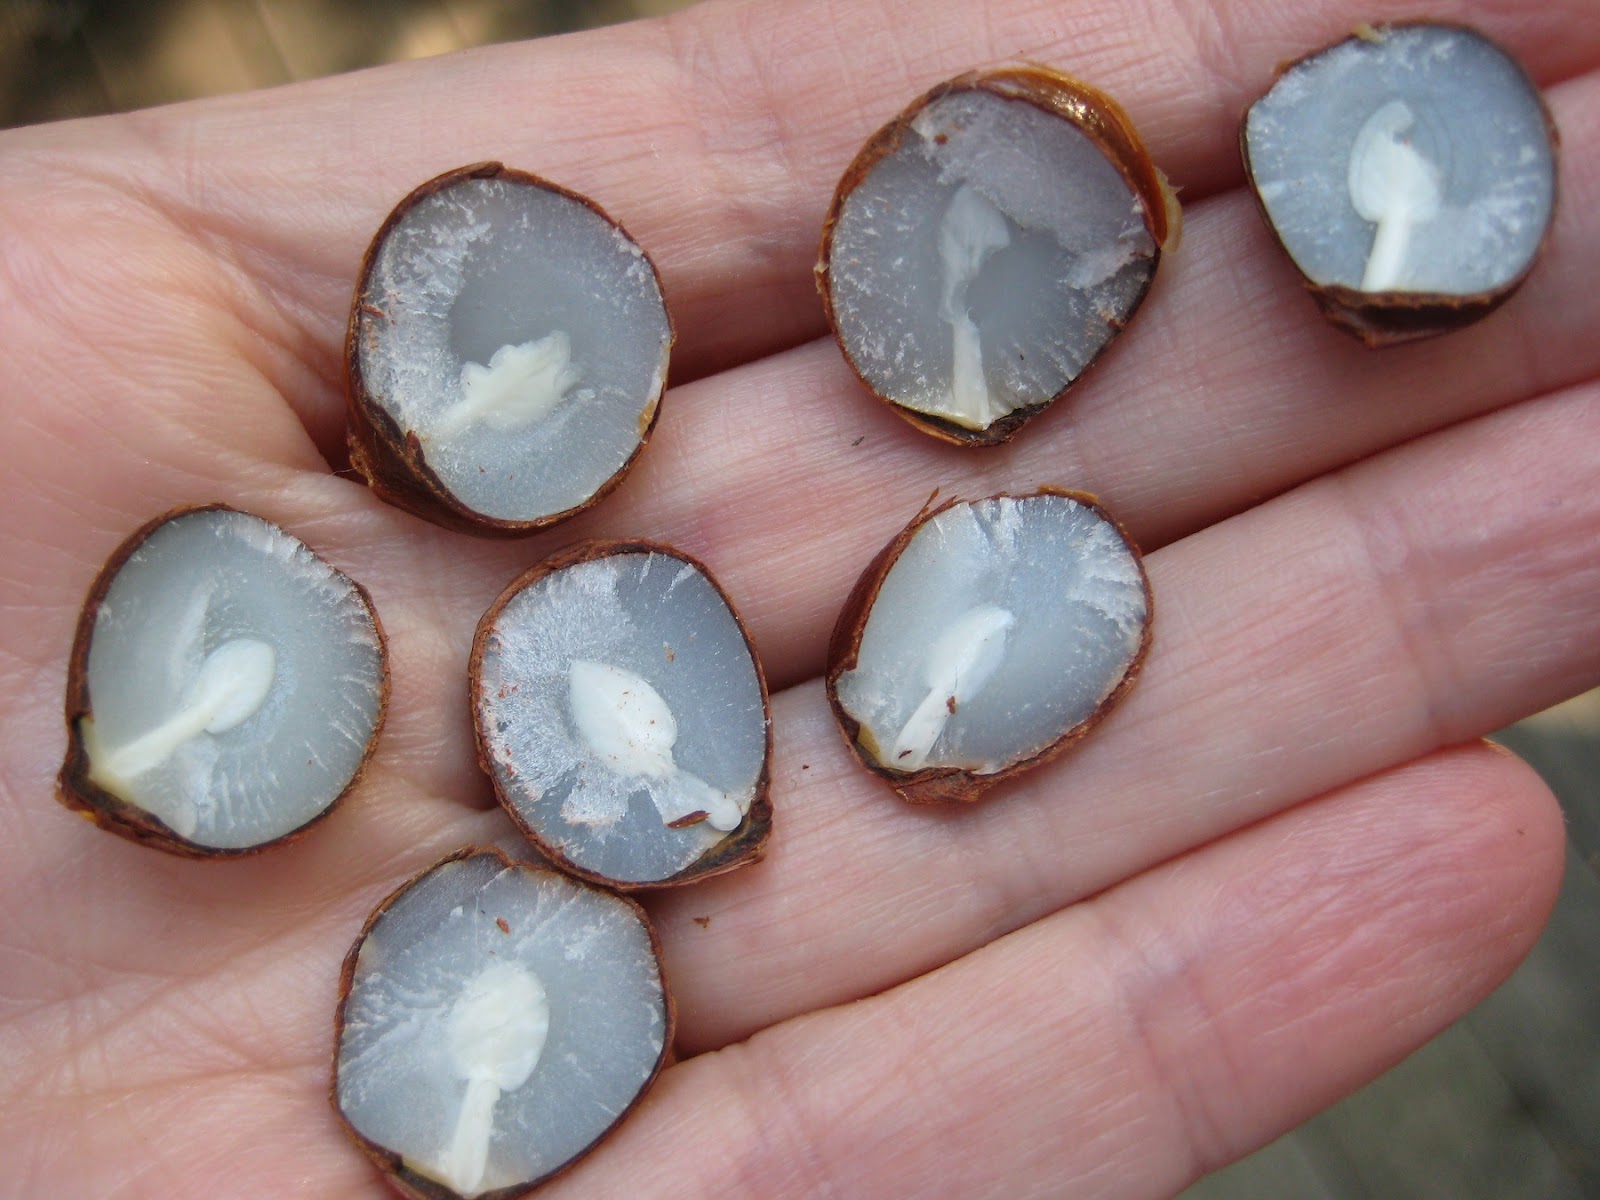
Step 3: Opening the Persimmon Seed
Opening the persimmon seed is a crucial step in the process of growing a persimmon tree. Follow these steps to successfully open the seed:
- Select a suitable method: There are two common methods for opening persimmon seeds: cracking and soaking. Choose the method that suits you best.
- Cracking method: To use this method, carefully hold the persimmon seed with a pair of pliers or in a cloth. Gently apply pressure to crack open the outer shell. Be cautious not to damage the inner seed.
- Soaking method: If you prefer the soaking method, start by placing the persimmon seeds in a bowl of water. Allow them to soak for 24 to 48 hours. The seeds will naturally split open during the soaking process.
- Removing the cotyledons: Regardless of the method you choose, once the persimmon seed is open, carefully remove the cotyledons (the seed leaves) from the seed. Be gentle to avoid damaging the emerging seedling.
Opening the persimmon seed is an exciting step as it reveals the potential life inside. Now, you’re ready to move on to the next step: identifying the seedling.
Use a sharp knife to carefully cut around the outer skin of the persimmon seed. Once the skin is cut, you can easily pry it open to reveal the inner seed. Be cautious while using the knife to avoid injury.
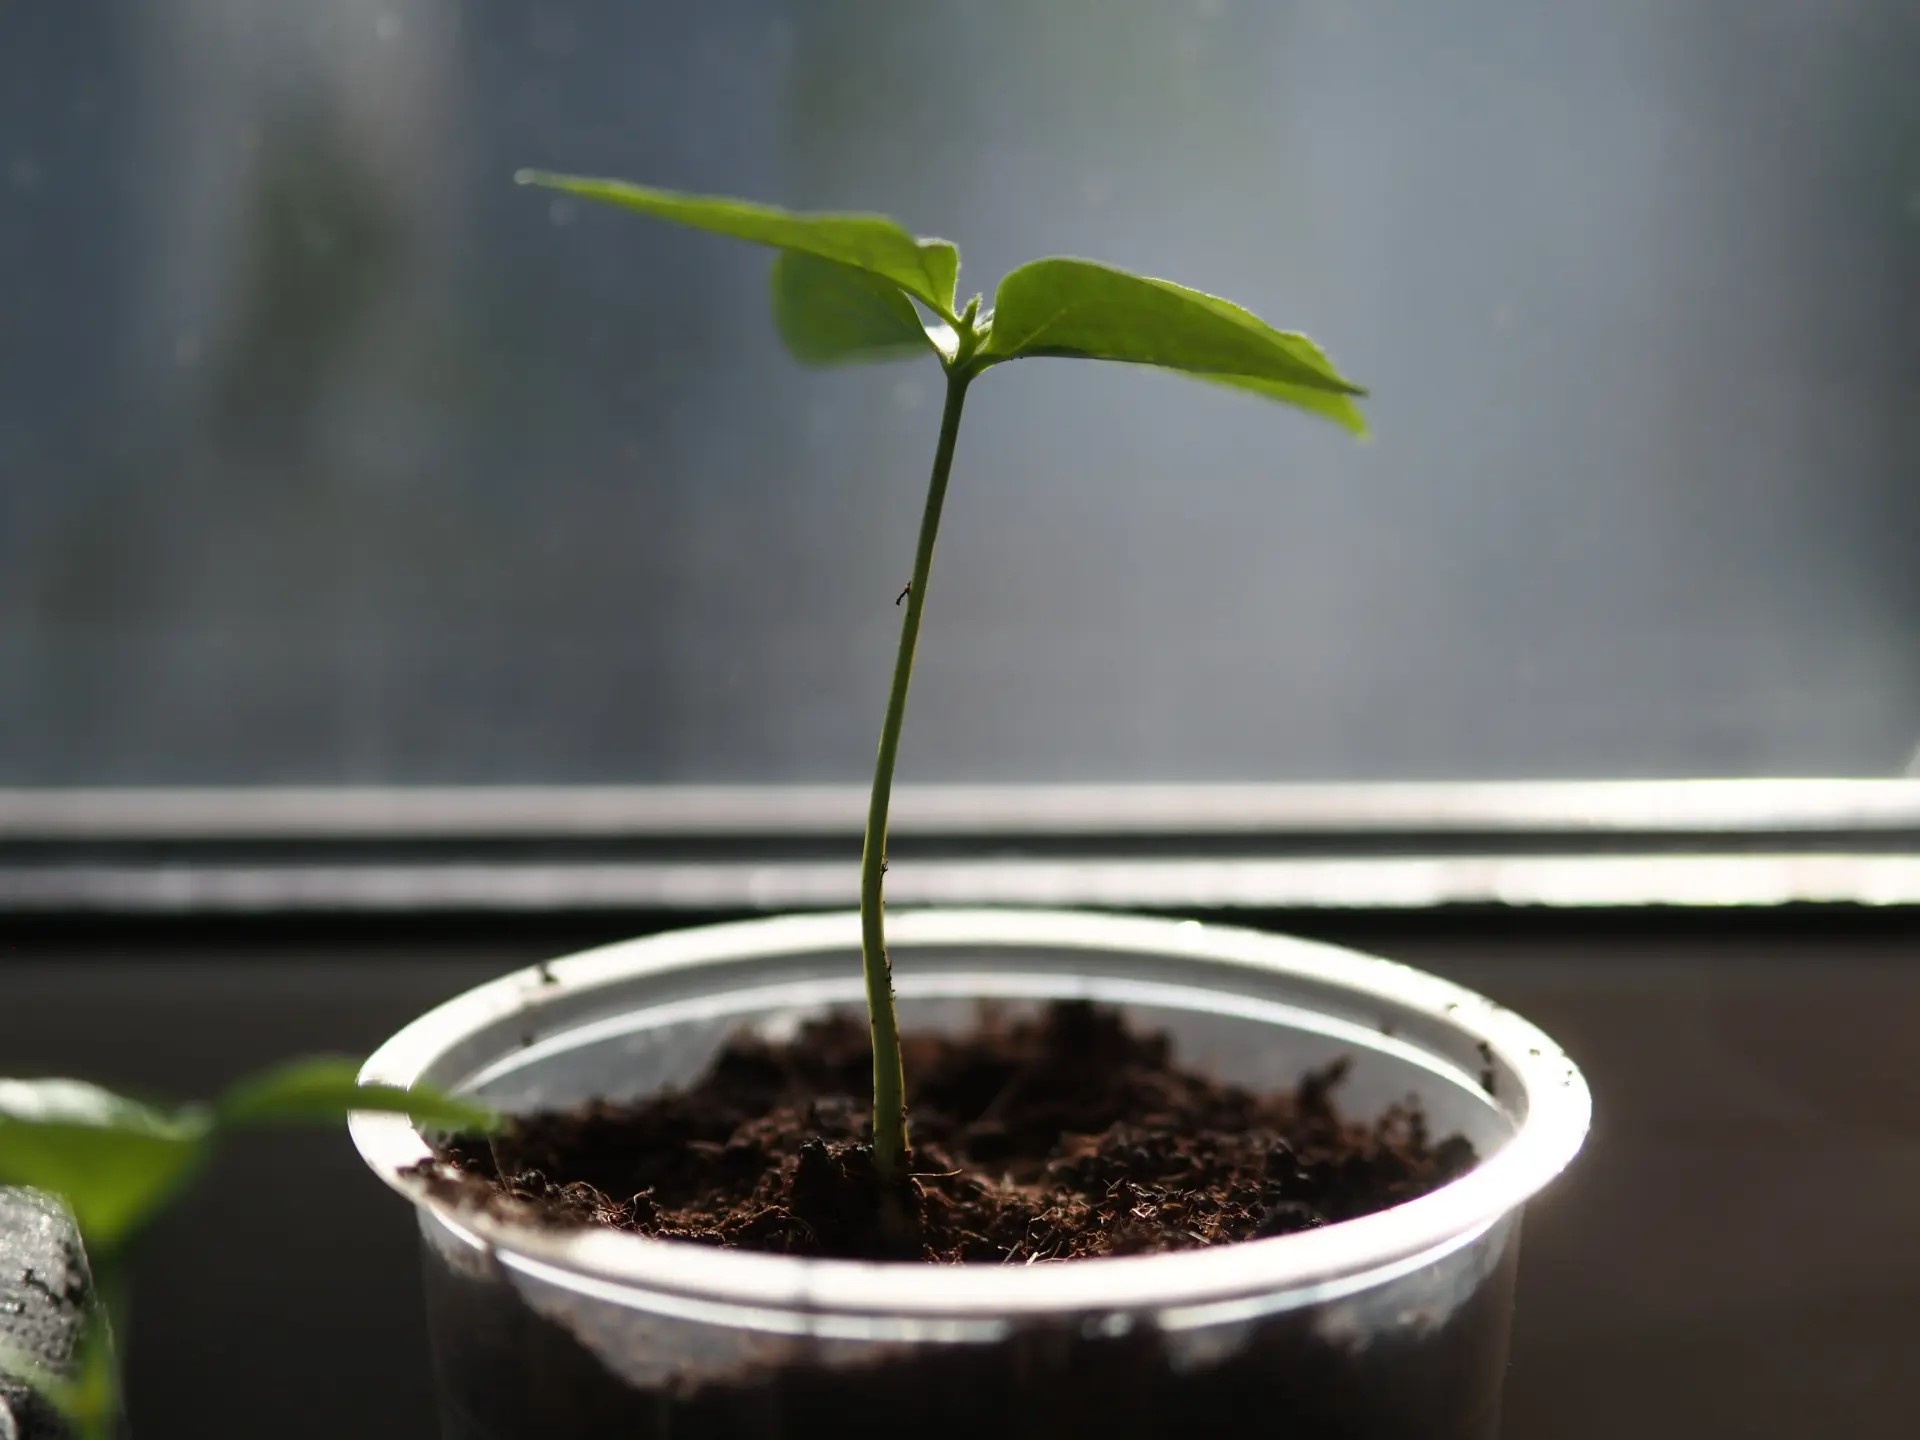
Step 4: Identifying the Seedling
After opening the persimmon seed, it’s time to identify the seedling. Here’s what you need to do:
- Inspect the seed: Take a close look at the seedling. You should see a small, white shoot emerging from the seed. This is the root of the seedling.
- Examine the cotyledons: The cotyledons are the first leaves that emerge from the seed. They may be green or pale in color, depending on the variety of persimmon.
- Look for additional sprouts: In some cases, you may find more than one shoot emerging from the seed. These are additional sprouts and can be carefully separated for individual planting if desired.
It’s important to note that not every persimmon seed will sprout, and not every sprouted seed will develop into a healthy seedling. However, by carefully selecting mature seeds and providing them with proper growing conditions, your chances of success are greatly increased.
Now that you’ve identified the seedling, it’s time to move on to the final step: planting the persimmon seed.
Read more: When To Plant Persimmon Seeds
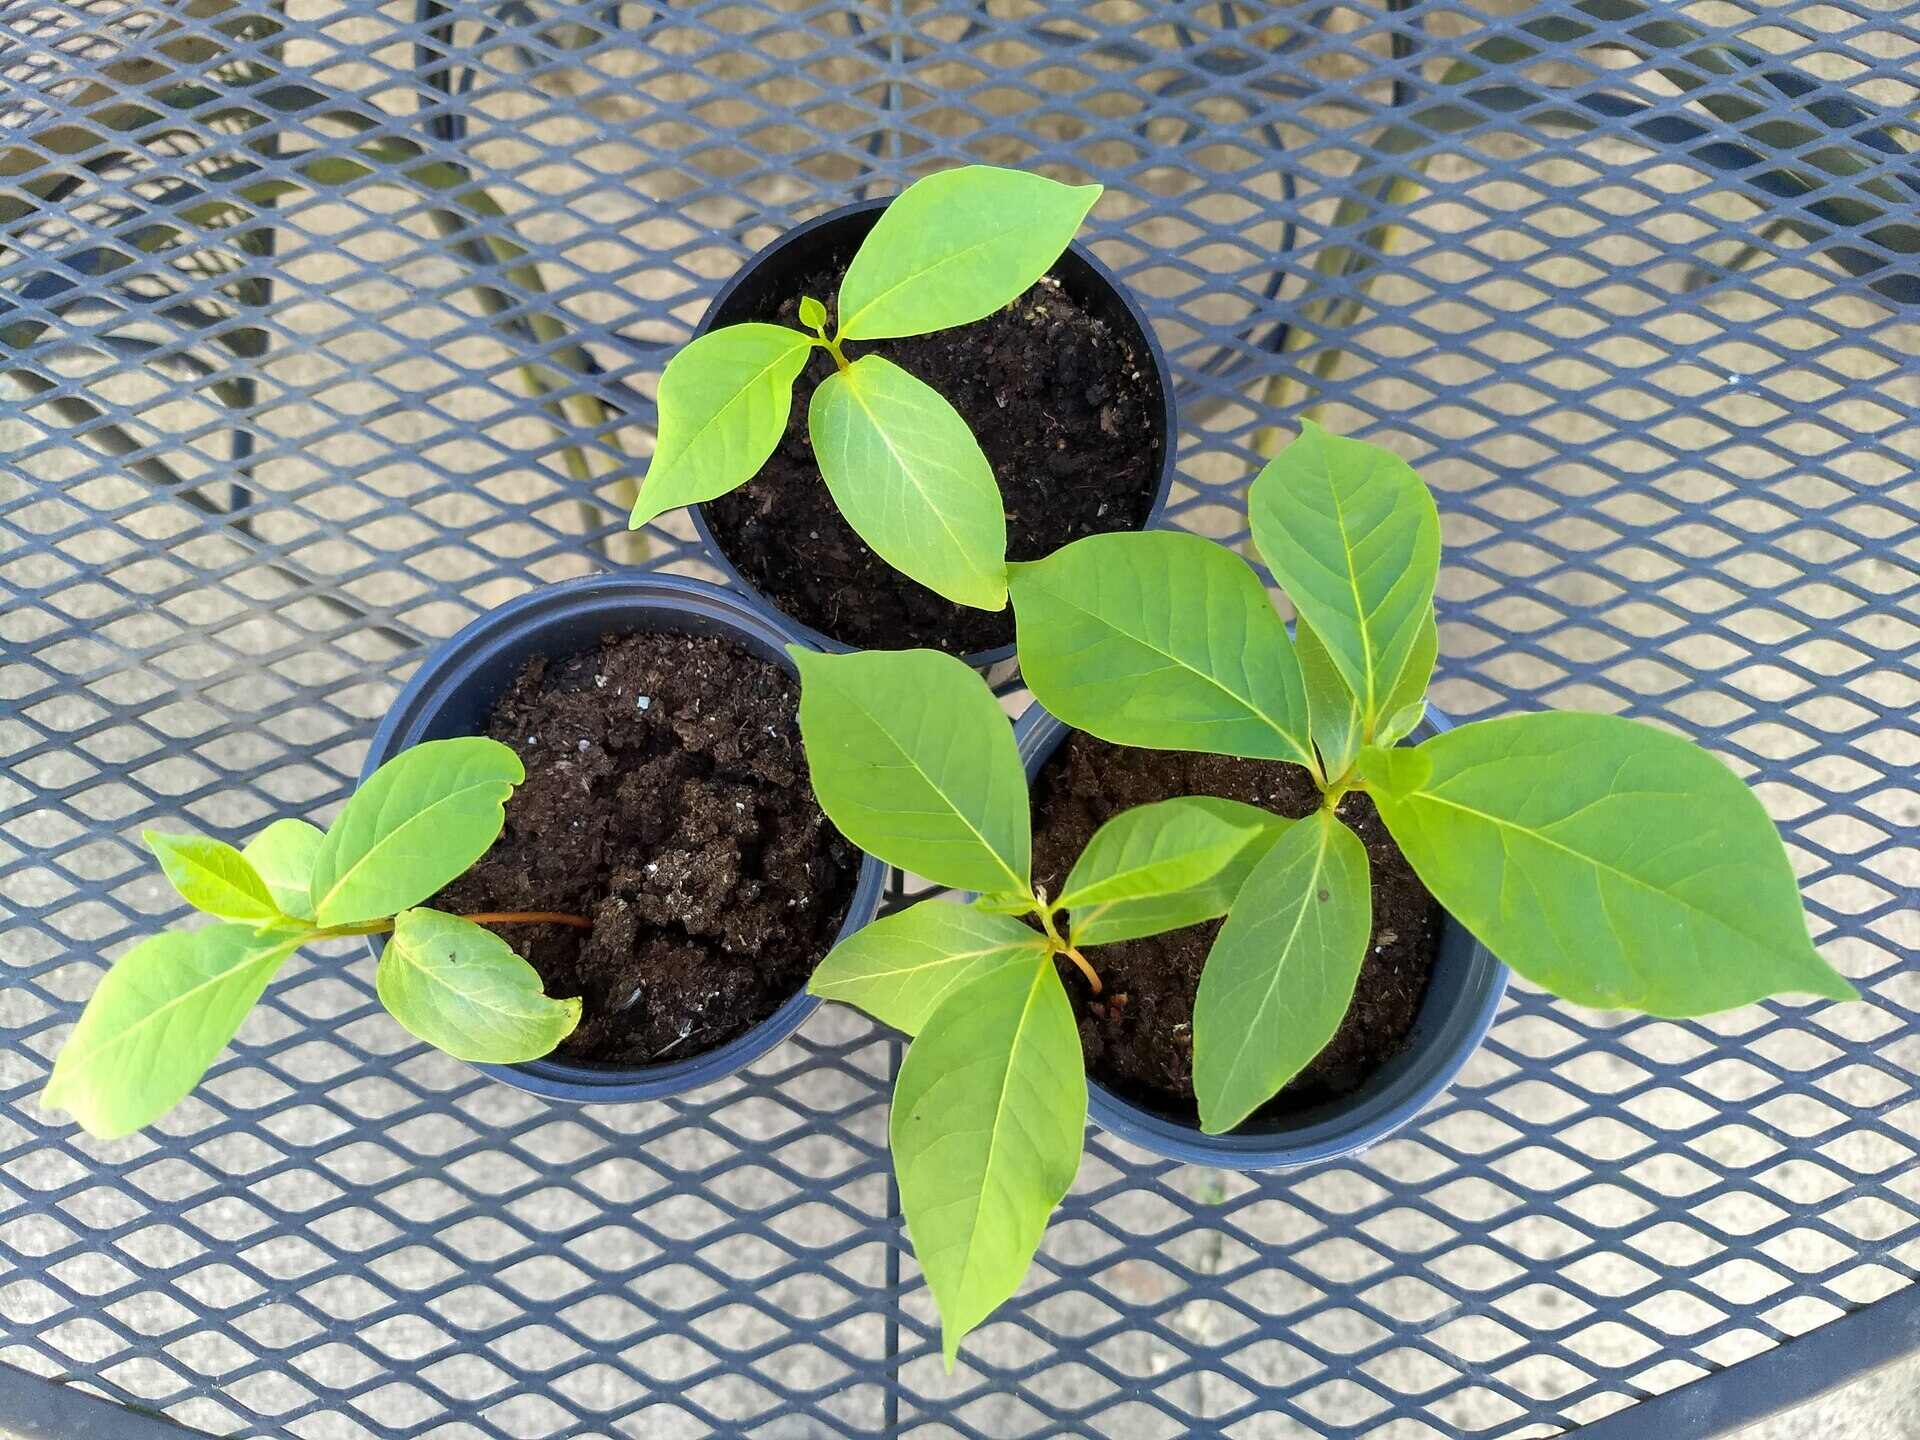
Step 5: Planting the Persimmon Seed
Planting the persimmon seed is the last step in the process of growing your own persimmon tree. Follow these steps to ensure a successful planting:
- Select a suitable location: Choose a sunny spot in your garden with well-draining soil. Persimmon trees thrive in full sun and require soil that is not too wet or too dry.
- Prepare the soil: Dig a hole that is large enough to accommodate the root system of the seedling. Loosen the soil in the hole and amend it with organic matter if necessary. This will help improve drainage and provide essential nutrients.
- Plant the seedling: Gently place the seedling into the hole, making sure the root system is spread out and not bunched up. Cover the roots with soil and tamp it down lightly to remove any air pockets.
- Water thoroughly: Give the newly planted persimmon seedling a deep watering to settle the soil and provide moisture for root development. Keep the soil consistently moist, but not soggy, during the first few weeks as the seedling establishes itself.
- Mulch and protect: Apply a layer of organic mulch around the base of the tree to help retain moisture and suppress weed growth. Use a stake or tree guard if necessary to protect the young tree from strong winds or animals.
- Care and maintenance: Regularly water the persimmon tree, especially during dry periods. Fertilize it with a balanced fertilizer in early spring and follow the specific care instructions for the particular variety you are growing.
With proper care and maintenance, your persimmon seedling will grow into a flourishing tree in a few years. Patience is key, as persimmon trees are known for their slow growth rate.
Congratulations! You have successfully planted a persimmon seed and embarked on an exciting journey of growing your own persimmon tree.
Conclusion
Growing your own persimmon tree from a seed can be a rewarding and fulfilling experience. From gathering the materials to planting the seed, each step brings you closer to witnessing the beauty and sweetness of homegrown persimmons.
Remember to select ripe fruits, prepare the seeds with care, and choose a suitable planting location to optimize the chances of success. Opening the persimmon seed and identifying the seedling are exciting moments that mark the beginning of the tree’s growth journey.
While persimmon trees are known for their slow growth, with patience and proper care, your young seedling will gradually transform into a strong and productive tree. Provide it with ample sunlight, well-draining soil, and regular watering, and watch as it flourishes over the years.
Whether you’re a gardening enthusiast or simply enjoy the taste of fresh persimmons, growing your own tree allows you to connect with nature and savor the fruits of your labor. Not only will you be rewarded with sweet and delicious fruits, but you’ll also have a beautiful addition to your garden, adding charm and vibrancy.
So, why not give it a try? Open a persimmon seed, plant it with care, and nurture your very own persimmon tree. Embrace the joy of witnessing the growth and harvest that comes from nature’s extraordinary gift.
Happy gardening and may your persimmon tree bring you years of beauty and bountiful harvests!
Frequently Asked Questions about How To Open Persimmon Seed
Was this page helpful?
At Storables.com, we guarantee accurate and reliable information. Our content, validated by Expert Board Contributors, is crafted following stringent Editorial Policies. We're committed to providing you with well-researched, expert-backed insights for all your informational needs.

0 thoughts on “How To Open Persimmon Seed”