Home>Garden Essentials>How To Decorate A Greenery Wedding Sweetheart Arch With Tulips
Garden Essentials
How To Decorate A Greenery Wedding Sweetheart Arch With Tulips
Modified: March 7, 2024
Learn how to create a stunning garden-inspired sweetheart arch adorned with vibrant tulips for your greenery-themed wedding. Discover expert tips and ideas for a picture-perfect ceremony décor.
(Many of the links in this article redirect to a specific reviewed product. Your purchase of these products through affiliate links helps to generate commission for Storables.com, at no extra cost. Learn more)
Introduction
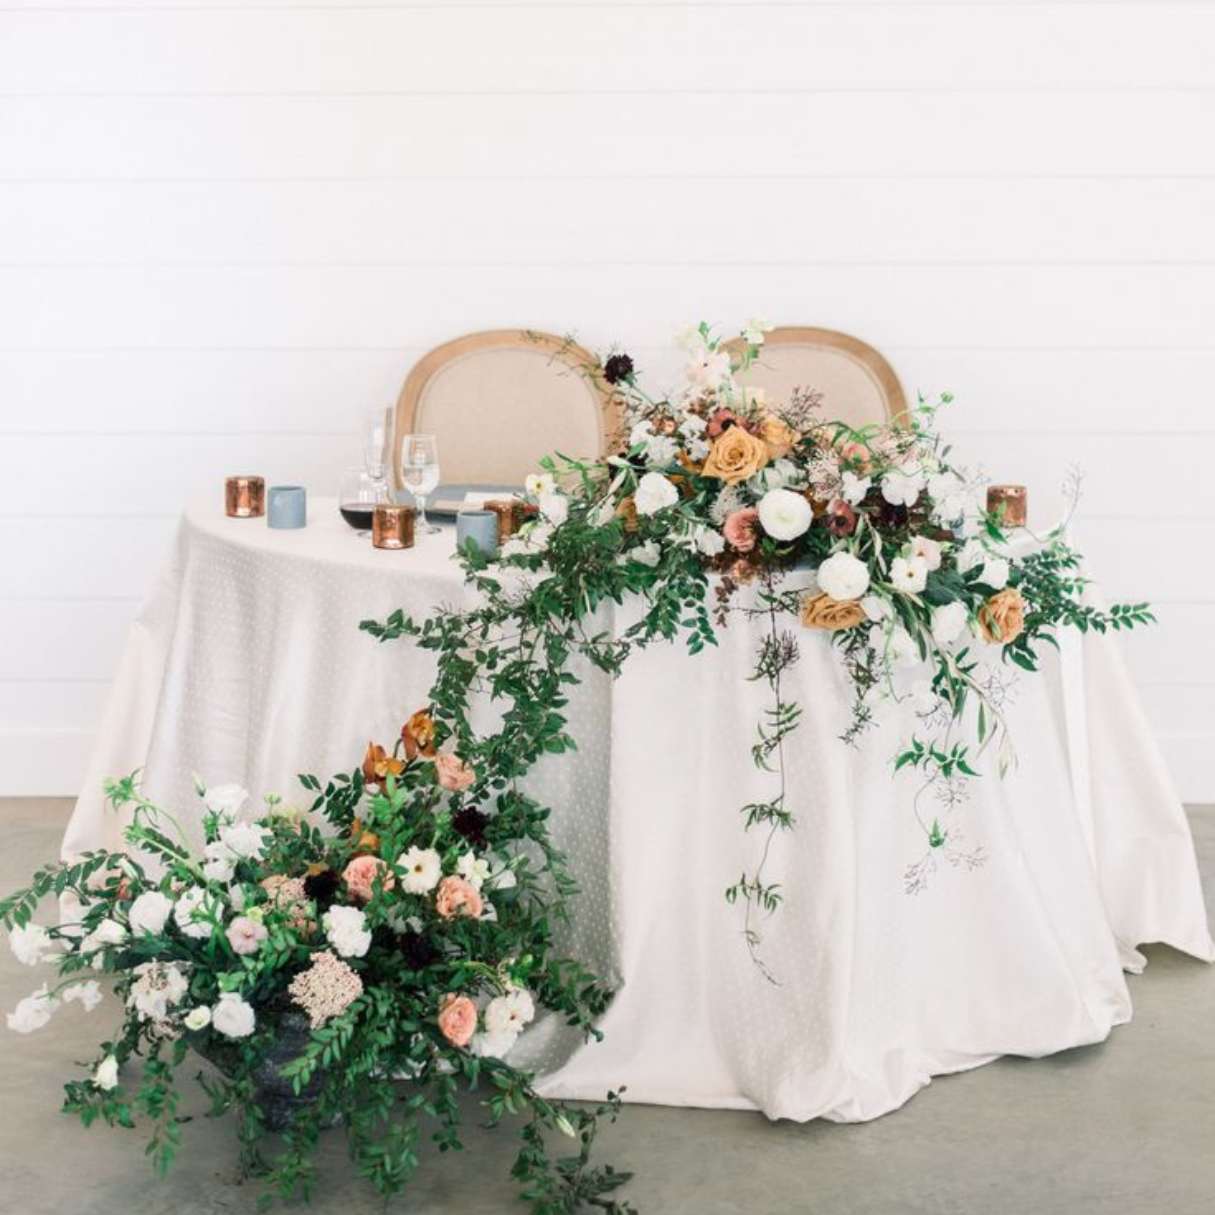
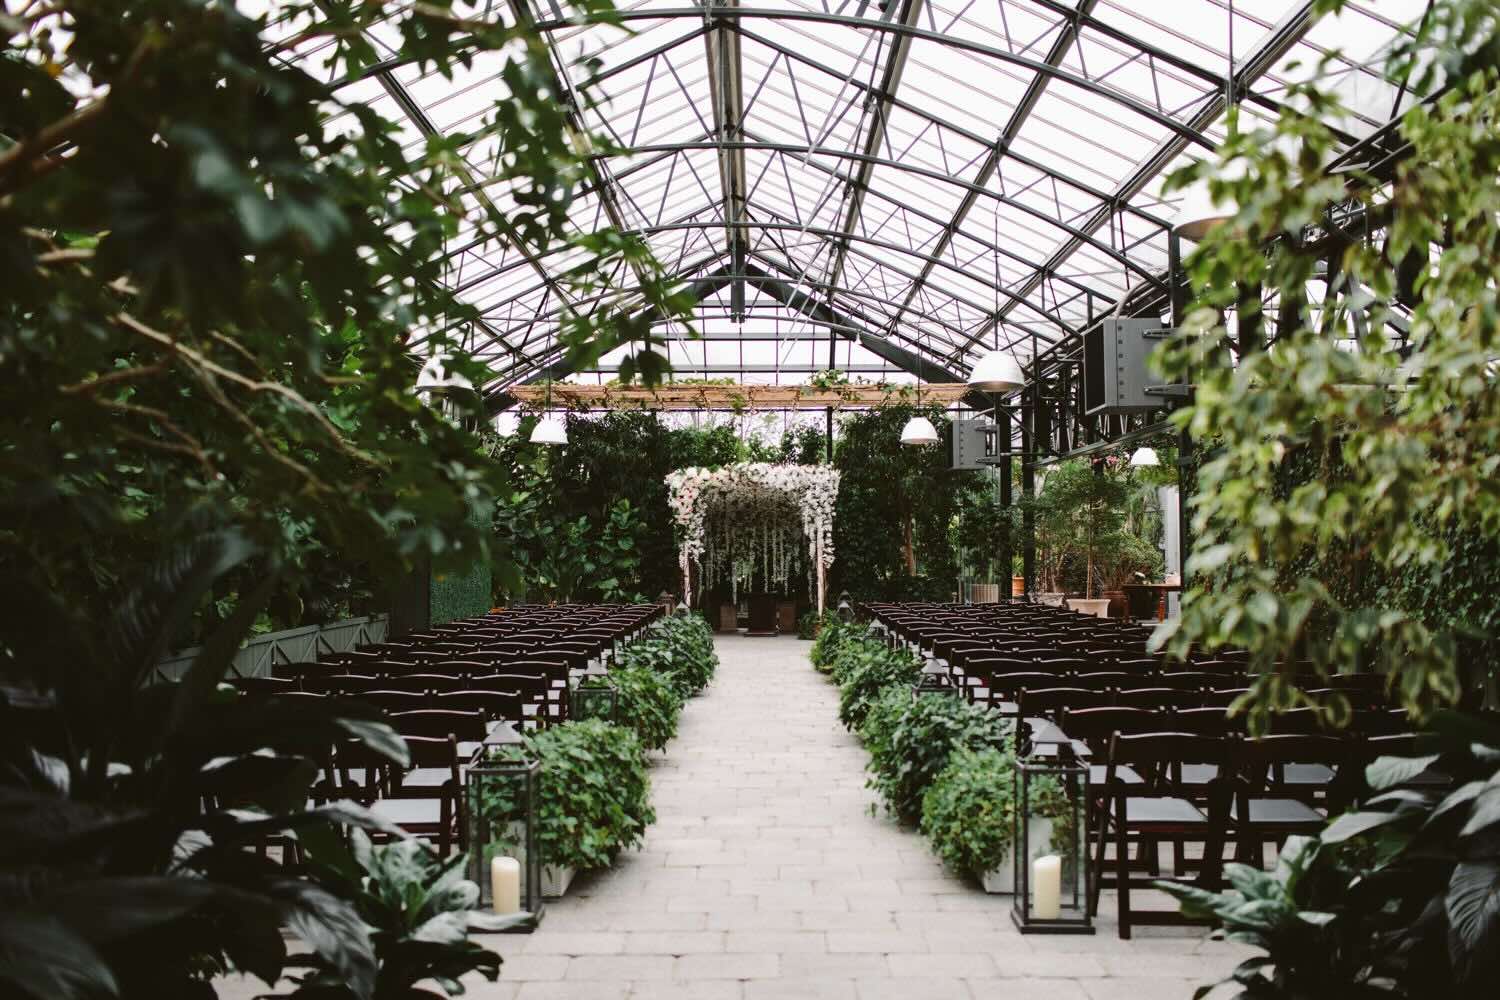
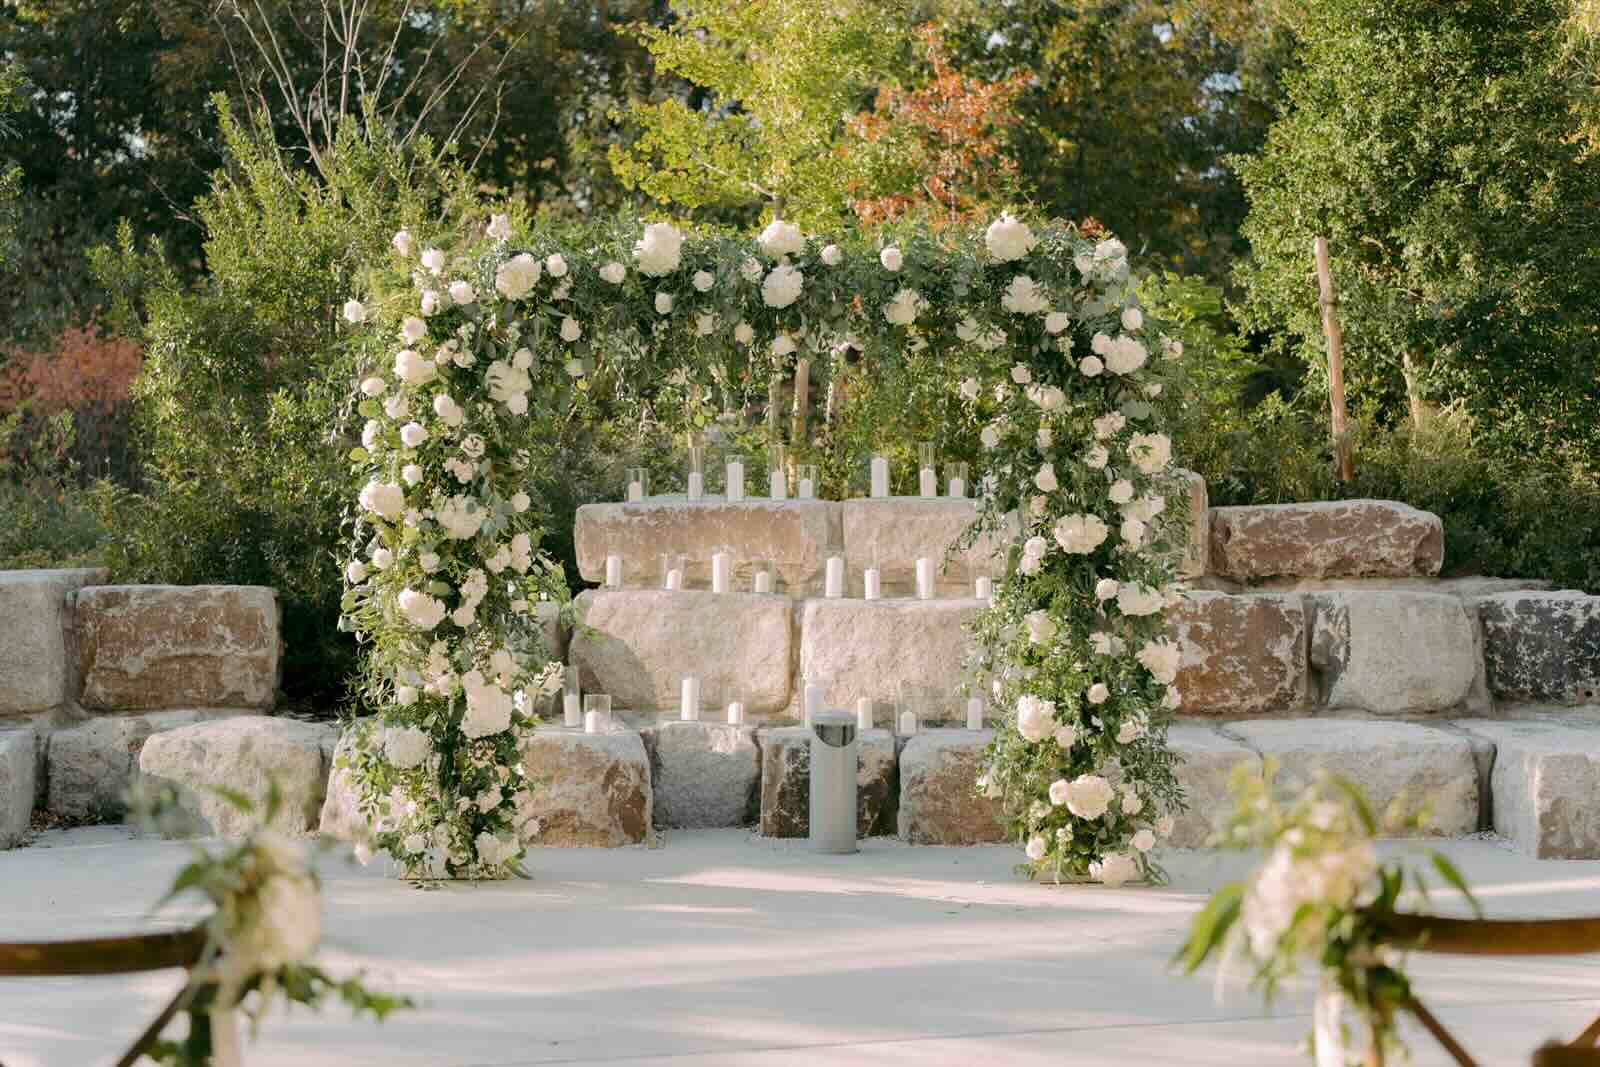
Welcome to the world of greenery wedding decorations! One of the most popular and magical ways to transform your wedding venue is by incorporating a beautiful sweetheart arch adorned with tulips and lush greenery. This stunning centerpiece not only adds an element of elegance and romance to your special day but also serves as a breathtaking backdrop for your vows, photos, and cherished memories.
In this step-by-step guide, we will walk you through the process of decorating a greenery wedding sweetheart arch with tulips. Whether you’re a DIY enthusiast or just looking to add a personal touch to your wedding décor, this tutorial will provide you with all the knowledge you need to create a mesmerizing arch that will leave your guests in awe.
Before we dive into the details, it’s important to note that planning and executing this project requires some preparation and creativity. So, roll up your sleeves, put on your gardening gloves, and let’s get started on creating the perfect greenery wedding arch!
Key Takeaways:
- Create a stunning greenery wedding arch with tulips by gathering materials, setting up the arch, preparing the tulips, attaching the greenery, and adding the final touches for a captivating and romantic centerpiece.
- Infuse your creativity and personal style into decorating a greenery wedding arch with tulips, transforming it into a beautiful and enchanting display that reflects your love and vision for your special day.
Read more: What Kind Of Greenery To Use In Wedding Arch
Step 1: Gather the necessary materials
Before you begin decorating your sweetheart arch, it’s important to gather all the necessary materials. Here’s a list of what you will need:
- A sweetheart arch: You can either purchase or rent a pre-made arch or create your own using sturdy materials like PVC pipes or metal frames. Ensure that the arch is the right size and shape for your wedding venue.
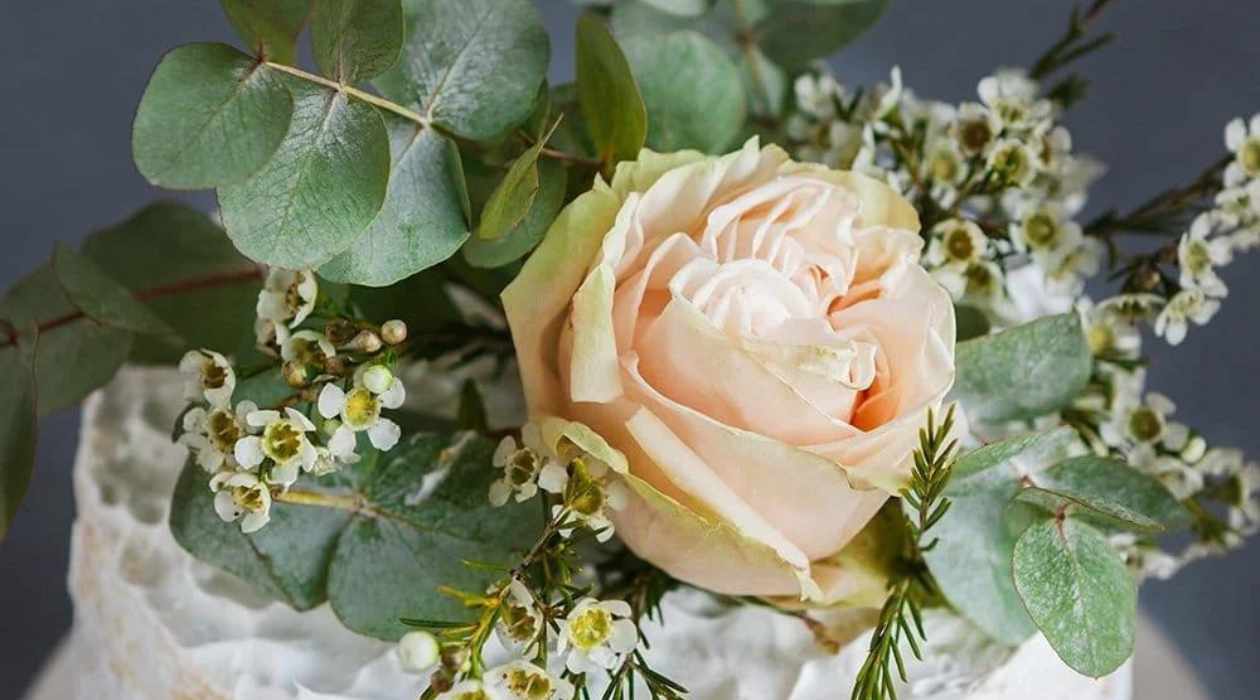
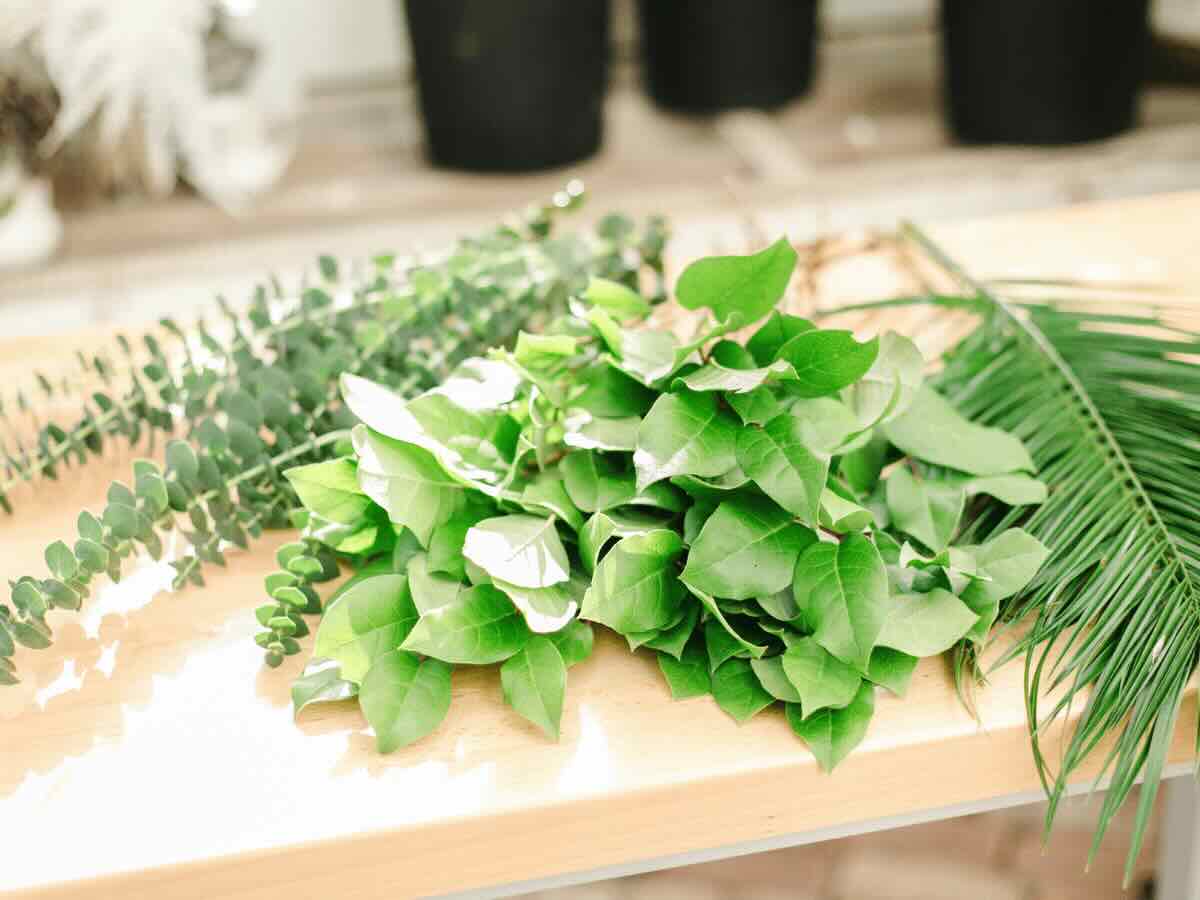
- Greenery: Choose a variety of greenery such as eucalyptus, ivy, ferns, or Italian ruscus. Opt for fresh or faux greenery, depending on your preference and budget.
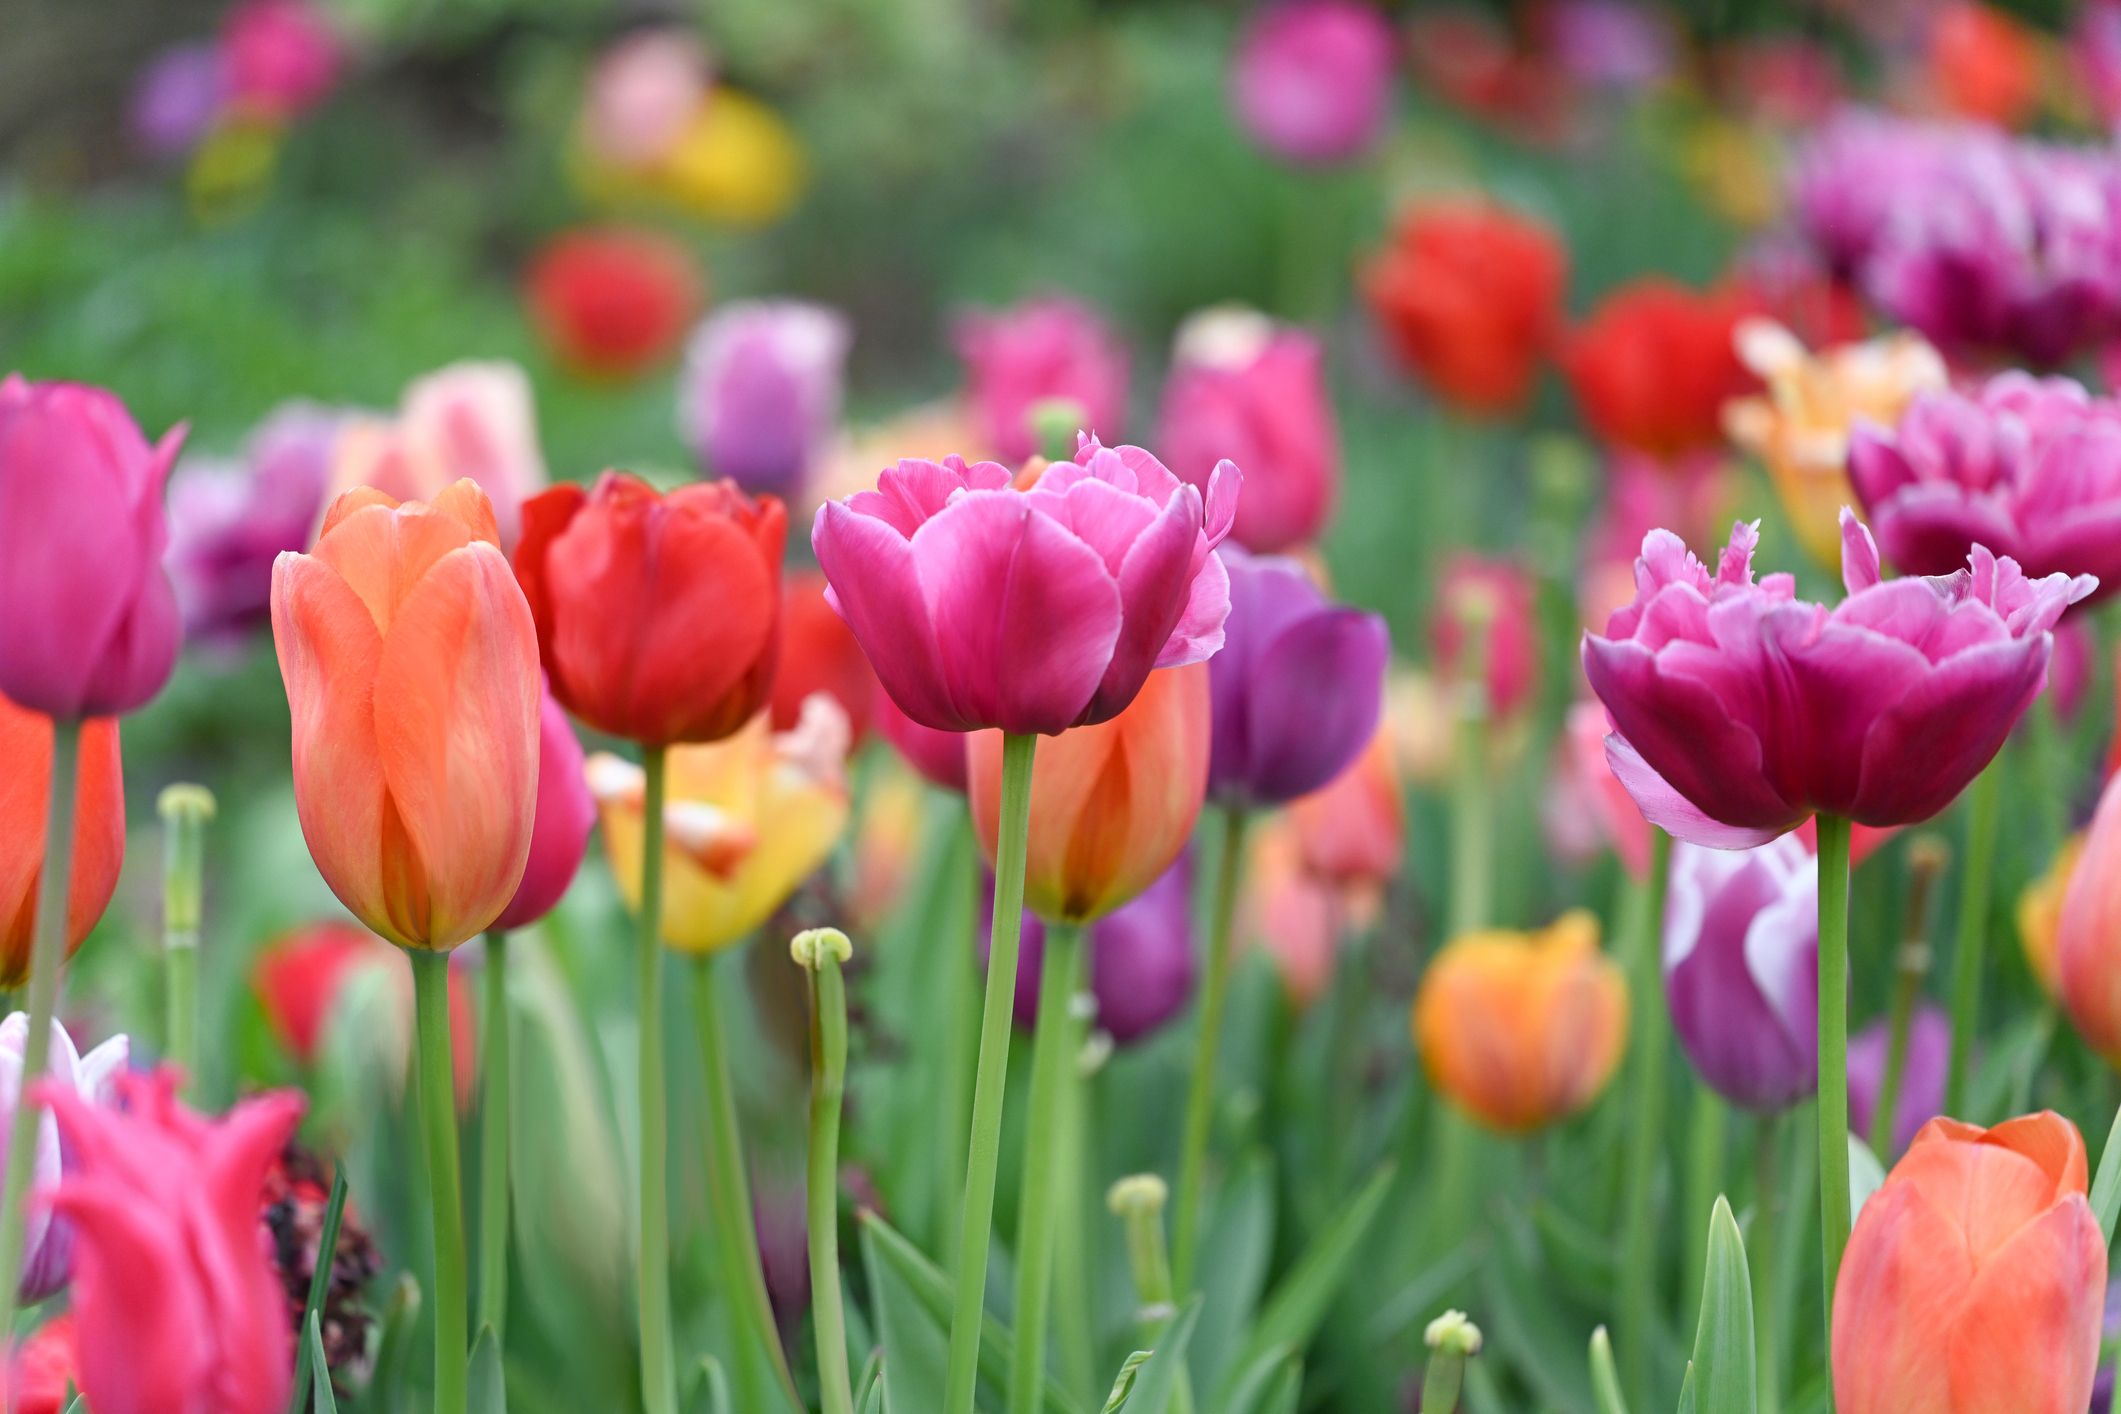
- Tulips: Purchase a generous amount of fresh tulips in your desired colors. Tulips come in a wide range of hues, including white, pink, purple, and vibrant red, allowing you to create a custom color palette.
- Floral wire or zip ties: These will be used to attach the greenery and tulips to the arch securely.
- Pruning shears or floral scissors: These tools will come in handy for trimming the stems of the greenery and tulips.
- Ribbon or fabric: If you wish to add an additional decorative element, consider having ribbon or fabric of your choice to tie around the arch for a whimsical touch.
- Water tubes (optional): If you’re working with fresh tulips, consider using water tubes to keep the blooms hydrated and prolong their freshness.
- Step ladder (optional): Depending on the height of your arch, a step ladder might be necessary to reach and secure the decorations at the top.
Make sure to gather all these materials before you start decorating your greenery wedding sweetheart arch. Having everything ready will save you time and make the process much smoother. Once you have everything prepared, you’re ready to move on to the next step of setting up the arch.
Step 2: Set up the sweetheart arch
Now that you have gathered all the necessary materials, it’s time to set up the sweetheart arch. Follow these steps to ensure a stable and secure base for your decorations:
- Choose the location: Decide where you want to place the arch at your wedding venue. It’s important to select a spot that is easily visible and complements the overall theme and layout of your event.
- Prepare the ground: Clear the area of any debris or obstacles that may hinder the stability of the arch. Ensure that the ground is level and firm to provide a solid foundation.
- Assemble the arch: If you are using a pre-made arch, follow the manufacturer’s instructions to assemble it. If you’re creating your own arch, use PVC pipes, metal frames, or any other sturdy materials to construct the desired shape and size.
- Secure the arch: Depending on the type of arch you’re using, you may need to anchor it to the ground using stakes or weights. This will prevent the arch from toppling over or swaying in the wind.
- Ensure stability: Give the arch a gentle shake to check for any instability. If it wobbles or feels unsteady, reinforce it with additional stakes or supports.
- Test the height: Stand back and assess the height of the arch in relation to the surrounding area. You want it to be visually appealing and proportional to the space.
Once you have set up the sweetheart arch and ensured its stability, you are ready to move on to the next step of preparing the tulips for decoration. Setting up the arch is an essential foundation for a stunning greenery wedding display, so take your time and make sure it’s perfectly positioned before proceeding.
Step 3: Prepare the tulips
Before you can attach the tulips to the sweetheart arch, it’s essential to prepare them properly. Follow these steps to ensure that your tulips are fresh, vibrant, and ready for decoration:
- Inspect the tulips: Carefully examine each tulip, checking for any signs of damage or wilting. Remove any wilted or discolored petals, as they can detract from the overall appearance of the arrangement.
- Trim the stems: Using pruning shears or floral scissors, trim the ends of the tulip stems at a diagonal angle. This helps the tulips absorb water better, prolonging their freshness. Cut the stems to your desired length, keeping in mind the height of the arch and the overall look you want to achieve.
- Remove excess leaves: Strip off any leaves that will fall below the water line in the water tubes or vases. This prevents the leaves from decaying and muddying the water.
- Place in water tubes (optional): If you’re using water tubes, fill each tube with water and insert a tulip into each tube. The water tubes will keep the tulips hydrated and ensure that they stay fresh throughout your wedding day.
- Store in a cool location: Once the tulips have been prepared, store them in a cool area away from direct sunlight until you’re ready to attach them to the sweetheart arch. This helps to maintain their vibrant colors and prevents them from wilting prematurely.
By following these steps, you’ll ensure that your tulips are in optimal condition for decorating the sweetheart arch. Properly preparing the tulips will not only enhance the overall aesthetic of the arch but also extend their lifespan, allowing you to enjoy their beauty throughout your special day.
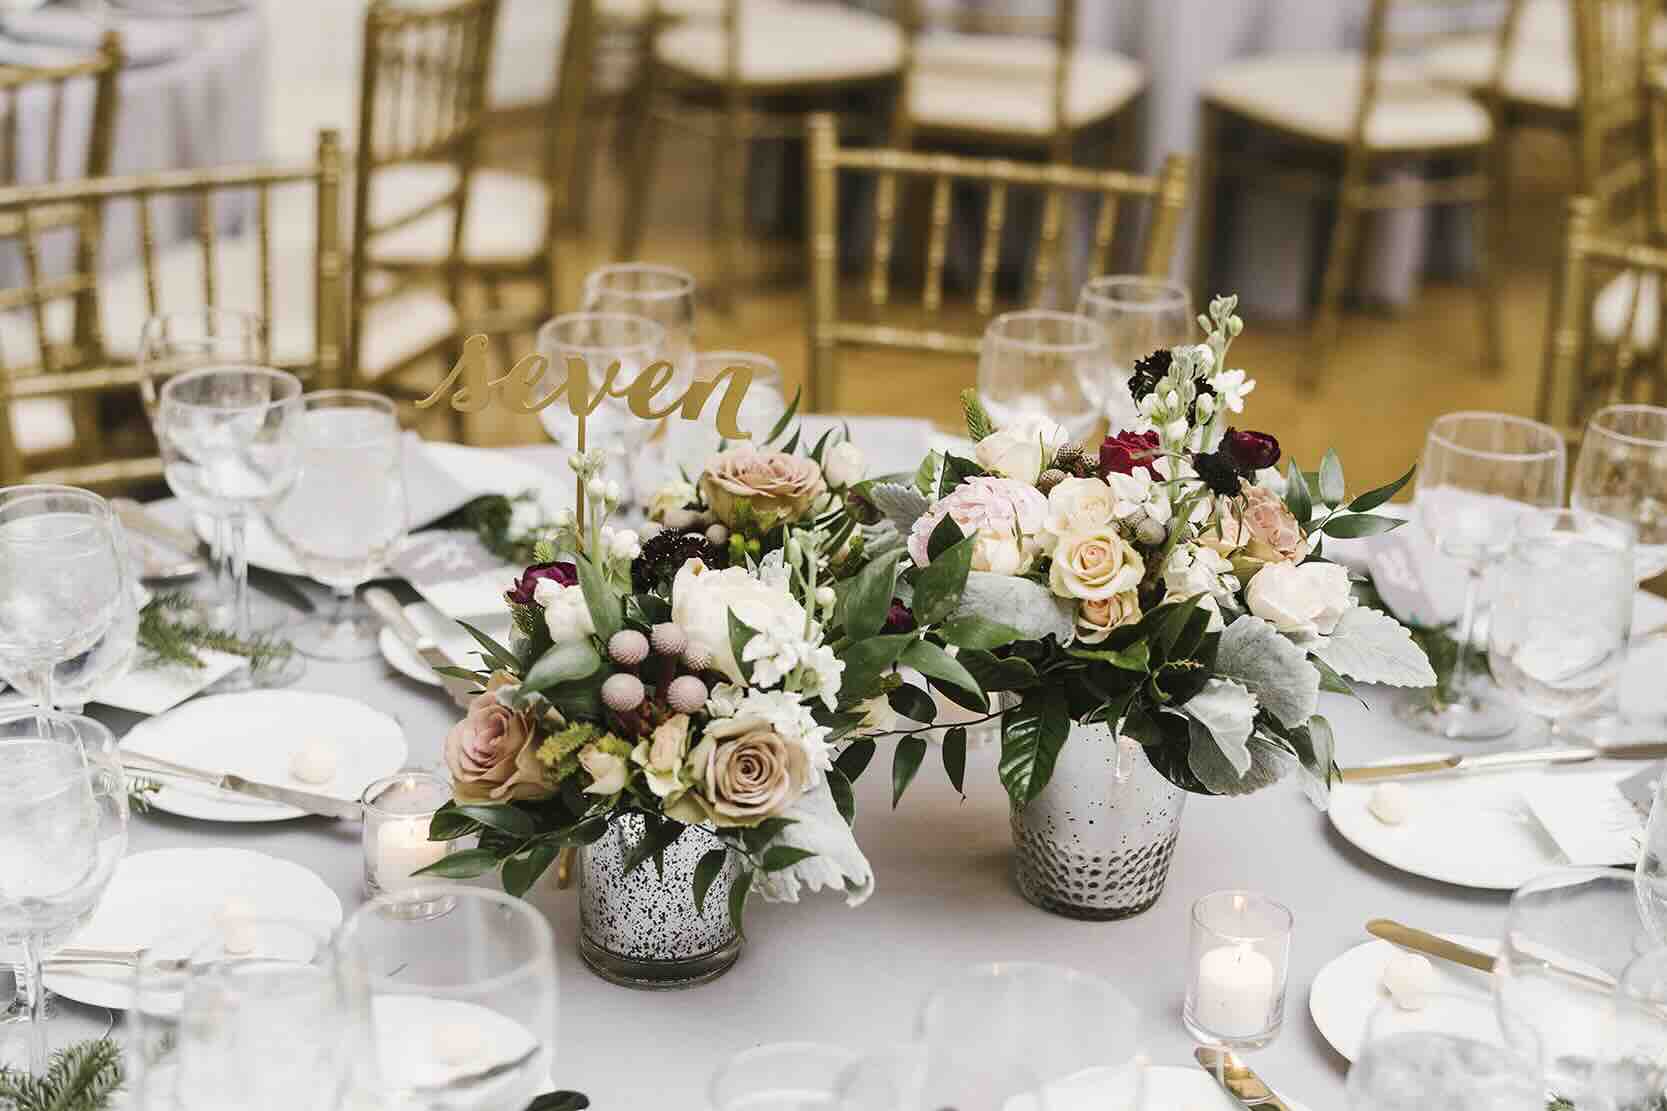
Consider using a mix of different tulip colors to create a beautiful and vibrant display on your greenery wedding sweetheart arch. You can also add in some other complementary flowers and foliage to enhance the overall look.
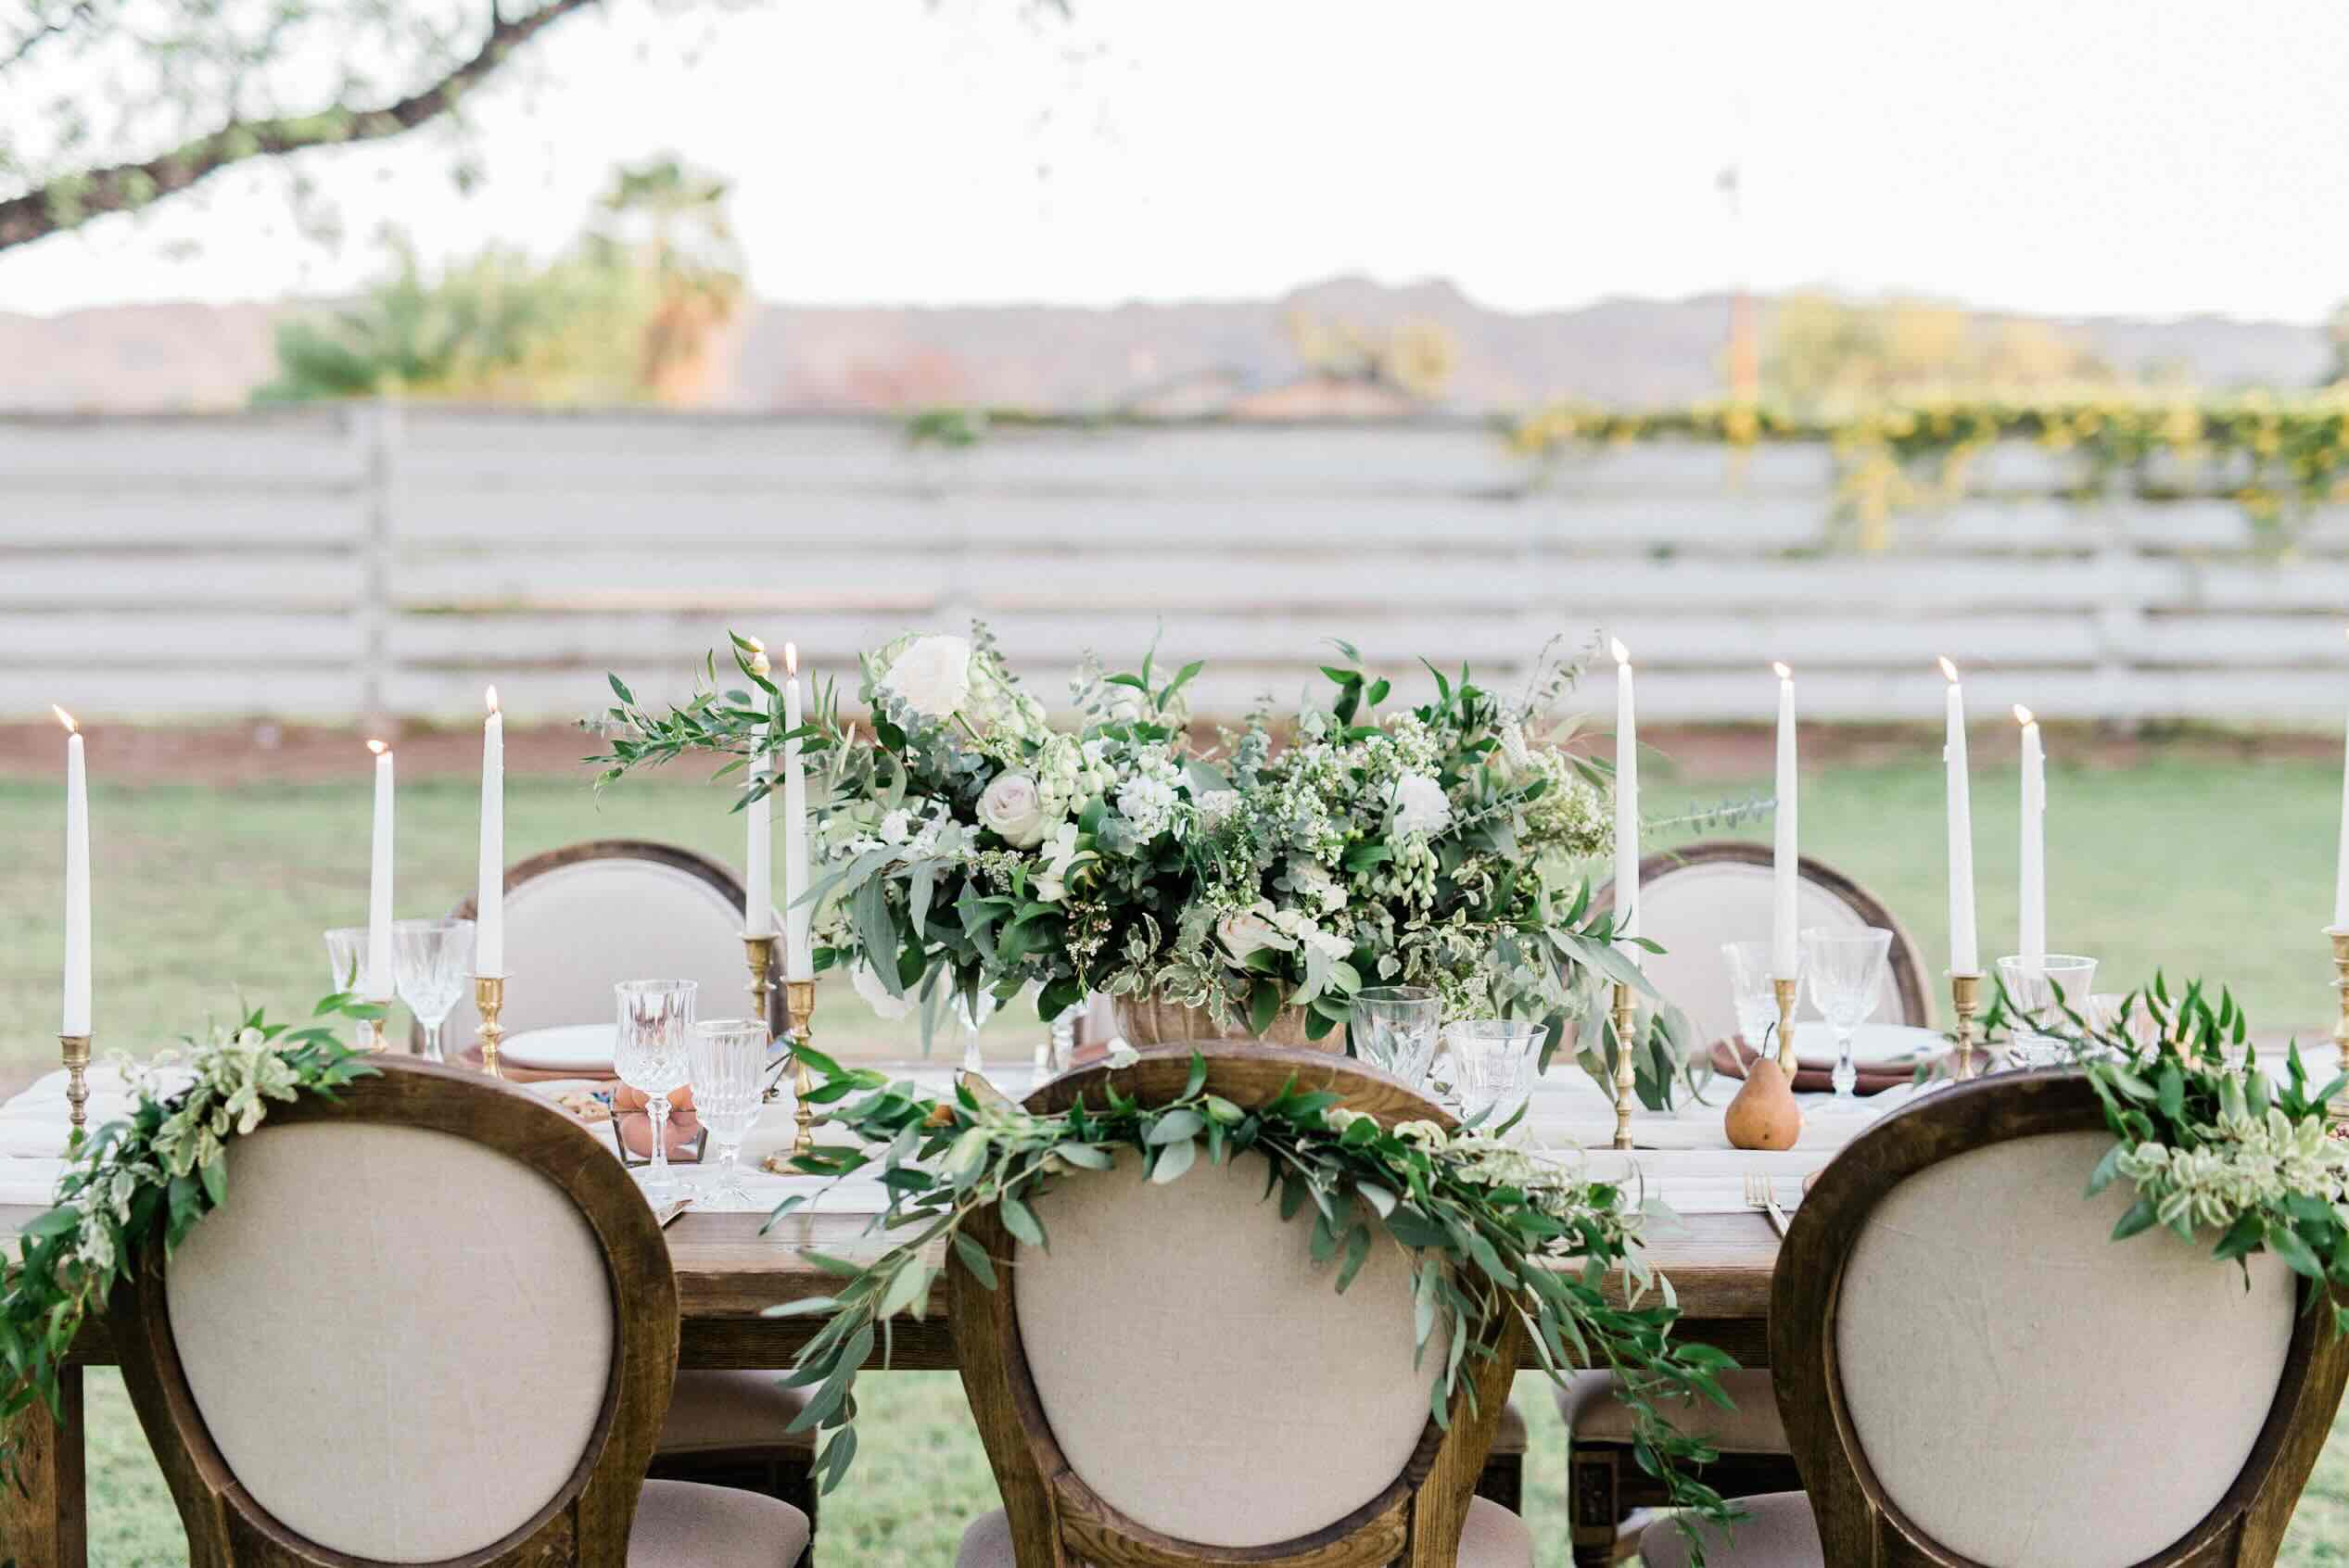
Step 4: Attach the greenery to the arch
Now that you have prepared the tulips, it’s time to add the lush greenery to the sweetheart arch. The greenery acts as a beautiful backdrop and complements the vibrant tulips. Follow these steps to attach the greenery securely:
- Start from the bottom: Begin by attaching the greenery at the bottom of the arch. This will provide a solid foundation for the rest of the decorations.
- Secure with wire or zip ties: Use floral wire or zip ties to fasten the greenery to the arch. Wrap the wire or zip tie around the stems of the greenery and the arch, pulling it tight for a secure hold. Make sure to conceal the wire or zip tie by tucking the stems or wrapping additional greenery around it.
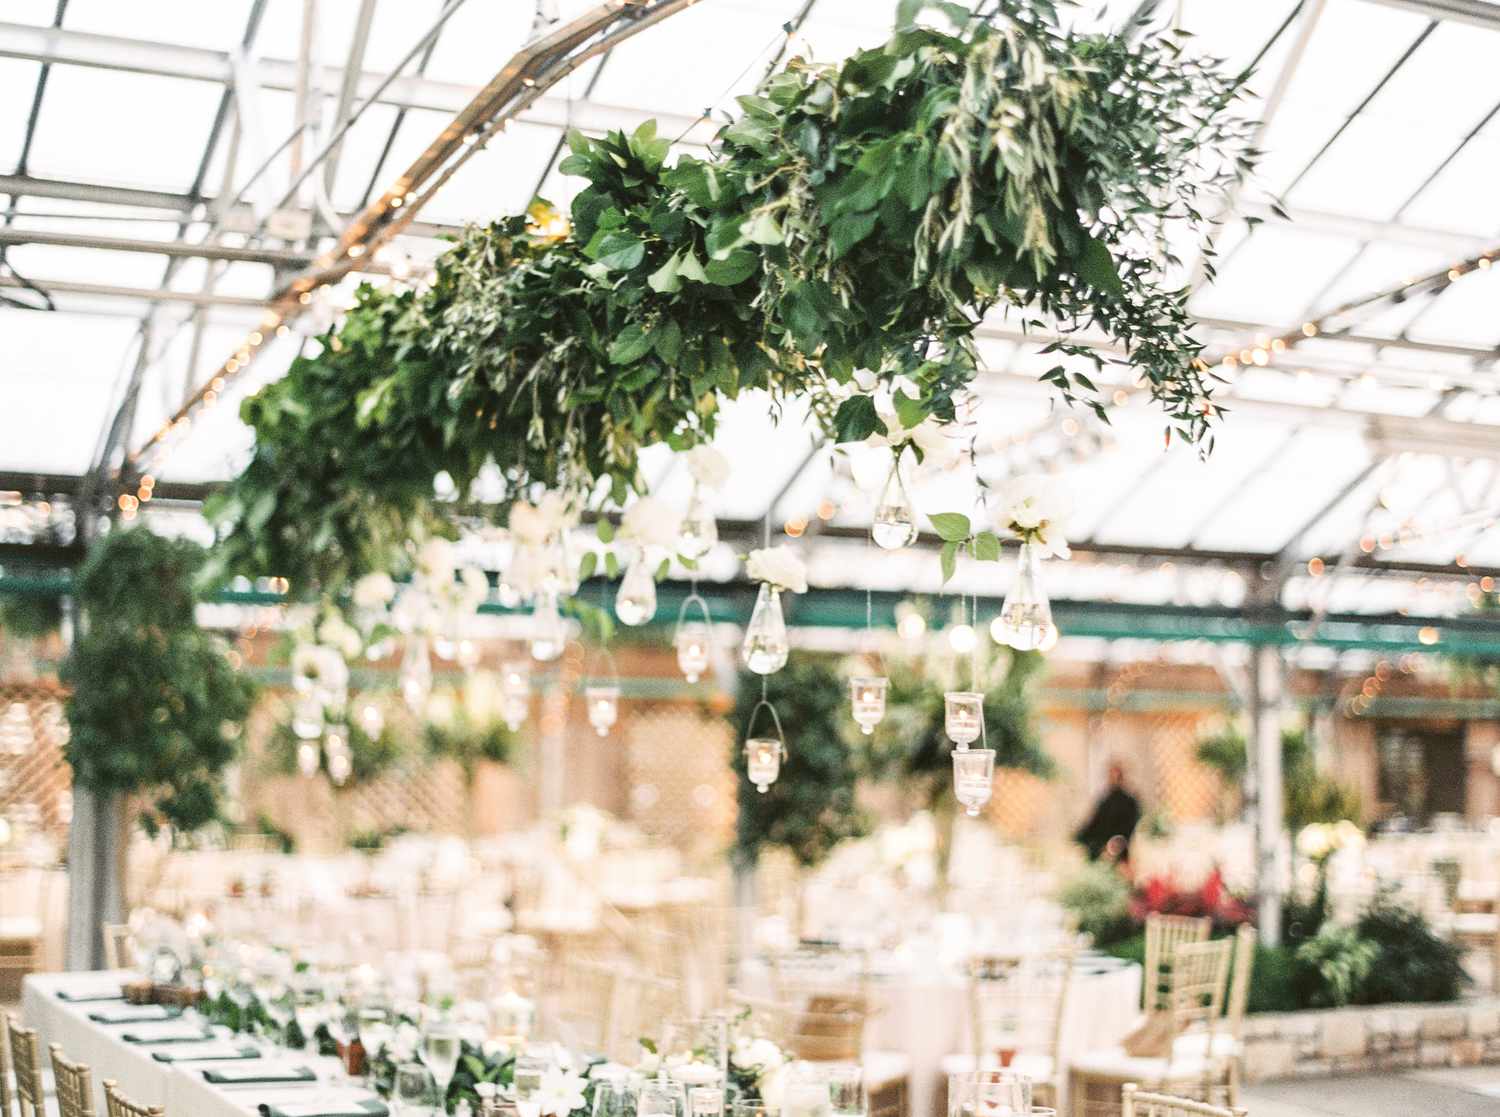
- Layer the greenery: Continue adding layers of greenery, working your way up the arch. Mix and match different types of greenery to create texture and depth. Secure each layer with wire or zip ties, making sure to conceal the attachments as you go.
- Be mindful of spacing: While attaching the greenery, leave enough space between each layer to allow the tulips to be easily inserted later. It’s important to have sufficient room for the tulips to shine and not get overwhelmed by the greenery.
- Step back and assess: After attaching the greenery, take a step back and examine the arch from a distance. Make any necessary adjustments to ensure even distribution and a visually appealing arrangement.
Attaching the greenery is an exciting step, as it brings life and lushness to the sweetheart arch. Take your time and experiment with different placements and combinations to achieve the desired look. With the greenery in place, we can now move on to the final step of adding the tulips to complete the picture-perfect arch.
Read more: What Greenery Goes With Tulips
Step 5: Add the tulips to the arch
With the greenery securely attached to the sweetheart arch, it’s time to add the beautiful tulips. The tulips will bring color, vibrancy, and a touch of elegance to the arch. Follow these steps to ensure that the tulips are arranged flawlessly:
- Start from the top: Begin by inserting the tulips at the top of the arch and work your way down. This allows for better control over the placement of each bloom.
- Insert into the greenery: Look for gaps or spaces between the greenery and gently insert the tulip stems into these areas. Position them at varying angles to create an organic and natural appearance.
- Create a gradient of colors: If you’re using tulips of different colors, consider creating a gradient effect. Start with one color at the top and gradually transition to another color as you move down the arch.
- Alternate tulip heights: To add visual interest and dimension, vary the heights of the tulips. Trim some stems shorter and leave others longer to create a dynamic arrangement.
- Distribute evenly: As you add the tulips, distribute them evenly across the arch. Avoid clustering too many tulips in one area, as this can create a crowded and unbalanced look.
- Step back and assess: Once all the tulips are inserted, step back and evaluate the overall arrangement. Make any necessary adjustments to ensure a visually pleasing distribution and balance of colors.
Adding the tulips is the final touch that brings the sweetheart arch to life. The burst of colors and delicate blooms infuse romance and beauty into the decoration. Once the tulips are in place, you’re ready for the finishing touches and any necessary adjustments to create a captivating greenery wedding arch.
Step 6: Make any necessary adjustments and final touches
With the greenery and tulips adorning the sweetheart arch, it’s time to give it a final polish and make any necessary adjustments. This step ensures that the arch looks flawless and complements the overall aesthetic of your wedding. Follow these steps to perfect the greenery wedding arch:
- Stand back and evaluate: Take a moment to step back and observe the arch from different angles. Look for any areas that require additional greenery or tulips to create a more balanced and cohesive look.
- Fill in any gaps: If you notice any empty spaces or gaps in the arrangement, carefully add more greenery or insert additional tulips to fill them in. Be mindful of the overall arrangement and avoid overcrowding.
- Secure loose elements: Check for any loose stems or decorations that may have shifted during the process. Use additional wire or zip ties to secure them in place and maintain a polished appearance.
- Add decorative ribbon or fabric (optional): If you desire an extra touch of elegance, consider tying ribbon or fabric around the arch. Choose colors and textures that complement the overall color scheme of your wedding and secure them with knots or bows.
- Test for stability: Give the arch a gentle shake to ensure that all the elements are securely attached and will not come loose during the event. Make any necessary adjustments or reinforcements to achieve maximum stability.
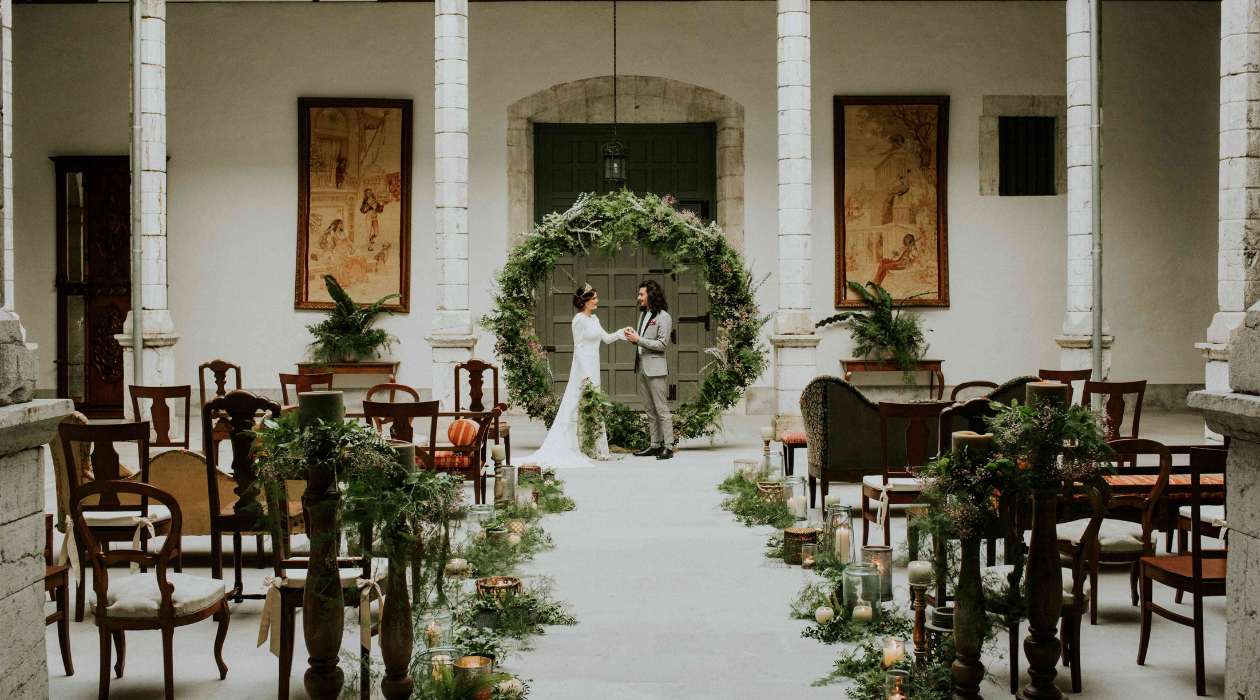
- Step back and admire: Finally, step back and admire the beauty of your greenery wedding sweetheart arch. Imagine the joy and enchantment it will bring to your wedding day. Take a few photos to capture this stunning creation.
By making any necessary adjustments and adding the final touches, you can ensure that your greenery wedding arch is picture-perfect. It will serve as a breathtaking backdrop for your wedding ceremony, as well as a stunning focal point for photos and cherished memories.
Congratulations! You have successfully decorated a greenery wedding sweetheart arch with tulips. Your creativity and effort have transformed a simple arch into a stunning masterpiece. The beauty and romance it brings to your special day will truly captivate your guests and create unforgettable moments. Enjoy your enchanting greenery wedding arch!
Conclusion
Congratulations on completing the journey of decorating a greenery wedding sweetheart arch with tulips! You’ve created a stunning centerpiece that will add a touch of elegance and romance to your special day. The combination of lush greenery and vibrant tulips is sure to captivate your guests and provide a beautiful backdrop for your wedding vows, photos, and cherished memories.
Throughout this guide, we’ve covered each step in detail, from gathering the necessary materials to making the final adjustments and adding the finishing touches. By following these steps, you’ve learned how to set up the arch, prepare the tulips, attach the greenery, and arrange the tulips to create a visually appealing and enchanting display.
Remember, as you embark on this DIY project, feel free to infuse your own creativity and personal style. You can experiment with different types of greenery, colors of tulips, and additional decorative elements. Let your imagination soar and create a greenery wedding arch that reflects the love and vision you have for your special day.
As you stand in front of your completed greenery wedding arch, take a moment to admire your hard work. Imagine the joy and awe it will evoke in your guests as they witness your exchange of vows under the gorgeous canopy. The arch will not only create a captivating atmosphere but also serve as a lasting memory of your love and commitment.
Enjoy the process and have fun turning your wedding dreams into a reality. This greenery wedding sweetheart arch, embellished with tulips, will be a focal point of beauty and elegance on your special day. Remember to capture this masterpiece in photographs and share the journey of its creation with your loved ones.
Here’s to a truly remarkable and unforgettable wedding celebration filled with love, beauty, and cherished moments. Cheers to your picture-perfect greenery wedding arch!
Frequently Asked Questions about How To Decorate A Greenery Wedding Sweetheart Arch With Tulips
Was this page helpful?
At Storables.com, we guarantee accurate and reliable information. Our content, validated by Expert Board Contributors, is crafted following stringent Editorial Policies. We're committed to providing you with well-researched, expert-backed insights for all your informational needs.


0 thoughts on “How To Decorate A Greenery Wedding Sweetheart Arch With Tulips”