Home>Garden Essentials>How To Make Greenery Garlands For A Wedding
Garden Essentials
How To Make Greenery Garlands For A Wedding
Modified: March 7, 2024
Learn how to create beautiful greenery garlands for your garden-themed wedding. Find step-by-step instructions and inspiration for a stunning botanical decor.
(Many of the links in this article redirect to a specific reviewed product. Your purchase of these products through affiliate links helps to generate commission for Storables.com, at no extra cost. Learn more)
Introduction
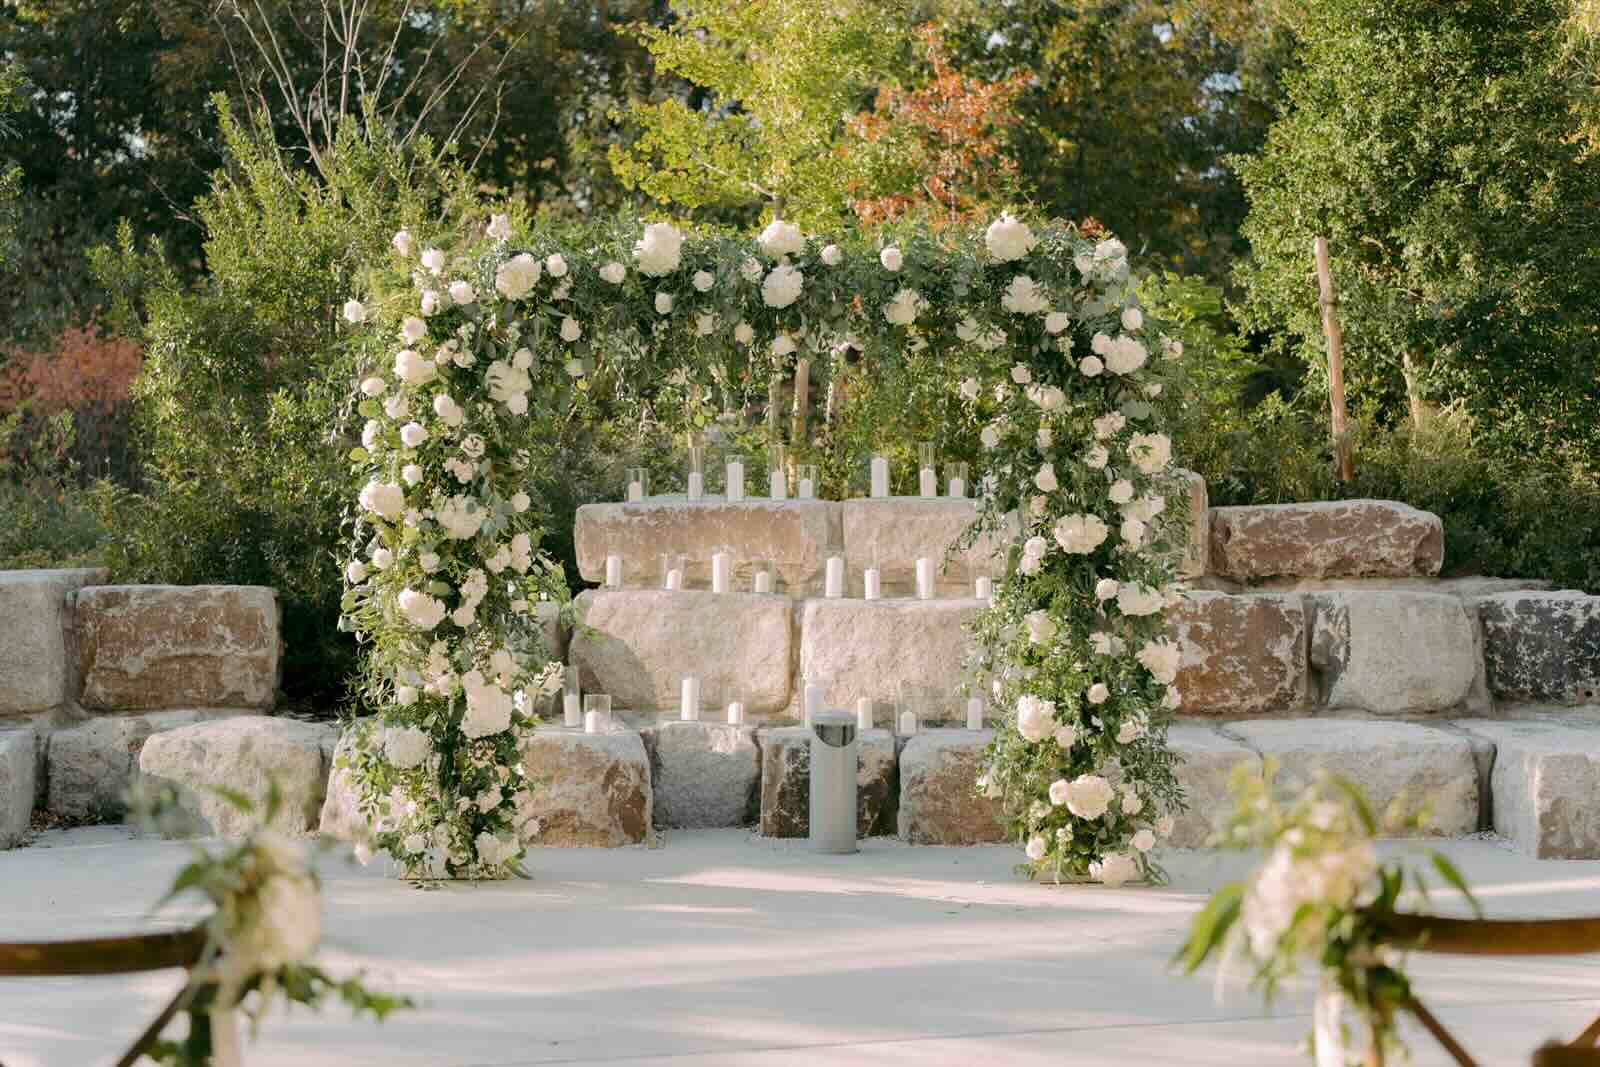
Welcome to the world of weddings, where love and greenery intertwine to create breathtakingly beautiful celebrations. Greenery garlands have become a popular trend in wedding decor, adding a touch of natural elegance to any venue. Whether you’re planning a rustic barn wedding or a sophisticated garden affair, greenery garlands can elevate the atmosphere and create a magical ambiance.
In this article, we will guide you through the process of making greenery garlands for weddings. We will show you how to choose the perfect greenery, prepare it, construct the base for the garland, attach the greenery, and add additional decorations if desired. By following these steps, you’ll be able to create stunning greenery garlands that will impress your guests and leave a lasting impression on your special day.
Before we jump into the fun part of creating the garlands, let’s take a moment to talk about the materials you’ll need for this project.
Key Takeaways:
- Create stunning greenery garlands for weddings by choosing the perfect greenery, preparing it with care, and adding optional decorations for a touch of natural elegance and enchanting ambiance.
- Maintain the freshness of your greenery garlands by keeping them hydrated, protecting them from direct sunlight and heat sources, and handling them with care to ensure a beautiful display on your wedding day.
Read more: How To Make A Garland With Greenery
Materials Needed
To make greenery garlands for your wedding, you will need the following materials:
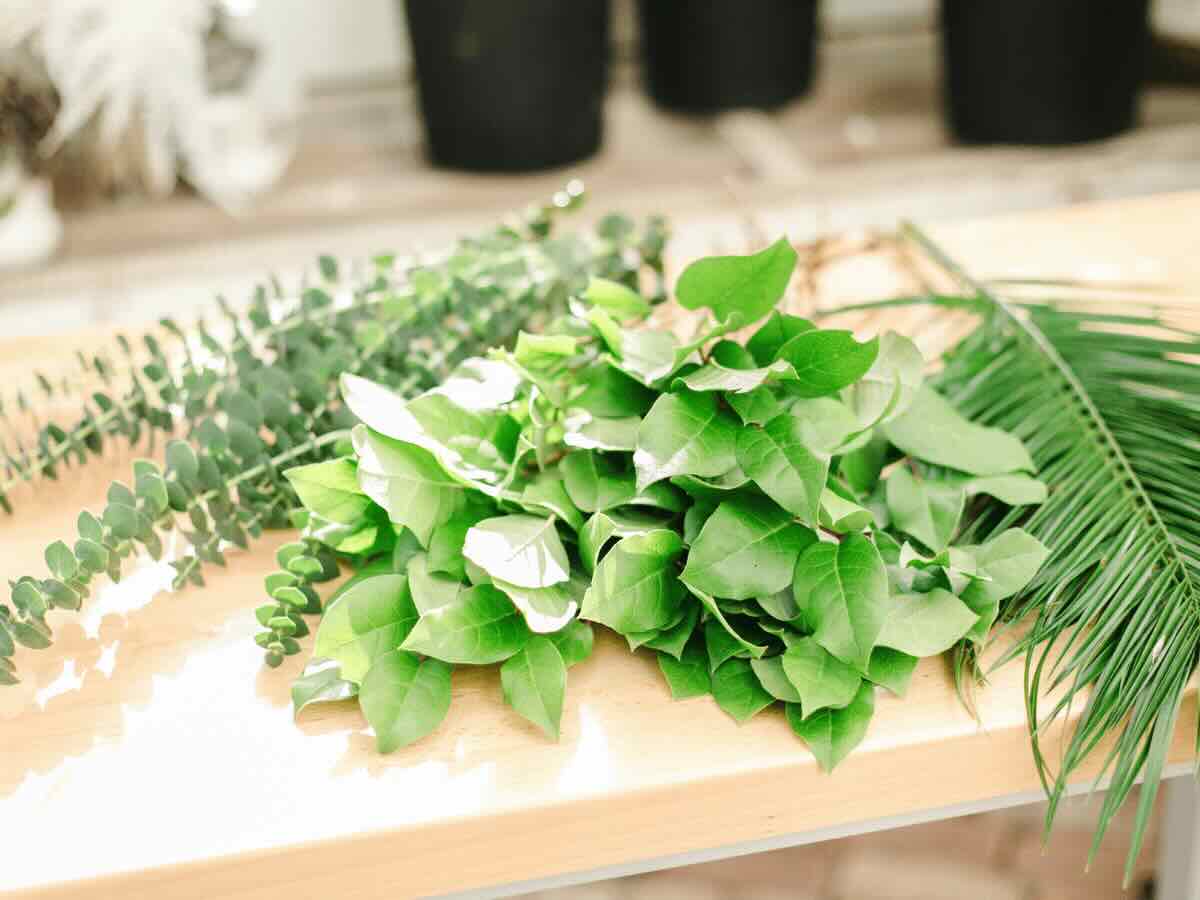
- Fresh greenery: Choose a variety of greenery that suits your wedding theme and color scheme. Some popular options include eucalyptus, ivy, ferns, and olive branches. You can either purchase the greenery from a local florist or source it from your own garden.
- Garden shears or floral scissors: These will be used to cut and trim the greenery.
- Floral wire or thin gauge floral tape: This will help secure the greenery to the base of the garland.
- Flexible vine wire or floral foam garland base: This will serve as the foundation for the garland and hold the greenery in place.
- Ribbon or twine (optional): If you want to hang the garlands, you’ll need ribbon or twine to create loops or knots for hanging.
- Additional decorations (optional): If you want to add some extra flair to your garlands, consider incorporating elements like dried flowers, feathers, or small ornaments.
Make sure to gather all of these materials before you begin, as they will be essential for the greenery garland-making process. Once you have everything ready, it’s time to move on to the next step: choosing the greenery.
Step 1: Choosing the Greenery
The first step in creating your greenery garlands is selecting the perfect greenery for your wedding. Consider your wedding theme, color scheme, and the overall atmosphere you want to create when choosing your greenery. Here are a few tips to help you make the right choice:
- Research different types of greenery: Look online or visit a local florist to explore the various types of greenery available. Consider the texture, color, and shape of the leaves to ensure it complements your overall wedding aesthetic.
- Consider the season: Take into account the season in which your wedding will take place. Opt for greenery that is readily available and in season to ensure freshness and vibrancy.
- Mix and match: Don’t be afraid to mix different types of greenery to add dimension and visual interest to your garlands. Play with different shades of green and incorporate varying leaf shapes and textures for a dynamic look.
- Consult with a florist: If you’re unsure about which greenery to choose, consult with a professional florist who can provide expert advice based on your specific wedding vision.
Once you have decided on the types of greenery you want to use, it’s time to move on to the next step: preparing the greenery.
Step 2: Preparing the Greenery
Now that you have chosen the greenery for your garlands, it’s important to properly prepare it to ensure freshness and longevity. Follow these steps to prepare your greenery:
- Trim the stems: Using garden shears or floral scissors, trim the stems of your greenery at a 45-degree angle. This will promote better water absorption and help the greenery stay hydrated.
- Remove unwanted foliage: Take a moment to remove any leaves or branches that appear wilted, discolored, or damaged. This will ensure that only the healthiest parts of the greenery are used for your garlands.
- Water the greenery: If you have freshly cut greenery, place the stems in a container filled with water. Allow the greenery to hydrate for a few hours or overnight to improve its longevity. If you purchased pre-cut greenery, mist it with water using a spray bottle to keep it fresh.
- Store the greenery properly: If you’re not going to use the greenery right away, store it in a cool and humid environment, such as a basement or refrigerator, to prevent wilting. Wrap the stems in a damp paper towel and place them in a plastic bag to maintain moisture.
By taking these steps to prepare your greenery, you’ll ensure that it stays fresh and vibrant throughout the garland-making process and on your special day. With the greenery ready, it’s time to move on to the next step: creating the base for the garland.
Step 3: Creating the Base for the Garland
With the greenery prepared, it’s time to move on to creating the base for your garland. The base will provide structure and support for attaching the greenery. Here’s how you can create the base:
- Choose a flexible vine wire or floral foam garland base: You can find these at craft stores or floral supply shops. The vine wire is a pliable wire that can be shaped easily, while the floral foam garland base is a foam cylinder covered in plastic that holds the greenery securely.
- Determine the length of your garland: Measure the area where you plan to display the garland and cut the base to the desired length. Add a few extra inches to account for any overlap or adjustments you might need to make during the assembly process.
- If using vine wire: Begin by twisting the ends of the wire together to form a loop or a knot. This will serve as a hanger for the garland. Then, shape the wire into the desired curve or shape for your garland, such as a swooping arc or a circular wreath.
- If using floral foam garland base: Wet the foam thoroughly by soaking it in water for a few minutes. This will help keep the greenery hydrated and fresh throughout your wedding day. Afterward, wrap the wet base with plastic to keep it from dripping.
Remember to consider the overall size and scale of the garland in relation to your wedding venue. You don’t want your garland to overpower the space or get lost in small corners. With the base ready, it’s time to move on to the next step: attaching the greenery.
Read more: How To Make Fresh Greenery Garlands
Step 4: Attaching the Greenery to the Base
Now that you have your base ready, it’s time to attach the greenery and bring your garland to life. Follow these steps to securely attach the greenery to the base:
- Start with a focal point: Choose a central area on the base where you want the main cluster of greenery to be. This will serve as the focal point of the garland.
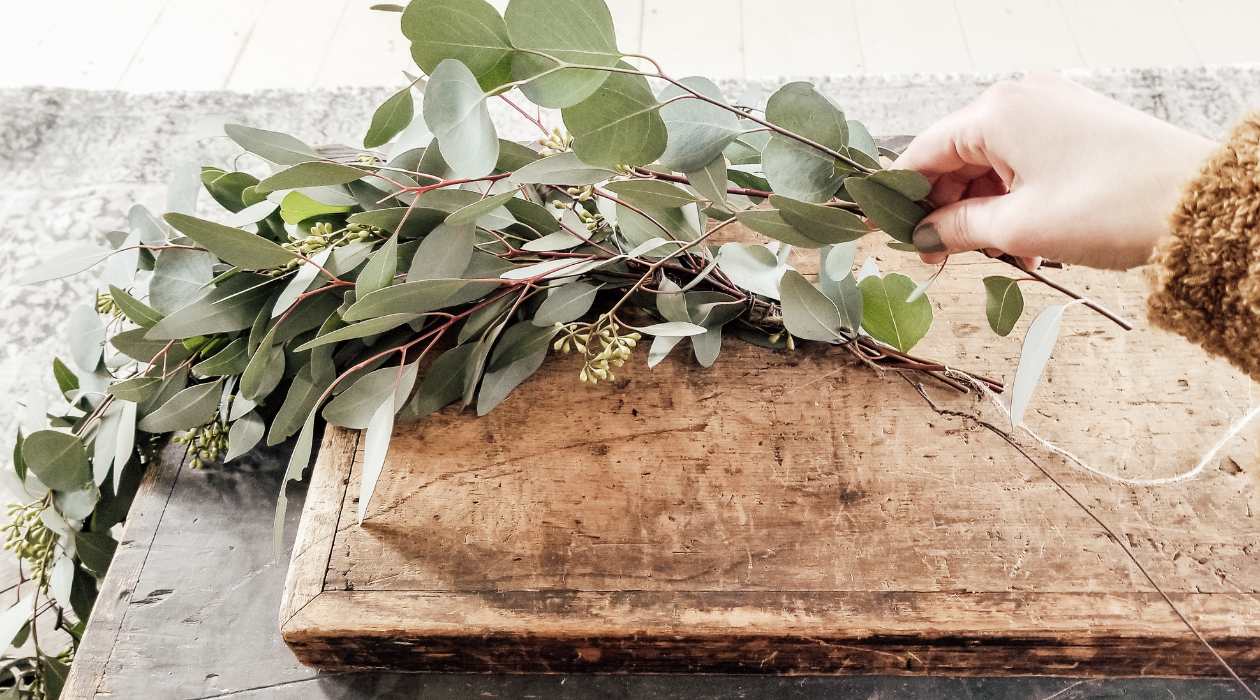
- Take a small bunch of greenery: Select a few stems of greenery and gather them together tightly. Position the stems against the base, making sure the foliage covers any exposed wire or foam.
- Secure the greenery: Use floral wire or thin gauge floral tape to tightly wrap around the stems and attach them to the base. Be careful not to wrap too tightly to avoid crushing the delicate leaves.
- Continue adding greenery: Repeat the process of selecting small bunches of greenery and attaching them to the base. As you work, slightly overlap each new bunch with the previous one to create a seamless and full appearance.
- Vary the direction and size: To achieve a more natural and organic look, mix up the direction in which you attach the greenery. Some stems can face upward, while others can drape downward. Additionally, incorporate varying sizes of greenery to add depth and texture.
- Fill in any gaps: After attaching the main clusters of greenery, take a step back and assess the garland. If you notice any gaps or bare spots, carefully add smaller stems or sprigs of greenery to fill them in.
Remember to take breaks and step back periodically to assess the overall look of the garland. This allows you to make adjustments and ensure a balanced and cohesive design. With the greenery securely attached, it’s time to move on to the next step: adding additional decorations, if desired.
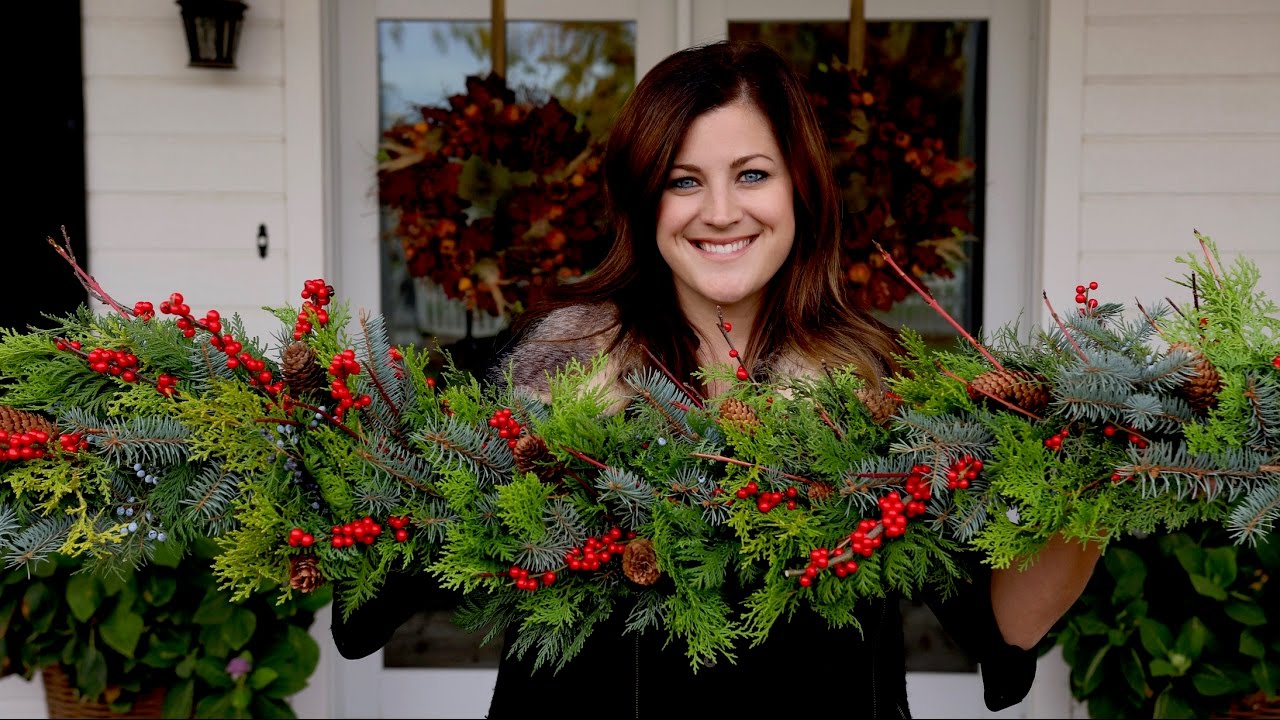
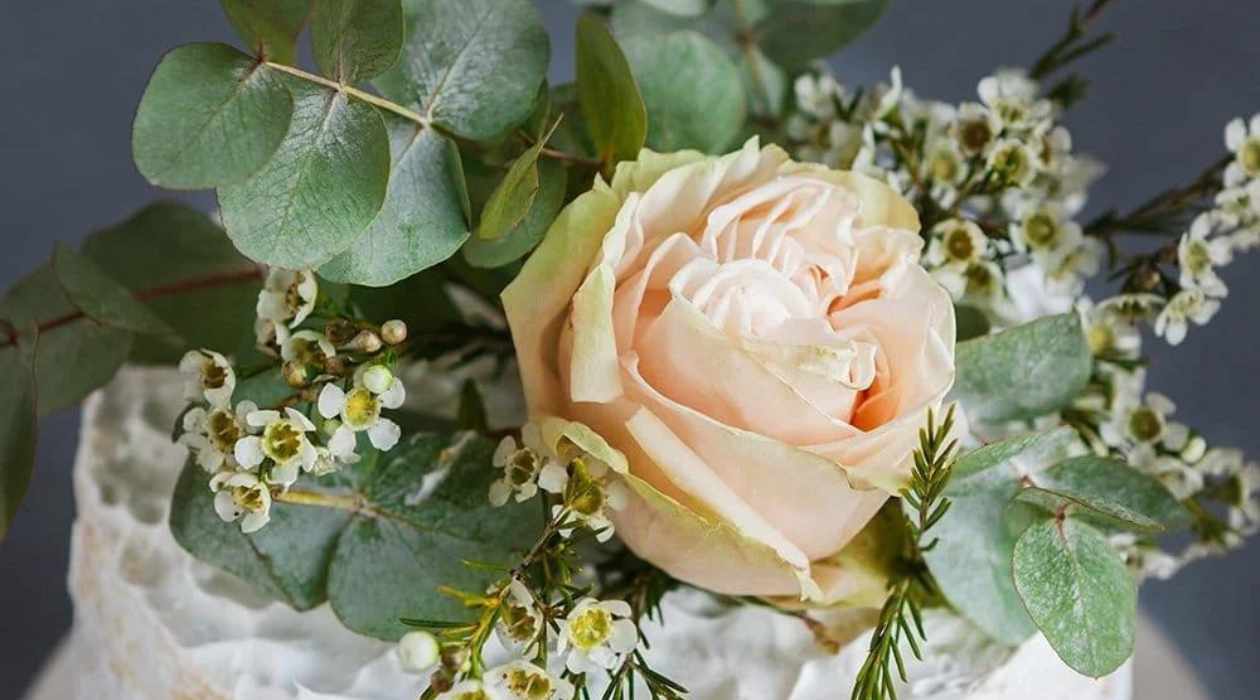
When making greenery garlands for a wedding, choose a variety of textures and colors for visual interest. Use floral wire to secure the stems together, and consider adding in some flowers for a pop of color.
Step 5: Adding Additional Decorations (Optional)
If you want to take your greenery garlands to the next level, you can add additional decorations to enhance their beauty. Here are a few ideas to inspire you:
- Dried flowers: Incorporate dried flowers in complementary colors to add a touch of romance and texture to your garlands. Choose delicate blooms like lavender, baby’s breath, or dried roses.
- Feathers: For a whimsical and bohemian vibe, include feathers of different sizes and colors. They can be attached by simply tucking them into the greenery or securing them with small pieces of floral wire.
- Ribbon or fabric: Wrap ribbons or strips of fabric around the garland to add a pop of color or to match your wedding theme. You can tie small bows or let the ribbons cascade down the length of the garland for a romantic look.
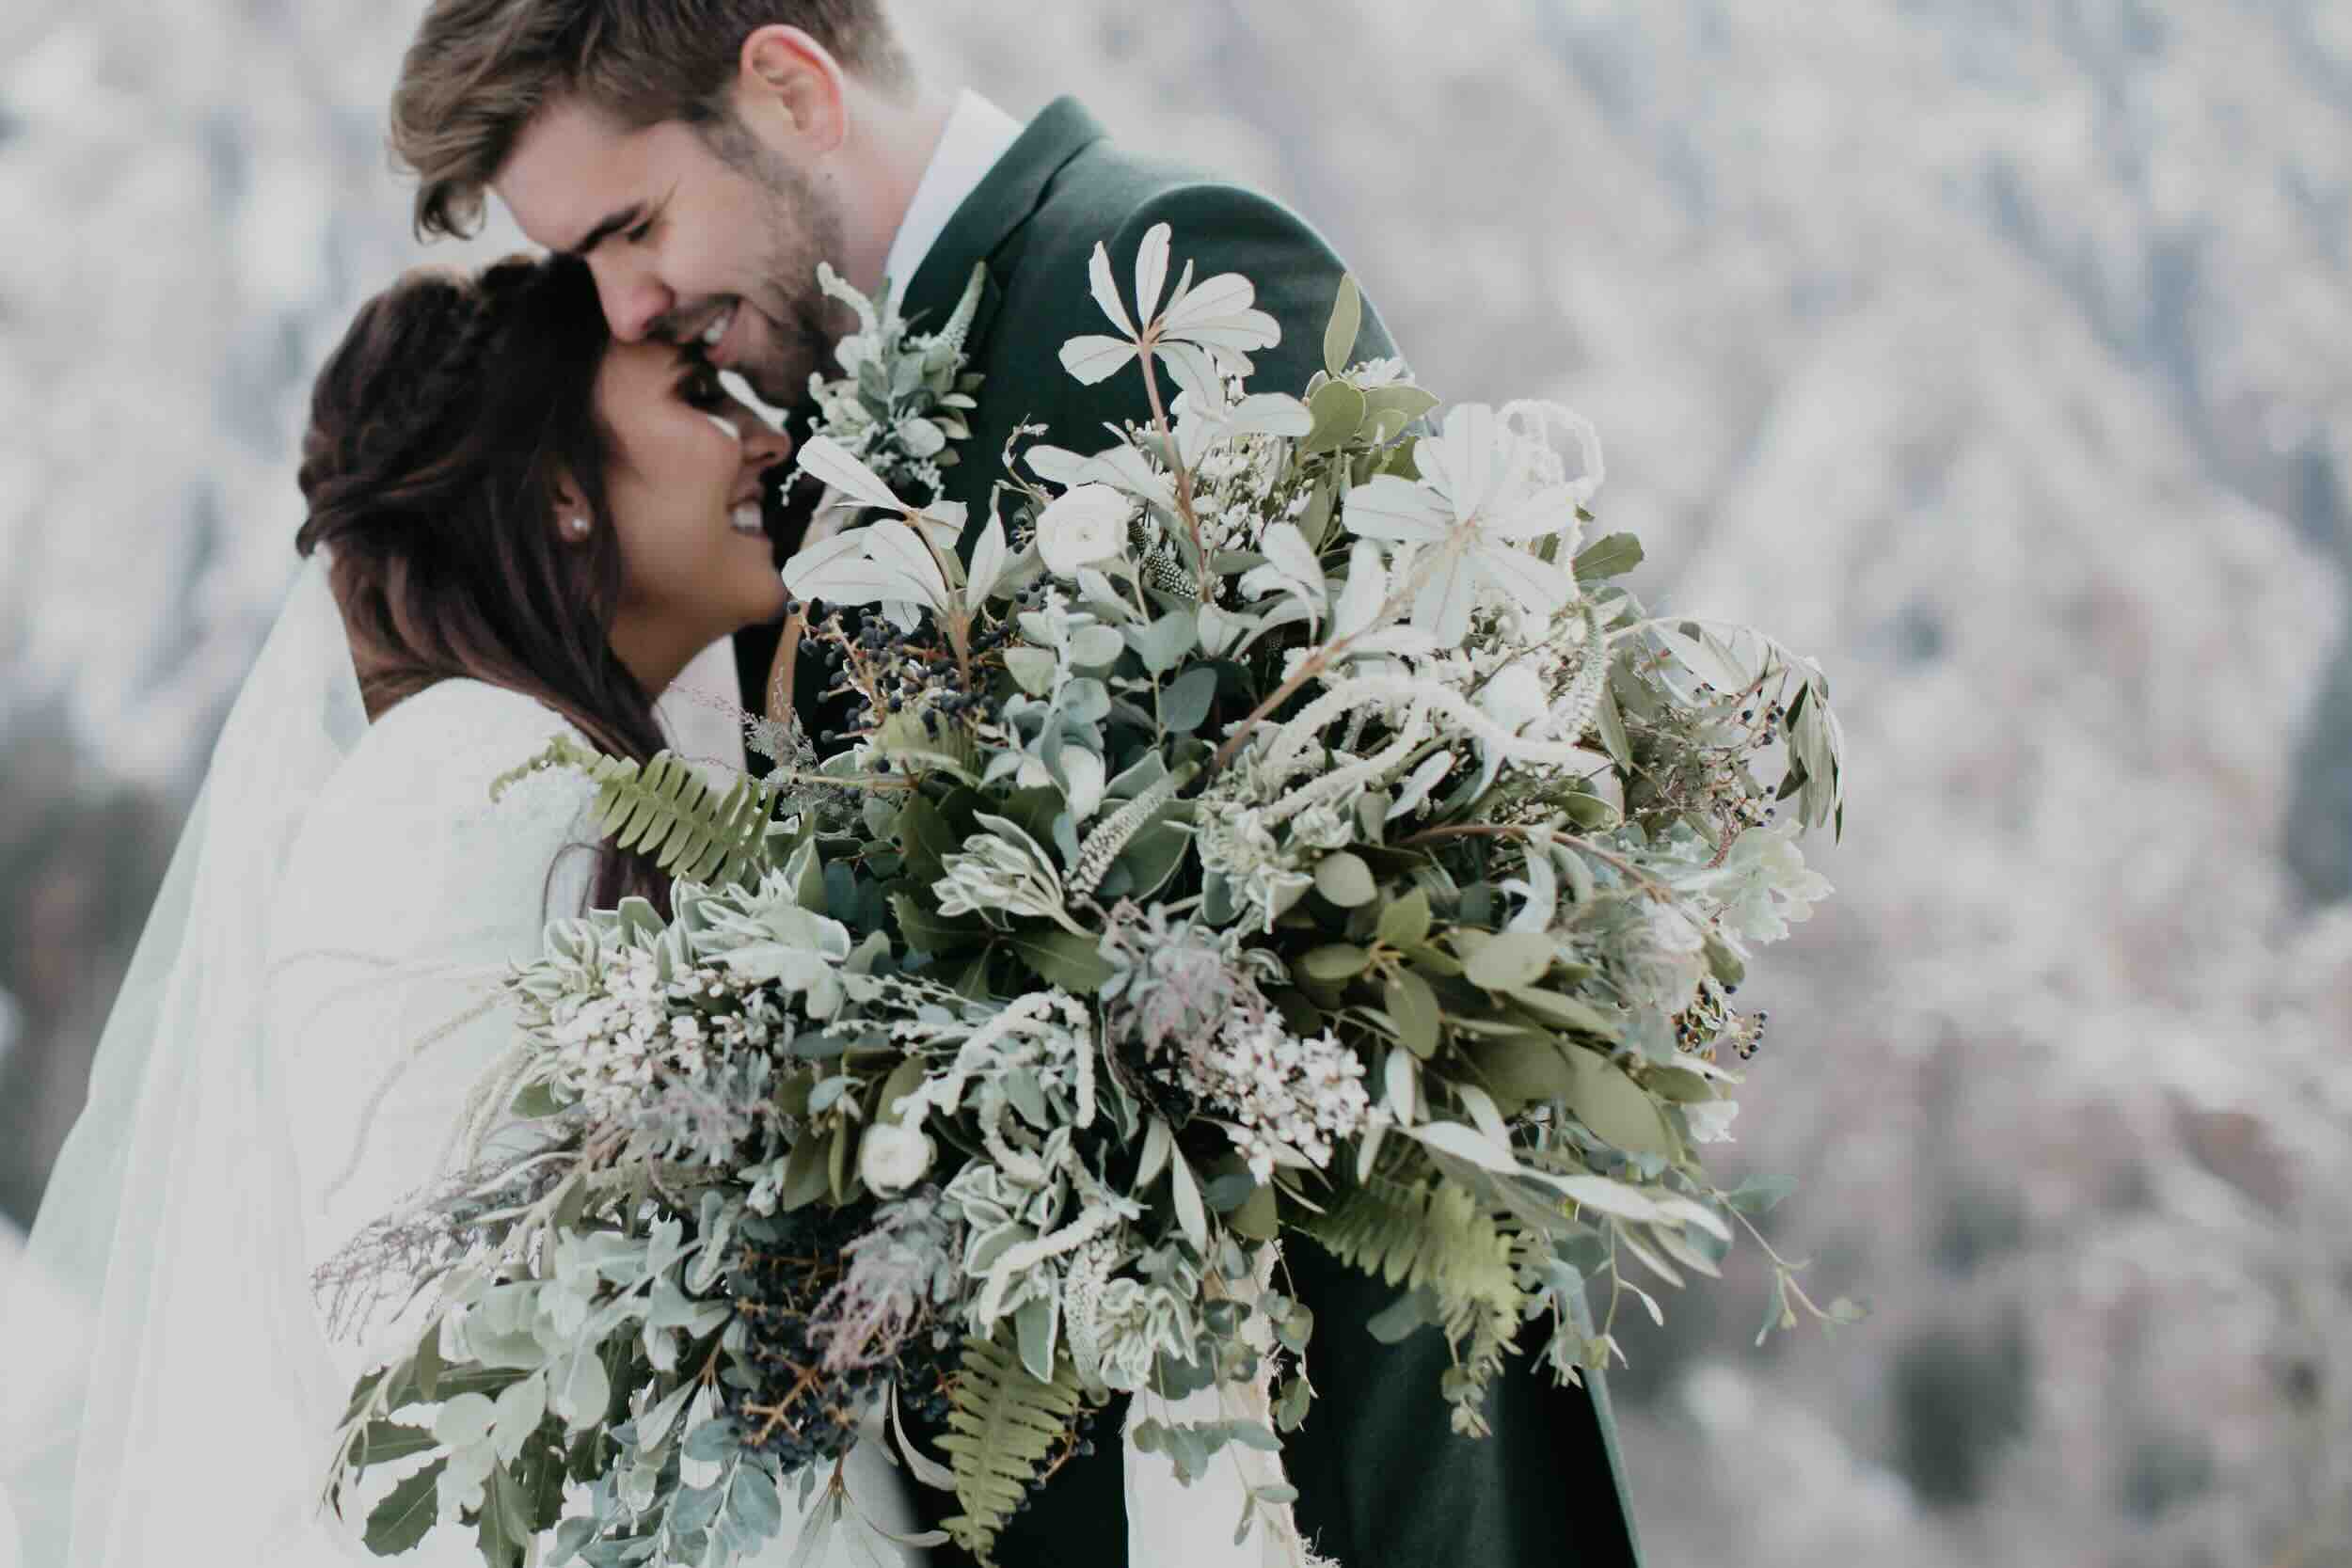
- Ornaments: If you’re having a winter or holiday wedding, consider incorporating small ornaments into the garlands. Choose ornaments that match your color palette and attach them securely with floral wire.
- String lights: To create a magical ambiance, weave battery-operated string lights throughout the greenery. The soft glow will add warmth and enchantment to your garlands.
Remember, the idea is to enhance the natural beauty of the greenery garlands, so be mindful not to overwhelm the design with too many additional decorations. Choose elements that complement and accentuate the greenery, rather than overpowering it. Once you’re satisfied with the additional decorations, it’s time to move on to the final step: hanging and displaying the greenery garlands.
Step 6: Hanging and Displaying the Greenery Garlands
Now that your greenery garlands are complete, it’s time to decide how you want to hang and display them at your wedding. Here are a few ideas to help you showcase your beautiful creations:
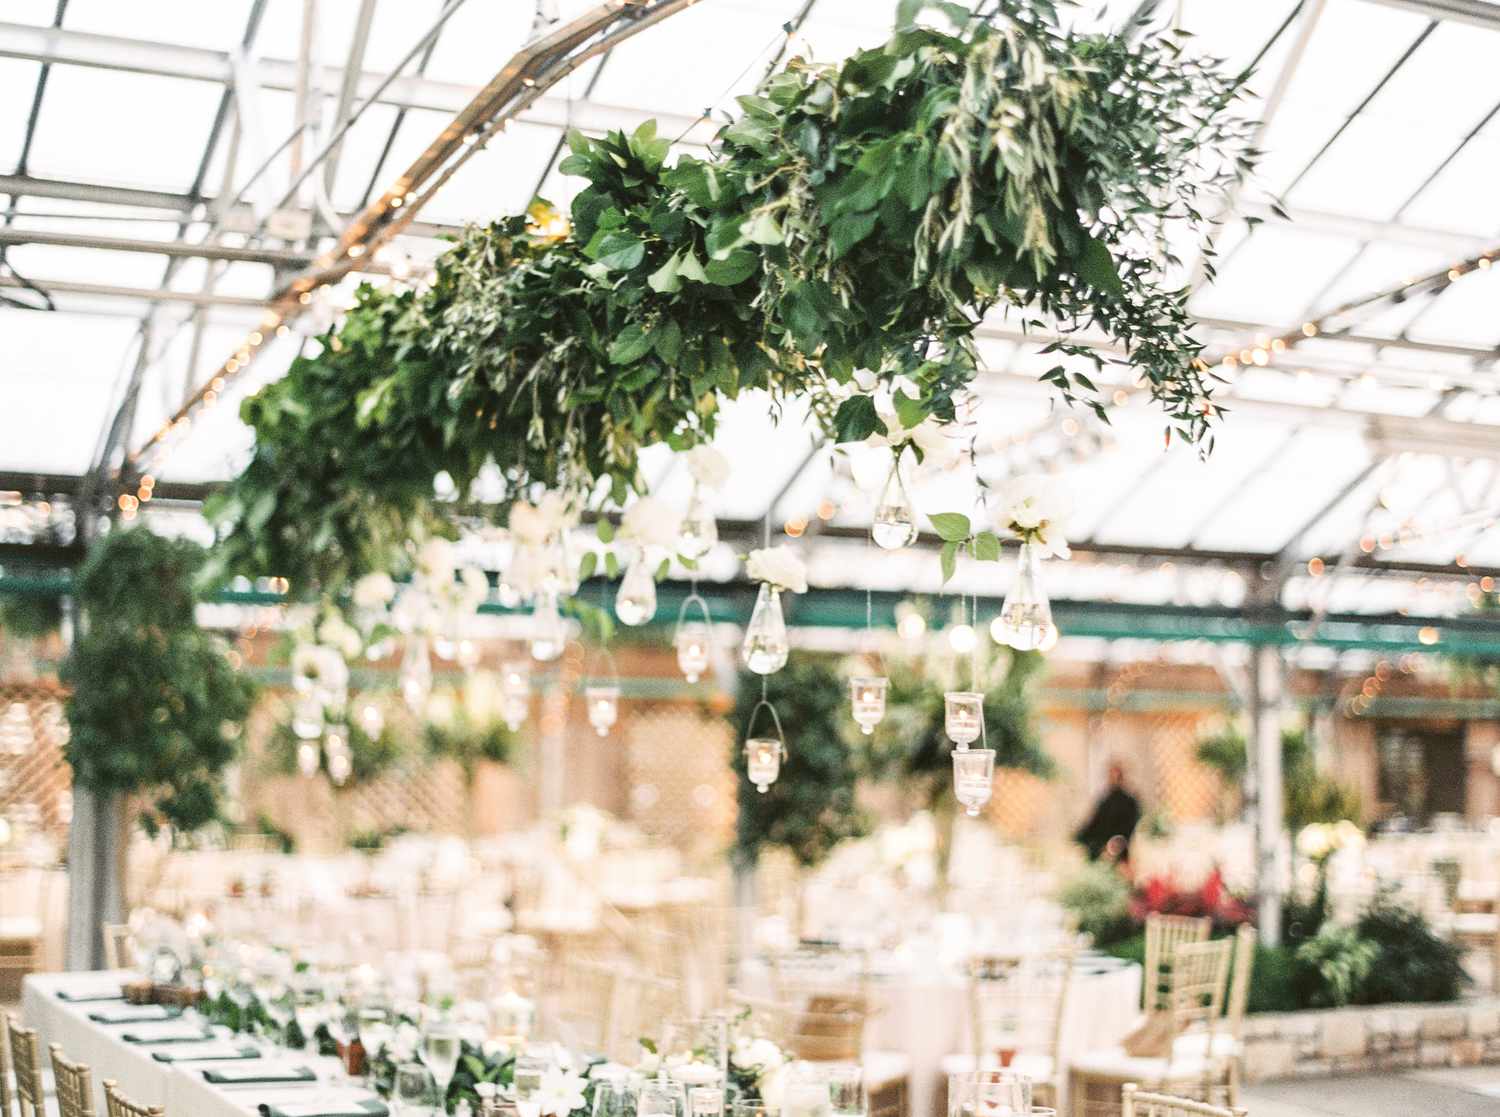
- Draperies: If your venue has pillars, arches, or beams, you can drape the garlands along these structures. Secure the garlands with floral wire or clear fishing line for a seamless and ethereal look.
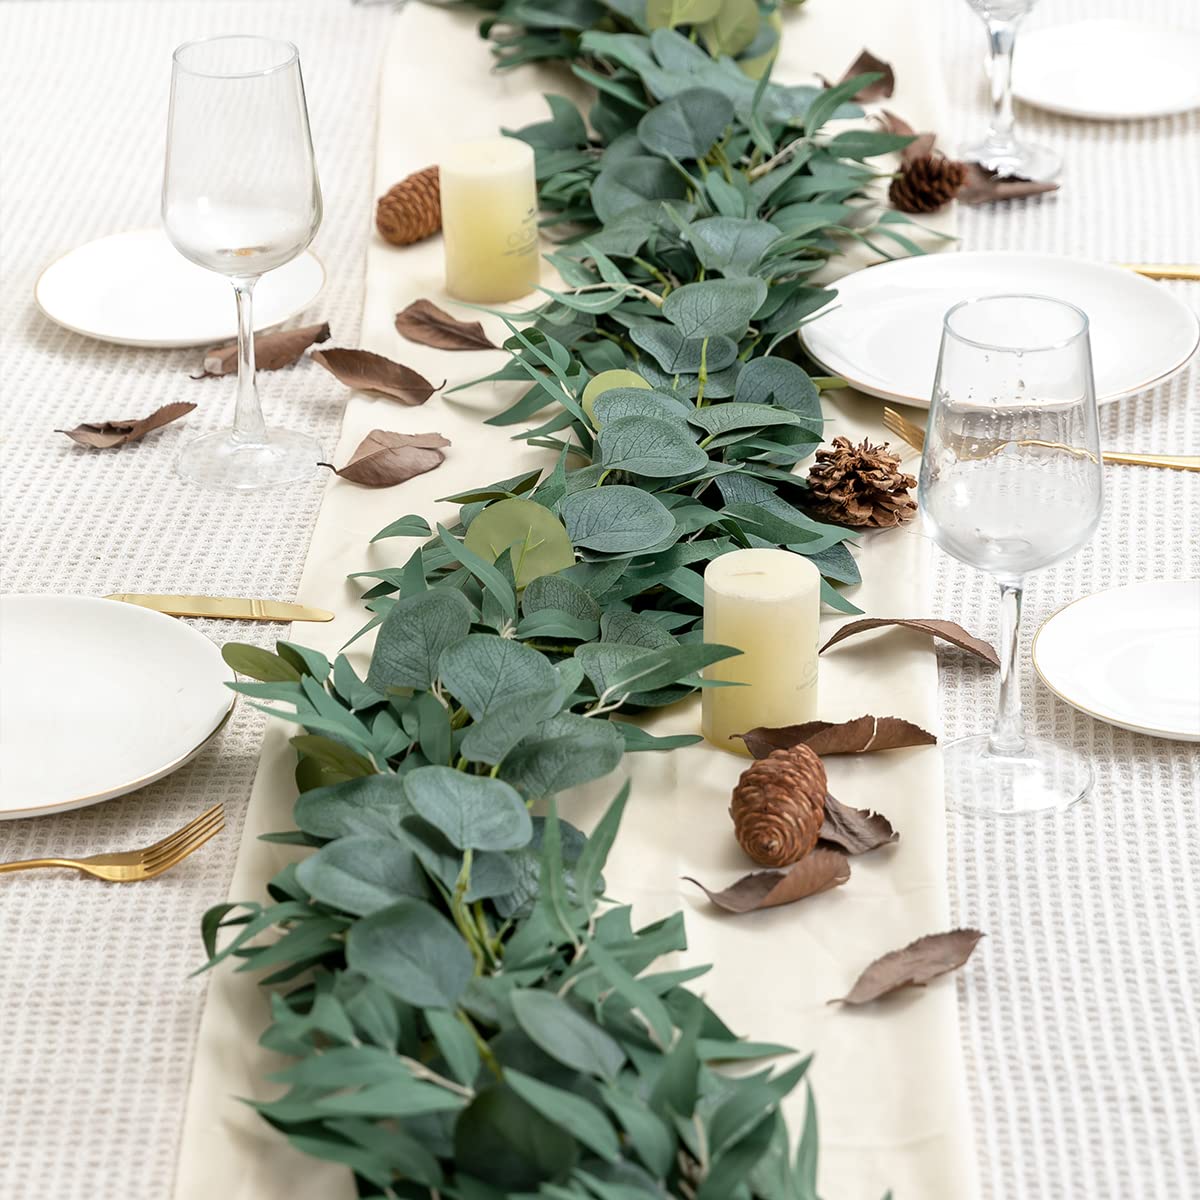
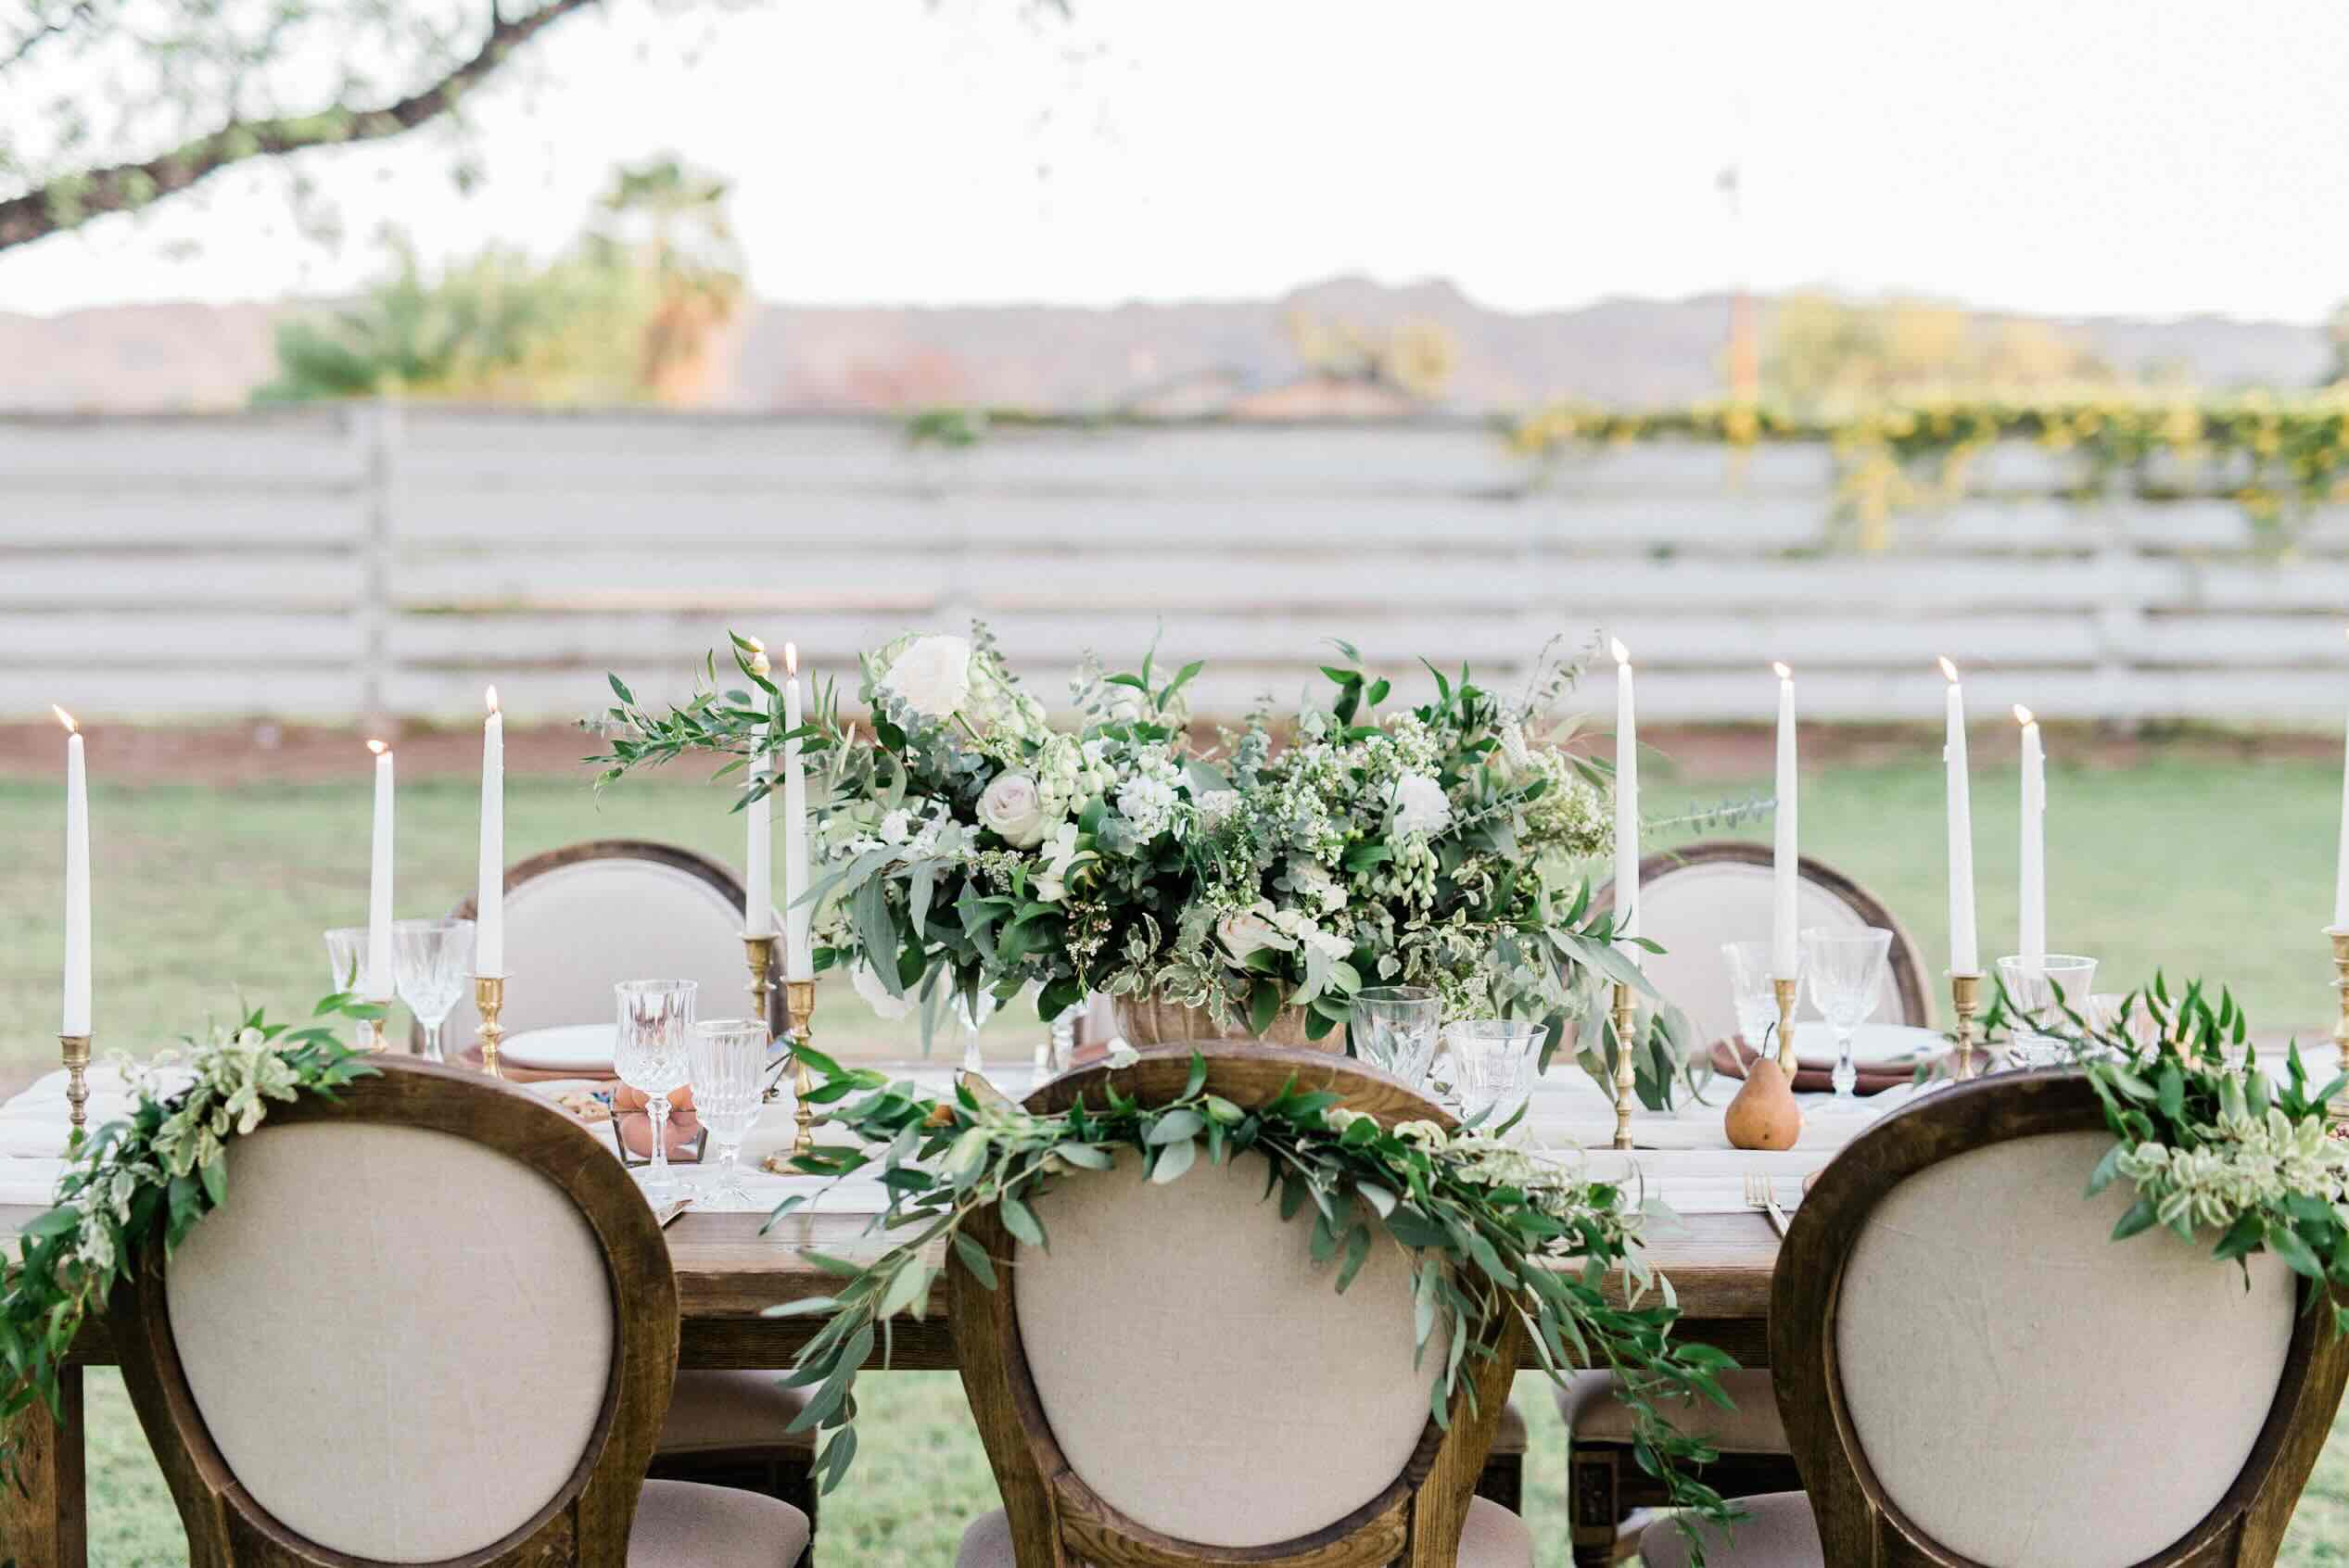
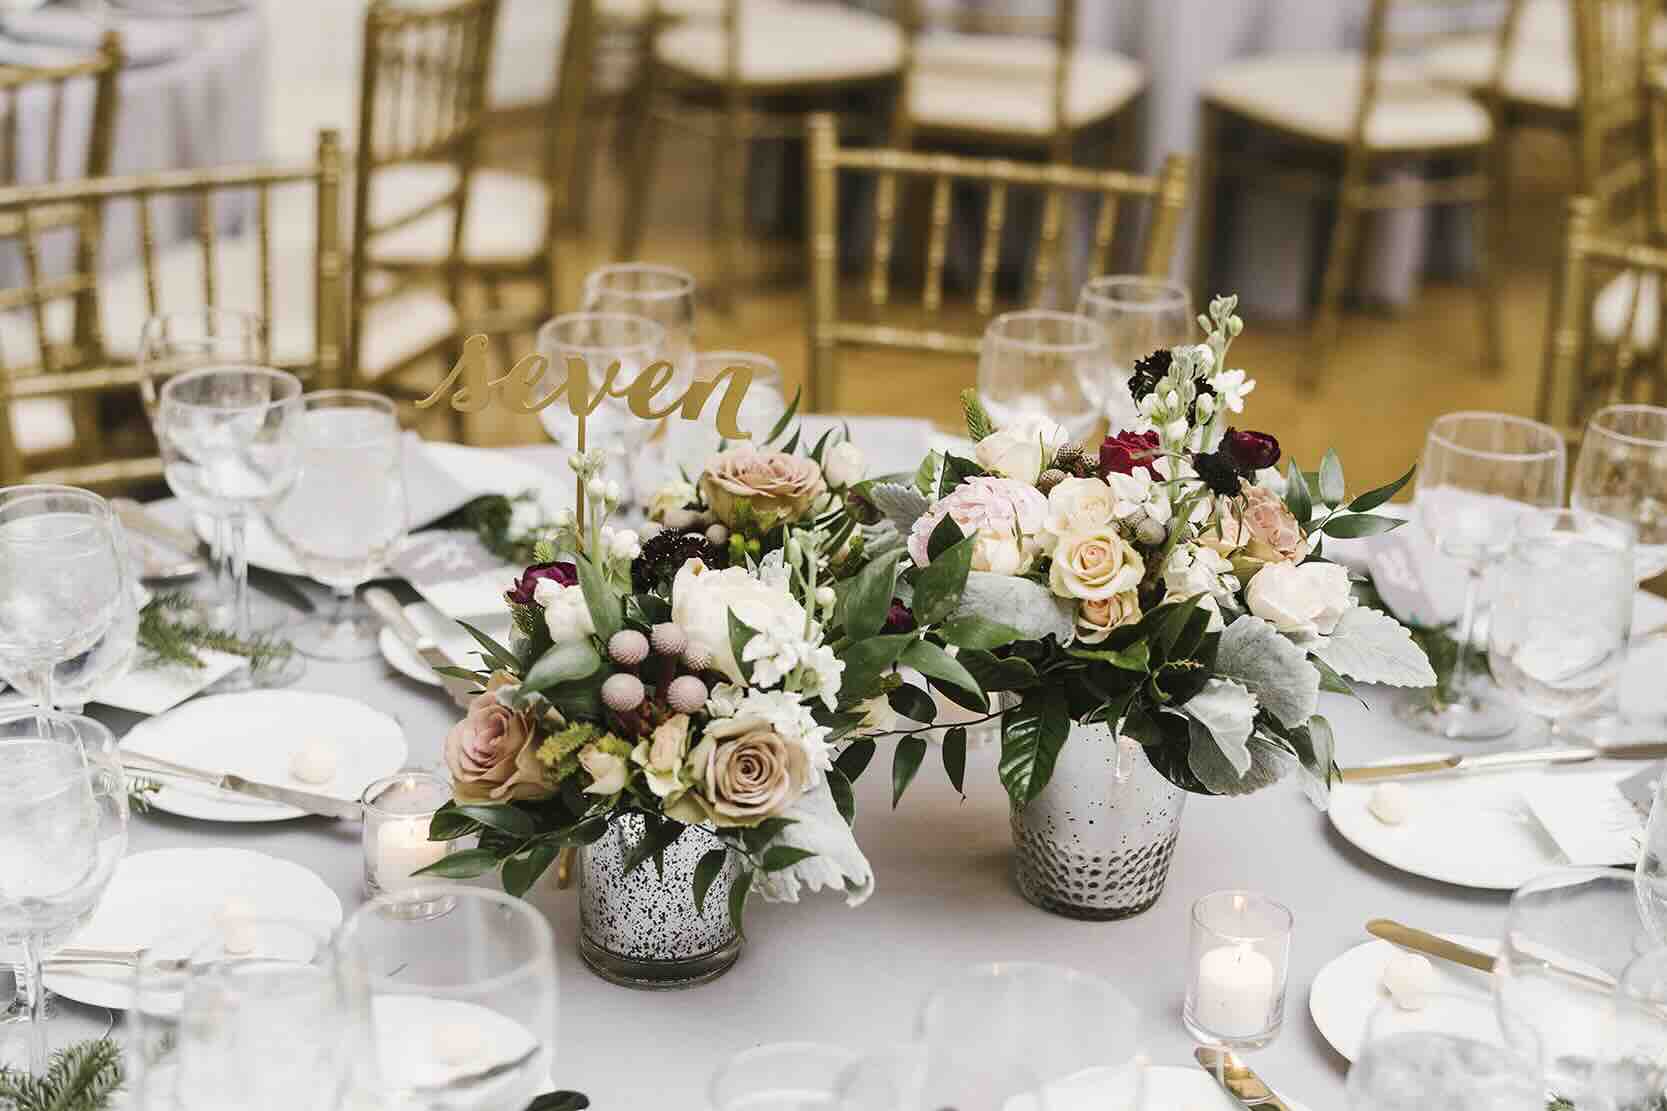
- Tablescape accents: Lay the garlands along banquet tables or sweetheart tables as a stunning centerpiece. Add some taper candles, votives, or table runners to complete the elegant display.
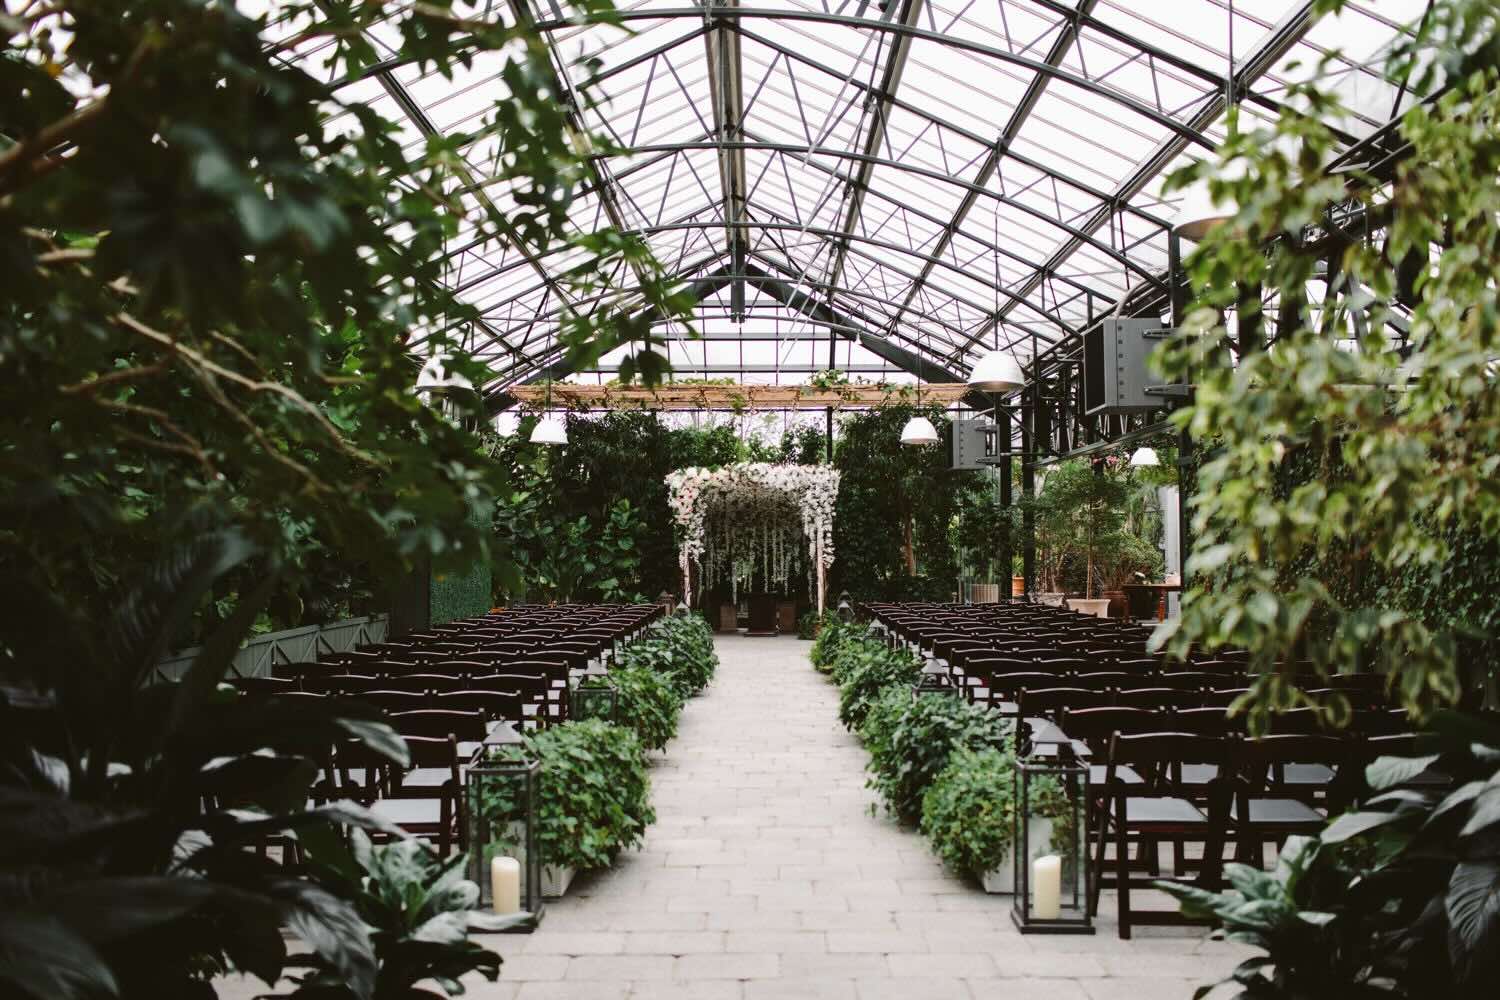
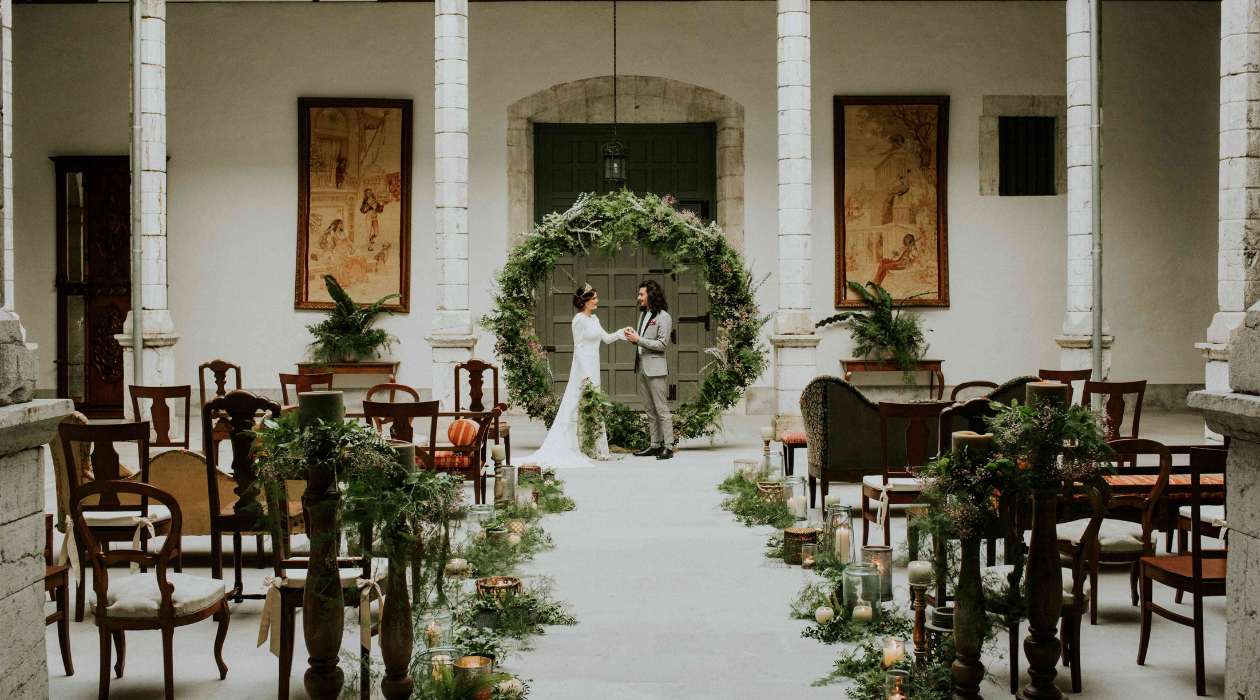
- Backdrop: Create a mesmerizing backdrop for your ceremony or photo booth by hanging the garlands against a wall or suspended frame. This will add a lush and romantic ambiance to the space.
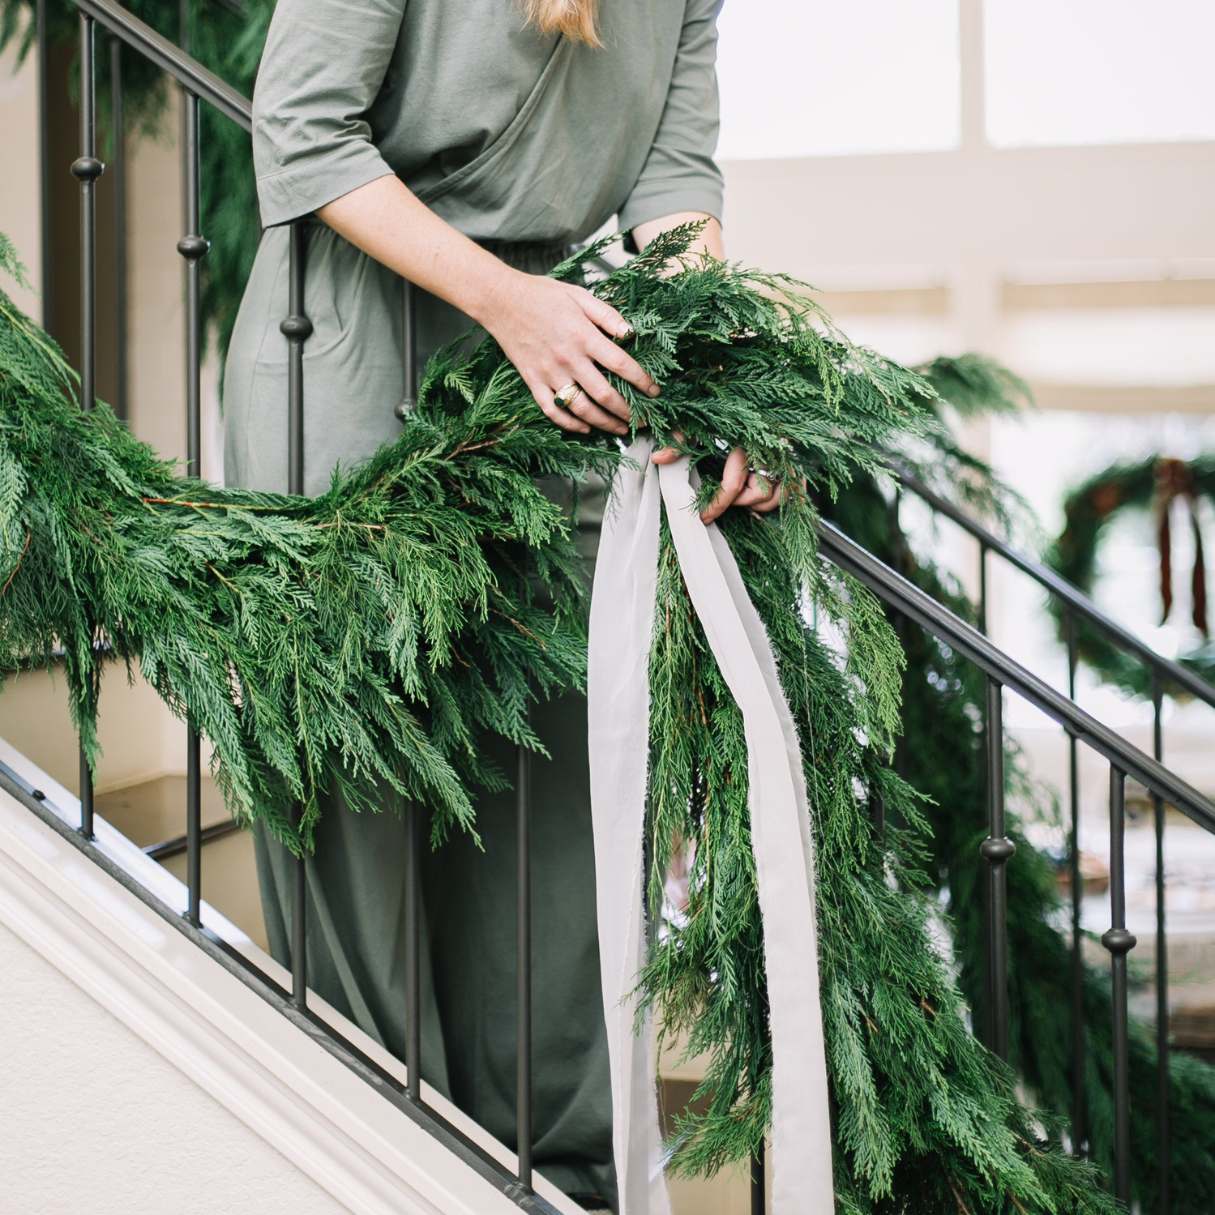
- Staircase decor: Adorn stair railings with the greenery garlands to create a grand entrance for you and your guests. Combine them with romantic candle holders or lanterns for an enchanting effect.
- Chandelier accents: If your venue has chandeliers, add small sections of greenery garlands around the arms or hanging crystals to soften the overall look and create an organic touch.
- Chair decor: For a whimsical touch, wrap mini garlands around the backs of your chairs or create small swags to hang from the top corner. This will add a customized and charming element to your seating arrangement.
Remember to secure the garlands properly to ensure they stay in place throughout your wedding day. Use floral wire, clear fishing line, or zip ties to secure them, depending on the surface or structure you’re attaching them to. Take extra caution when decorating with candles or lights to avoid any fire hazards.
With your greenery garlands hanging and displayed, take a moment to admire the beauty and elegance they bring to your wedding venue. These garlands will create a stunning backdrop for your special day and leave a lasting impression on your guests.
Conclusion
Congratulations! You have successfully learned how to make greenery garlands for your wedding. These garlands add a touch of natural beauty and elegance to any wedding venue, creating a timeless and enchanting atmosphere. By choosing the right greenery, preparing it properly, creating a sturdy base, attaching the greenery with care, and adding optional decorations, you have created stunning garlands that reflect your unique style and vision.
As you hang and display your greenery garlands, take a moment to appreciate the beauty they bring to your wedding celebration. They serve as a reminder of the love and joy shared on this special day, and the natural beauty of the world around us.
Remember to take proper care of your greenery garlands to maintain their freshness throughout the day. Mist them with water periodically to keep them hydrated, especially if you’re having an outdoor wedding or in a warm environment. After the wedding, you can preserve the garlands as a special memento by drying them or using them in other home décor projects.
Thank you for joining us on this greenery garland-making journey. We hope that your wedding is filled with beauty, love, and unforgettable moments surrounded by the natural elegance of your greenery garlands.
Cheers to a magical and memorable wedding day!
Read more: How To Make Greenery Garland Rings
Tips for Maintaining the Greenery Garlands
After putting in the effort to create beautiful greenery garlands for your wedding, you’ll want to ensure they stay fresh and vibrant throughout the day. Here are some tips for maintaining the greenery garlands:
- Keep the garlands hydrated: Greenery needs water to stay fresh, so mist the garlands with water using a spray bottle periodically throughout the day. This is especially important for outdoor weddings or in warm environments.
- Avoid direct sunlight: When displaying the garlands, try to keep them away from direct sunlight as it can cause the greenery to wilt and lose its vibrancy. Opt for shaded areas or indoor spaces if possible.
- Protect from heat sources: Keep the garlands away from heat sources such as heaters, candles, or open flames to prevent drying out or damage to the greenery.
- Handle with care: When moving or arranging the garlands, handle them gently to prevent any leaves or delicate stems from falling off. Treat them with care to maintain their overall appearance.
- Consider a water source: If possible, secure the garlands near a water source or use water-filled containers to extend their freshness. This will help keep the greenery hydrated throughout the day.
- Have a backup plan: Prepare extra greenery or spare garlands as a backup in case any of the garlands start to wilt or lose their freshness. This way, you can quickly replace them without any interruption to your wedding decorations.
- Consult with a professional: If you have any concerns or questions about maintaining the greenery garlands, don’t hesitate to consult with a professional florist. They can offer expert advice and guidance specific to your greenery choices and wedding conditions.
By following these tips, you’ll help ensure that your greenery garlands stay vibrant, fresh, and visually stunning throughout your wedding day. Take the time to care for them, and they will continue to add a touch of natural beauty to your special celebration.
Final Thoughts
Creating greenery garlands for your wedding is not only a beautiful way to incorporate nature into your special day, but it also allows you to showcase your creativity and personal style. These garlands can transform your wedding venue, adding a touch of natural elegance and creating a romantic and enchanting atmosphere.
Throughout this article, we have guided you through the process of choosing the perfect greenery, preparing it, constructing the base, attaching the greenery, and adding optional decorations. By following these steps, you can create stunning greenery garlands that reflect your unique vision and leave a lasting impression on your guests.
Remember to take care of your garlands by keeping them hydrated, protecting them from direct sunlight and heat sources, and handling them with care. And don’t forget to have a backup plan in case any unforeseen issues arise. By following these tips, your greenery garlands will stay fresh and vibrant, enhancing the overall beauty of your wedding day.
Beyond their beauty, greenery garlands also symbolize the growth, vitality, and connection to nature that marriage signifies. They serve as a reminder that love, like the evergreen leaves, remains steadfast and timeless.
So, embrace the beauty of nature and let your greenery garlands be a testament to the love and joy shared on your wedding day. Whether they adorn archways, tables, or staircases, they will bring a touch of magic to your celebration.
Congratulations on your upcoming wedding, and we hope your greenery garlands become a cherished part of your special day, creating memories to last a lifetime.
Wishing you a wedding filled with love, laughter, and the natural elegance of greenery garlands!
Frequently Asked Questions about How To Make Greenery Garlands For A Wedding
Was this page helpful?
At Storables.com, we guarantee accurate and reliable information. Our content, validated by Expert Board Contributors, is crafted following stringent Editorial Policies. We're committed to providing you with well-researched, expert-backed insights for all your informational needs.

0 thoughts on “How To Make Greenery Garlands For A Wedding”