Home>Garden Essentials>How To Germinate Tulip
Garden Essentials
How To Germinate Tulip
Modified: March 16, 2024
Learn how to germinate tulip bulbs in your garden with these simple steps and enjoy beautiful blooms in no time.
(Many of the links in this article redirect to a specific reviewed product. Your purchase of these products through affiliate links helps to generate commission for Storables.com, at no extra cost. Learn more)
Introduction
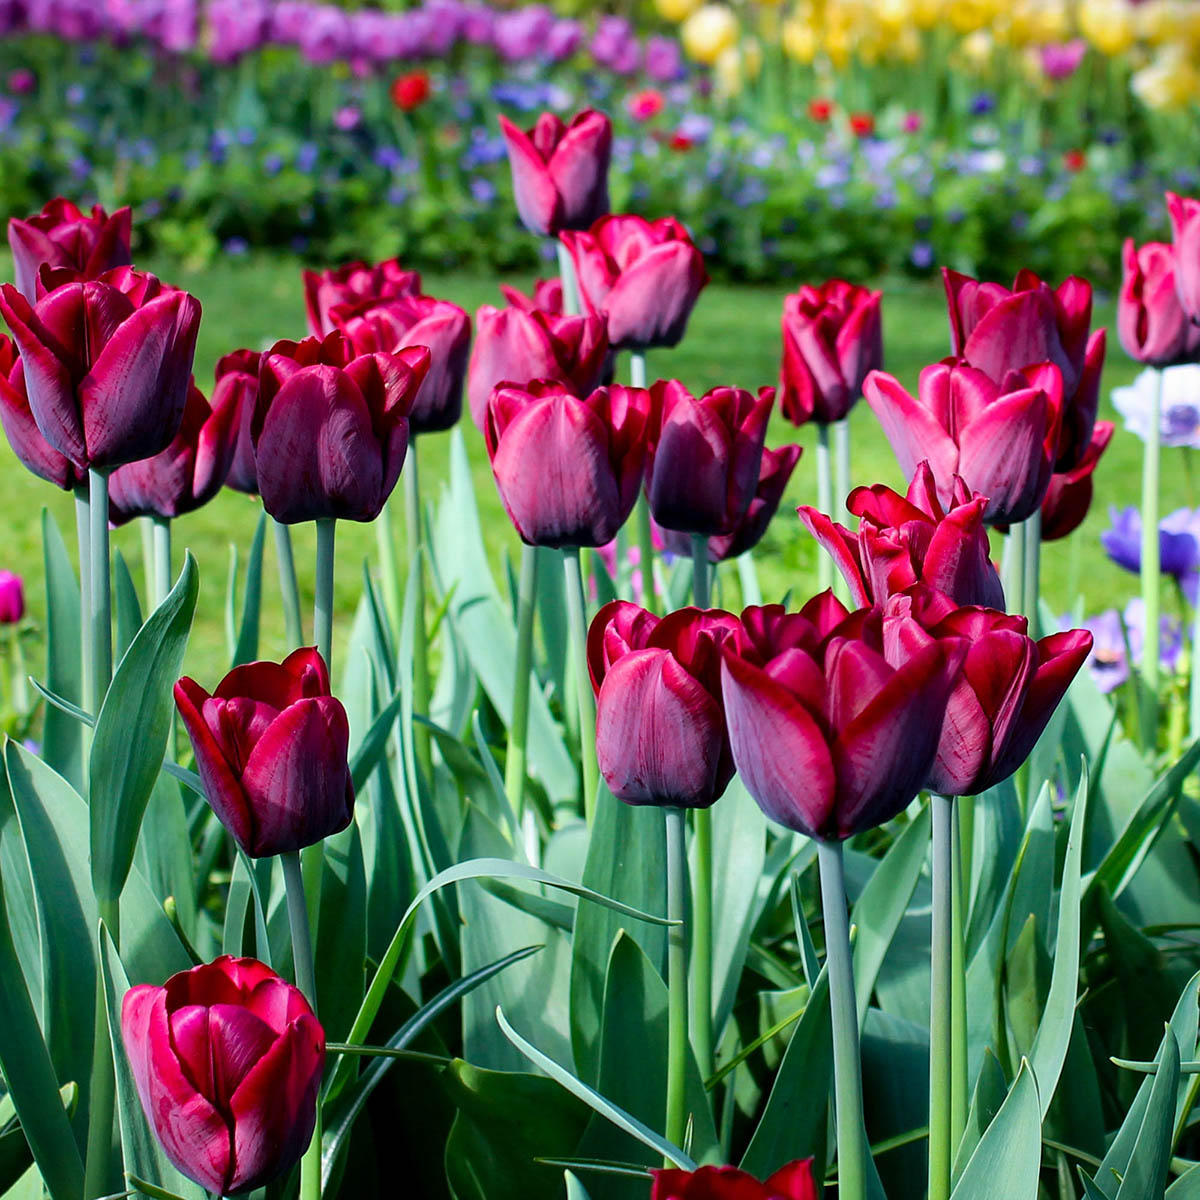
Welcome to the wonderful world of tulips! These radiant and vibrant flowers are a favorite among gardeners around the world. If you’re eager to add a touch of elegance and beauty to your garden, learning how to germinate tulips is the perfect place to start.
Tulips are known for their bold and striking colors, and they can be grown in a variety of climates. Whether you’re a seasoned gardener or a beginner, germinating tulips is a relatively simple process that can bring you joy and satisfaction.
In this article, we’ll guide you through the steps of successfully germinating tulips, from selecting the right bulbs to transplanting them into your garden. By following these steps, you’ll soon be able to enjoy the sight of vivid tulip blooms in your outdoor space.
So, grab your gardening gloves and let’s get started on this exciting journey to bring tulips to life!
Key Takeaways:
- Choose healthy, firm tulip bulbs of the right variety, size, and disease resistance for successful germination. Prepare well-draining, sunny soil and plant bulbs in fall or early spring for beautiful tulip blooms.
- Provide regular watering, full sun, and proper care to help tulip seedlings thrive. Protect them from pests, diseases, extreme weather, and transplant to the garden for stunning displays.
Read more: When Do Tulips Germinate
Step 1: Selecting Tulip Bulbs
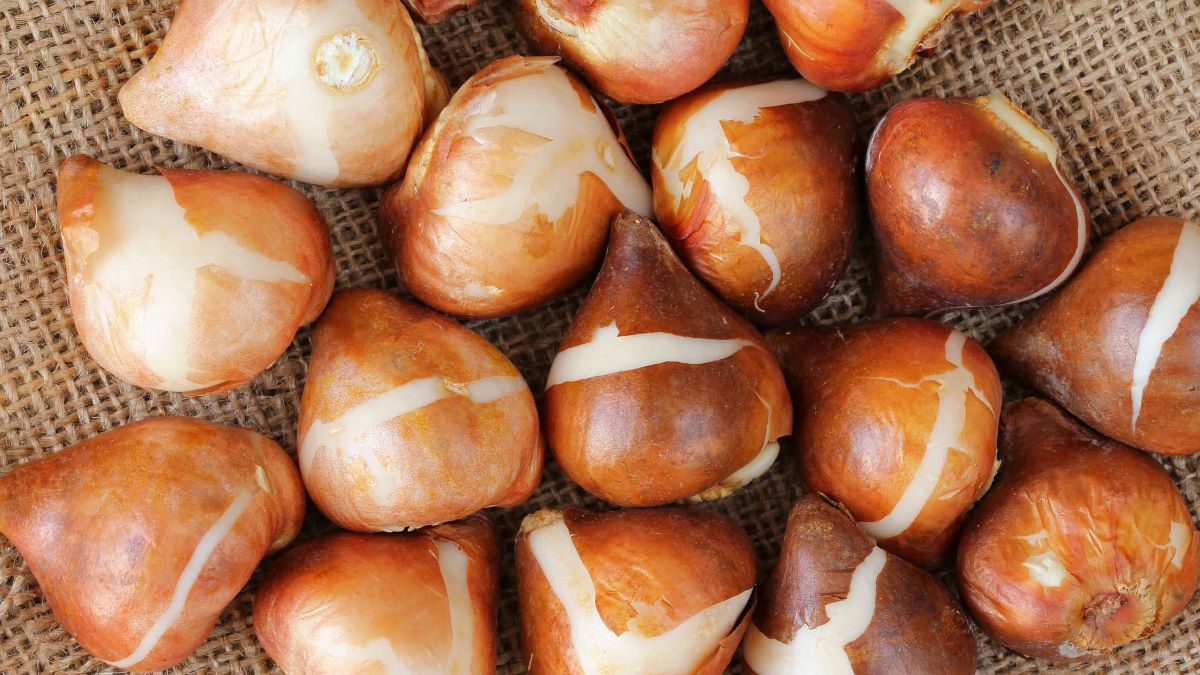
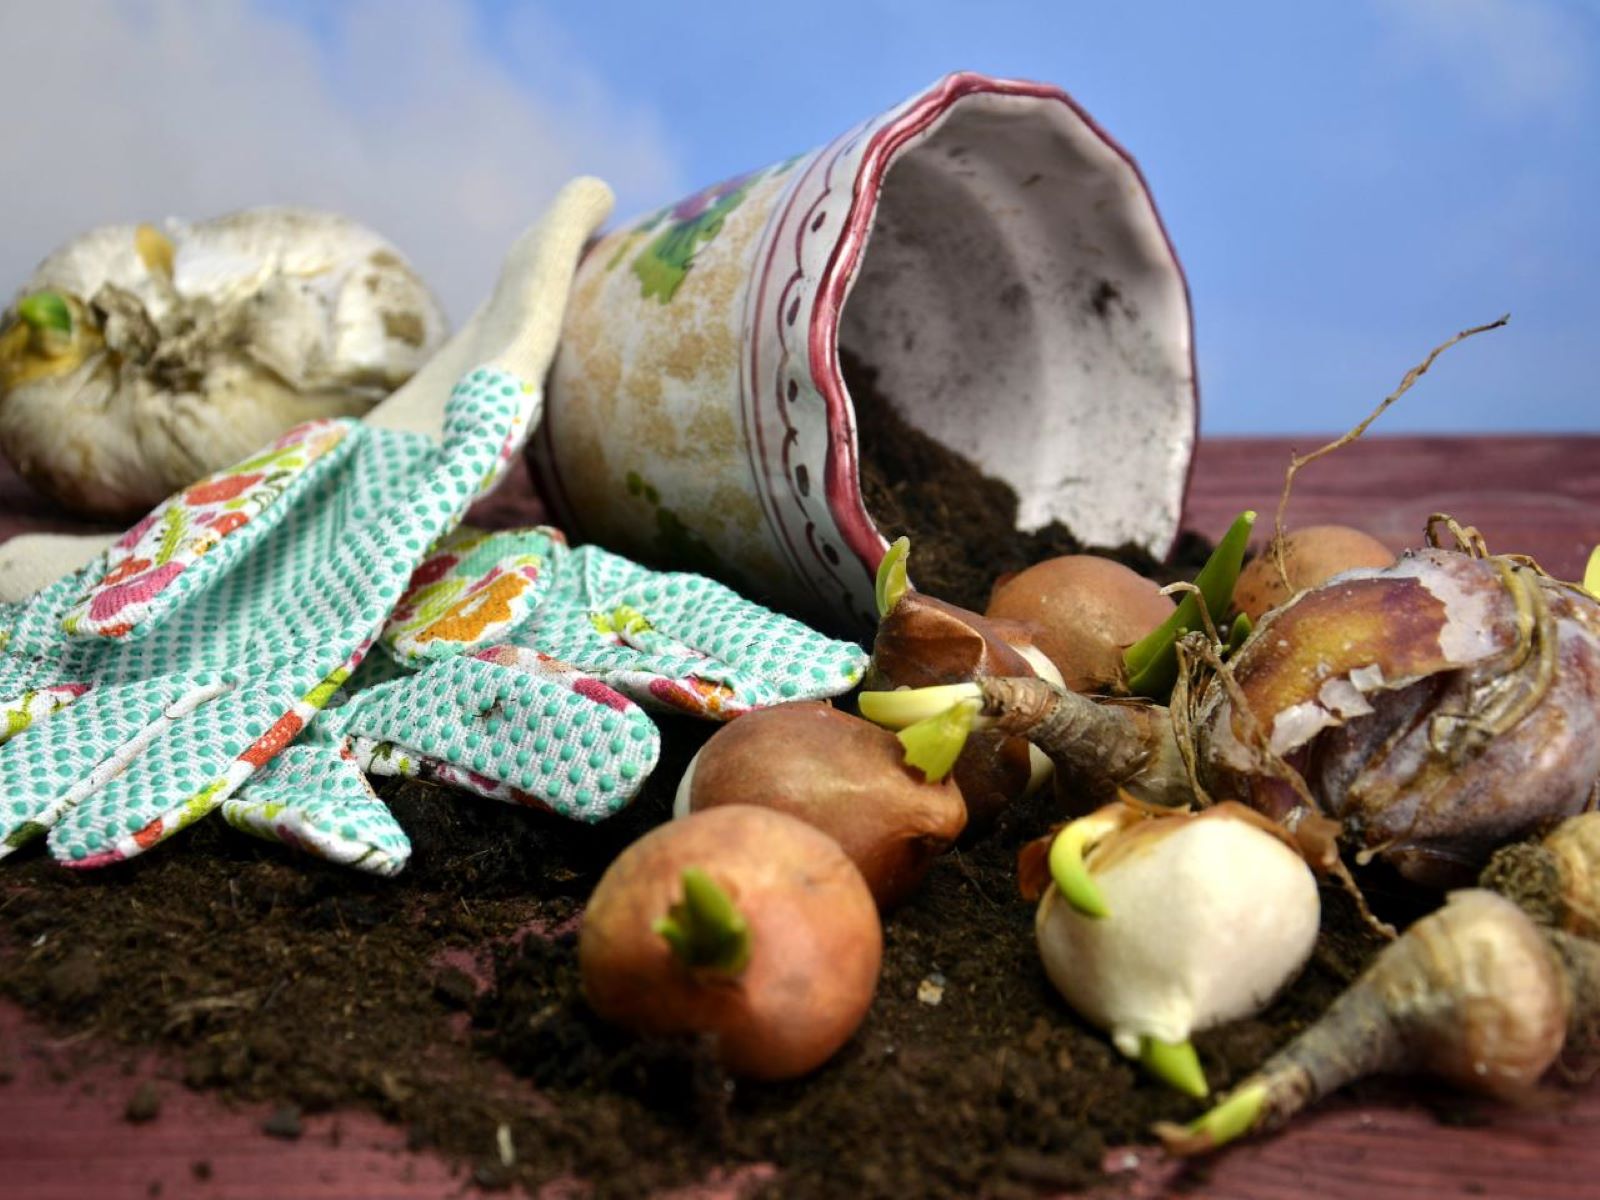
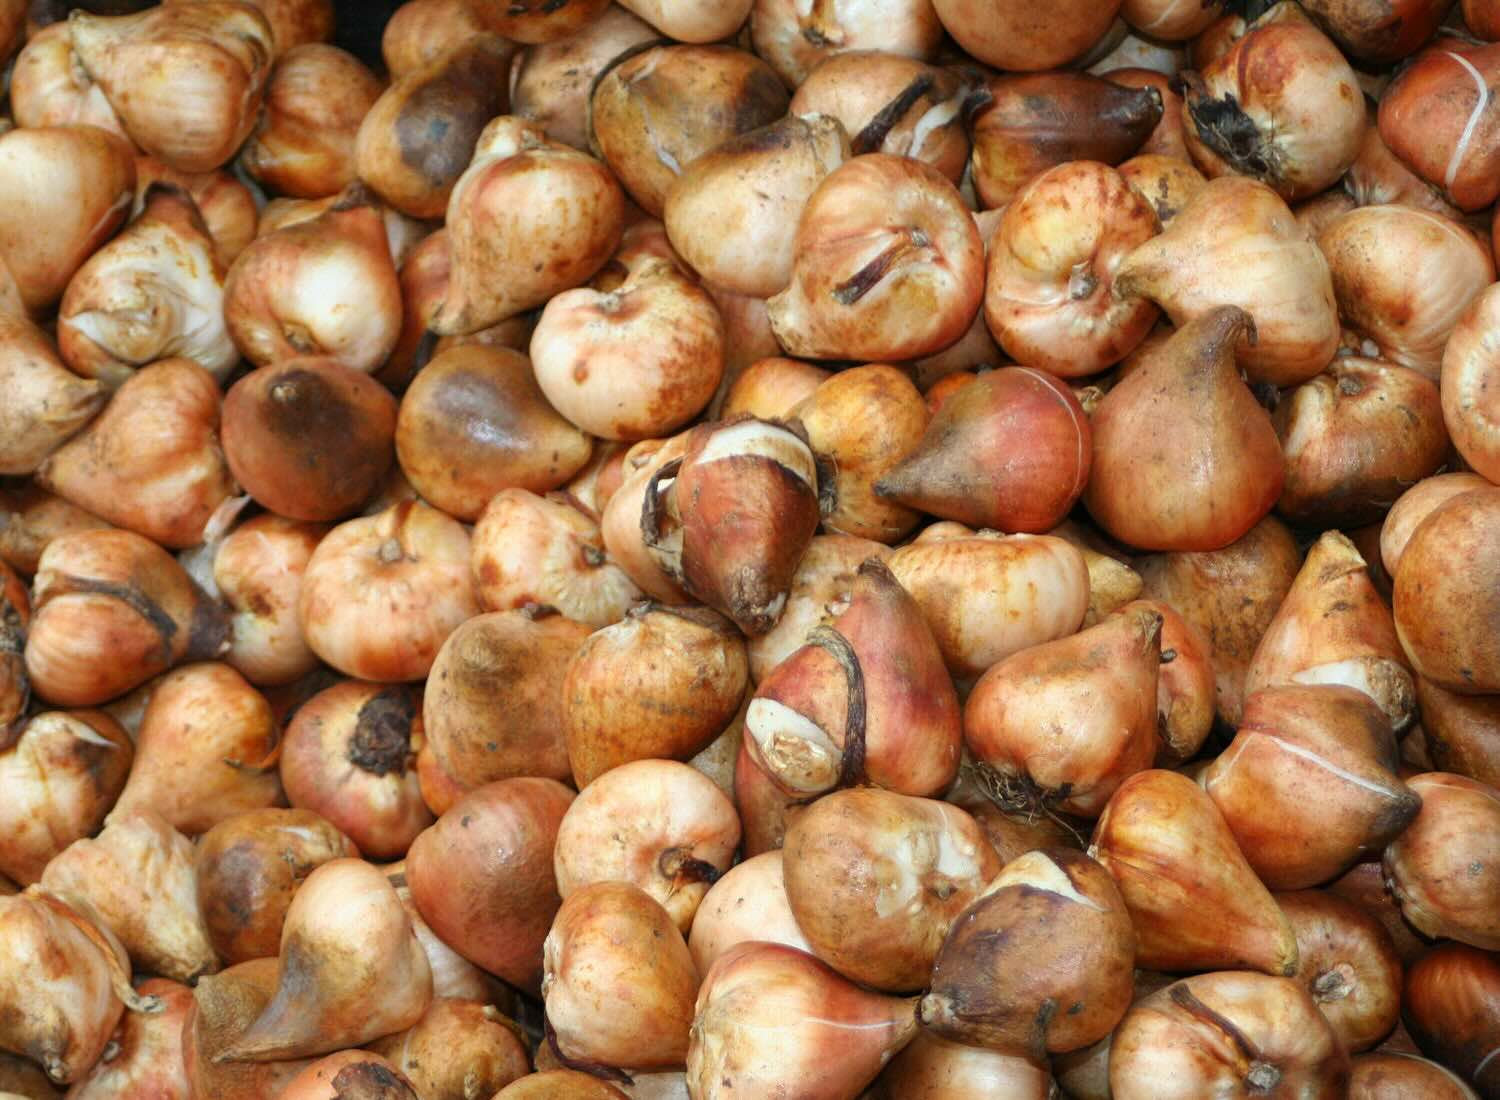
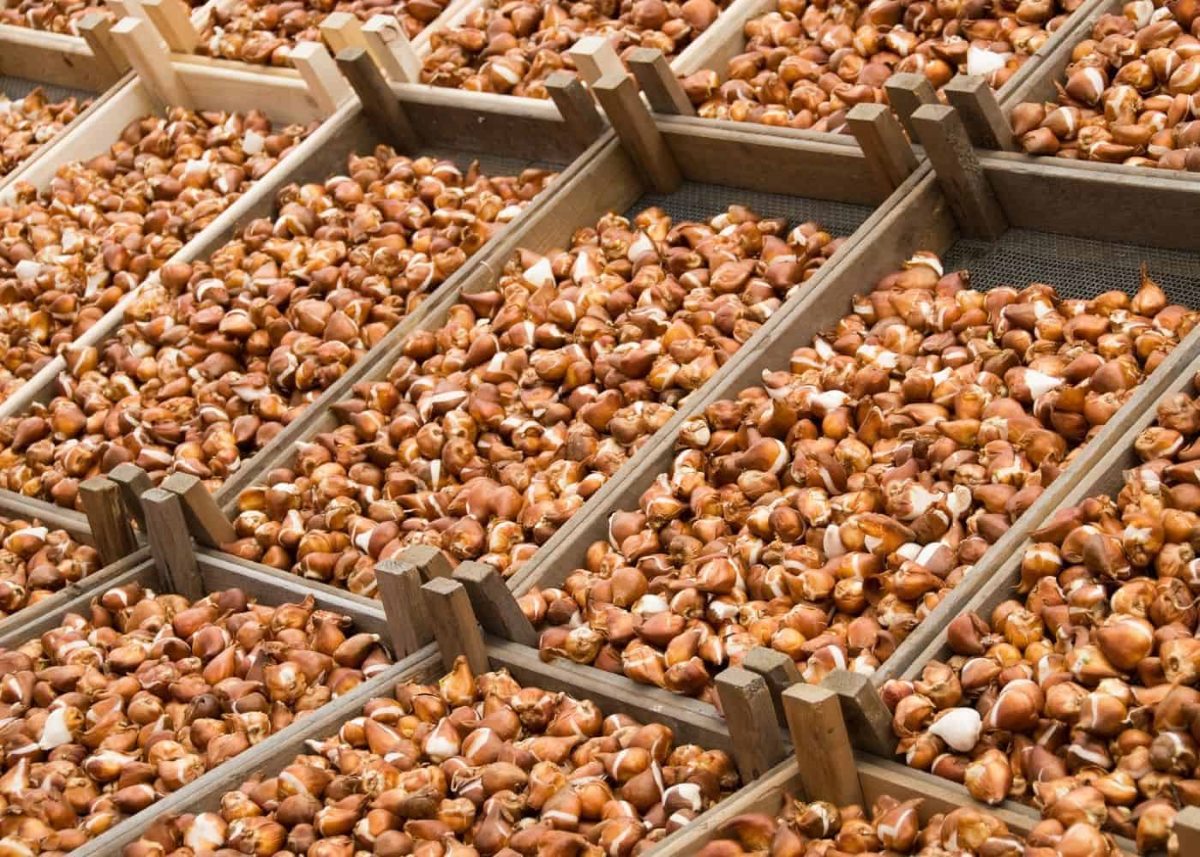
The first step in germinating tulips is selecting the right bulbs. It’s important to choose healthy, high-quality bulbs to ensure successful growth and beautiful blooms. Here are some tips to help you make the best selection:
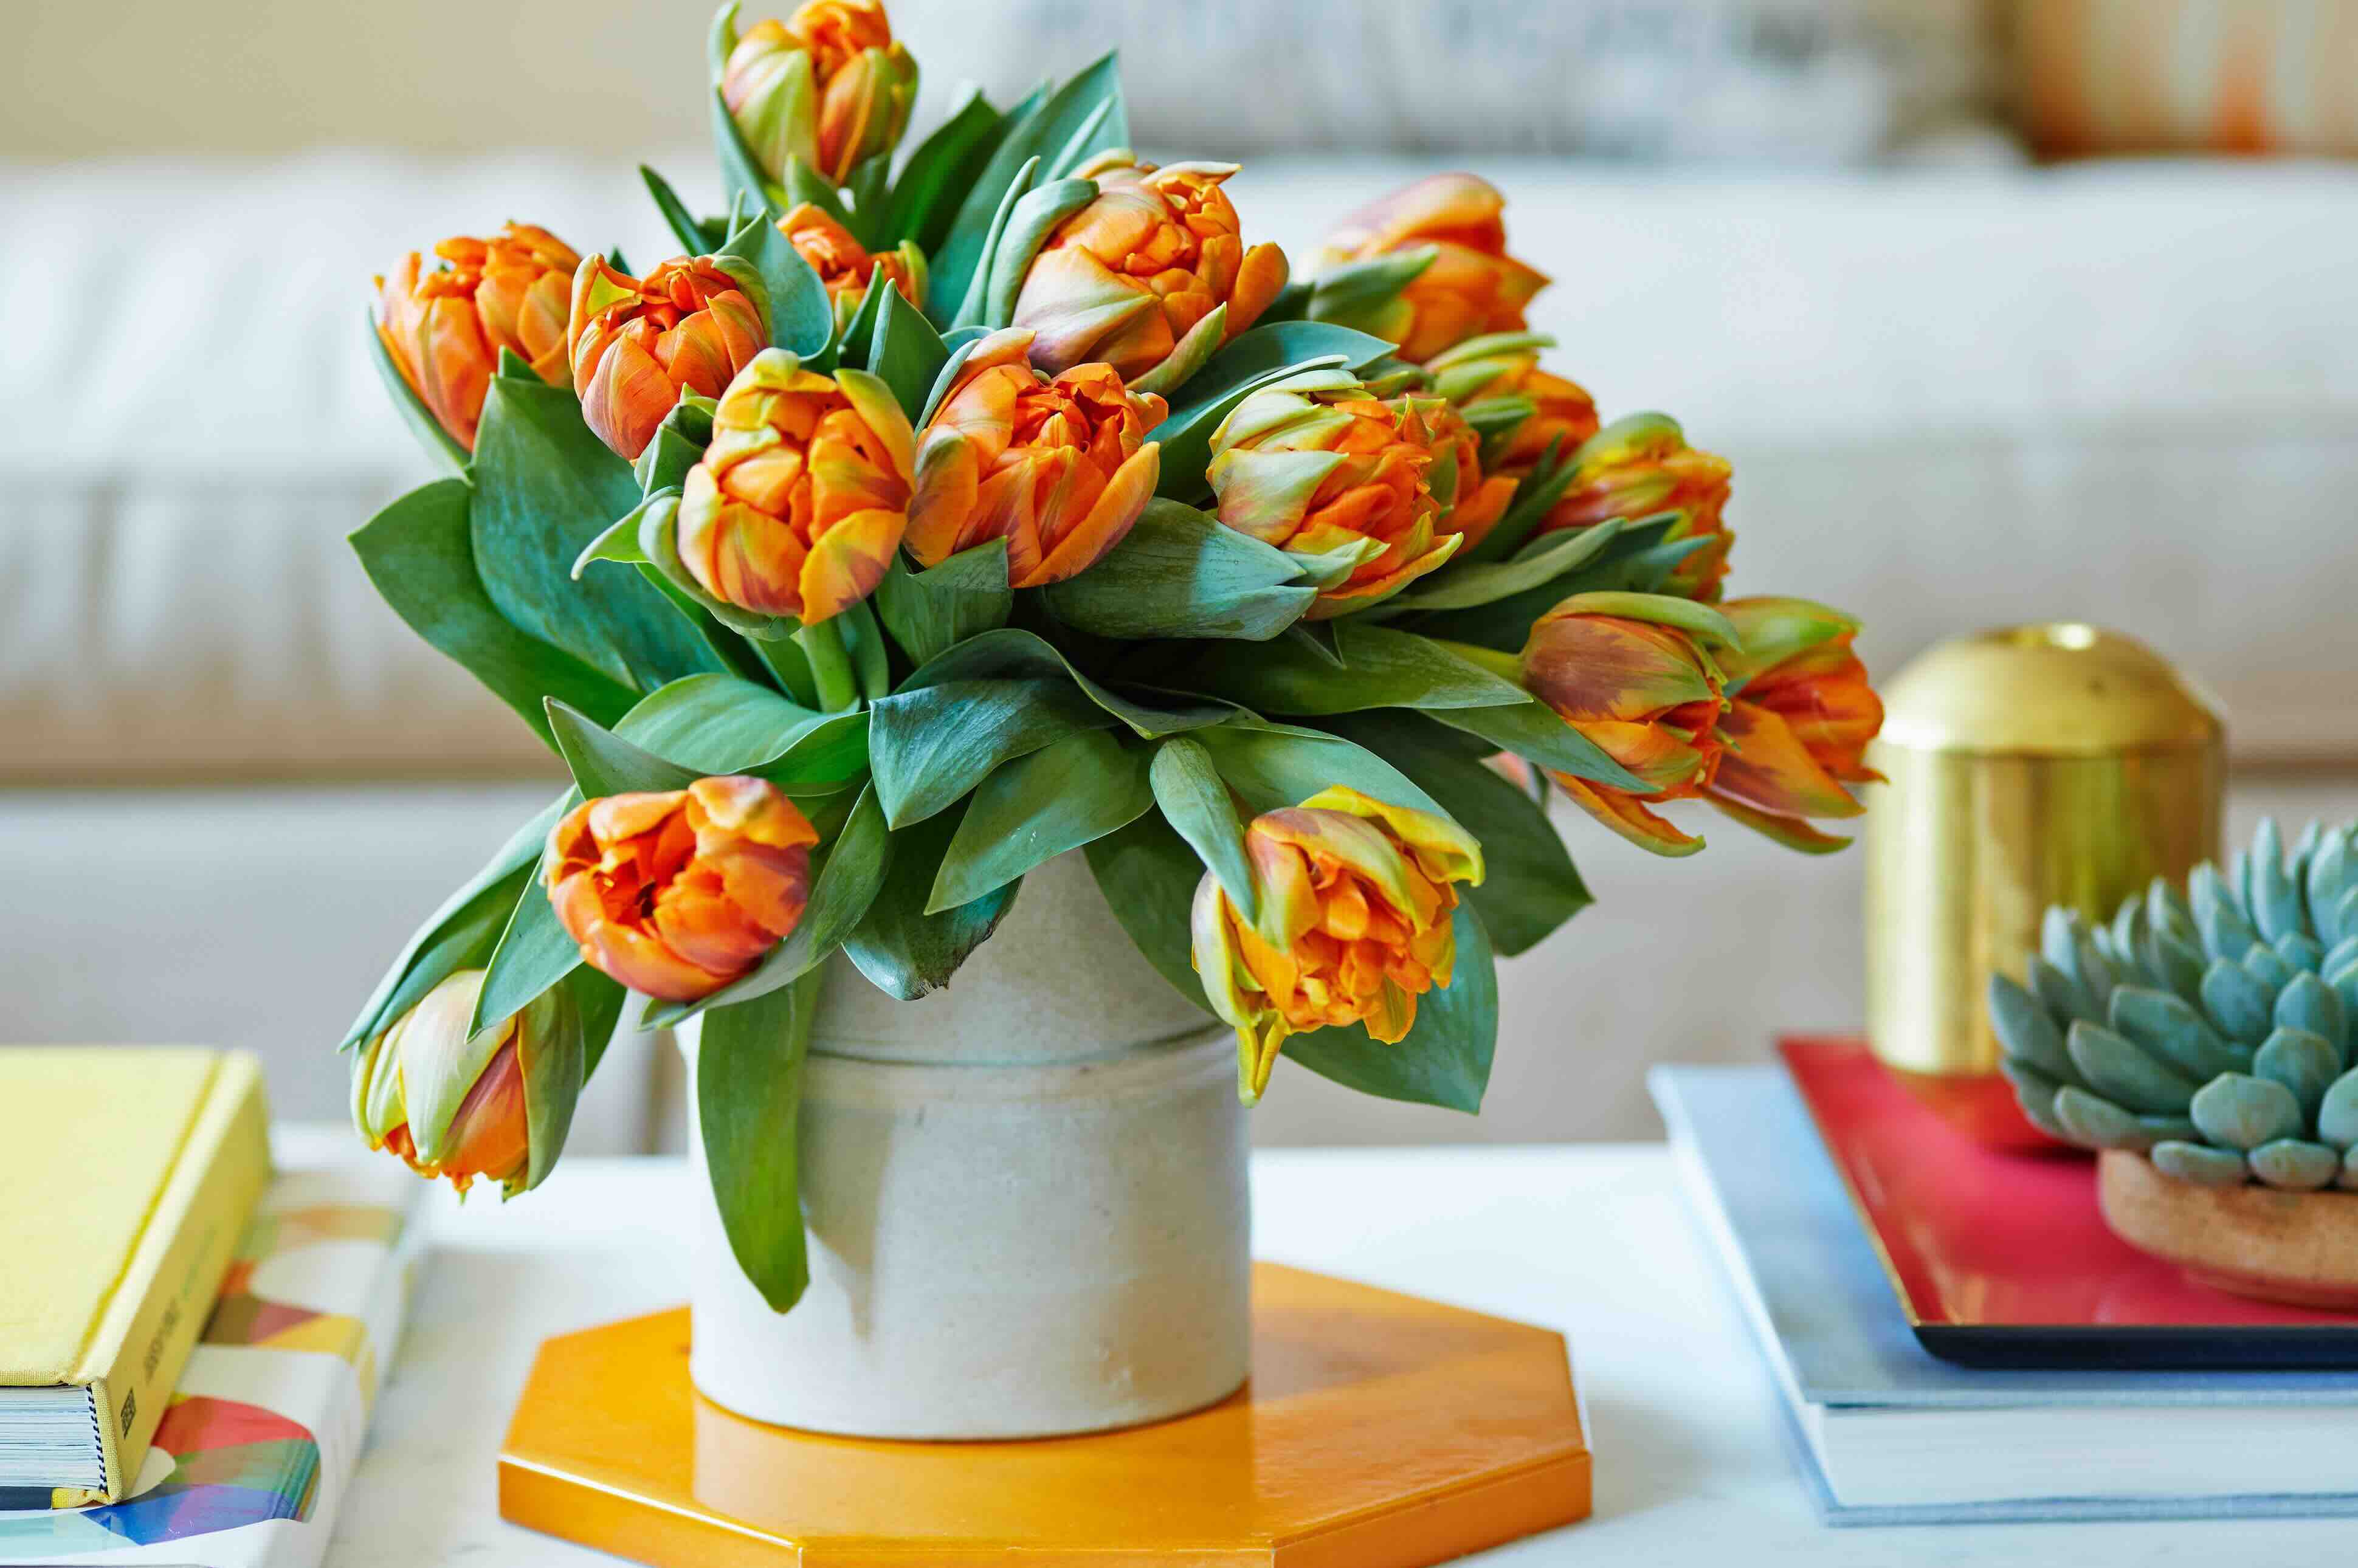
- Choose bulbs of the appropriate variety: Tulips come in a wide range of colors and shapes, so select bulbs of the specific variety that you desire. Whether you prefer single or double blooms, early or late flowering varieties, there’s a tulip for every preference.
- Inspect the bulbs: Look for bulbs that are firm and plump. Avoid any bulbs that are soft, shriveled, or have signs of mold or rot. The healthier the bulb, the higher the chances of successful germination.
- Size matters: Larger tulip bulbs tend to produce bigger and healthier flowers. When selecting bulbs, opt for those that are larger in size.
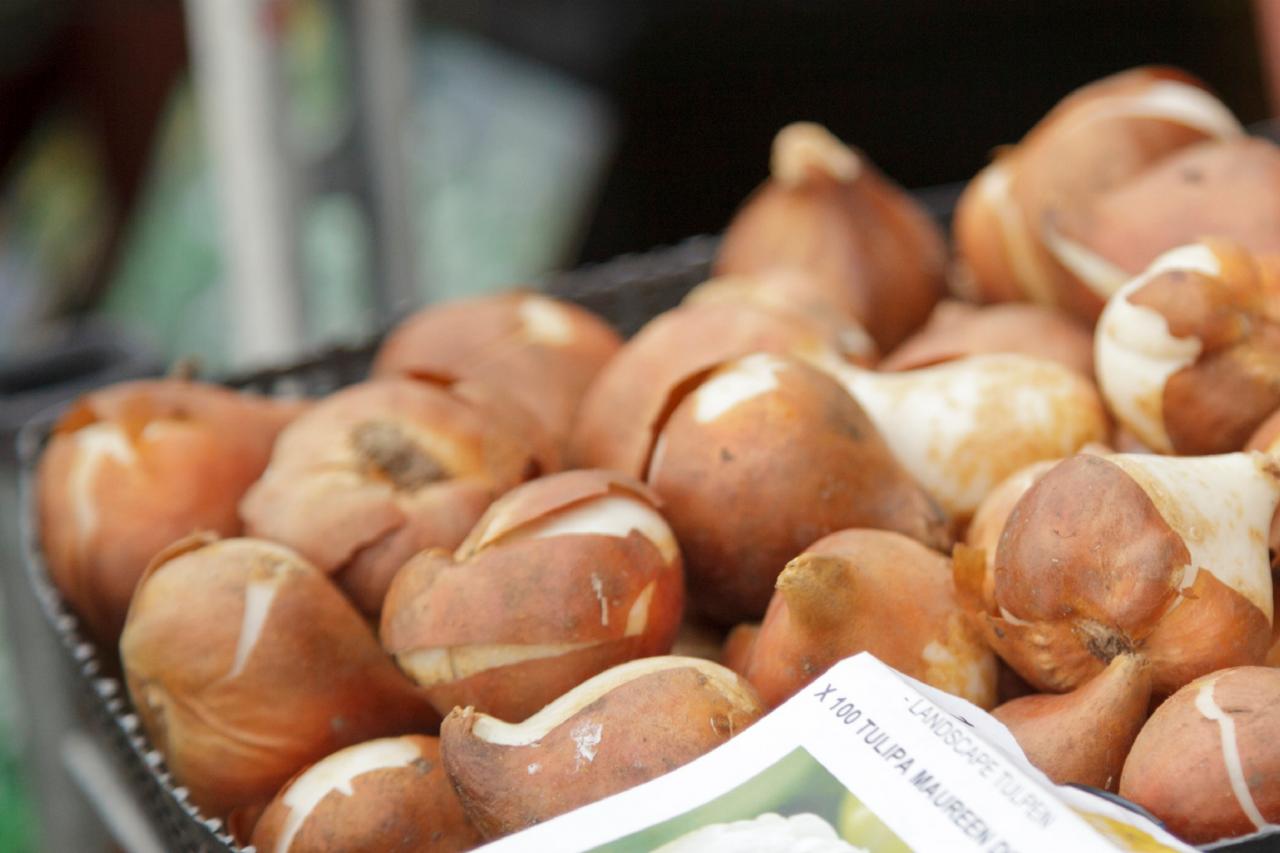
- Consider the bloom time: Tulips bloom at different times depending on the variety. If you want a continuous display of tulip flowers throughout the season, choose a mix of early, mid, and late blooming varieties.
- Check for disease resistance: Some tulip varieties are more resistant to diseases and pests. Look for bulbs that are labeled as disease-resistant to safeguard the health of your tulip plants.
Once you’ve selected the perfect tulip bulbs, you’re ready to move on to the next step: preparing the soil.
Step 2: Preparing the Soil
The success of your tulip germination largely depends on the quality of the soil. Tulips prefer well-draining soil that is rich in organic matter. Follow these steps to prepare the soil for your tulip bulbs:
- Choose a sunny location: Tulips thrive in full sun, so select a spot in your garden that receives at least 6 hours of direct sunlight each day.
- Clear the area: Remove any weeds, rocks, or debris from the planting area. Tulips prefer a clean and debris-free environment.
- Improve drainage: Tulips do not like to sit in soggy soil. If your soil retains too much moisture, you can improve drainage by adding organic matter like compost or well-rotted manure to the soil. This will help create a looser and more porous texture.
- Test the pH level: Tulips prefer slightly acidic to neutral soil with a pH range of 6.0 to 7.0. You can test the pH level of your soil using a soil testing kit available at gardening centers. Adjust the pH level if necessary by amending the soil with lime or sulfur.
- Loosen the soil: Use a garden fork or tiller to loosen the soil to a depth of about 12 inches. This will help the tulip bulbs establish deep roots and allow for proper air circulation in the soil.
By preparing the soil correctly, you provide the ideal growing conditions for your tulip bulbs, setting them up for a healthy and successful germination process. Next, it’s time to move on to planting the tulip bulbs.
Step 3: Planting the Tulip Bulbs
Now that you’ve prepared the soil, it’s time to plant your tulip bulbs. Follow these steps for successful tulip bulb planting:
- Choose the right planting time: Tulip bulbs are typically planted in the fall, about 6-8 weeks before the first frost. This allows the bulbs to establish roots before winter sets in. However, if you missed the fall planting window, you can still plant tulip bulbs in early spring.
- Dig the planting holes: Use a garden trowel or bulb planter to dig holes for the tulip bulbs. The depth and spacing of the holes will depend on the size of the bulbs, but a general rule of thumb is to plant them about 6-8 inches deep and 4-6 inches apart.
- Position the bulbs: Place each tulip bulb in a hole with the pointed end facing upward. This is where the stem and leaves will emerge from.
- Cover and firm the soil: Gently backfill the holes with soil, making sure the bulbs are completely covered. Use your hands to lightly firm the soil around the bulbs to ensure good soil-to-bulb contact.
- Water thoroughly: Give the planted bulbs a thorough watering to settle the soil around them. This will help kick-start the growth process.
Once the tulip bulbs are planted, you can look forward to the emergence of green shoots as the bulbs begin to germinate. Keep reading to discover the next steps for caring for your germinating tulips.
Step 4: Providing Adequate Water and Sunlight
Now that you have planted the tulip bulbs, it’s important to provide them with the right amount of water and sunlight to support their growth. Here’s what you need to know:
- Watering requirements: Tulips need regular watering, especially during dry spells. Keep the soil consistently moist but not waterlogged. Avoid overwatering, as it can lead to bulb rot. Water deeply, allowing the water to penetrate the soil to the depth of the roots.
- Sunlight needs: Tulips require full sun to thrive and produce vibrant blooms. Make sure they receive at least 6 hours of direct sunlight each day. In areas with intense or hot afternoon sun, some partial shade during the hottest part of the day can benefit the tulips.
- Monitor soil moisture: Check the soil moisture regularly by inserting your finger into the soil. If it feels dry a couple of inches below the surface, it’s time to water. In colder climates, you may need to reduce watering during rainy periods or when the soil is consistently wet.
- Avoid overhead watering: Instead of watering from above with a sprinkler, it’s best to use a soaker hose or water at the base of the plants. Overhead watering can lead to the development of foliar diseases.
By providing adequate water and sunlight, you’ll ensure that your germinating tulips grow strong and healthy. In the next step, we’ll discuss essential care tips for your tulips.
Plant tulip bulbs in well-draining soil in the fall, about 6-8 weeks before the first frost. Place them 6-8 inches deep and water thoroughly. Keep the soil moist but not waterlogged, and they should sprout in the spring.
Read more: How To Store Tulips
Step 5: Caring for Germinating Tulips
To ensure the success of your germinating tulips, it’s essential to provide them with proper care. Here are some important care tips to keep in mind:
- Mulch the soil: Apply a layer of organic mulch, such as straw or wood chips, around the base of the tulip plants. Mulching helps to retain soil moisture, suppress weeds, and regulate soil temperature.
- Fertilize regularly: Tulips benefit from a balanced fertilizer application. You can use a slow-release fertilizer in spring or a liquid fertilizer according to the package instructions. Avoid overfertilizing, as this can lead to excessive foliage growth with fewer blooms.
- Remove spent flowers: Deadhead the tulip flowers as they begin to fade. This prevents the plant from using energy to produce seeds and directs its energy towards bulb growth. Simply snip off the fading flowers, but leave the foliage intact.
- Protect from extreme weather: If your area experiences extreme temperatures, such as severe cold or excessive heat, you might need to provide some protection to the tulips. Use frost blankets or shade cloth to shield the plants during extreme weather events.
- Watch out for pests and diseases: Tulips are generally resilient to pests and diseases, but keep an eye out for common issues like aphids, slugs, or fungal diseases. If necessary, treat the problem early with organic pest control methods.
By providing the necessary care, you’ll ensure that your germinating tulips stay healthy and produce beautiful blooms. In the next step, we’ll discuss how to protect your tulip seedlings.
Step 6: Protecting Tulip Seedlings
As your tulip seedlings begin to emerge and grow, it’s important to protect them from potential threats. Here are some tips to safeguard your tulip seedlings:
- Protect from pests: Shield your tulip seedlings from common garden pests like rabbits, squirrels, and deer. Install fencing or use mesh netting to create a barrier around the planting area. You can also sprinkle organic pest repellents or use natural deterrents like garlic or hot pepper spray.
- Provide wind protection: Young tulip seedlings can be sensitive to strong winds. Protect them by placing stakes around the plants and loosely tying the stems to the stakes with garden twine. This will give them support and prevent damage from wind gusts.
- Watch out for diseases: Keep a close eye on your tulip seedlings for any signs of diseases such as tulip fire or gray mold. If you spot any diseased plants, remove them immediately to prevent the spread to healthy ones. Proper sanitation practices and good air circulation can also help prevent diseases.
- Avoid overcrowding: Thin out the tulip seedlings if they are growing too closely together. Overcrowding can lead to poor air circulation and increased risk of disease. Allow enough space between the seedlings for optimal growth and blooming.
- Protect from extreme temperatures: If frost or freezing temperatures are predicted, cover the tulip seedlings with a protective layer of mulch, straw, or cloth in the evening. Remove the covering in the morning to allow sunlight to reach the plants.
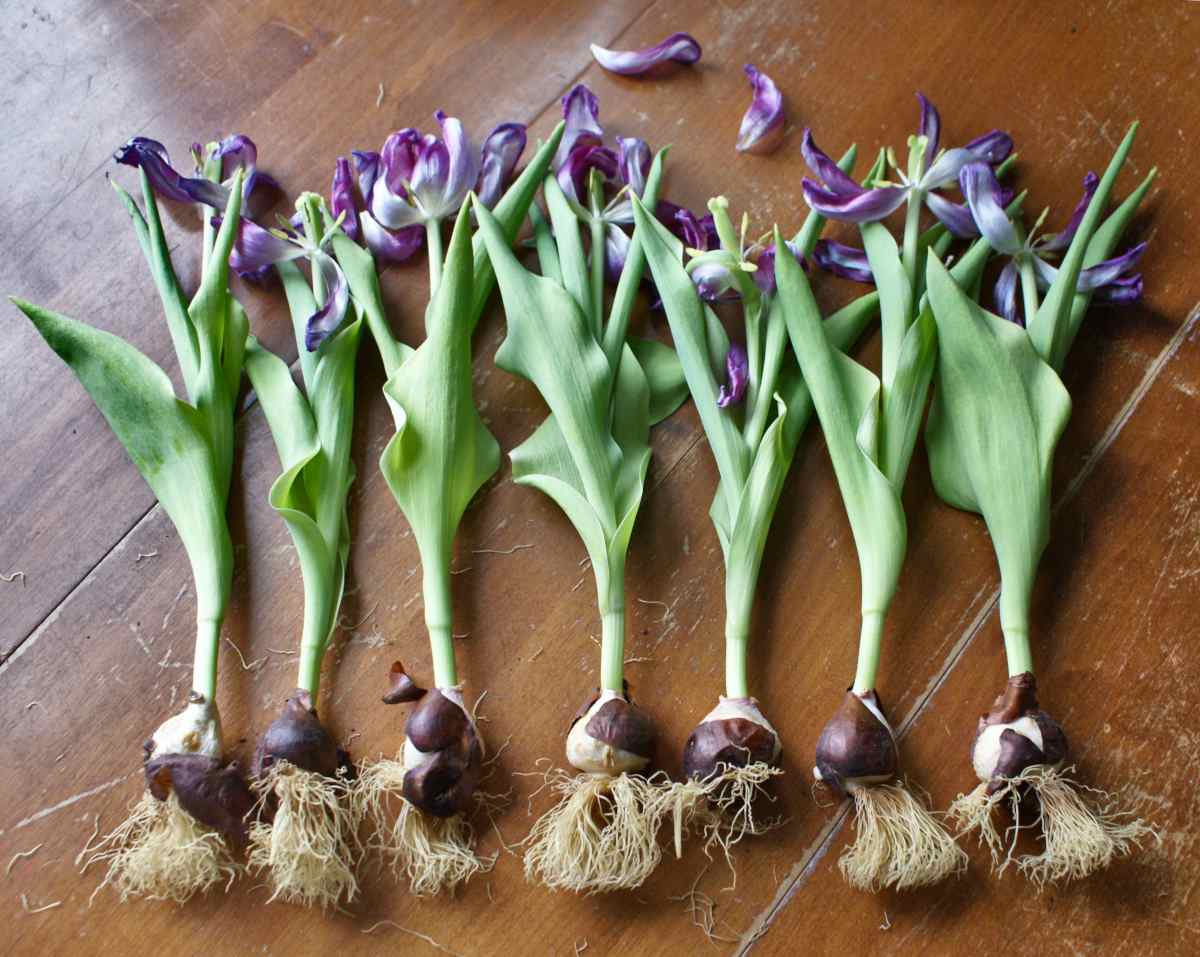
By taking precautions and protecting your tulip seedlings, you’ll give them the best chance of thriving and producing beautiful flowers. Now, let’s move on to the final step: transplanting tulips to the garden.
Step 7: Transplanting Tulips to the Garden
After the tulip bulbs have successfully germinated and the seedlings have grown, it’s time to transplant them to their permanent spot in the garden. Follow these steps for transplanting your tulips:
- Choose the right timing: Transplant your tulips to the garden when the seedlings have reached around 4-6 inches in height. The ideal time is usually in early spring after the danger of frost has passed.
- Prepare the planting holes: Dig holes in the garden bed that are wide and deep enough to accommodate the root system of the tulip seedlings. Space the holes according to the mature size of the tulip variety, generally around 4-6 inches apart.
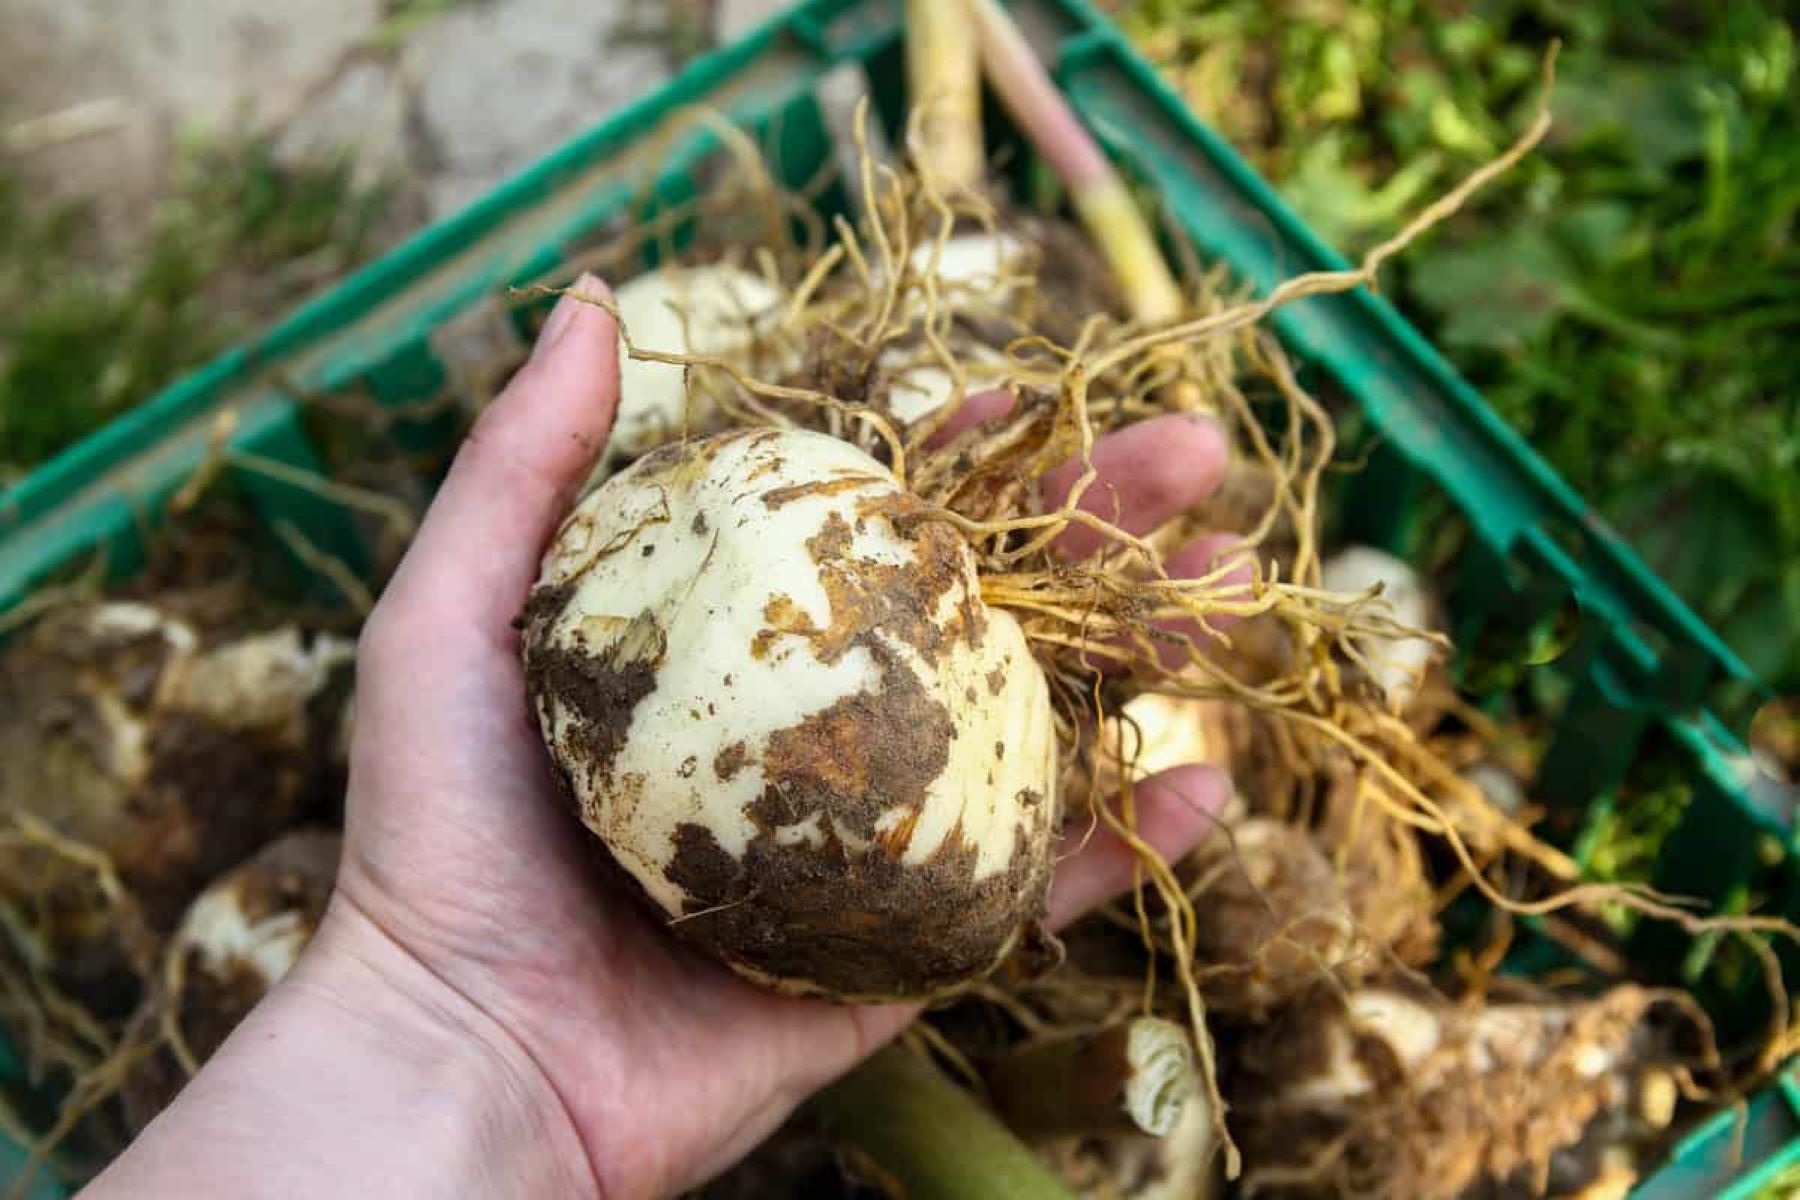
- Carefully lift the seedlings: Gently lift the tulip seedlings from their current location, being careful not to damage the roots or stems. Use a garden trowel or fork to facilitate the process if necessary.
- Plant the seedlings: Place each tulip seedling in a planting hole, making sure the top of the root ball is at the same level as the surrounding soil. Gently fill in the hole with soil, firming it around the seedlings.
- Water thoroughly: Give the newly transplanted tulips a good watering to help settle the soil around the roots. Ensure that the soil is evenly moist but not waterlogged.
- Continue care and maintenance: After transplanting, provide regular care for your tulips, including proper watering, fertilizing, and monitoring for pests and diseases. Keep an eye on them as they continue to grow and develop.
By transplanting your tulips to the garden, you’ll give them the opportunity to fully mature and flourish in their permanent location. Enjoy watching them grow and bloom, adding a burst of color and beauty to your outdoor space.
Congratulations! You have successfully learned how to germinate tulips and care for them until they are ready to be transplanted. With proper attention and maintenance, your tulips will bring you joy and delight for years to come.
Now, get out there and create a stunning tulip display in your garden!
Conclusion
Congratulations on completing the journey of learning how to germinate tulips! By following the steps outlined in this article, you’ve gained the knowledge and skills necessary to successfully grow and care for these beautiful flowers.
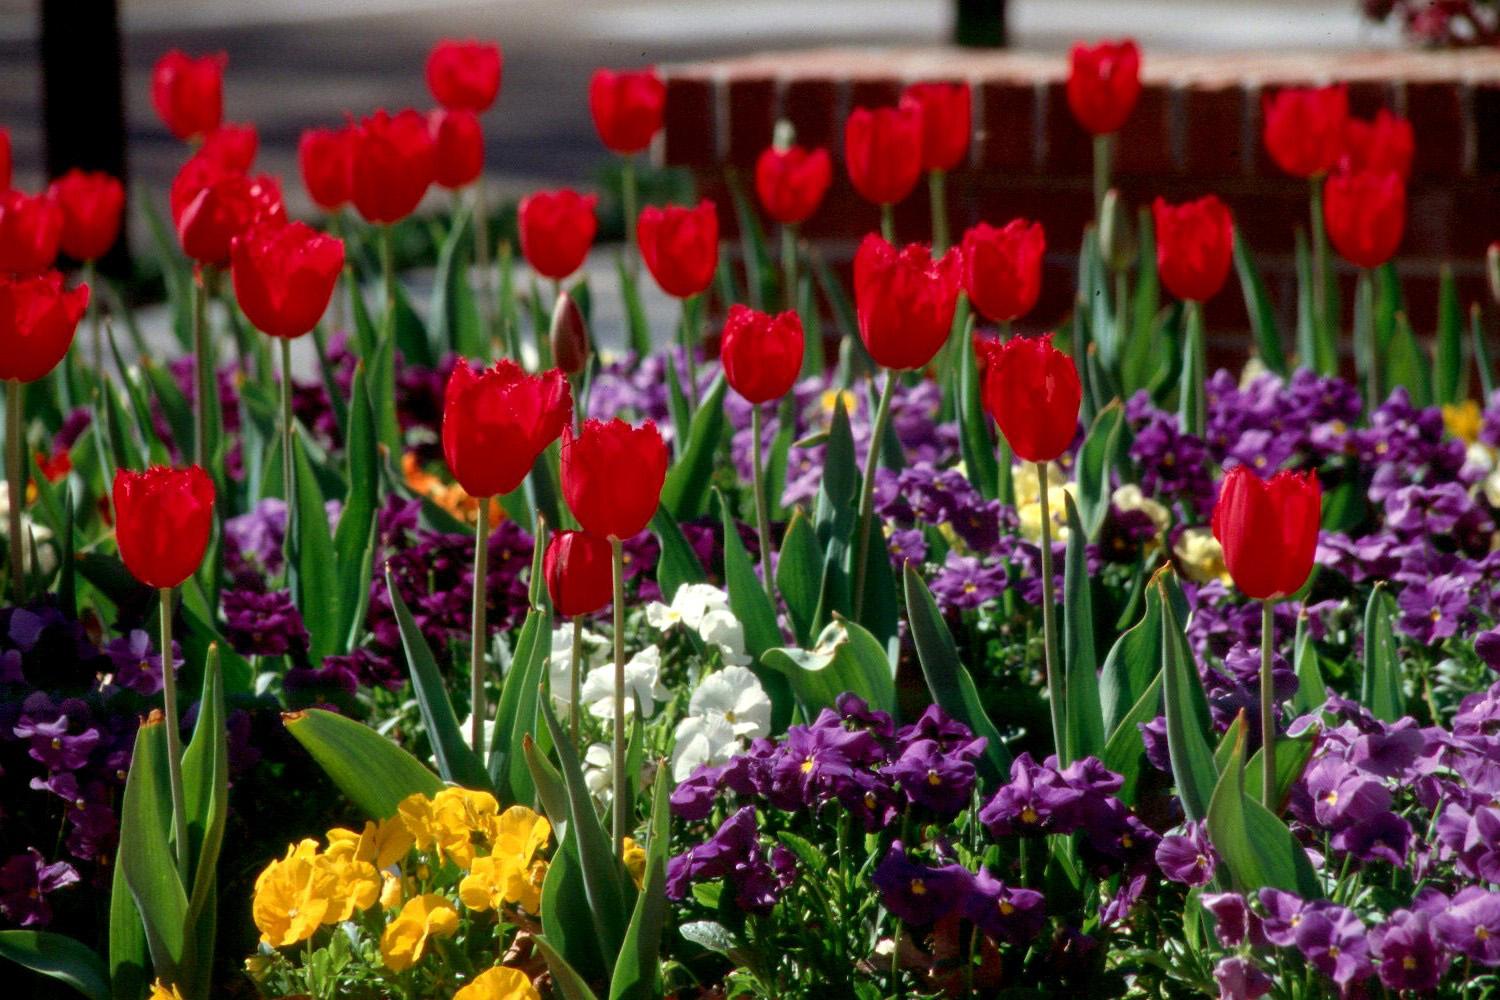
Tulips are a symbol of beauty and elegance in gardens all around the world. From selecting the right bulbs to transplanting the seedlings, each step in the process plays a crucial role in ensuring the healthy growth and vibrant blooms of your tulips.
Remember to choose high-quality bulbs, prepare the soil with care, and provide adequate water, sunlight, and protection for your tulips. As the tulip seedlings emerge and develop into full-grown plants, your efforts will be rewarded with stunning flowers in an array of colors and varieties.
Don’t forget to continue caring for your tulips even after they have been transplanted to the garden. Regular watering, proper fertilization, and vigilant pest and disease management will help maintain the health and beauty of your tulip plants.
Whether you’re a seasoned gardener or a beginner, the joy of seeing your tulips germinate, grow, and bloom is truly rewarding. So, go ahead and embrace the art of growing tulips, and create a breathtaking display of these majestic flowers in your own garden.
Happy gardening, and may your tulips bring you endless delight and admiration!
Frequently Asked Questions about How To Germinate Tulip
Was this page helpful?
At Storables.com, we guarantee accurate and reliable information. Our content, validated by Expert Board Contributors, is crafted following stringent Editorial Policies. We're committed to providing you with well-researched, expert-backed insights for all your informational needs.


0 thoughts on “How To Germinate Tulip”