Home>Garden Essentials>How To Germinate A Prickly Pear Cactus
Garden Essentials
How To Germinate A Prickly Pear Cactus
Modified: March 15, 2024
Learn how to successfully germinate a prickly pear cactus in your garden and enhance your gardening skills. Discover step-by-step tips and tricks for a thriving cactus garden.
(Many of the links in this article redirect to a specific reviewed product. Your purchase of these products through affiliate links helps to generate commission for Storables.com, at no extra cost. Learn more)
Introduction
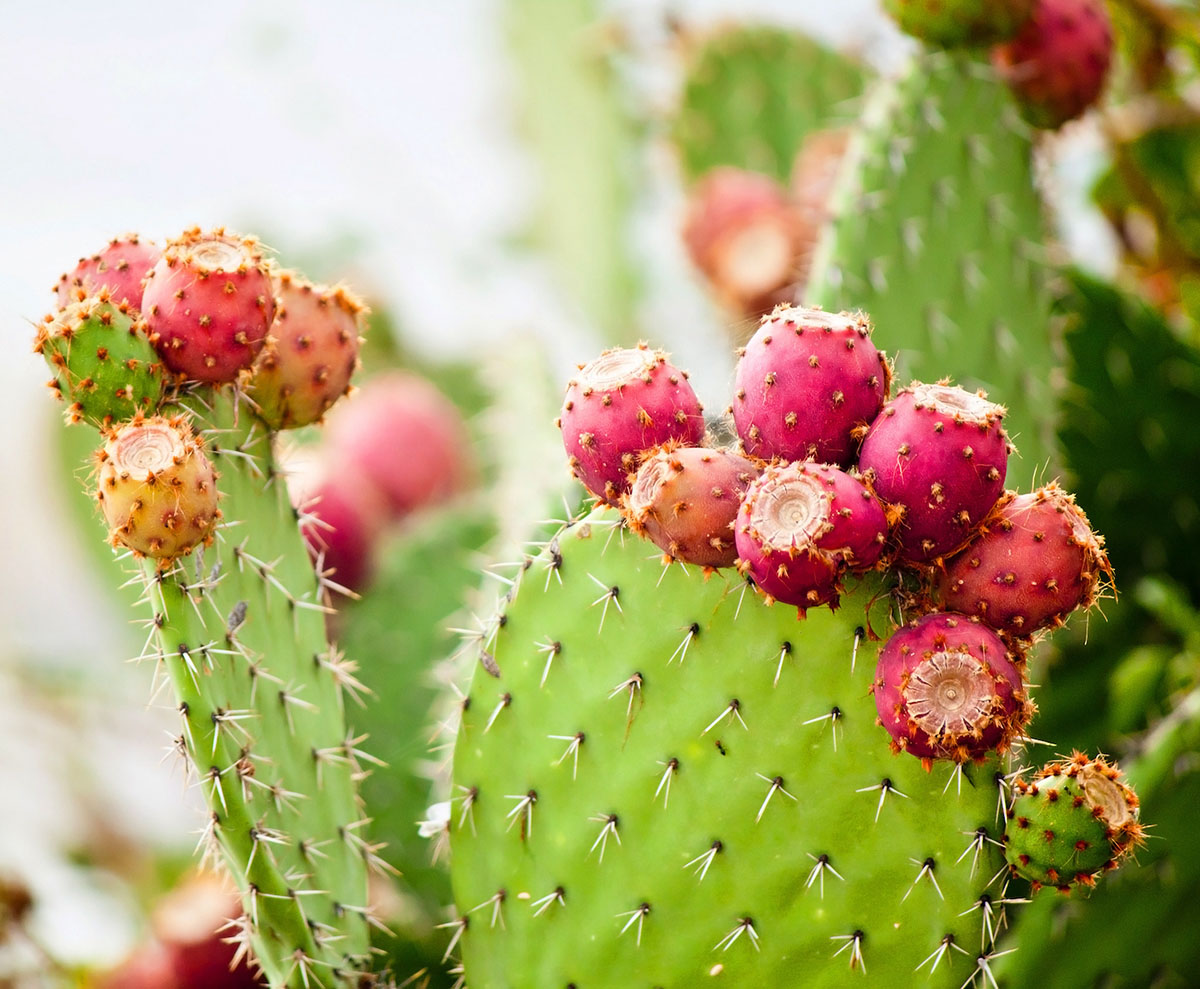
Growing a prickly pear cactus from seed can be a fulfilling and rewarding experience. Prickly pears, also known as Opuntia, are iconic desert plants that are prized for their unique appearance and ability to thrive in arid conditions. While they may seem intimidating with their formidable spines, cultivating these cacti from seed is actually quite straightforward and can be done by both seasoned gardeners and beginners.
In this guide, we will walk you through the step-by-step process of germinating prickly pear cactus seeds, from gathering the necessary materials to transplanting the sprouted seedlings into their permanent growing locations. By following these instructions, you’ll be able to bring the beauty of prickly pears into your own garden or indoor space.
But before we dive into the germination process, let’s take a moment to appreciate the many reasons why growing prickly pear cactus can be a wonderful addition to your plant collection.
Key Takeaways:
- Growing prickly pear cactus from seed is a rewarding experience, offering benefits like drought tolerance, low maintenance, edible fruits, and ornamental value. It’s a great way to bring the beauty of the desert into your garden.
- To successfully germinate prickly pear cactus seeds, gather materials, prepare the soil, collect and scarify the seeds, soak them, provide light and warmth, and transplant the seedlings. With patience and care, you can enjoy the resilience and beauty of these remarkable cacti.
Read more: How To Store Prickly Pear
Why Grow Prickly Pear Cactus?
Prickly pear cactus is not just visually appealing; it also comes with a myriad of benefits that make it a popular choice among gardeners:
- Drought Tolerance: Prickly pears are highly adapted to dry and hot environments, making them excellent choices for xeriscaping or water-wise gardening. Once established, they require minimal watering and can withstand prolonged periods of drought.
- Low Maintenance: These cacti are generally easy to care for, requiring minimal attention and upkeep. They are hardy plants and can tolerate neglect, making them ideal for busy individuals or those with limited gardening experience.
- Edible Fruits: Prickly pear cacti produce delicious and nutritious fruits that are rich in vitamins, antioxidants, and fiber. The fruits can be used in various culinary applications, such as jams, jellies, smoothies, and even as a fresh snack.
- Wildlife Habitat: The flowers and fruits of prickly pear cacti attract bees, butterflies, and birds, making them valuable contributors to native ecosystems. By cultivating these cacti, you can help support local wildlife populations and create a biodiverse habitat in your garden.
- Ornamental Value: With their vibrant blooms, distinctive shapes, and striking spines, prickly pear cacti add a unique charm to any garden or indoor space. They make excellent focal points, conversation starters, and can be grown in pots or as part of a desert-themed landscape.
Now that we’ve explored the many benefits of growing prickly pear cactus, let’s proceed to the first step of the germination process: gathering the necessary materials.
Step 1: Gather Materials
Before you begin the germination process, it’s important to gather all the necessary materials to ensure a successful outcome. Here’s a list of items you’ll need:
- Prickly pear cactus seeds: You can either purchase seeds from a reputable supplier or collect them from ripe prickly pear fruits. If collecting seeds yourself, be sure to choose fruits that are fully mature and have a vibrant color.
- Seed tray or small pots: You’ll need containers to sow the seeds. A seed tray with individual cells or small pots with drainage holes will work well.
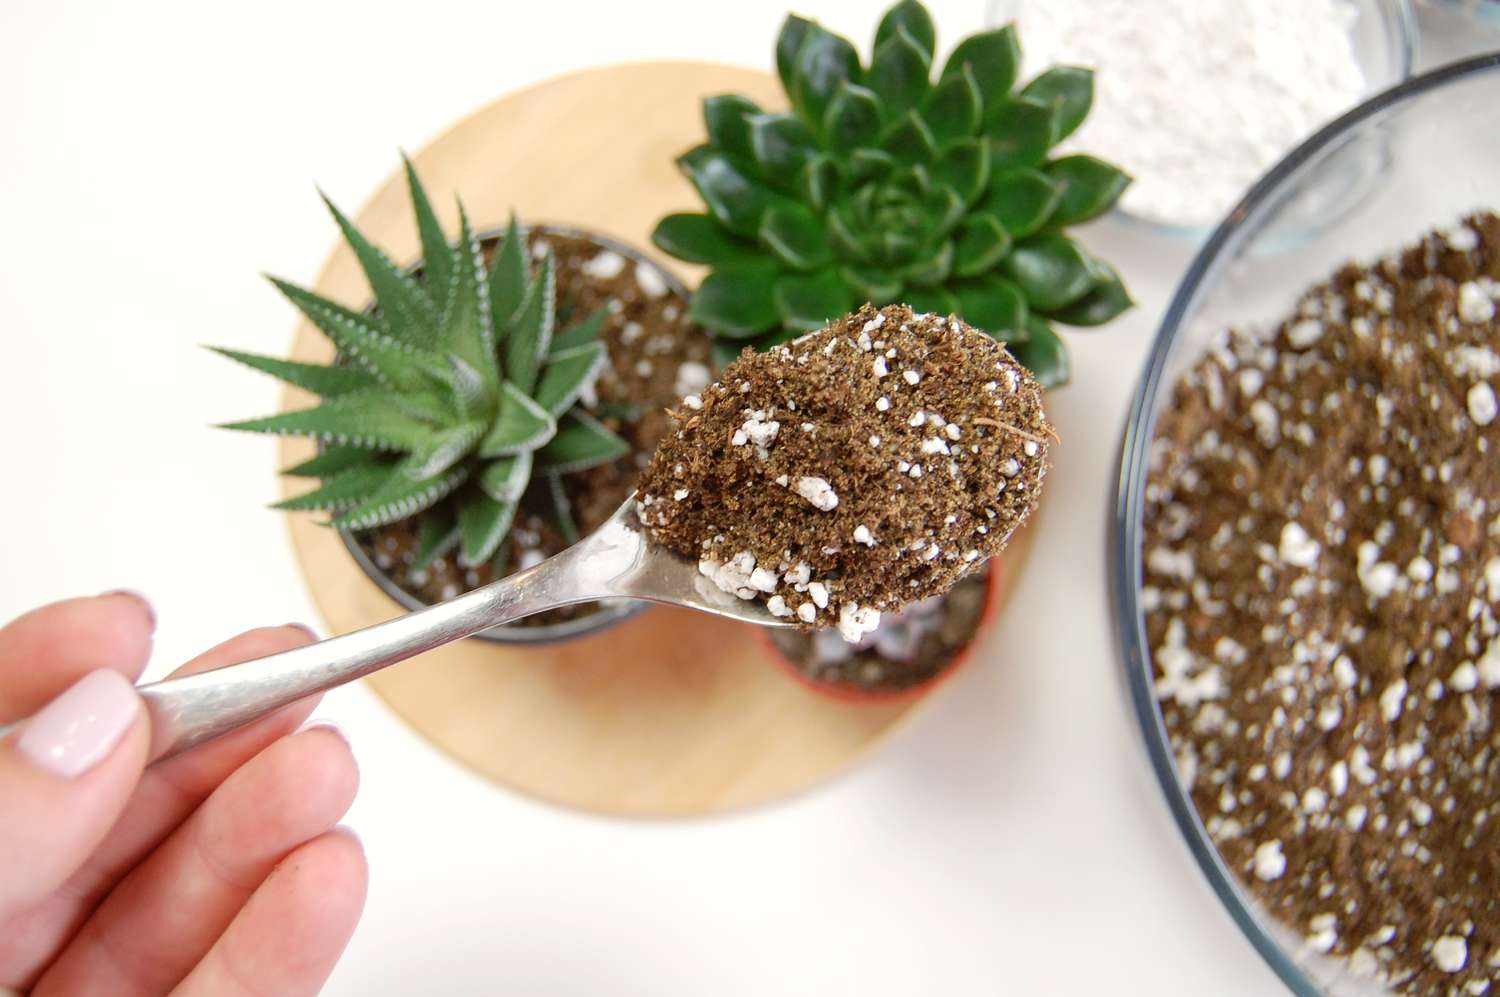
- Well-draining soil mix: Prickly pears prefer sandy or gritty soil that allows excess water to drain quickly. You can purchase a cactus-specific soil mix or create your own by combining potting soil, coarse sand, and perlite in equal parts.
- Watering can or spray bottle: To provide moisture to the seeds and seedlings, you’ll need a watering can with a fine rose or a spray bottle for gentle watering.
- Plastic wrap or a propagator: To create a humid environment that promotes germination, you can cover the seed tray or pots with plastic wrap or place them inside a propagator.
- Grow lights or a sunny location: Prickly pear cactus seeds need adequate light to germinate and grow. If you don’t have access to a sunny location, you can use fluorescent grow lights or LED grow lights to provide the necessary light intensity.
Once you have gathered all the materials, you’re ready to move on to the next step: preparing the soil.
Step 2: Preparing the Soil
Creating the right growing medium is crucial for the successful germination and growth of prickly pear cactus seeds. These cacti thrive in well-draining soil that mimics their natural habitat. Here’s how to prepare the soil:
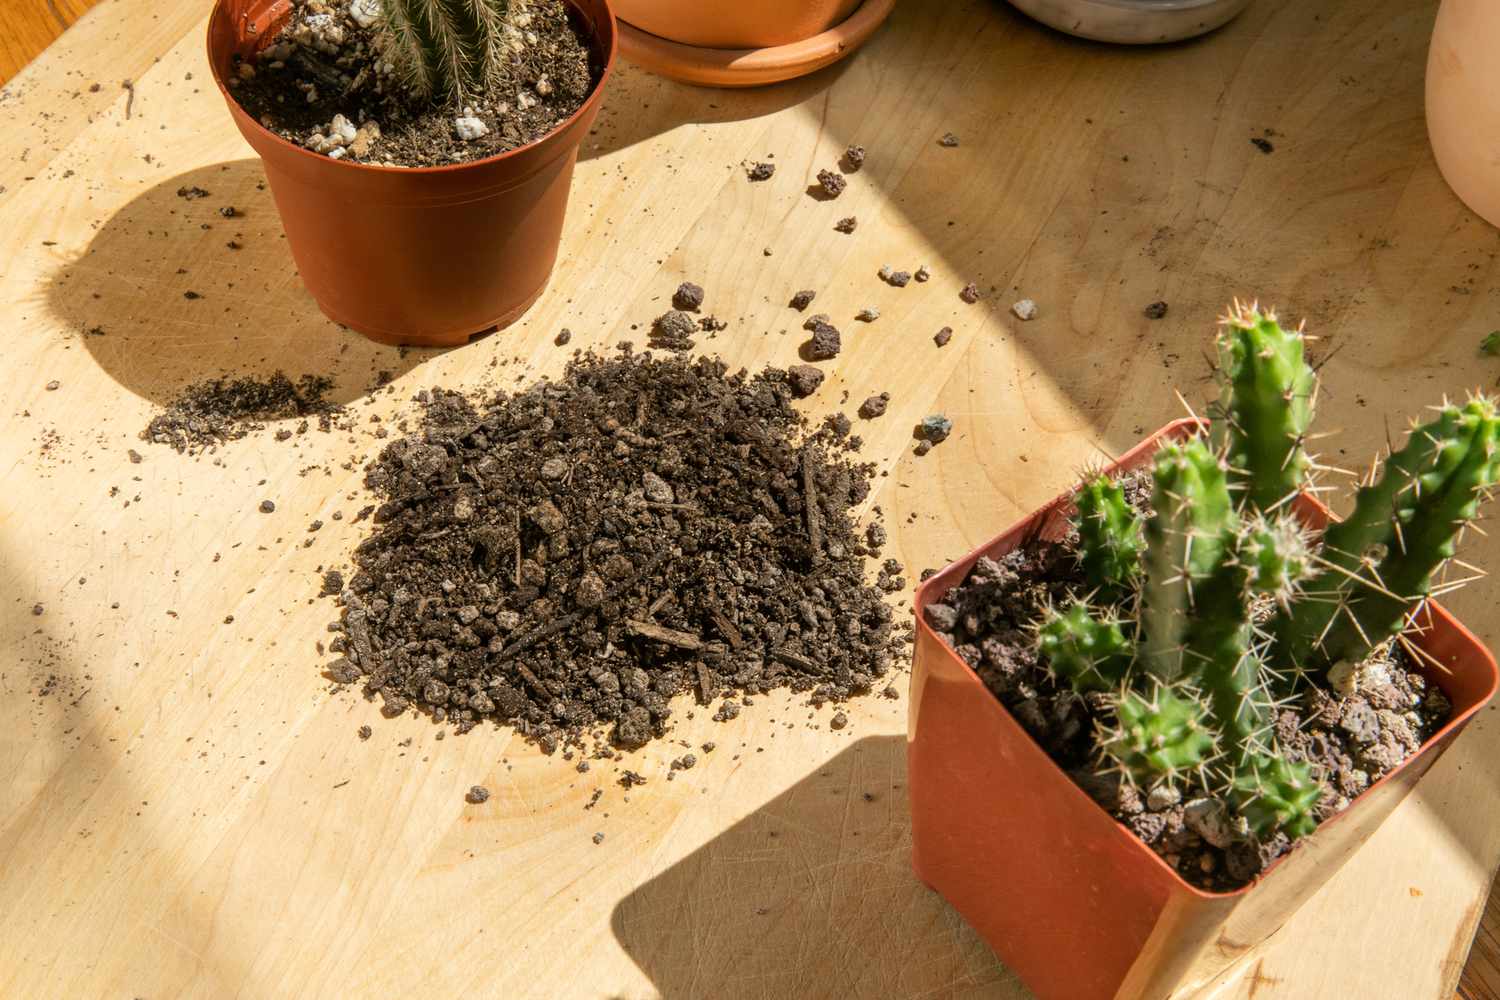
- Choose a well-draining soil mix: Prickly pear cacti prefer sandy or loamy soil with good drainage. You can either purchase a cactus-specific soil mix from a garden center or create your own by combining potting soil, coarse sand, and perlite in equal parts. Avoid using heavy clay-based soils, as they retain too much moisture and can lead to root rot.
- Sterilize the soil: To prevent the growth of harmful pathogens and weed seeds, it’s recommended to sterilize the soil mix before using it for germination. You can do this by spreading the soil mix on a baking sheet and baking it in the oven at a temperature of 180°F (82°C) for about 30 minutes. Allow the soil to cool before use.
- Moisten the soil: Before sowing the prickly pear cactus seeds, it’s important to moisten the soil mix. Add water slowly and mix it thoroughly until the soil is evenly damp but not soggy. Excess moisture can lead to seed rot and fungal diseases.
- Fill the containers: Fill the seed tray or small pots with the moistened soil mix, leaving about half an inch of space below the rim. Lightly press down the soil to eliminate air pockets and create a smooth surface for sowing the seeds.
With the soil prepared, you’re now ready to move on to the next step: collecting prickly pear cactus seeds.
Step 3: Collect Prickly Pear Cactus Seeds
Collecting prickly pear cactus seeds can be an exciting and rewarding process. Whether you’re harvesting seeds from your own prickly pear plants or sourcing them from ripe fruits, here’s what you need to know:
- Choose ripe fruits: Prickly pear fruits are typically ready for harvest in late summer or early fall. Look for fruits that have a vibrant color, indicating their maturity. Ripe fruits will often be soft to the touch and slightly wrinkled.
- Handle with care: Prickly pear cacti are named for their spines, so it’s essential to exercise caution when handling the fruits. Wear thick gloves or use tongs to pick the fruits, and avoid touching the spines to prevent injury.
- Extract the seeds: Once you have harvested the ripe fruits, cut them open lengthwise with a sharp knife. Use a spoon or your fingers to scoop out the pulp containing the seeds. Place the pulp in a bowl or a strainer and rinse it under running water to remove any remaining pulp and debris.
- Dry the seeds: After rinsing, spread the seeds on a paper towel or a fine mesh screen. Allow them to air dry in a cool and well-ventilated area for a few days. Ensure that the seeds are completely dry before proceeding to the next step.
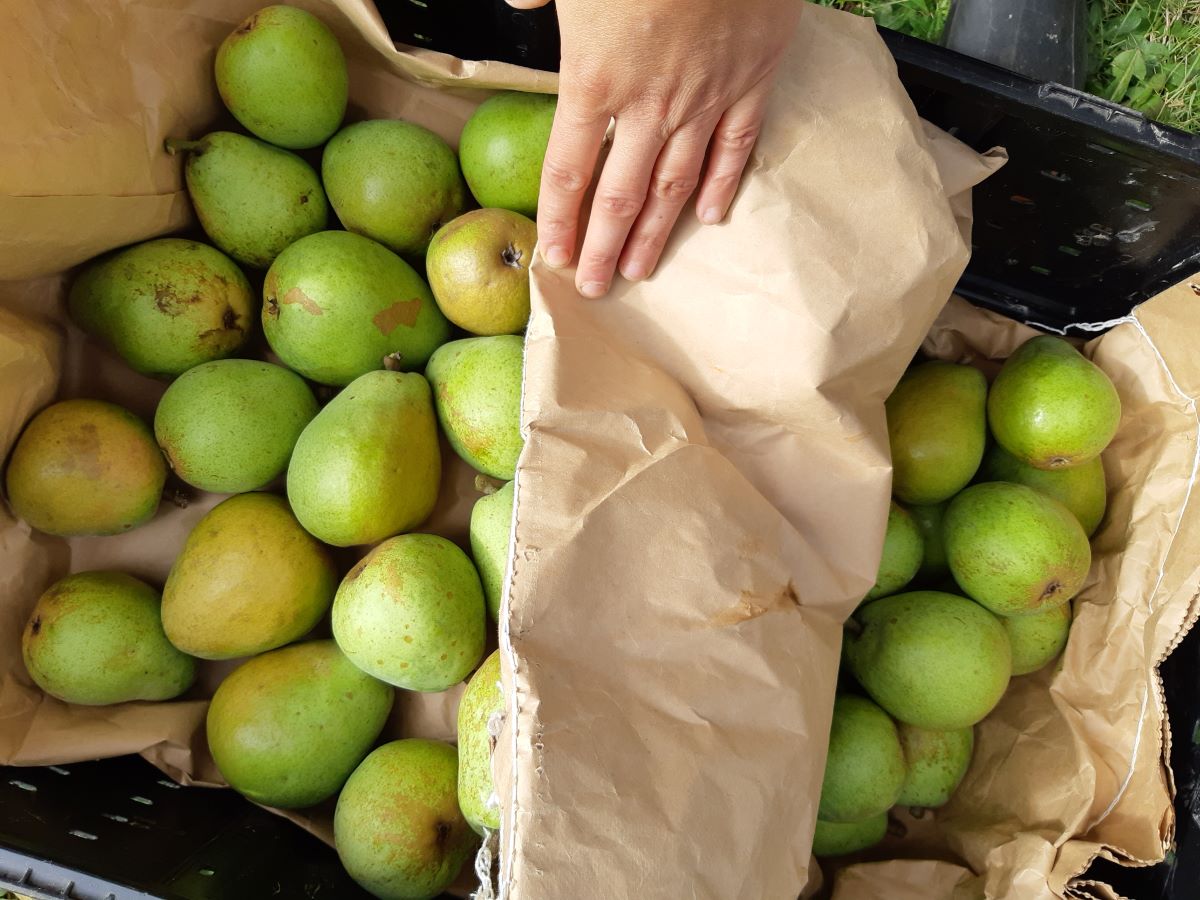
- Store the seeds: If you’re not planning to sow the seeds immediately, store them in a cool and dry place. Airtight containers or small envelopes are ideal for seed storage. Remember to label the containers with the seed variety and the date of collection.
Once you have collected and prepared the prickly pear cactus seeds, it’s time to move on to the next step: scarifying the seeds to improve germination rates.
Read more: How To Store Bartlett Pears
Step 4: Scarify the Seeds
Scarification is a process that involves breaking or weakening the outer seed coat to improve germination rates. Prickly pear cactus seeds have a hard seed coat that can inhibit water absorption and slow down germination. Scarifying the seeds helps to speed up the germination process. Here’s how to scarify prickly pear cactus seeds:
- Choose the scarification method: There are a few different methods you can use to scarify prickly pear cactus seeds. The most common methods include using sandpaper, a file, or soaking the seeds in hot water.
- Sandpaper method: Take a piece of coarse sandpaper and gently rub the seeds against it in a circular motion. This abrades the outer seed coat and allows moisture to penetrate more easily.
- File method: Use a small file or emery board to carefully file a small groove or notch on the seed coat. Be gentle and avoid applying too much pressure, as you don’t want to damage the inner portion of the seed.
- Hot water treatment: In this method, fill a container with hot water, just below boiling temperature, and soak the seeds for 24 hours. The hot water helps to weaken the seed coat and promotes faster germination.
- After scarification: After scarifying the seeds, rinse them with clean water to remove any debris. You can also soak them in a diluted bleach solution (1 part bleach to 9 parts water) for a few minutes to minimize the risk of fungal infections.
Once you have scarified the prickly pear cactus seeds, it’s time to move on to the next step: soaking the seeds to further enhance germination rates.
To germinate a prickly pear cactus, collect ripe fruit and remove the seeds. Plant the seeds in well-draining soil and keep them moist. Place the pot in a warm, sunny location and wait for the seeds to sprout.
Step 5: Soak the Seeds
Soaking prickly pear cactus seeds before sowing can help to further enhance their germination rates. This process softens the seed coat and provides the seeds with the moisture they need to initiate the germination process. Here’s how to properly soak the seeds:
- Prepare a seed soaking solution: Fill a small container with clean water at room temperature. Avoid using chlorinated tap water, as it may contain chemicals that can inhibit germination. Alternatively, you can use distilled or filtered water for optimal results.
- Place the seeds in the water: Carefully place the scarified prickly pear cactus seeds into the container of water. Make sure they are fully submerged and not floating on the surface. It’s best to use a container that allows for air circulation to prevent the seeds from becoming waterlogged.
- Soak the seeds overnight: Allow the seeds to soak in the water overnight or for a period of 12 to 24 hours. This gives enough time for the seeds to absorb the water and for the germination process to begin.
- Check for sinking seeds: After soaking, check the seeds to ensure that they have sunk to the bottom of the container. Sinking seeds indicate that they have absorbed sufficient moisture and are ready for sowing. Discard any seeds that remain floating, as they may be non-viable.
- Remove the seeds from the water: Using a fine-mesh sieve or strainer, carefully remove the soaked seeds from the water. Gently blot them dry with a paper towel to remove excess moisture. Avoid rubbing or squeezing the seeds, as this can damage their delicate tissues.
With the seeds properly soaked, you are now ready to move on to the next step: sowing the seeds into the prepared soil mix.
Step 6: Sow the Seeds
Now that your prickly pear cactus seeds are scarified and soaked, it’s time to sow them into the prepared soil mix. Sowing the seeds properly ensures optimal germination and gives the seedlings a healthy start. Follow these steps to sow the seeds:
- Make small planting indentations: Use a pencil or your finger to create small indentations in the soil mix. These indentations should be about a quarter to a half-inch deep and spaced evenly apart, allowing enough room for each seed to grow.
- Place the seeds in the indentations: Gently place a soaked seed into each indentation, taking care not to damage the fragile embryo. If you have multiple seeds, space them out to prevent overcrowding and competition among the emerging seedlings.
- Lightly cover the seeds: Once the seeds are in place, lightly cover them with a thin layer of the prepared soil mix. The layer should be just enough to provide a light shielding while still allowing the emerging seedlings to push through the soil easily.
- Mist the soil surface: Using a spray bottle, mist the soil surface with water to settle the soil and provide moisture for germination. Avoid drenching the soil as excessive moisture can lead to rotting. Aim for a damp, but not saturated, soil environment.
- Label the containers: To keep track of the seed varieties and planting date, label the containers with the appropriate information. This will also come in handy when it’s time to transplant or thin out the seedlings.
After sowing the prickly pear cactus seeds, it’s crucial to provide them with the right conditions for germination. Move on to the next step on maintaining adequate light and temperature for the seeds to sprout successfully.
Step 7: Provide Adequate Light and Temperature
Prickly pear cactus seeds require the right combination of light and temperature to germinate and grow into healthy seedlings. Mimicking their natural environment is key to ensuring successful sprouting. Follow these guidelines to provide the ideal conditions:
- Light: Prickly pear cactus seeds need bright and indirect light to germinate. Place the seed tray or pots in a location that receives ample sunlight, such as a south-facing window or under fluorescent grow lights. If using artificial lights, position them about 6-12 inches above the seeds and keep them on for 12-14 hours a day.
- Temperature: Prickly pear cactus seeds prefer warm temperatures in the range of 70-85°F (21-29°C) for optimal germination. Use a seed heating mat or place the seed tray in a warm area to create a consistent and favorable temperature. Avoid exposing the seeds to extreme temperature fluctuations.
- Avoid direct heat: While warmth is important, it’s crucial to avoid placing the seed tray or pots directly on a heat source, such as a radiator or heating vent. Direct heat can cause the soil to dry out quickly and may harm the delicate seedlings.
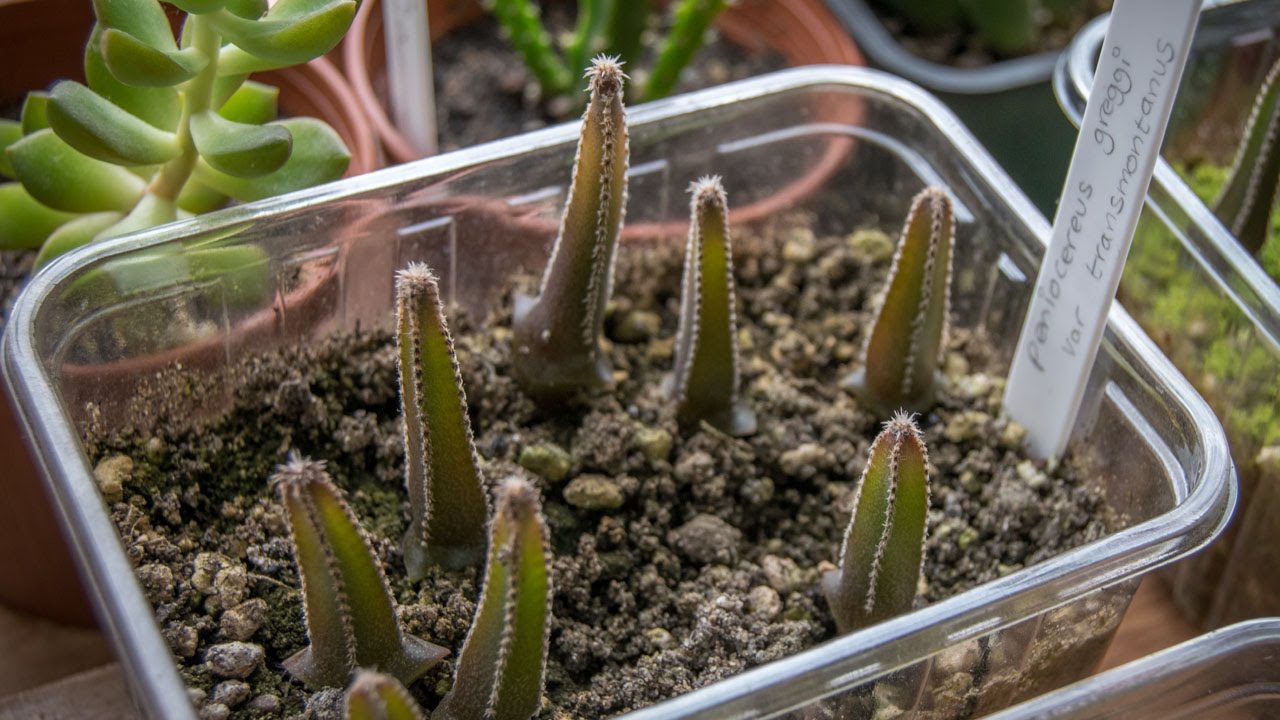
- Monitor for germination: Keep a close eye on the seeds for signs of germination. Depending on the species and growing conditions, prickly pear cactus seeds can take anywhere from a few days to several weeks to sprout. Be patient and maintain the appropriate light and temperature throughout the germination period.
- Thin out seedlings if necessary: Once the seedlings have emerged, it’s important to give them enough space to grow. If multiple seeds have germinated in the same container, carefully thin out the weaker seedlings, leaving only the healthiest and most robust ones. This ensures that each seedling has access to sufficient resources for optimal growth.
By providing adequate light and temperature, you are creating the optimal conditions for your prickly pear cactus seeds to sprout and develop into healthy seedlings. The next step involves proper watering and maintenance to support their growth.
Read more: How To Store Cut Pears
Step 8: Watering and Maintenance
Proper watering and maintenance are crucial for the healthy growth of prickly pear cactus seedlings. Follow these guidelines to ensure the optimal care of your young plants:
- Watering: Prickly pear cactus seedlings prefer infrequent but deep waterings. Allow the top inch of soil to dry out before watering again. When watering, pour water directly onto the soil, making sure to avoid wetting the stems or delicate seedlings. Aim for a thorough watering that allows moisture to reach the roots.
- Avoid overwatering: Overwatering can lead to root rot and other fungal diseases, so it’s important to avoid excessive moisture. Check the moisture level of the soil regularly by inserting your finger about an inch deep. If the soil feels moist, hold off on watering until it becomes slightly dry.
- Ideal watering frequency: As a general guideline, water prickly pear cactus seedlings every 7-10 days, adjusting according to the environmental conditions. During periods of increased temperature or dryness, you may need to water more frequently, while cooler or humid conditions may require less frequent watering.
- Monitor for pests and diseases: Keep a close eye on your seedlings for any signs of pests or diseases. Common pests that can affect prickly pear cacti include mealybugs, scale insects, and spider mites. If detected, promptly treat the infestation using organic pest control methods or a mild insecticidal soap.
- Provide support if needed: As the seedlings grow, some may benefit from support to prevent them from flopping over. Use stakes or small plant supports to gently prop up any drooping or top-heavy seedlings. Be careful not to damage the delicate roots or stems in the process.
- Monitor light levels: Ensure that the seedlings continue to receive adequate light throughout their growth. Adjust the position of artificial lights or move the seed tray if necessary to provide optimal light exposure. Prickly pear cacti thrive in bright conditions, so maintaining appropriate lighting is essential.
By following these watering and maintenance practices, you are creating a favorable environment for your prickly pear cactus seedlings to grow and thrive. The next step involves transplanting the germinated cactus into their permanent growing locations.
Step 9: Transplanting the Germinated Cactus
Once your prickly pear cactus seedlings have grown and developed a solid root system, it’s time to transplant them into their permanent growing locations. Transplantation allows the seedlings to have more space to grow and establish themselves. Follow these steps for successful transplanting:
- Choose the right time: Wait until the seedlings have reached a size where they can be easily handled and have well-established roots. This typically occurs when the seedlings have grown to about 2-3 inches in height and developed a few sets of true leaves. Transplant during the spring or early summer when the weather is warm and favorable for new growth.
- Select suitable planting containers or garden beds: Prickly pear cacti prefer well-draining soil and containers or garden beds that allow excess water to drain away. Choose a container or bed that is slightly larger than the size of the root ball to provide ample space for the plant to grow and expand its root system.
- Prepare the planting site: If transplanting to an outdoor location, prepare the soil by removing any weeds or debris. Create a small hole that is deep enough to accommodate the seedling’s root ball. If planting in containers, ensure that they have drainage holes and fill them with well-draining cactus soil mix.
- Carefully remove the seedlings from their current containers: Gently wiggle the seedlings to loosen the roots from the container’s sides. Be careful not to damage the fragile roots. If the seedlings are tightly packed, use a small tool or your fingers to carefully separate them before transplantation.
- Place the seedlings in the planting hole: Carefully place the seedling’s root ball into the planting hole or container, ensuring that the top of the root ball is level with or slightly above the soil surface. Fill in any gaps with additional soil mix and gently press down to secure the seedling in place.
- Water the transplanted seedlings: After transplanting, give the seedlings a thorough watering to help settle the soil and hydrate the roots. Water the seedlings at the base, avoiding getting water on the leaves or stems. Maintain regular watering, allowing the soil to dry out slightly between each watering.
- Provide post-transplant care: Place the transplanted prickly pear cactus seedlings in a location that receives ample sunlight, preferably in a sunny spot outdoors or under bright, indirect light indoors. Protect the seedlings from extreme temperatures, high winds, and heavy rains during their initial establishment period.
With proper transplantation and post-transplant care, your germinated prickly pear cactus seedlings will have the best chance to thrive and grow into mature plants. Remember to continue monitoring their growth and adjust watering and light conditions as needed. Soon, you’ll be able to enjoy the beauty and resilience of these remarkable cacti in your garden or indoor space!
Conclusion
Congratulations! You’ve now learned how to successfully germinate prickly pear cactus seeds and guide them through their early stages of growth. By following the steps outlined in this guide, you have set the foundation for a vibrant and thriving prickly pear cactus garden.
From gathering the necessary materials to transplanting the germinated cacti, each step plays a crucial role in ensuring the health and development of your plants. Remember, growing prickly pear cacti from seeds requires patience and ongoing care, but the rewards are well worth it.
As your cacti continue to mature, don’t forget to regularly assess their watering needs, provide adequate light, and monitor for any pests or diseases that may arise. With a little attention and maintenance, your prickly pear cacti will flourish and become a stunning addition to your garden or indoor space.
Not only are prickly pear cacti visually striking, but they also offer numerous benefits. From their drought tolerance and low-maintenance nature to their edible fruits and ability to support wildlife, prickly pear cacti are truly remarkable plants. They bring beauty, resilience, and a touch of the desert to any landscape.
Whether you’re growing prickly pear cacti for their ornamental value, their fruits, or their ecological benefits, your efforts in nurturing these unique plants will be highly rewarding. So, get started on your prickly pear cactus growing journey and enjoy the beauty and wonder that these magnificent plants have to offer.
Remember to have fun with the process, experiment with different species or varieties, and continue expanding your knowledge of cacti and other desert plants. Happy growing!
Frequently Asked Questions about How To Germinate A Prickly Pear Cactus
Was this page helpful?
At Storables.com, we guarantee accurate and reliable information. Our content, validated by Expert Board Contributors, is crafted following stringent Editorial Policies. We're committed to providing you with well-researched, expert-backed insights for all your informational needs.

0 thoughts on “How To Germinate A Prickly Pear Cactus”