Home>Garden Essentials>How To Grow A Pear Tree From Seed
Garden Essentials
How To Grow A Pear Tree From Seed
Modified: March 16, 2024
Learn the step-by-step process of growing a pear tree from seed in your own garden. Discover expert tips and techniques for successful cultivation.
(Many of the links in this article redirect to a specific reviewed product. Your purchase of these products through affiliate links helps to generate commission for Storables.com, at no extra cost. Learn more)
Introduction
Welcome to the wonderful world of gardening! If you’ve ever tasted a juicy, sweet pear and wondered if you could grow your own tree, you’re in the right place. Growing a pear tree from seed can be a rewarding and fulfilling experience that allows you to witness the entire lifecycle of this delicious fruit.
While conventional gardening wisdom suggests growing pear trees from grafted saplings, starting from seeds can be an exciting and educational journey. Not only do you get to witness the miracle of germination, but you also have the opportunity to select and cultivate unique varieties that may not be available as saplings.
In this guide, we will take you through the step-by-step process of growing a pear tree from seed. From selecting the right seeds to nurturing the sapling and eventually harvesting the fruits, you’ll learn everything you need to know to embark on this green-thumb adventure.
Before we dive into the details, it’s important to note that growing a pear tree from seed is a long-term commitment. Pear trees typically take several years to mature and bear fruit. However, if you are patient and dedicated, the rewards will be well worth the wait.
So, grab your gardening gloves and let’s get started on this exciting journey of growing a pear tree from seed!
Key Takeaways:
- Growing a pear tree from seed is a patient and rewarding journey, from selecting the right seeds to nurturing the saplings and enjoying the delicious fruits.
- Proper care, patience, and dedication are key to successfully growing a pear tree from seed, from preparing the seeds to transplanting the saplings and harvesting the fruits.
Read more: How To Grow Pears From Seeds
Selecting the Right Pear Seeds
When it comes to growing a pear tree from seed, selecting the right seeds is crucial for a successful and thriving tree. Here are some factors to consider when choosing pear seeds:
- Variety: Decide on the variety of pear tree you want to grow. Some popular varieties include Bartlett, Bosc, Anjou, and Comice. Each has its own unique flavor, texture, and growth characteristics. Research the different varieties and choose one that suits your taste preferences and local climate.
- Source: Obtain your pear seeds from a reputable source. You can purchase seeds from a garden center, online seed suppliers, or even collect them from ripe, healthy pears. Ensure the seeds are fresh, viable, and disease-free.
- Climate compatibility: Consider the climate and growing conditions in your area. Certain pear varieties thrive in specific climates, so choose seeds that are well-suited to your region. This will increase the chances of success and help your pear tree flourish.
- Pollination requirements: Keep in mind that some pear trees require cross-pollination with another compatible variety to bear fruit. If you only have space for one pear tree, select a self-pollinating variety to ensure fruit production.
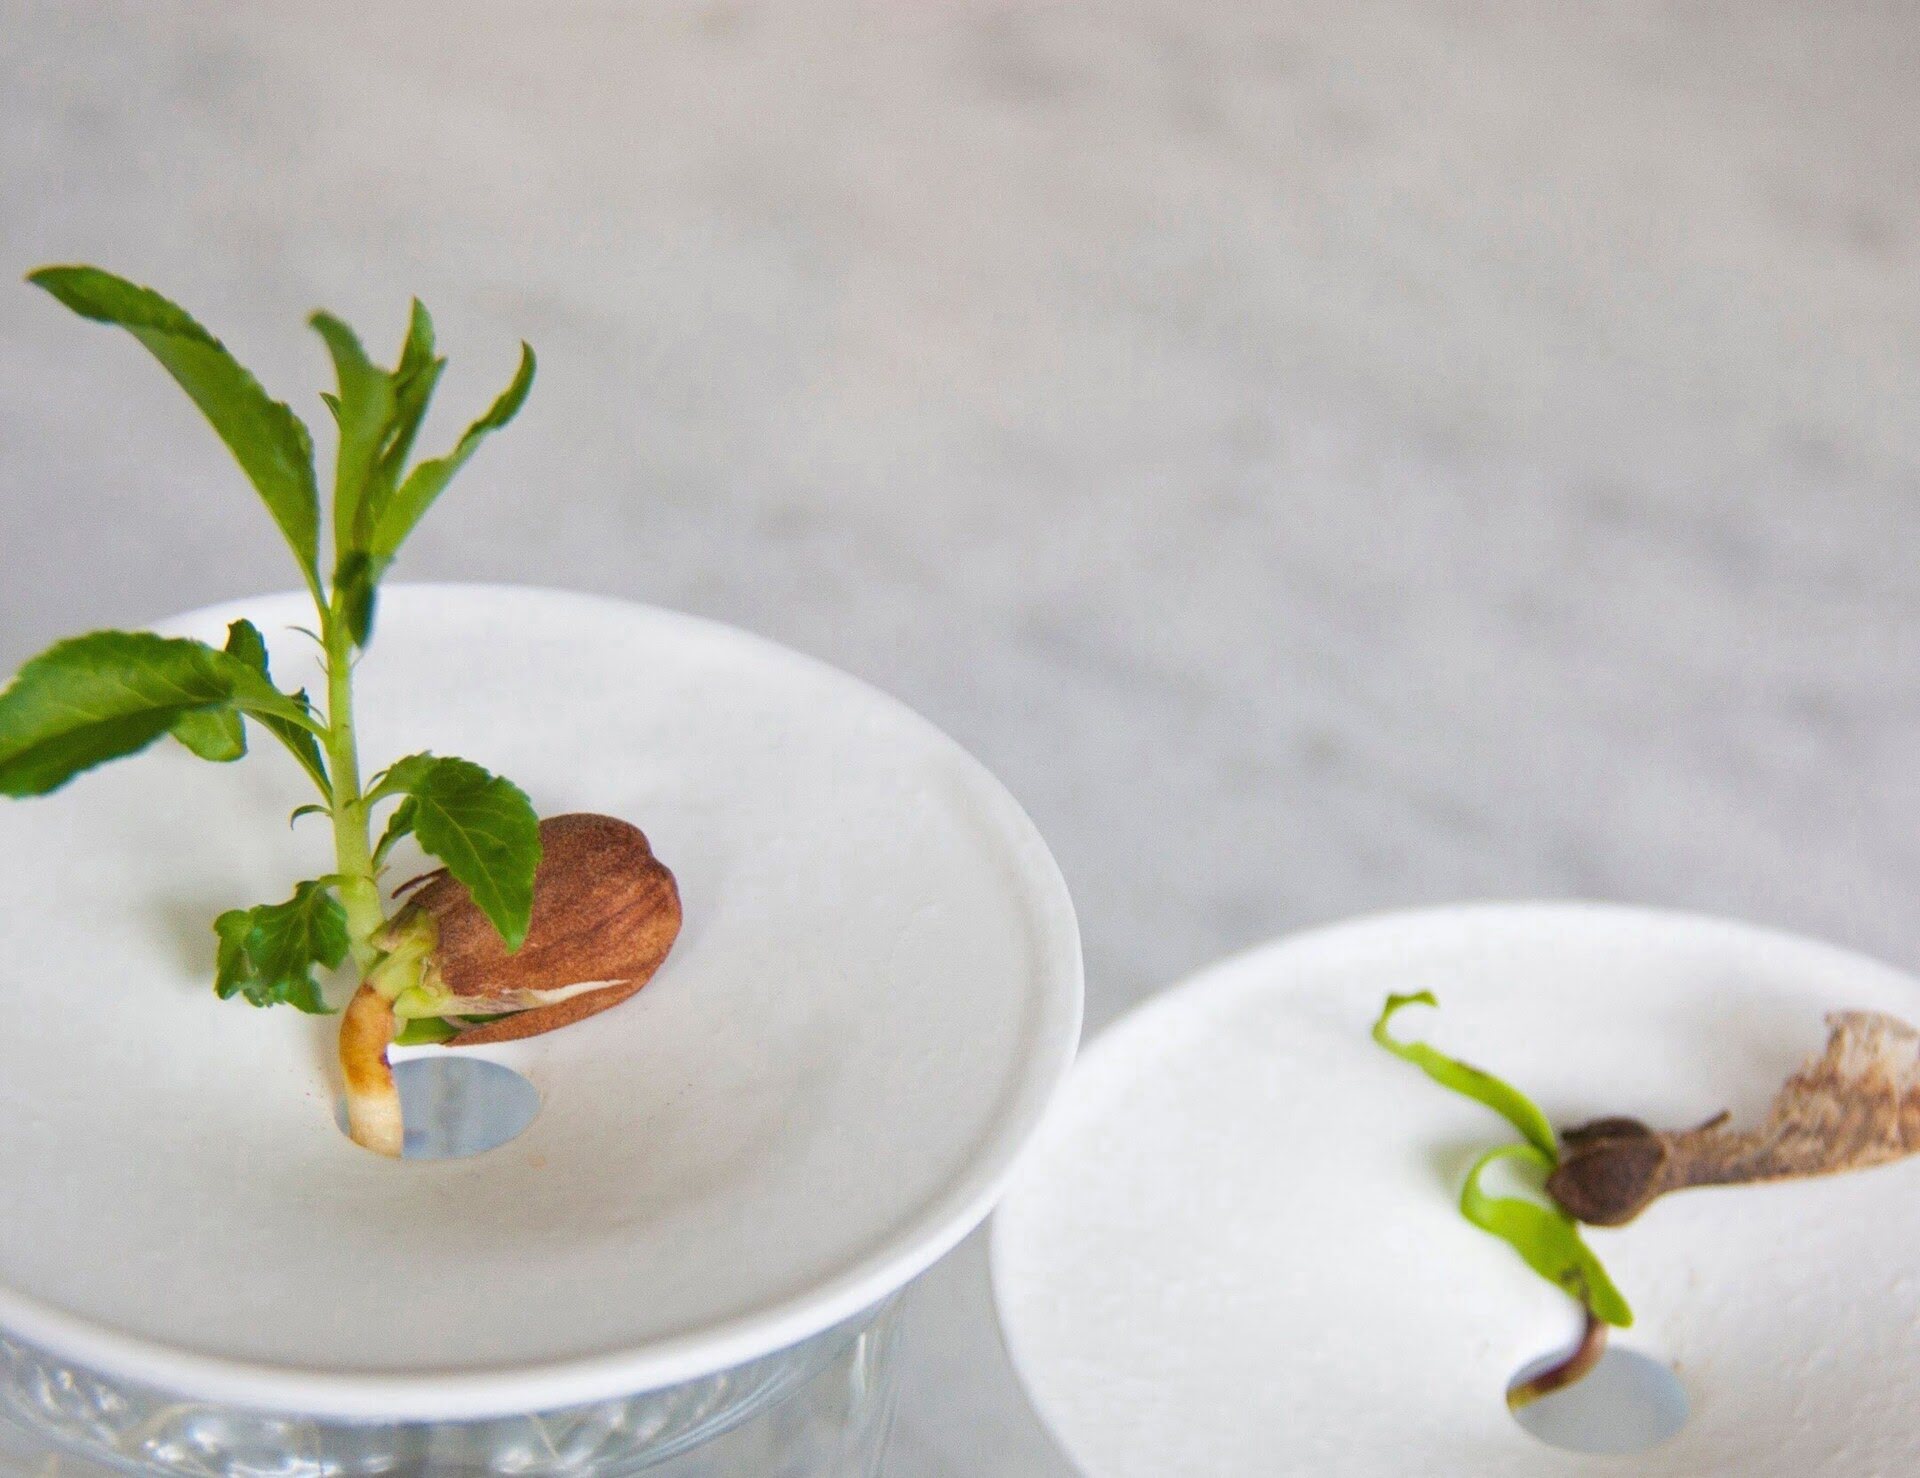
Once you’ve decided on the variety and obtained your pear seeds, it’s time to prepare them for planting. Proper preparation will enhance the germination process and increase the chances of successful growth.
Preparing the Seeds for Planting
Before you plant the pear seeds, it’s important to give them the best possible start by properly preparing them. Follow these steps to prepare your pear seeds for planting:
- Cleaning and drying: Start by cleaning the seeds to remove any pulp or debris. Rinse them gently under running water and pat them dry with a paper towel. Make sure the seeds are completely dry before moving on to the next step.
- Stratification: Pear seeds require a period of cold stratification to break their dormancy and simulate the natural conditions they would experience in nature. This process can be achieved by refrigerating the seeds for 4-6 weeks. Place the seeds in a sealed plastic bag or container with some dampened sphagnum moss or sterile potting soil. Label the container and place it in the refrigerator.
- Monitoring: Periodically check the seeds during stratification to ensure they remain moist but not overly wet. If any seeds show signs of mold or rot, remove them immediately to prevent the spread of disease.
- Testing viability: After the stratification period, it’s a good idea to conduct a germination test to determine which seeds are viable. Moisten a paper towel and place the seeds on it, then fold the towel and put it in a sealed plastic bag. Keep the bag in a warm area, like on top of the refrigerator, and check regularly for signs of sprouting. Discard any seeds that show no signs of life.
By properly preparing your pear seeds, you are giving them the best chance to germinate and grow into healthy seedlings. Once you have identified the viable seeds, it’s time to move on to the exciting part – planting!
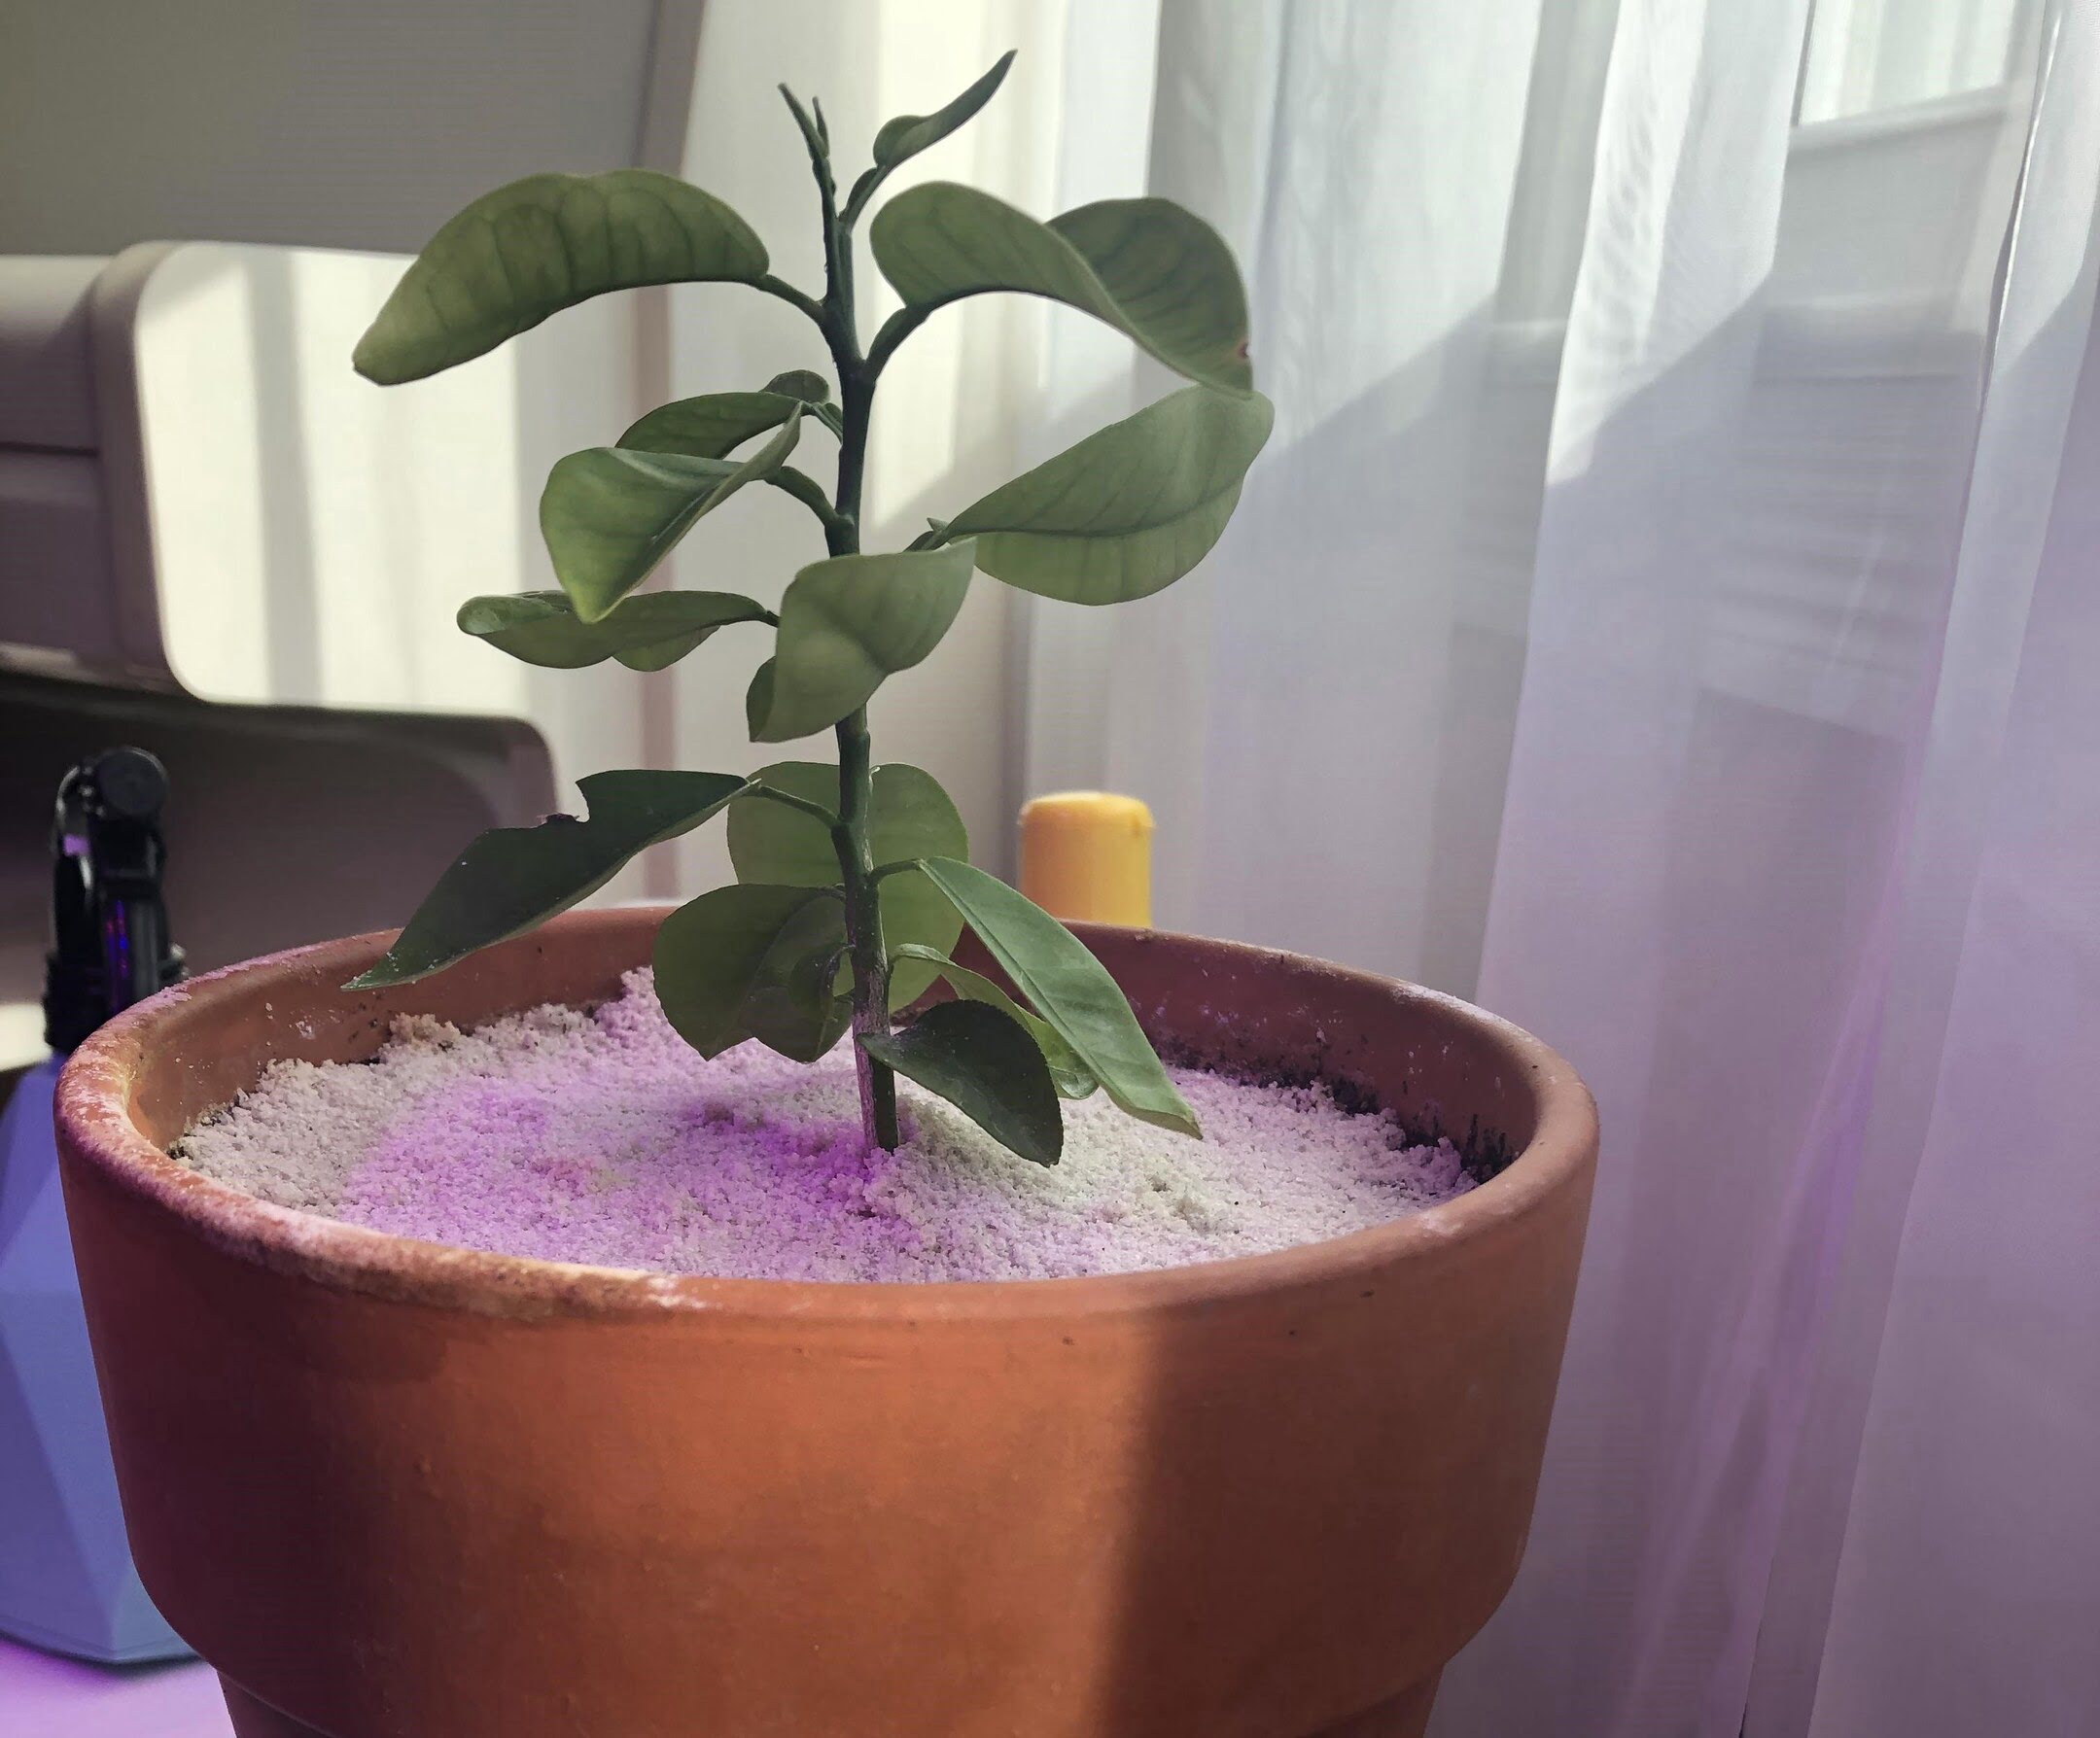
Planting the Pear Seeds
Now that your pear seeds are prepared, it’s time to plant them and kickstart the growth process. Follow these steps to plant your pear seeds:
- Selecting containers: Choose small pots or seed trays with drainage holes. Make sure the containers are clean and sterilized to prevent the spread of diseases.
- Choosing the right soil: Use a well-draining potting mix that is rich in organic matter. This will provide the necessary nutrients for the seeds to germinate and the seedlings to thrive.
- Sowing the seeds: Fill the containers with the potting mix and moisten it lightly. Gently press one or two pear seeds into each container, about an inch deep. Space the seeds evenly to allow for proper growth and development.
- Watering: After sowing the seeds, give them a thorough watering and ensure the soil is evenly moist, but not waterlogged. Keep the soil consistently moist throughout the germination process.
- Providing warmth: Pear seeds require warm temperatures for germination. Place the containers in a warm location, such as near a sunny window or under grow lights. Aim for a temperature between 65-75°F (18-24°C) to promote successful germination.
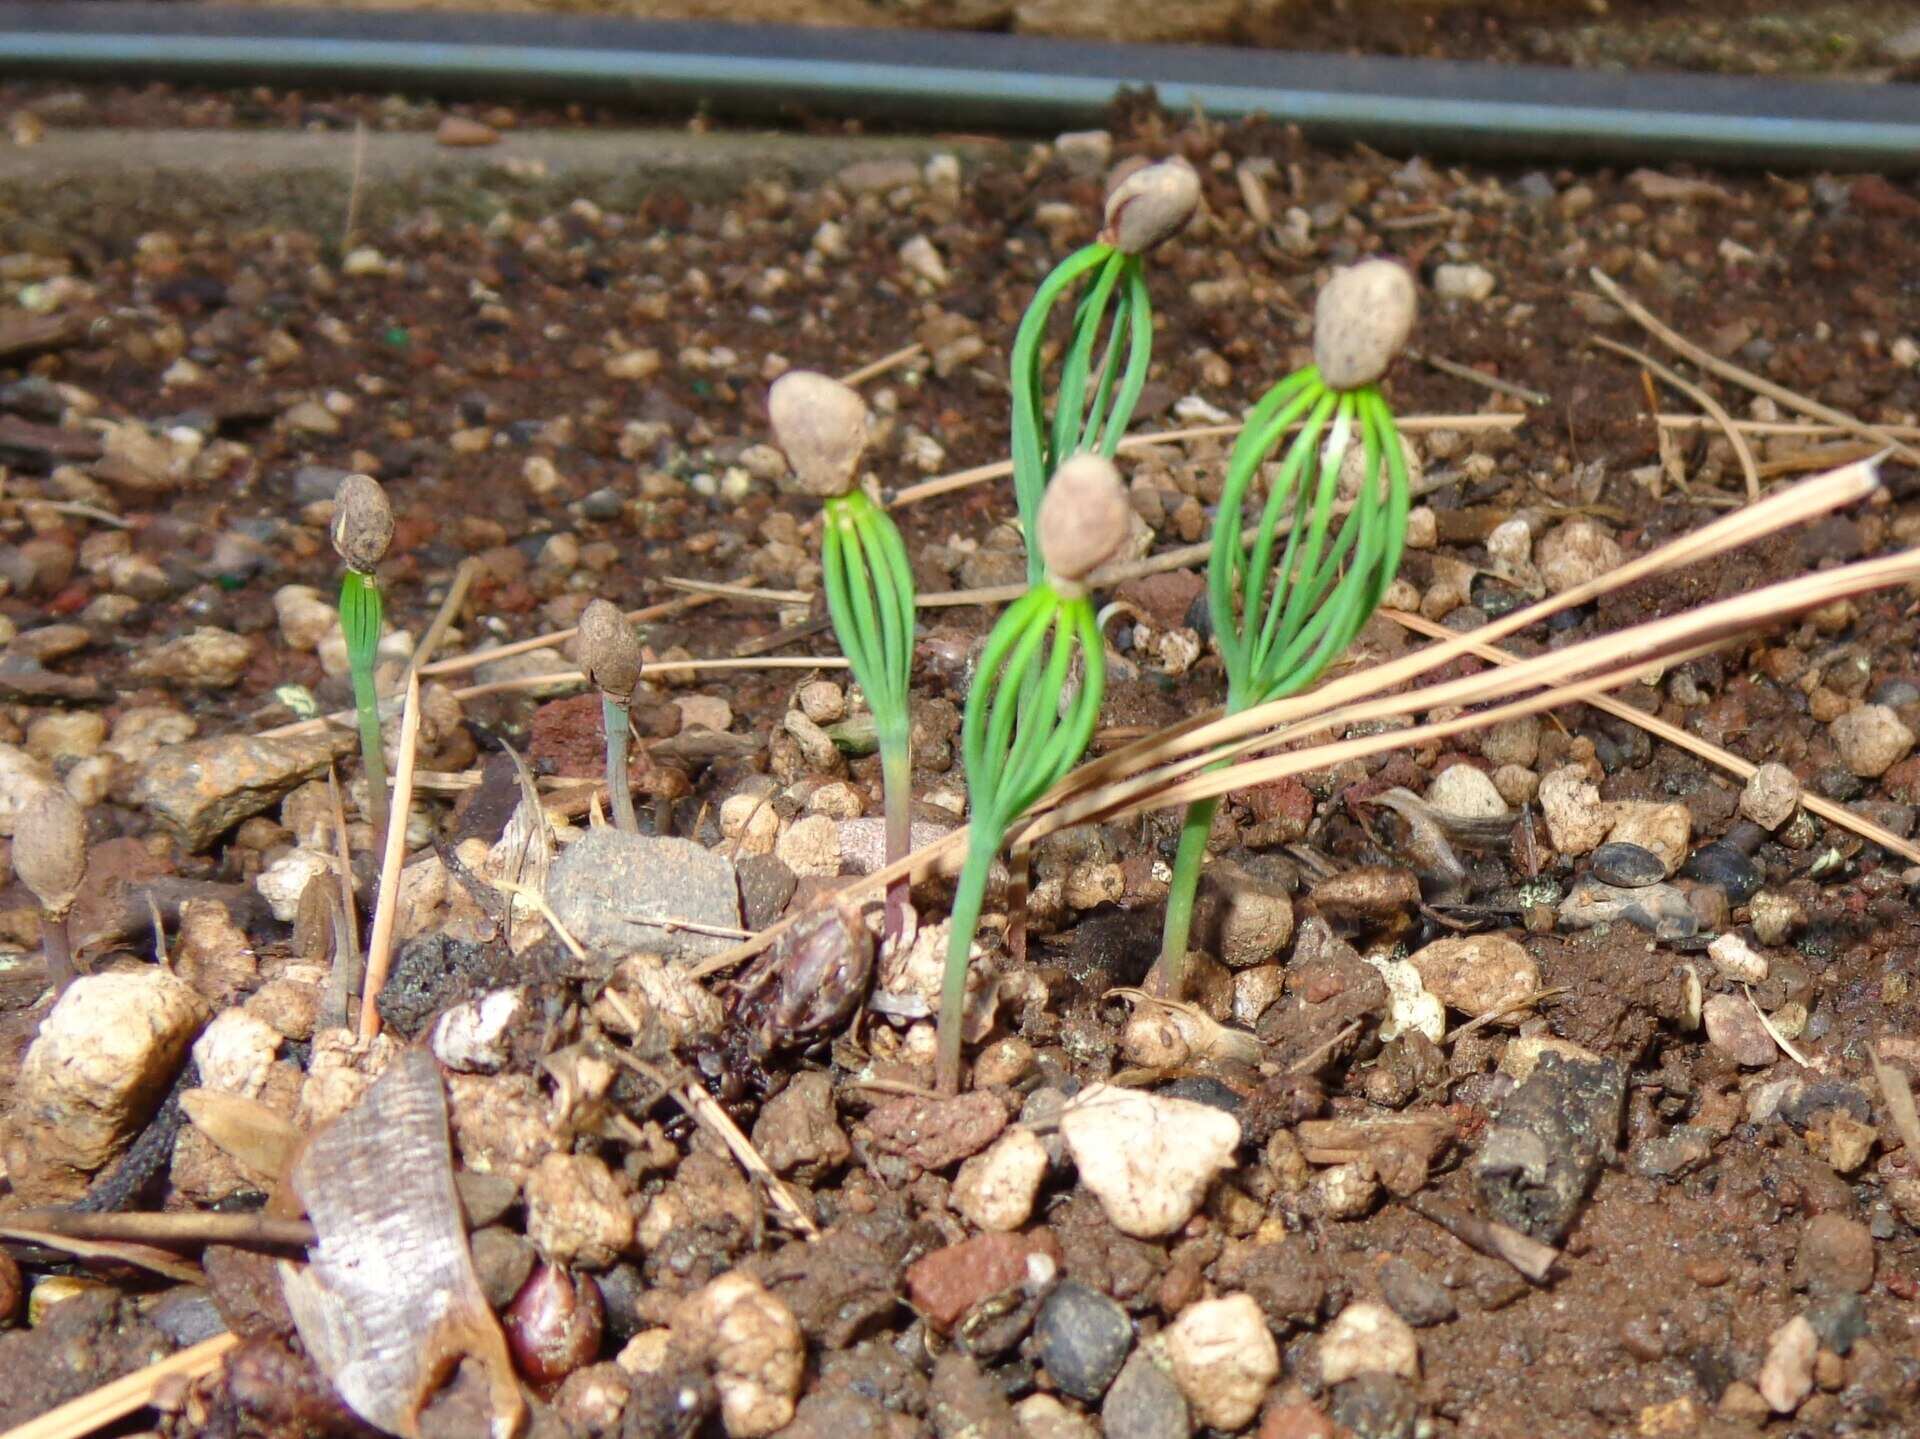
- Patience: Germination can take anywhere from a few weeks to a few months, so be patient and don’t give up. Keep monitoring the containers and provide the necessary care to ensure the seeds have the best chance to sprout.
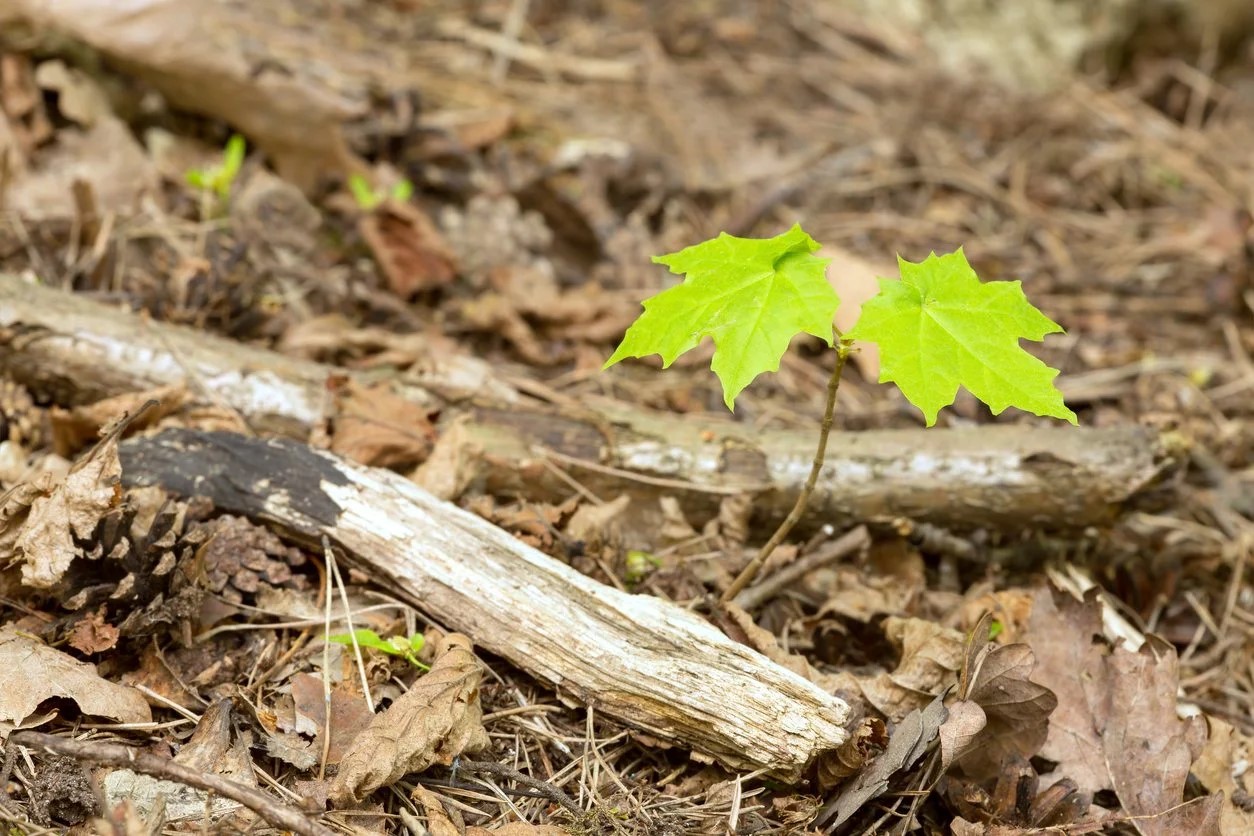
As the pear seeds start to germinate and seedlings emerge, you will witness the miracles of nature unfold before your eyes. It’s an exciting time, and the journey has just begun!
To grow a pear tree from seed, soak the seeds in water for 24 hours, then plant them in a pot with well-draining soil. Keep the soil moist and place the pot in a sunny spot. Once the seedling is established, transplant it to a larger pot or into the ground.
Providing the Proper Care and Maintenance
Once the pear seedlings have emerged, it’s important to provide them with the proper care and maintenance to ensure their healthy growth. Here are some essential tips:
- Light: Place the seedlings in a location that receives ample sunlight. Pear trees thrive in full sun, so aim for at least 6-8 hours of direct sunlight each day. If you are growing the seedlings indoors, consider using grow lights to supplement natural light.
- Watering: Keep the soil consistently moist, but avoid overwatering. Water the seedlings whenever the top inch of soil feels dry. Use a watering can or a gentle spray to prevent damage to the delicate roots.
- Fertilizing: After the seedlings have established a few sets of true leaves, you can begin fertilizing. Choose a balanced, slow-release fertilizer specifically formulated for fruit trees. Follow the manufacturer’s instructions for application rates and frequency.
- Pruning: As the seedlings grow, they will develop multiple branches. It’s important to prune them to encourage a strong central leader and a well-shaped tree. Remove any competing branches or those that are crossing or growing in undesirable directions.
- Pest and disease control: Regularly inspect the seedlings for any signs of pests or diseases. Common pests that affect pear trees include aphids, pear psylla, and codling moths. Use organic pest control methods whenever possible and consult with your local garden center for appropriate treatments if necessary.
- Training and support: As the seedlings grow taller, provide support in the form of stakes or a small trellis to help them develop a strong and upright structure. Tie the seedlings gently to the support to prevent breakage or bending.
Remember, each seedling is unique, and it’s essential to observe and adapt your care routine accordingly. Provide regular attention, be patient, and soon you’ll see your pear seedlings transform into healthy and robust trees.
In the next section, we’ll discuss the process of transplanting your pear saplings into their permanent location.
Read more: How To Grow A Tree From A Seed
Transplanting the Pear Saplings
As your pear saplings grow and develop, they will eventually outgrow their initial containers and need to be transplanted into larger pots or, ideally, into their permanent location in the ground. Follow these steps to ensure a successful transplant:
- Timing: The best time to transplant pear saplings is during the dormant season, typically in late winter or early spring before new growth emerges. This allows the trees to establish their roots before the onset of the growing season.
- Choosing the permanent location: Select a site for transplanting that provides full sun, well-draining soil, and enough space for the pear tree to reach its mature size. Consider the tree’s eventual height and spread when deciding on the placement.
- Preparing the planting hole: Dig a hole that is wider and deeper than the root ball of the sapling. Loosen the soil and amend it with organic matter, such as compost, to improve drainage and fertility.
- Transplanting the sapling: Gently remove the sapling from its container, taking care not to damage the roots. Place it in the center of the planting hole and backfill with soil, ensuring the tree is straight and at the same depth it was previously planted.
- Watering: After transplanting, give the sapling a deep watering to settle the soil and help establish its roots. Provide regular waterings for the first few weeks to ensure the tree gets adequate moisture as it acclimates to its new environment.
- Staking: If the sapling is tall and prone to wind movement, you can stake it for support. Use soft ties to secure the tree to the stakes, making sure not to constrict its growth or cause damage.
- Mulching: Apply a layer of organic mulch around the base of the tree, leaving a gap around the trunk to prevent moisture buildup. Mulch helps suppress weeds, retain moisture, and moderate soil temperatures.
- Monitoring and care: Monitor the newly transplanted sapling closely and provide ongoing care. Water deeply when necessary, especially during dry periods. Protect the sapling from pests and diseases, and regularly prune to shape the tree and promote healthy growth.
Transplanting can be a stressful process for a young tree, so be patient and provide the necessary care and attention. With time, your pear sapling will establish itself in its new home and continue its journey towards becoming a fruitful tree.
In the final section, we’ll discuss the joys of harvesting and the importance of pruning your pear tree.
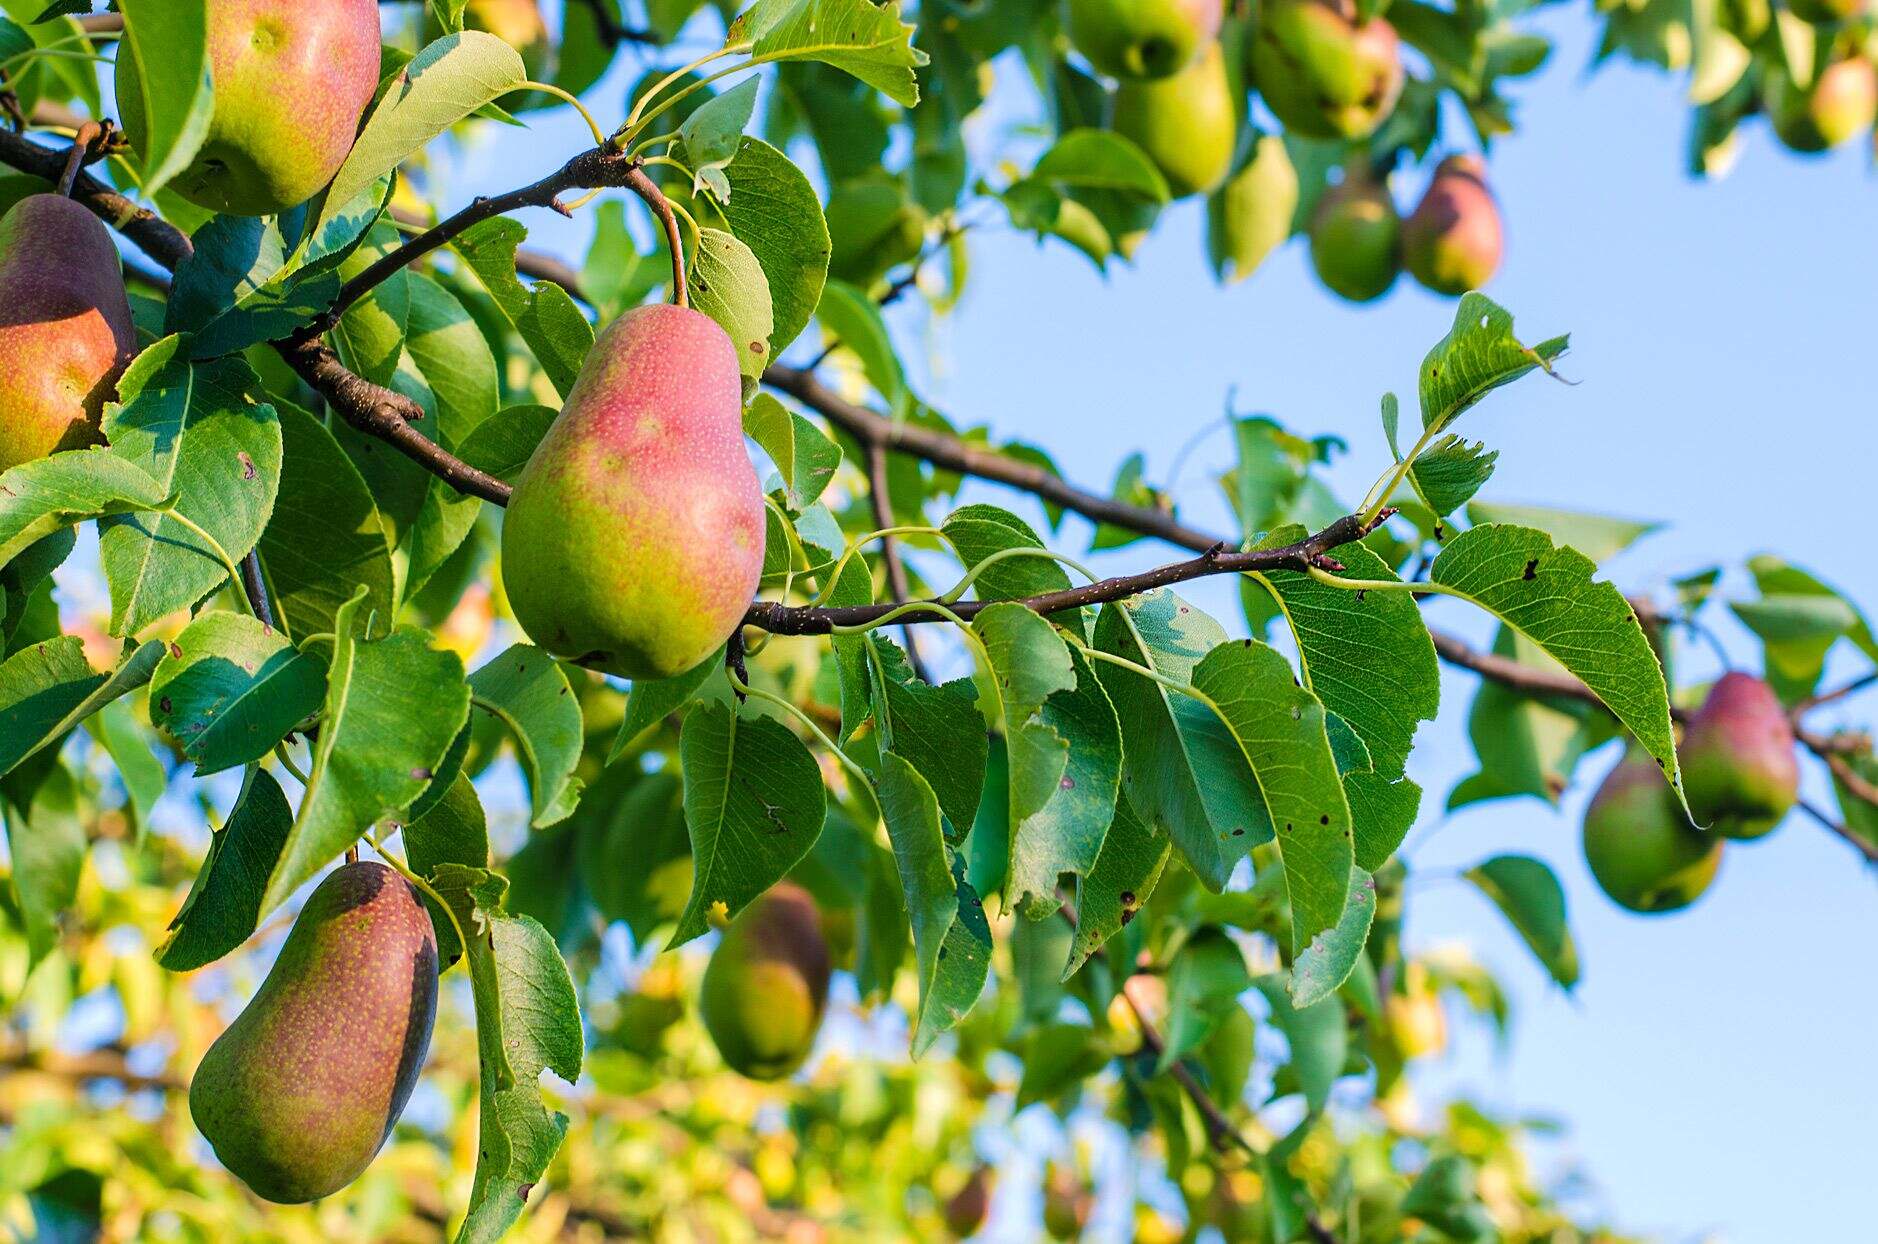
Harvesting and Pruning the Pear Tree
After years of patience and nurturing, your pear tree is finally reaching maturity, and the time for harvesting its delectable fruits has arrived. Here’s what you need to know about harvesting and pruning your pear tree:
Harvesting:
- Timing: Harvest pears when they are fully ripe but still firm to the touch. Different pear varieties have varying ripening times, so refer to the specific variety’s harvesting schedule.
- Checking for ripeness: To check if a pear is ripe, gently press on the skin near the stem. If it gives slightly, the pear is ready to harvest. Avoid pulling on the fruit, as it may damage the tree or cause immature pears to drop prematurely.
- Harvesting technique: Use pruning shears to cut the stem about an inch above the fruit. Place the harvested pears gently in a basket or container to avoid bruising.
- Storing the harvested pears: If you plan to store your pears, keep them at room temperature until they reach the desired ripeness. Once ripe, move them to the refrigerator to prolong their freshness.
Pruning:
- Timing: Prune your pear tree during the dormant season, usually in late winter or early spring before new growth begins. Pruning during this time encourages vigorous growth in the coming season.
- Pruning objectives: The main objectives of pruning a pear tree include shaping the tree, improving its structure, and maintaining its health. Remove any dead, damaged, or diseased wood, as well as any suckers or water sprouts.
- Thinning the canopy: Pear trees can become dense and crowded, leading to poor air circulation and increased disease susceptibility. Thin out the branches, removing any that are crossing or rubbing against each other.
- Training the central leader: Encourage strong upright growth by selecting a central leader and removing competing, upright branches. This will help ensure a well-shaped and balanced tree.
- Finalizing pruning cuts: Make clean, angled cuts just above a bud or lateral branch. Avoid leaving stubs, as they can become entry points for pests and diseases.
Regular pruning and harvesting are essential for maintaining the health and productivity of your pear tree. By following these guidelines, you’ll enable the tree to produce abundant fruit harvests year after year.
Congratulations on your journey of growing a pear tree from seed! Your dedication and efforts have paid off, and now you get to enjoy the delicious rewards of your labor.
Remember, gardening is a continuous learning experience, so don’t hesitate to seek additional advice and explore new techniques to further enhance your gardening skills. Enjoy the fruits of your labor and the beauty of your pear tree for years to come!
Happy gardening!
Conclusion
Growing a pear tree from seed is a remarkable experience that allows you to witness the entire journey of a tree, from a tiny seed to a full-grown, fruit-bearing marvel. Throughout this guide, we’ve explored the essential steps involved in successfully growing a pear tree from seed.
From selecting the right pear seeds to preparing them for planting, and from providing the proper care and maintenance to transplanting the saplings, we have covered the important aspects of nurturing your pear tree. We also discussed the joy of harvesting the delicious fruits and the significance of pruning to maintain the tree’s health and productivity.
Remember, gardening is a journey that requires patience, dedication, and a love for nature’s wonders. Growing a pear tree from seed offers a unique sense of accomplishment and a deeper connection to the natural world around us.
As you embark on your journey of growing a pear tree from seed, take the time to observe, learn, and adapt your care routine based on the specific needs of your tree. Nature is ever-changing, and each tree is unique, so be flexible and responsive to its requirements.
Finally, don’t forget to savor the fruits of your labor. There’s something truly special about tasting the sweet, juicy pears that you nurtured from seed to harvest. Share this joy with friends and family, and revel in the satisfaction of knowing that you have contributed to the beauty and abundance of the natural world.
Thank you for joining us on this gardening adventure. We hope this guide has inspired you to dive into the world of growing pear trees from seed and that you find success and fulfillment in your gardening endeavors.
Happy growing!
Frequently Asked Questions about How To Grow A Pear Tree From Seed
Was this page helpful?
At Storables.com, we guarantee accurate and reliable information. Our content, validated by Expert Board Contributors, is crafted following stringent Editorial Policies. We're committed to providing you with well-researched, expert-backed insights for all your informational needs.


0 thoughts on “How To Grow A Pear Tree From Seed”