Home>Garden Essentials>How To Germinate Wax Beans
Garden Essentials
How To Germinate Wax Beans
Modified: October 18, 2024
Learn how to germinate wax beans in your garden with our step-by-step guide. Start growing your own fresh and delicious beans today!
(Many of the links in this article redirect to a specific reviewed product. Your purchase of these products through affiliate links helps to generate commission for Storables.com, at no extra cost. Learn more)
Introduction
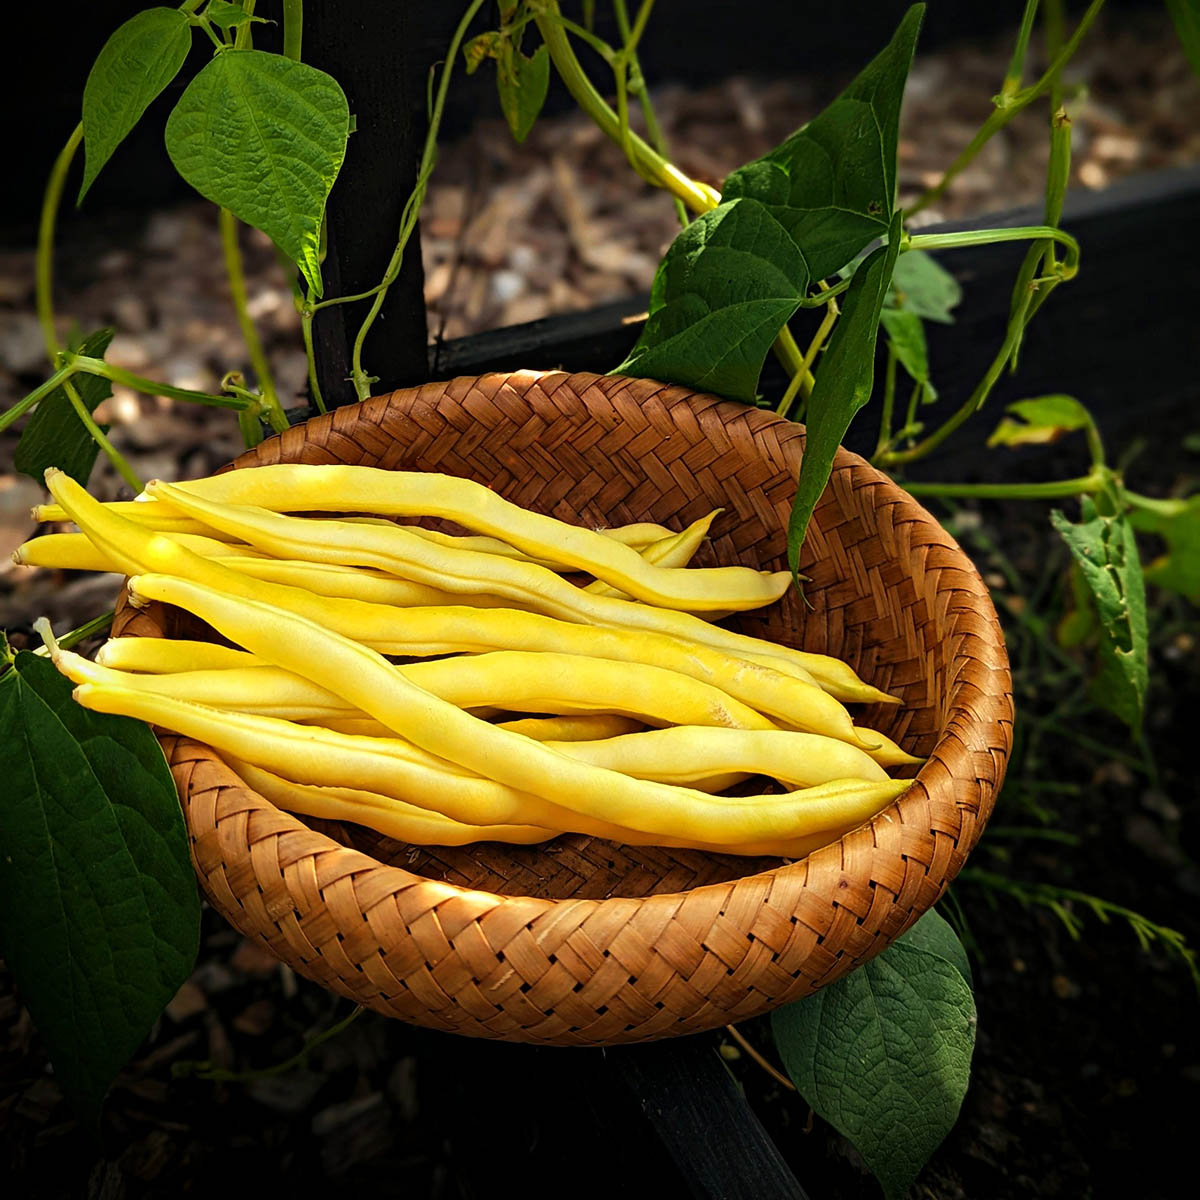
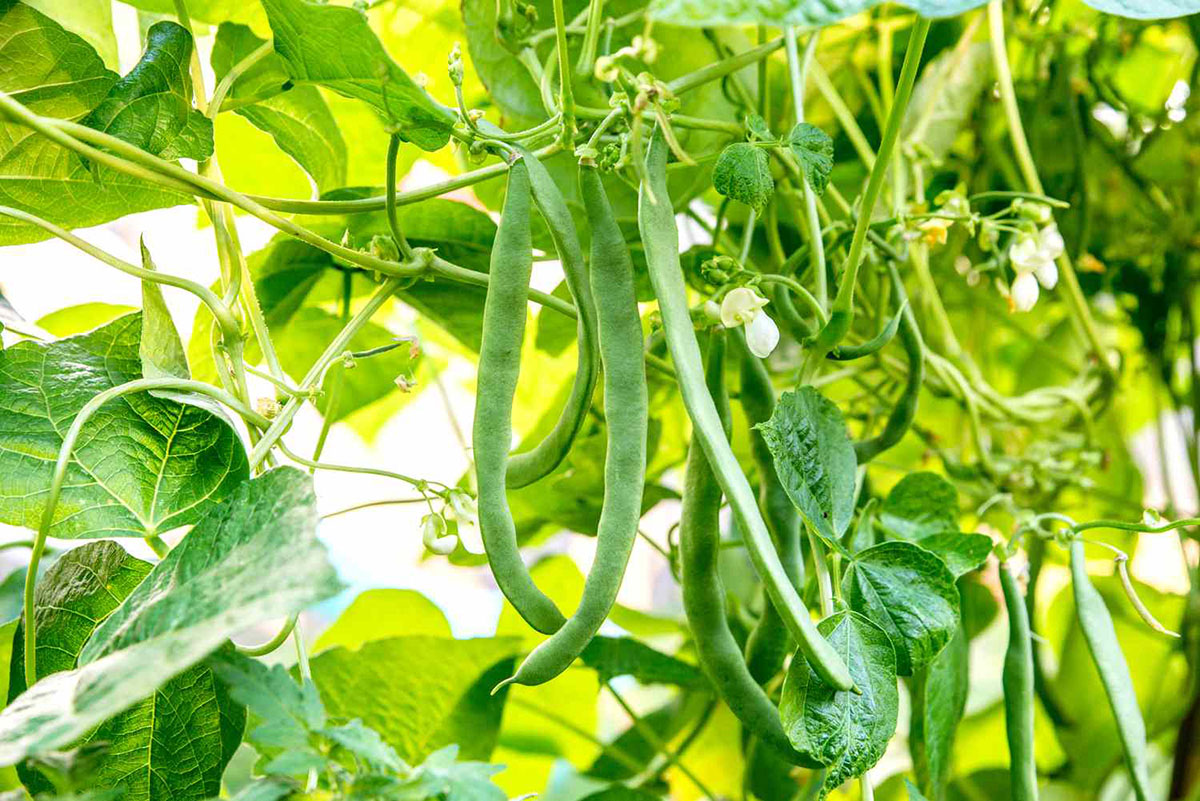
Welcome to a comprehensive guide on how to germinate wax beans! Wax beans, also known as yellow beans or butter beans, are a versatile and delicious vegetable that can be grown in your garden to provide a bountiful harvest. Germinating wax beans is the crucial first step in the process of growing these nutritious legumes.
By understanding the proper techniques and providing the optimal conditions for germination, you can ensure a successful start to your wax bean plants. In this article, we will walk you through the step-by-step process of germinating wax beans, from soaking the seeds to transplanting the sprouts.
Growing your own wax beans not only offers the satisfaction of a homegrown harvest but also gives you control over the quality and freshness of the produce. Plus, there’s nothing quite like the taste of freshly picked wax beans in your favorite summer recipes!
Before we dive into the germination process, make sure you have all the necessary materials ready to go. Let’s take a look at what you’ll need.
Key Takeaways:
- Get ready to grow your own delicious wax beans by soaking the seeds, providing optimal conditions, and nurturing the seedlings into healthy plants for a bountiful harvest.
- Enjoy the rewarding journey of growing wax beans from seed to harvest, and savor the pleasure of homegrown, fresh produce in your favorite recipes.
Read more: How To Germinate A Bean
Materials Needed
Before you begin germinating wax beans, gather the following materials:
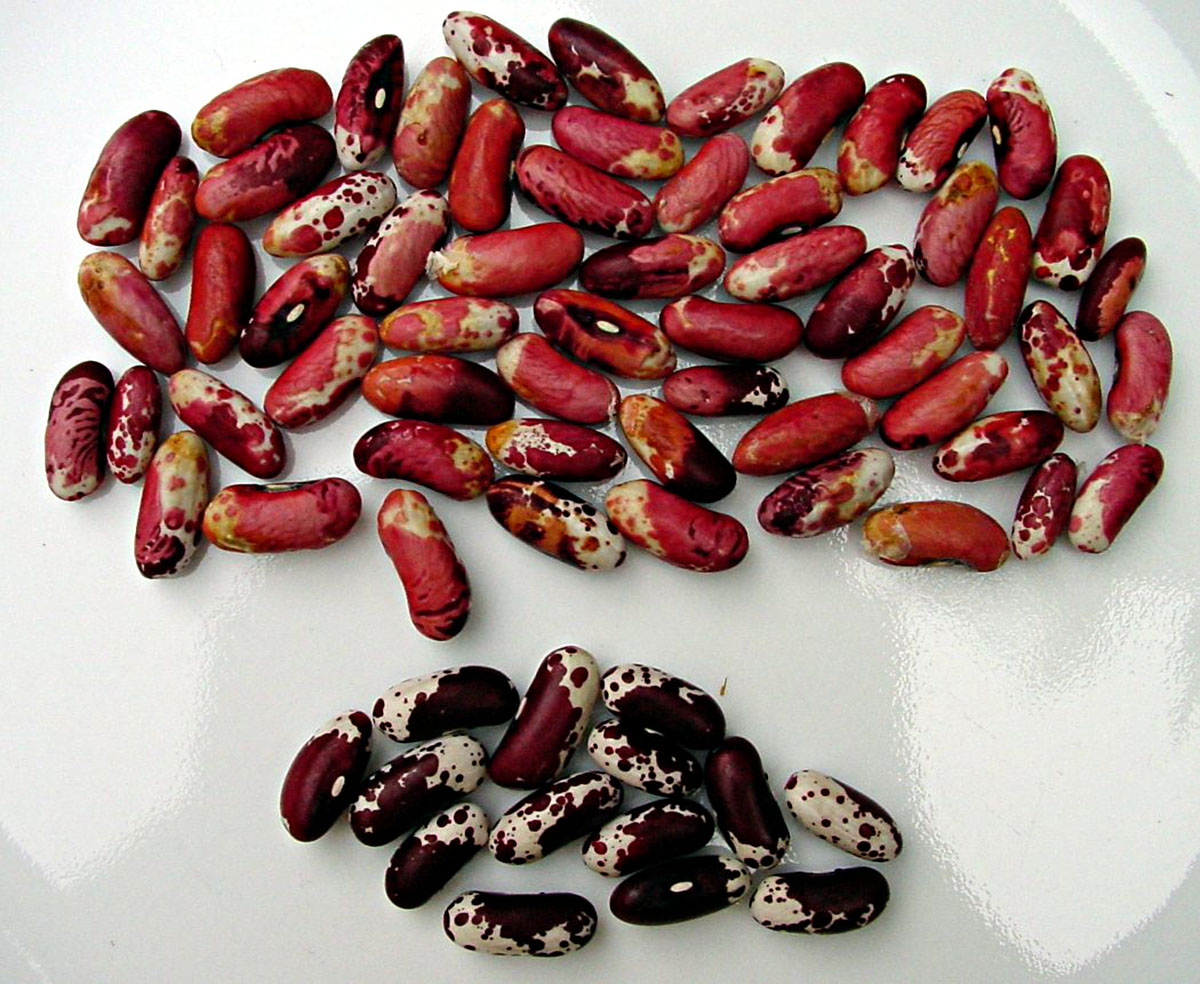
- Wax Bean Seeds: Purchase high-quality wax bean seeds from a reputable supplier. Look for varieties that are known for their germination success.
- Germination Container: Choose a container with drainage holes, such as a seed tray or small pots, to start the germination process. It should be large enough to accommodate multiple seeds and allow room for root growth.
- Seed Starting Mix: Use a well-draining seed starting mix that is lightweight and sterile. This type of soil promotes healthy root development and reduces the risk of diseases.
- Water: Ensure a source of clean and fresh water for soaking and watering the seeds.
- Plastic Wrap or Dome: Cover the germination container with plastic wrap or a clear dome to create a greenhouse-like environment, retaining moisture and warmth.
- Plant Labels: Use plant labels or markers to keep track of the wax bean varieties and planting dates.
- Spray Bottle: A spray bottle filled with water will be handy for misting the seedlings and keeping the soil moist.
- Grow Lights or Natural Light: If you are germinating the seeds indoors, consider providing supplemental light using fluorescent grow lights or placing the container in a well-lit area near a window.
- Temperature and Humidity Monitor: Keep track of the temperature and humidity levels in the germination area using a hygrometer or similar tools.
- Patience and Care: Germinating seeds requires patience and consistent care. Approach the process with enthusiasm and dedication to ensure successful germination.
Now that you have all the necessary materials, let’s move on to the step-by-step process of germinating wax beans!
Step 1: Soaking the Wax Beans
The first step in germinating wax beans is to soak the seeds, which helps to soften the seed coat and promote faster and more successful germination. Follow these simple steps to soak your wax bean seeds:
- Measure the Seeds: Determine the number of wax bean seeds you want to germinate. Consider how many plants you would like to grow and the available space in your garden.
- Place the Seeds in a Container: Take a small bowl or cup and put the wax bean seeds inside. Make sure the container is deep enough to hold the seeds and allow room for water.
- Add Water: Pour enough room temperature water into the container to submerge the seeds completely. The water should be at least 1-2 inches above the seeds.
- Soak the Seeds: Let the wax bean seeds soak for about 10-12 hours. This soaking period allows the seeds to absorb water and initiate the germination process.
- Change the Water: After the soaking time has passed, carefully drain the water from the container. Rinse the seeds with fresh water and refill the container with clean water.
- Repeat Soaking: Place the seeds back into the container with fresh water and let them soak for another 10-12 hours. This secondary soaking helps to ensure even hydration and enhance germination success.
Remember, not all seeds require soaking before germination. Wax beans, however, benefit from this process due to their tough seed coat. Soaking softens the coat, allowing the inner embryo to emerge more easily.
Once you have completed the soaking process, it’s time to move on to preparing the germination container. This step ensures that the wax bean seeds have an optimal environment for sprouting. Keep reading to learn how!
Step 2: Preparing the Germination Container
Now that your wax bean seeds have been soaked, it’s time to prepare the germination container. This step ensures that the seeds have a suitable environment to sprout and grow. Follow these steps to set up the germination container:
- Select the Container: Choose a container with drainage holes at the bottom, such as a seed tray or individual pots. This allows excess water to drain away, preventing waterlogged soil and root rot.
- Add Seed Starting Mix: Fill the container with a well-draining seed starting mix. This lightweight and sterile soil medium provides an optimal environment for seed germination.
- Moisten the Soil: Before planting the wax bean seeds, moisten the soil in the container. Add water gradually, mixing it thoroughly with the seed starting mix until the soil is evenly moist but not waterlogged.
- Create Planting Holes: Using your finger or a small dibber, create planting holes in the soil according to the recommended spacing for wax bean seeds. Typically, spacing of 2-3 inches apart is sufficient for wax beans.
- Place the Seeds: Gently place one soaked wax bean seed into each planting hole, making sure they are covered with soil. Lightly press down the soil around the seeds to ensure good soil-to-seed contact.
- Label the Container: Use plant labels or markers to identify the planting date and the variety of wax bean seeds you have planted. This will help you keep track of their progress as they grow.
- Mist the Soil: After planting the seeds, mist the soil surface with a spray bottle to provide extra moisture. Avoid saturating the soil, as it can lead to excessive moisture and hamper germination.
- Cover the Container: Place a clear plastic wrap or a dome over the container to create a greenhouse-like environment. This helps to retain moisture and warmth, facilitating seed germination.
Once the germination container is set up, it’s time to provide the ideal growing conditions for your wax bean seeds. Read on to learn about the optimal conditions and care required during the germination process!
Step 3: Planting the Wax Beans
With the germination container prepared, it’s time to plant the soaked wax bean seeds. Follow these steps to ensure proper planting and give your seeds the best chance for successful germination:
- Remove the Seeds from Soaking: Carefully drain the water from the container where the wax bean seeds were soaked. Gently rinse the seeds with fresh water to remove any residue.
- Planting Depth: With your finger or a small dibber, create planting holes in the moist soil. The ideal planting depth for wax bean seeds is around 1 inch (2.5 cm).
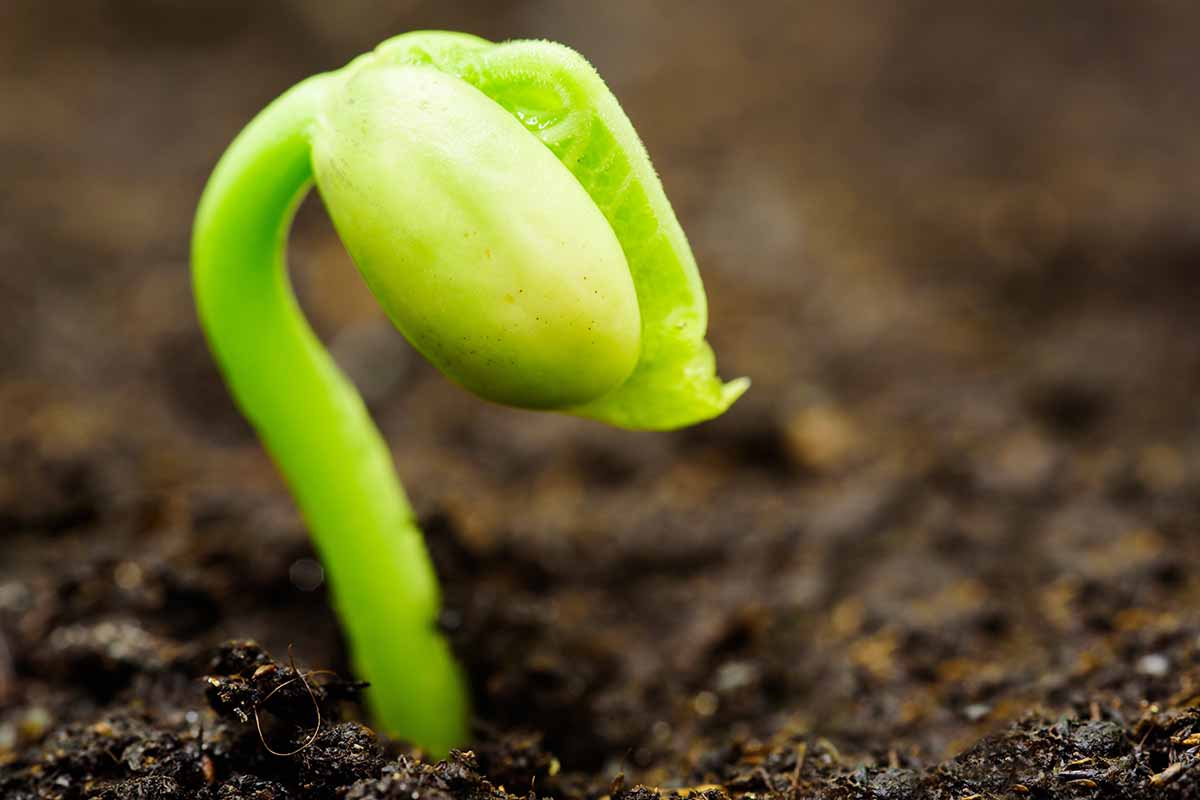
- Plant the Seeds: Place one wax bean seed in each planting hole, making sure the seeds are oriented properly. The pointed end of the seed should be facing downward, while the rounded end faces upward.
- Cover and Firm the Soil: After placing the seeds, cover them with soil and gently press down to ensure good seed-to-soil contact. Avoid compacting the soil too much, as this can hinder the emergence of the seedlings.
- Mist the Soil: Use a spray bottle to mist the soil surface after planting. This will provide additional moisture and help settle the soil around the seeds.
- Label the Container: Mark the container with the planting date and variety of wax bean seeds you planted. This will help you track the progress of your plants and troubleshoot any issues that may arise.
Once the wax bean seeds are planted, it’s essential to provide them with optimal growing conditions to encourage germination. In the next step, we will discuss these conditions and how to monitor and care for your germinating wax beans.
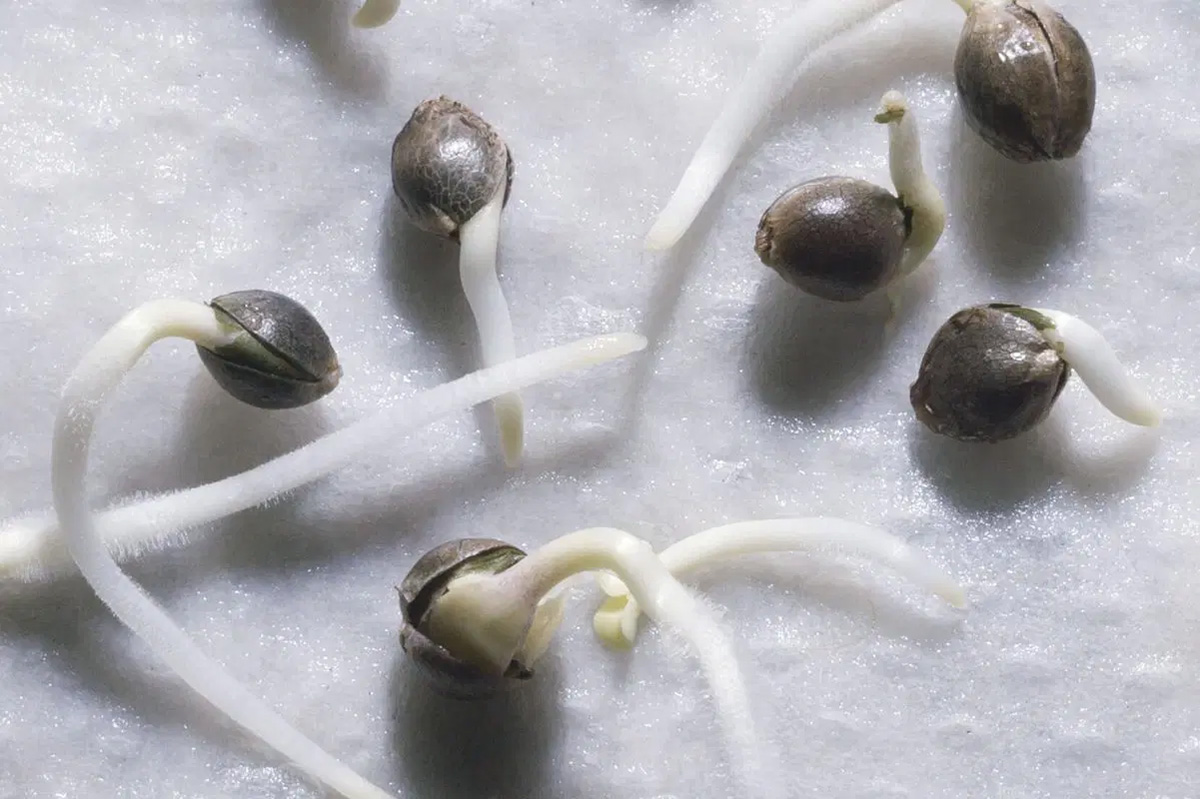
Soak wax bean seeds in water for 8-12 hours to speed up germination. Plant them 1 inch deep in well-draining soil, keep moist, and place in a warm, sunny spot. Germination should occur within 7-10 days.
Read more: How To Germinate Kidney Beans
Step 4: Providing Optimal Growing Conditions
After planting the wax bean seeds, it’s crucial to provide them with the optimal growing conditions for successful germination. Here are the key factors to consider:
- Temperature: Wax beans prefer warm temperatures for germination. The ideal temperature range is between 70-85°F (21-29°C). Ensure that the germination area maintains a consistent temperature within this range.
- Light: While wax bean seeds don’t require light to germinate, they need bright, indirect light once they sprout. Place the germination container in a well-lit area near a window or provide supplemental grow lights if germinating indoors.
- Moisture: Keep the soil consistently moist but not waterlogged. Check the moisture level regularly and mist the soil with water as needed to provide humidity and prevent drying out.
- Airflow: Adequate airflow is essential to prevent the growth of mold or fungus. Ensure proper ventilation by gently lifting the plastic wrap or dome for a few minutes each day to allow fresh air to circulate.
- Humidity: Wax beans prefer relatively high humidity levels during germination. If the ambient humidity is low, you can create a more humid environment by misting the inside of the germination container or placing it on a tray with water to increase the humidity around the seeds.
- Consistency: Maintain a consistent environment for the germinating wax beans. Avoid drastic temperature fluctuations, excessive drying or watering, and sudden changes in light exposure. Consistency is vital for successful germination.
By providing these optimal growing conditions, you are giving your germinating wax beans the best chance for successful sprouting and growth. However, it’s also important to monitor and care for your plants throughout the germination process. Let’s explore the next step to learn more!
Step 5: Monitoring and Care
As your wax bean seeds begin to germinate, it’s crucial to monitor their progress and provide proper care to ensure healthy growth. Here are some key steps to follow:
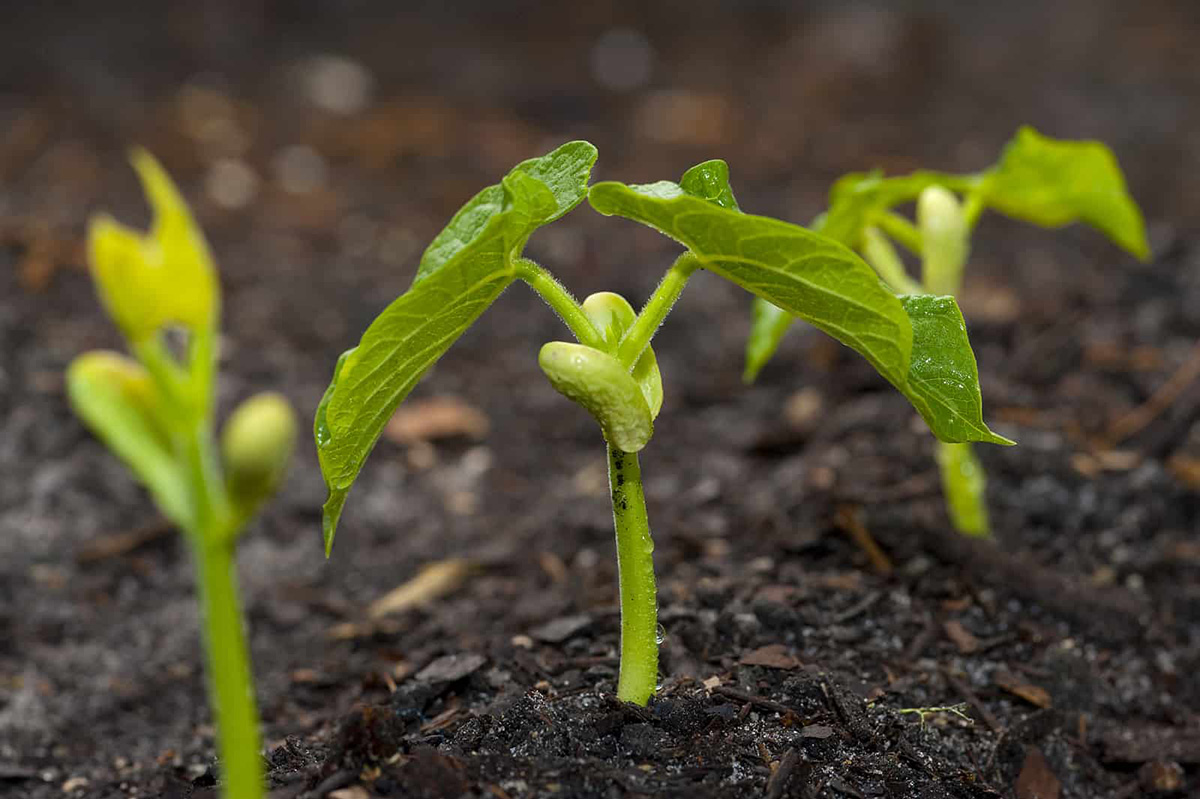
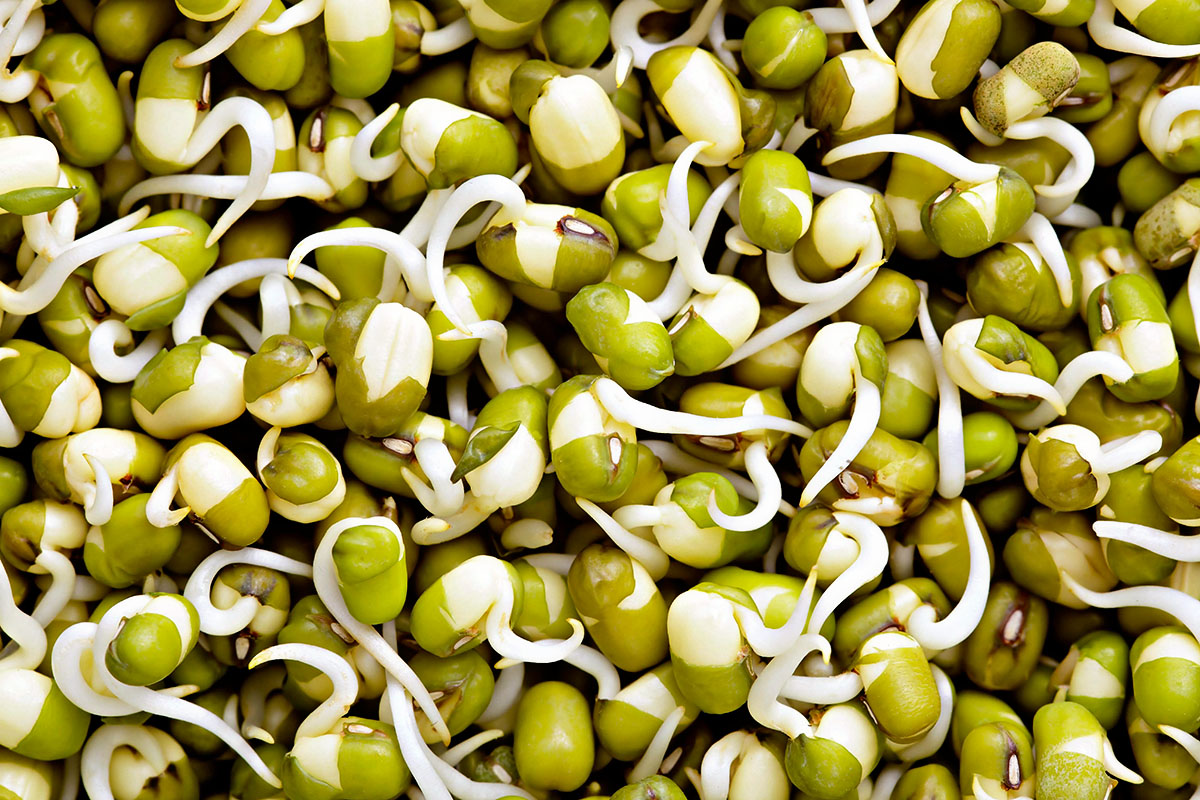
- Observe Germination: Keep a close eye on the germination container to monitor the emergence of the seedlings. Typically, it takes around 7-10 days for the wax bean seeds to sprout. Be patient and avoid disturbing the soil during this time.
- Watering: Maintain consistent moisture in the soil by misting the surface with water as needed. Do not let the soil dry out, but also be cautious of overwatering, as it can lead to fungal diseases. Use the “finger test” by inserting your finger into the soil to check for moisture level before watering.
- Light Exposure: Provide your germinating wax beans with bright but indirect light. If using grow lights, position them approximately 6-8 inches above the seedlings and adjust the height as the plants grow. Rotate the container regularly to ensure even light distribution.
- Thinning: If multiple seedlings emerge from a single planting hole, thin them to ensure proper spacing and prevent overcrowding. Choose the strongest and healthiest seedling and carefully remove the others by gently pulling them out or snipping them at the soil level.
- Fertilization: Avoid fertilizing the wax bean seedlings during germination. The seed contains enough nutrients to support initial growth. Wait until the seedlings have established a few sets of true leaves before considering fertilization.
- Pest and Disease Control: Keep an eye out for any signs of pests or diseases, such as aphids, snails, or damping-off. If detected, promptly take appropriate measures to control these issues and protect your wax bean seedlings.
- Transplanting: Once the wax bean seedlings have developed a few sets of true leaves and the danger of frost has passed, they can be transplanted into the garden or larger containers. Harden off the seedlings by gradually exposing them to outdoor conditions before transplanting to reduce transplant shock.
By consistently monitoring the germinating wax beans and providing proper care, you are setting the stage for healthy growth and a successful harvest. In the next step, we will discuss the process of transplanting the germinated wax bean seedlings into their final growing location.
Step 6: Transplanting the Germinated Wax Beans
Once your wax bean seedlings have grown a few sets of true leaves and are well-established, it’s time to transplant them into their final growing location. Follow these steps to ensure a successful transplant:
- Choose the Right Timing: Wait until all frost danger has passed and the soil has warmed up before transplanting your wax bean seedlings. This typically occurs when the temperature consistently reaches at least 60°F (15°C).
- Select a Suitable Location: Choose a sunny spot in your garden with well-drained soil for your wax beans. They prefer a minimum of 6-8 hours of direct sunlight daily to thrive and produce abundant yields.
- Prepare the Soil: Prior to transplanting, prepare the soil by removing any weeds or debris and amending it with organic matter such as compost or well-rotted manure to improve fertility and drainage.
- Transplant Carefully: Carefully remove the wax bean seedlings from the germination container, avoiding damage to the delicate roots. Gently loosen the soil around the plant and lift it out with the root system intact.
- Planting Depth and Spacing: Dig holes in the garden that are slightly larger than the root system of the wax bean seedlings. Place the seedlings in the holes, making sure they are planted at the same depth as they were in the germination container. Space the plants according to the recommended spacing for the specific wax bean variety you are growing.
- Watering After Transplanting: After transplanting, water the seedlings thoroughly to help them establish in their new location. This will help settle the soil around the roots and provide necessary moisture.
- Provide Support: Wax bean plants can benefit from trellising or support structures to keep them upright as they grow. Install a trellis or set up stakes and string near the plants to guide their upward growth.
- Continue Care: Maintain regular watering and provide occasional fertilization as the wax bean plants grow and develop. Monitor for pest and disease issues and take appropriate measures to protect your plants.
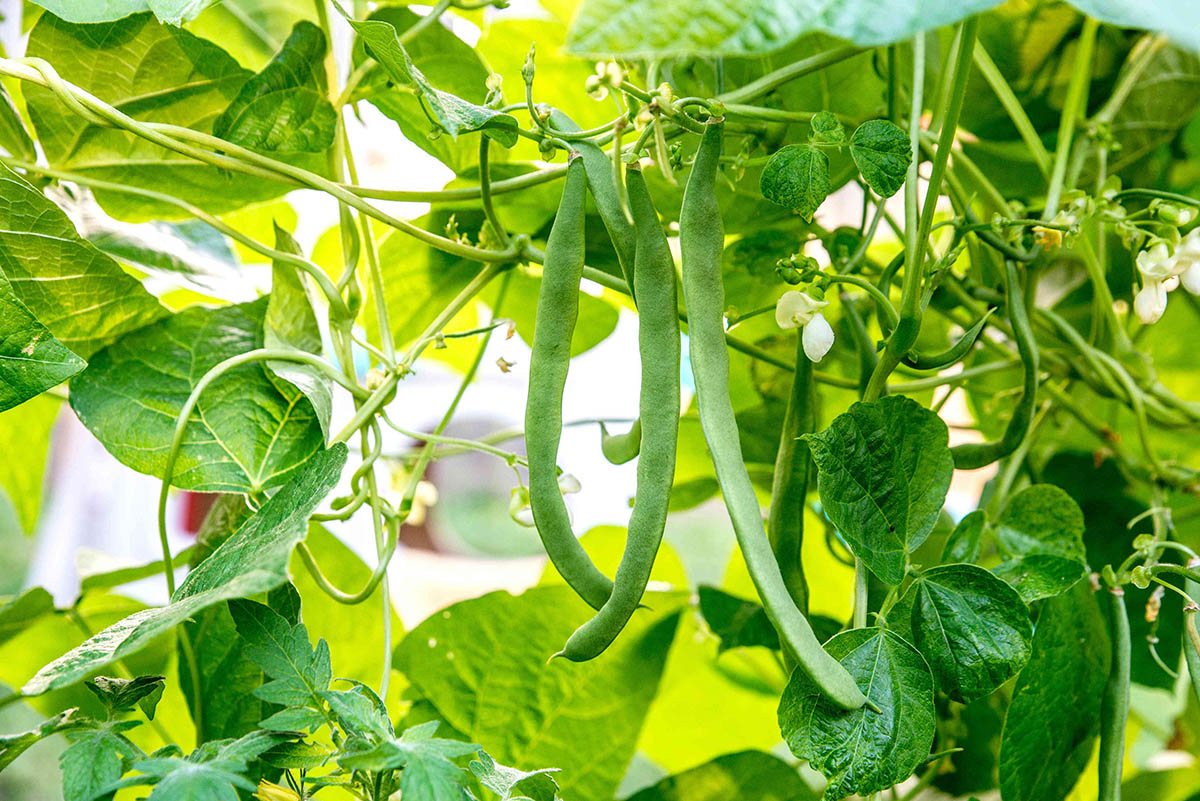
With proper care and attention, your transplanted wax bean seedlings will continue to grow and flourish in their new garden location. Soon enough, you’ll be enjoying a bountiful harvest of delicious wax beans!
As you can see, germinating wax beans and transplanting the seedlings can be a rewarding process. From soaking the seeds to carefully transplanting the seedlings, each step plays a crucial role in ensuring healthy and productive plants. Keep this guide handy and refer back to it as needed throughout the growing season to aid in your success.
Happy gardening and enjoy the journey of growing your own wax beans!
Conclusion
Congratulations! You have now learned the step-by-step process of germinating wax beans and nurturing them into healthy plants ready for transplanting. By following these guidelines and providing optimal growing conditions, you are well on your way to enjoying a bountiful harvest of nutritious and delicious wax beans.
From soaking the seeds to carefully planting and caring for the germinating seedlings, each step in the process contributes to the overall success of your wax bean journey. Remember to monitor the progress of your seedlings, provide adequate water and light, and protect them from pests and diseases.
Transplanting the well-established seedlings into your garden offers them the opportunity to thrive and fulfill their full potential. Choose a sunny location with fertile, well-drained soil, and provide support for the plants as they grow.
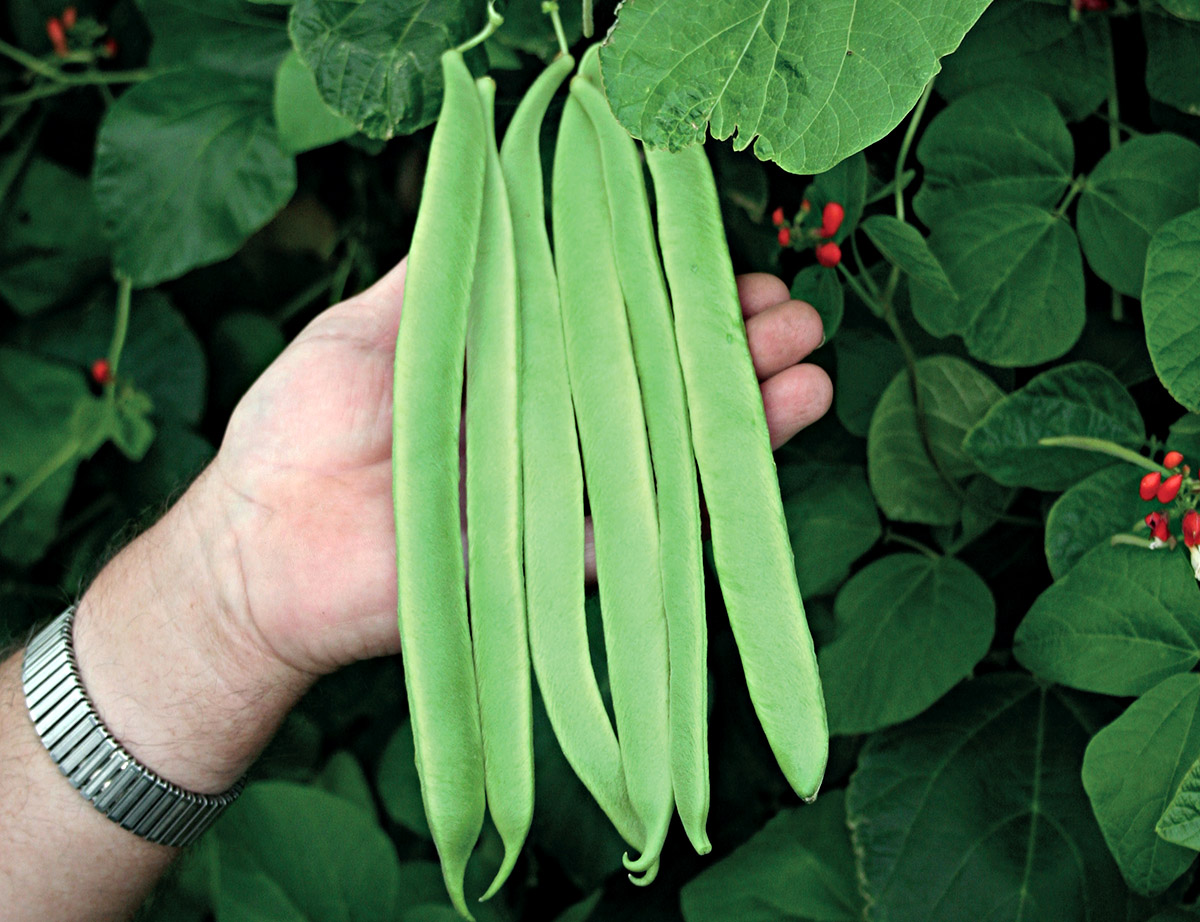
Throughout the growing season, continue to monitor and care for your wax bean plants, ensuring they receive sufficient water, nutrients, and attention. Regularly harvest the mature beans to encourage further flowering and yield production.
Growing your own wax beans not only provides a rewarding gardening experience but also grants you the pleasure of savoring the delicious taste of freshly picked beans. Enjoy them in various culinary applications, from sautés and stir-fries to salads and side dishes.
Remember to save some of the harvested beans for seed saving, preserving heirloom varieties, and continuing the cycle of growth for future seasons.
Now that you have the knowledge and skills required to germinate wax beans successfully, it’s time to get started! Soak those seeds, prepare your germination container, and watch as your wax bean plants grow and flourish. Embrace the joy of nurturing nature’s gifts and revel in the abundance of your harvest.
Happy gardening and bon appétit!
Frequently Asked Questions about How To Germinate Wax Beans
Was this page helpful?
At Storables.com, we guarantee accurate and reliable information. Our content, validated by Expert Board Contributors, is crafted following stringent Editorial Policies. We're committed to providing you with well-researched, expert-backed insights for all your informational needs.


0 thoughts on “How To Germinate Wax Beans”