Home>Garden Essentials>How To Germinate A Bean

Garden Essentials
How To Germinate A Bean
Modified: March 15, 2024
Learn how to successfully germinate beans in your garden with these simple steps. Enhance your gardening skills and grow healthy bean plants.
(Many of the links in this article redirect to a specific reviewed product. Your purchase of these products through affiliate links helps to generate commission for Storables.com, at no extra cost. Learn more)
Introduction
Welcome to the exciting world of gardening! If you’ve ever wanted to grow your own plants from seeds, you’re in for a treat. Germinating beans is a perfect way to get started, as they are easy to grow and provide a rewarding experience that can be enjoyed by gardeners of all skill levels.
Germination is the process through which a seed sprouts and begins to grow into a new plant. In the case of beans, germination involves soaking the seeds in water to initiate the awakening of the embryo, followed by planting them in a germination medium to provide the necessary conditions for growth. With a little patience and care, you’ll witness the magic of life as your bean seeds transform into healthy seedlings.
In this article, we’ll guide you through the step-by-step process of germinating beans, from preparing the seeds to transferring the germinated plants to their permanent home. So roll up your sleeves, gather your materials, and let’s get started on this exciting plant-growing journey!
Key Takeaways:
- Get ready to grow your own beans by soaking them in water, planting in a nutrient-rich medium, and providing light and water for healthy germination.
- Enjoy the rewarding experience of watching bean seeds transform into thriving seedlings with proper care, monitoring, and eventual transfer to their permanent growing location.
Read more: How To Germinate Kidney Beans
Materials Needed
Before you begin the germination process, it’s important to gather all the necessary materials. Here’s a list of what you’ll need:
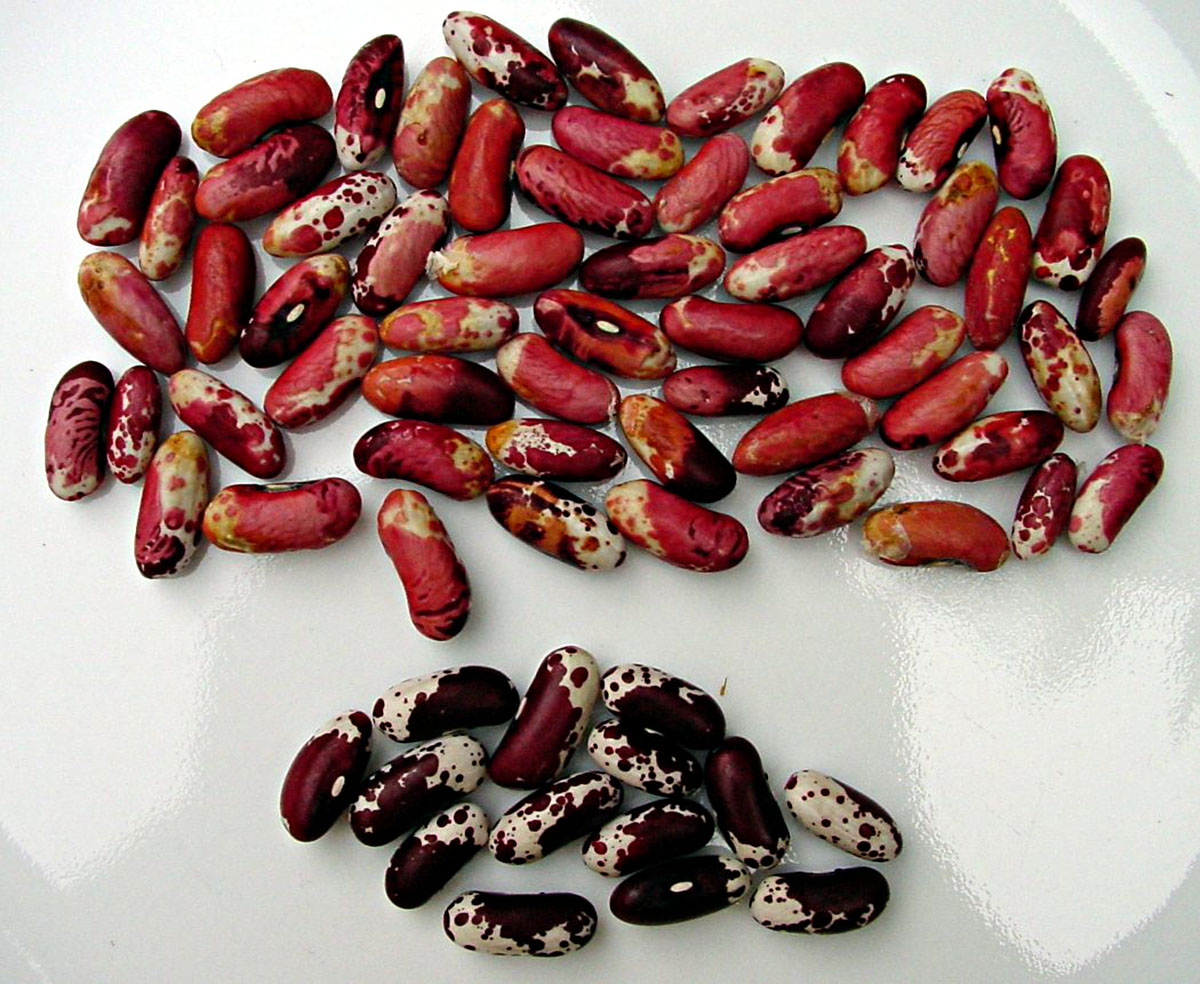
- Bean seeds: Choose high-quality seeds from a reputable supplier. You can opt for common varieties like kidney beans, black beans, or green beans.
- Container or tray: Select a container with drainage holes or a tray specifically designed for seed germination.
- Germination medium: Use a well-draining and nutrient-rich medium, such as seed-starting mix or a combination of compost and perlite.
- Water: Make sure you have access to clean, room temperature water for soaking the seeds and watering the germination medium.
- Plastic wrap or a dome: This will create a mini-greenhouse environment for the germinating seeds.
- Labels: Use labels or markers to identify the different bean varieties or planting dates.
- Light source: Natural sunlight or artificial grow lights will provide the necessary light for the seedlings once they emerge.
- Spray bottle: This will be used for misting or watering the germination medium without disturbing the delicate seedlings.
Having all these materials ready before you start will ensure a smooth and hassle-free germination process.
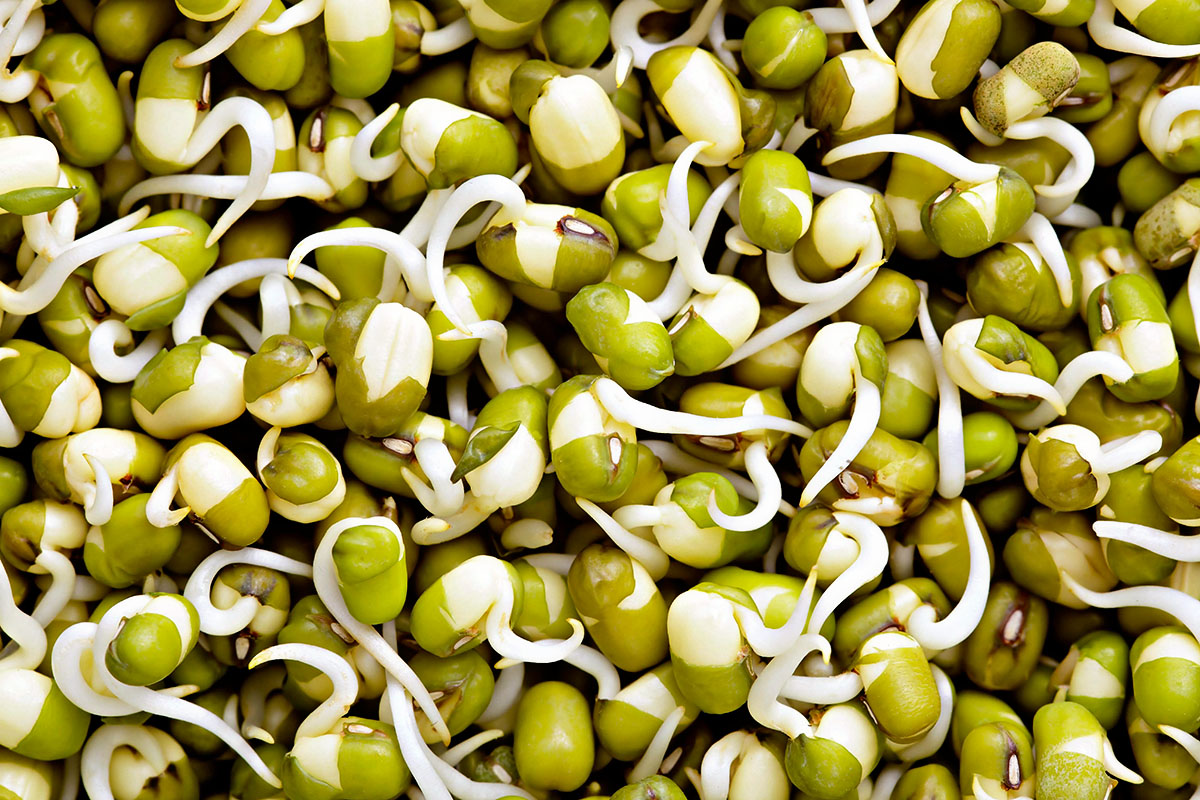
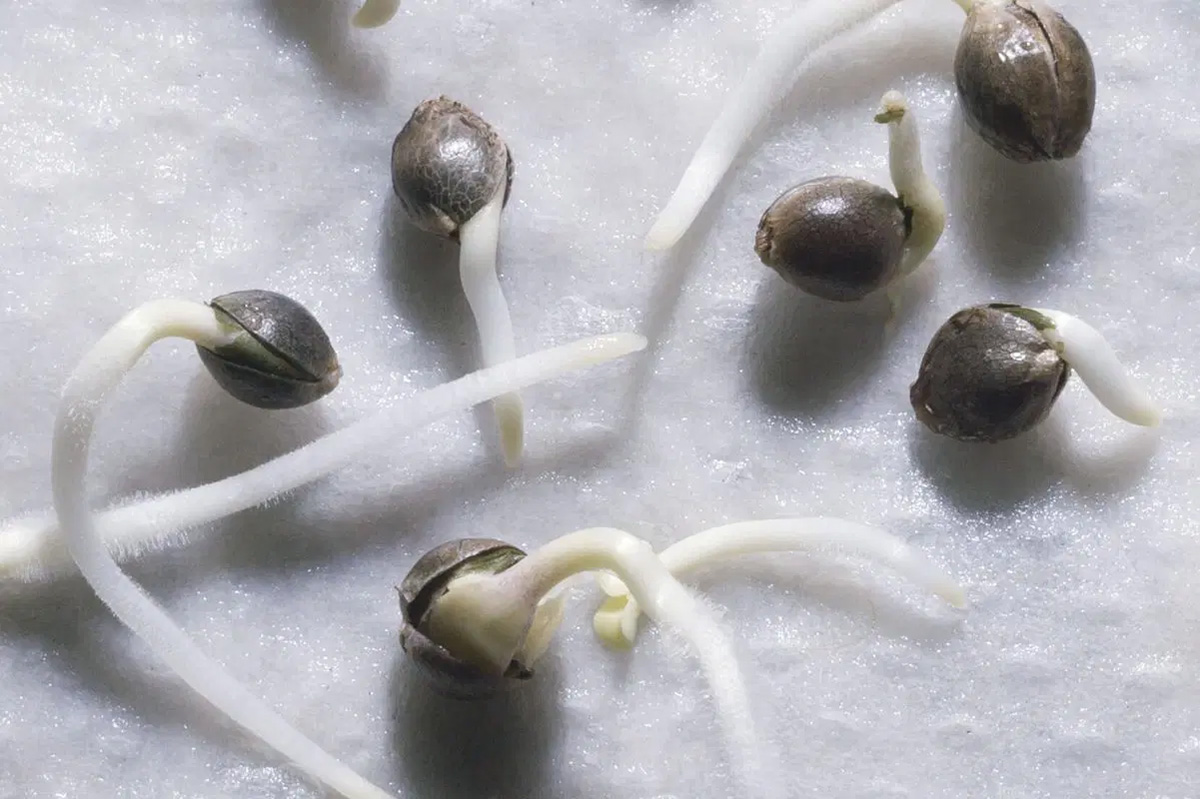
Step 1: Soaking the Beans
The first step in the bean germination process is to soak the seeds. Soaking softens the seed coat, allowing water to penetrate and kick-start the germination process. Here’s how to proceed:
- Place the desired number of bean seeds in a clean container.
- Add enough room temperature water to fully cover the seeds.
- Let the seeds soak for about 8 to 12 hours, or overnight. This will vary depending on the bean variety, so check the seed packaging or consult a gardening resource for specific soaking times.
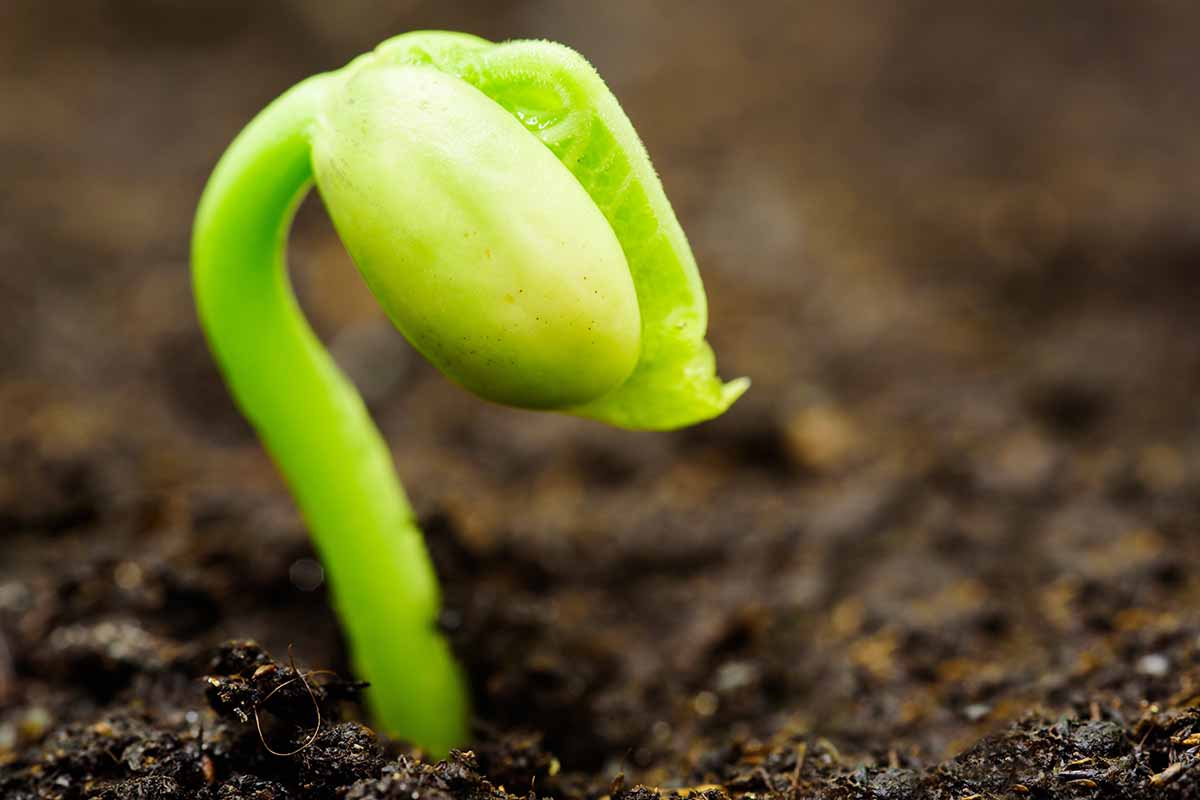
- After the soaking period, drain the water and rinse the seeds. They should now appear plump and slightly swollen.
Soaking the beans ensures that they have ample moisture to start the germination process. It’s important to note that some gardeners prefer to skip this step and directly plant the dry seeds, but soaking generally increases the success rate of germination.
Once you’ve completed the soaking process, you’re ready to move on to step two: preparing the germination medium.
Step 2: Preparing the Germination Medium
Creating the right environment for your bean seeds to germinate is crucial for their success. The germination medium, or the substrate in which your seeds will grow, should be well-draining and rich in nutrients. Follow these steps to prepare the ideal germination medium:
- Choose a container or tray with drainage holes to prevent waterlogging, which can lead to seed rot.
- Fill the container with a high-quality germination medium, such as a seed-starting mix or a mixture of compost and perlite. This will provide the necessary nutrients and aeration for the seeds to develop.
- Moisten the germination medium by gently watering it until it’s evenly damp. Be careful not to oversaturate it, as excessive moisture can hinder germination.
Ensure that the germination medium is not too compacted or loose. It should be loose enough to allow the seeds to send out their roots, but not so loose that they can’t make contact with the moisture in the medium.
You’re now ready to move on to the next step: planting the soaked beans in the germination medium.
Step 3: Planting the Beans
Now that your seeds are soaked and the germination medium is prepared, it’s time to plant the beans. Follow these steps to ensure proper planting:
- Make small holes in the germination medium using your finger or a pencil. These holes should be approximately 1 inch deep and spaced about 2-3 inches apart.
- Place one soaked bean seed in each hole, making sure the pointed end is facing downwards. Gently cover the seeds with the germination medium.
- Label the container or tray with the bean variety and planting date, especially if you’re growing multiple types of beans.
The spacing between the seeds allows each seedling to grow without competition for resources, such as light, water, and nutrients. It’s essential to follow the spacing recommendations for the specific variety of beans you’re planting.
After planting the beans, gently press down on the germination medium to ensure good seed-to-soil contact. This will help with water absorption and improve germination rates.
Now that the beans are planted, it’s time to provide them with the optimal conditions for germination. In the next step, we’ll discuss light and water requirements for successful bean germination.
Soak the bean in water overnight to soften the seed coat. Plant the bean in a small pot with moist soil, and keep it in a warm, sunny spot. Keep the soil consistently moist, and you should see the bean sprout in about 5-10 days.
Read more: How To Germinate Wax Beans
Step 4: Providing Adequate Light and Water
Proper lighting and watering are essential for the successful germination of your bean seeds. Here’s how to ensure your seeds receive the optimal conditions:
Light:
Bean seeds require adequate light to initiate and support the germination process. Place the container or tray in a location that receives bright, indirect sunlight. If natural sunlight is not available, you can use artificial grow lights placed a few inches above the seeds.
Once the seedlings emerge, they will need 12-16 hours of light per day to continue their growth. If using artificial lights, keep them at a distance of 2-4 inches above the seedlings and adjust the height as they grow.
Water:
It’s crucial to keep the germination medium consistently moist but not waterlogged. Here are some watering tips:
- Avoid overhead watering methods that might disturb the delicate seedlings. Instead, use a spray bottle or a watering can with a fine spout to gently water the medium.
- Check the moisture level regularly by touching the germination medium with your finger. If it feels dry, mist it with water until damp.
- Ensure proper drainage by emptying any excess water from the tray or container’s saucer.
Remember, overwatering can lead to fungal diseases and root rot, so it’s better to underwater slightly than to overwater. Maintain consistent moisture in the germination medium throughout the germination period.
By providing appropriate light and water, you are helping your bean seeds germinate and grow into healthy seedlings. In the next step, we’ll discuss how to monitor the germination process for optimal results.
Step 5: Monitoring the Germination Process
Monitoring the germination process is essential to ensure the successful growth of your bean seeds. Here are some key points to consider while monitoring:
- Germination Time: The time it takes for bean seeds to germinate can vary depending on the variety and environmental conditions. On average, beans take about 7-10 days to germinate. However, some varieties may sprout earlier, while others may take longer.
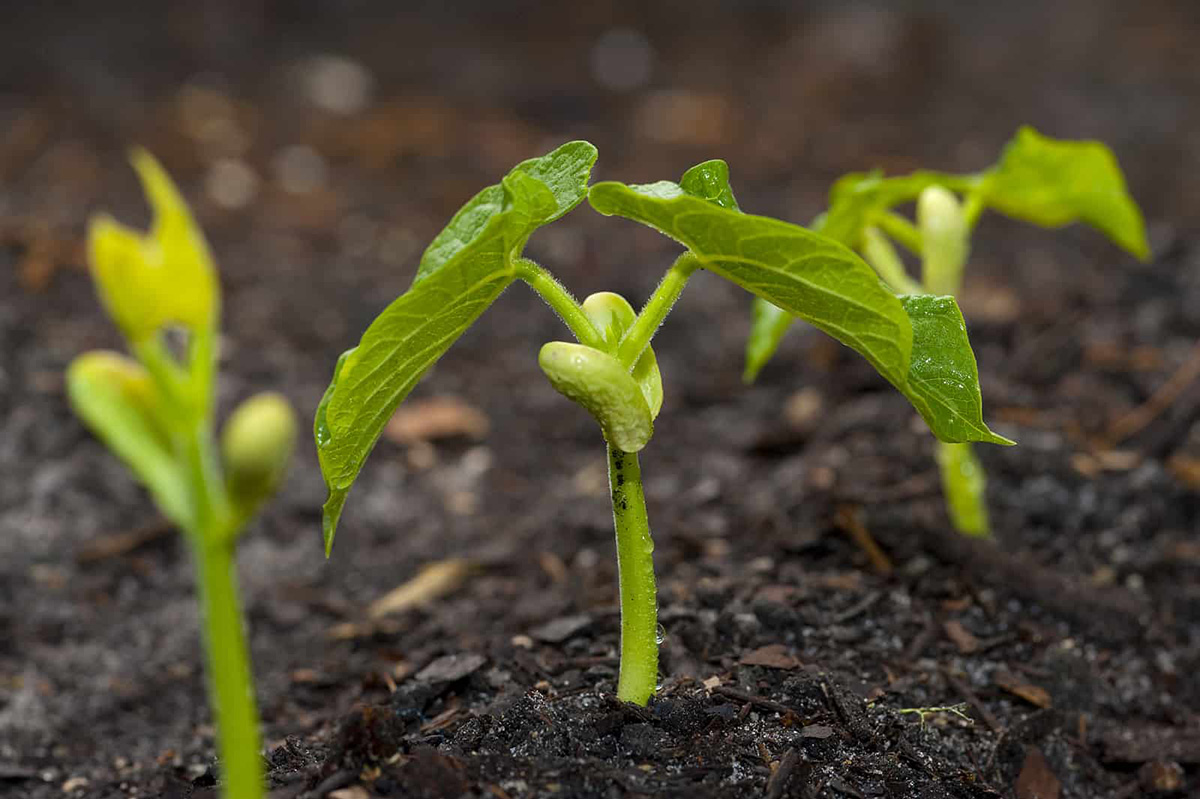
- Seedling Development: Once the seeds have germinated, you’ll notice tiny shoots emerging from the soil. These are the seedlings. Keep an eye on their growth and make sure they appear healthy. The seedlings should have green, sturdy stems and well-developed leaves.
- Unhealthy Seedlings: If any seedlings appear weak, discolored, or moldy, they may be suffering from a fungal or bacterial infection. It’s crucial to remove and discard these seedlings to prevent the spread of disease to the healthy ones.
- Moisture Levels: Continuously monitor the moisture levels of the germination medium. It should remain consistently moist but not overly wet. Adjust your watering schedule accordingly to maintain the ideal moisture balance.
- Light Exposure: Ensure that the seedlings receive adequate light. If using artificial grow lights, adjust their height as the seedlings grow to prevent them from becoming leggy or stretching towards the light source.
Regular observation and intervention when necessary will help you identify any issues and take corrective measures to ensure the successful growth of your bean seedlings. Remember that each seedling is unique, and some may require more time or attention than others.
In the next step, we’ll discuss how to transfer the germinated beans to their permanent growing location.
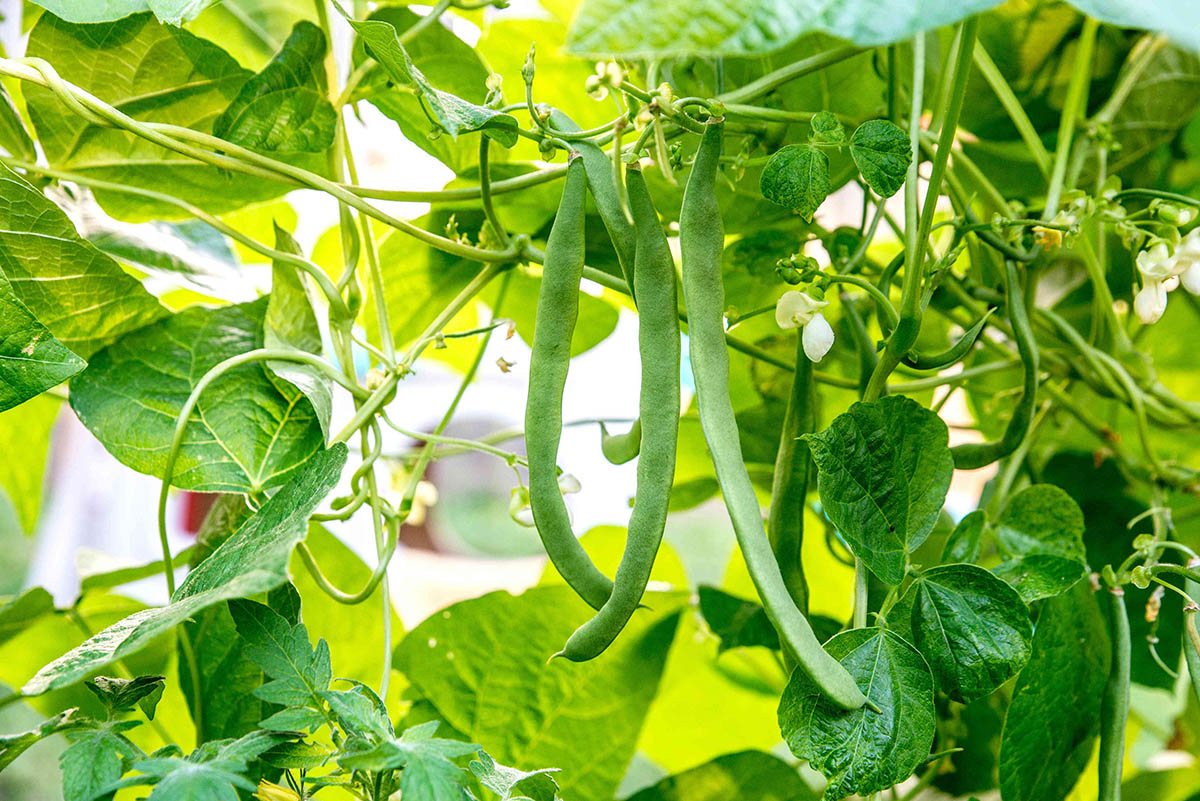
Step 6: Transferring the Germinated Beans
Once your bean seedlings have grown into sturdy plants, it’s time to transfer them to their permanent growing location. Follow these steps for a successful transplant:
- Choose an appropriate outdoor location: Select a spot in your garden that receives at least 6-8 hours of direct sunlight per day. Ensure that the soil is well-draining and rich in organic matter.
- Prepare the soil: Dig a hole that is slightly larger than the root ball of your germinated bean seedlings. Loosen the soil and amend it with compost or aged manure to provide the plants with the necessary nutrients.
- Carefully remove the seedlings: Gently loosen the germination medium around the seedlings without damaging the delicate roots. Hold each seedling by its leaves or root ball to avoid injuring the stem.
- Place the seedlings in the hole: Position the seedling in the hole, making sure the soil level is at the same height as it was in the container. Backfill the hole with soil and gently firm it around the base of the plant.
- Water thoroughly: After transplanting, give the seedlings a thorough watering to settle the soil around the roots and provide hydration. Keep the soil consistently moist in the following weeks to support root establishment.
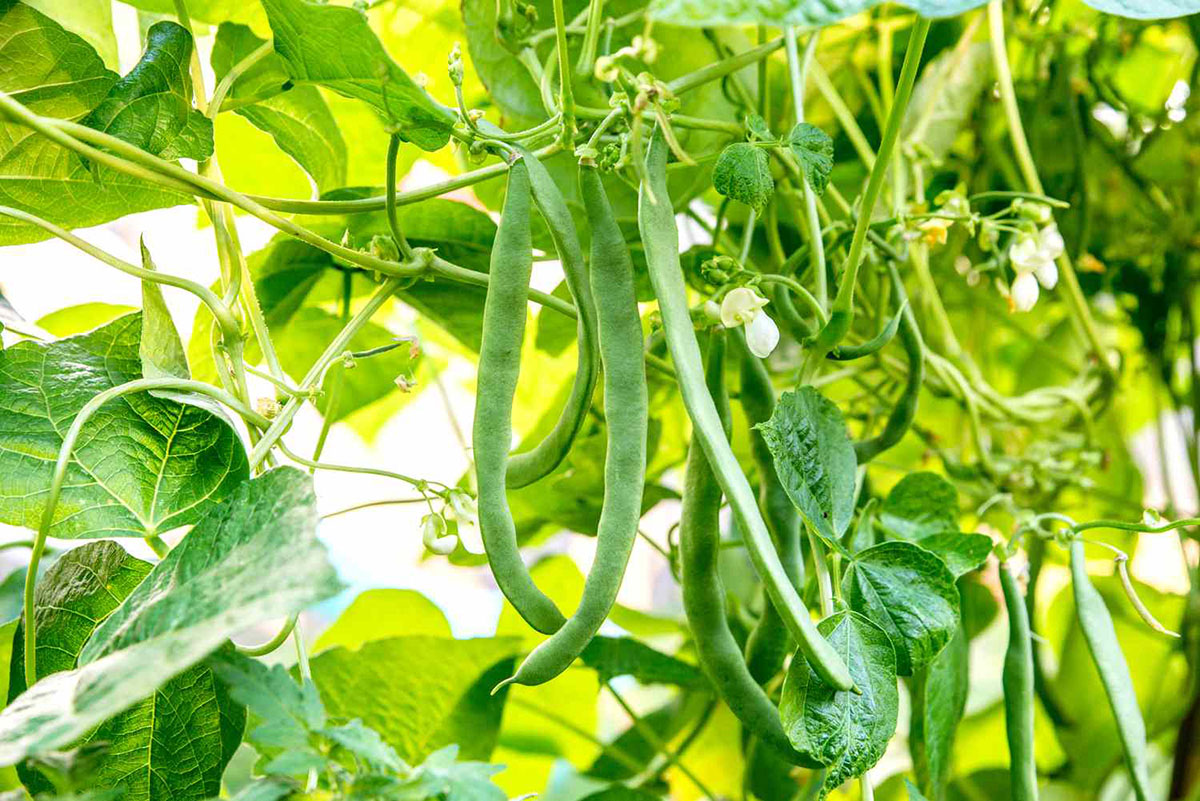
- Mulch and support: Apply a layer of organic mulch, such as straw or wood chips, around the base of the plants to conserve moisture, suppress weeds, and regulate soil temperature. If growing climbing varieties, provide trellises or stakes for support.
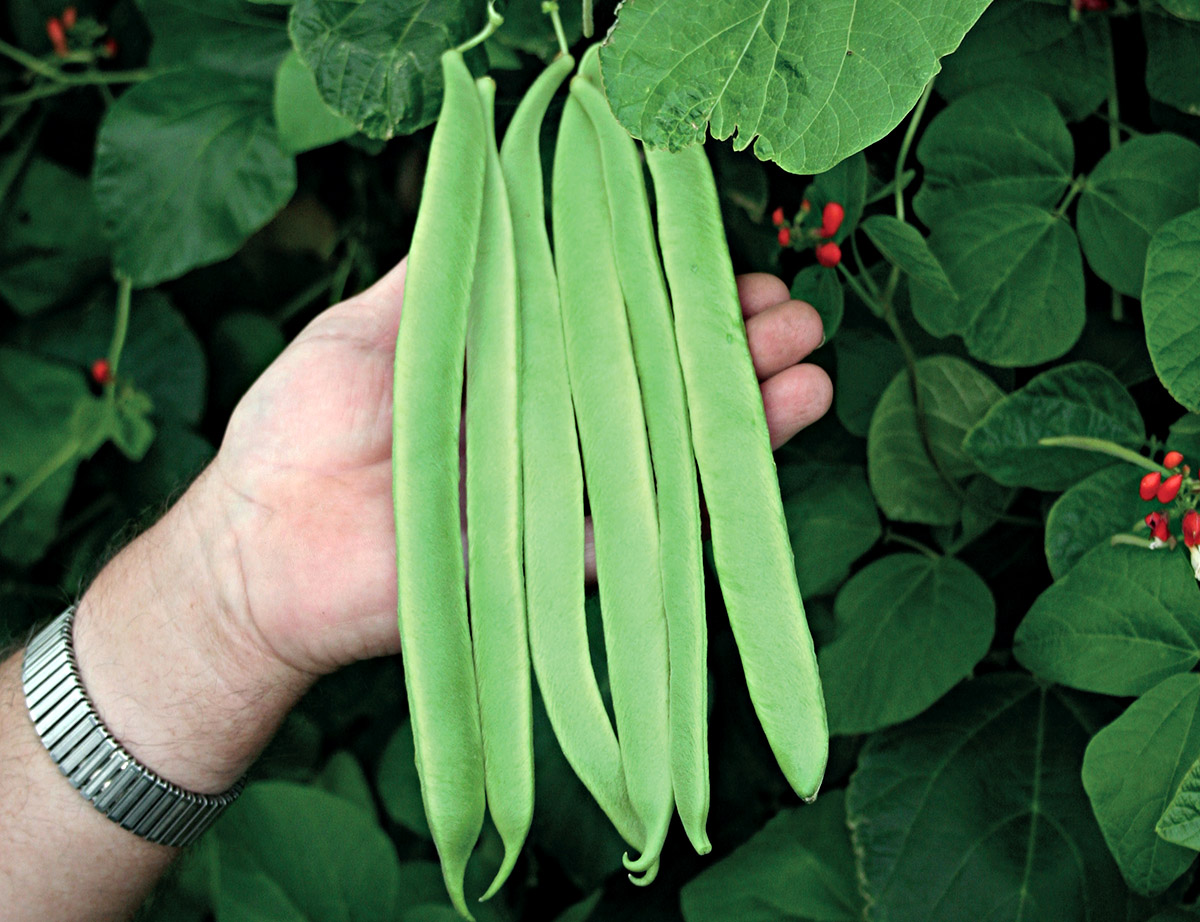
Monitor the transplanted bean seedlings closely and continue to provide them with the necessary care, including regular watering, adequate light, and protection from pests or diseases. With proper attention, your bean plants will thrive and reward you with a bountiful harvest.
Congratulations! You’ve successfully germinated and transferred your bean seedlings to their new home. Now sit back, watch them grow, and enjoy the fruits of your labor.
Conclusion
Congratulations on successfully germinating and planting your bean seeds! By following the steps outlined in this guide, you have taken the first exciting steps towards growing your own beans. Whether you’re a seasoned gardener or a novice, the process of watching seeds transform into thriving seedlings is a rewarding and fulfilling experience.
Remember that germinating beans require optimal conditions, including proper soaking, a well-draining germination medium, adequate light, and consistent moisture. By providing these conditions, you have set the stage for successful germination and healthy plant growth.
As you continue your journey with these bean seedlings, it’s important to monitor their progress, ensuring they receive sufficient light, water, and care. Pay attention to the development of the seedlings, identifying any issues or diseases that may arise, and taking appropriate action to resolve them.
Once your seedlings have grown into sturdy plants, transferring them to their permanent growing location is the next step. Choose a suitable spot in your garden, prepare the soil, and gently transplant the seedlings, taking care not to damage the roots.
From there, continue to provide consistent care, including regular watering, proper sunlight exposure, and any necessary support for climbing varieties. With patience and dedication, your beans will flourish, reward you with delicious harvests, and bring the joy of homegrown produce to your table.
As you gain confidence in growing beans, consider exploring different varieties and experimenting with different growing methods. With each season, you’ll deepen your understanding of the unique characteristics of beans and further enhance your gardening skills.
So go ahead, have fun, and enjoy the journey of growing your own beans. Happy gardening!
Frequently Asked Questions about How To Germinate A Bean
Was this page helpful?
At Storables.com, we guarantee accurate and reliable information. Our content, validated by Expert Board Contributors, is crafted following stringent Editorial Policies. We're committed to providing you with well-researched, expert-backed insights for all your informational needs.


0 thoughts on “How To Germinate A Bean”